
• gifted • PR •
Features Gifted Product in Exchange for Content
Hello lovelies & happy Friday! The weekend (& holiday) is upon us, so I thought I would switch things up with an extra post. Recently, I was gifted some of the new Sally Hansen Salon Effects Perfect Manicure & was excited to try them out.
As you might remember, I tried out the Kiss brand press on nails around Halloween, but to be honest I’m not someone who wears them on the regular. I am, however, a huge Sally Hansen fan so if they’re jumping into the press on nail game, I figured it would be fun to get them a try.
I’ll preface this by saying my application photos were taken at night, in not great light. But the application was quite simple.

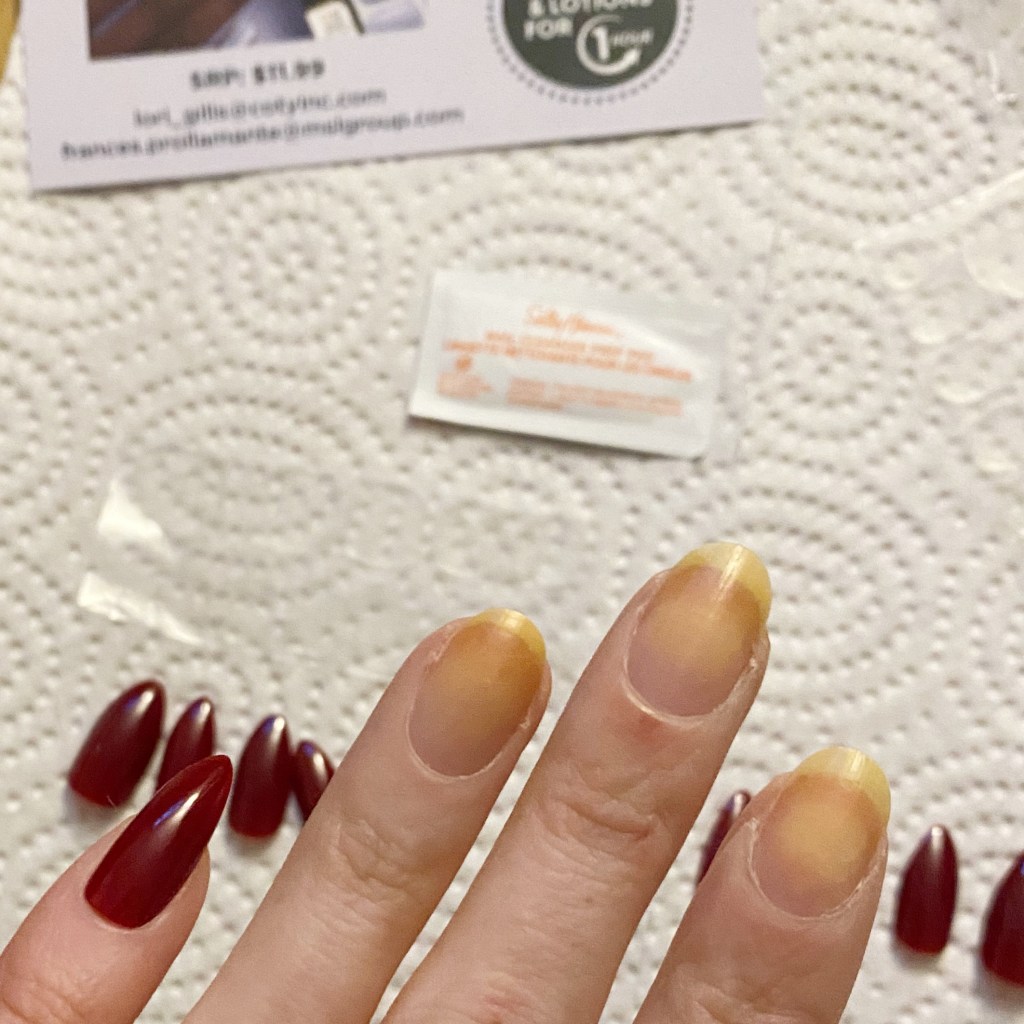
Your set of press on nails comes with your chose design, a small orange stick, a cleansing pad, & your application method. I chose to go with the adhesive tabs, which were designed for a shorter application — I was only planning on wearing my nails for a short time, versus for a week plus. I was also, hoping, removal would be easier because the last time I tried to remove false nails, it severely damaged my natural nails.
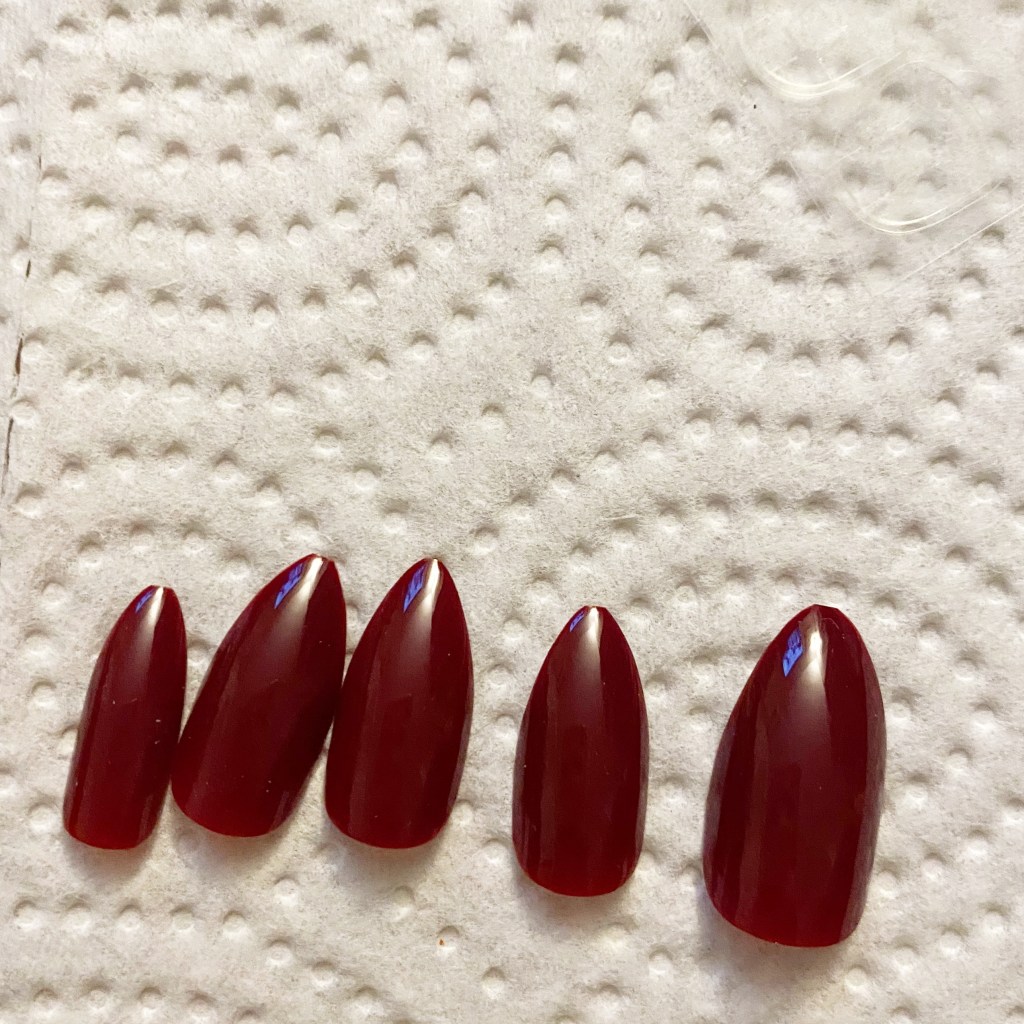
STEP ONE: pick out your sizes to fit your nails. I always line mine up so it’s easy to apply.
STEP TWO: Prep Your Nail. In the instructions they say to first wash your hands with soap & water, then push back cuticles , buff nails with your nail file, & then use to included prep pad for better adhesion. I’ll be honest — I washed my hands & pushed back my cuticles, but I skipped the buffing intentionally, then was so excited to start applying the nails I forgot to use the prep pad! I did, however, wipe my nails down with acetone prior to application which I feel like was the same idea.
STEP THREE: apply glue & nails. I start from my smallest finger on both hands, & work towards the thumb. I find it easiest, especially with longer nails (like these). For the adhesive tabs, I picked the tab which was closest in size to my nail, & applied it to the middle of my nail closer to the cuticle. Then I would press the nail down, careful to match it up with the cuticle, then hold the nail down for at least 30 seconds so it was well secured.
& just that easy! Obviously, you want to avoid any lotions, oils, or water for at least 30 minutes after application to avoid compromising the adhesion.
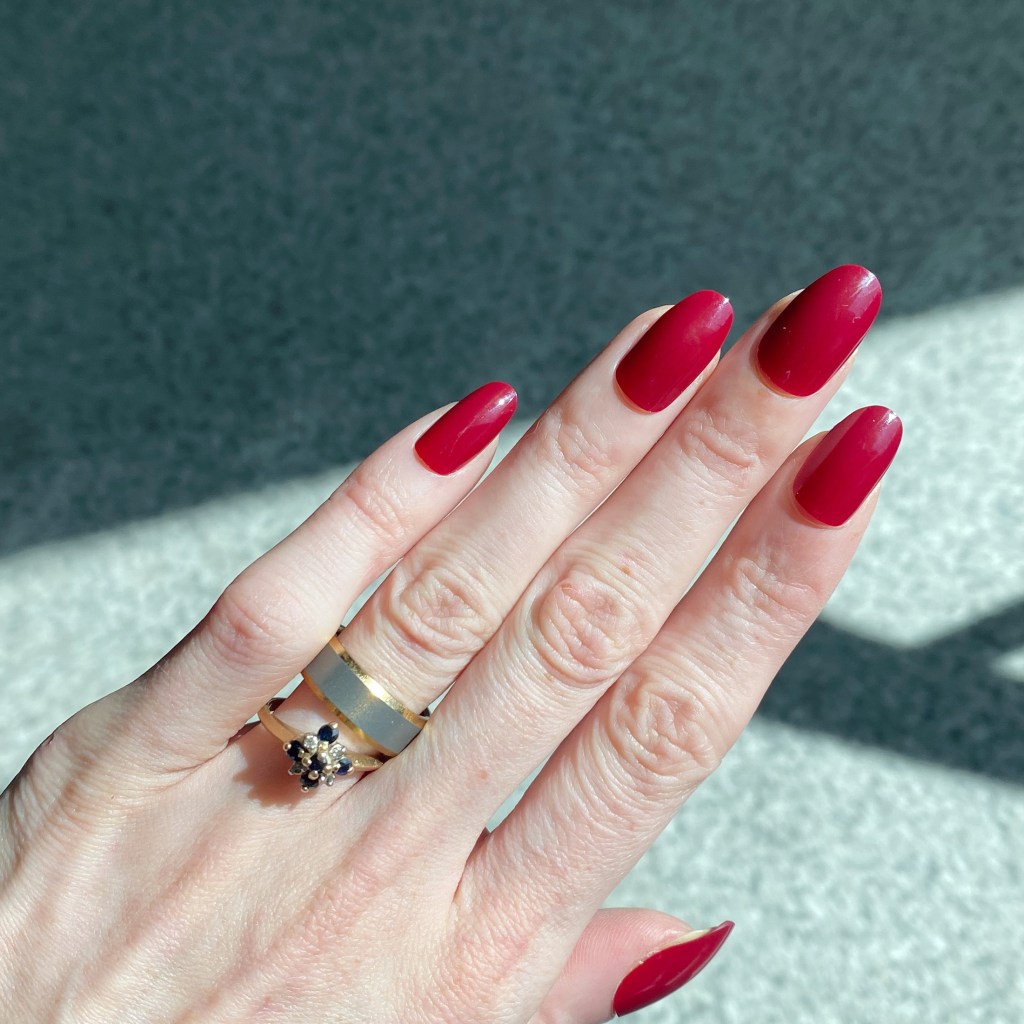
I found my nails were just a smidge on the long & pointy size, so I actually trimmed & filed my down slightly which gave them a bit more of a rounded shape.
MY THOUGHTS: Now I quite like these nails. Again, I’m not someone who wears false nails on the regular. I much prefer painting my natural nail, but I could see myself picking a fun length & design for a special occasion effect where I wanted something dramatic!
I did have a bit of trouble as my current nails are quite long & I didn’t want to cut them off for application, so you could see them a bit under the press on nail. If my nails were already short, & I was trying to add some length, I’m sure my experience would have been different.

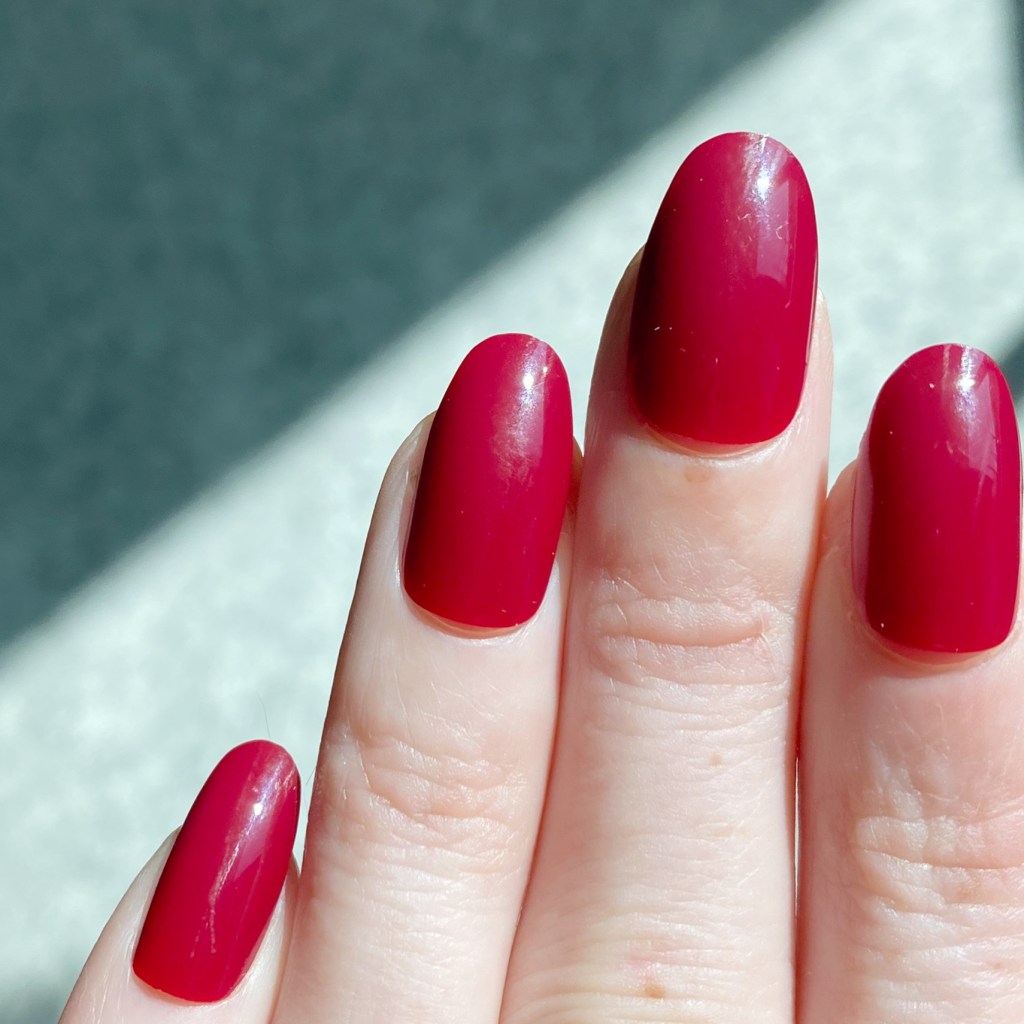
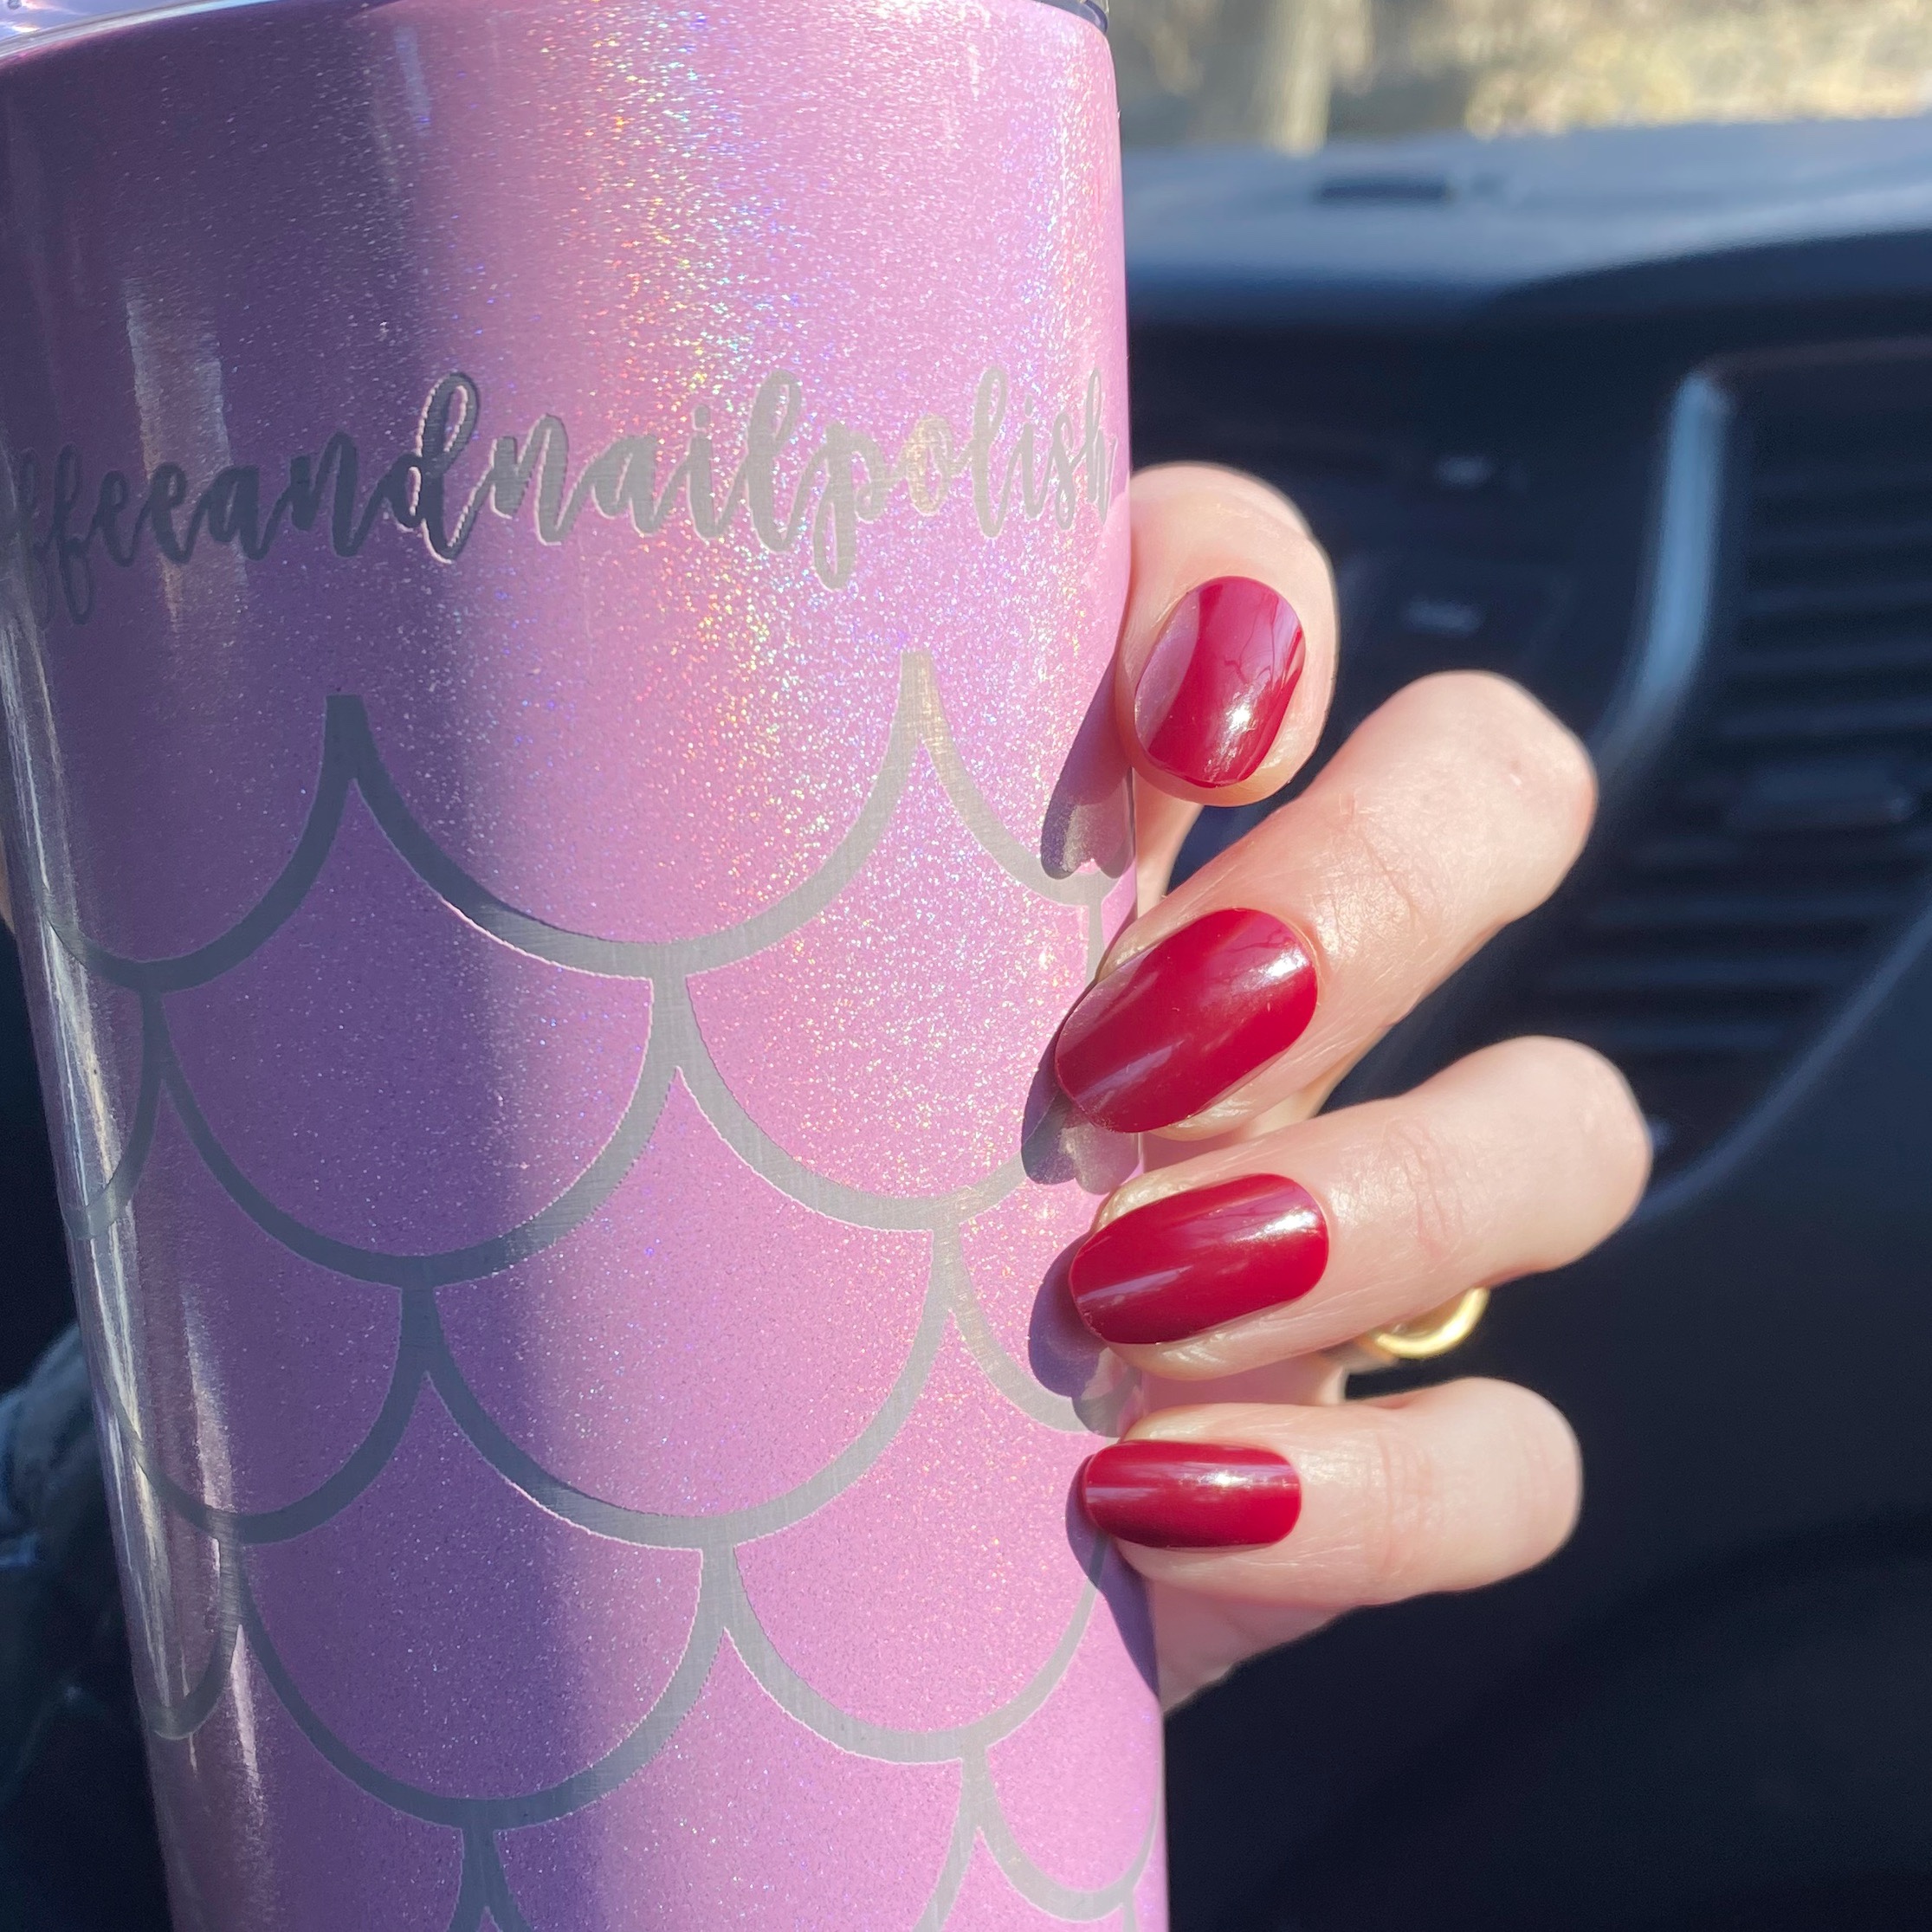
I really really liked that they had the option of both the nail glue & the adhesive tabs. As you can see from the above photo, if did mean there was a bit of space between my natural nails & the false nail as the pads are not completely flat. Again, if I had shorter natural nails that probably would have been less of an issue, but I did find it made the underside of my manicure a little funny to look out. It also made it easier to get my hair caught. But, if this was a night out manicure, I probably wouldn’t have been bothered as much.
& removal was SO easy.
With the press on tabs, you’re instructed to apply a little nail polish remover, wait 30 seconds, then use the cuticle stick to push the nail off. I did exactly as instructed, & it was that easy for the nails to come off! The nails, too, were perfectly intact, so I’m able to save them for another application which is great! The tabs took a bit of finessing to remove from my nail, but I had no visible damage to my natural nail, so I was very very happy.
All in all, I quite like these new press on nails!
The application was easy, the designs are cute, & they’re an easy way for people to wear nail art that might not be comfortable doing it on their own, or just don’t have the time. They’re also a great way to save if you’re someone who goes to the salon regularly for nails, but maybe can’t afford such a splurge all the time. I’m not sure how long the nail glue lasted versus the adhesive tabs, but it would definitely give you a few days of wear.
I can definitely see myself wearing other designs for special occasions, especially if my nails happen to be on the shorter size & I want a dramatic look!
Have you tried out the new Sally Hansen Salon Effects Manicure press on nails yet? Are you a fan of wearing artificial nails? I’d love to hear all your thoughts down in the comments below! & if you have tried out these new nails — which design/colour has been your favourite so far?
Products featured in this post were provided in exchanged for content. All thoughts are honest & my own.

Are those real nails yellow because of the Sally Hansen nails? I don’t want to buy them if that happens. The color looks good too! Are they water proof after 30 mins. I wash dishes twice a day, I am looking for cute nails that stay on after I wash my hands and do dishes.
I tried them! They stand after you wash your hands! they ARE AMAZING! also cute too.