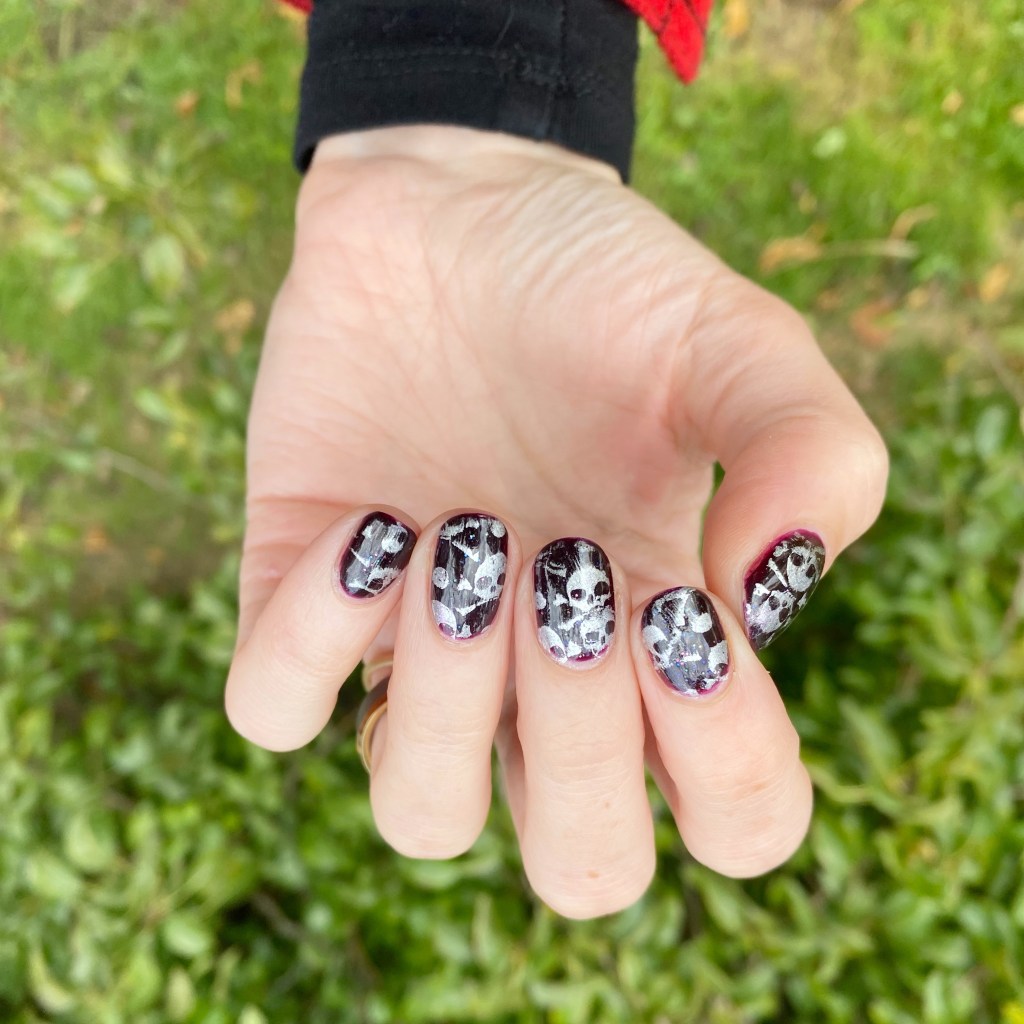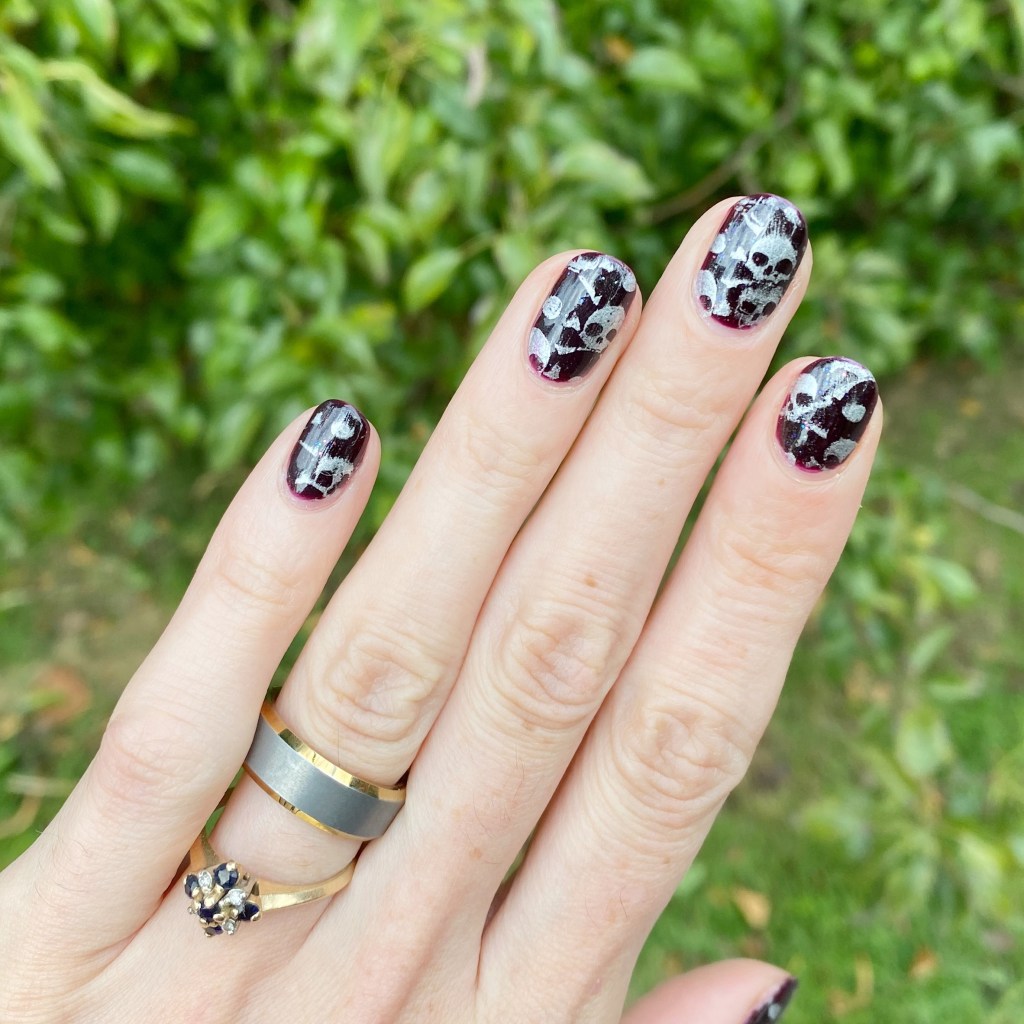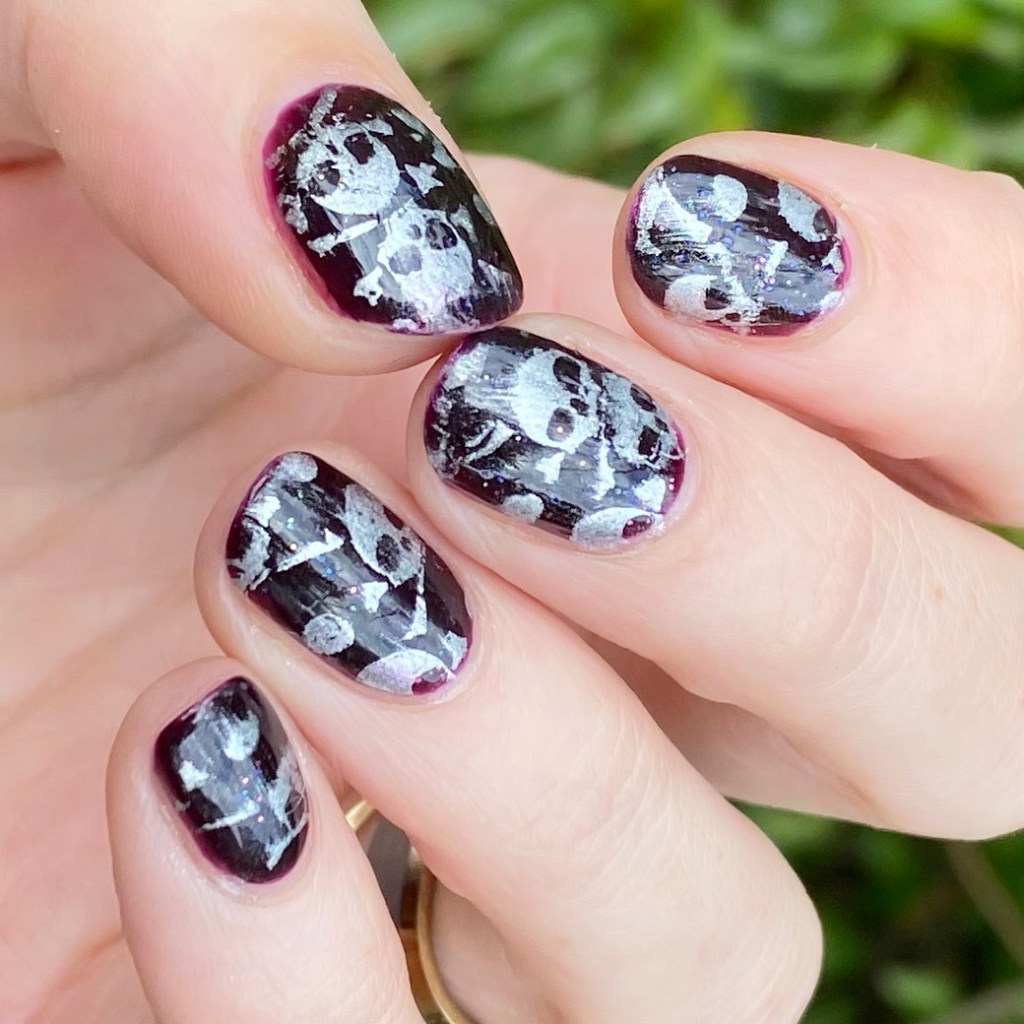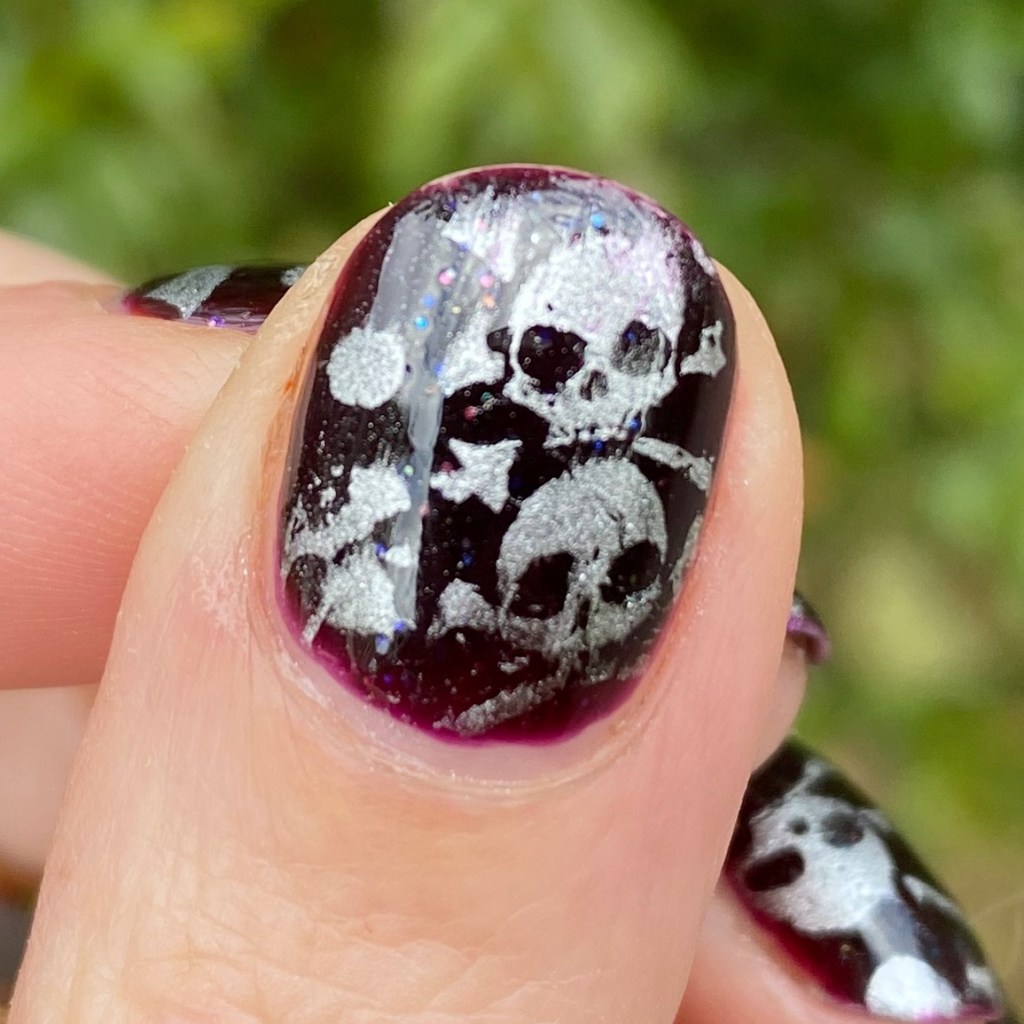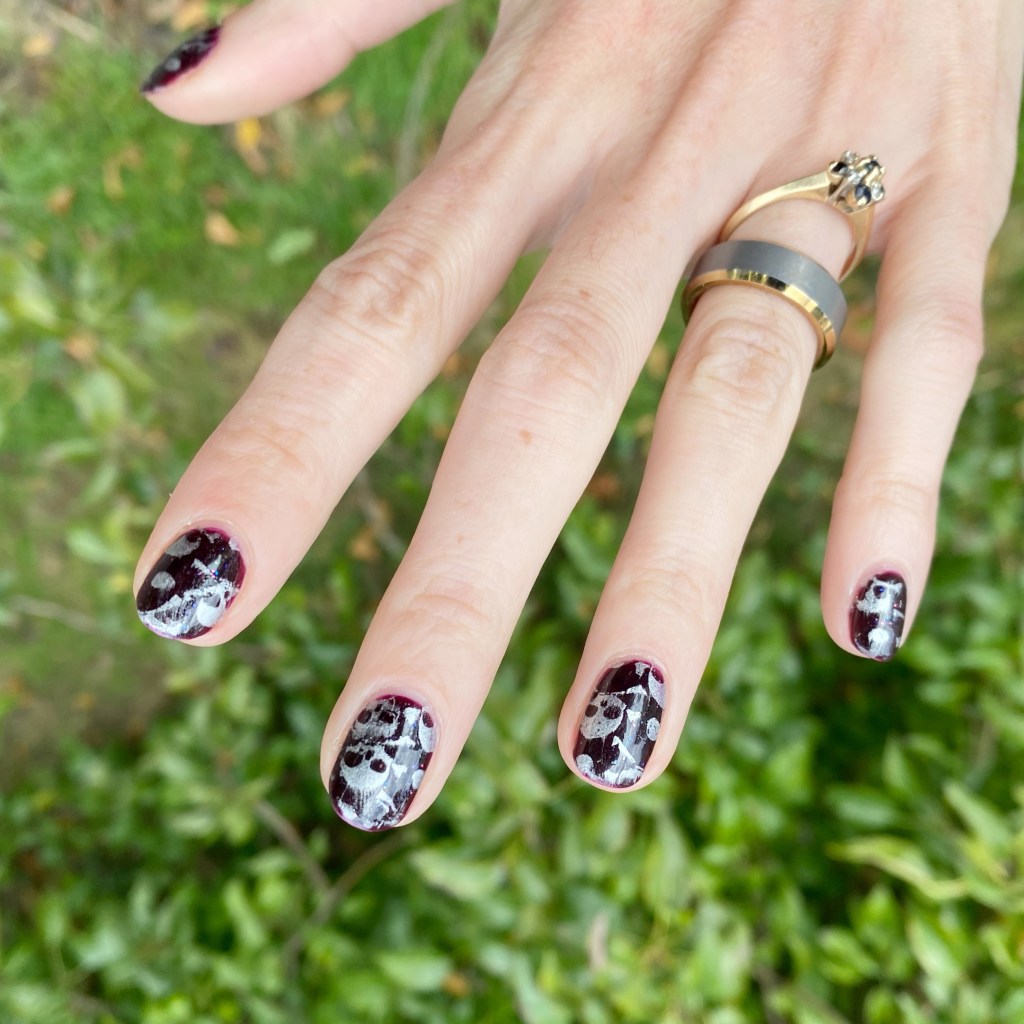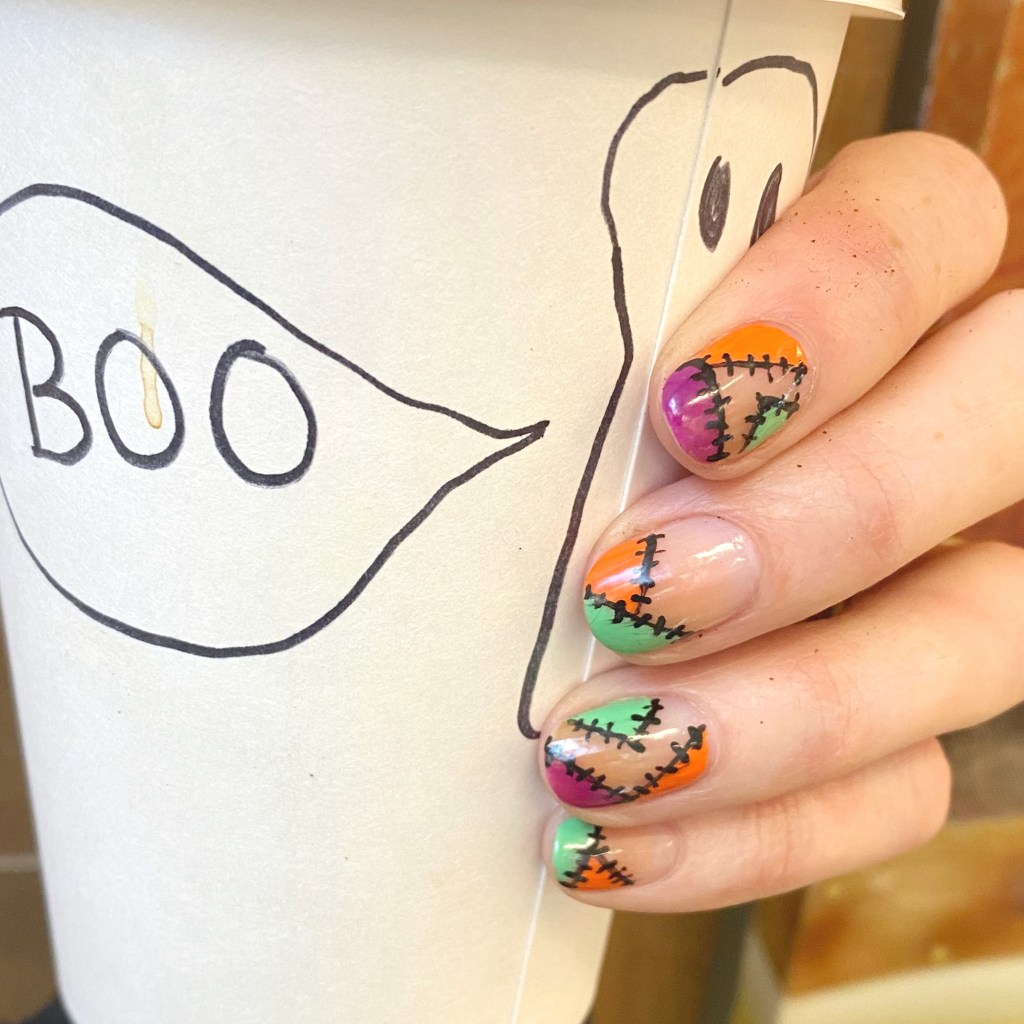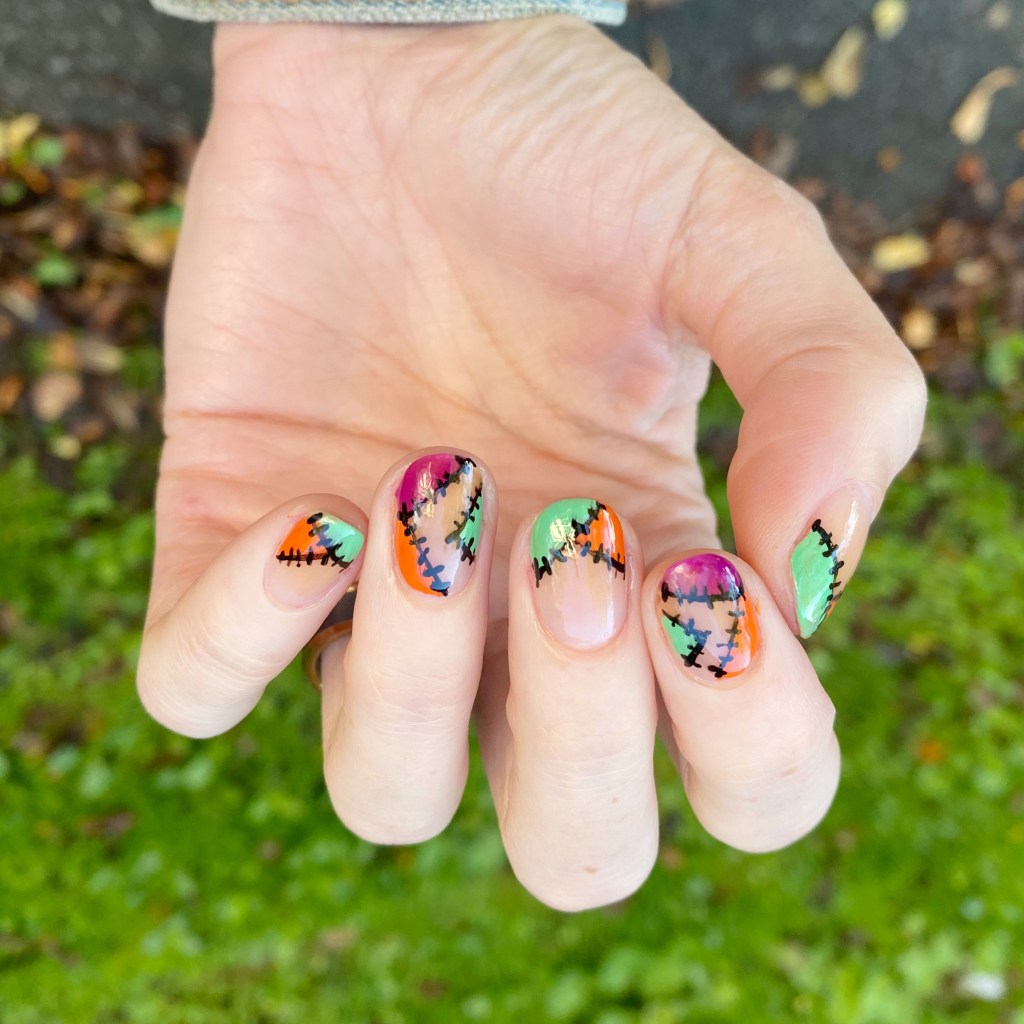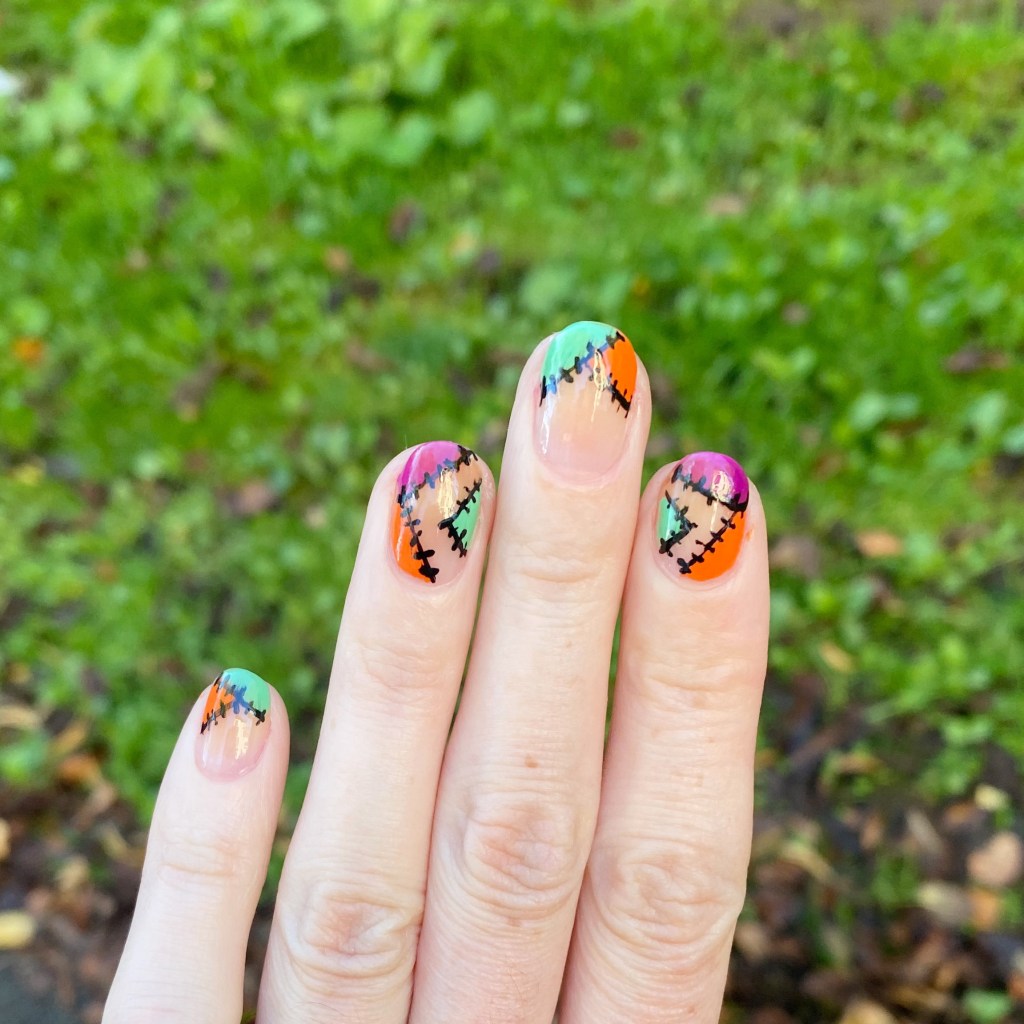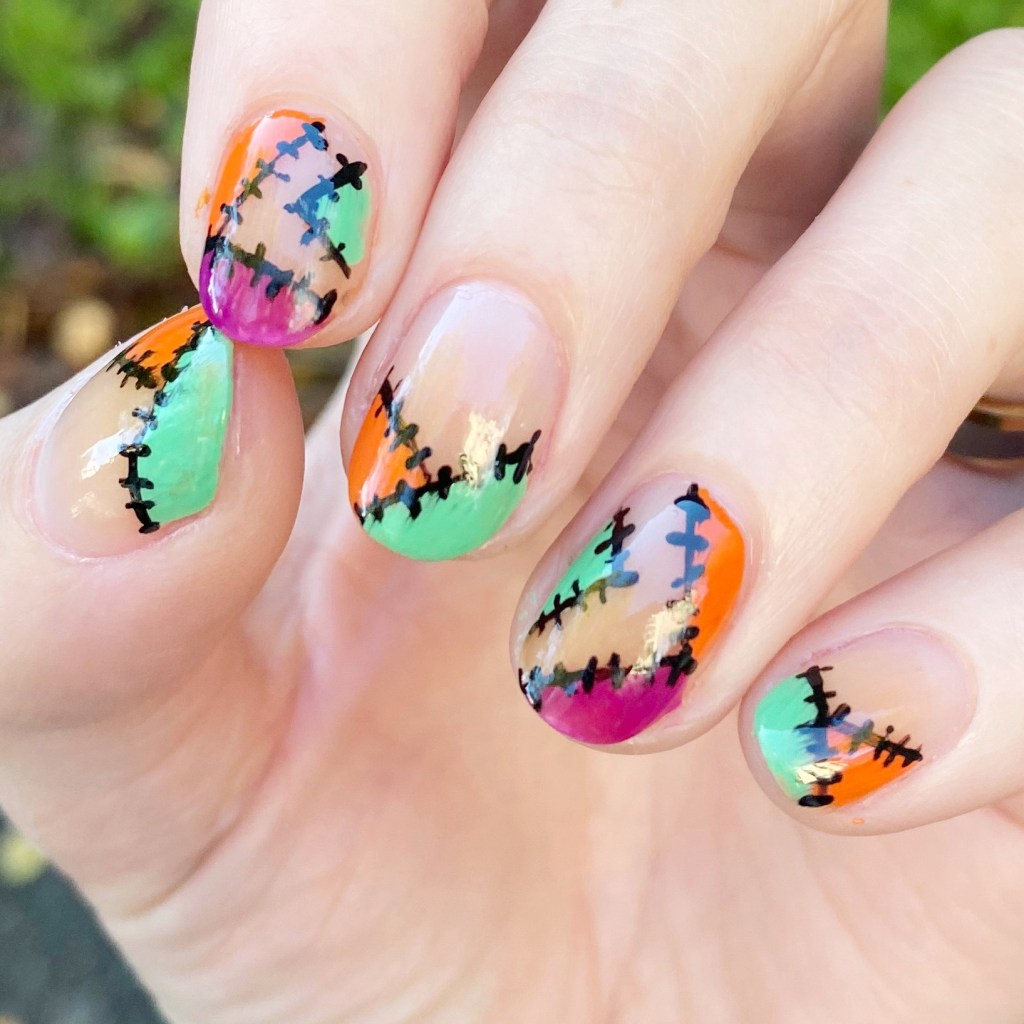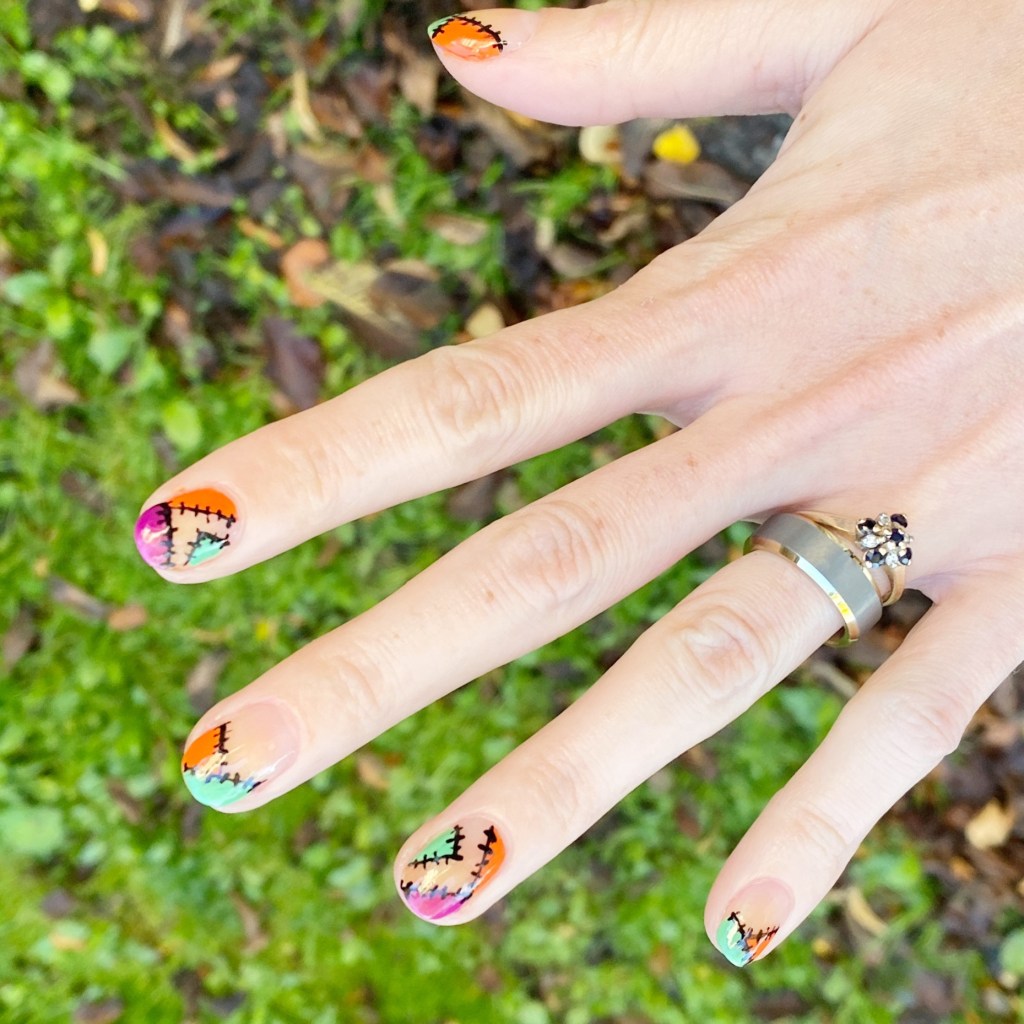
Tiny Galaxies On My Nails 🪐✨

Hello lovelies & happy Monday. & happy Labour Day.

I hope everyone had a good weekend. It was rainy, & wet, & a bit spooky… very Autumn. I even broke out the tights which was exciting (minus the rain). Today is supposed to be a seasonable nice day, & no rain, so I’m going to enjoy it.

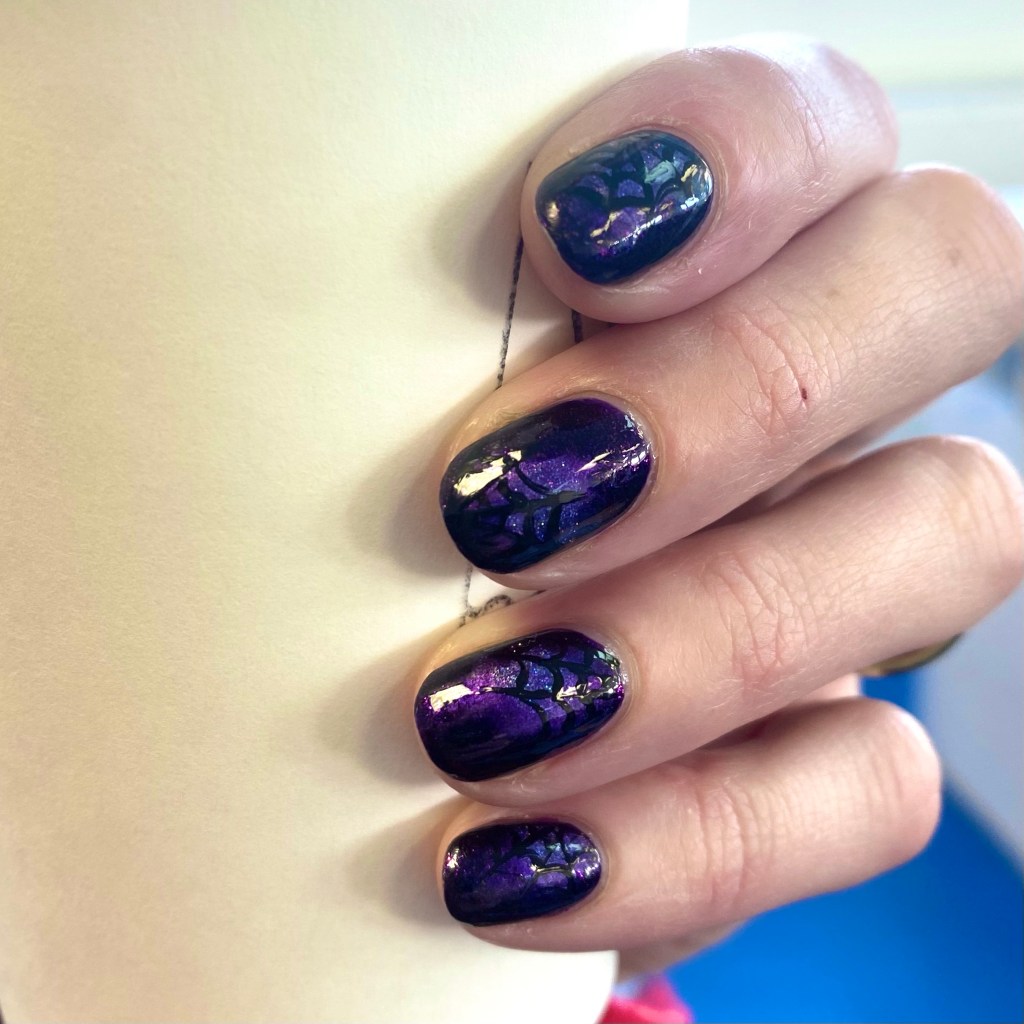
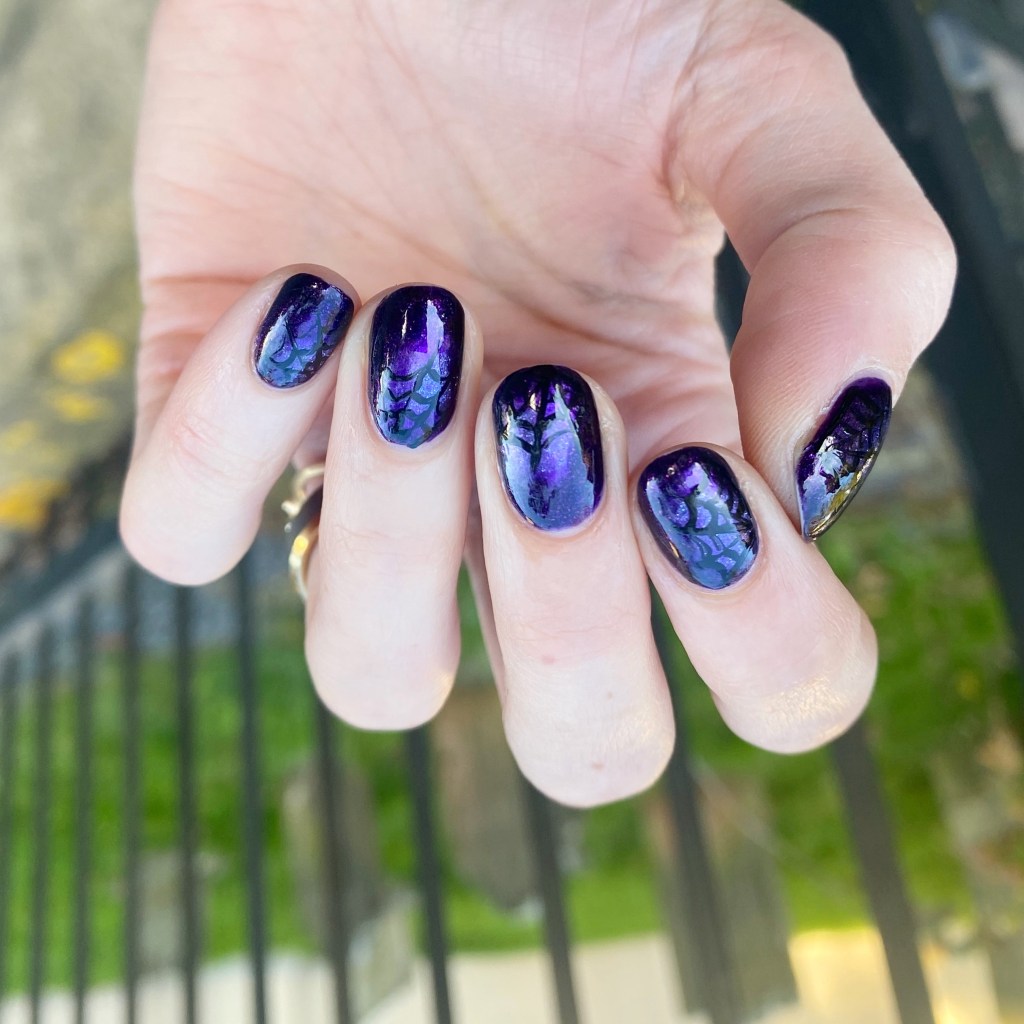
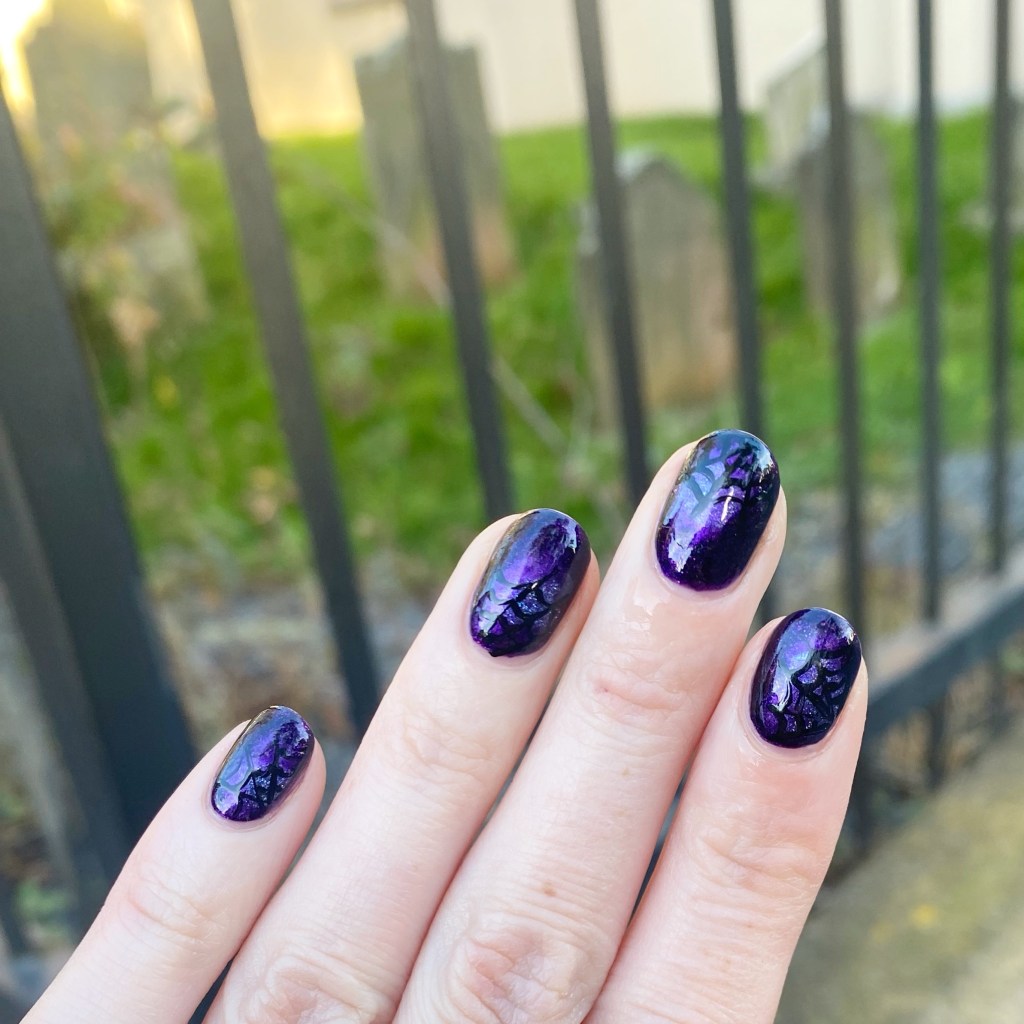
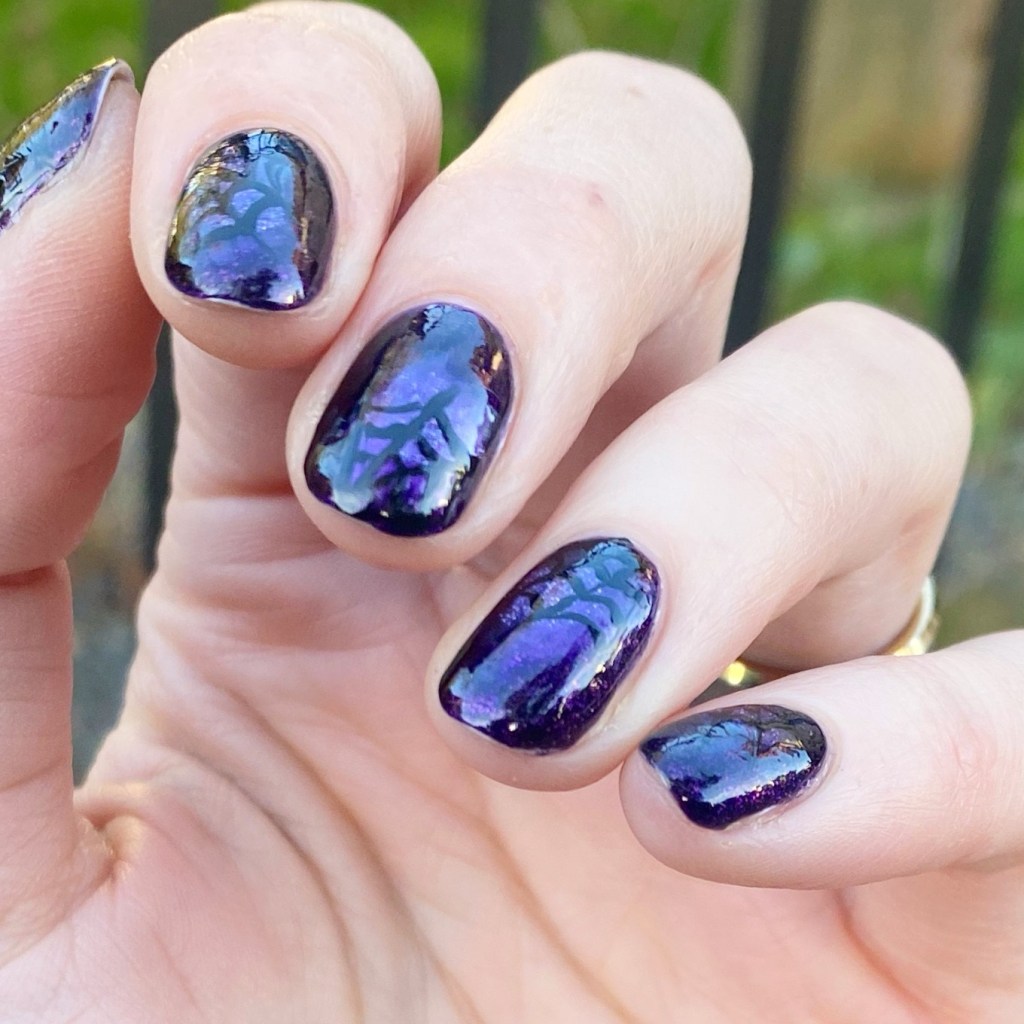
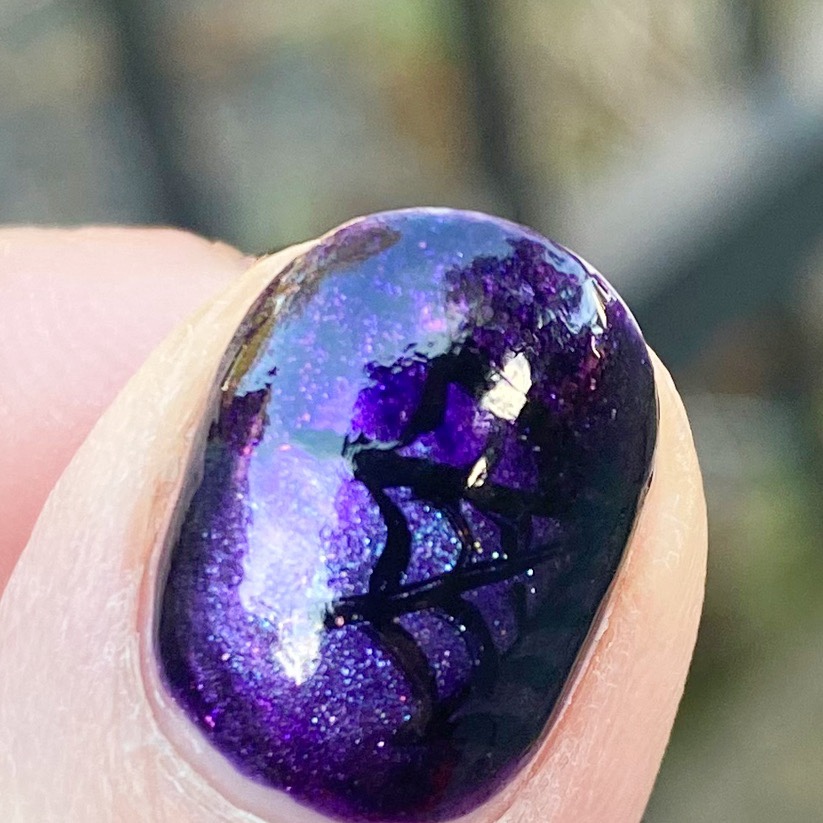
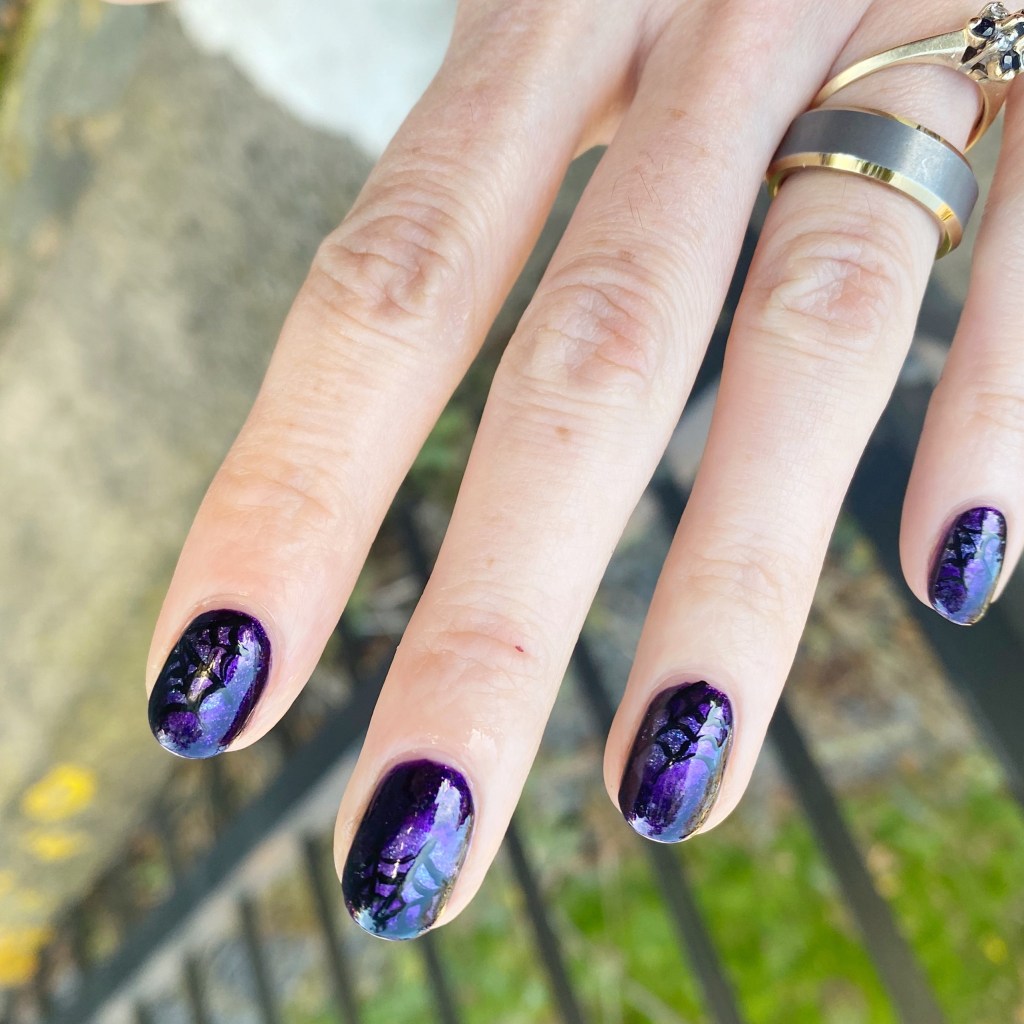
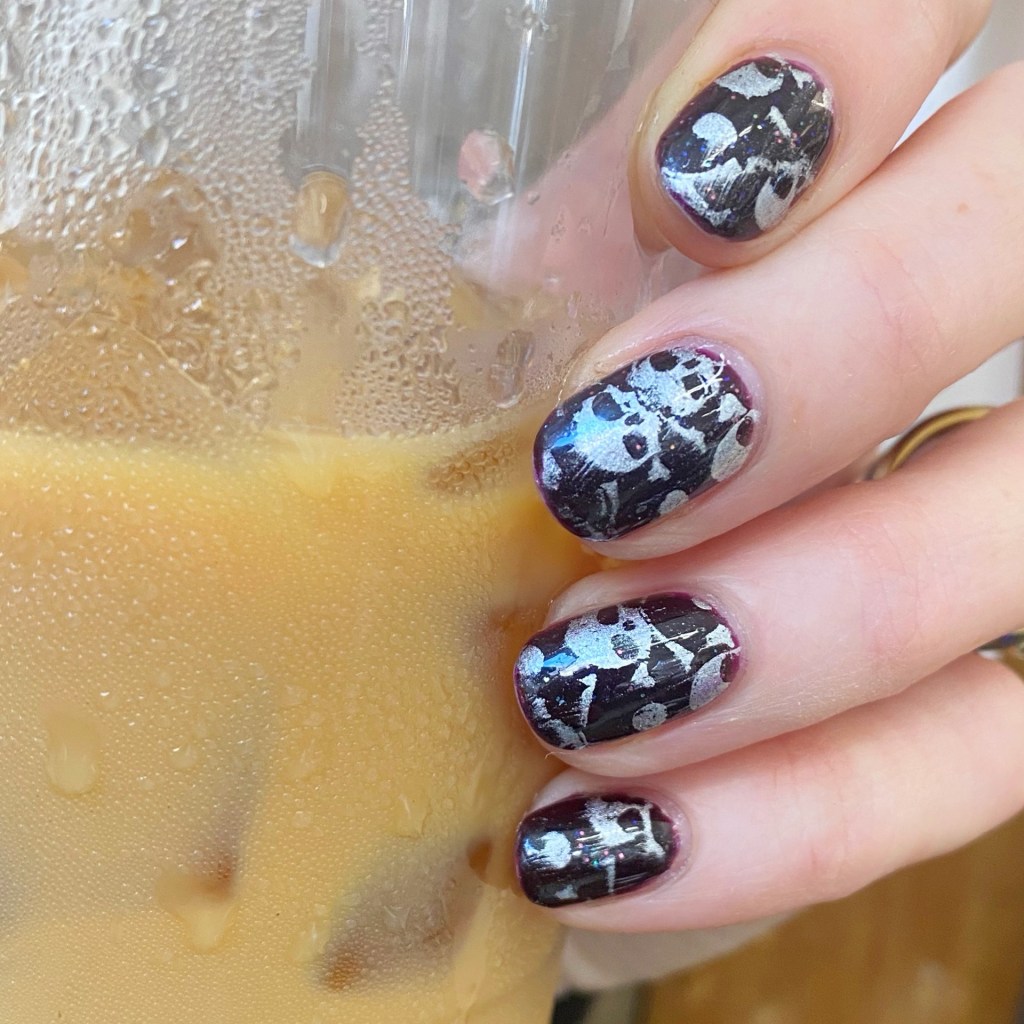
Today though, I have some cute nails to show. How long has it been since I did a galaxy look? A while for sure. These cute little galaxies were super simple to do, & I didn’t even use any sponges or anything. The only tools I had was my detail brush for the stars.

The polishes I used for this manicure are: 

  • Base Coat: Essie Hard To Resist Strengthner
  • Top Coat: Sinful Colors Power Paint Top Coat + Essie Speed Setter
  • Essie Home by 8 *pr
  • ACO by Ardene Unnamed Shimmery Blue
  • Essie Nail Art Studio Lustrous Luxury
  • Essie Cosmic Chrome *pr
  • NailStuff 7mm Liner Brush

Oh I love how these turned out.

I knew I wanted to do a galaxy look, but I decided it at 9:30pm & then realized I didn’t have any sponges so I had to pivot. But I”m actually really happy with the effect it created. It is absolutely giving Space 🌌 & I love love love them.

What do you think of my tiny little galaxies? Would you wear this nail art look?

Let me know all your thoughts down in the comments below, & enjoy the beginning of your week!

♥︎

SWATCH SUNDAY — Revlon Elusive (2013 Evening Opulence Collection)

Hello loves & happy Sunday!

I hope everyone is enjoying their first full weekend of September (& long weekend). I am in full Autumn swing, & enjoying a bit cooler weather. I just want to pull out all my plaid, & go on a thrift hunt for a brand new pair of knee high boots. It also means I want to wear nothing but dark tones on my nails, & today’s Swatch Sunday pick is perfect for that!

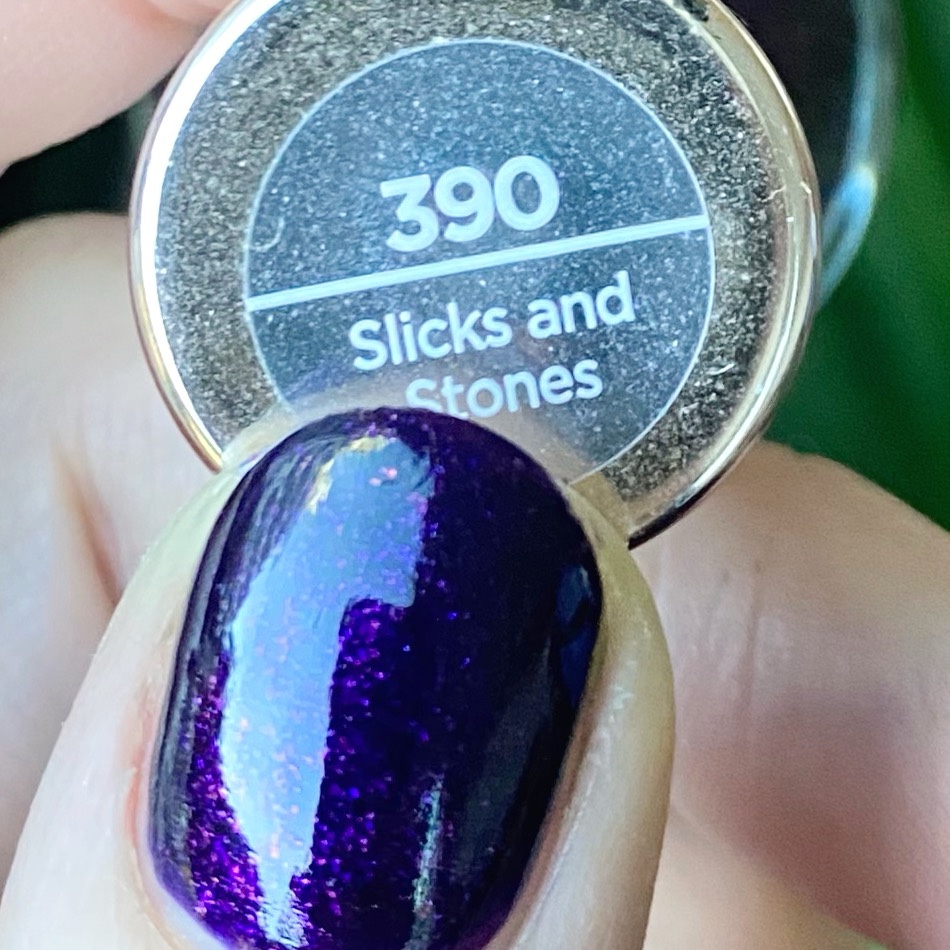
This is Revlon Elusive from the 2013 Evening Opulence Collection.

2 coats, No top coat.

This beautiful black jelly glitter was originally released back in 2013, & having Googled the collection — the advertising is very 2013, if you know what I mean. I believe it was released for Fall/Winter, so this colour is fitting in perfectly for the Autumn season, but also wouldn’t look out of place at a holiday party.

This base is a thin-ish black jelly, packed with multi-sized teal glitters. It dries matte, which I was a bit nervous about because I was worried it would be too textured, but it dried fairly smoothly for me which is a win in my books! I applied 2 thin-ish coats for coverage, although it does look a bit translucent in some photos so some people might feel more comfortable with either 3 thin coats, or 2 more thickly applied coats.

My only complaint — it did chip during my shift at work. Now that could be the fact that it’s a 13 year old polish, or it could be that my top coat is getting okay. Definitely won’t stop me from wearing it again!

Also, I had to apply top coat to see what it would look like shiny, & I do feel like it makes the glitters pop a bit better, but honestly I love it both ways. Giving me a glitter like this, & I will always be a happy girl!

What do you think about Revlon Elusive? This shade was obviously released back in 2013 so it’s no longer in circulation. I would love to see Revlon do a throwback collection with some of these glitter shades they used to do. Plus, Y2K & 2010s fashion is making a comeback, so let’s bring it back on our nails!

Have the best Sunday darlings!

♥︎

Messy Skittle Stripe Accent Nail

Hey beauties & happy Friday! It’s crazy, & rainy, & a lot right now. But Autumn is in the air, the kids are back to school, all the coffee shops are releasing their Autumn menu — we’re featuring a spicy iced chai latte right now with pumpkin cold foam at my cafe — & I’m about ready to break out my faux Doc Martens & over the knee socks.

I’m also just loving Autumn shades on my nails. I decided I really wanted to do a skittle design, but with a little twist. & I love this combination of colours! I feel like it turned out really, really fun… even with some seriously rustic stripes.

The polishes I used for this manicure are: 

  • Base Coat: Essie Hard To Resist Strengthner
  • Top Coat: Sinful Colors Power Paint Top Coat + Essie Speed Setter
  • Essie Expressie Feel The Hype
  • Essie Cacti On The Prize
  • Morgan Taylor Looking For A Wing Man
  • ORLY Buried Alive
  • Color Club Grey (No Name)
  • NailStuff 7mm Mermaid Tail Liner Brush

So when I did these nails at first, I was a bit uncertain about how they looked. But that happens sometimes, & I’m definitely in love with how they look now. & I think all the different colours look beautiful & complimentary.

What do you think about this messy strip look? It’s definitely a little rustic, but like I said… I ended up really liking the whole look.

I’d love to know what you think about this design. Let me know all your thoughts down in the comments below!

Happy Friday ♥︎

Autumn Floral (Inspired by Christabell Nails)

Hello loves & happy Wednesday! I hope everyone is having a good start to their week (& this brand new month!) Today I’m super excited to share a manicure I recently did inspired by one of my OG Nail inspirations circa 2013-2016: Christabell Nails.

I was browsing Pinterest while trying to figure out what I wanted to paint on my nails, when I clicked over to Youtube & saw my Subscriptions & remembered Christabell! After a little scrolling, I stumbled upon her Autumn Floral Nails Tutorial , & knew I needed to recreate it on my nails immediately! It is such a pretty, but unique, design & I thought it would be a perfect September design.

The polishes I used for this manicure are: 

  • Base Coat: Essie Hard To Resist Strengthner
  • Top Coat: Sinful Colors Power Paint Top Coat + Essie Speed Setter
  • Essie Silk Water Colours No Shrinking Violet
  • Essie The A-Bliss
  • Essie Blank Page
  • NailStuff 7mm Liner Brush
  • NailStuff Dotting Tool Trio (larger size)

Aren’t these fun? It definitely was a time consuming manicure to do, especially where I painted all 10 of my fingers. But I think it turned out so unique & fun. My strokes were a little messy, but I think that adds to the whole look.

Definitely a striking manicure that came together perfectly, & was absolutely worth the time it took to do!

What do you think of this design? Do you like to go back to old nail inspo, & reinsure yourself again? I feel like I might started doing it again — nail artists like pshiit_polish (her instagram is now private, but a lot of old manicures are on Pinterest!), The Nailasaurus & Lucys Stash. Maybe I’m feeling nostalgic to the olden nails of nail blogging, but it’s fun to take a trip down nail polish lane, & be inspired by what could be considered retro nail trends.

Let me know your thoughts, & where you get your nail inspo from!

❤︎

Black Diamond Studded Nails 🖤 (Makes my Emo heart happy)

Hello darlings, & happy Monday. I hope everyone had a lovely weekend, no matter what you found yourself doing. My weekend was mostly spent working, but I find the weekend rush fun.

Today I’m sharing a really fun manicure, featuring yesterday’s Swatch Sunday pick & a whole lot of black rhinestones! While swatching Dark Dahlia, I was trying to figure out a fun (but different manicure) & I stumbled across a small bag of black diamonds that I’ve never used. One thing led to another, & suddenly I was carefully placing each stud on my nail.

& I am obsessed. Actually, obsessed is an understatement! I literally want to recreate this design using every colour of the rainbow.

The polishes I used for this manicure are: 

  • Base Coat: Essie Hard To Resist Strengthner
  • Top Coat: Sinful Colors Power Paint Top Coat + Essie Speed Setter
  • The Creme Shop Calcium & Protein Clear Polish (from the Hollywood Nail Art Kit)
  • CND Vinylux Dark Dahlia
  • Black Diamond Studs
  • Diamond Art grabber pen

It has been a long time since I pulled out my nail studs, & played with them. I’m not even sure why I don’t play with them more often, minus the fact I’m always worried about one popping off. Thankfully, these were nails to rock around home & not at work because I feel like they’re not the most practical…. but damn they look so cool.

Like really cool. You have no idea how bad ass I felt wearing these.

Were they a little more complicated & time consuming to do? Yes. Would I 100% do them again. Also yes.I also think the almost-black of Dark Dahlia paired with the black of the studs made the studs look better. I was kind of worried it was just going to look weird & lumpy, but it didn’t. Instead, it really did look like black diamonds on my nails.

& as an elder Emo who spent her formative years listening to Taking Back Sunday, Brand New & the Ataris while wearing exclusively black nails…. these scratch a little Emo itch that regular black nails could never.

So, what do you think about this rock star worthy manicure? Do you love it as much as I do? Let me know all your thoughts down in the comments below, & what polish & stud combo you would want to try!

Happy Monday My Loves!

❤︎