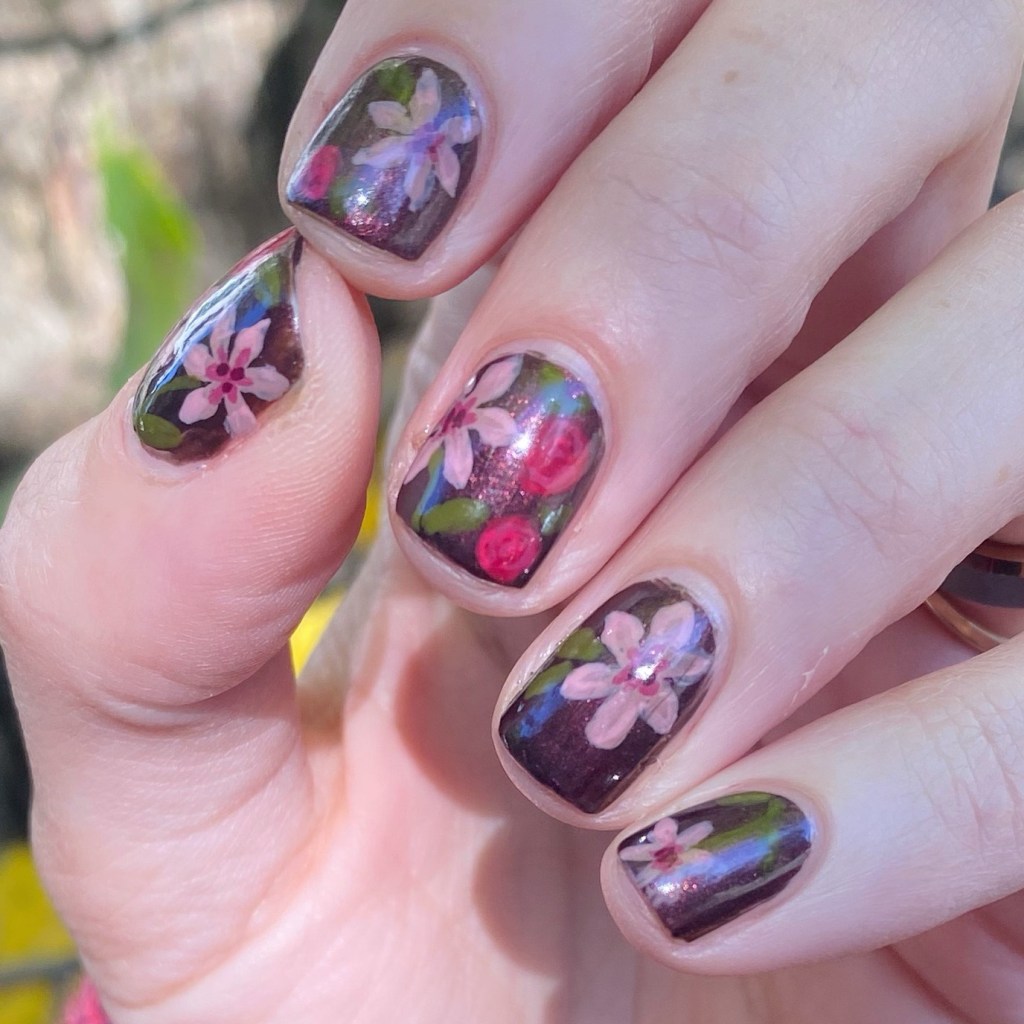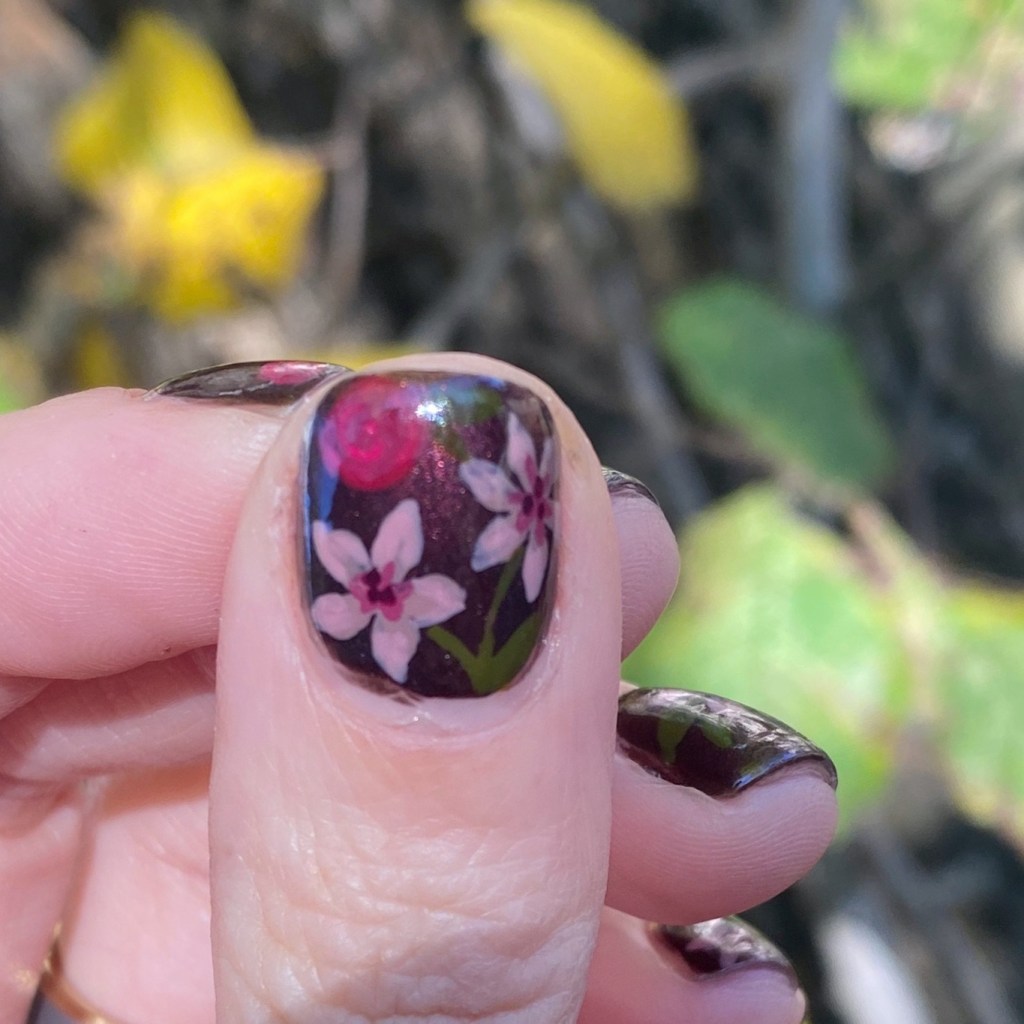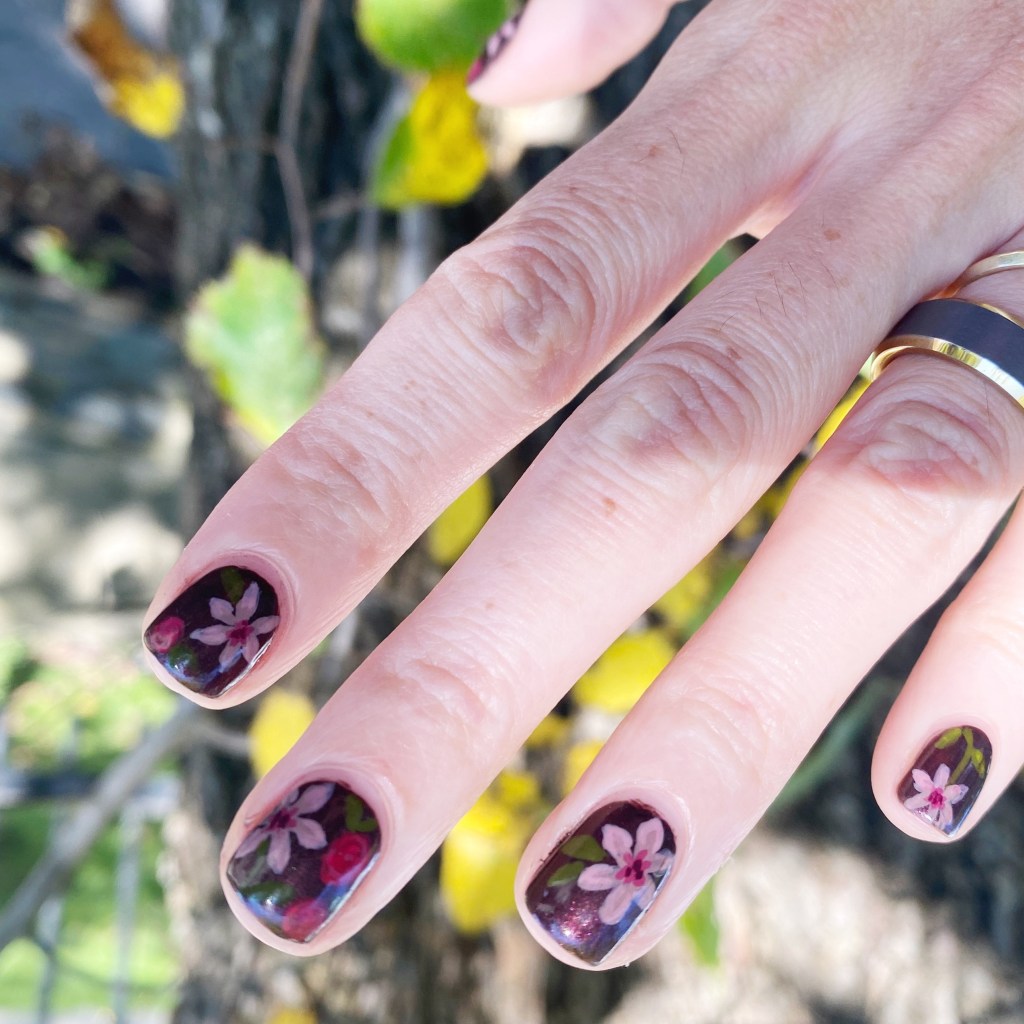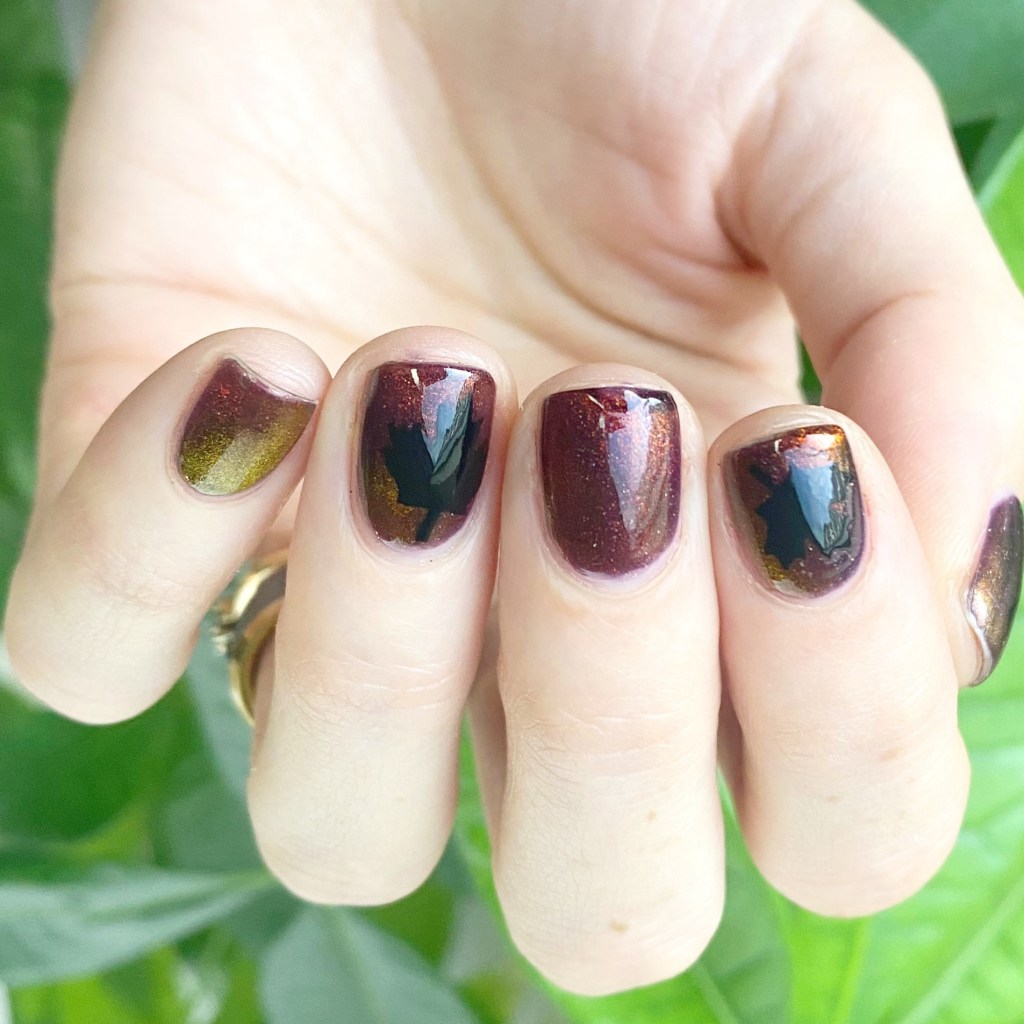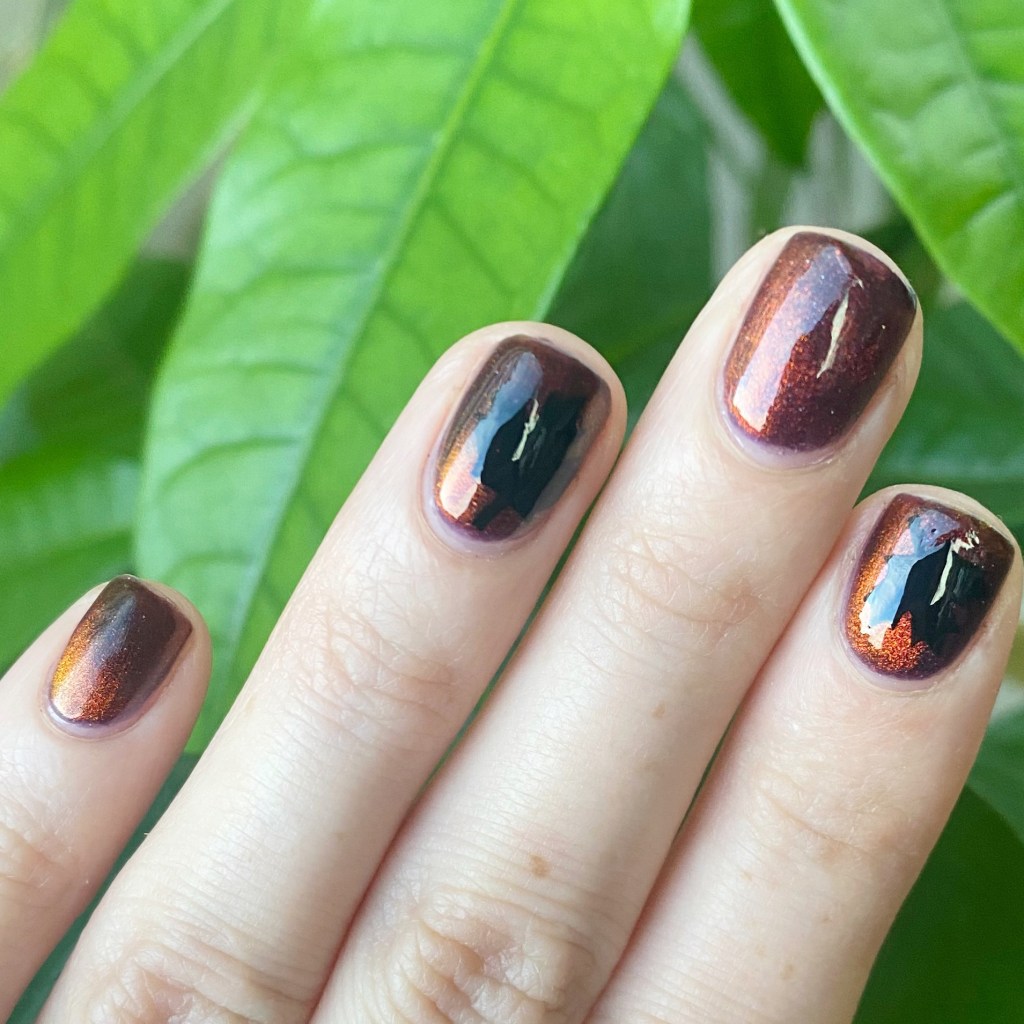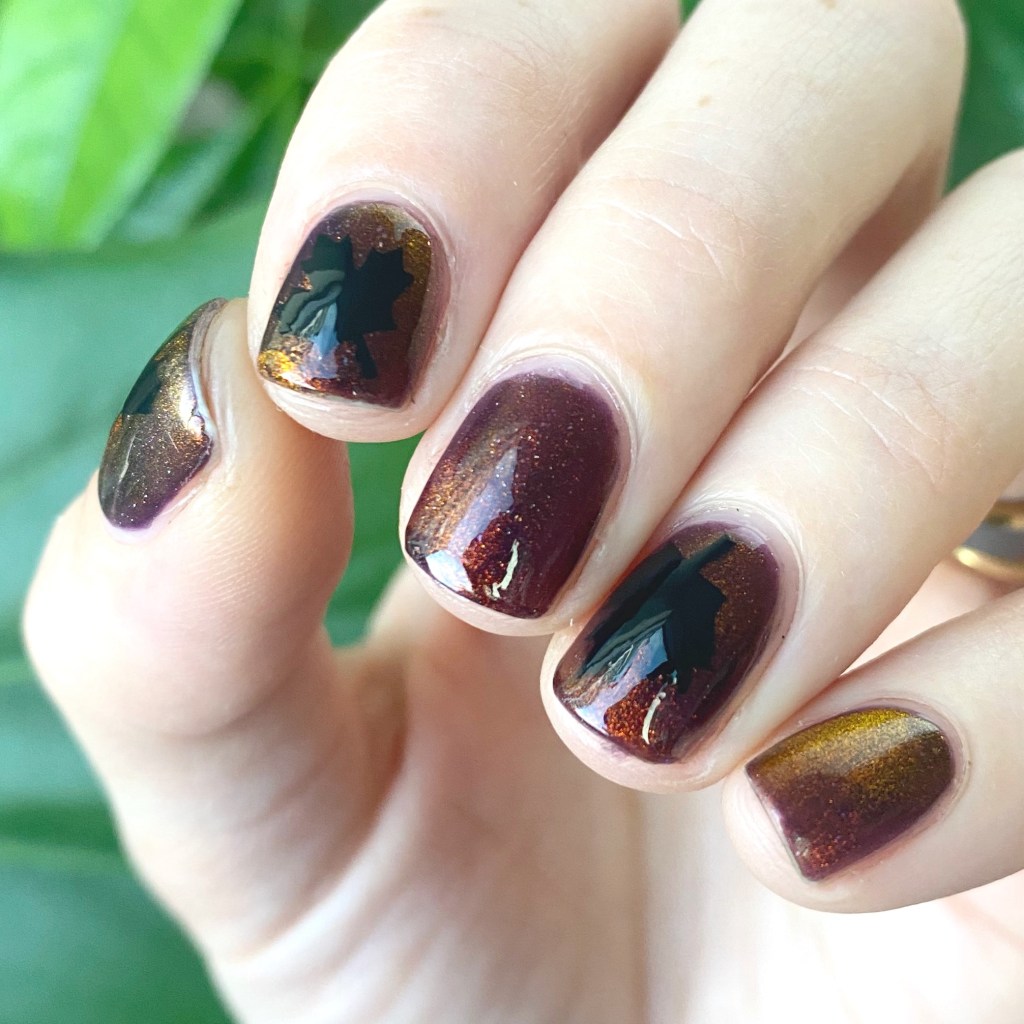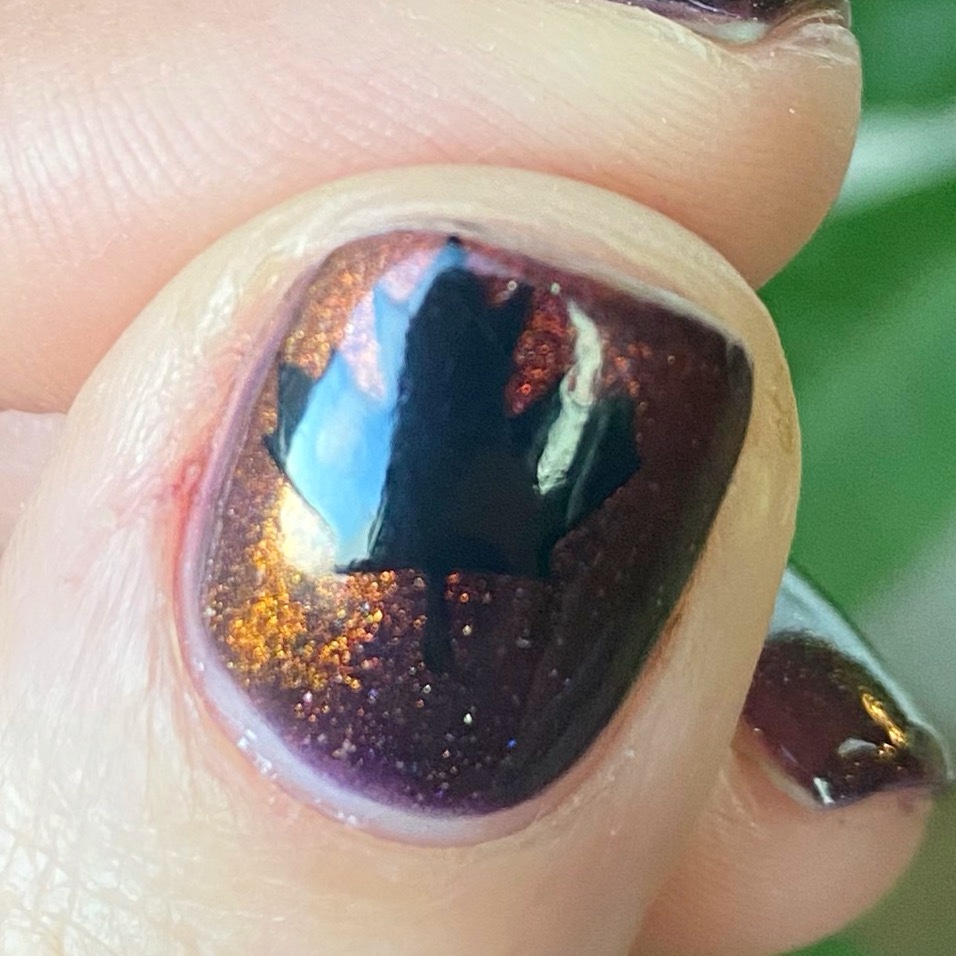
Hand painted Autumn Floral 🌻

Hello lovelies & happy Monday! I hope everyone had a fantastic weekend.

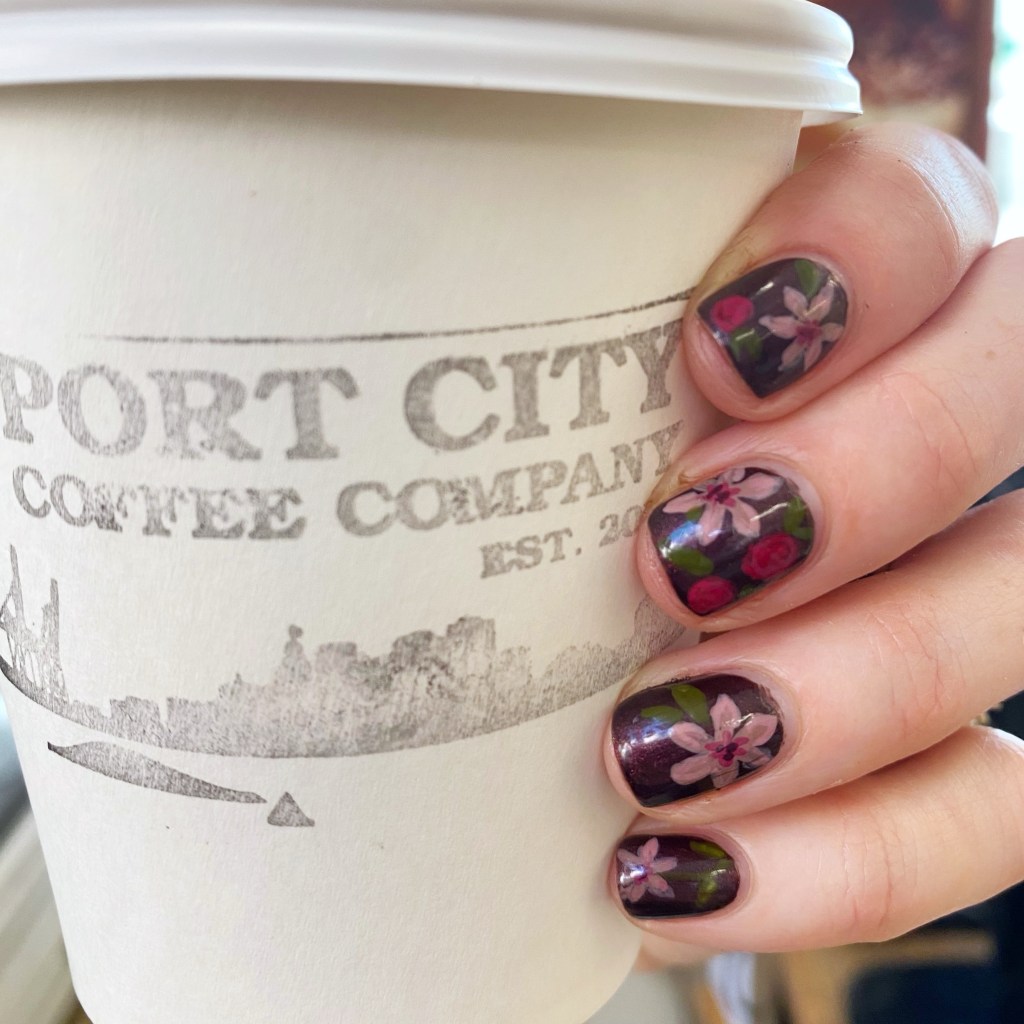
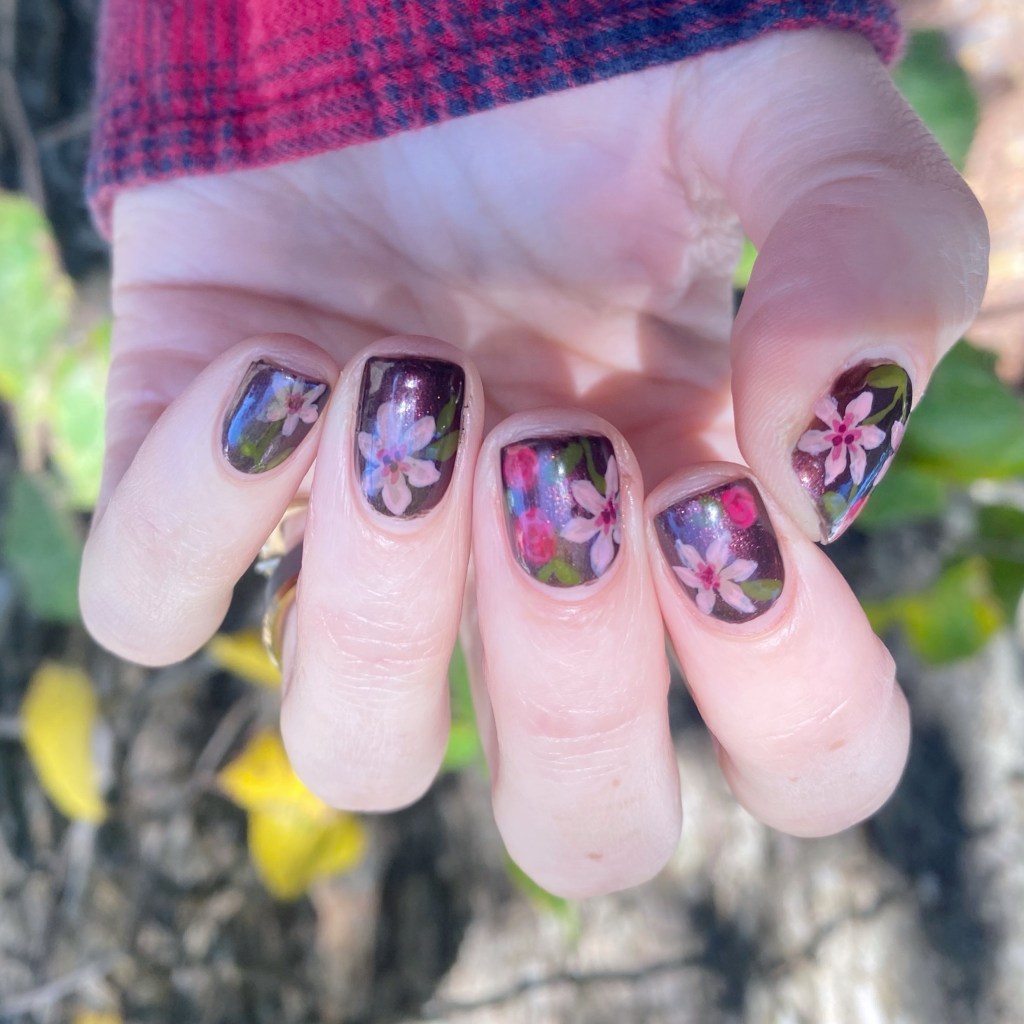
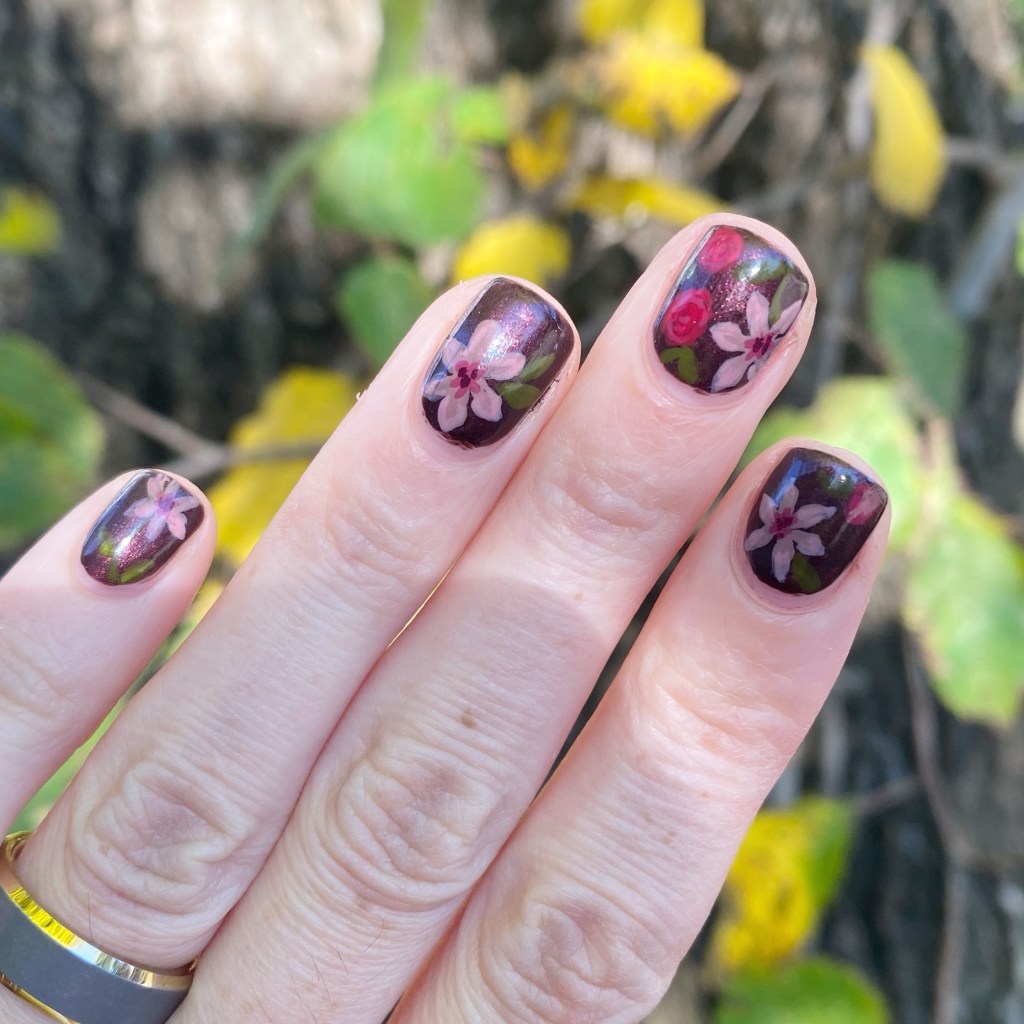
It was chilly, & seasonal, & I definitely was adding some pumpkin spice to my coffee. I’m just loving this weather so much. It makes me the happiest! You know what else makes me happy? Floral on my nails. Especially when it’s a floral to match the Autumn vibes. So I’m excited to share this look I hand painted.

Originally I was going for sunflowers, but they kind of transformed into marigolds (maybe?). Some kind of Fall flower for sure.

The polishes I used for this manicure are: 

  • Base Coat: Essie Hard To Resist Strengthner
  • Top Coat: Sinful Colors Power Paint Top Coat + Essie Speed Setter
  • Essie Bordeaux
  • Essie Fall for NYC
  • Essie Set in Sandstone
  • Essie Willow in the Wind
  • Essie Off Tropic
  • Essie Expressie Take the Espresso
  • NailStuff 7mm Liner Brush

How pretty did these turn out? Do I know what flower they actually are? no idea! But do I love them regardless? Absolutely!

What do you think of my Autumn floral? Have you missed my flower designs? I haven’t done very many in the last little while, so it was fun to stretch my nail art skills with these.

Let me know all your thoughts in the comments below, & for fun share what your favourite part of Fall is (since it is officially Autumn on the calendar as of tomorrow). Now that our days are getting more crisp, & cool, & I am loving every moment but especially the Fall themed drinks!

♥︎

Onyx Drag Marble Gemstone Nails

Hello loves & happy Wednesday! I hope everyone is having a lovely start to their week so far. Somehow I blinked, & we’re already half way through the week… & through September. It’s crazy how quickly time is passing.

Today I’ve got a great dry marble look to share with you! I’ll never be able to perfect water marbling…. but a dry/drag marble I can do! & I really like how these turned out because I really have been leaning into the darker nail pallet lately.

The polishes I used for this manicure are: 

  • Base Coat: Essie Hard To Resist Strengthner
  • Top Coat: Sinful Colors Power Paint Top Coat + Essie Speed Setter
  • NailStuff Essentials Raven
  • Essie Get Your Groove On
  • Essie Dive Bar
  • Small dotting tool (also from NailStuff)

Close up really shows off the three distinct colour I used for this look. It looks like a dark & beautiful gemstone, & I really love it. Super easy to do (at least for me) & I love how unique every design like this turns out. & personally, I feel like the clean up with this kind of look is always super minimal, as opposed to trying to water marble.

You maybe not know this… but I hate messy manicures which require any kind of clean up. It’s probably why I haven’t attempted a gradient in years. I just can’t be bothered to sit there & clean up the mess I made, & all my cuticle barriers have definitely dried up. So give me a fun, & somewhat complicated design, without needing to spend an hour cleaning up around my cuticles.

What do you think of this drag marble look? Would you wear this design? What are your thoughts on drag marbles? Let me know all your thoughts in the comments below… I would love to know what you think!

Enjoy your day lovelies!

♥︎

Recreating my Wedding Nails (on my shorties) 11 years later! ✨👰🏻‍♀️💅💍

Hello lovelies & Happy Saturday! I know I don’t often post on Saturday, but today was a special exception with a special nail design!

I really wanted to recreate my wedding nails in honour of my wedding anniversary, especially as I’m rocking some serious shorties right now. So in honour of the occasion, here’s a brand new version of a very special design.

The polishes I used for this manicure are: 

  • Base Coat: Essie Hard To Resist Strengthner
  • Top Coat: Sinful Colors Power Paint Top Coat + Essie Speed Setter
  • Essie You Do Blue!
  • OPI I Cannoli Wear OPI
  • China Glaze Champagne Bubbles
  • Sally Hansen Miracle Gel Good As Gold
  • Essie Brides No Grooms
  • Essie She’s Pampered
  • Essie Into the A-Bliss
  • Essie Willow in the Wind
  • Essie Sew Psyched
  • Essie Off Tropic
  • NailStuff dotting tool
  • NailStuff 7mm Liner Brush

For those curious, here are my original nails I painted for my wedding day, & my recreation I did in 2018.

I was absolutely obsessed with my original nails that I painted back in 2015 for my wedding day — it was really important to me to create a beautiful design I would love for years, & years to come. & again, when I recreated them I equally loved the design!

But you know what? I think I love them the most on short nails! Long nails look beautiful no matter what, but trying to recreate the exact same look on nails 1/2 the size really makes them pop! The only thing from my recreation I’m not 100% sold on is the much more yellow gold, but it definitely gives it a more colourful vibe. (& the right amount of sparkle! ✨)

What do you think about this anniversary look? Do you love a floral look as much as I do? I’d love to know if this design holds up all these years later. I certainly adore them as much as I did all those years ago & wouldn’t change a thing about the nails I had on my wedding day.

Let me know all your thoughts down in the comments below!

🖤

Chic Red & Gold Fall Dotticure

Hello loves & happy Wednesday. I hope everyone’s had a fantastic start to their week so far. To say I’ve been enjoying the Fall weather & chill in the air would be an understatement.

I’m also enjoying all the deep, dark Autumn polishes. This is the time of year where my nail art creativity thrives. I want to do all the designs! Today’s one is a simple look, but chic & classic.

The polishes I used for this manicure are: 

  • Base Coat: Essie Hard To Resist Strengthner
  • Top Coat: Sinful Colors Power Paint Top Coat + Essie Speed Setter
  • Quo by Orly Trust Fund over Berry Cobbler
  • Morgan Taylor Just Tutu Much
  • NailStuff.ca dotting tool

Oh I love a good dotticure. They’re just so classic. & I’ve been in a real red polish era lately.

Red nail polish will always be my favourite.

What do you think about this classic red dotticure? Do you love the simplicity & chicness of this design? Let me know what you think, & if you’d also wear this design!

🖤

Tiny Galaxies On My Nails 🪐✨

Hello lovelies & happy Monday. & happy Labour Day.

I hope everyone had a good weekend. It was rainy, & wet, & a bit spooky… very Autumn. I even broke out the tights which was exciting (minus the rain). Today is supposed to be a seasonable nice day, & no rain, so I’m going to enjoy it.

Today though, I have some cute nails to show. How long has it been since I did a galaxy look? A while for sure. These cute little galaxies were super simple to do, & I didn’t even use any sponges or anything. The only tools I had was my detail brush for the stars.

The polishes I used for this manicure are: 

  • Base Coat: Essie Hard To Resist Strengthner
  • Top Coat: Sinful Colors Power Paint Top Coat + Essie Speed Setter
  • Essie Home by 8 *pr
  • ACO by Ardene Unnamed Shimmery Blue
  • Essie Nail Art Studio Lustrous Luxury
  • Essie Cosmic Chrome *pr
  • NailStuff 7mm Liner Brush

Oh I love how these turned out.

I knew I wanted to do a galaxy look, but I decided it at 9:30pm & then realized I didn’t have any sponges so I had to pivot. But I”m actually really happy with the effect it created. It is absolutely giving Space 🌌 & I love love love them.

What do you think of my tiny little galaxies? Would you wear this nail art look?

Let me know all your thoughts down in the comments below, & enjoy the beginning of your week!

♥︎