Halloween Nail Art Stickers 🕸️👻

Hello lovelies & happy Wednesday!

It is absolutely freezing today, which is crazy because I feel like this time last year it wasn’t nearly as cold. At this rate, we’ll be wearing our winter coats for Trick or Treating on Saturday (just like when I was a kid).

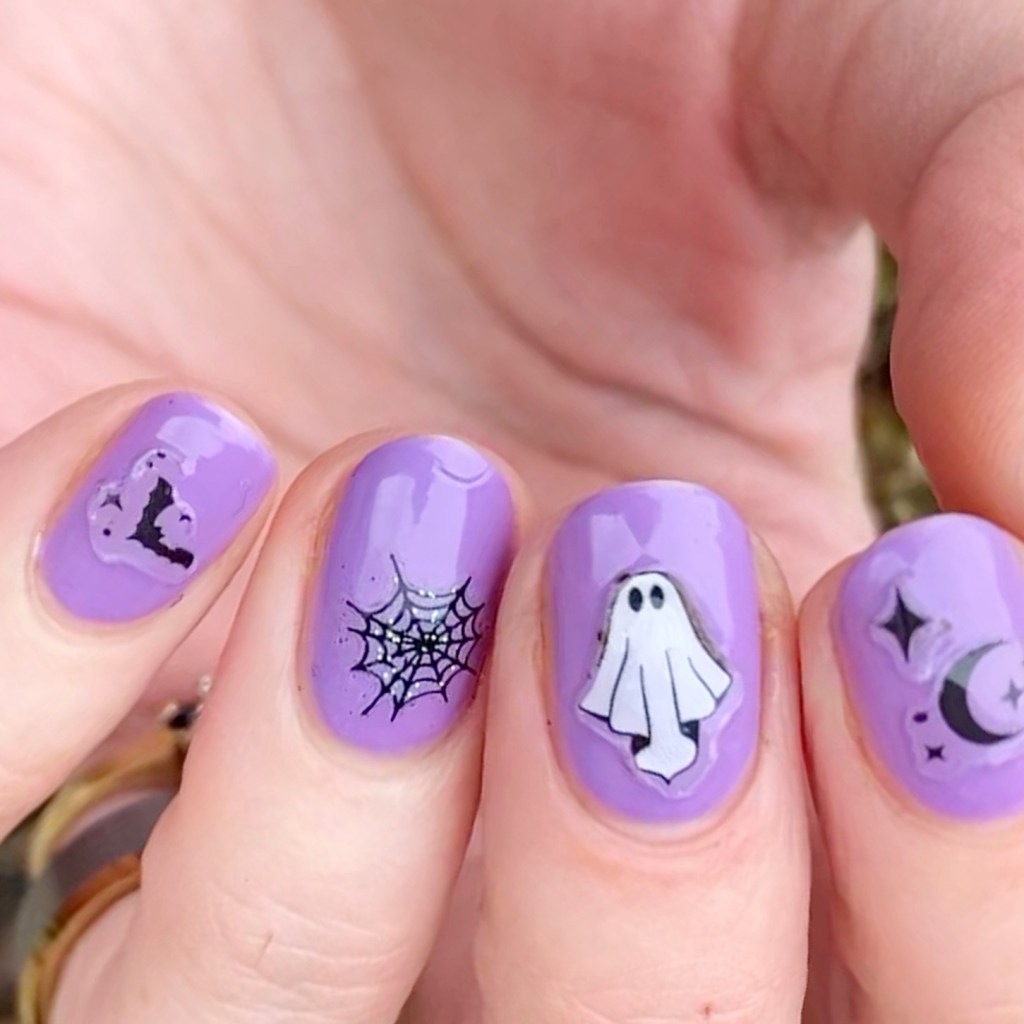
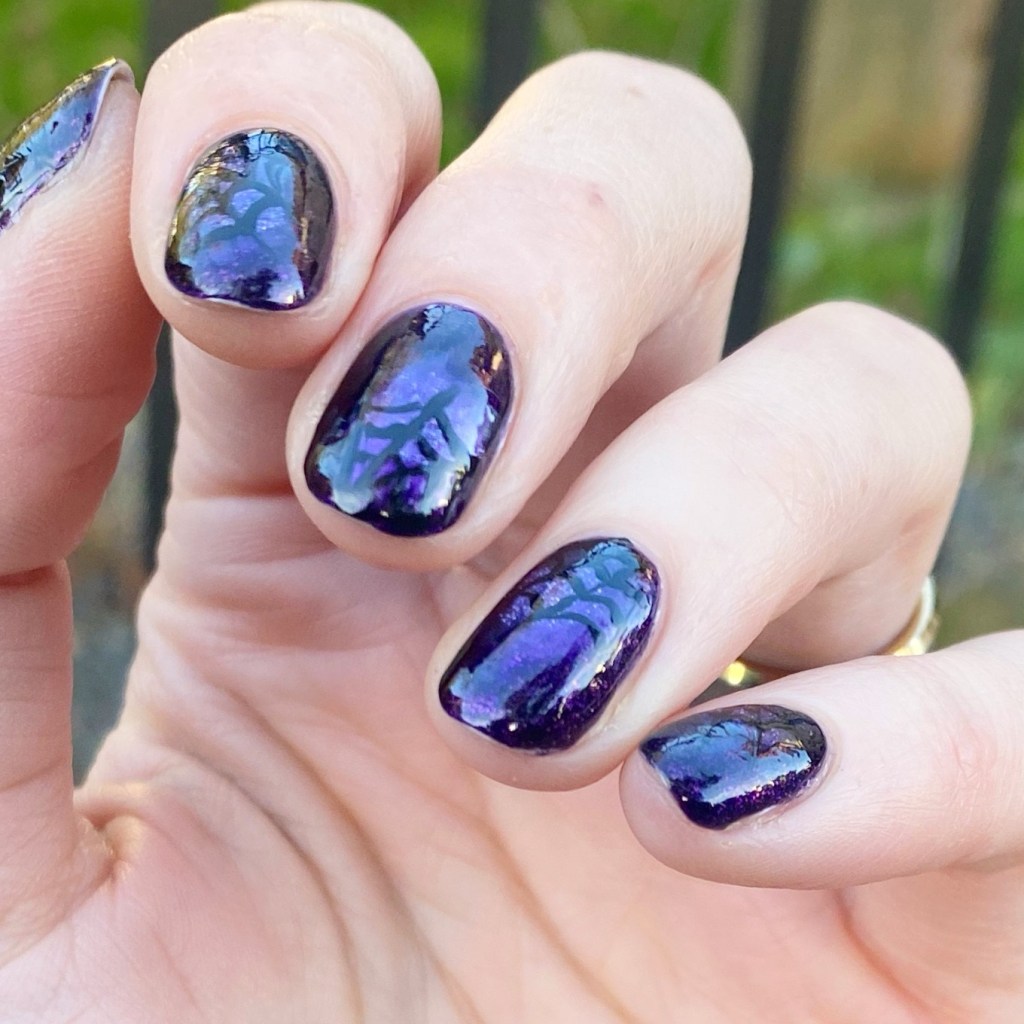
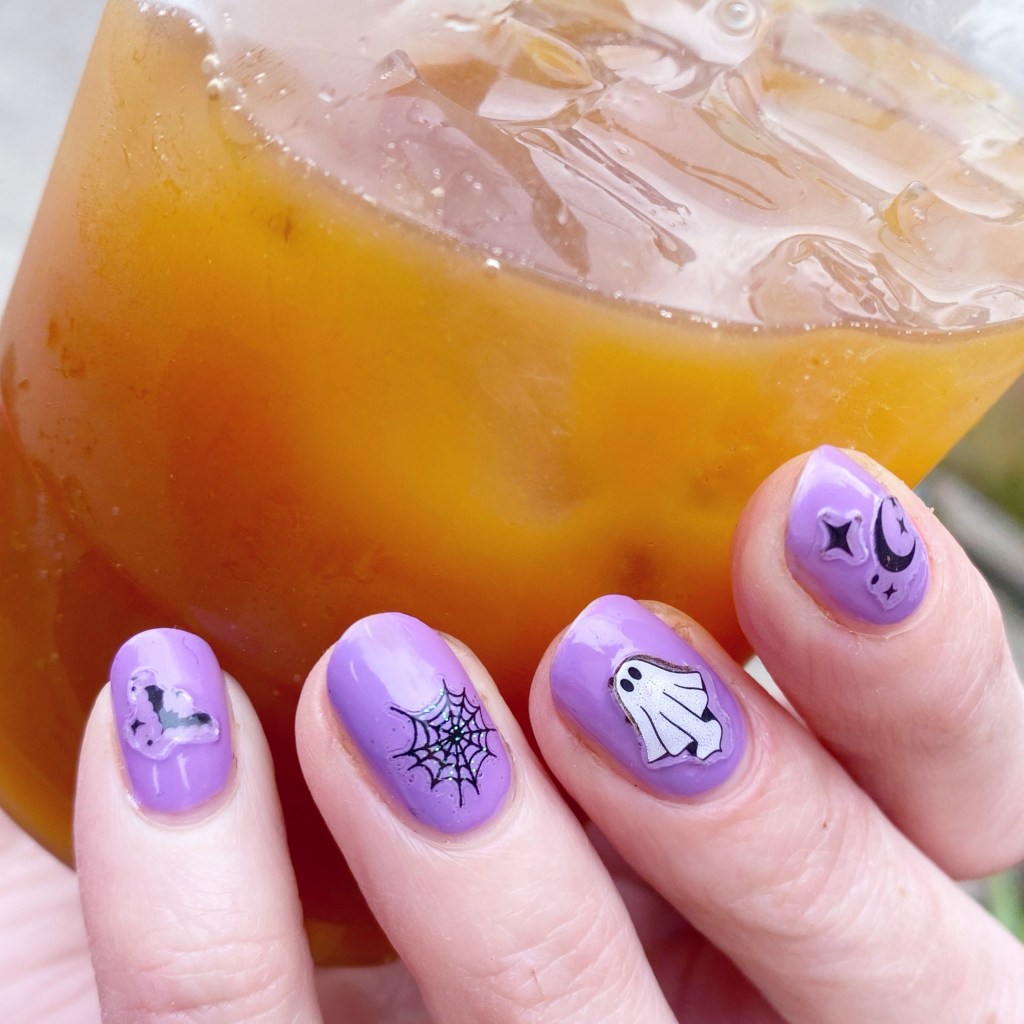
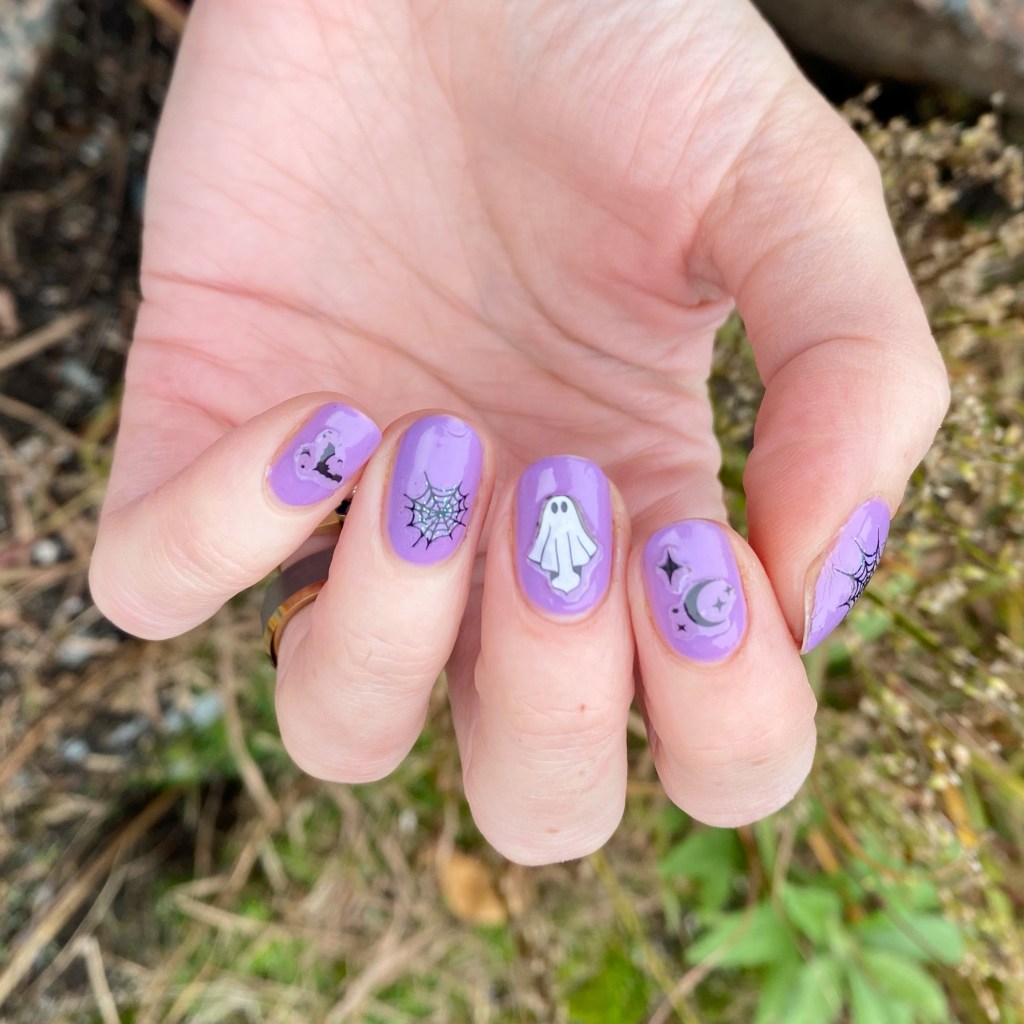
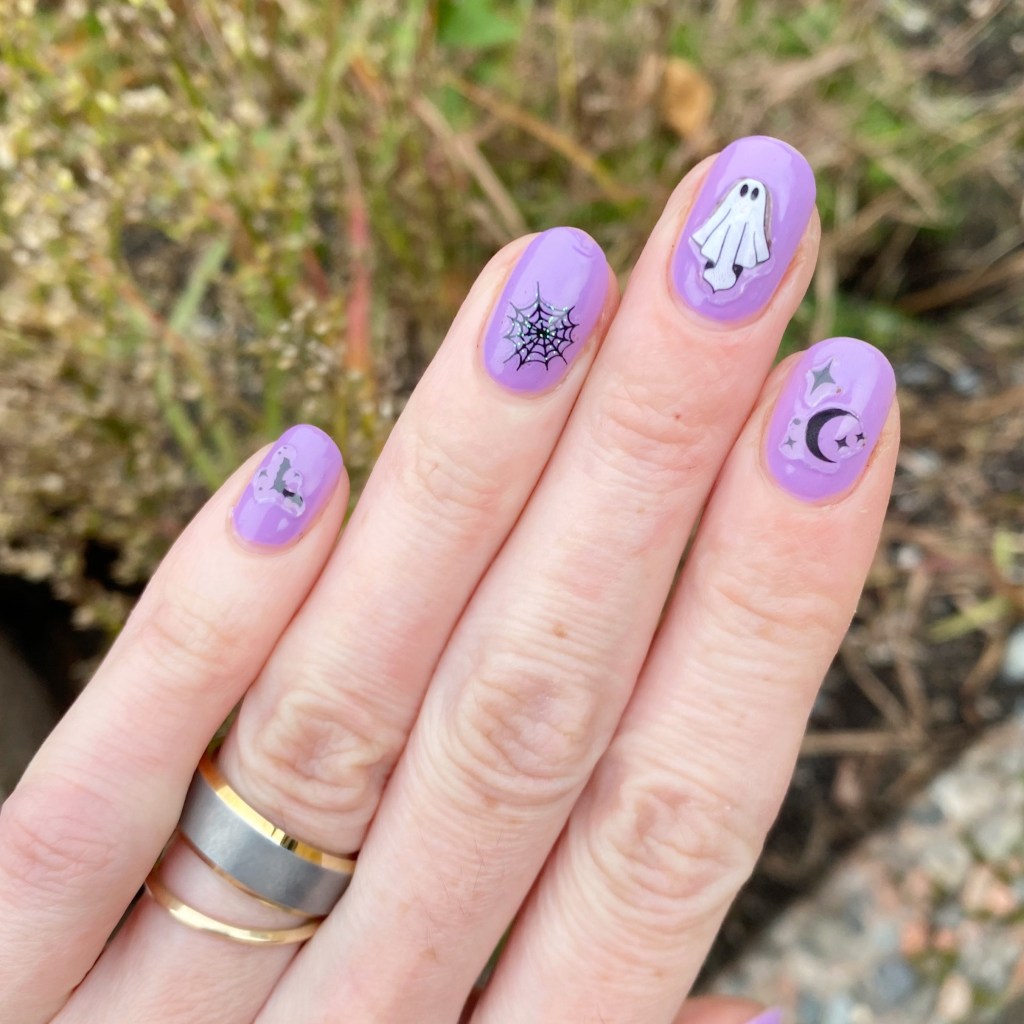
Today though, I have some quick & easy Halloween nails I recently did, using a selection of nail art stickers from Wet N Wild’s Halloween release. We all know my love of nail art stickers for easy manicures, so I was excited when I stumbled across their new release.
The polishes I used for this manicure are:

  • Base Coat: Sally Hansen Maximum Growth Base Coat
  • Top Coat: Sinful Colors Power Paint Top Coat + Sally Hansen Insta-Dri Top Coat
  • Essie Worth The Tassel
  • Wet N Wild Fantasy Makers Boo-Niverse Nail Art Stickers
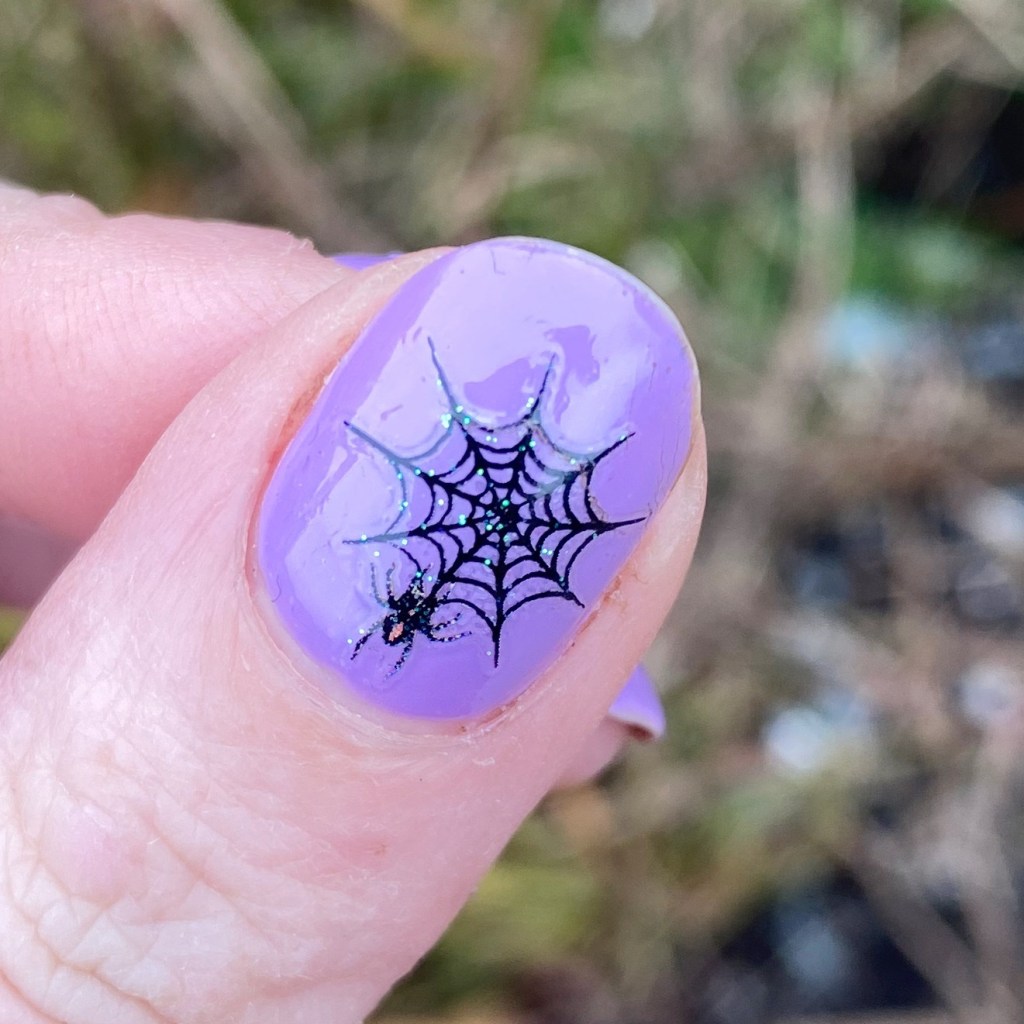
  • Dollarama Spiderweb stickers

I’m always on the hunt for Halloween nail art stickers to add to my collection, so when I saw the Wet N Wild Fantasy Makers stickers at my local Lawtons, I had to get them. Shoppers had the Alien ones, which didn’t feel as Halloween-y to me, so I needed the spooky ghost stickers!

I started with a purple base, because I really wanted my stickers visible on the nail. Then I picked one (or two) sticker for each nail. I decided to add some spiderwebs from my Dollarama collection, because I felt like it matched the vibe.

Over all, I liked these stickers — they held up well against a very busy cafe shift (minus a few coffee grounds under my ghosty). I do find you can kind of see the outline of the stickers, but I feel like an extra coat of thick top coat would help with that.
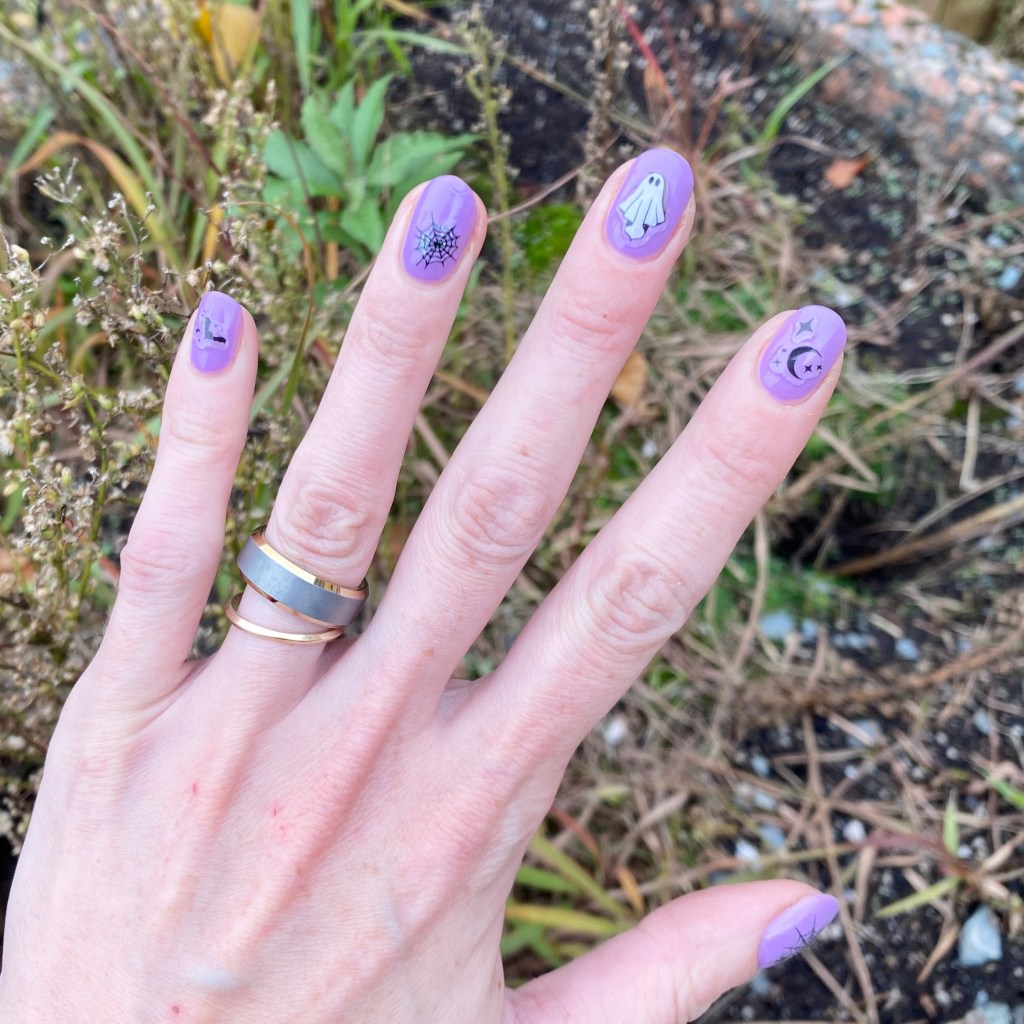
What do you think of this look? Like I said, I love nail art stickers because they make doing my nails quick & easy when I don’t have a lot of time for hand painting, or it creates designs I might not be able to freehand on my own.

Happy Wednesday!
Spooky Purple Shadow Spiderwebs 🕸️

Hello beauties & happy Friday!

I know, I know… I’m the worst. I’m having the worst time staying on task when it comes to posting, so I apologize. But I have a couple days off, so I’m really hoping I can keep on task enough to get some posts scheduled… at least for a couple days.

After all, it’s spooky season… my favourite season. & I want to share some fun designs with you!

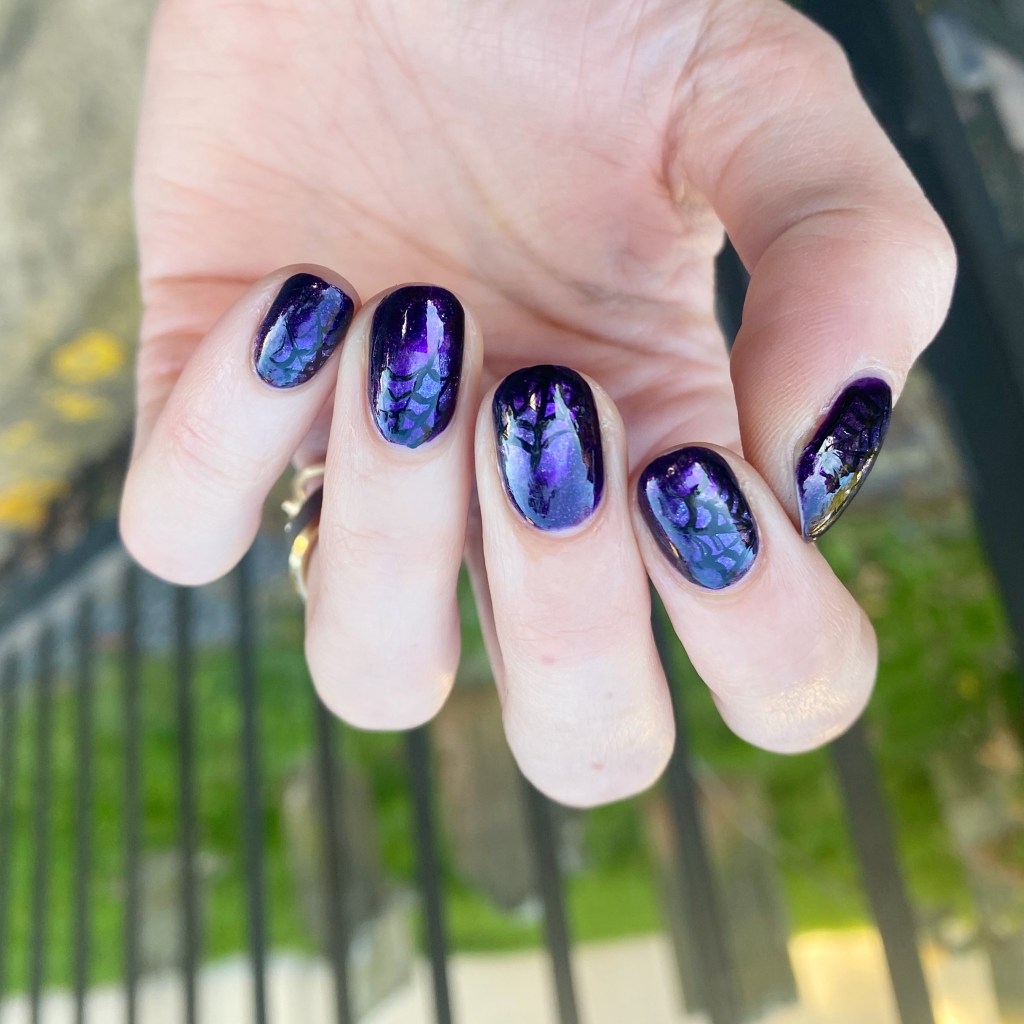
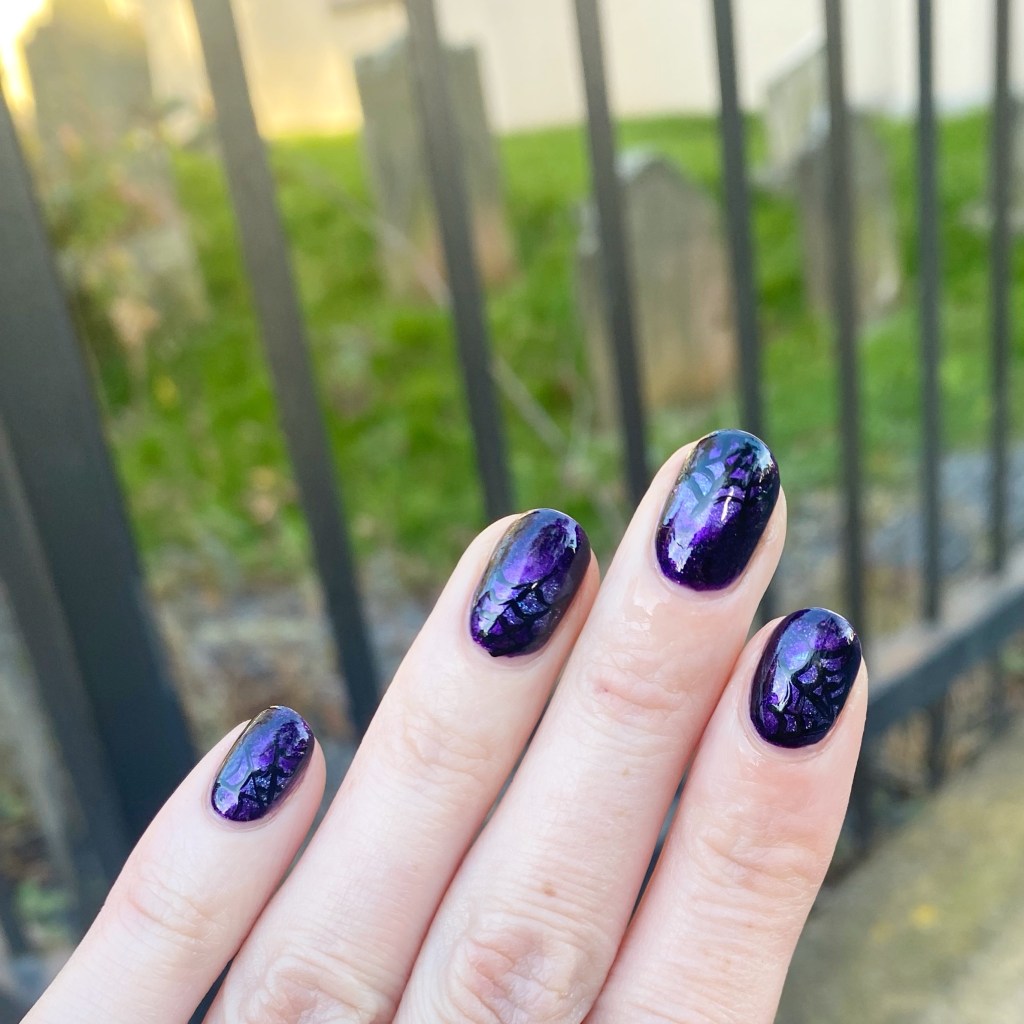
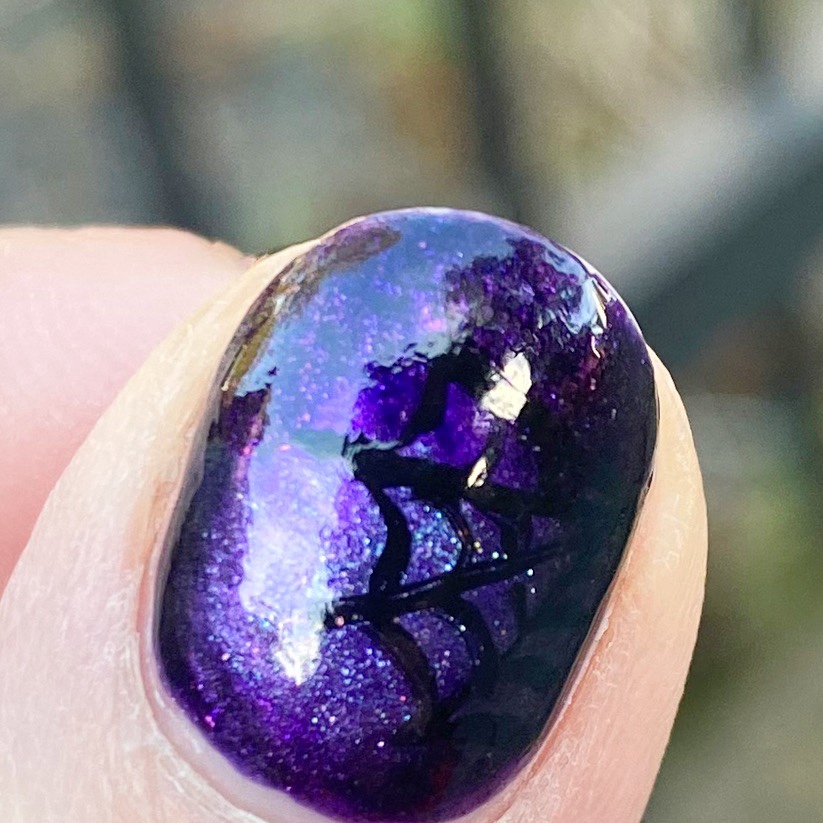
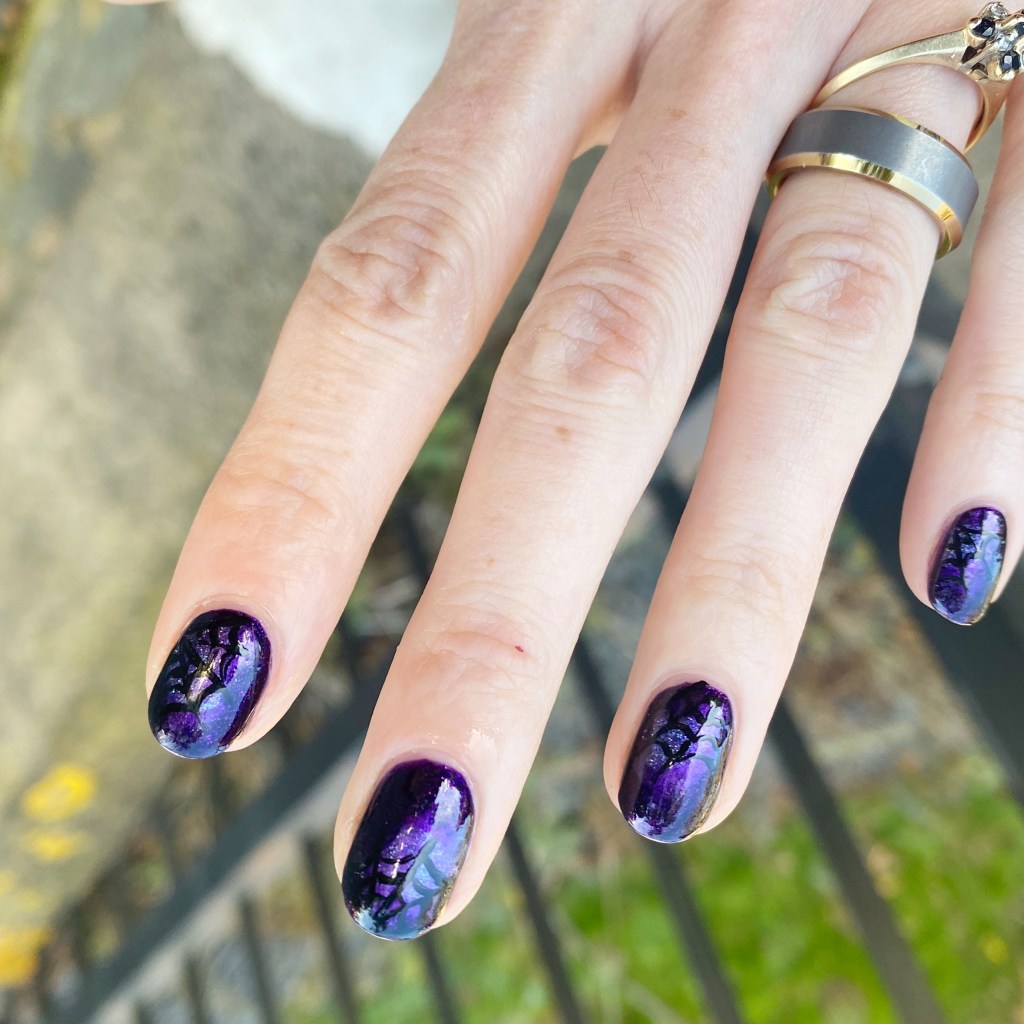
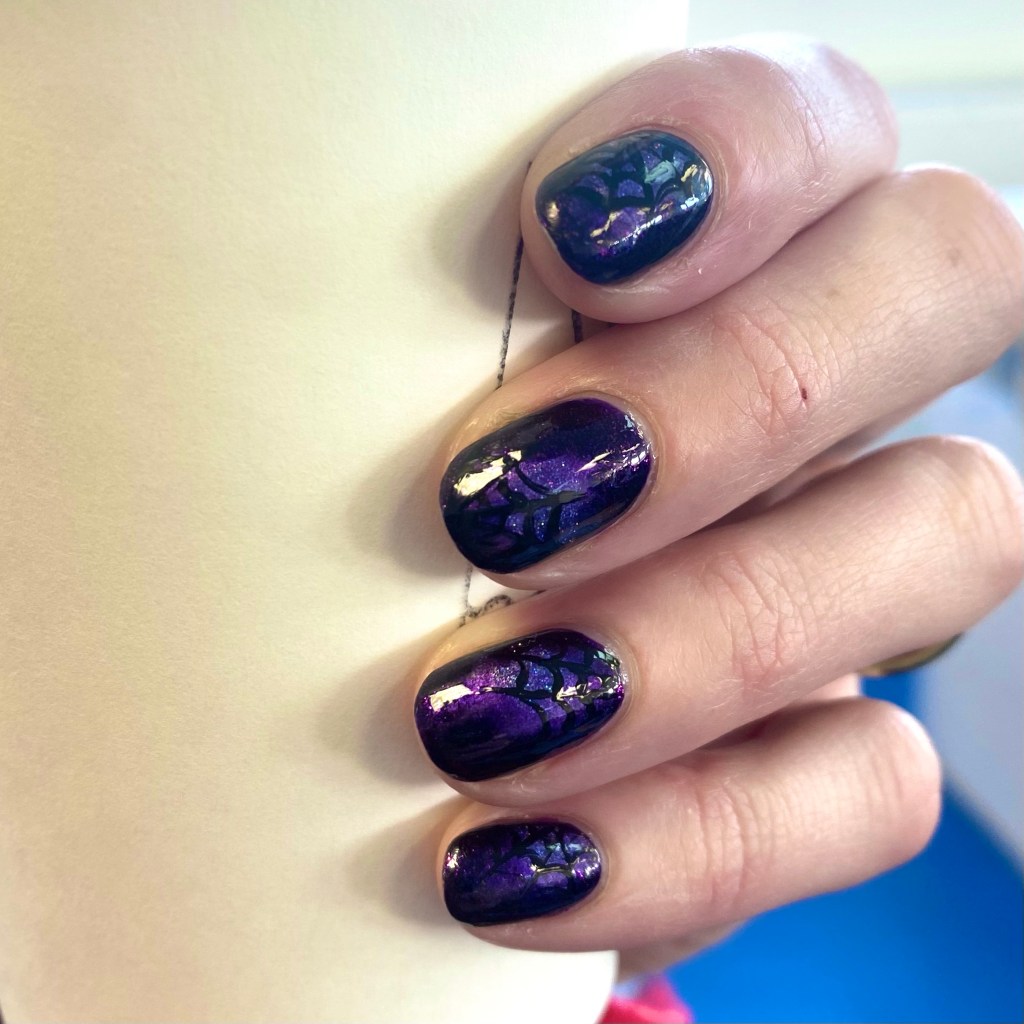
Today I want to share a spiderweb design I did recently, which I really feel like is a new take compared to designs I’ve done in the past. I’ve really wanted to do some aura nails, but I keep forgetting to buy make up sponges, so I attempted this design while free handing which didn’t exactly give me the aura effect, but I think they turned out so cool.

The polishes I used for this manicure are:

  • Base Coat: Sally Hansen Maximum Growth Base Coat
  • Top Coat: Sinful Colors Power Paint Top Coat + Sally Hansen Insta-Dri Top Coat
  • Sally Hansen Color Therapy Slicks & Stones
  • Sally Hansen InstaDri Purple Prism
  • Sally Hansen InstaDri Cosmic Blue
  • NailStuff Essentials Raven
  • NailStuff 7mm Mermaid Tail Liner Brush

Okay.. I’m obsessed.

Yes, I saw that frequently with my nail art designs but like… come on, this one turned out so perfect. The aura is giving more galaxy, but I think that is awesome. It’s like the shadow of a spiderweb against the night sky, or something. But I love the way the spiderweb is almost hidden, & then BAM! It’s there.

& I love that the idea I had came to fruition, more or less. I’ve done quite a few spiderweb nail looks over the years, but this one is hands down my favourite. Spooky, & subtle — I just love them so much!

What do you think about this spiderweb look? Do you love this subtle shadow effect, as much as I do? Let me know all your thoughts down in the comments below! & as a bonus, let me know what your favourite Halloween/Spooky season nail art look to do is? I’m always curious what other people are doing this time of year.

Happy Friday!

♥︎

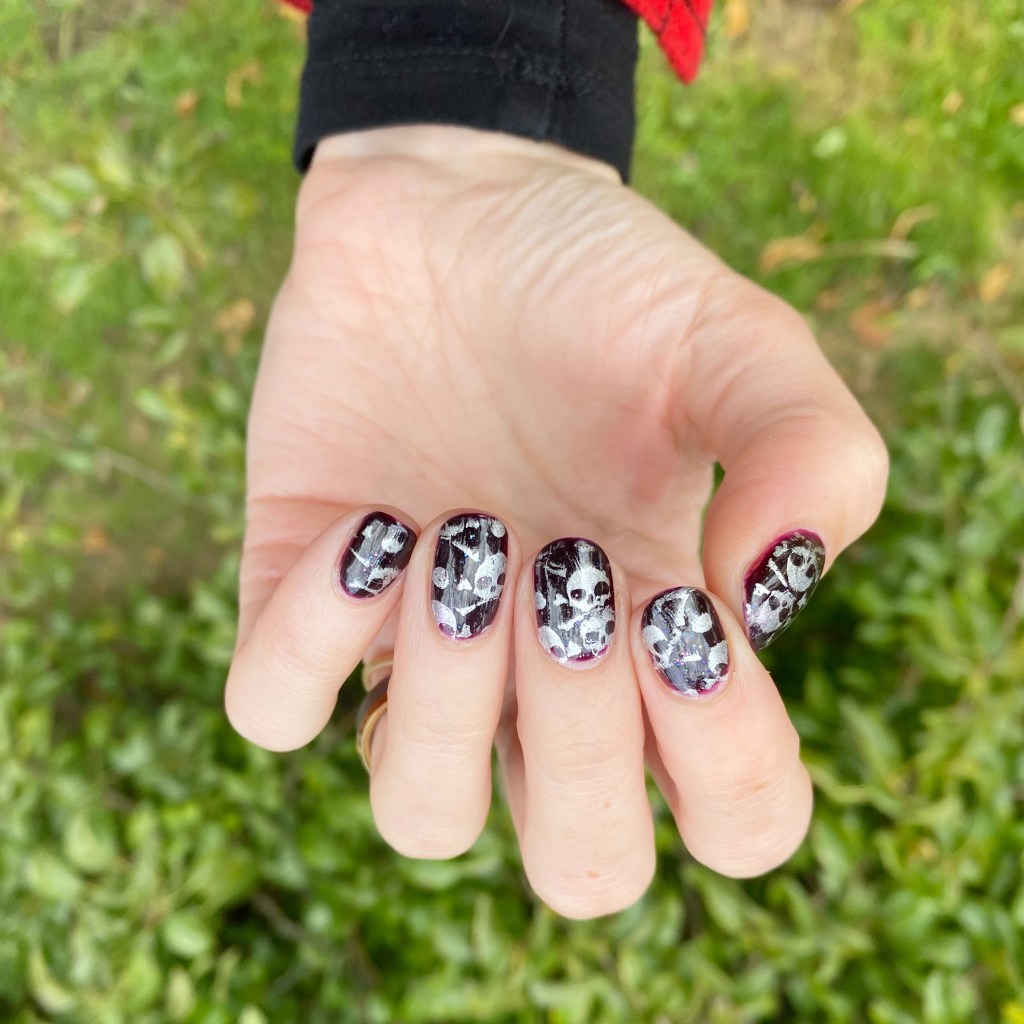
Stamper Skeleton Nails 💀

Hello lovelies & happy Friday! I hope everyone is having a lovely week, & obviously excited about the weekend.

We are now half way through October — somehow! — & that’s just insane to me. The kids costumes are figured out, but I’m still trying to decide what I want to be for the big night! When it comes to Halloween, I’m definitely a last minute costume kind of girl. But, thankfully, I always have something on my nails.

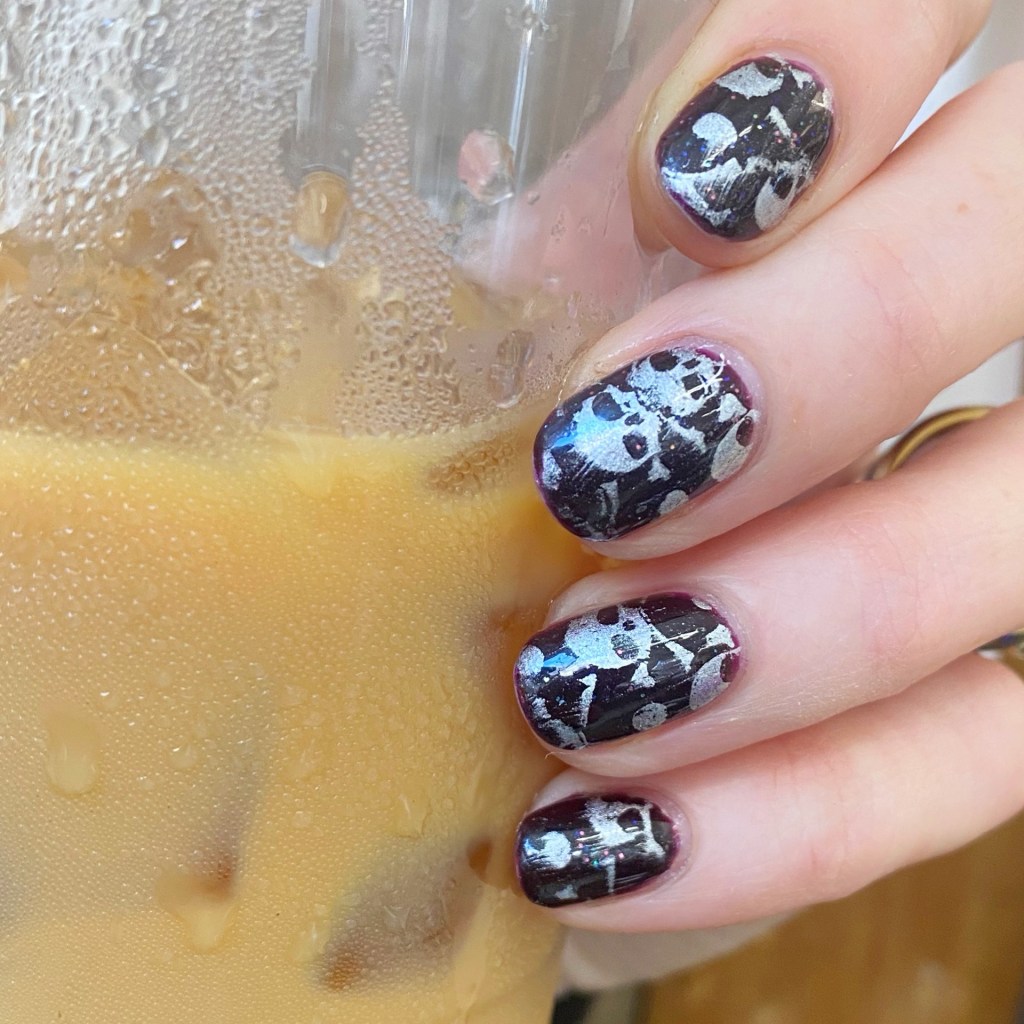
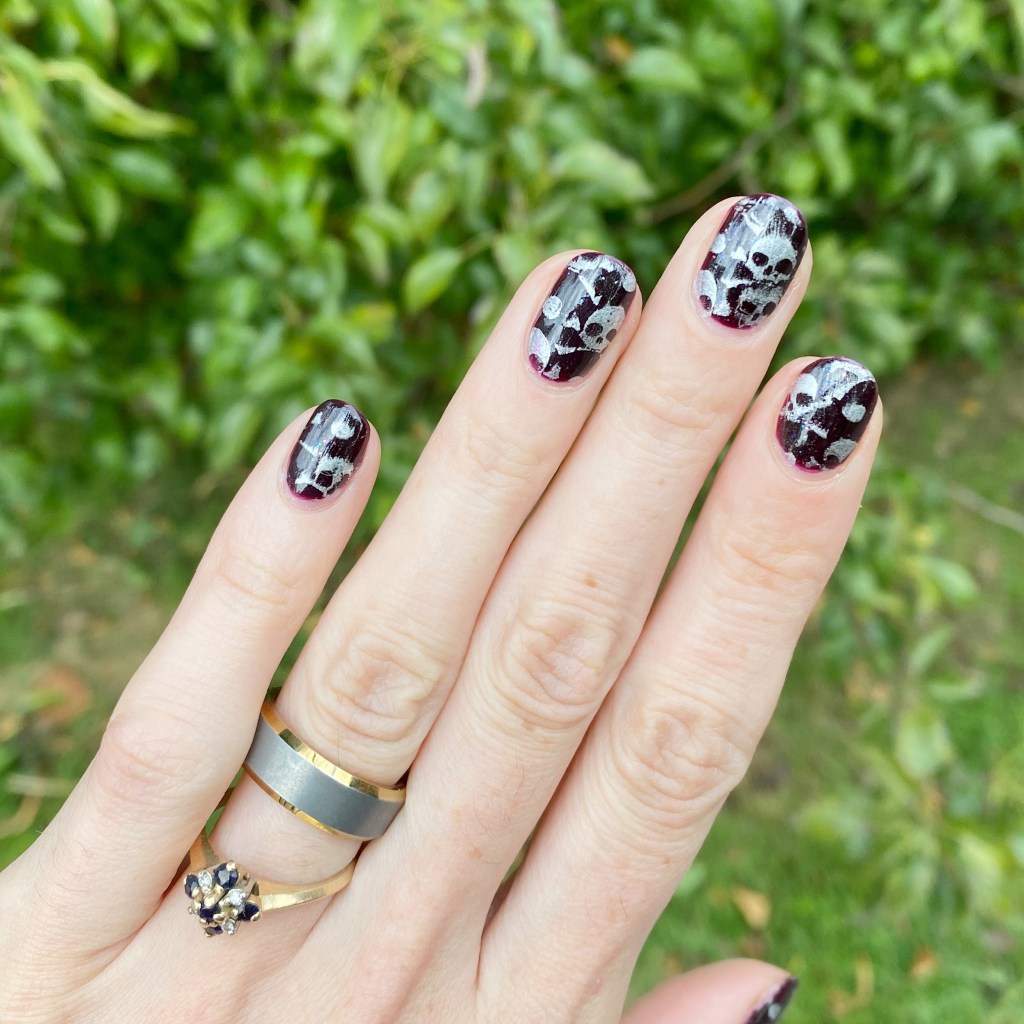
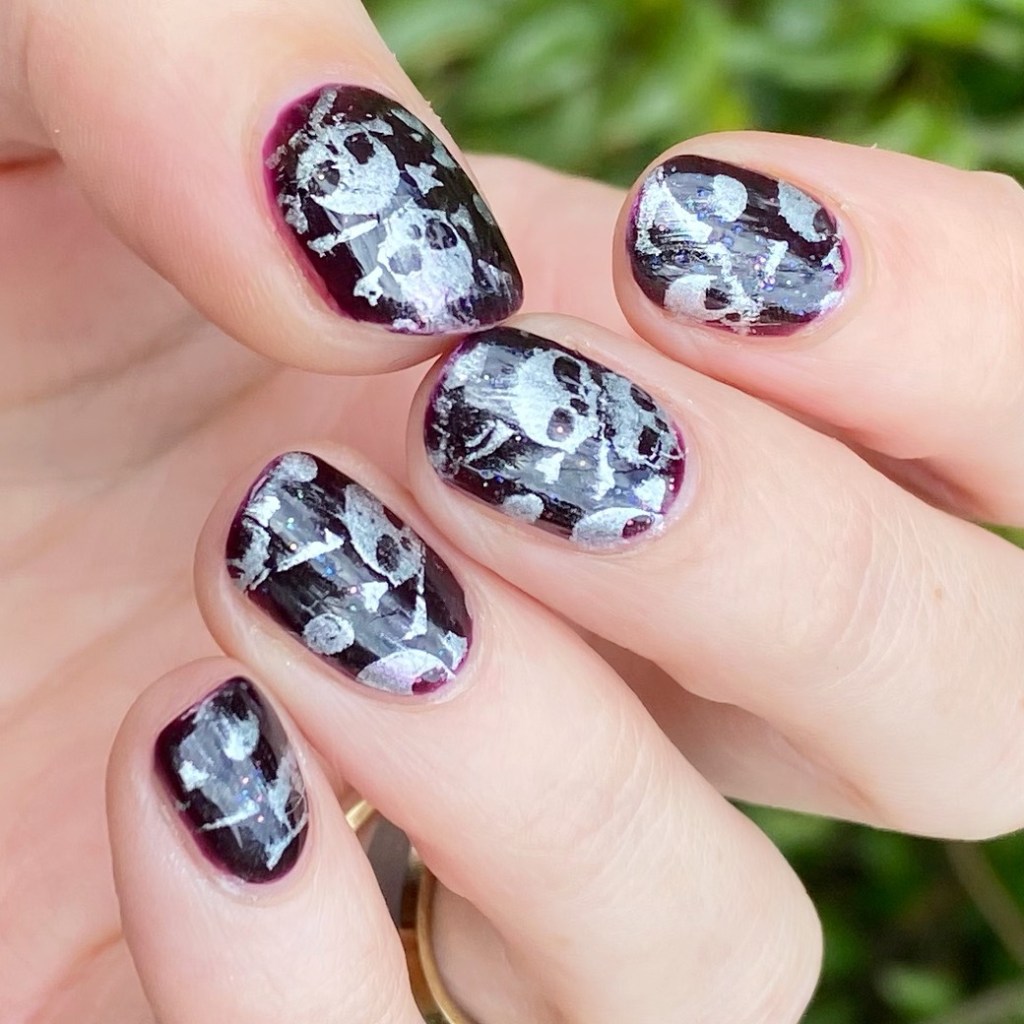
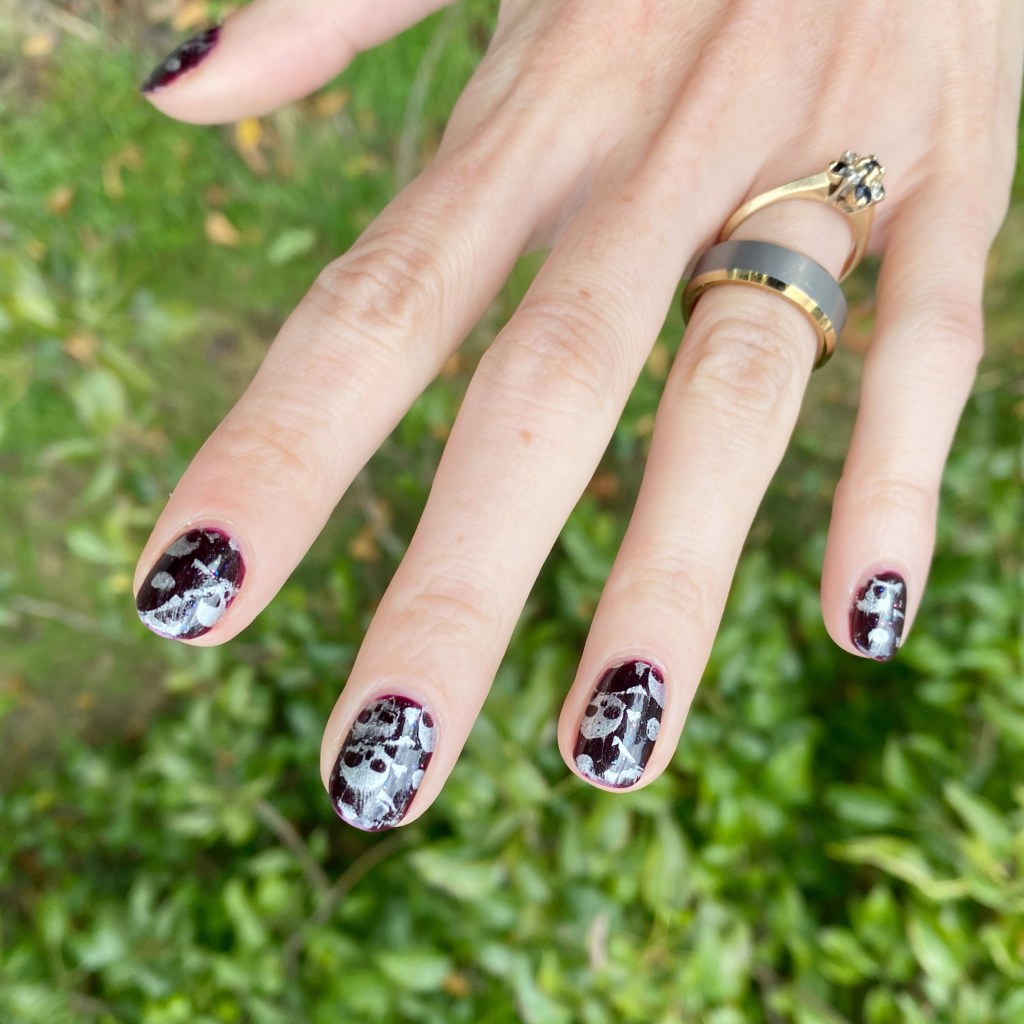
I just found my stamping kit items in a box, so I was excited because I love my Color Club skeleton stamping plate. Quick but cute nails, especially without much time.

The polishes I used for this manicure are:

  • Base Coat: Sally Hansen Maximum Growth Base Coat
  • Top Coat: Sinful Colors Power Paint Top Coat + Sally Hansen Insta-Dri Top Coat
  • Essie Gel Couture Tailored by Twilight topped with Quo Beauty Midnight Magic
  • Morgan Taylor Dreaming of Gleaming
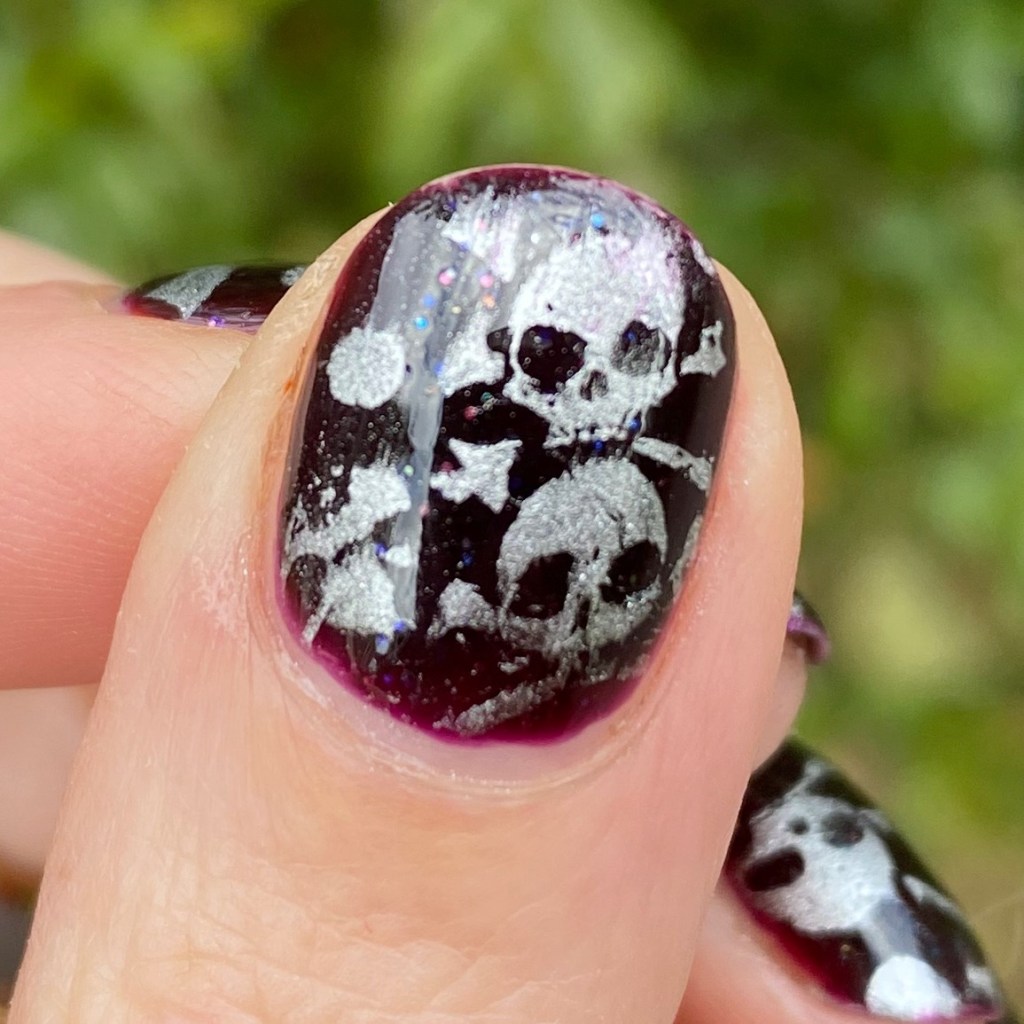
  • Color Club Skull Stamping Plate
  • NailStuff Scraper & Stamper Set

As you can see, I might have been in a bit of a rush so my silver got a bit smeared when I applied top coat, but that’s kind of a vibe — right? Not my best job, but I still have 1/2 a month left of October to redeem myself. & I really liked to silver over purple, so I had to share.

& from far-ish away, you can barely tell I mucked them up with top coat!

What do you think about this skull & cross bones design? Do you think they’re a fun Halloween look? Let me know what you think, & what Halloween nail art look you think I should attempt. I’ve been thinking about doing cute pastel ghosts, so I think that’s going to be coming up soon!

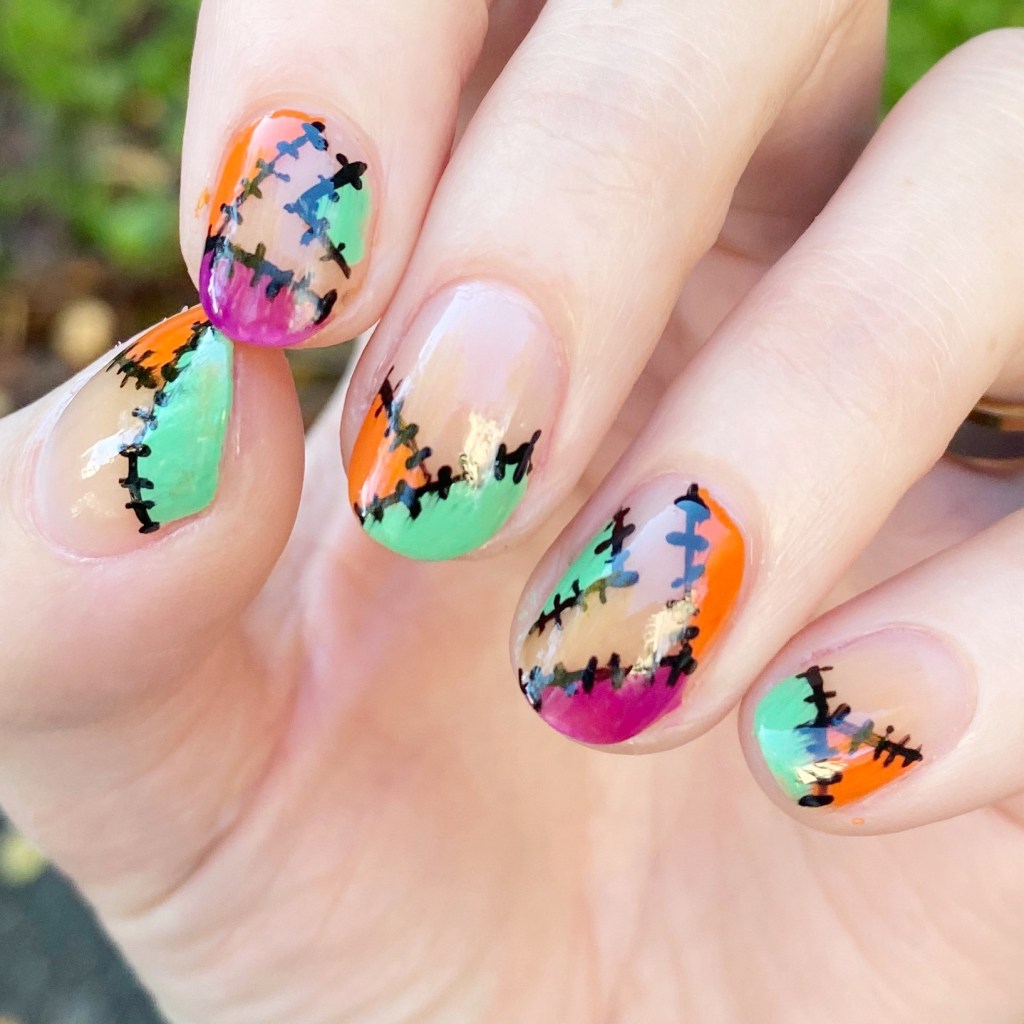
Fun Frankenstein Stitch Halloween Nails 🧟

Hello lovelies & happy Wednesday. A rainy, messy, not fun Wednesday at that. I know I’ve been super off on my posting schedule — I had such big plans for October manicures. But I’m still trying my best to truck along & share some fun nail art looks.

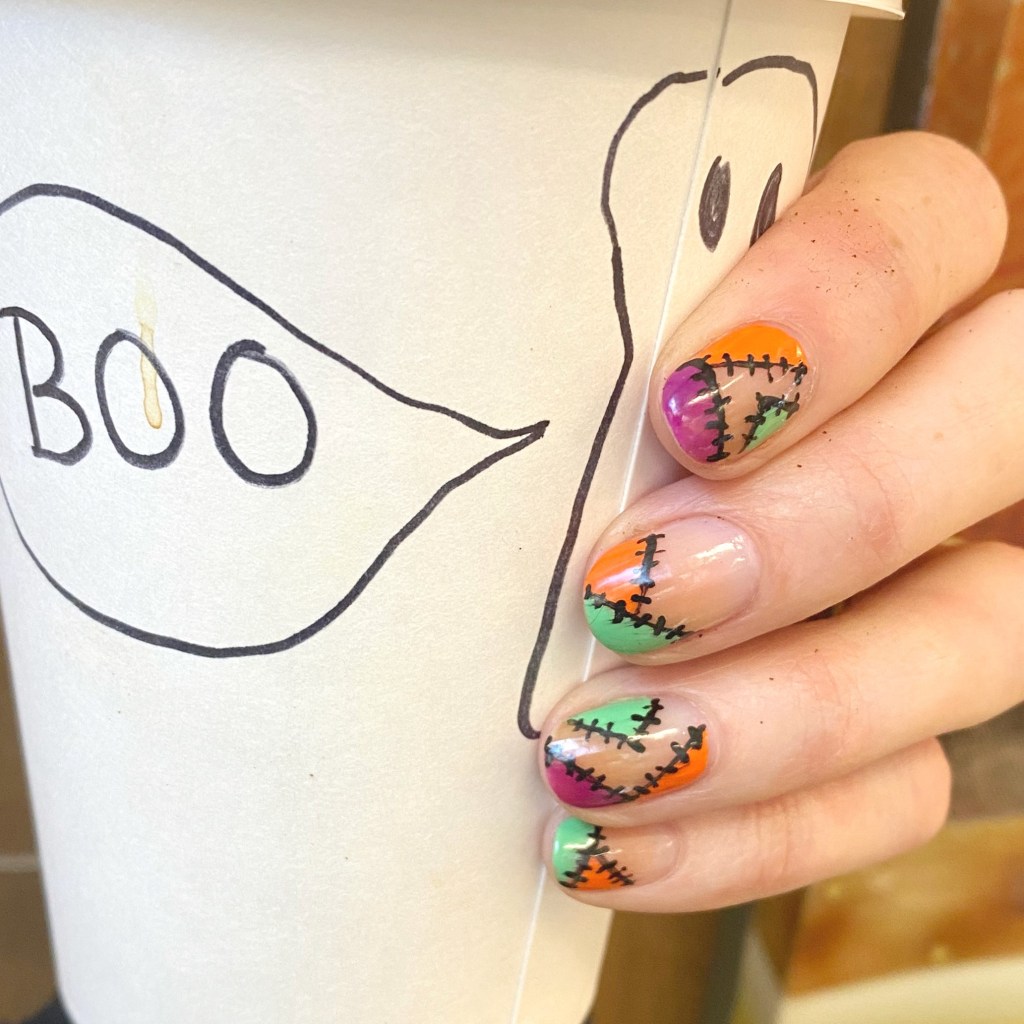
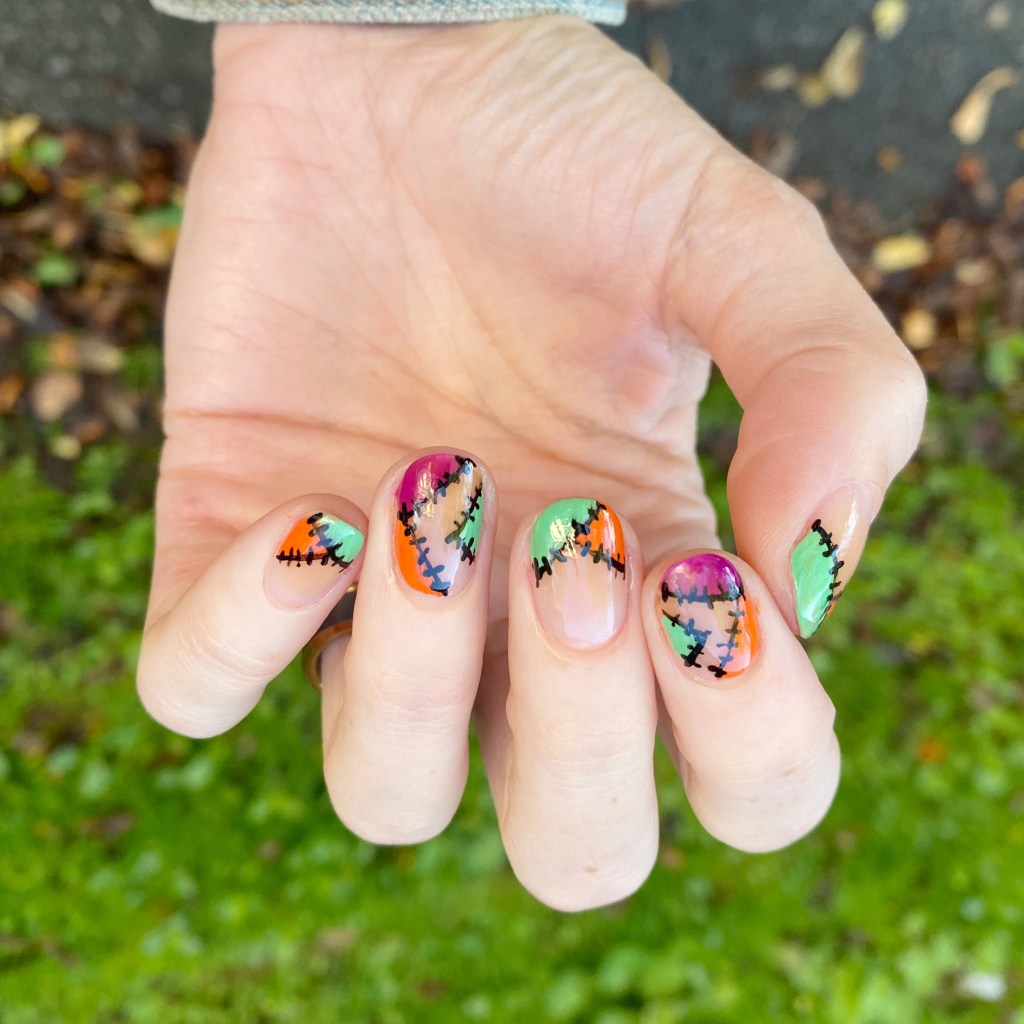
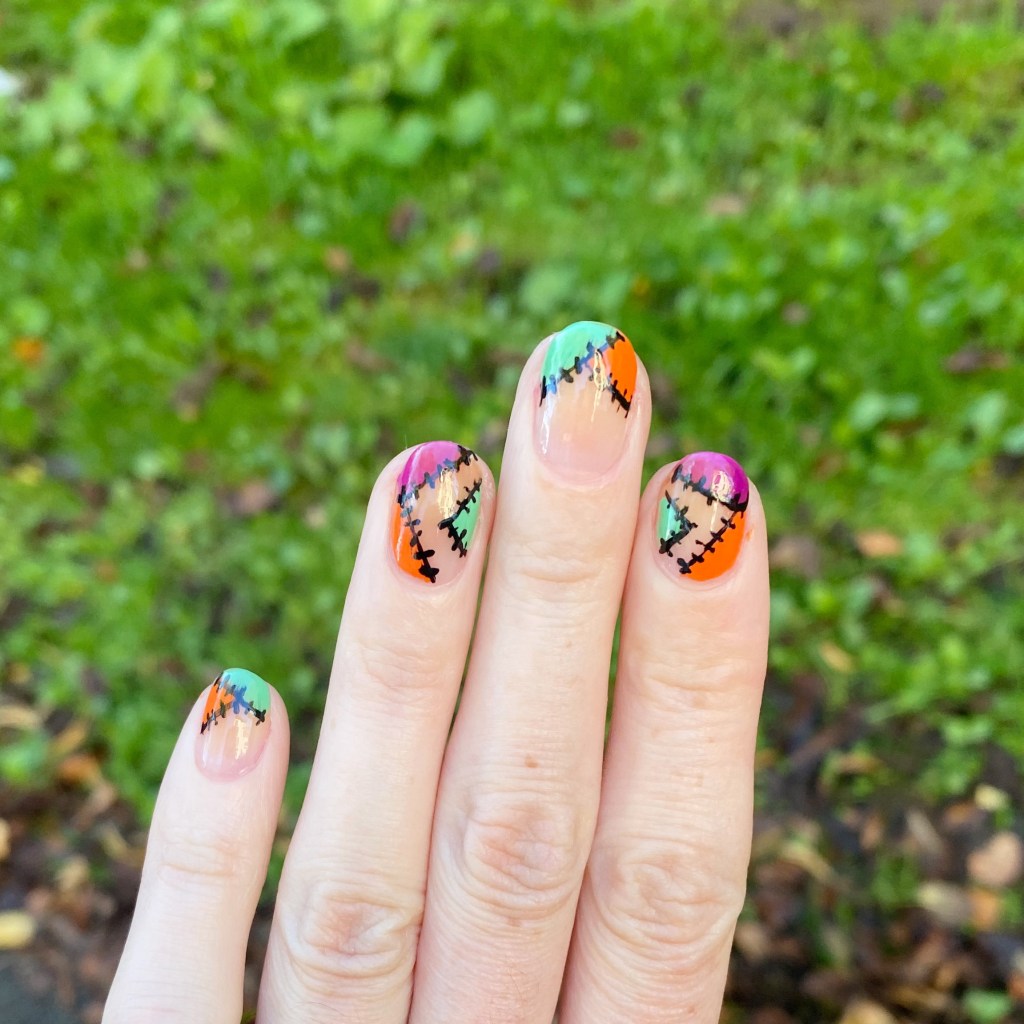
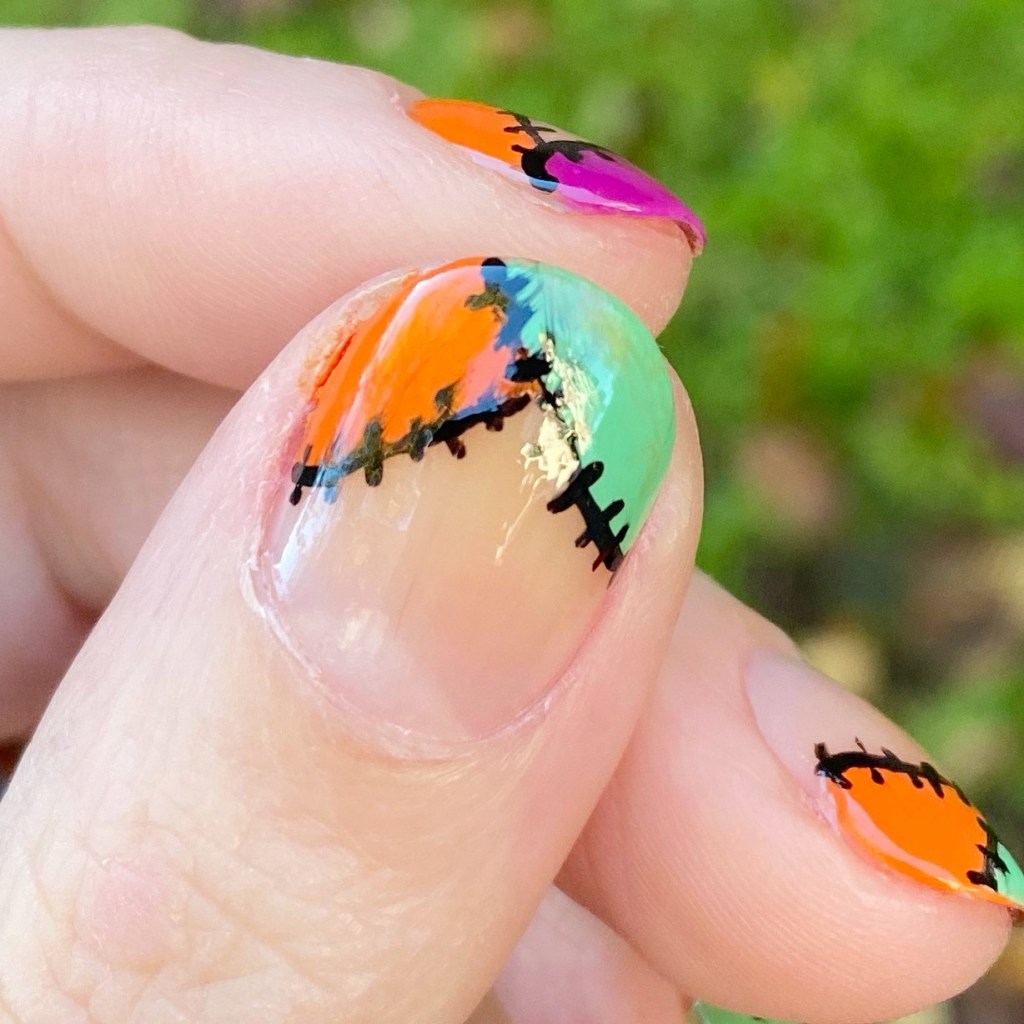
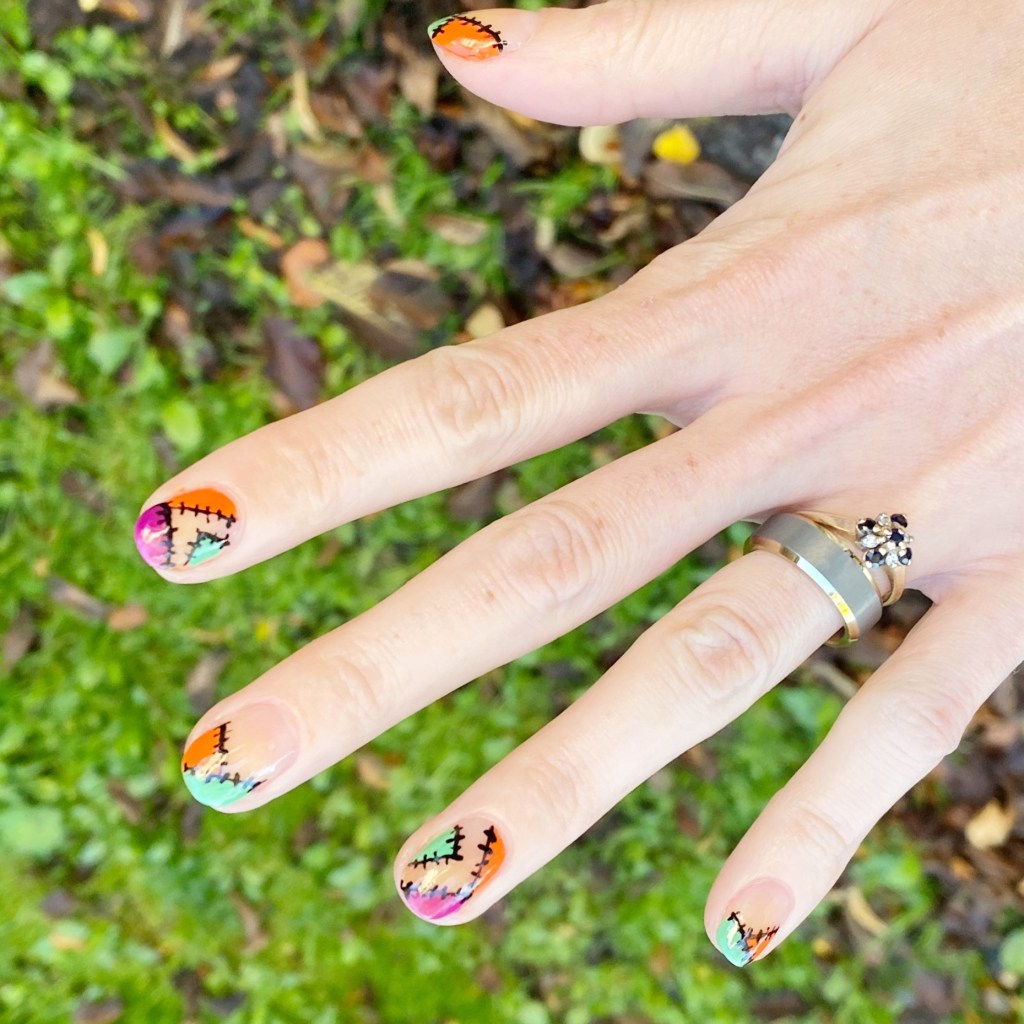
& what is more fun than Frankenstein inspired stitch nails?

Do I do a version of this look every year? Yes. Does it ever get old to me? Not at all.

The polishes I used for this manicure are: 

  • Base Coat: Sally Hansen Maximum Growth Base Coat 
  • Top Coat: Sinful Colors Power Paint Top Coat + Sally Hansen Insta-Dri Top Coat
  • Sally Hansen Miracle Gel Feelin’ Grape
  • Sally Hansen InstaDri Pump-kid
  • China Glaze Shore Snuff
  • NailStuff Essentials Raven
  • NailStuff 7mm Mermaid Tail Liner Brush

I love how colourful these colours are! This is the same colour scheme I used for my Halloween Inspired Dotticure — maybe because they were still sitting on my bedside table — but they work perfectly for this Halloween stitch look. Also, we all know I love a somewhat negative space design, & this is the perfect design for that.

& you wouldn’t believe how many compliments I got on this look! I wore them to work, & so many people commented on how cool they were. That made me so happy!

What do you think of this colour block/halloween stitch/Frankenstein inspired look. I’m not entirely sure which way is best to describe them, but I really really love them!

Happy Wednesday loves!

♥︎

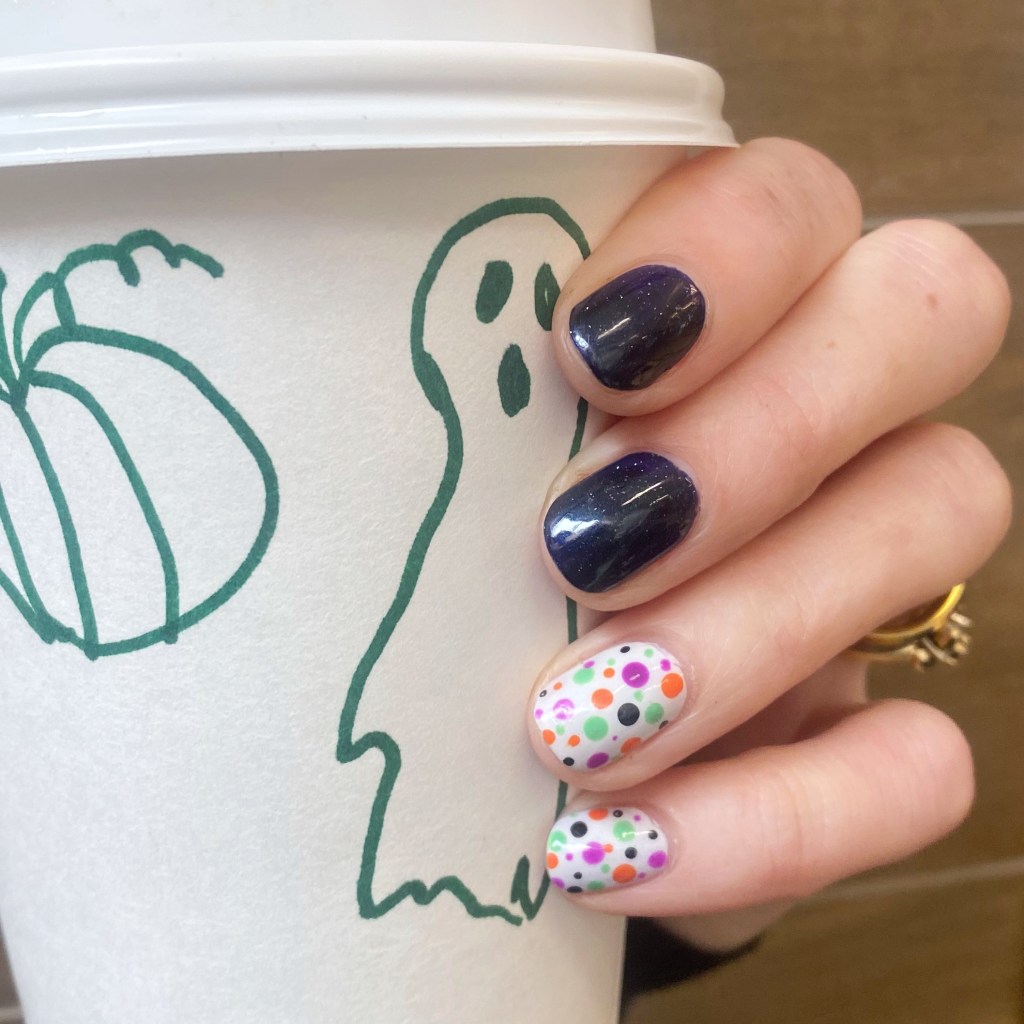
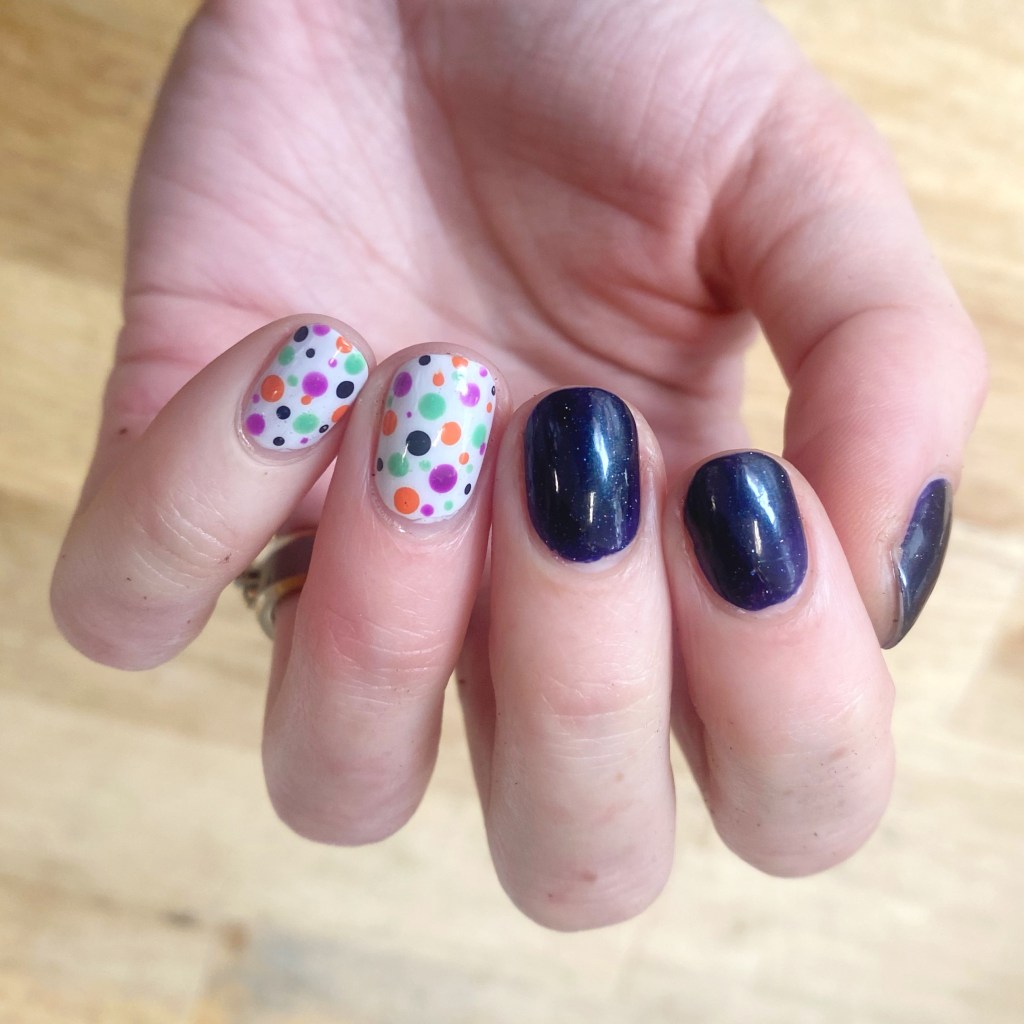
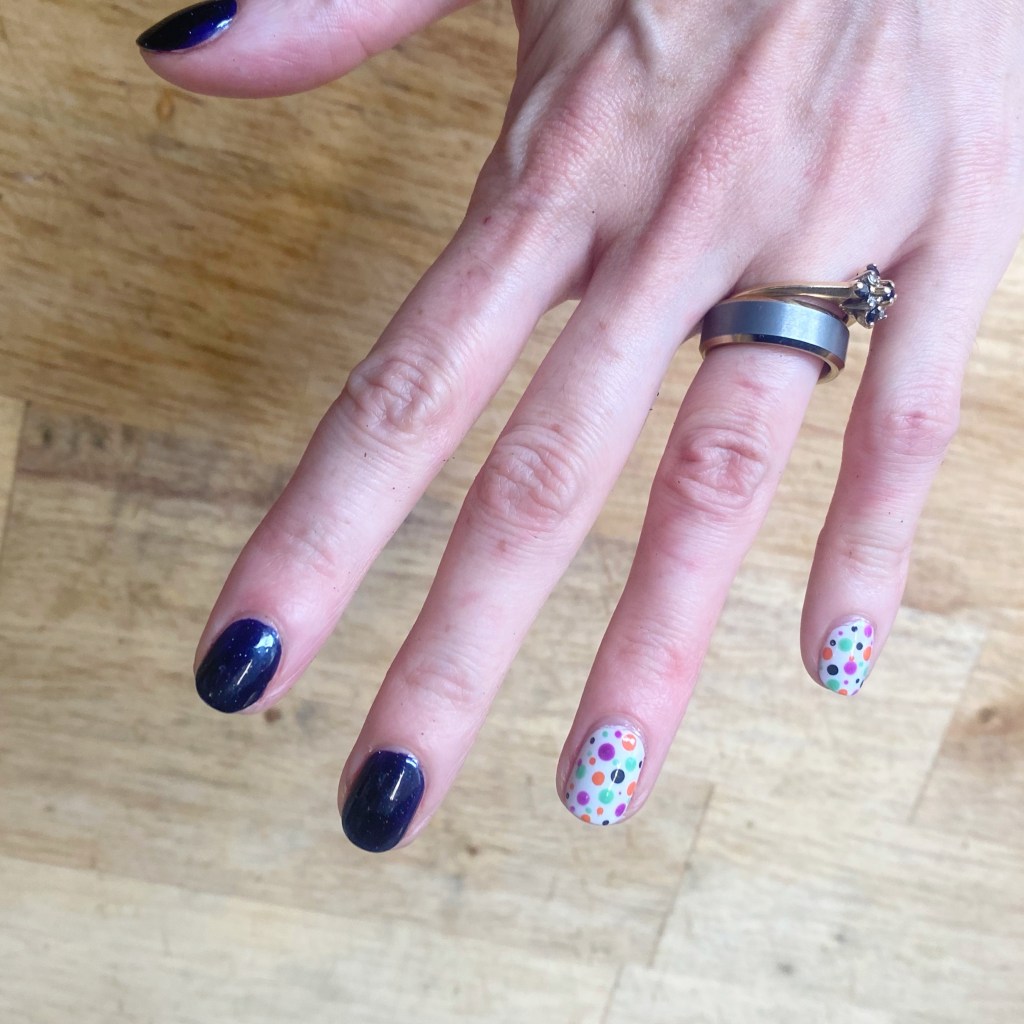
Halloween Inspired Dotticure Accent Nails 🎃

Hello lovelies & happy Friday!

Can you believe it’s October?! How did that happen?

I’m already getting excited for Halloween designs, but haven’t quite narrowed down what I want to do. I thought I’d start off with a fun easy look.

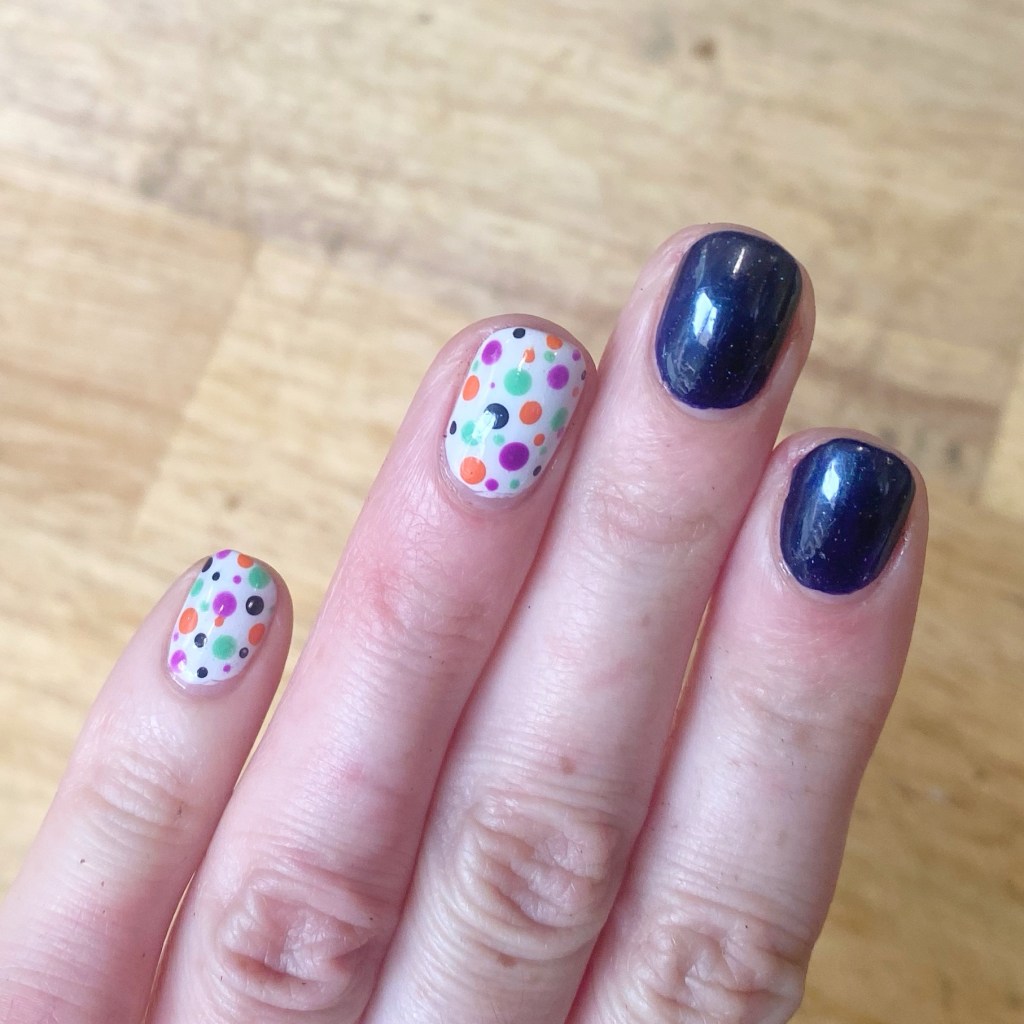
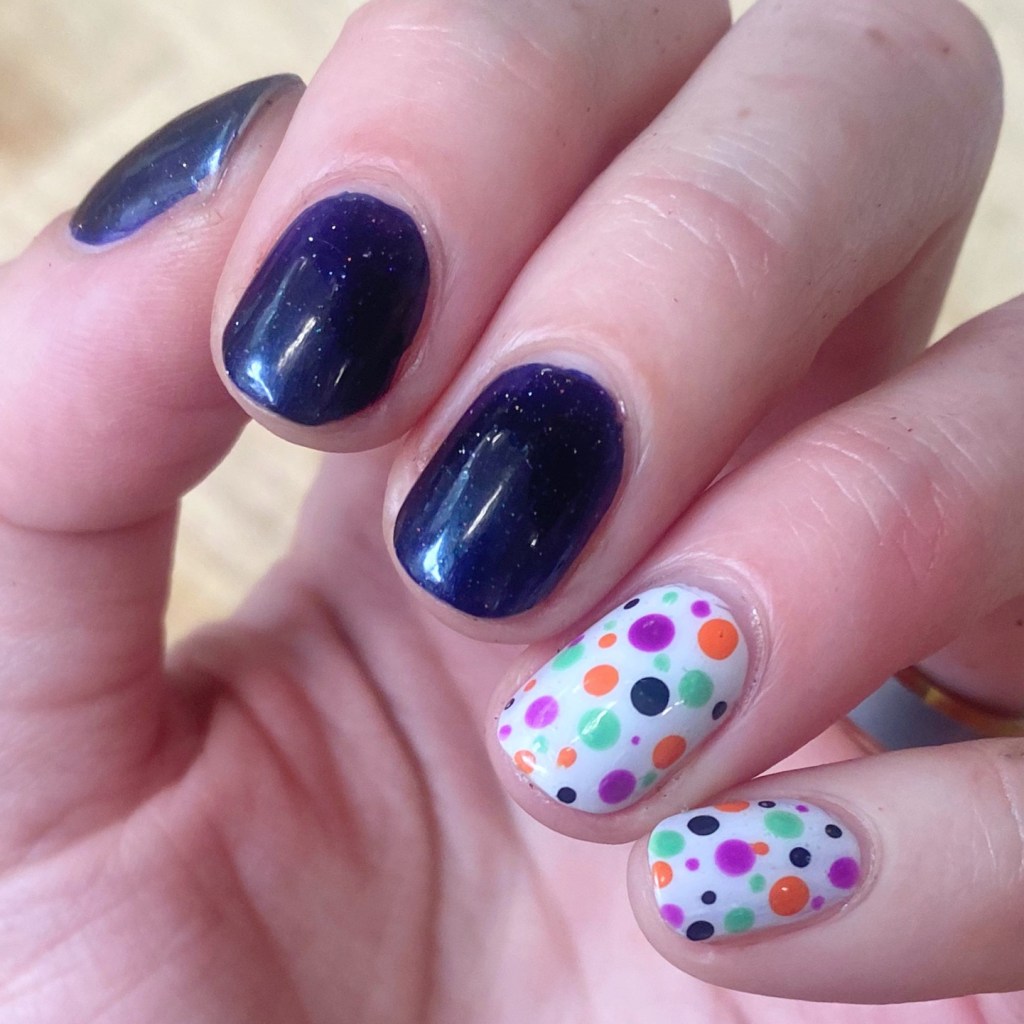
You can never go wrong with a dotticure accent look, & I had the idea of doing one with all the colours associated with Halloween.

The polishes I used for this manicure are: 

  • Base Coat: Sally Hansen Maximum Growth Base Coat 
  • Top Coat: Sinful Colors Power Paint Top Coat + Sally Hansen Insta-Dri Top Coat
  • China Glaze Up All Night topped with Private Side Eyes
  • OPI I Cannoli Wear OPI
  • Sally Hansen Miracle Gel Feelin’ Grape
  • Sally Hansen InstaDri Pump-kid
  • China Glaze Shore Snuff
  • NailStuff Essentials Raven
  • Small Dotting Tool (also NailStuff)

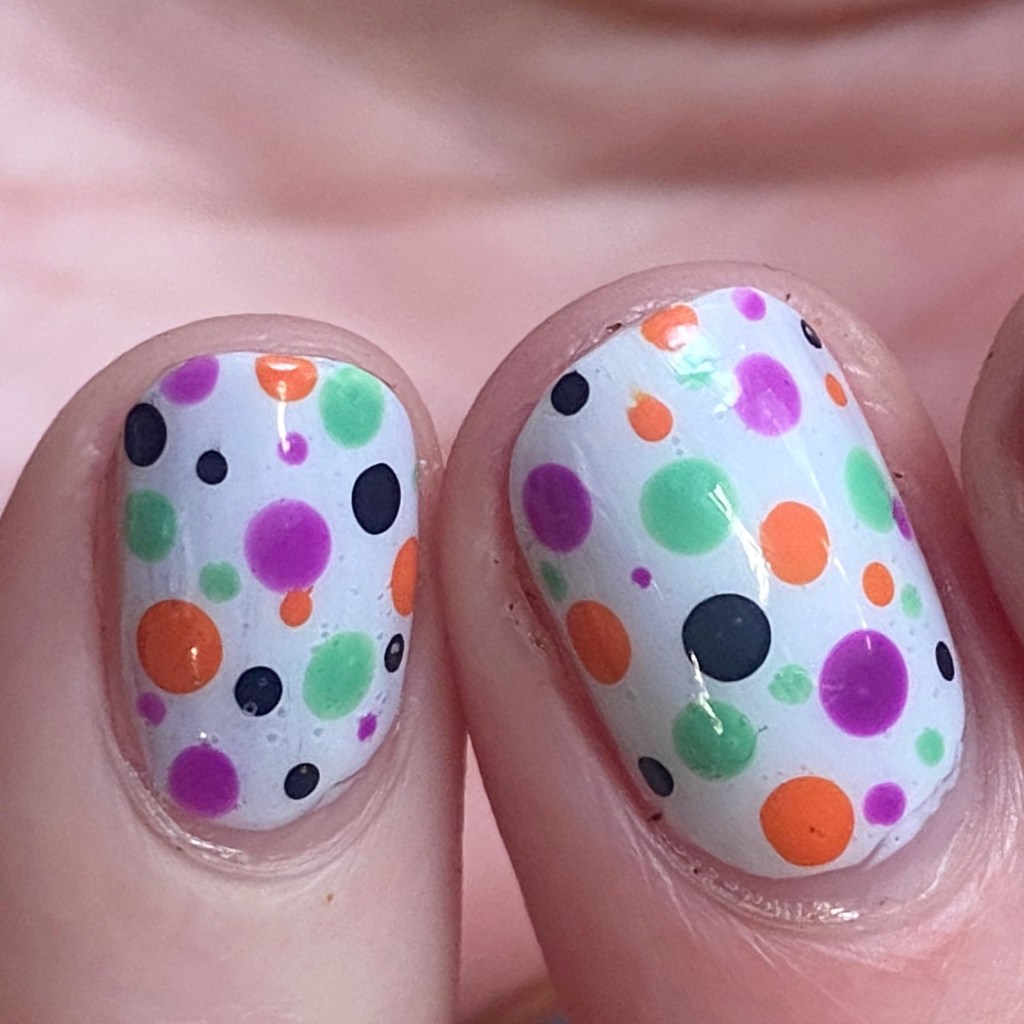
Close up of my dots. I think they’re super fun, & the colours really compliment each other. They’re a great pop of colour.

A simple look for the beginning of October. I will admit, though, I’m very excited to start on some Halloween looks… I just don’t know where to start!

Enjoy your weekend loves!

♥︎