pr/gifted product.
Hey beauties — long time no see!
I know what you’re thinking — Shannon, where have you been? Well the last few months have been kind of crazy behind the scenes, & we actually moved at the beginning of this month, selling our house we’ve lived in for the last 9 years. It’s been an emotional roller coaster, but we’re happily settled in our new place so I’m excited to finally get back into the swing of things.
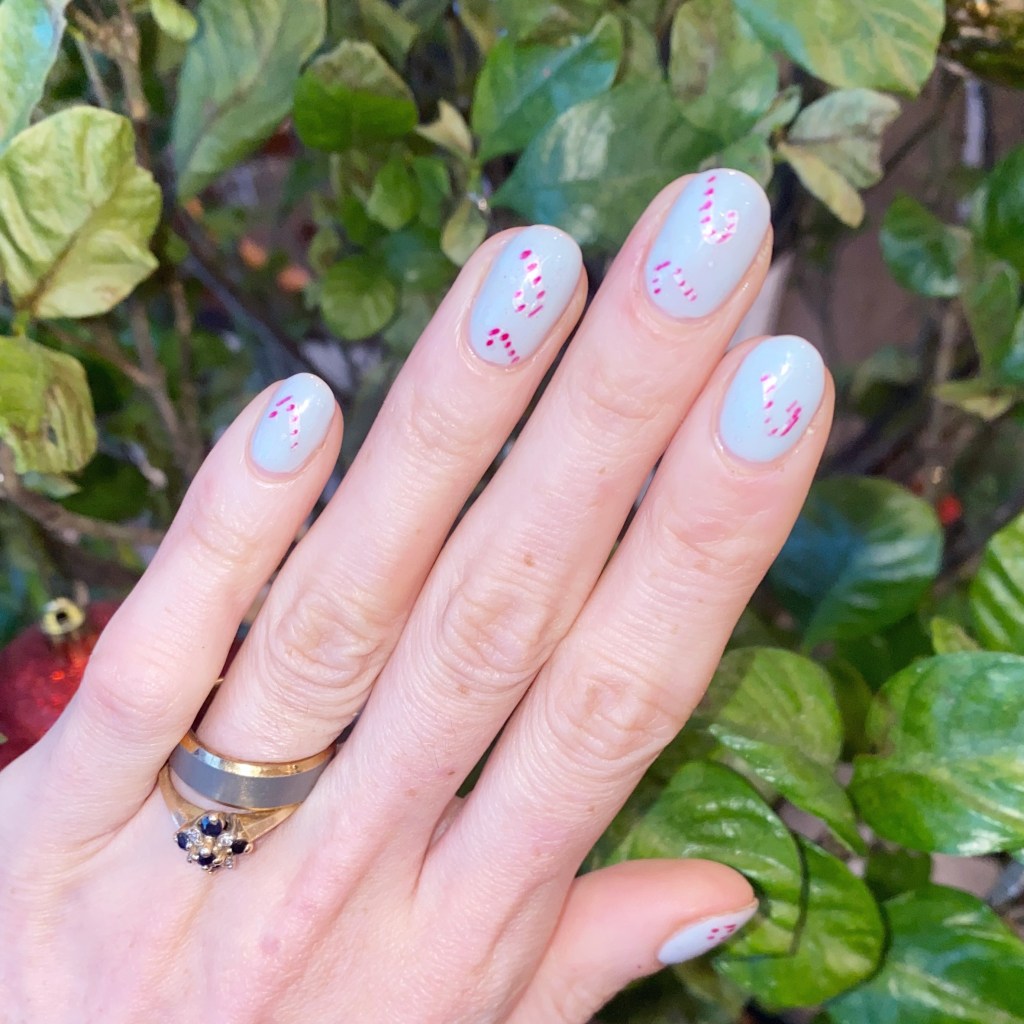
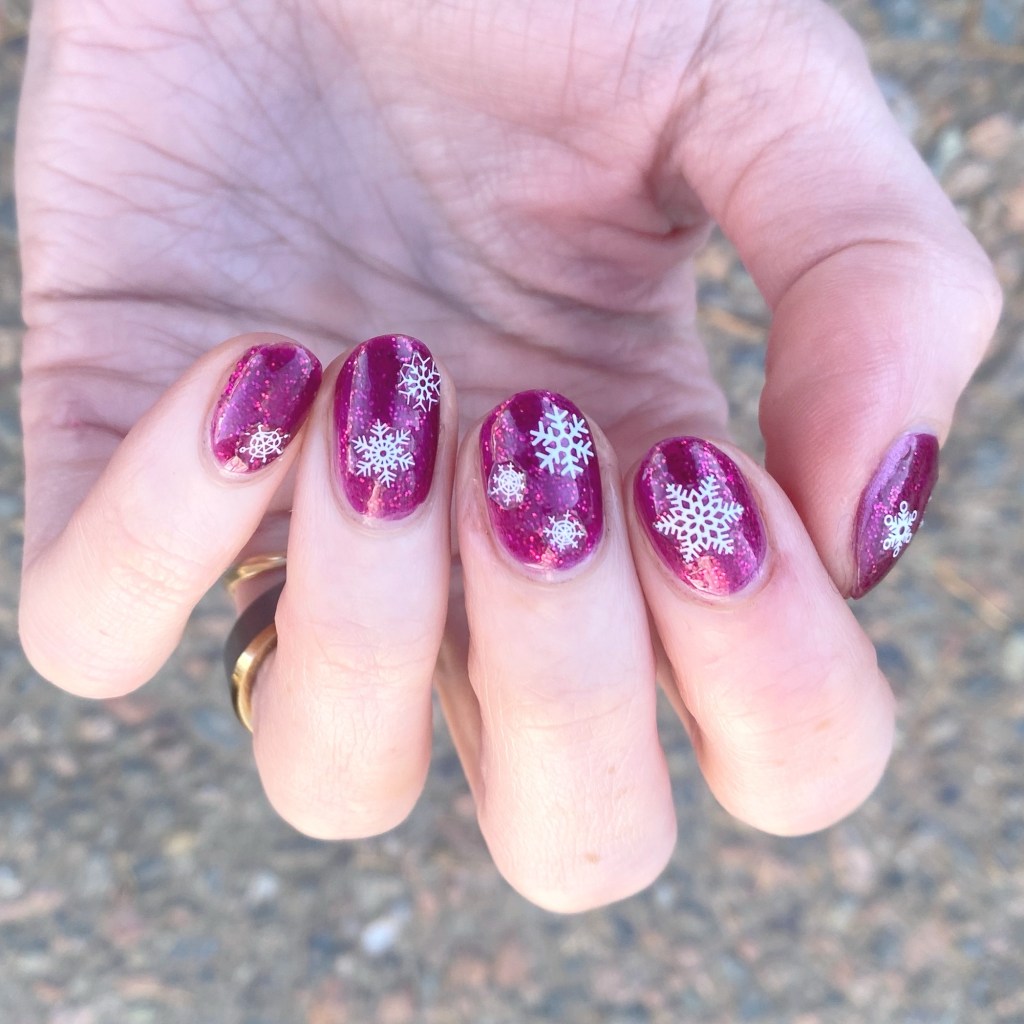
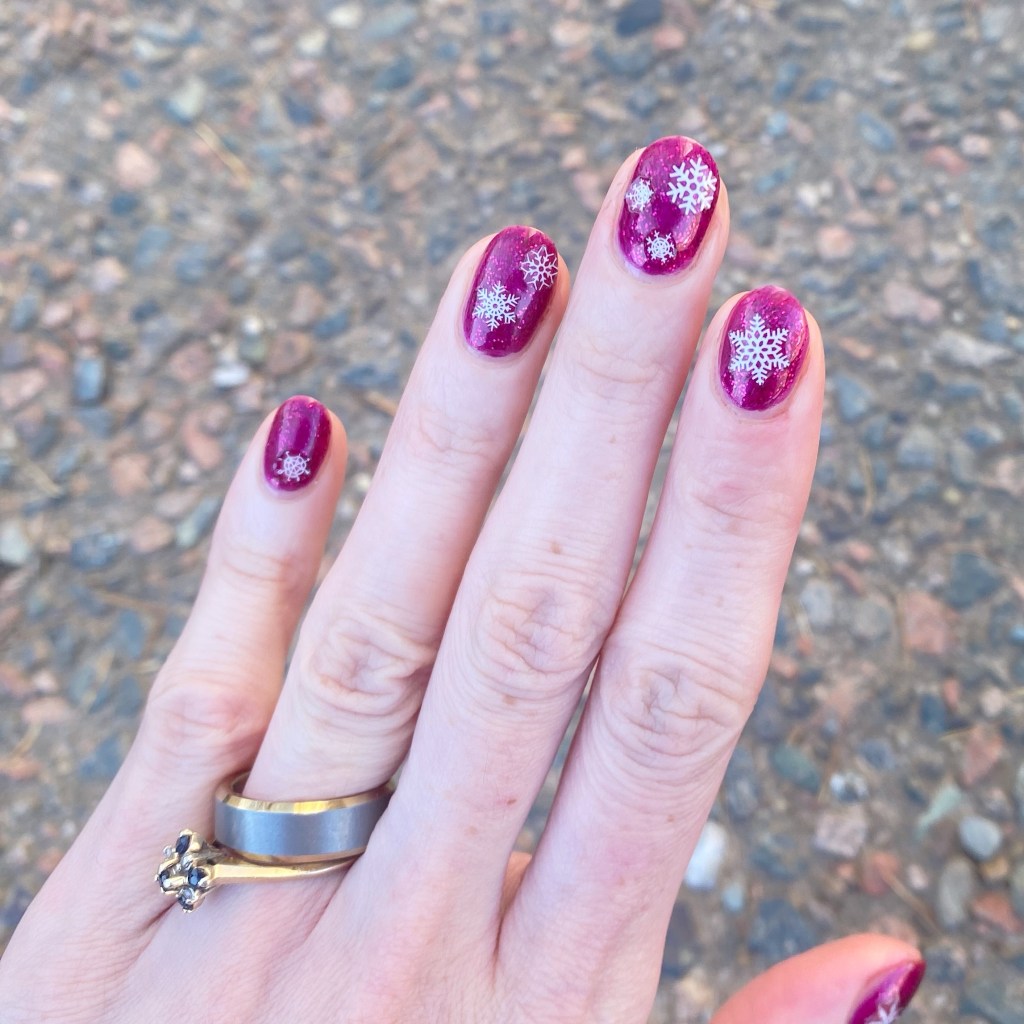
Today’s Swatch Sunday is a little bit of a switch up, because it’s not a polish but a review of some press on nails that imPRESS was lovely enough to gift to me. & seeing how my nails are currently short short short, I’m excited to show them off!

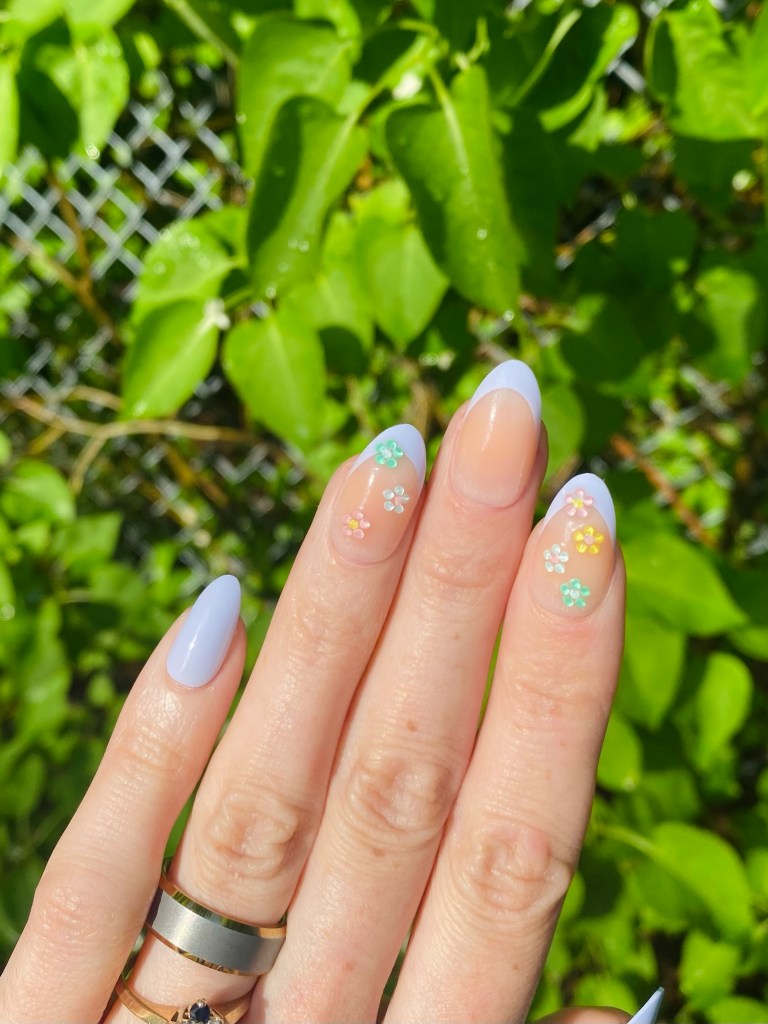
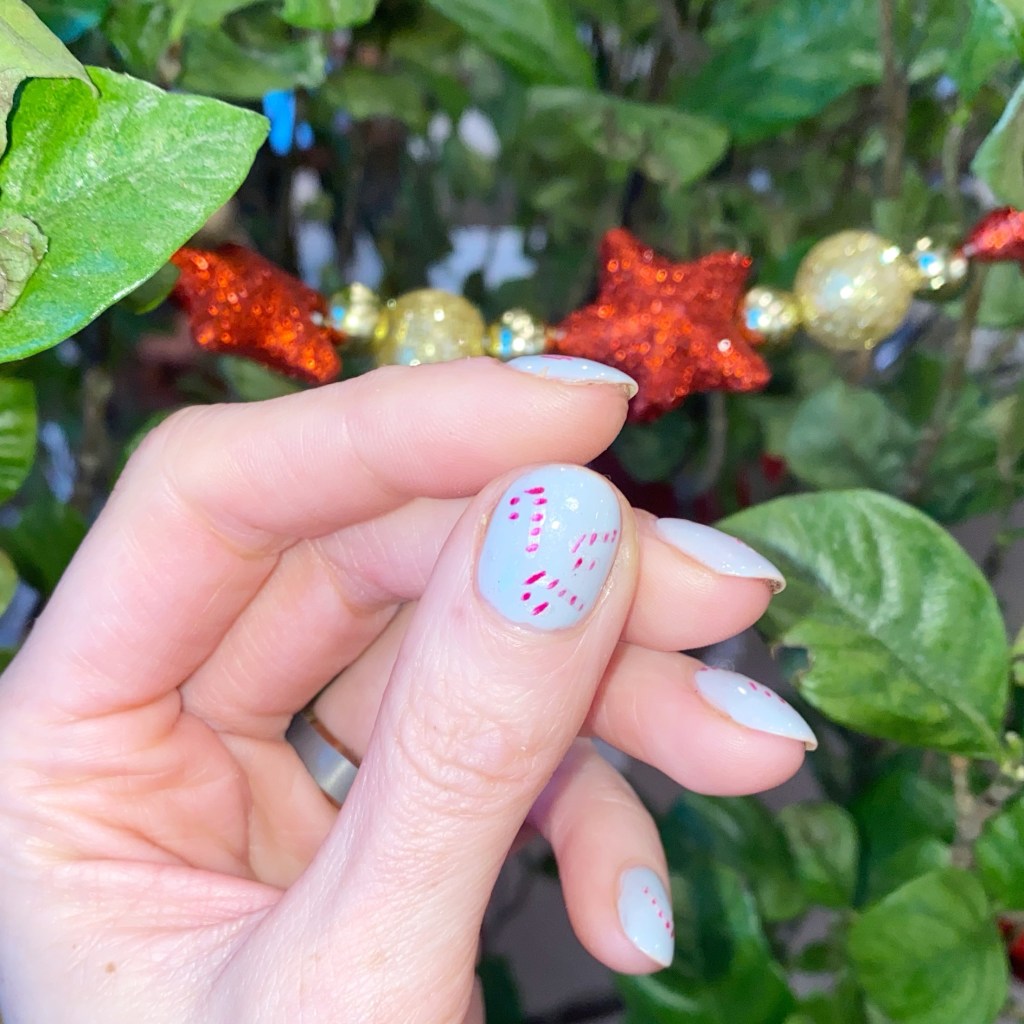
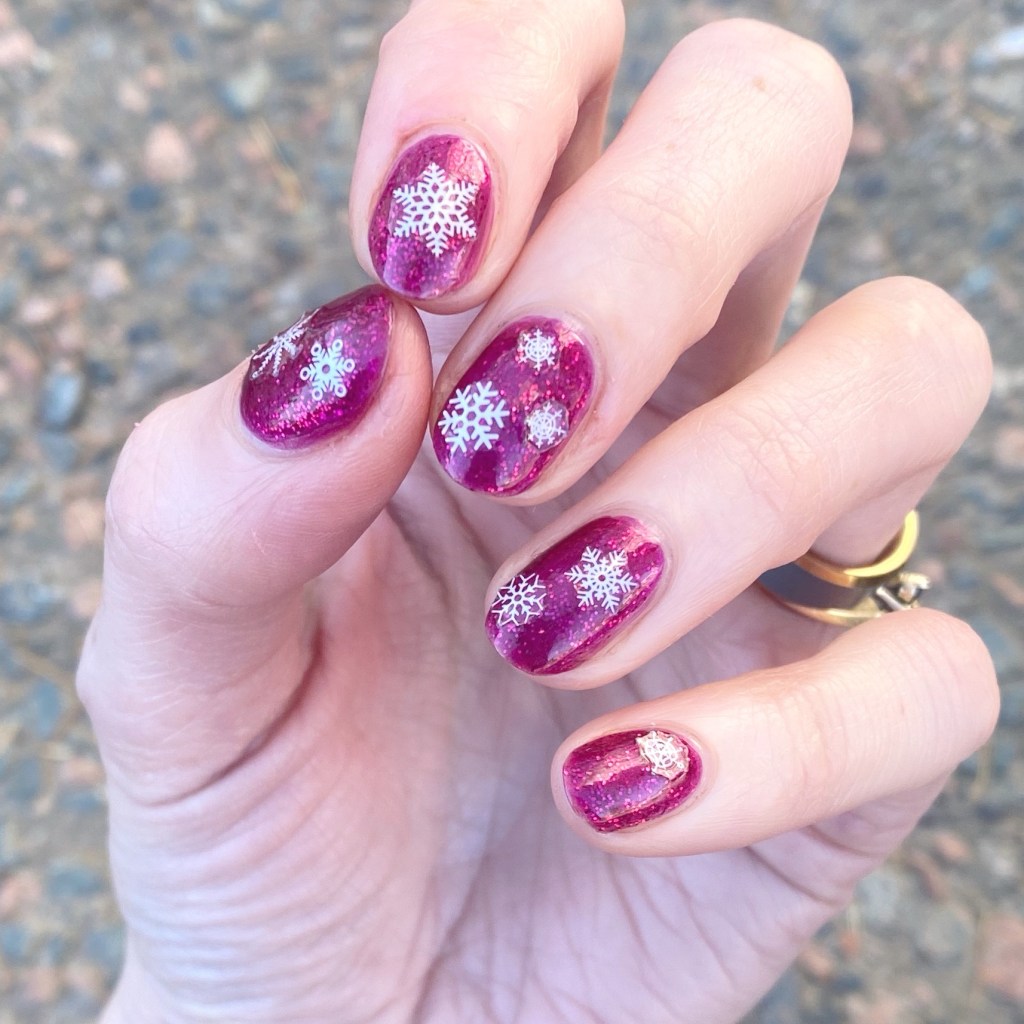
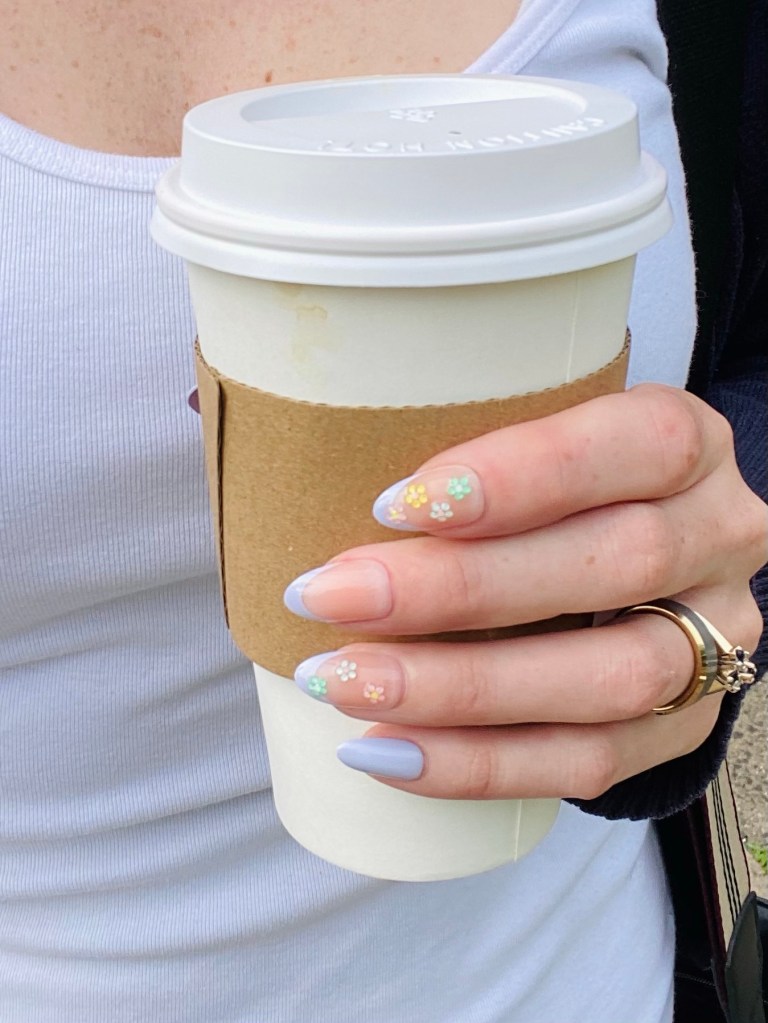
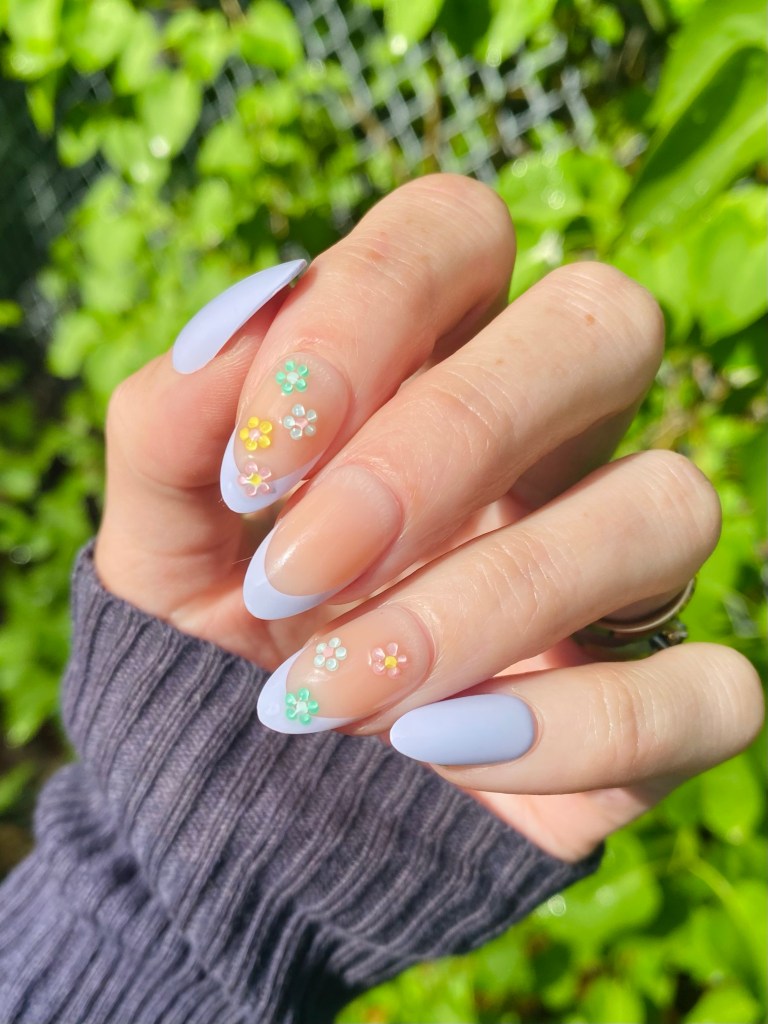
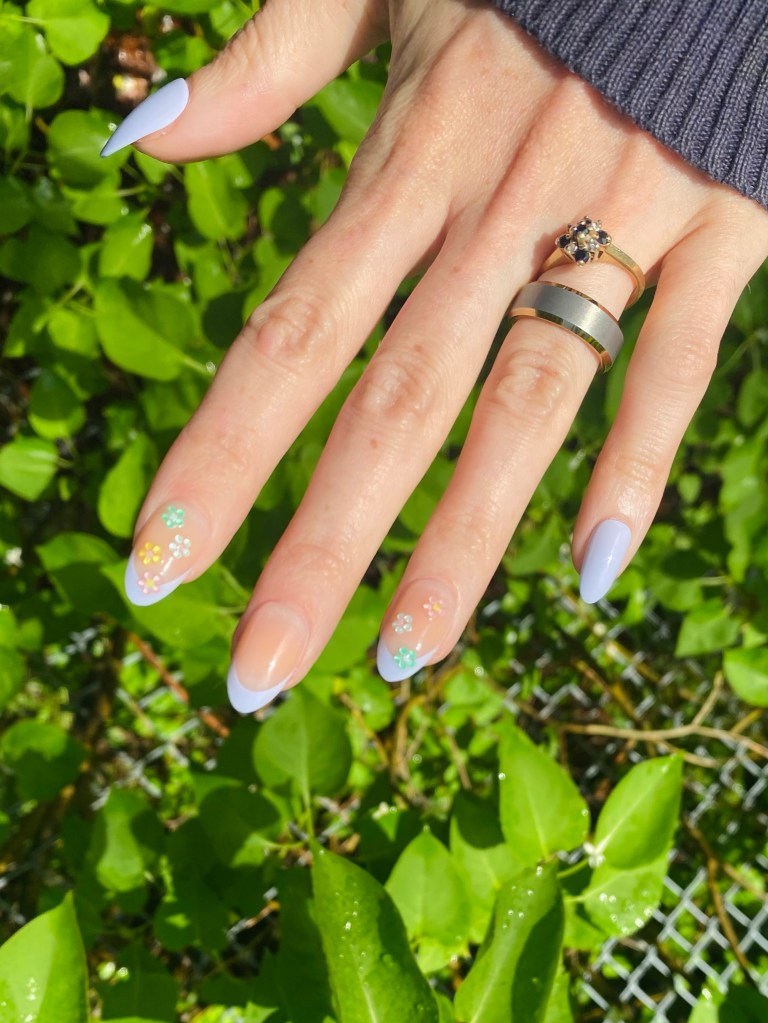
imPRESS was so kind when they sent me a whole bunch of their newly released designs, & it was hard to pick just one! The first set I decided to try out was this beautiful floral French tip design, with these very cool 3D flowers called Pastel Bloom.
Like the imPress mini x Wicked nails I did on my daughter, these are so easy to apply. Like all fake nails, I feel like I spend the longest time matching up individual nails to my nail beds, & laying them down to I can grab them easily for application. But, with the imPRESS line instead of having to mess with glue — which, I’ll admit I kind of hate — they already come with sticky pads attached! All you have to do is pull the clear tab away, & stick on your nail.
No glue mishaps to be seen!

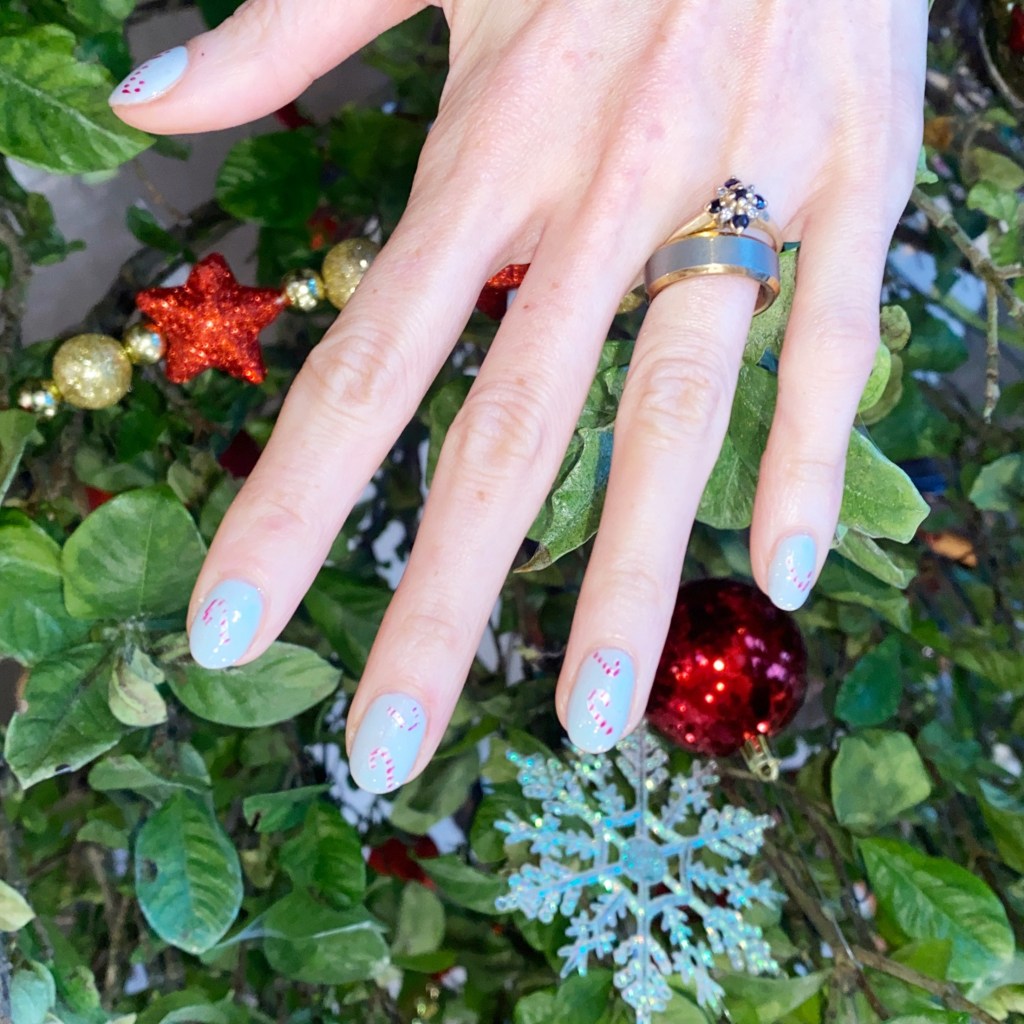
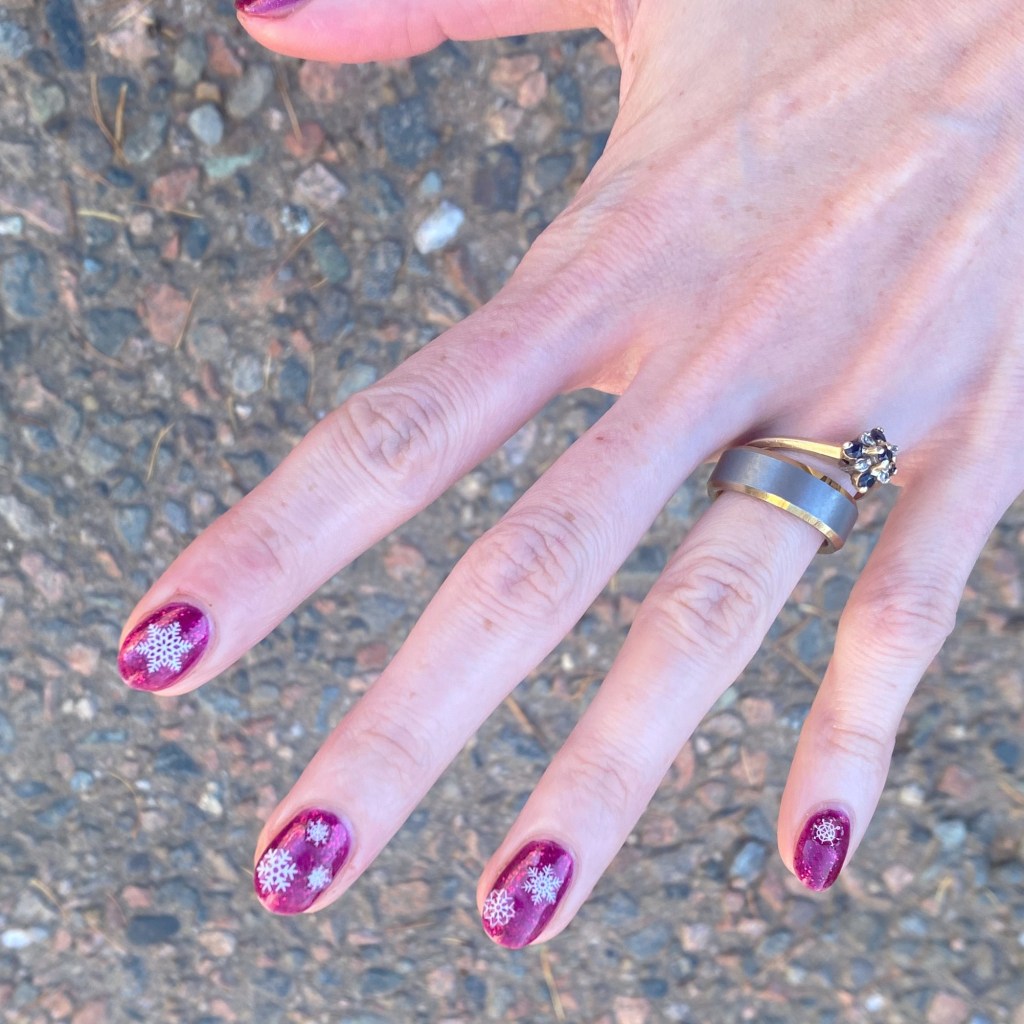
Now, obviously using the tabs instead of glue–which covers the majority of the nail–means that they might not feel quite as secure as other press on nails which use glue. Personally, the only time I found this an issue was around the cuticle line. I didn’t find the sticky tab came down far enough, so I would–for instance–catch my hair under it. I also noticed that it was easily for dirt to slip under there as well.
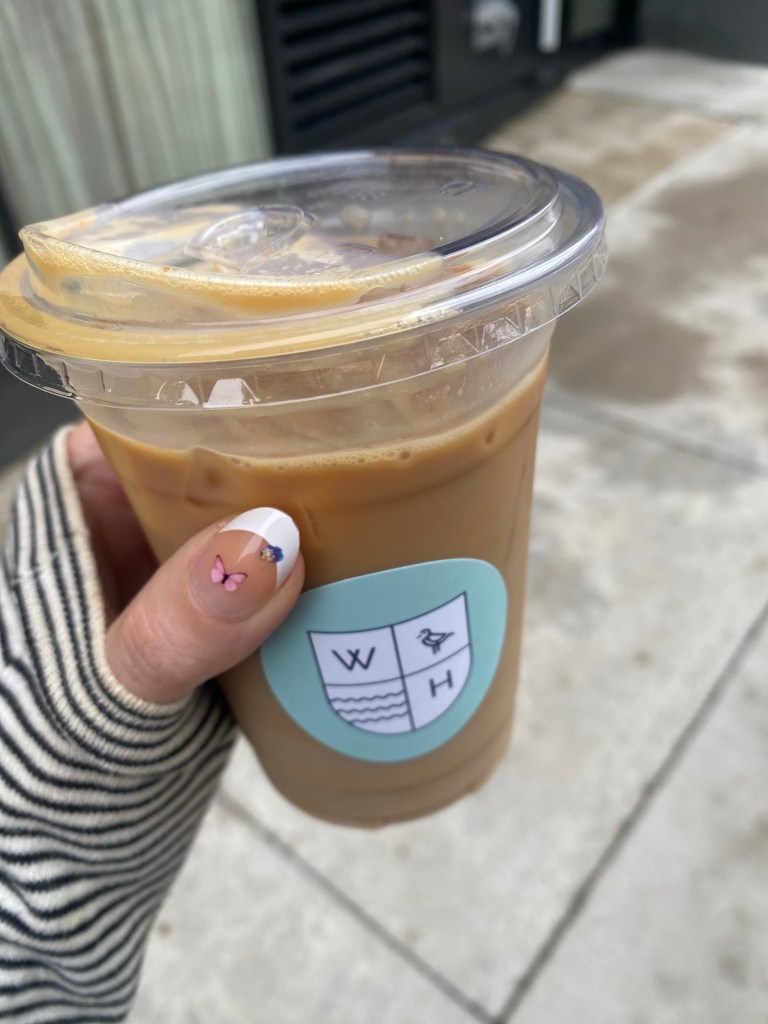
Not cons enough to make me not wear them, but definitely something I know that could deter other people. Personally, these lasted for me through showers, work outs, & everyday general wear without any nails popping off. & to me, that is a huge win!
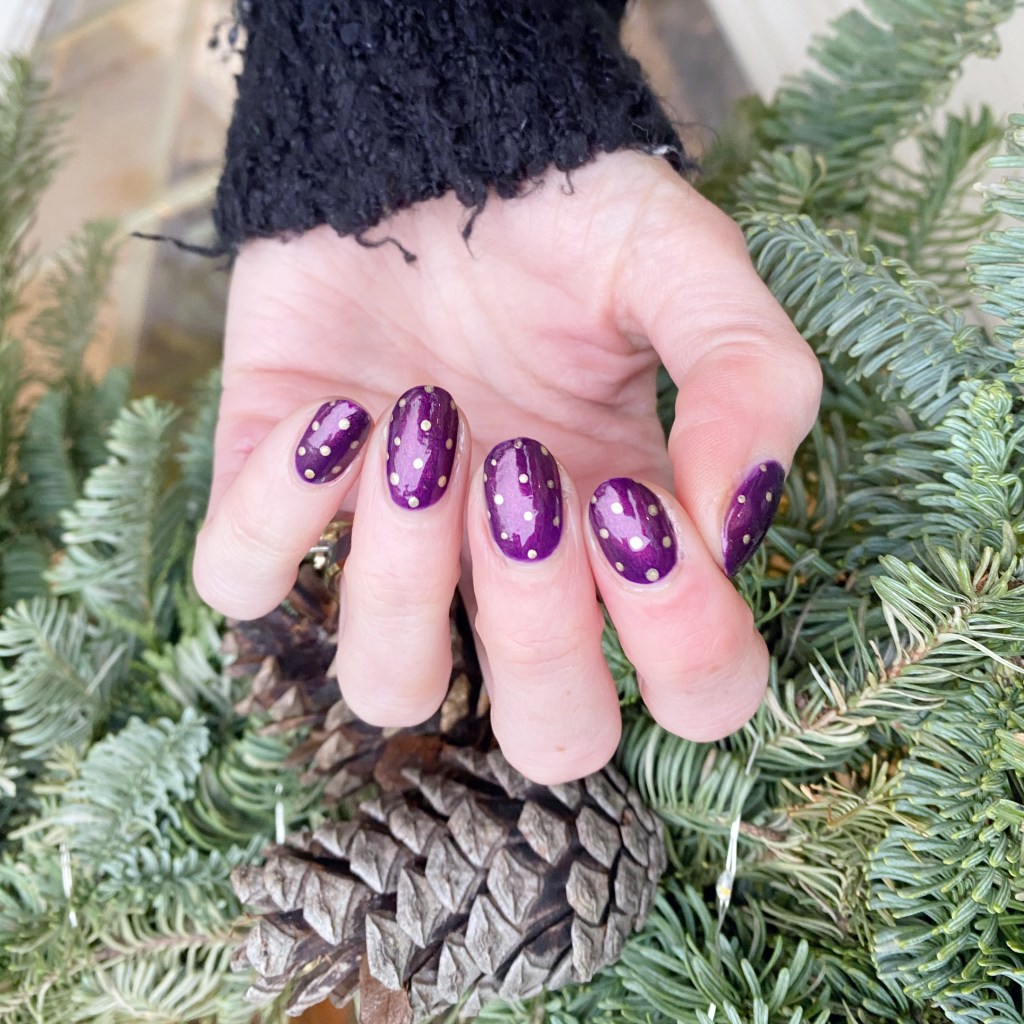
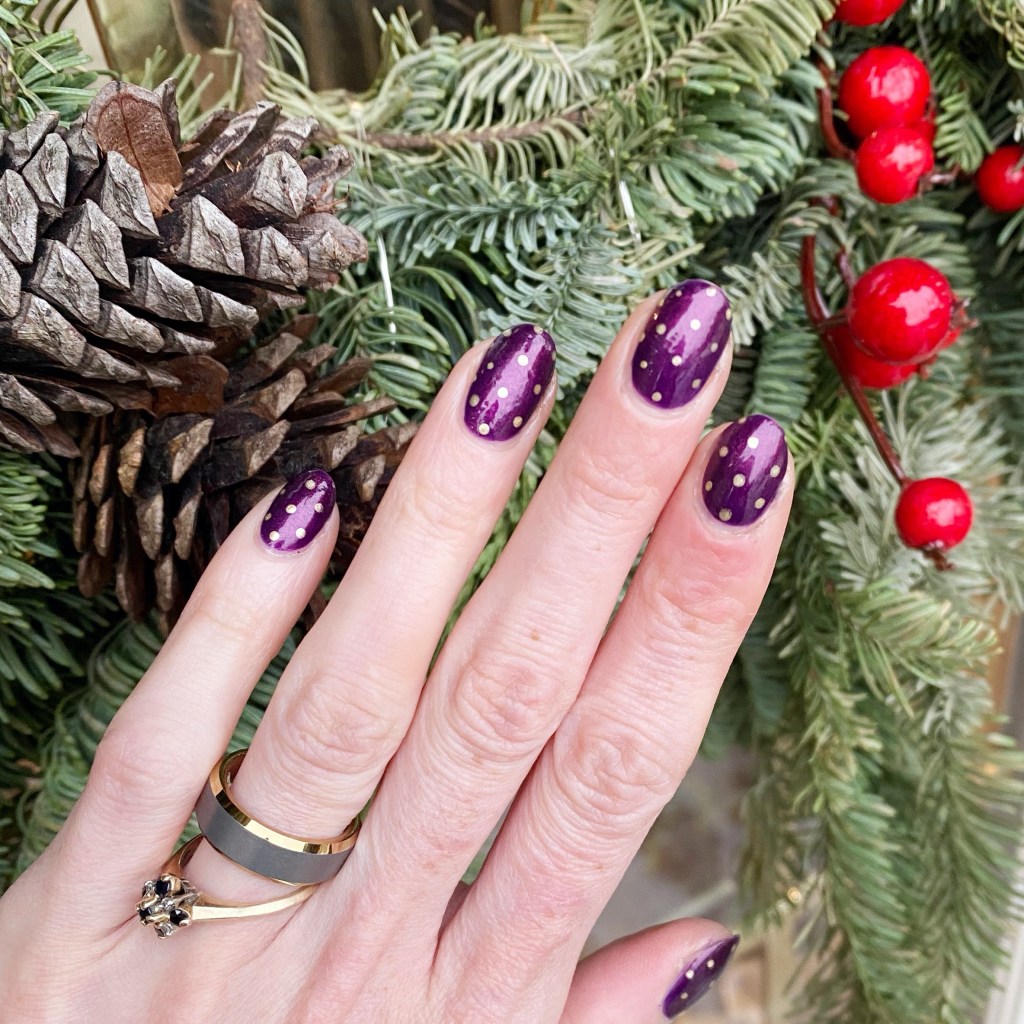
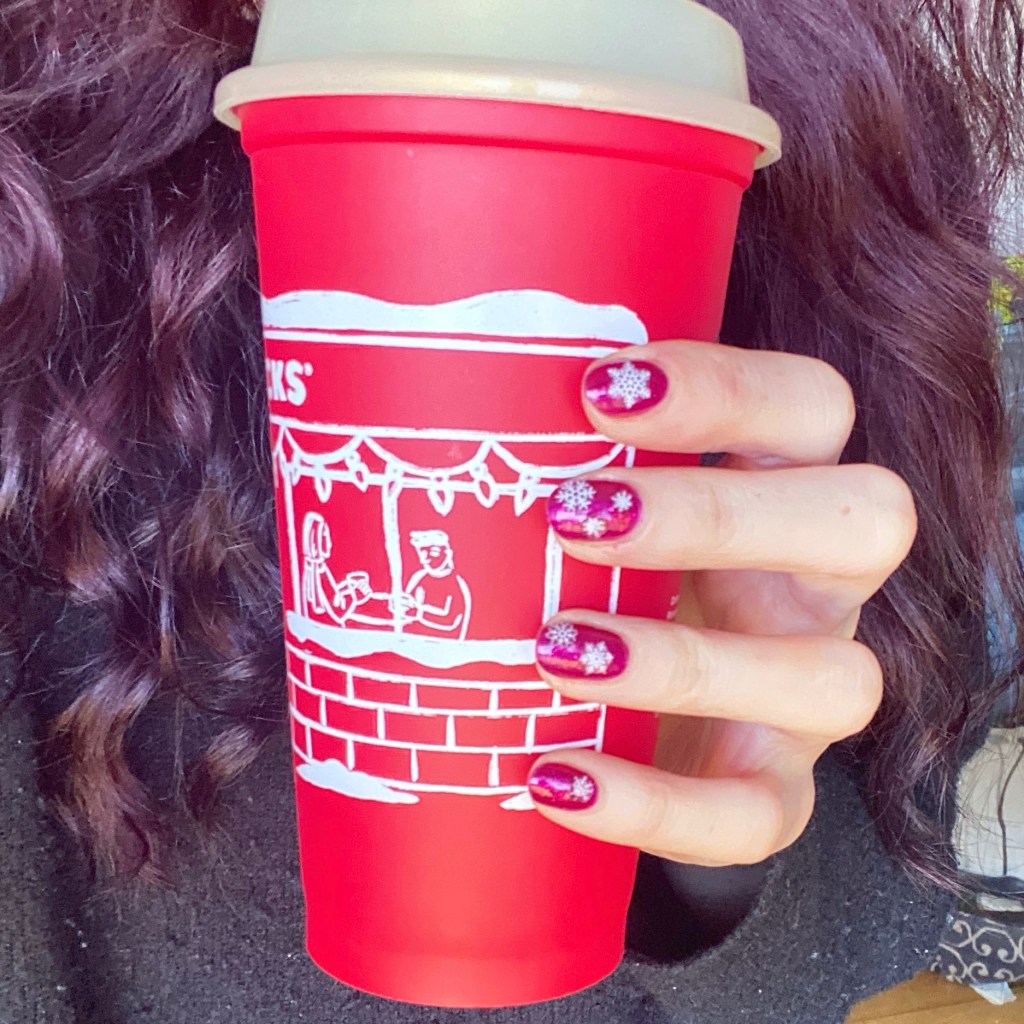
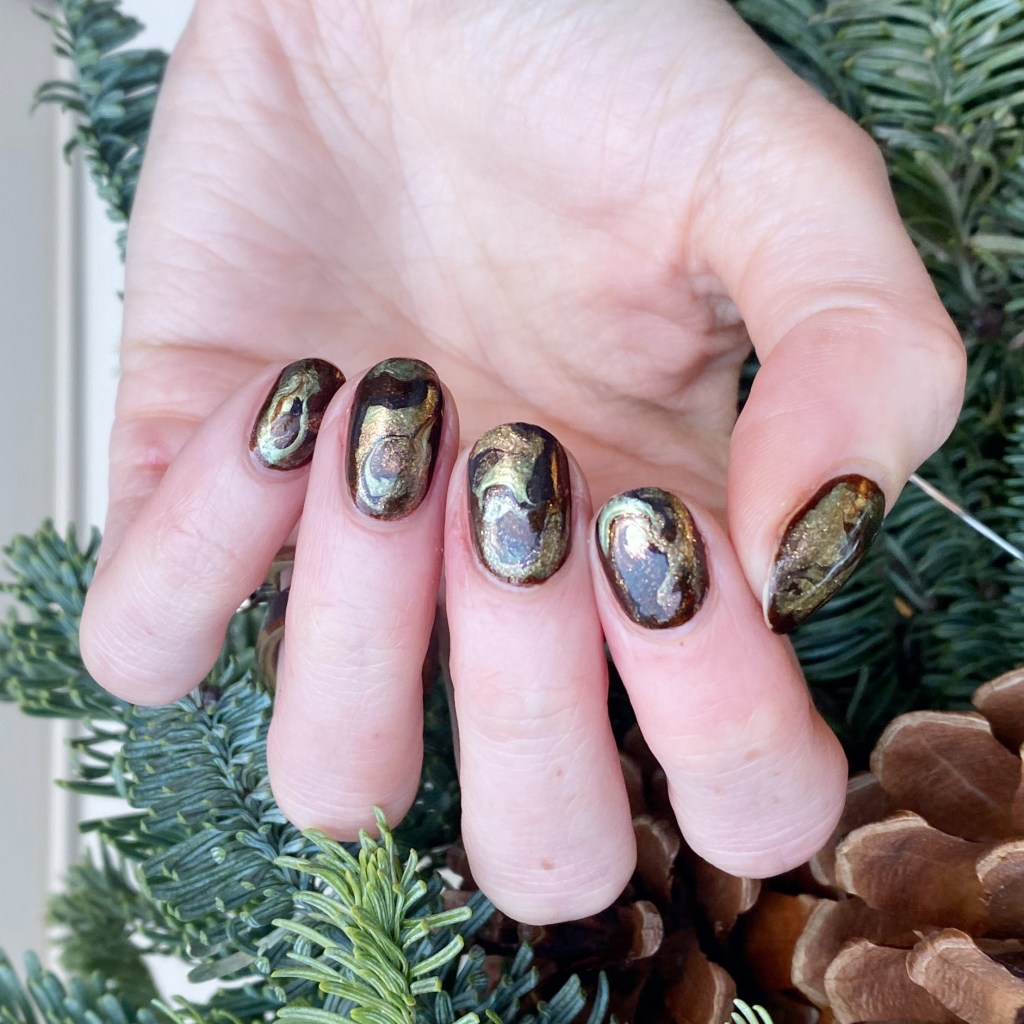
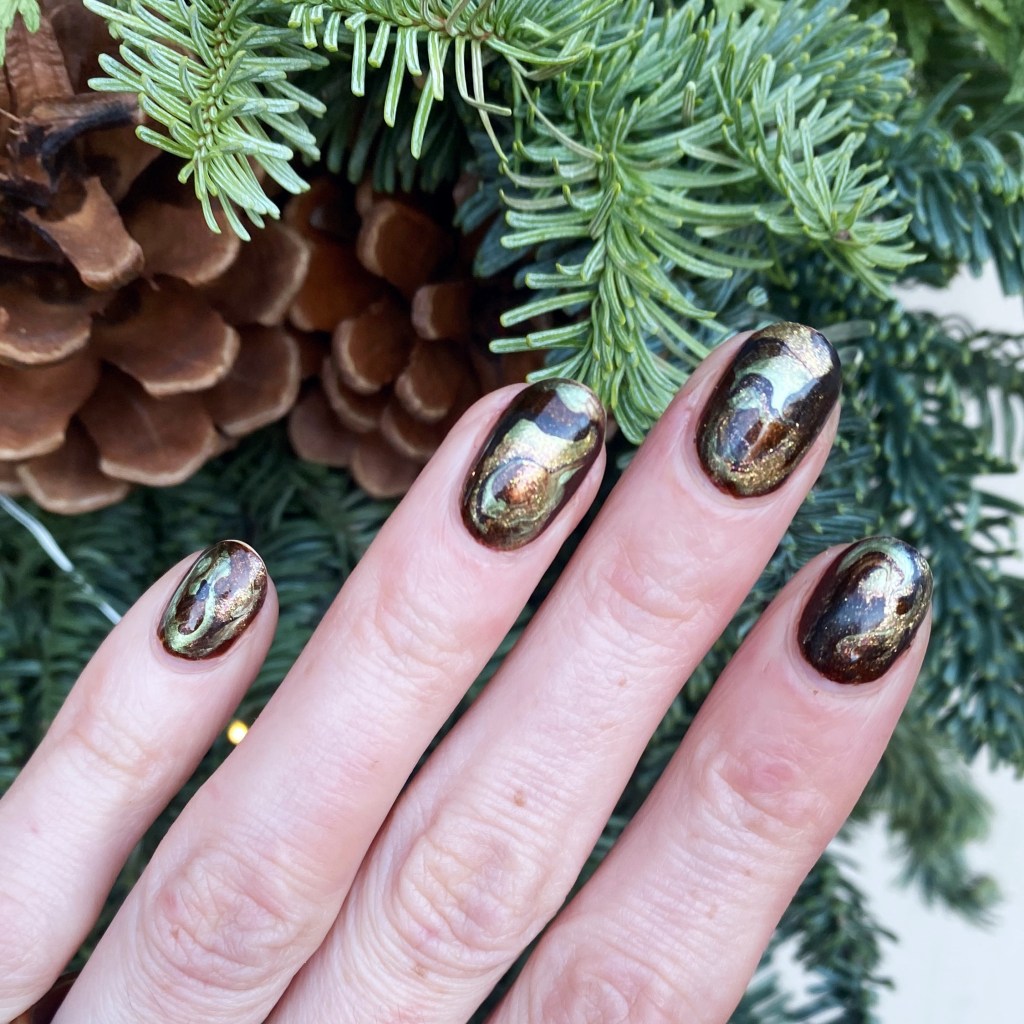
In fact, I’m loving these imPress nails so much that when I decided to take off this design that I had been wearing… I immediately put on another design! This one–called Elegance–felt very fun, & 90s inspired, which I couldn’t turn down.
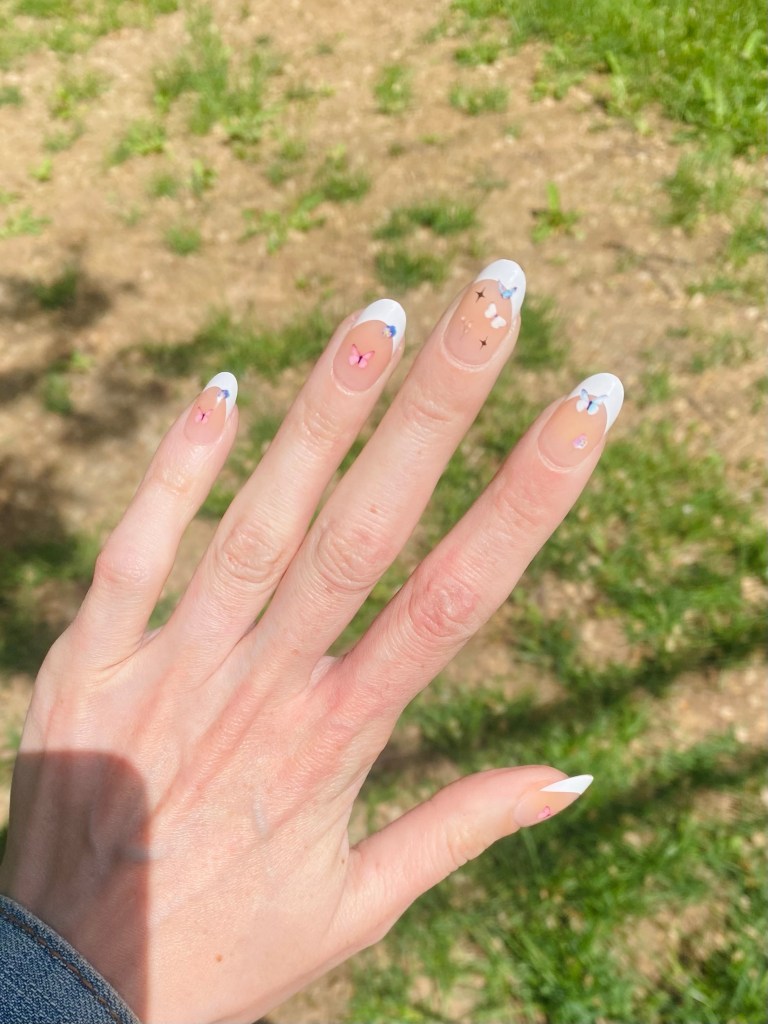
How freaking cute, am I right?!
Over all, I’m a big fan of these press on designs, & the ease in which they have to put on — but also remove! As someone who likes to change her nails as much as her mind, that is a big bonus to me. If you’re curious to try out some of these nails, you can find them on their website, as well as in store. Here in my part of Canada, I’ve seen them most often for sale at Shoppers Drug Mart & Walmart.
What do you think of these imPRESS nails? Have you tried any of their press on nails, & what did you think? Let me know what you think, & if you would also wear these nails. I’d love to know your thoughts.
Happy Sunday!
♥︎