Wham! Pow! Justice League Nails!

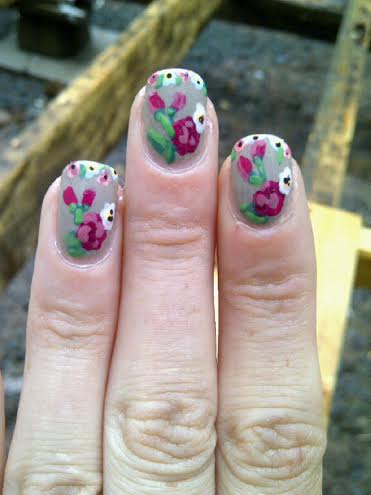
Like I promised, I have a fun manicure to share with you today. I’ve been itching to try a newsprint manicure as (1) it looked relatively easy and (2) I have never tried one before. But I didn’t want to just grab an old newspaper–I wanted to try something different. So I started Googling “paper transfer nail art” and found this link to an old blog post about making your own nail art decals by printing stuff off with your printer. It’s the same as a newsprint manicure, except instead of using newspaper you can use anything your heart desires!

And you know what my heart desires? Superheroes.

0

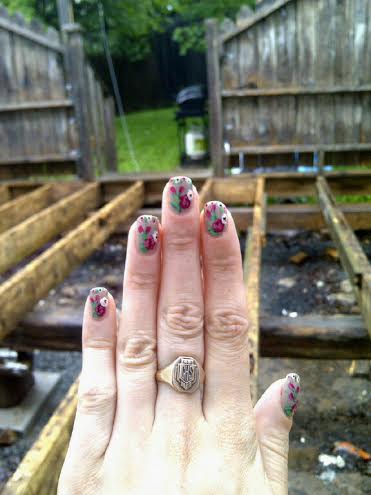
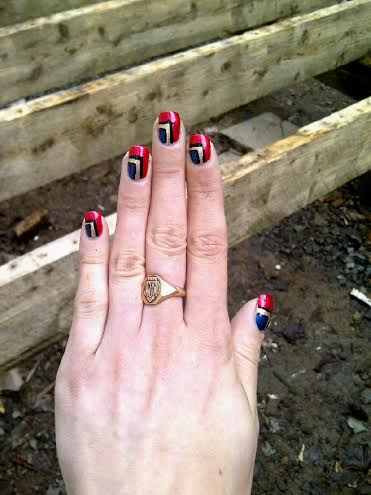
Basically I typed “Golden Age Justice League” into Google, found a picture I liked of the group that I felt like I could print out small enough, and still be able to place each individually, and then followed steps from the above tutorials. I had originally painted my nails the base color (China Glaze White on White) the night before, and tried placing them but the colors didn’t adhere at all. So I took that all off, repainted them my base, waited about 45 minutes and tried again. Bam! Pow! Wham! That definitely worked. And then end result?

justiceleague4

justiceleague

justiceleague3

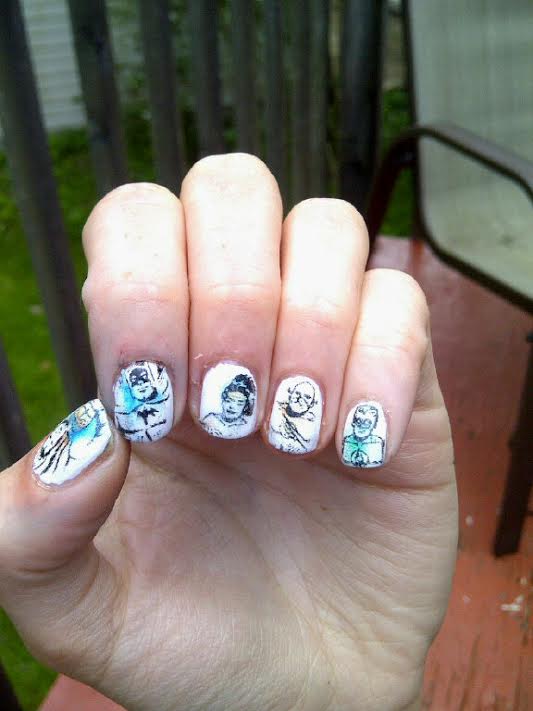
Now obviously they’re not perfect mirrored images, but I kind of like the distressed look as it’s more resembles a comic book. Also only some of the color transferred over from the paper to the nail, but again I like how it turned out. (I also had a bit of paper stick to the nail when it transferred, but I just dabbed it down with the rubbing alcohol, and then applied two coats of  Essence Gel Look top coat and one coat Essie good top coat over each nail to seal it in.)  I’m always nervous trying something I’ve never done before, and it took me a couple tries to figure out how to make it work, but the initial frustration means nothing with such a pretty end result!

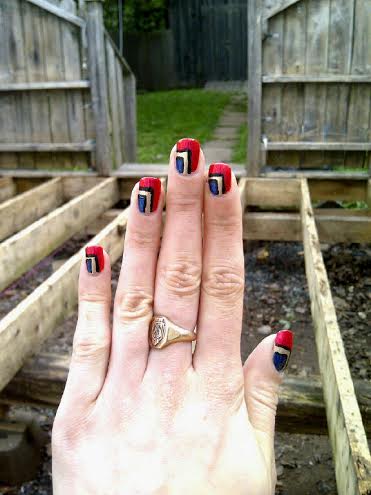
The only pain was cleaning up the ink off of my fingers after I had sealed in the nails. Oh man, Batman got me good–I had so much blue and black ink around my cuticles, which you can still kind of see in the pictures (and I scrubbed with nail polish remover to get rid of it!) Next time I would definitely cut closer to the top of the design so that way I don’t have to worry about covering my fingers in ink!

So what do you think of my Justice League? Have you ever tried a newsprint manicure, or one by printing off your own pictures? Now that I’ve done these I definitely think it is a cute way of getting detailed images on your nails that you might not always be able to paint yourself.  =)

Nails for Days.

Wow, I’ve been MIA again…. we’ve been house sitting for my parents which means I don’t have all my polishes (or nail art tools) at my disposal. However, I have still been painting my nails the last week so I thought I would share with you the simple manicures I’ve been playing around with. I’ve been testing out the combination of using Essence Gel Look top Coat with Essie’s Good to Go top coat, and I have to say it’s been working for me. Usually I have chips in my polish by the end of day 1 (or sometimes half way through), but most of these manicures I’ve worn for 2+ days with minimal chipping. Considering I’m not gentle on my hands, that is actually kind of amazing.


flying dragon3 flying dragon

The polishes I used for this manicure were:

  • China Glaze Flying Dragon (purple)
  • Essence Petal to the Metal gold topper.
  • Essence Gel Look top coat.
  • Essie Good to Go top coat.

Oh China Glaze Flying Dragon… how I love you. You are now, and will forever be my favorite nail polish color…. I just wish you didn’t chip so damn fast! Thankfully though, adding my top look combo gave me these nails for THREE days with very minimal chipping until day three (when it all went to hell). I do love the combination of the Essence Gold Topper over dark colors though… looks so regal. (Also makes me crave fall a little bit… some one slap me!)


crackle crackle2

The polishes I used for this manicure were:

  • Sinful Colors Be Happy (blue base color)
  • Icing Electric Graffiti (pink shatter)
  • Essence Gel Look Top Coat.
  • Essie Good to Go top coat.

I was feeling some crackle, since I haven’t used it in years. I used to love playing with crackle, and Icing’s Electric Graffiti was definitely my favorite of the ones I owned. That hasn’t changed. So bright, and so awesome.


ruffian2 ruffian

Polishes used for the manicure were:

  • Joe Fresh Latte (nude base)
  • Nicole by OPI Oy Oy Oyster (nude shimmer)
  • Essence Dive with me to the Island (teal ruffian)
  • Essence Gel Look Top Coat.
  • Essie Good to Go Top Coat.

Oh man, I had such high hopes for the manicure… I had visions of a gorgeous nude and teal ruffian… except the nude color my mother owns (which is dark for her) blends PERFECTLY into my skin… so it just looked like I didn’t paint for enough down on my nail. And the shimmer I added didn’t show up enough. Next time I’ll definitely go with something not so perfectly matched to my skin tone.


So as you can see, I’ve still been playing around with polish I just haven’t been as nail art crazy as normal. I’m also still bumming hard about my shorties, but they’ll grown… unfortunately just not over night (I wish!) Next week I’m on vacation from work so it will be A LOT more nail art time. In fact, in honor of my best friend who is getting married next week, I think I’m going to do a whole week of wedding manicures, for both bride and bridesmaids. And then at the end of the week, I can share the manicure my friend is letting me do for her nails for the wedding. =)


coffee

Now it’s time to finish my coffee, and get started on a super cool manicure I hope to share with you tomorrow.

Embracing my new shorties… and pretty half moons.

Oopsie.

Sorry for disappearing for a little while. After I posted my Keira Knightley inspired nails I had a nail tragedy breaking THREE nails super duper short (and, all on the same hand of course) so I was really disappointed. Curse working in retail… it ruins everything. =( But nails grow… so I’m trying my best to embrace my new super nubs while they grow out… which is hopefully quickly!


shorties

For this manicure, the polishes I used were:

  • ACO by Ardene Bridezilla
  • Layla Soft Touch Effect Golden Touch.
  • Sinful Colors Hip to be Square.
  • Essence Gel Look Top Coat.
  • Essie Good to Go Top Coat.

First off, Hip to be Square might be one of my favorite new polishes. It’s so pretty! It looks fairly sky blue in my pictures, but honestly it’s more of a cornflower blue in person, with a barely noticeable silver shimmer. (I love it so much!) I also think it might be very close to ACO by Ardene’s Sea of Beauty, so I’m going to have to do a comparison between the two.

Can you tell how much I love a half moon manicure. I especially love them with shorties, as I feel like the blocking of colors works to give the illusion of longer nails.

shorties2 shorties3

Also, I think I’ve found the perfect new top coat combination for my nail art. As you might remember, I was less than thrilled with my experiences with Essence Gel Look Top Coat the first go around, but top coating it with Essie’s Good to Go squashes the wait for it to dry. The one thing I was impressed with about Essence’s Top Coat was it’s durability and from the look of this manicure now three days later….

shorties4

Whoa! Color me impressed! This is my nail art on day three… with no major chips and just minimal tip wear on my index finger. Considering I worked all weekend, that’s a feat. Usually my nails look like this after day one.. and by day two major chips will start so even if I love a manicure I have to change it! I’ll have to test out this top coat combination a little bit more with a few more manicures, but I have a good feeling about it.

So how do you deal with big nail breaks? Any tips on helping my nails grow out without any more tragedy? I’m going to be doing a post later on my own little routine, but I was just wondering what everyone else does… unless I’m the only one who has this kind of awful luck? In which case, tell me how you avoid big breaks because obviously, I need some advice!

Inspired by… Keira Knightley!

kk5


So… confession time. I have a HUGE girl crush on Keira Knightley. It’s a little dorky actually. She has an impeccable fashion sense that I can’t help but envy. The other night I was trying to come up with nail art ideas and remembered this Valentino dress she wore to the premiere of a movie a couple years ago. Since I knew I had a color very similar to the background of that dress (NOPI My Jay or the Highway) I thought… why not give it a try! After all, the worst that would happen would be that I’d have to redo them with something else!

kk4 kk2

The (many) polishes I used for this manicure were:

  • Nicole by OPI My Jay or the Highway.
  • ACO by Ardene Flower Girl.
  • Bourjois Paris in 1938 Mais Oui
  • Bourjois Paris  in 1995 Grains de beauté
  • Boujois Paris in 2002 Effect 3D Lip Gloss
  • ACO by Ardene Misty Love.
  • China Glaze Metro Pollen-tin.
  • Sinful Colors Strapped.
  • ACO by Ardene Green Peace.
  • Sinful Colors Easy Going.
  • Vernis Classique by Cherimoya Black.
  • Essie Good to Go Top Coat.

kk3

I love these. I love these SO much! When I first started I wasn’t sure what to do to capture that dress on my nails, but they turned out just how I hoped they would. Maybe my nail inspiration is little dorky, but the end result makes me smile. I don’t even want to take these off!


Inspired by Wonder Woman!

Because I have a huge love affair with all things DC superheroes, I really wanted to do another Superhero inspired manicure. I’ve only done a couple to date: A Flash manicure last summer, and my Spiderman nails. Now most people who know me would figure I would do Batman nails since he’s my all time favorite (I even have a Batman tattoo). Instead, I decided to go with my second favorite: Wonder Woman.

ww7 ww8

The polishes I used for this manicure were:

  • ACO by Ardene Golden Luxury.
  • ACO by Ardene Strawberry Blush.
  • Revlon Spidey Sense.
  • Maybelline Sapphire Siren.
  • Revlon Superpowered.
  • Vernis Classique by Cherimoya Black
  • Essie Good to Go top coat.

ww6 ww5

This manicure was pretty simple to do. I painted my nails all the gold color, and waited for them to dry over night. Then, I taped off the L shapes, and painted on first my creme blue and red, followed by my Revlon polishes. I peeled that off carefully, then outlined with my black and applied top coat. And tada! My nails are super powered!

ww3 ww2 ww

The only thing I wish was that I had little star glitters that I could have added to my blue to make it really look like her costume. Next time! These would go perfectly with my Wonder Woman costume (which I wore for Halloween a couple of years ago.) I might even have to come up with some more Superhero inspired manicures–Batman, for sure, but all my other favorites as well. I remember seeing an awesome Star Sapphire manicure on pinterest a while ago that I feel absolutely in love with.