Stripes make your nails look longer, right?

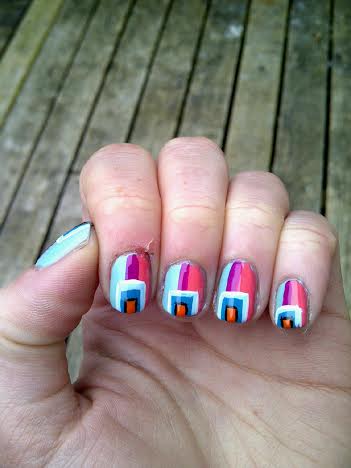
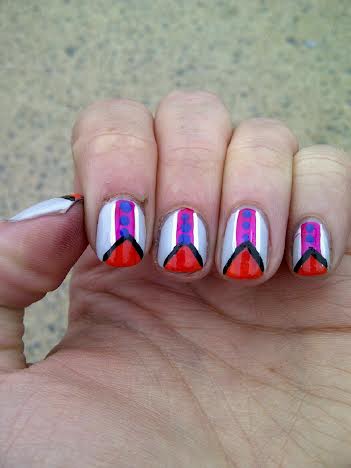
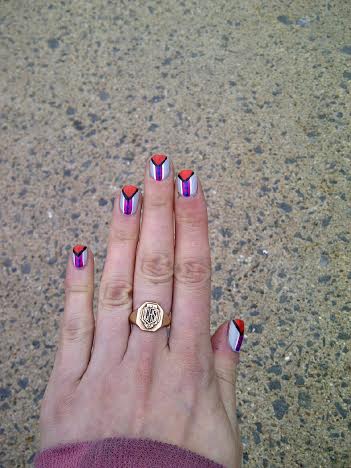
With my new short stubs, I wasn’t feeling very inspired for nail art. =( But I wanted to do something, as I just can’t deal with naked nails. They make me even sadder than short nails. I tried doing a bright gradient but it just didn’t work the way I wanted. I haven’t played much with my striping polishes lately, excluding my unlucky outline nails, so I decided to pull a bunch of them out and do some stripes. (Truthfully I was hoping maybe the stripes would give me the optical illusion of longer nails.)

stripes3

stripes

stripes2

The polishes I used for this manicure were:

  • ACO by Ardene in Sugar Champagne.
  • Art Club striping polish in Paisley Paradise.
  • Art Club Nail Art Duo in Baby Blue.
  • Stripe Rite striping polish in black.
  • Sally Hansen Diamond Flash top coat.

I always rely on my striping polish for creating lines. I’m not very good when it comes to striping tape… I’ve used it a couple times but I much prefer drawing the lines myself. I find that with most manicures it’s much easier, and saves on time because I don’t have to wait for my base color to dry completely before creating my stripes.

Also I must share my excitement over how my lines are becoming much smoother and steadier. When I got my first striping polishes a couple years ago, my freehand lines definitely did not look like that! Now if only I could find a way for my nails to never break. =(

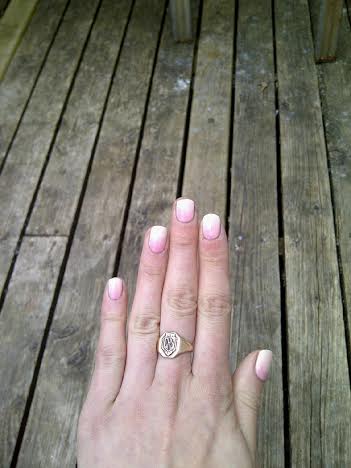
Oh, I created a little before-and-after comparison just to show the difference. =( Stupid table.

IMG1400371233551_1400371238864_n

Nail tragedy. =(

With the sun shining, I decided to pull out one of my OPI beach sandies–I’m Brazil Nuts Over You–which is a super gorgeous almost neon pink textured polish that was released as part of the OPI Brazil Collection. I really wanted to wear something that would pop on my nails, and I’m Brazil Nuts Over You was the perfect choice! Since I hadn’t done outline nails in a while, and decided to pull out my Black Stripe Rite Striping polish, went to work. The finished product turned out exactly how I hoped, and it was the perfect contrast to my green and blue dress I decided to wear to work.

pink

pink2

Aren’t they pretty? Oh man, I couldn’t stop looking at how they turned out. Unfortunately,  it appears as though I’m not having a very good-luck nail week. When I got to work I was busying organizing some stuff, and accidentally hit my hand off a table, hard. And the end result almost made me cry.

break2

break

I was so happy, because my nails were finally growing out after a horrible break a couple months ago–on the same hand! Now I’ll be growing this break out again. =( Even worse, I had to file all my nails down short so my nails don’t look ridiculous. Short nails just make me so sad–some people can rock them, but for me I like my nails long, and always have.  I was doing so well avoiding any breaks, and now this. So freaking frustrating! At this rate, I’m never going to have the long beautiful nails I covet so much.

Perfect Polka Dots.

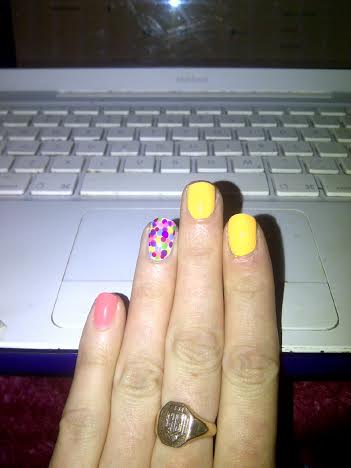
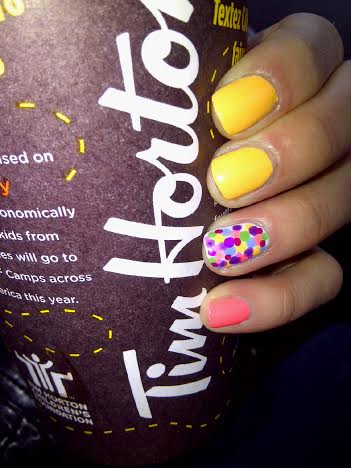
After yesterday’s nail art fail, I wanted to do something I couldn’t screw up. Last week, I bought quite a few new polishes including a Zoya polish I found at my local shoppers on clearance at Lawton’s (my favorite place to get polish–the selection is unbelievable, and they always have amazing deals!) So I decided to grab that gorgeous Zoya and my dotting tool set, and play around a little bit.

dots

The polishes I used for this manicure are:

  • Zoya Piaf — my soft and sparkly yellow base color.
  • Unnamed Mariposa purple polish.
  • Unnamed Maripose pink polish.
  • Sally Hansen Diamond Flash top coat.
  • Icing It’s a Matte World matte top coat.

dots2

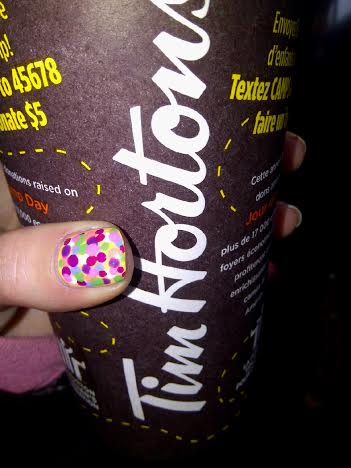
I really like how these turned out. I’m really, really loving my dotting tools right now, and doing all the dots on my nails. I’ve been practicing really hard to get my polka dots perfect, and I definitely think I’ve improved a lot since my first attempts at polka dots. It was quick to do, but made my nails feel pretty instantly. The only thing I would change is using a bigger size of dotting tool–I feel like there is a lot of space between my dots.

Nail Art Fail.

The other night, I painted my nails with an old favorite — Hard Candy’s Piece of Papaya.

2

1

Such a pretty polish, and so sparkly. Since we’re finally getting Spring now in Nova Scotia, I’ve been embracing the sunshine with polishes that shine better in it.

I painted these before bed. When I woke up in the morning I had an idea for some cool nail art. Unfortunately, I decided to paint them about ten minutes before I had to leave for work. It was a bad idea. I should have just left my nails as they were because–even with my quick dry top coat, and drying drops–I didn’t have enough time for them to dry before I had to leave. And that’s where the nail art fail happened.

3

This picture is from right after I painted them. I used Revlon’s I’m Electro for the Blue, and Quo by Orly in Purple Passion (which I got from my boyfriend in the Quo by Orly Holiday Mini pack.)

4

Hadn’t even left yet, and already bumped them and got dents. Also because I was short on time I was just going to wait until I got to work for clean up. I didn’t even have time to take it off because I now had about two minutes before I had to leave. So I hoped for the best.

5

By the time I got to work they were just a full on hot mess. =( I had to go through my day with gashes like this in my nails & both my thumbs had half the polish just peel off. So depressing because I liked the color blocking look of them.

Have you ever had a major nail art fail? I think I’ve learned my lesson about painting my nails without adequate time for them to dry before I have to do anything. Now I know why I paint them before bed. =(

“You’re the boss, applesauce.” Andy Warhol inspired nails.

I’ve been all about the floral lately. I found these Andy Warhol inspired nails on Pinterest, and knew I had to recreate them. A few years ago, I was completely obsessed with everything Warhol related–I even had a pair of Levi’s from their Warhol collection. So I knew I had to create my own version of those flower nails.

Surprisingly, they were really easy to create.

andywarhol

First, I painted my nails with a base color of green. I used Sinful Colors Strapped. It’s a dark Forrest green, which dries to a Matte finish.

andywarhol2

Next, I created my “grass” using the dry brush technique with a collection of other green colors: ACO by Ardene in Sour Apple, ACO by Ardene in Green Peace and Sally Hansen Xtreme Wear in Kiwi Bikini.

andywarhol3

After my grass was complete, I created my floral using a medium sized dotting tool and my four colors: Essence Love Letter’s collection in Rosy in Love (light pink flowers), China Glaze in Metro Pollen-tin (yellow flowers), ACO by Ardene in Lollipop Queen (purple flowers), and Revlon in Siren (orange flowers).

andywarhol4

Finally, I finished off with a layer of Sally Hansen Diamond Flash (yey! I finally have a new bottle and am so happy) and tada! Andy Warhol inspired floral nail art.

andywarhol5

And in the sunshine. =)

andywarhol6

So what do you think of these Andy Warhol nails? Did I do justice to my original inspiration?