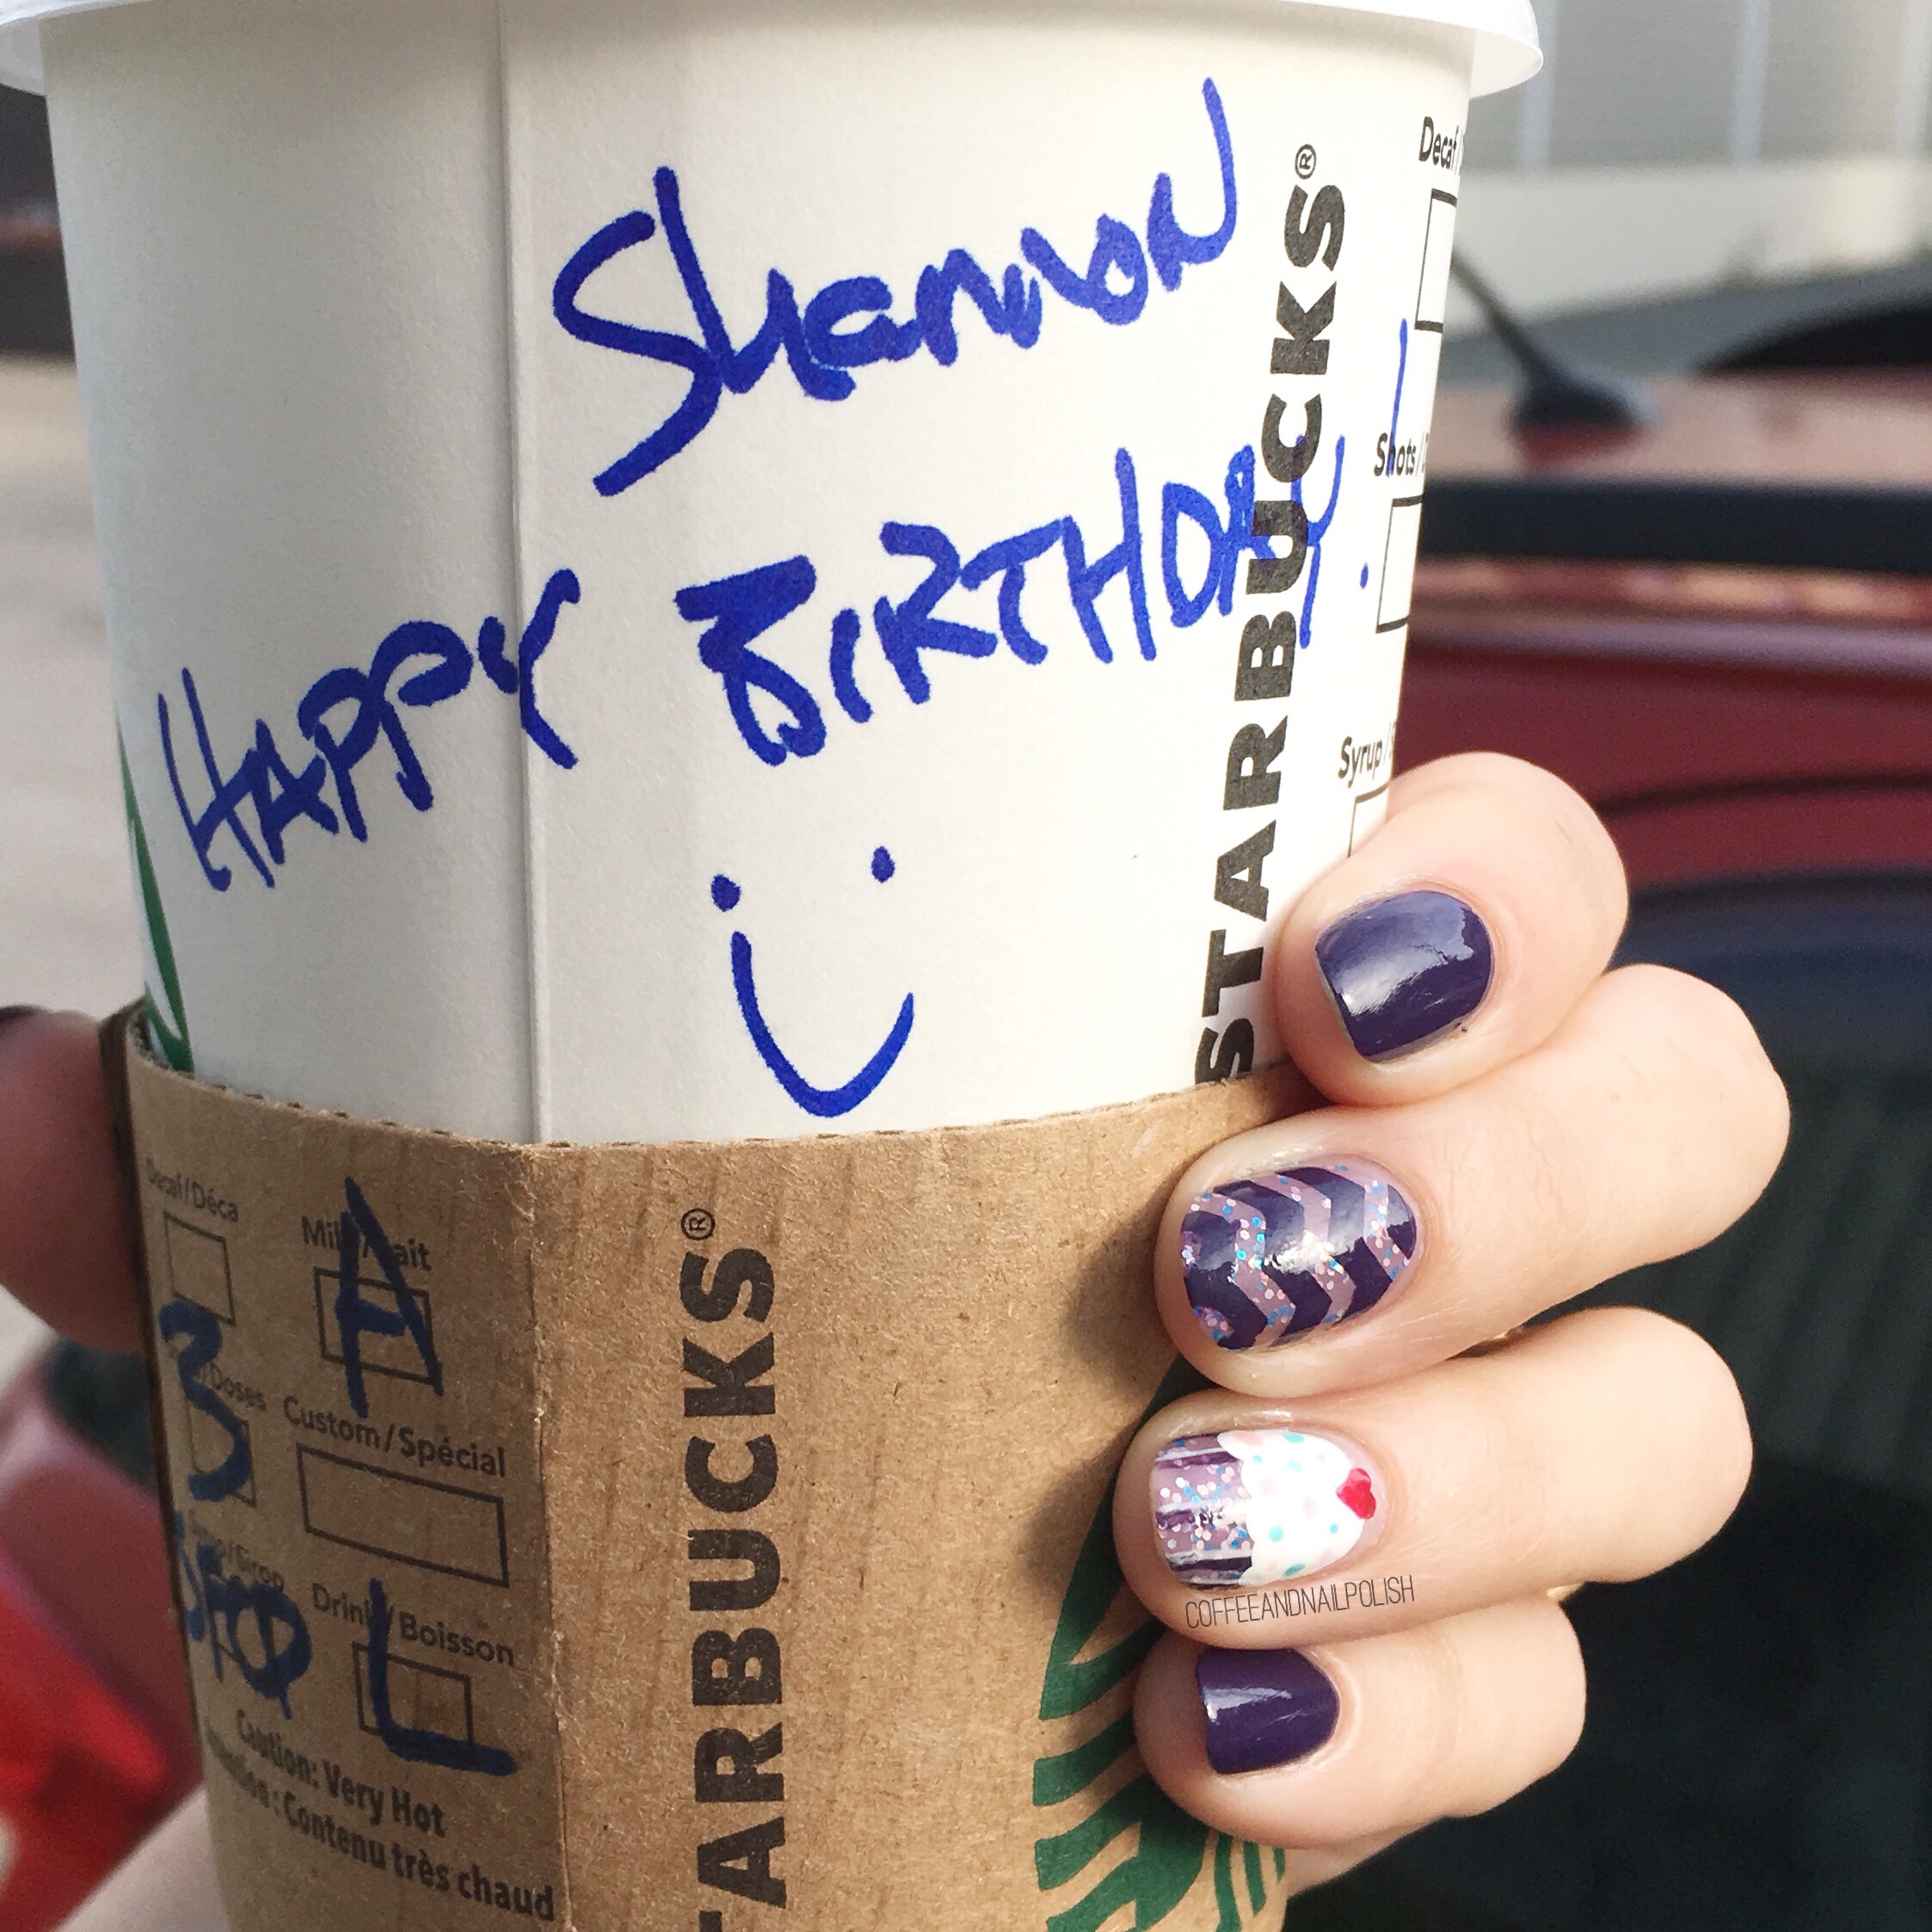
This week, I took a mini vacation with our Lil Bubs to visit my parents up in Northern New Brunswick. Usually when I travel I tend to bring an assorted variety of nail goodies with me, because I know I will need to change up my manicure. However, because I know my Mum has quite the stash of polish on hand (she’s started painting sea glass jewellery peices with it—I’ll share a picture at the end!) I decided to leave my polishes behind for the opportunity to play around with the many shades she owns.

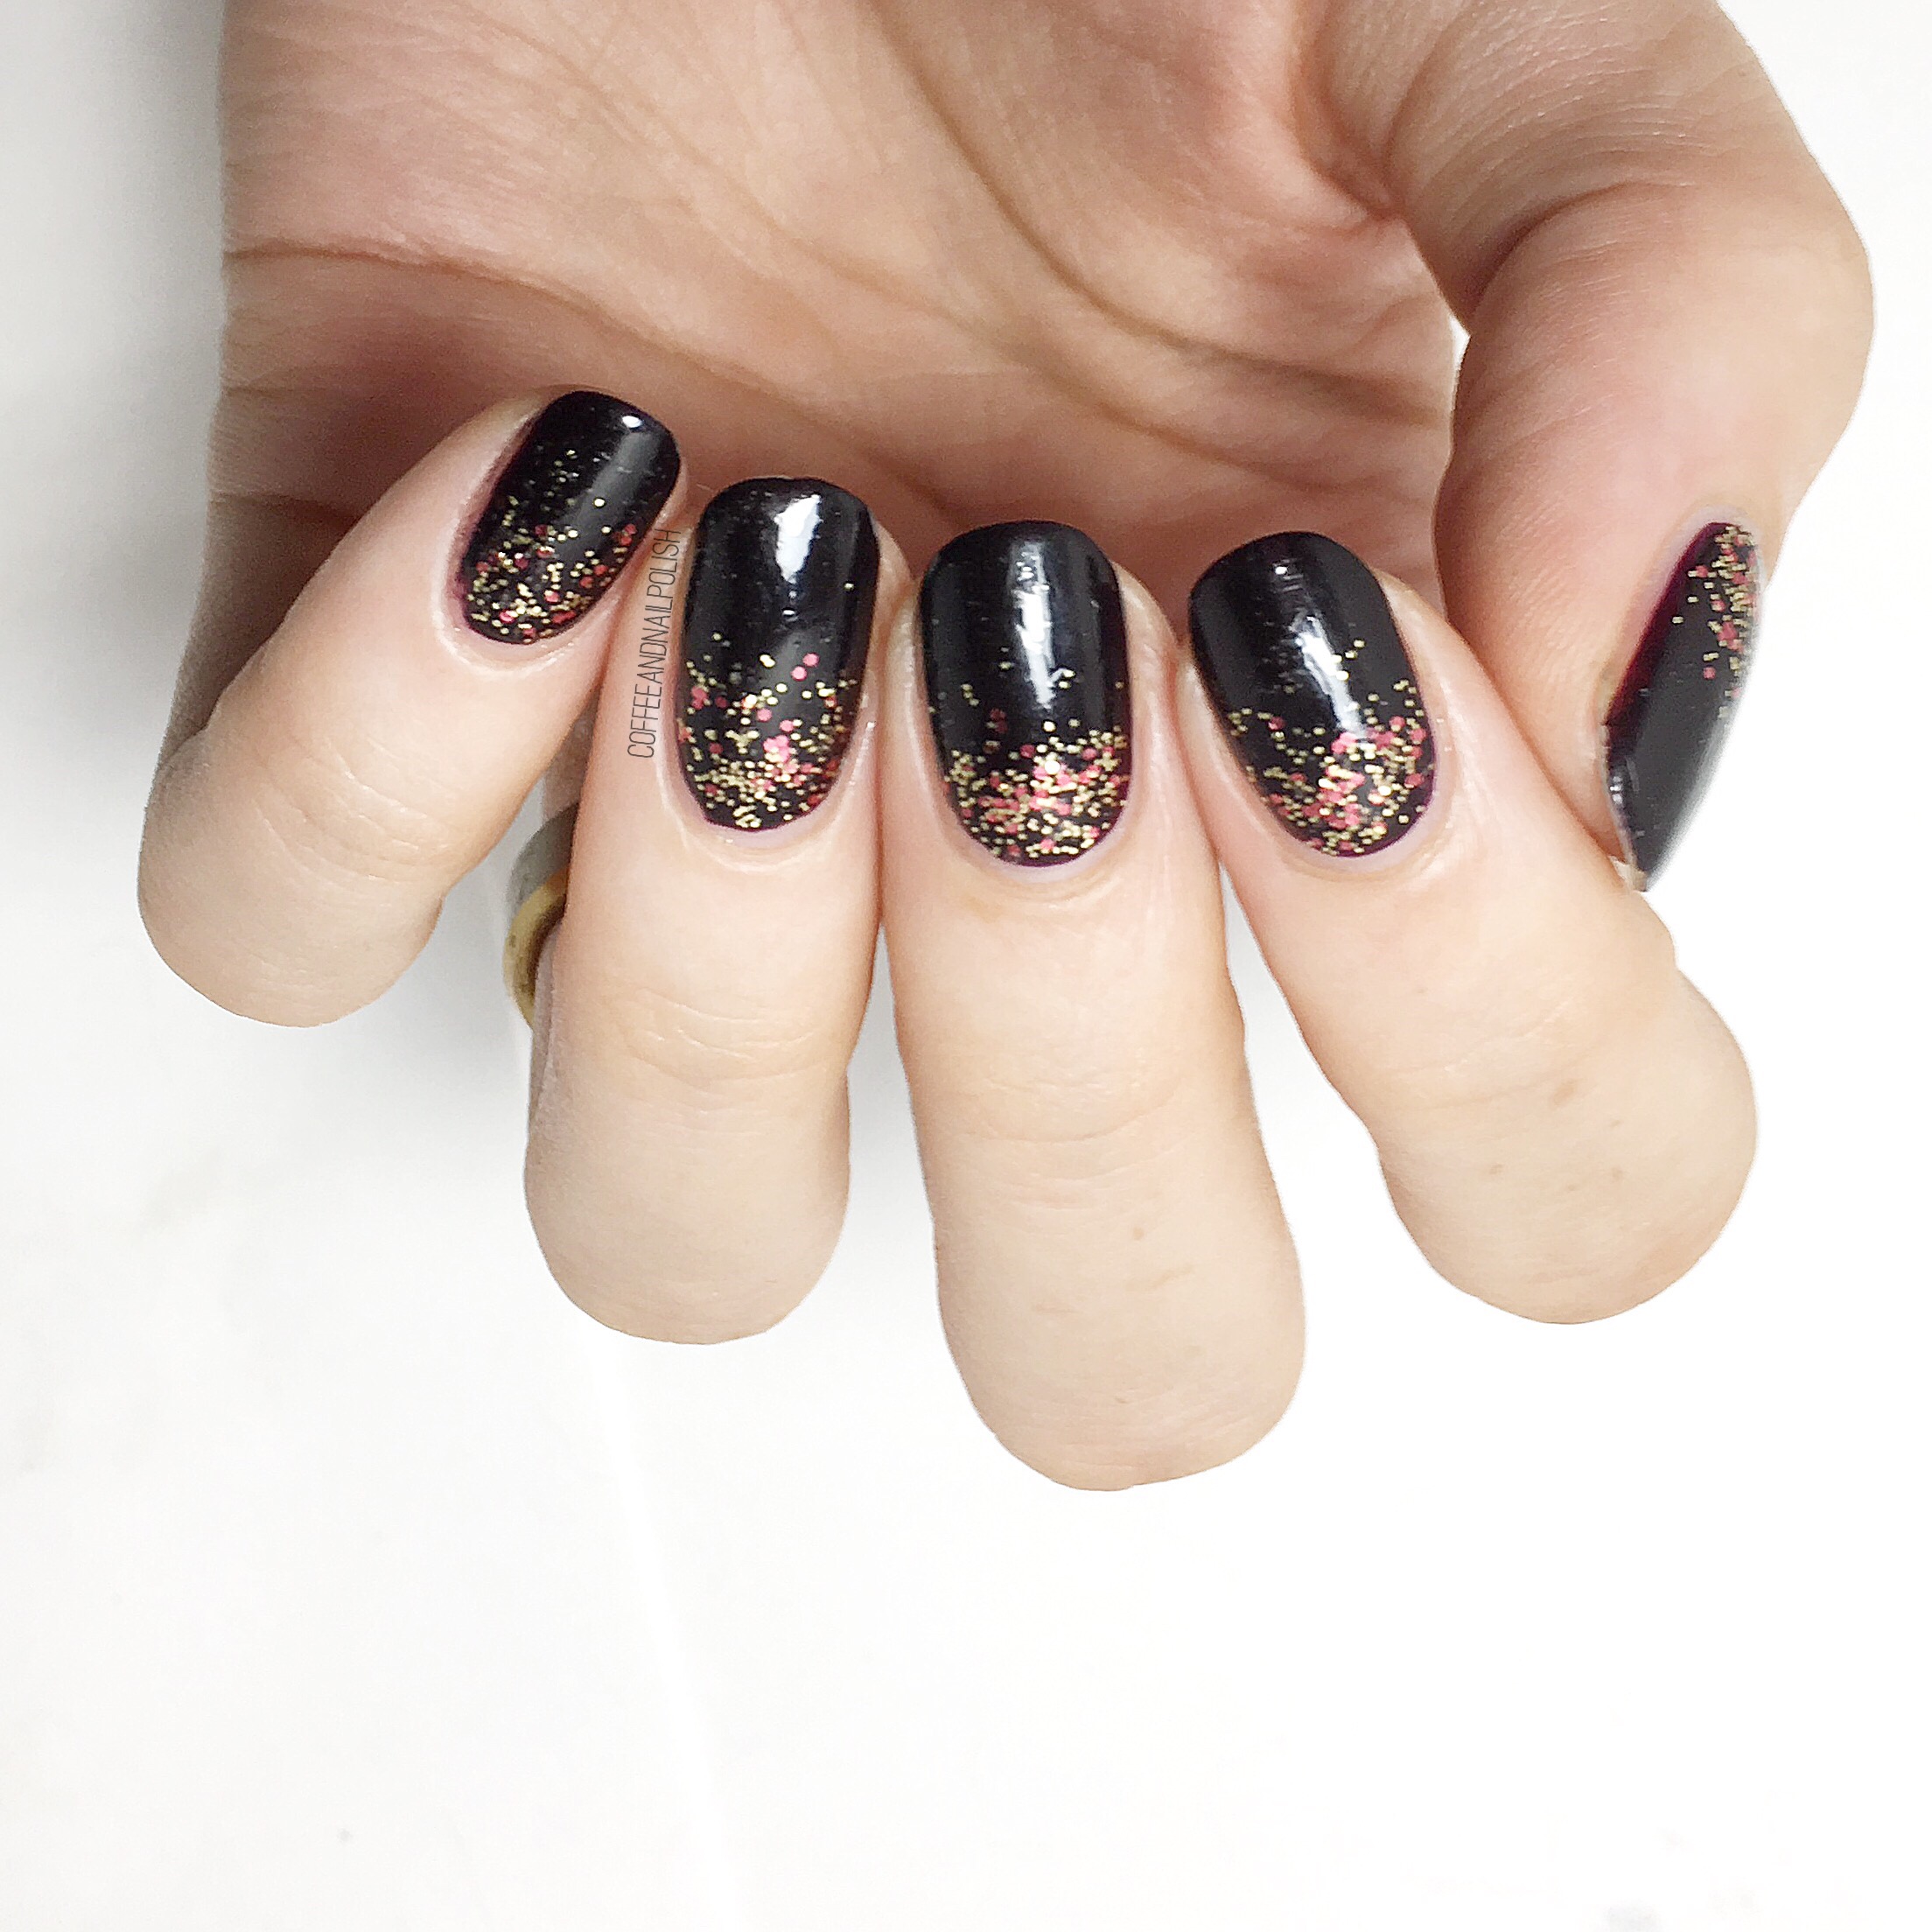
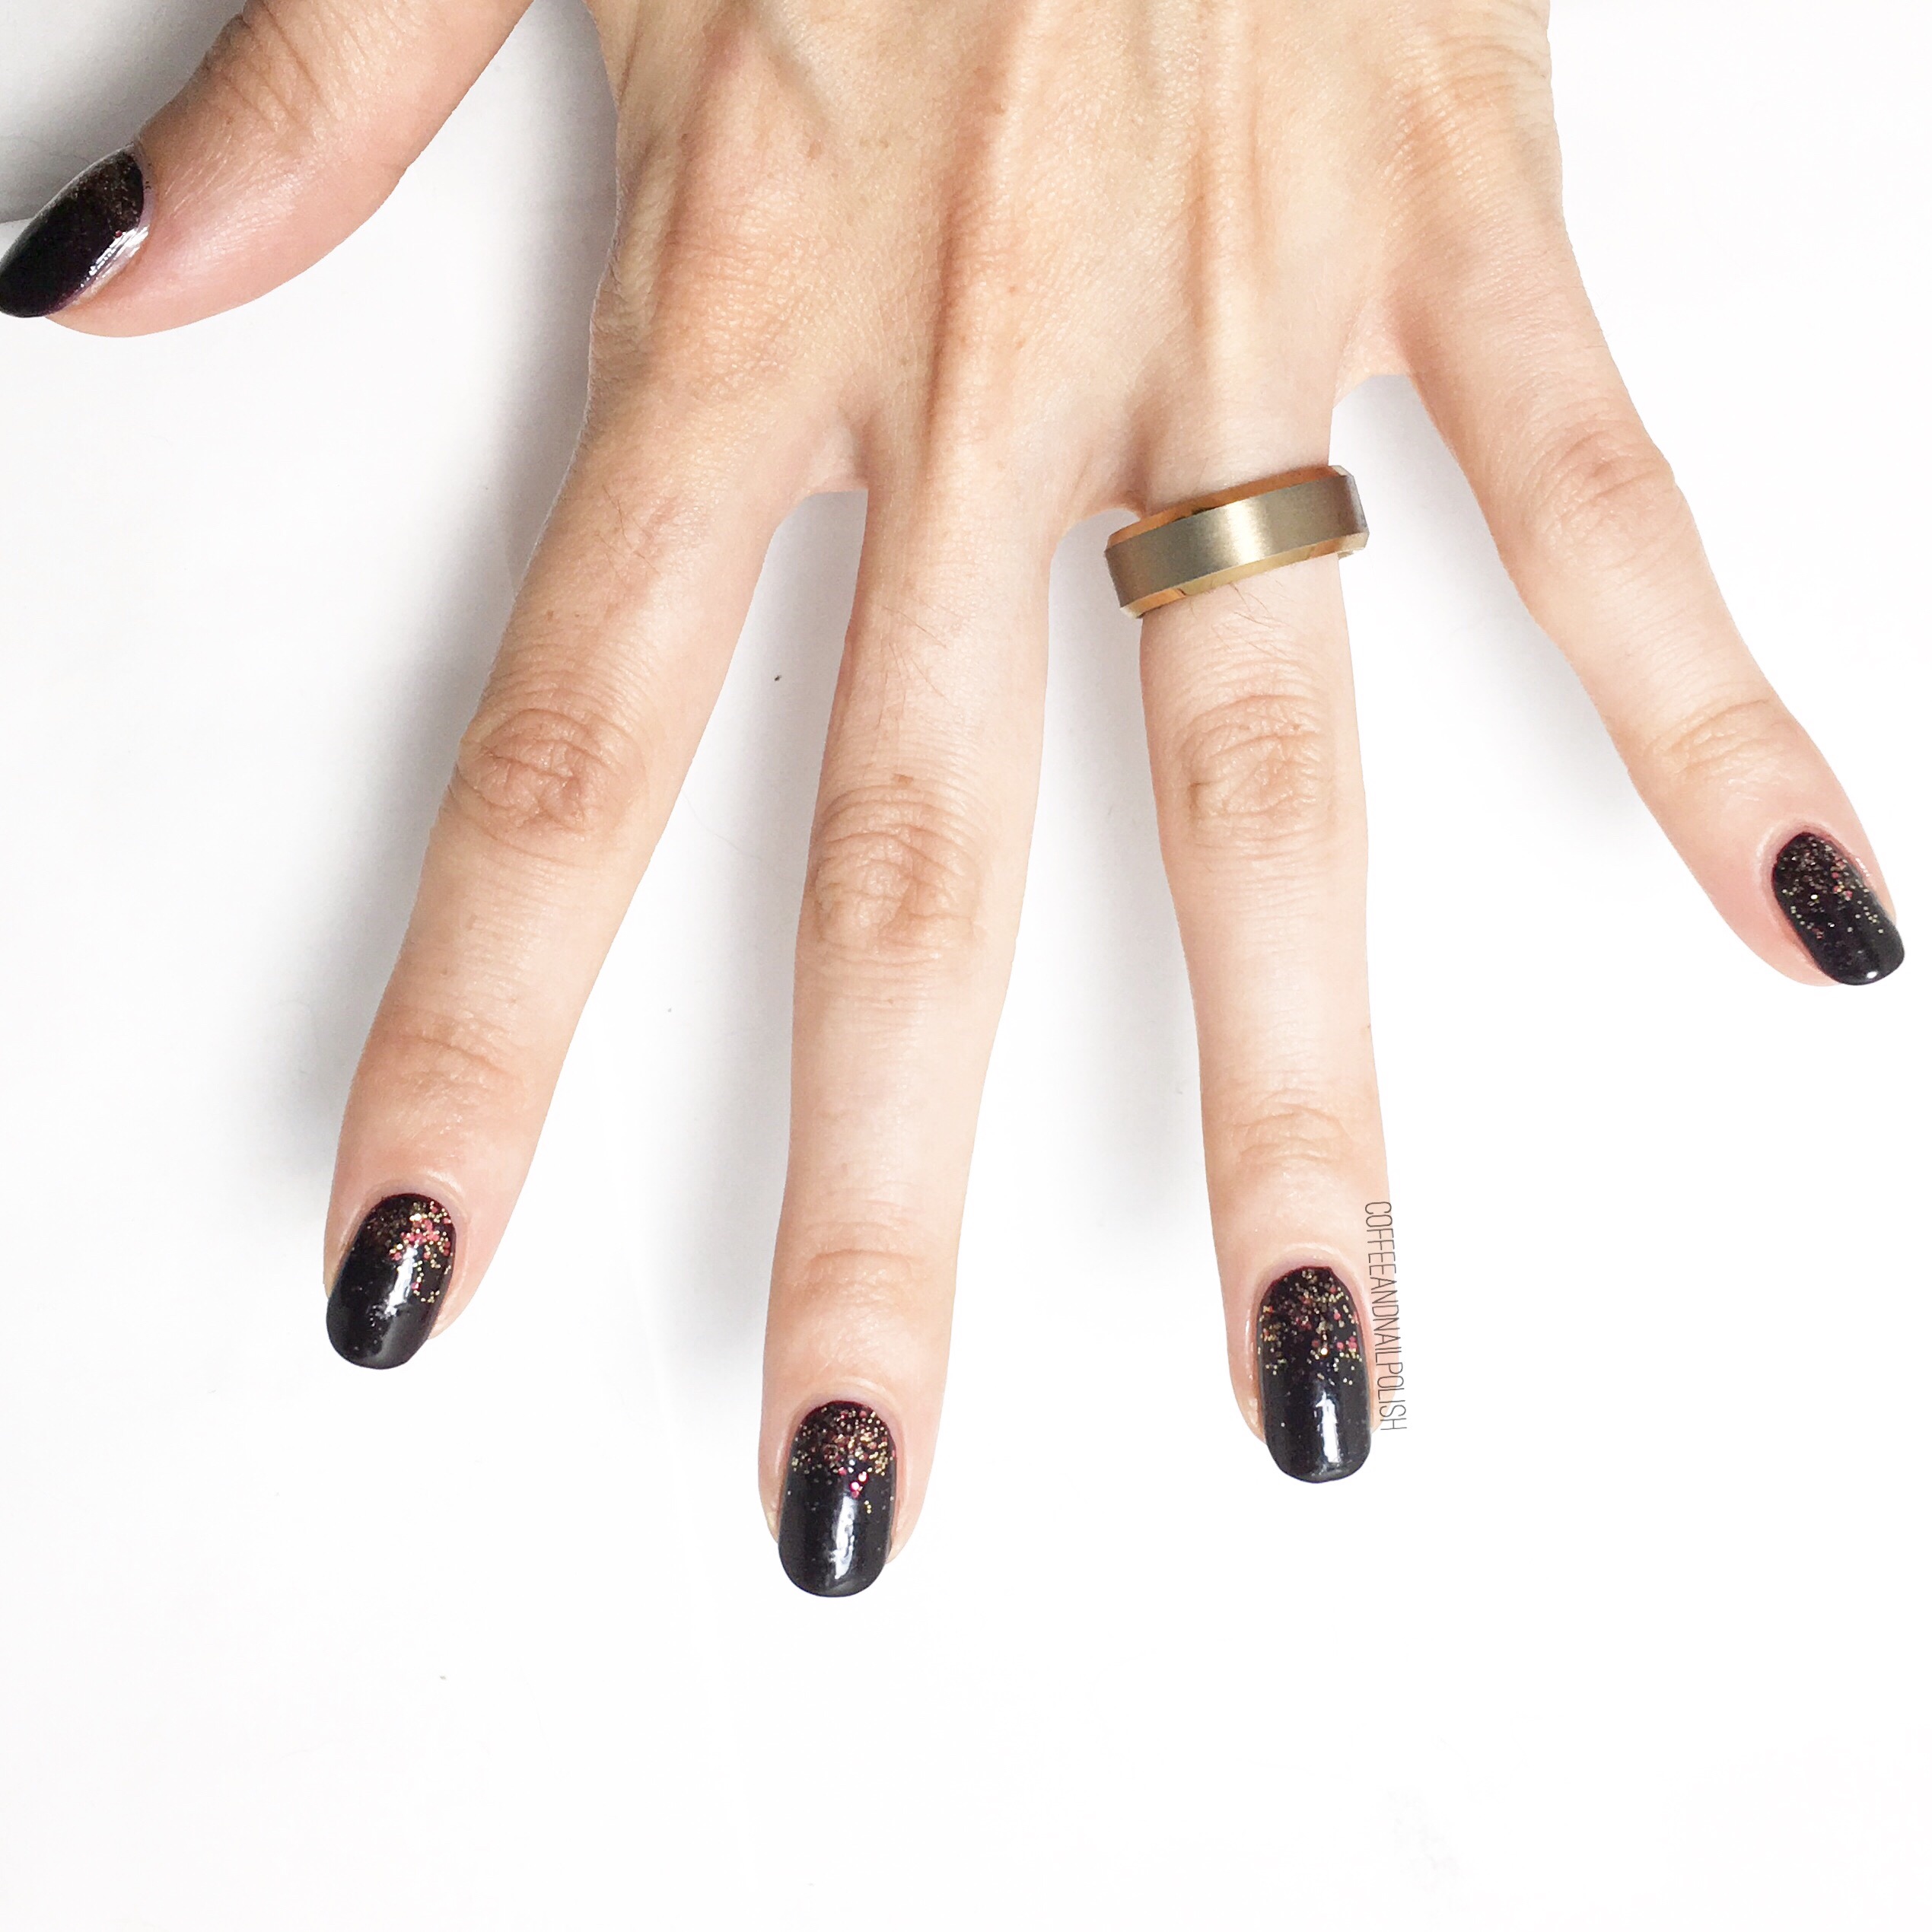
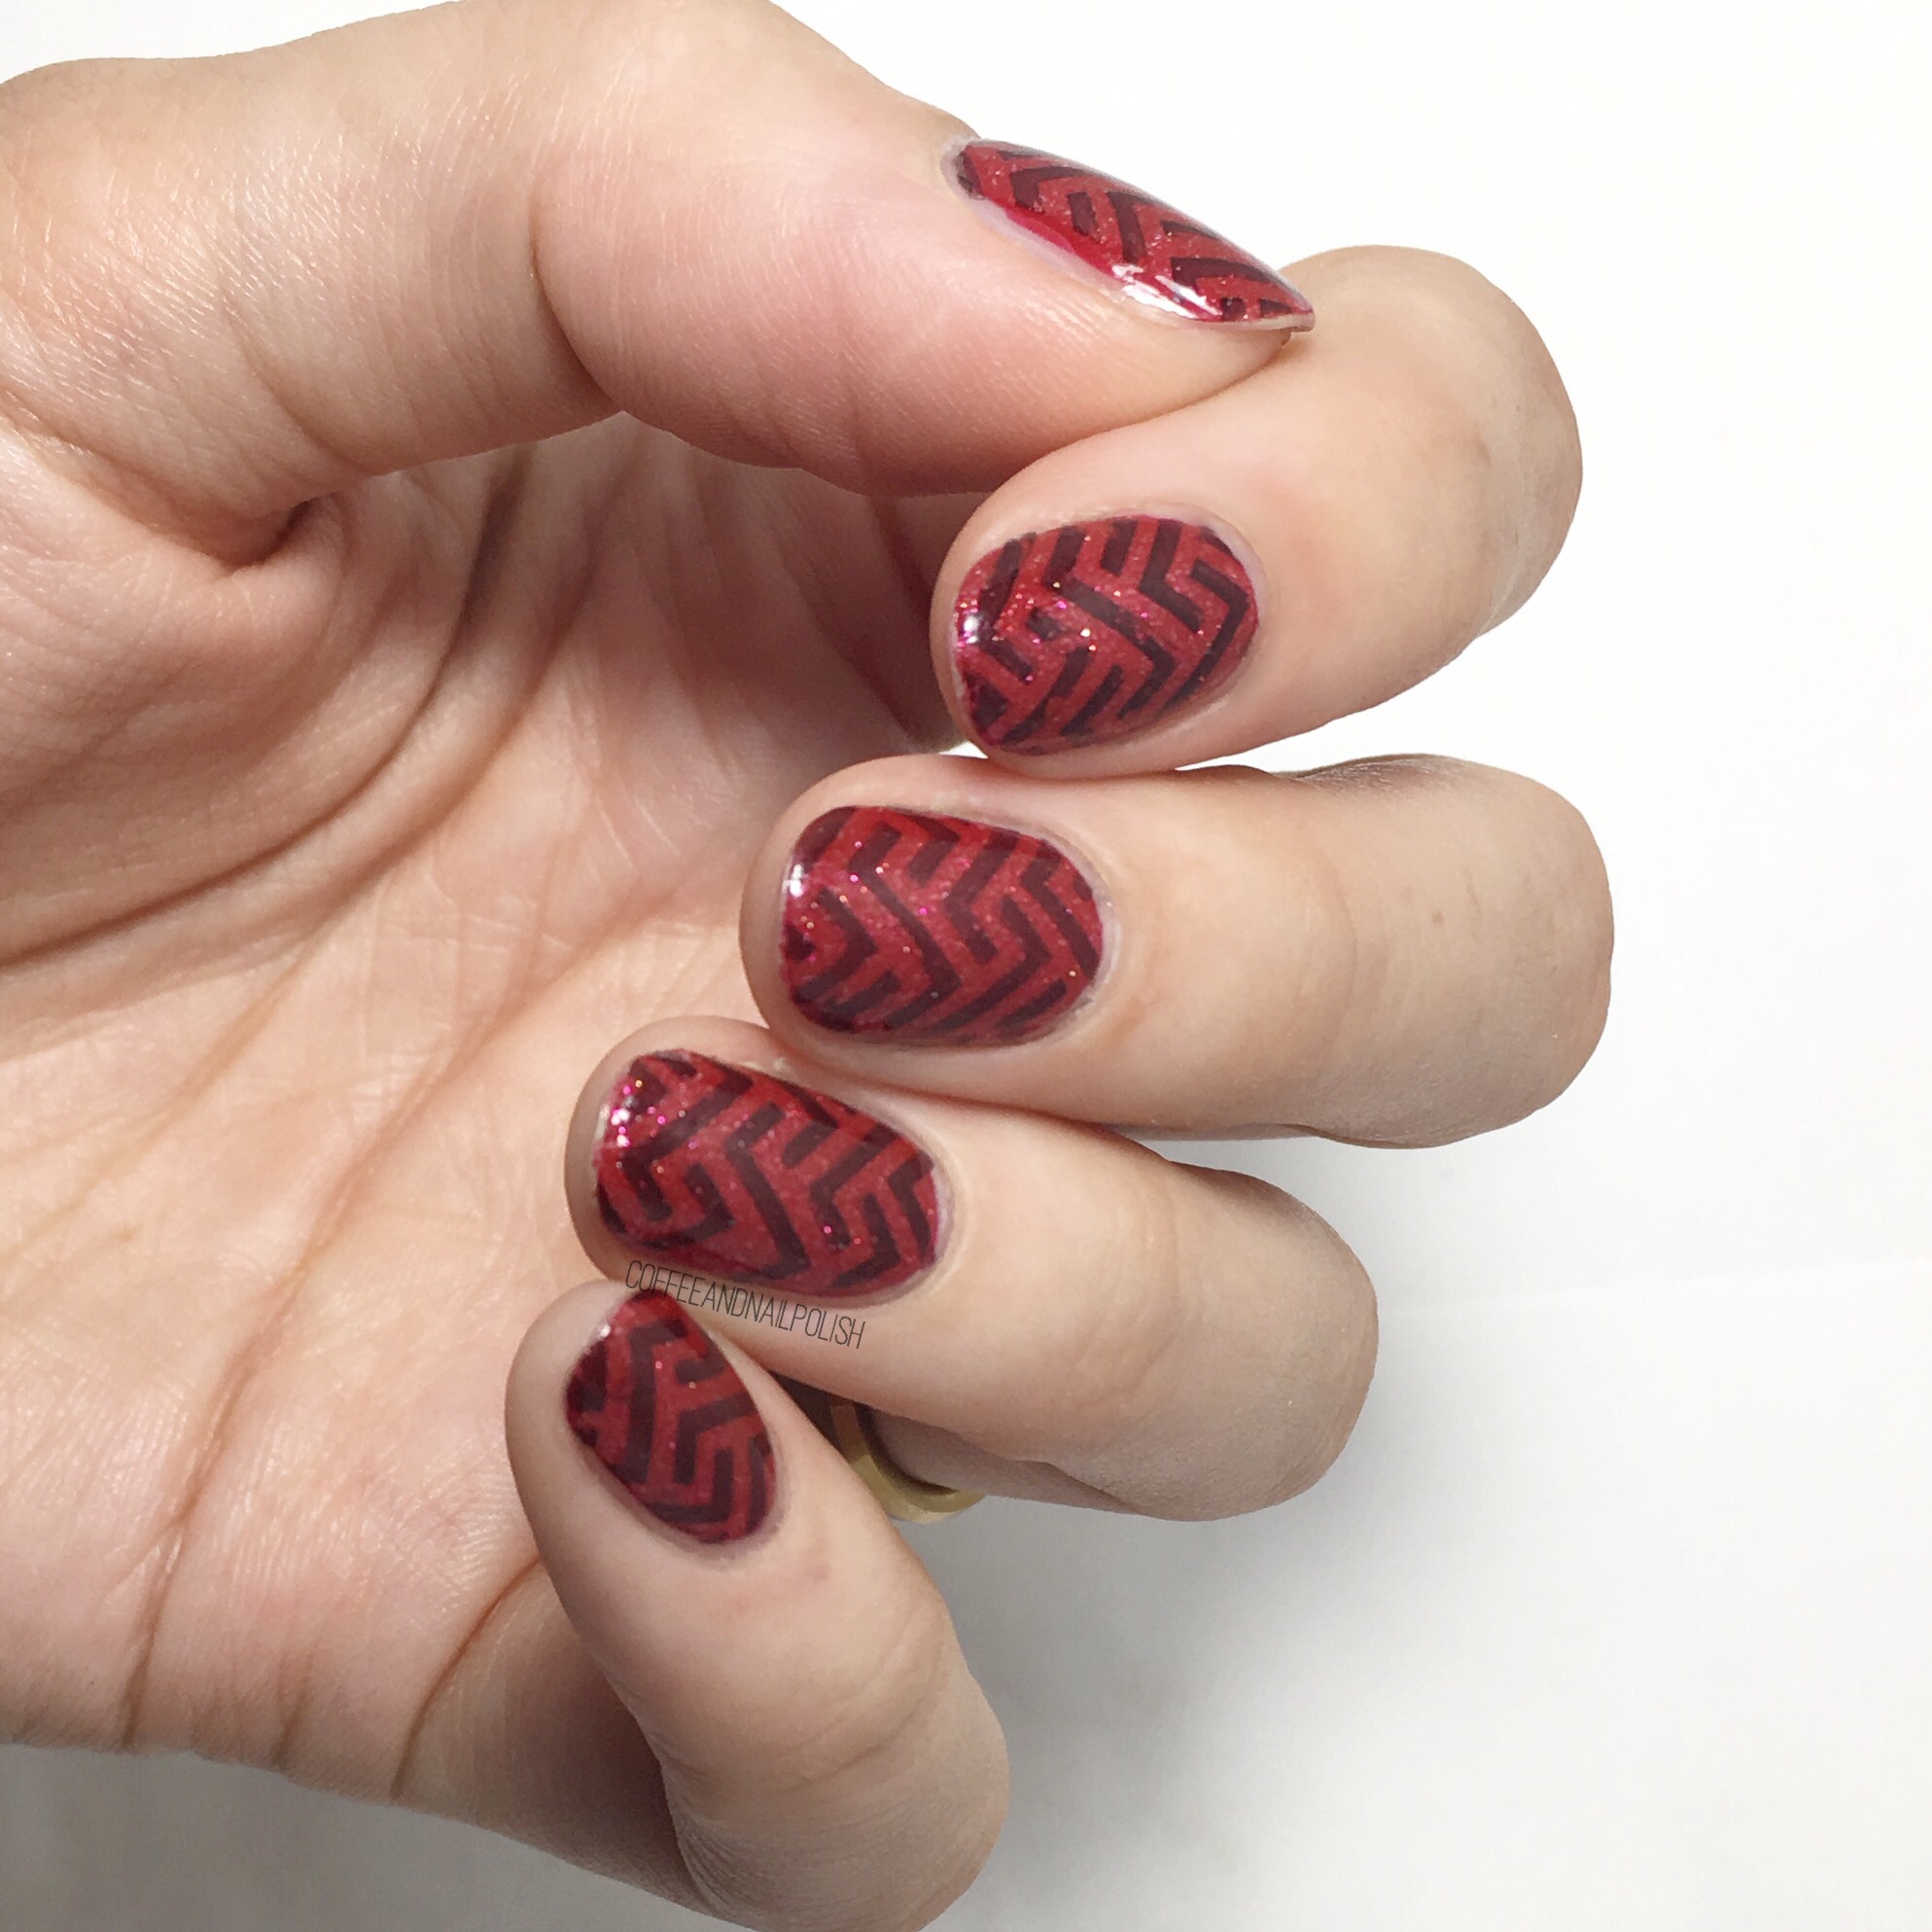
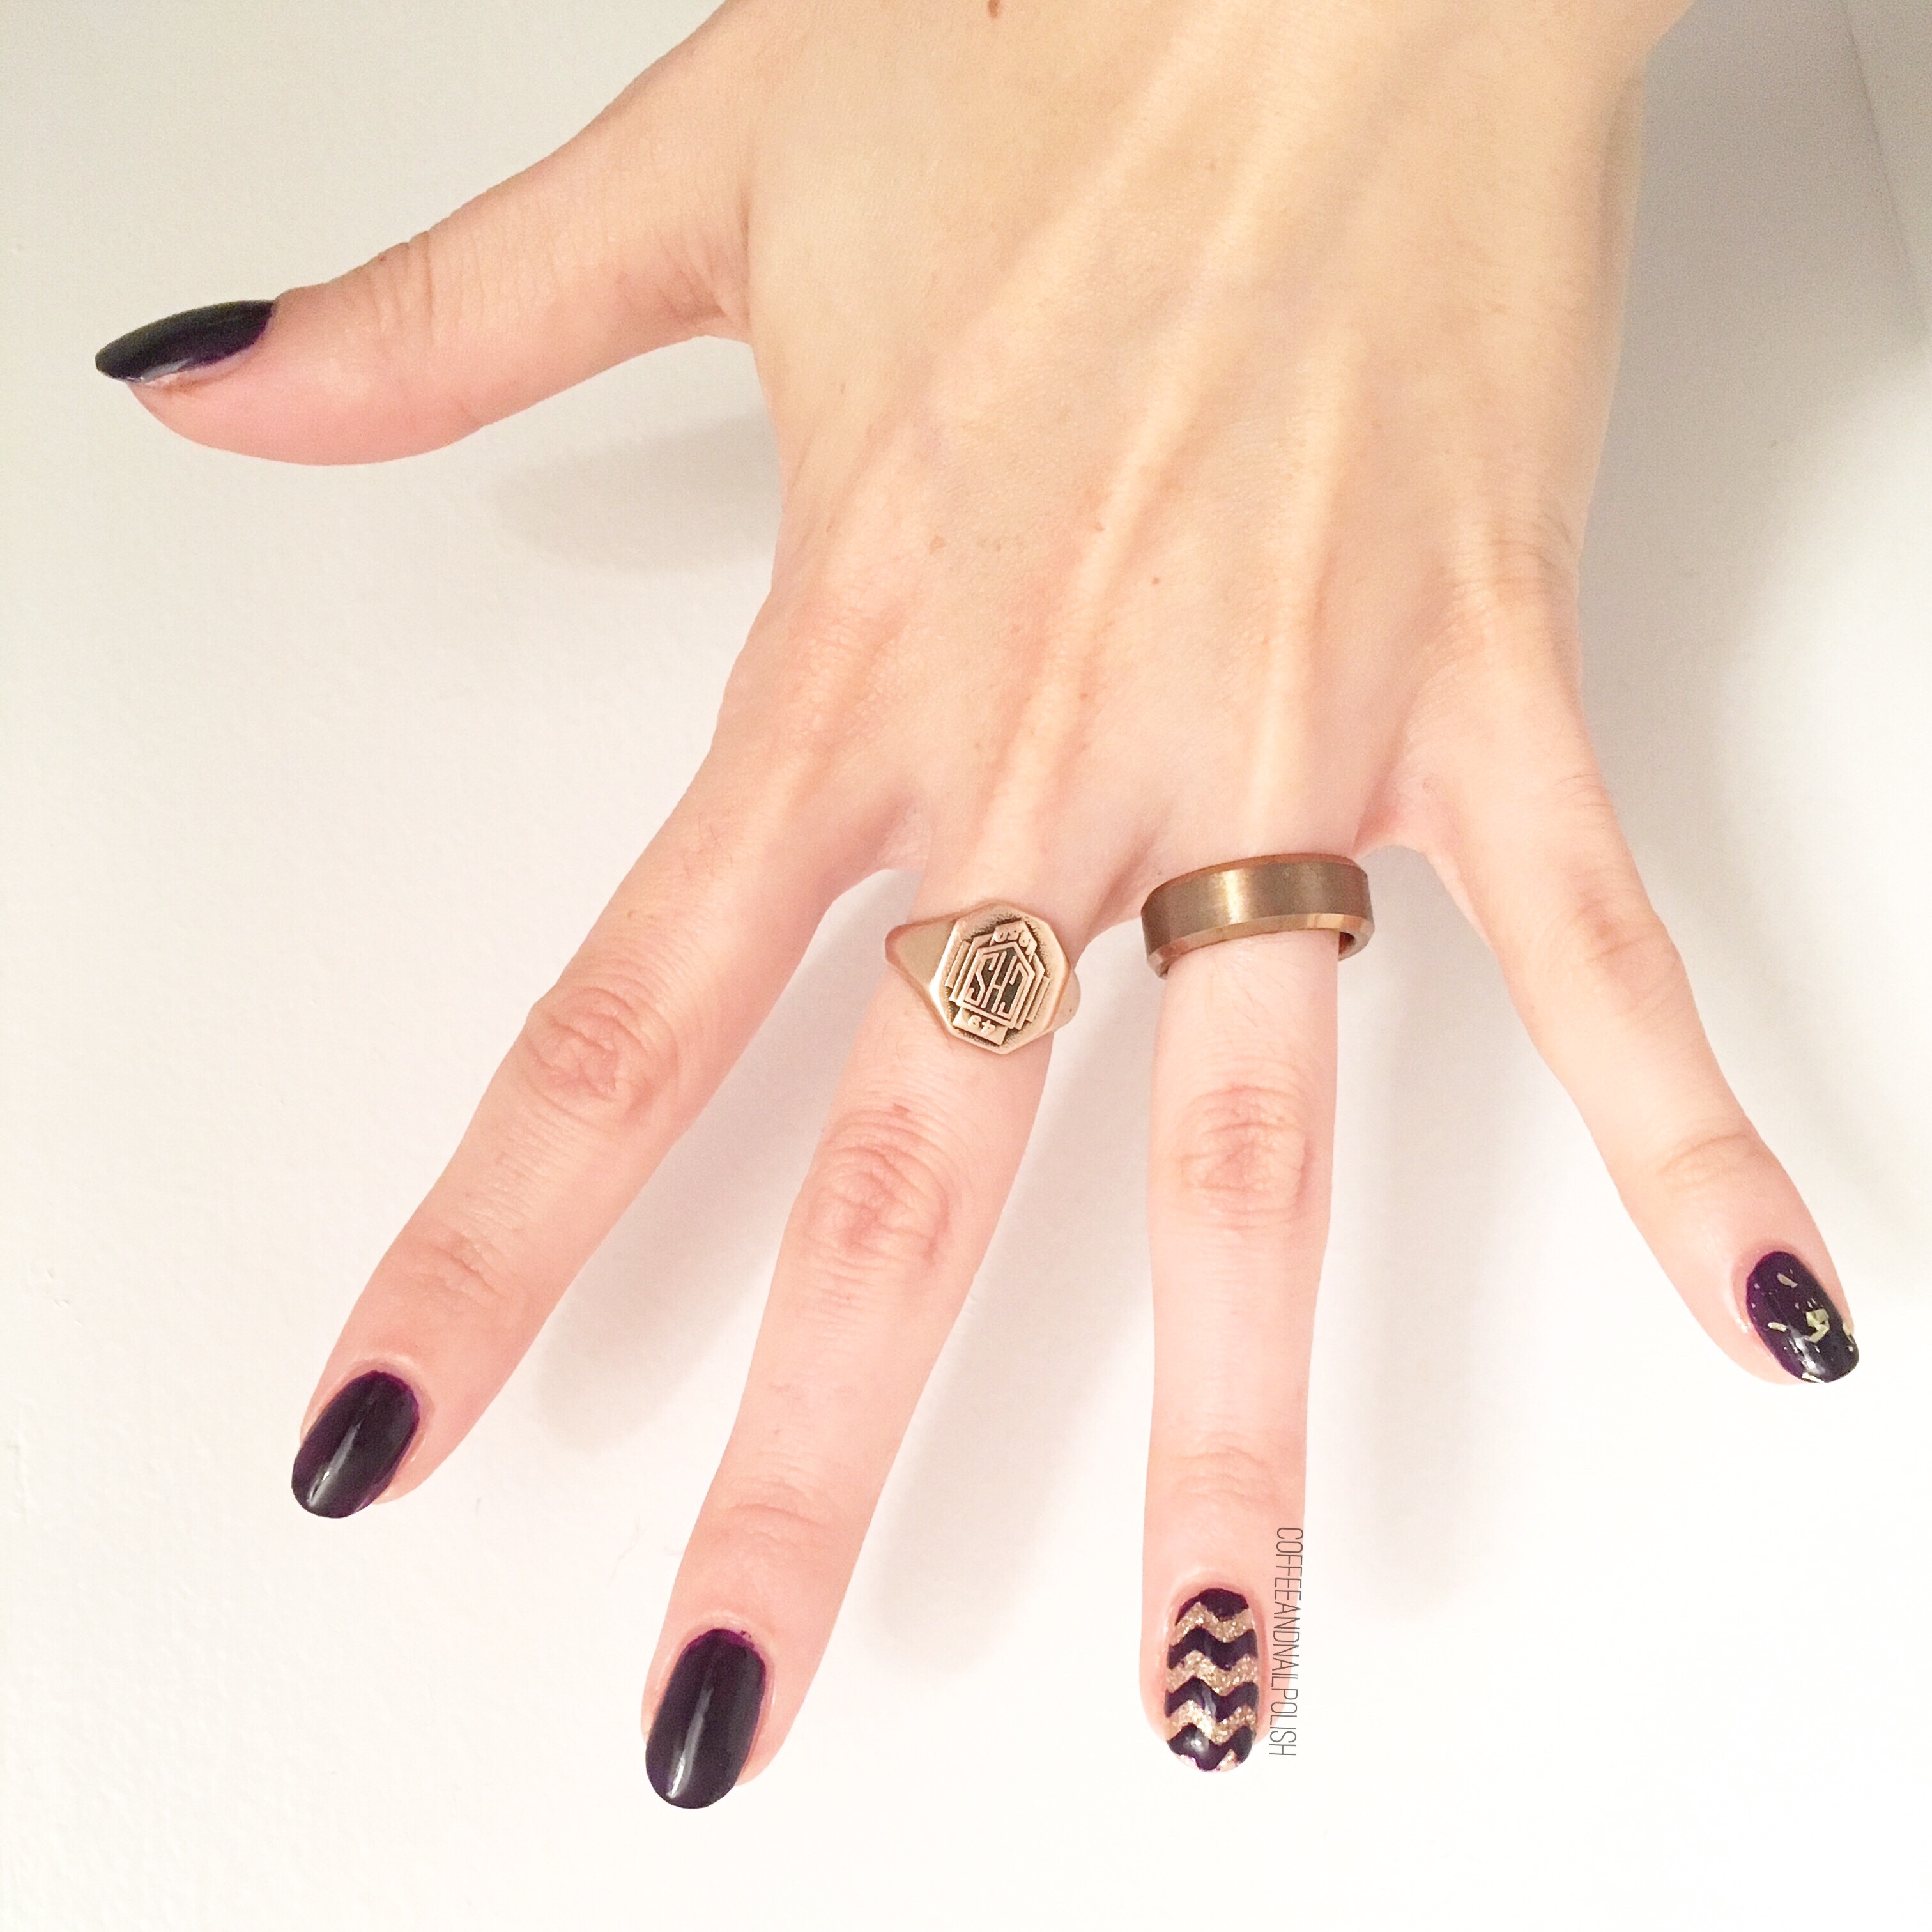
For this manicure, the polishes I used were:
- Base Coat: OPI Nail Envy
- Top Coat: Seche Vive
- My Beauty Spot unnamed dark purple
- L’Oréal Because I’m Worth It
- L’Oréal The True Gold Transforming Top Coat
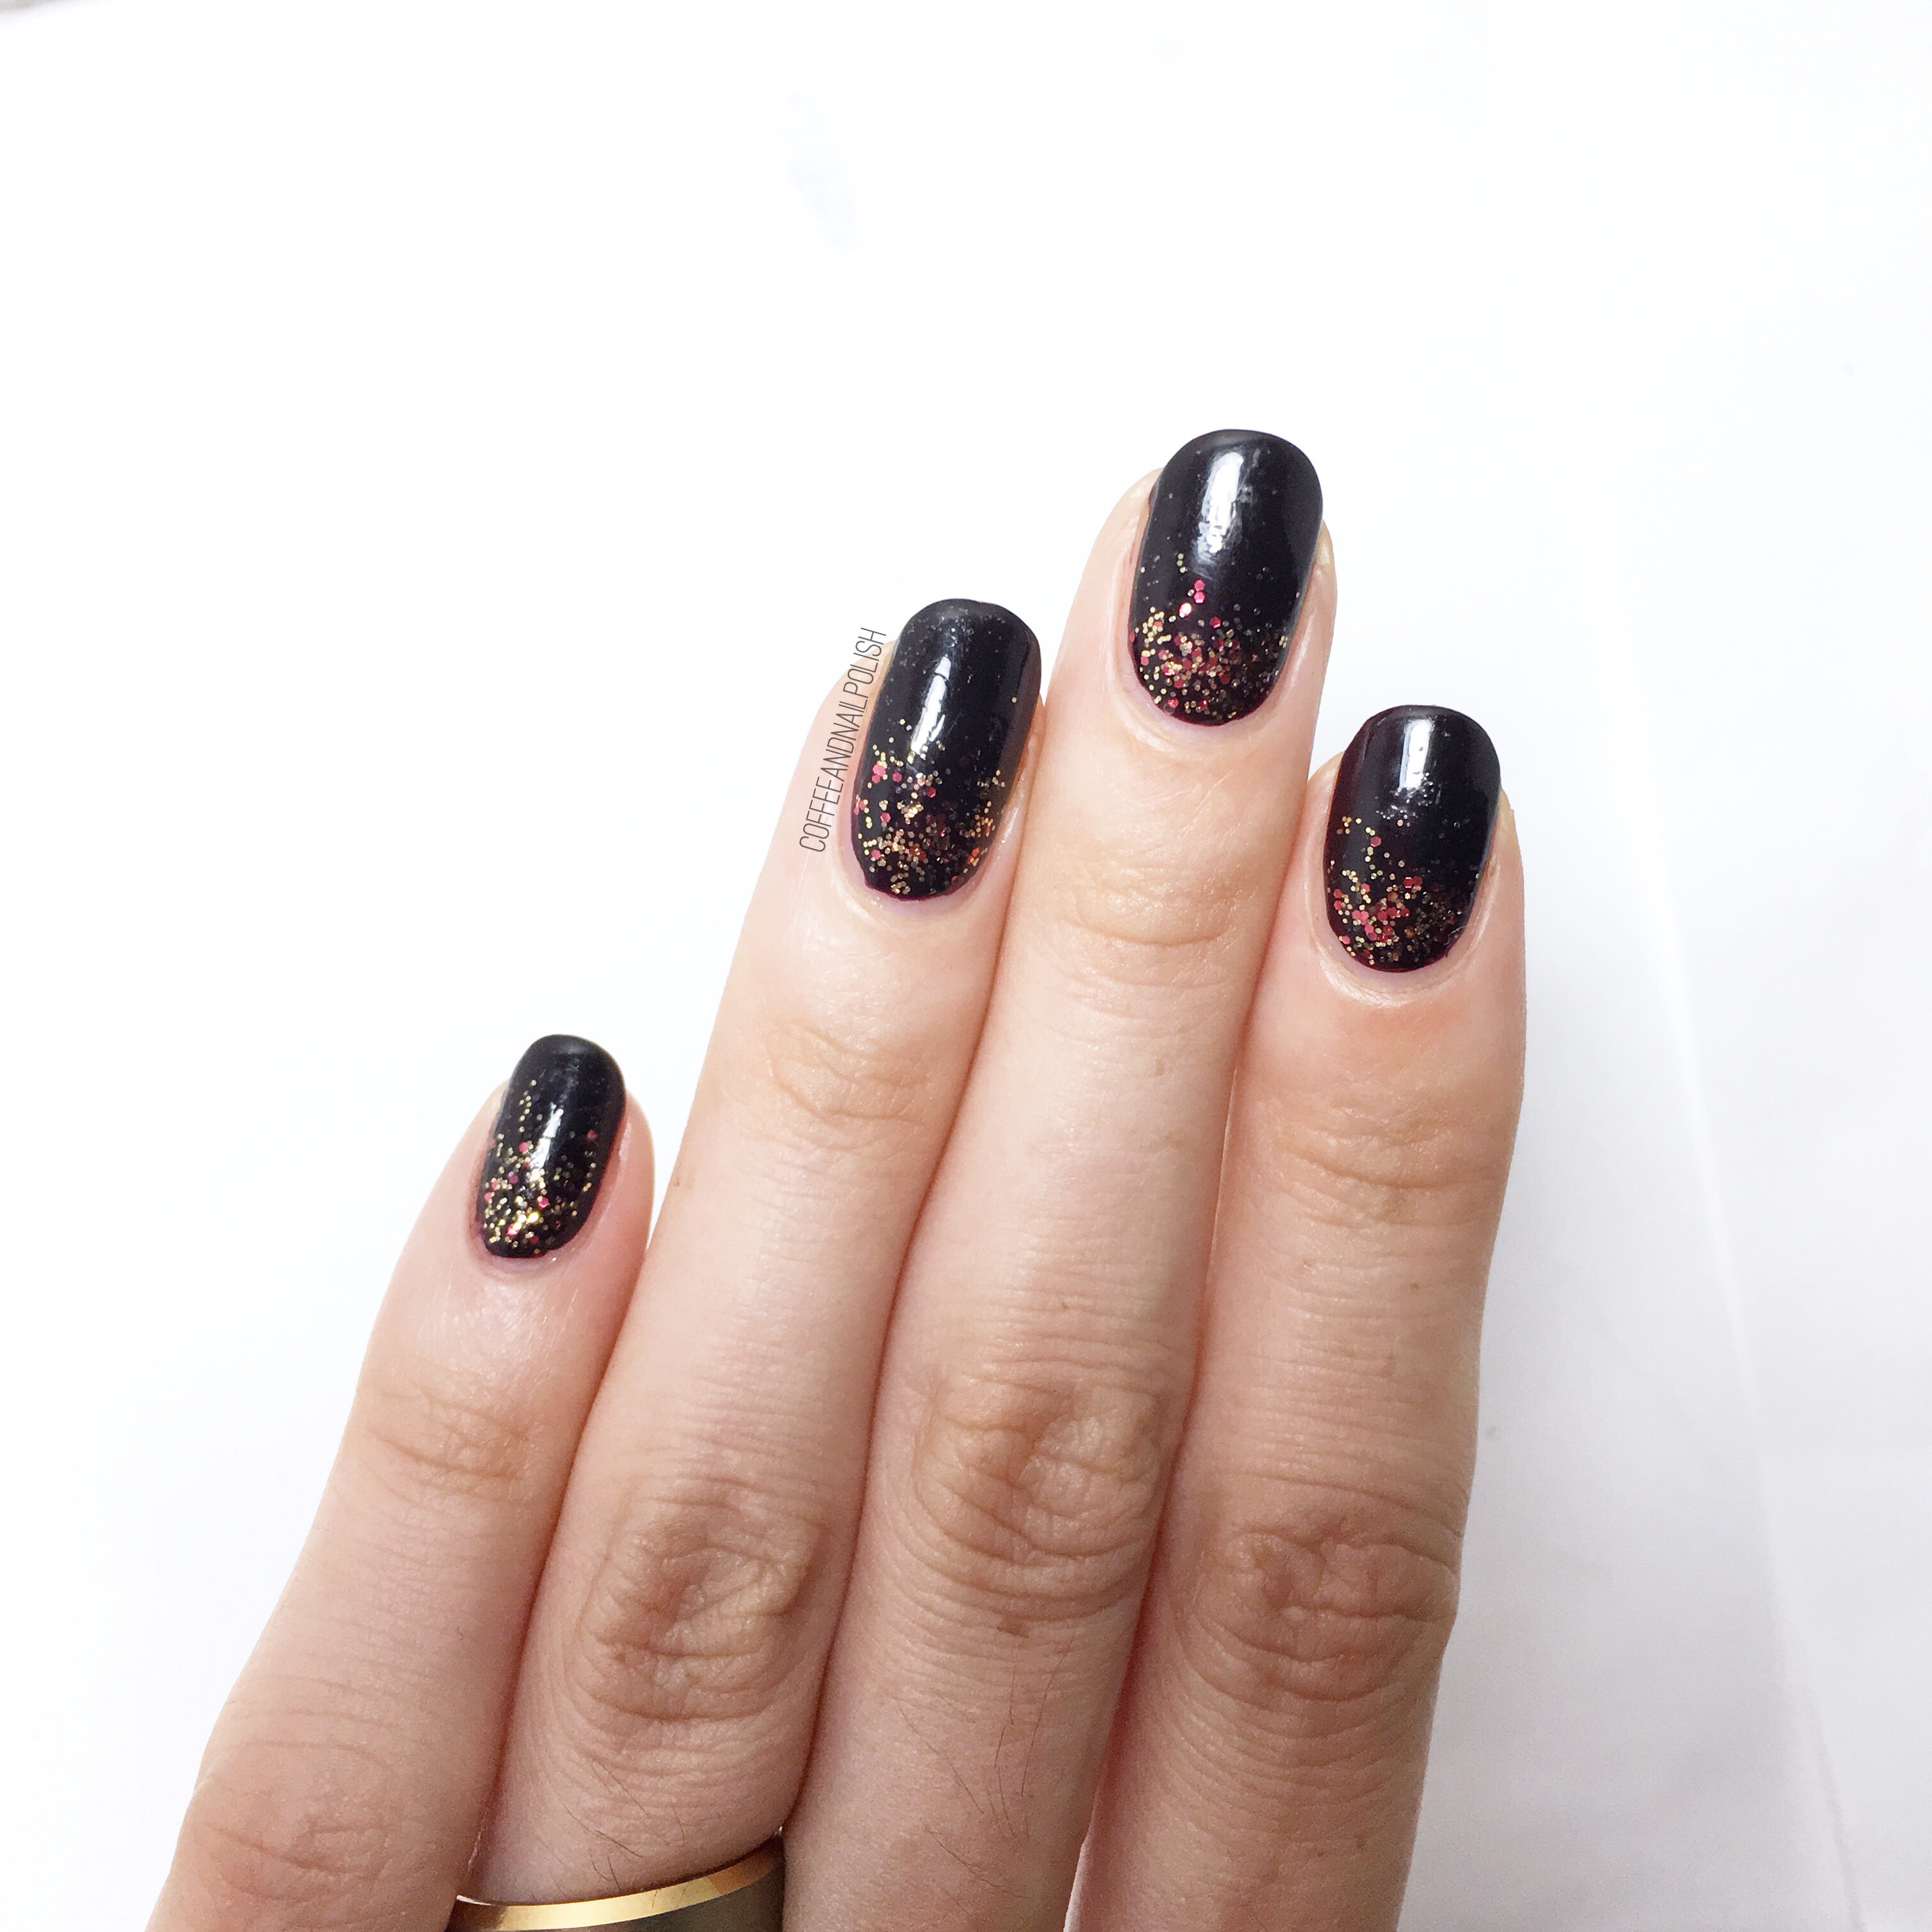
- Essence Metal Glam Steel-ing the Scene
- Kiss Products zig zag Nail Vinyls
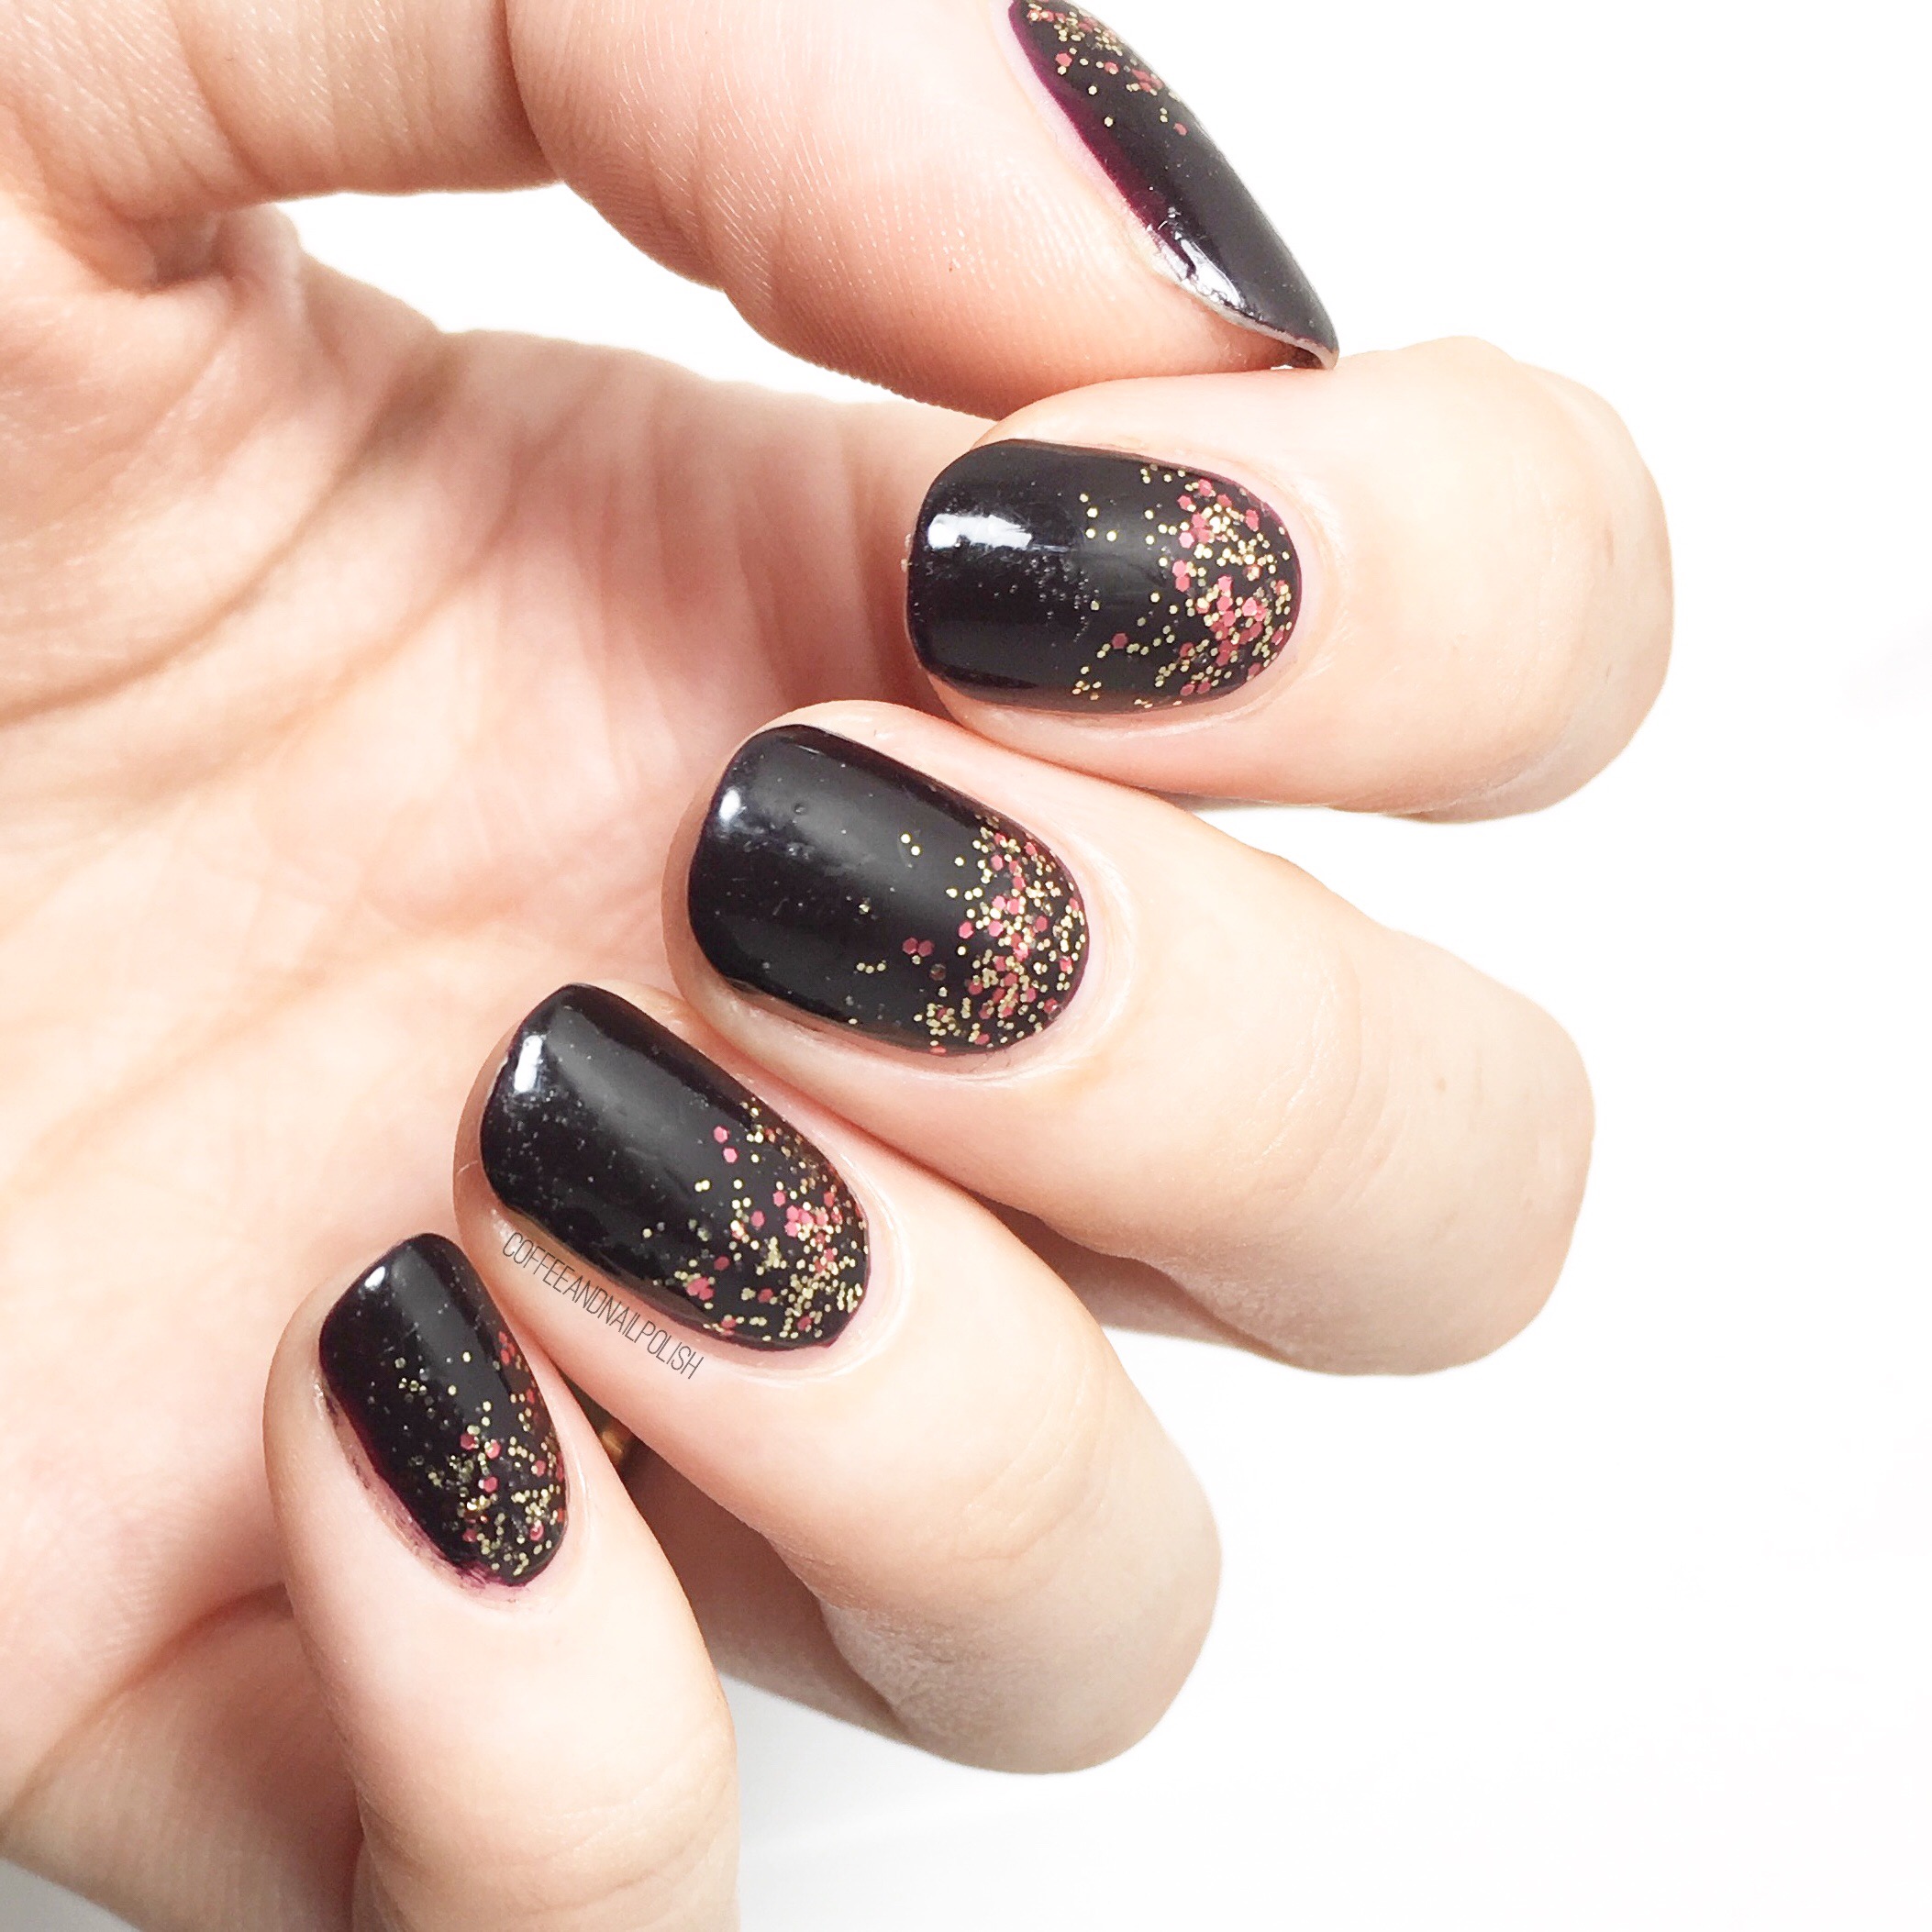
These are definitely Fall nails. I’ve been really feeling gold & purple lately (especially together). I also totally forgot how good Steel-ing the Scene looks over dark colours (I also have a bottle in my stash at home.) This is a great combination which sadly I couldn’t capture as well as I would have liked thanks to some fairly dull bathroom lighting. Even still, I really dig how this mani turned out. At first I wasn’t quite sure but the more I stared at it, the more I like how everything came together.
& just for fun, here is one of the beautiful pieces of sea glass my mum painted (using nail polish!) for the jewelry she’s been making. I have a couple pieces she’s made & they’re such pretty statement pieces.

What do you think of this vacation design? Do you do your nails while on vacation or stick with what you leave with? What are your vacation nail essentials? Let me know in the comments below!