Mermaid Nails using NailStuff.ca Aqua Collection Flakies

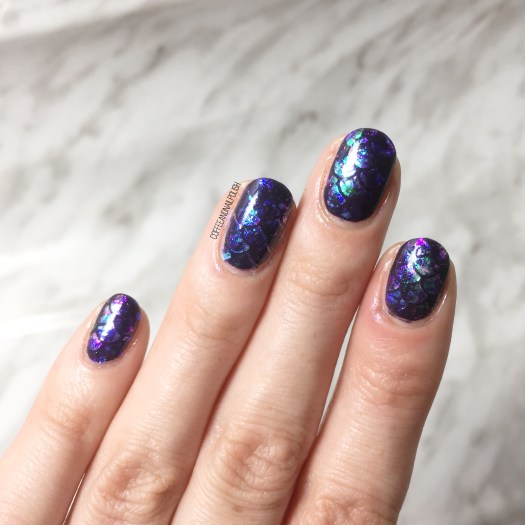
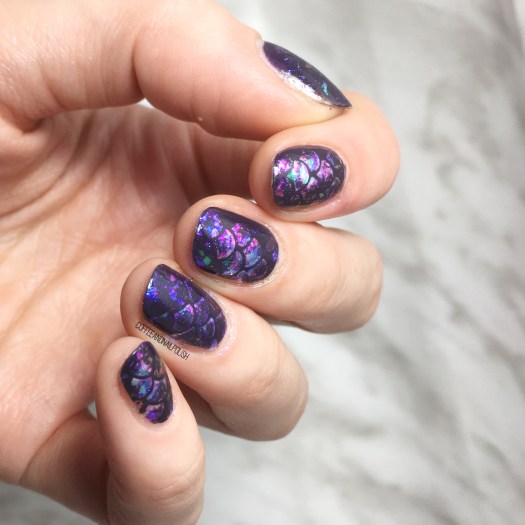
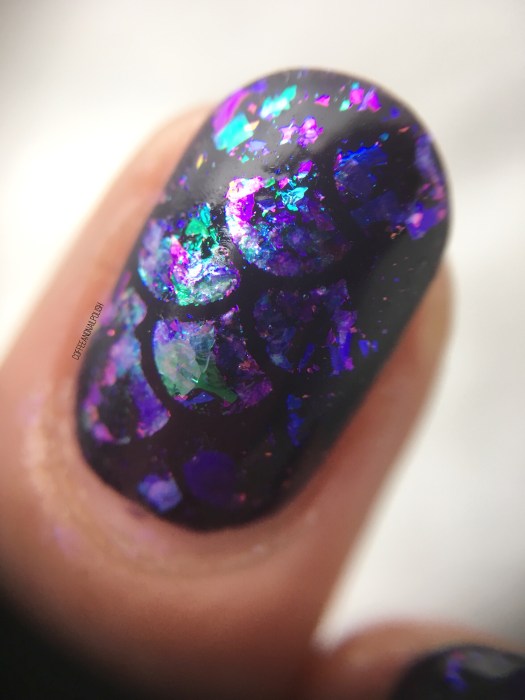
Happy Saturday! Today I’m sharing one of the prettiest designs I think I’ve ever done–a mermaid design using the Aqua Collection flakies from NailStuff.ca. It felt like ages since I created mermaid nails, & those flakies were just sitting there staring at me, waiting to be used. I couldn’t decide which colour to use so I decided why not use all three! & the end result is pretty much the prettiest nails I’ve ever worn!

For this manicure, the products I used were:

  • Base Coat: Nailtek 2
  • Top Coat: Seche Vive
  • Essie After School Boy Blazer
  • Fingerprints Peel Off Base Coat
  • Nailstuff.ca Aqua Collections flakies (Mermaid, Lagoon & Abyss)
  • What’s Up Nails Scale Vinyls
  • Edge Perfection Cuticle Barrier

These were surprisingly easy to do–I applied my base colour (Essie Under the Twilight) & my top coat & let it dry completely. When my base was completely dry, I applied my vinyls to each nail & then went over top with Fingerpaints Peel Off Base Coat. I’ve found that using it helps adhere the flakies best. Without waiting, I then dipped my sponge (that comes with the flakies) into each pot & rubbed the flakies over top in certain spots. I then repeated it again using the other two pots of flakies. When I felt like I had filled in the vinyls enough, I removed them immediately, & finished off the design with top coat.

Just look at that macro! It looks like jewels on the nail. I’m seriously in love. My only regret is that I didn’t think to top it with matte top coat before I removed them. Can you imagine how pretty they would have looked matte?

what do you think of this design? Do you see mermaid nails or dragon nails? Let me know your thoughts in the comments below!
*PR SAMPLE* Some of these items were sent to me for review. However, all opinions are my own.

Gold Flakie Glitter Placement

Happy Saturday lovelies! Hope everyone is having a wonderful first week of 2018. Today I am super excited, not only because I have these super cute flakie nails to share, but I created a tutorial for you… a VIDEO tutorial! I’ve been toying with the idea of creating videos for a while, but kind of nervous how doing it. But 2018 is all about challenging myself when it comes to this blog! & honestly, it turns out wasn’t as scary as I thought it would be! It’s actually kind of fun. ♥️

<<
oducts used for this manicure:

  • Base Coat: Nailtek 2
  • Top Coat: Seche Vive
  • Morgan Taylor Don’t Toy With My Heart
  • Nailstuff.ca gold foil flakies
  • Dotting tool (mine is from Bundle Monster)

<

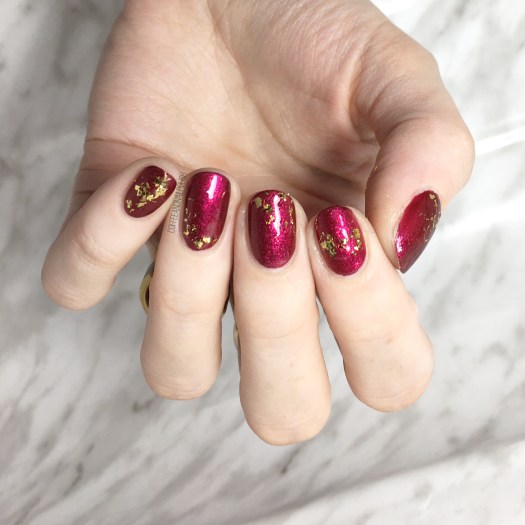
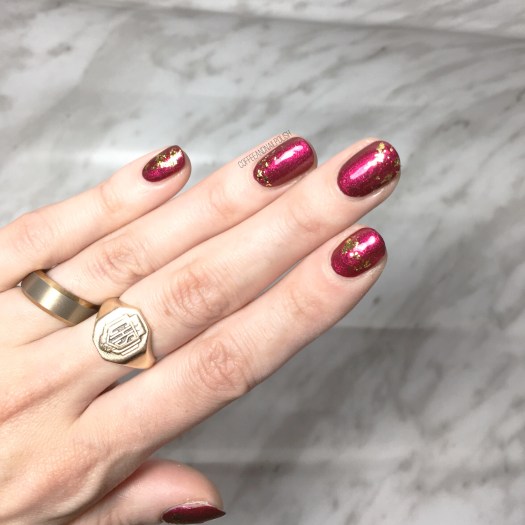
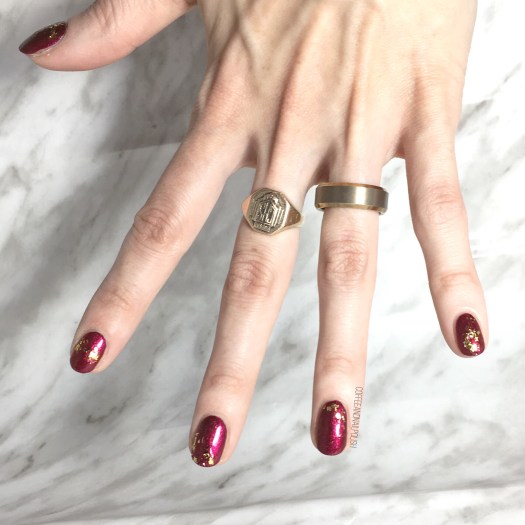
I always love a good glitter placement, & I thought these gold foil flakies from Nailstuff.ca paired so well with the red base of Morgan Taylor Don’t Toy With My Heart. It’s a little different trying to place flakies verses glitter from polish, but the end result looks just as gorgeous. I’ll definitely be trying this look with a few of the iridescent flakies I own.

A close up of these nails shows how cool the flakies look. I’m definitely going to be using this technique more often!

what do you think of this glitter placement design? I plan on making more tutorial videos, so let me know what you’d like to see & anything I can do to improve!

*PR SAMPLE* Some of these items were sent to me for review. However, all opinions are my own.

<These polishes were all gifted to me by Morgan Taylor as part of the Preen.Me #PreenMeVIP program>

Morgan Taylor Little Miss Nutcracker Collection

Happy 2018 Everyone! ✨ I know I’ve been a little quiet over Christmas, but we spent it up in Northern New Brunswick with my Mum & Dad & Granddad & I decided because it was Lil Bubs first Christmas I wanted to be in the moment completely, hence putting the blog aside for a little while to enjoy the moments! Now I’m back, & I have some gorgeous swatches of some gorgeous polishes (which are WAY overdue).

Yes, I know… normally I would wait until Sunday for all these swatches but that just means you’ve get double the swatches this week! But I wanted to get this Morgan Taylor Little Miss Nutcracker polishes up finally–yes, this collection is technically for the holidays but once you see these swatches you’ll realize they’re great shades for all through the year!

<These polishes were all gifted to me by Morgan Taylor as part of the Preen.Me#PreenMeVIP program>

Continue reading “Morgan Taylor Little Miss Nutcracker Collection”

Tribal Stamped Accent Nail

Good Morning! & happy Saturday. ♥️ My Saturday is starting off pretty good because we actually got a sprinkling of snow last night, so things are looking pretty festive & Winter-y. It’s also starting off pretty good because I have some new nails to show off.

I wore this nail art design the other night when I was invited to a Mark’s Well Worn Media Event–the first blogger event I’ve ever been invited to! It was pretty exciting & obviously I needed to wear something fancy on my nails for the occasion. & what is more fancy than some holo glitter & a little stamping accent nail. ✨

<

The polishes I used for this design were:

  • Base Coat: Nailtek 2 Foundations
  • Top Coat: Seche Vive
  • Finger Paints Piece De Resistance
  • Essence We Will Spock You
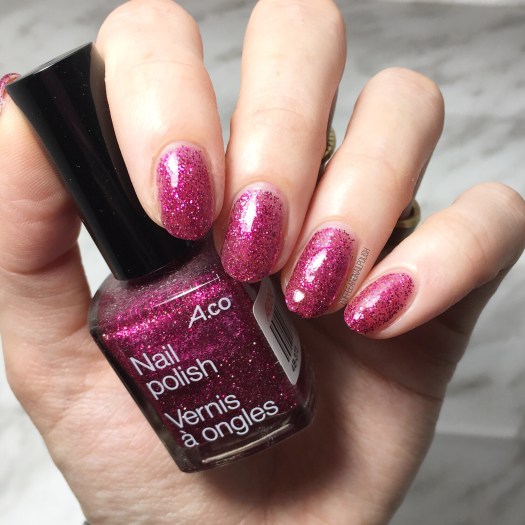
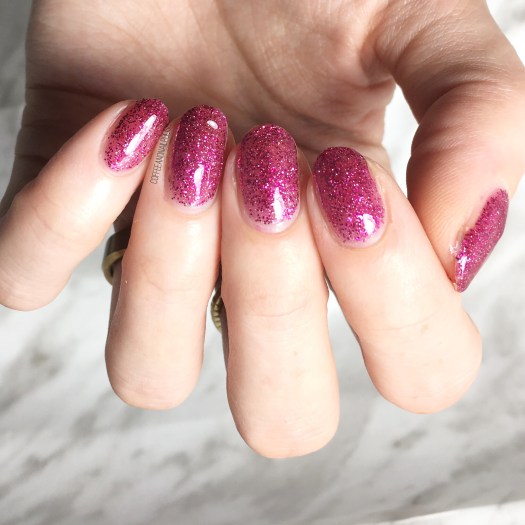
  • ACO by Ardene Style Icon
  • Sally Hansen Hard As Nails Black Heart
  • Edge Perfection Cuticle Barrier
  • Born Pretty Store Stamping Plate m100 (no longer available)
  • Latex free make up sponge

<<<<<<<><<
I just love how this design turned out. Honestly I never thought I would enjoy stamping so much, but it’s kind of become an obsession! I ordered a bunch of new plates from Born Pretty Store, so those should be here sometime in the New Year. In the meantime, I’ve been rediscovering old stamping plates I bought in the beginning of my nail art journey. I think the combination of a good liquid latex & polishes that work well for stamping has made it more fun & much less of a frustration. Also how pretty is ACO by Ardene Style Icon? I sponged it on for full glitterocity & the sparkle is hard not to stare at. Again thank god for Edge Perfection because trying to clean that glitter off my cuticles would have made me cry.

What do you think of these nails? Let me know in the comments below. ✨

Winter Chevron Moons

Hello & Happy Tuesday! Sorry for the lack of posts this weekend–it was kind of a rough weekend & my motivation for posting took a hit. (Also I noticed the majority of my last post disappeared & I’ve been too frustrated thinking about having to rewrite it so I’ve been avoiding the blog. My bad.) But today I have a brand new post with something that has been seriously lacking in my life lately: chevron moons!

I’m calling these winter chevron moons because… it sounds cool? The colours just kind of give me that Winter vibe, so I thought it worked. Also I figured everyone might want to see something other than snowflakes.

For this manicure, the polishes I used were:

  • Base Coat: Nailtek 2 Foundations
  • Top Coat: Seche Vive
  • Nubar Queen
  • Essie Parka Perfect
  • OPI My Favourite Ornament
  • URSUGAR Chevron Nail Stencils (I used the inner pieces.)

I love the combination of the pale blue, deep purple & sparkly gold. I thought this colour combo was a nice switch up from all the Christmas-y designs I’ve been doing, & features two of my favourite winter polishes: Essie Parka Perfect & OPI My Favourite Ornament. Every Christmas, this gold has to come out because the sparkle is just so perfect. ✨

For me, Christmas/Winter nails are all about the sparkle. These aren’t your typical holiday nails, but I think they would look fantastic with a pretty dress at a Christmas/New Year’s party, especially if you don’t want to resort to the classic Christmas shades. It’s all about the sparkle that makes it perfect. I’m so obsessed with Christmas party looks right now because I have no Christmas party of my own to go to. I just keep coming up with looks I would wear if I had somewhere to go (& then imagine what fancy dress sitting in my closet I would pair with it.)

What do you think of these chevron moons? Let me know your thoughts in the comments below!