Rainbow 🌈 Nails

Good Morning Lovelies & Happy Monday. Today I have a special manicure to share with you in honour of it being Pride Week in Halifax right now — some rainbow nails. This past weekend, I went out to celebrate & attended my very first Drag Show ever! So in honour of that, I wanted to create a design bright & colourful, & with a touch of glitter.
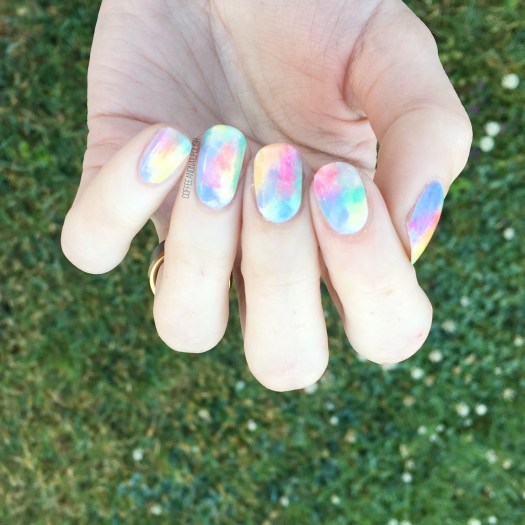
For this design, the polishes used were:

  • Base Coat: OPI Nail Envy
  • Top Coat: Essie Speed Setter
  • Sally Hansen CSM Let’s Snow
  • Sally Hansen MG Just Maui’d
  • Sally Hansen MG Bourbon Belle
  • Sally Hansen Xtreme Wear Mellow Yellow
  • Essie First Timer
  • Quo by ORLY Pep in Your Step
  • China Glaze Fairy Dust
  • Latex Free Make Up Sponge
  • Wet n Wild Clear Polish
  • This design was super simple to create. I started off with a plain white base (my current favourite White polish!) & then sponged each colour over top of the white. Next I took a clear nail polish that would streak the colours together & repeatedly brushed over the nail so they blended. This is a trick I like to use with gradients, sponged looks & dry brushes because it blends them together really well (especially good with gradients!) & then I finish with actual top coat after. I also felt like this design needed a little bit of glitter, so I added some fairy dust as well.
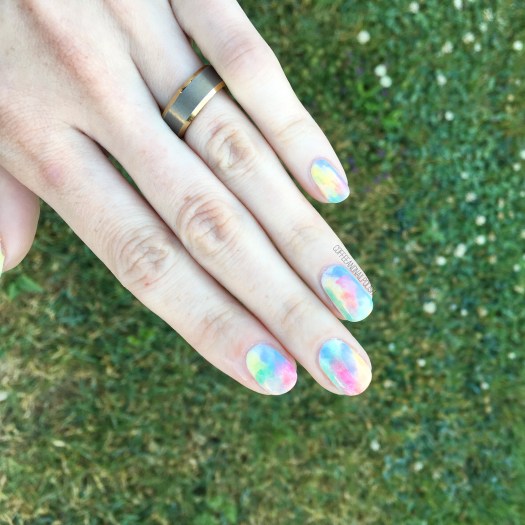
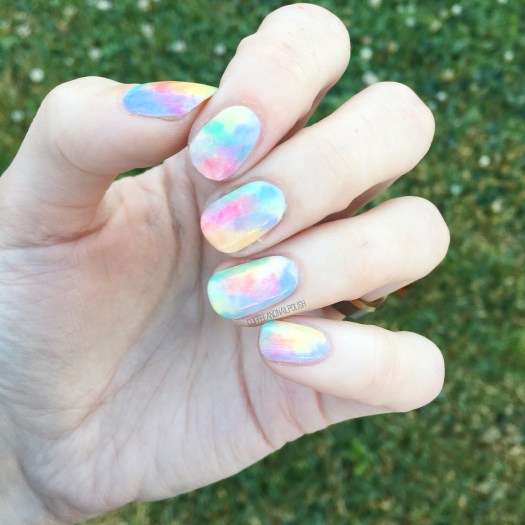
    I really love this combination of colours & the rainbow-ness of it. It was the perfect design for the awesome night I had out dancing! I’m very proud to live in a city which can celebrate Pride with such festivity & inclusivity. There really is an event for everyone!
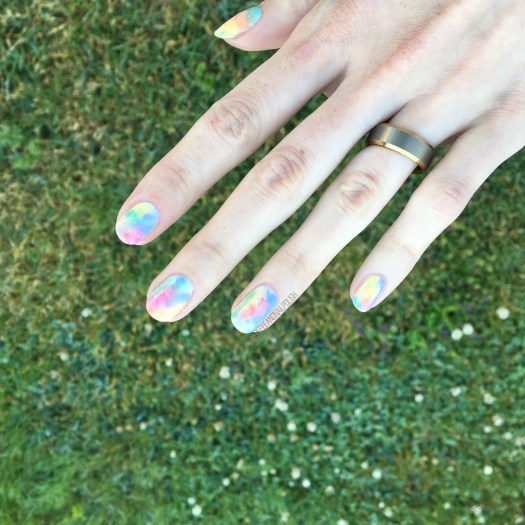
    What do you think of my rainbow nails? 🌈 Have you ever attended a drag show before? Share you comments down below & let me know what you think!

    Mermaid Nails

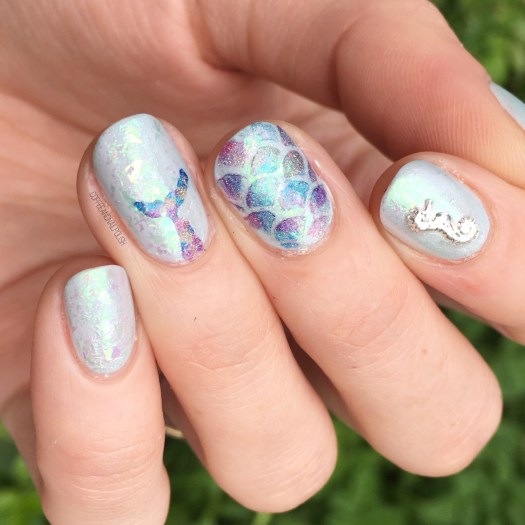
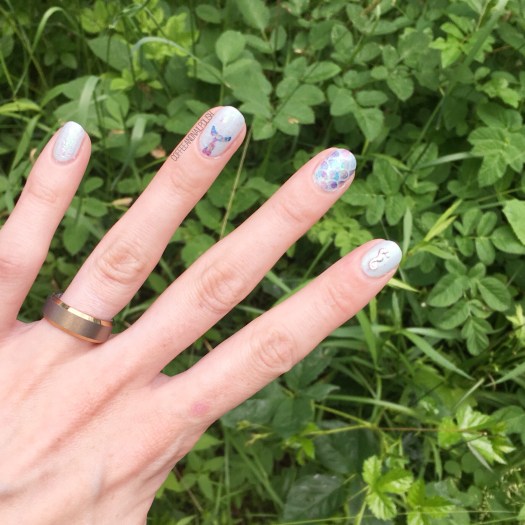
    It feels like ages since I last pulled out my mermaid stencils for some mermaid nails. The other night I was playing with some new flakies from NailStuff.ca & after looking at them on my nails, I couldn’t help but think they would make an amazing base for a mermaid nail design! I’ve had this mermaid tail idea floating around a while, so I grabbed some more vinyls from What’s Up Nails (I believe it’s suppose to be a whale tail) & have it a go.

    For this manicure, the polishes I used were:

    • Base Coat: OPI Nail Envy
    • Top Coat: Essie Speed Setter
    • FingerPaints Fun Peel Off Base Coat (to apply flakies)
    • Sally Hansen Miracle Gel Ocean Daze
    • NailStuff.ca Flakies — these guys aren’t currently available but there is a huge selection here!
    • What’s Up Nails Scale Stencils
    • What’s Up Nails Whale & Tale Stencils
    • Color Club Eternal Beauty
    • Layla Cosmetics Mermaid Spell
    • Color Club Crystal Baller
    • Wrenn Polish Mesmerizing
    • Wrenn Polish Summer Sands
    • NailStuff.ca Summer Nail Wheel — Silver seahorse stud

    This design didn’t quite turn out how I pictured on my head, but that’s mostly the tail look on my ring finger. I really wish it was bigger. I do however love the holo scales over the flakie base just makes me so happy! I also wish I had done that look on the majority of my fingers with just the stud being my accent! (& if I had more of these nail vinyls left, I probably would have… going to need to buy some more ASAP!)

    Also holo & flakies have to be the most beautiful combination. Definitely trying out these flakies OVER holo next!

    What do you think of this mermaid nail design? Are you a fan of the holo & flakie combo? Let me know what you think down in the comments below! 🧜🏼‍♀️

    Even More Negative Space Half Moons!

    Happy Wednesday lovelies! Who else can’t even believe it’s already Wednesday. It feels like this week is speeding by like crazy. Dreaming of the weekend already… it feels like it’s almost here. Which means spending all weekend (hopefully) barbecuing!

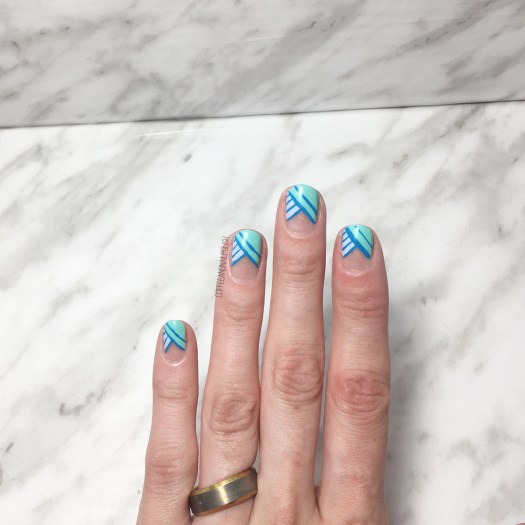
    Today’s design is one I actually did back in June, during my super crazy two weeks at work, & never got a chance to share with you! This design was actually what I wore when I had my first Head Office visit at work. I was super nervous as this was the first time I was meeting one of my big bosses, so I wanted to make sure I was representing the brand as best as I could…. right now to the nails!

    The polishes I used for this design were:

    • Base Coat: Essie Grow Stronger
    • Top Coat: Essie Gel Setter
    • Icing Mermaid Mint
    • Claire’s Matte Pastel Nail Polish Sorbet Mint
    • Claire’s Matte Pastel Nail Polish Sorbet Blue
    • Jordana Cosmetics Pop Art Nail Design in Blue Abstract

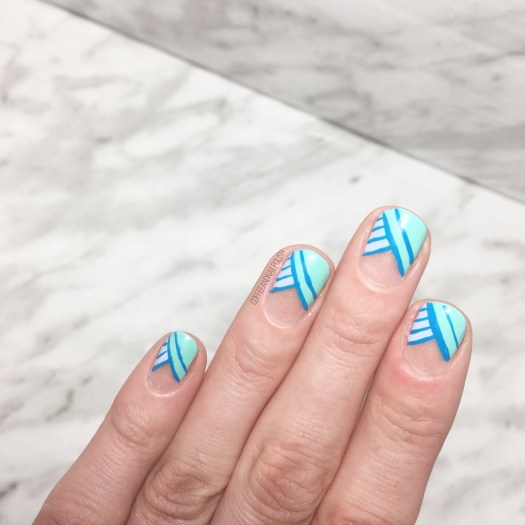
    You know what’s awesome about working for a company which is geared towards a tween audience—you always have an excuse to do something fun with your nails! We sell a lot Nail goodies, so I’m always getting inspiration from them! This design was kind of a recreation of an old design that I had done, but with a few different polish picks.

    You can seriously never go wrong with a good negative space chevron look. & the colour combinations are endless!

    What do you think of this design? Are you as obsessed with negative space chevron looks as I am (I don’t think anyone is!)

    Share down below all your thoughts!

    Summer Vibes Magazine Spread & My Summer Inspired Nails

    You may remember back in December, Sarah from @25sweetpeas created the most amazing holiday magazine. While once again she has gathered together some of her blogger friends to create another awesome magazine, this time focusing on all things Summer. There are recipes, pretty nails, & even a travel guide!

    The magazine has been broken up into two parts for you — part one, which holds the recipes (including 2 of mine) & pretty nails! Part two has some awesome fun things including places to travel this Summer & other bonus goodies!

    You can click below to go to the PDF & download!

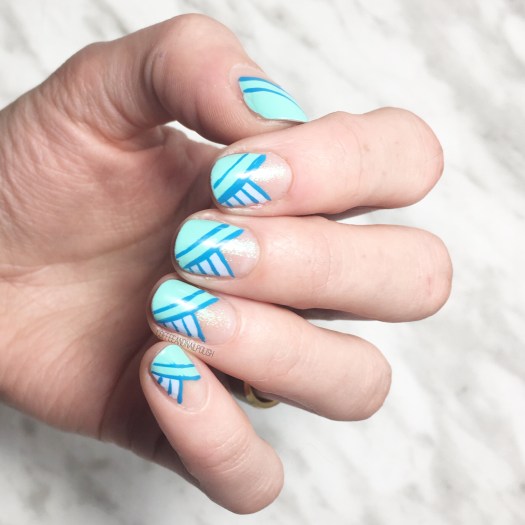
    For my nails, I decided to create a pretty & bright tropical leaf pattern design which was inspired by a mix-n-match bikini I saw few months back (& didn’t buy sadly). Once if my favourite things about Summer is the colour! I love pulling out all the colourful clothing that has been sitting way back in the depths of my closet, waiting for sunnier days.

    Continue reading “Summer Vibes Magazine Spread & My Summer Inspired Nails”

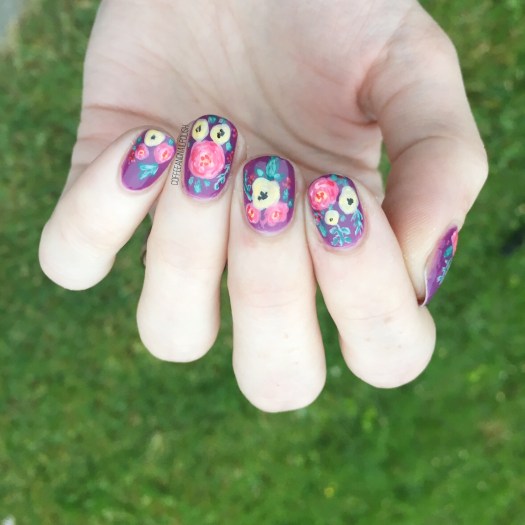
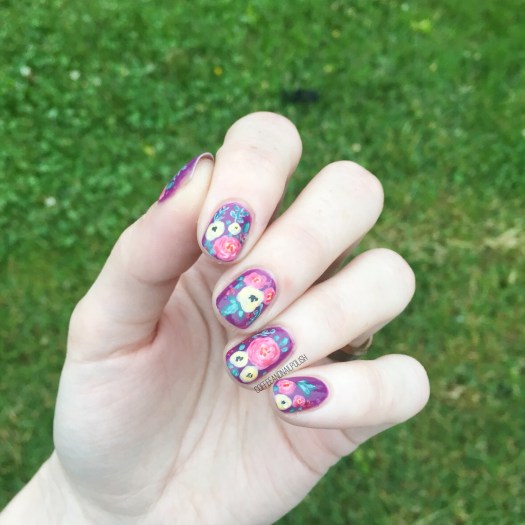
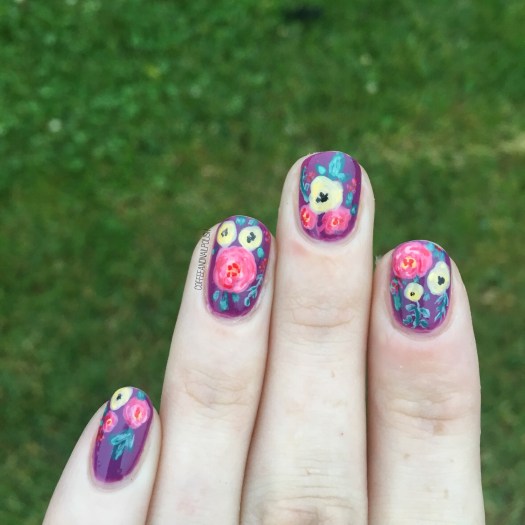
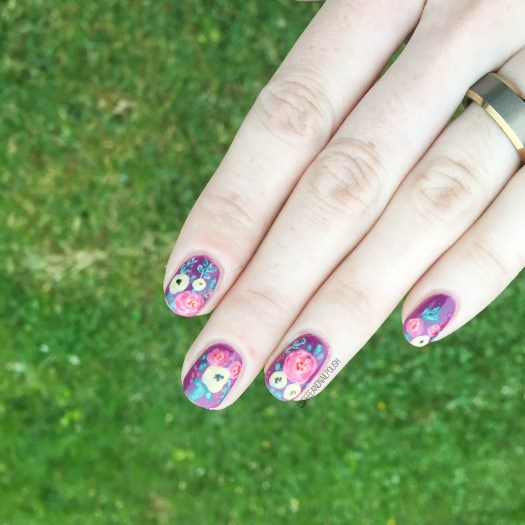
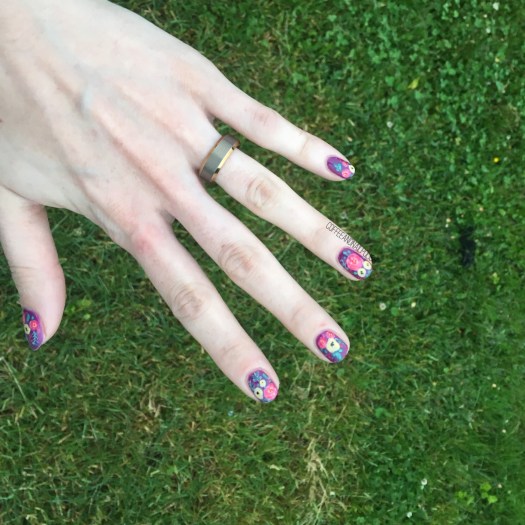
    Rustic Floral Pattern Nails

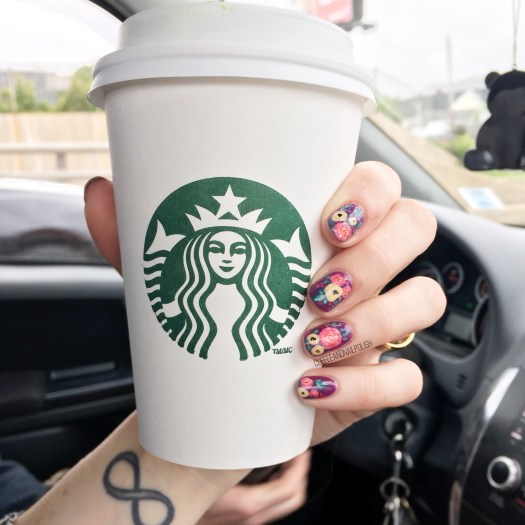
    Can you never have too many floral manicures in your life? Personally, I don’t think so. We all know how much I adore flowers–from clothes, to shoes, to cellphone cases to my nails, I can never have enough! Recently I found a Rifle Paper Co. phone case at Winners on payday, so I decided to attempt to recreate said pattern on my nails.

    My attempt definitely turned out a little more rustic than its inspiration, but I think that is why I love the end result so much!

    For this manicure, the polishes I used were:

    • Base Coat: OPI Nail Envy
    • Top Coat: Essie Gel Setter
    • Boho Green Make Up Moonlight
    • Quo by ORLY Breathable Pep in my Step
    • Sally Hansen Miracle Gel Pretty Piggy
    • Sally Hansen MG Pretty Peony
    • Sally Hansen MG Off the Shoulder
    • Essie A-List
    • China Glaze Sun Upon My Skin
    • China Glaze Metro Pollen-tin
    • YSL Vert D’Orient
    • Sally Hansen Insta-dri Thyme is Money
    • Essie First Timer
    • Sally Hansen I ♥️ Nail Art pen in Black
    • Bundle Monster detail brush

    I’m kind of excited for Summer because it means I can change up my backgrounds & use outside. How lush does this design look with green grass in the background? Definitely throwing my pictures back to my pre-light-box days with these photos & I’m loving it! Seriously, staged photos are awesome but something about natural light makes your manicures look that much better.

    If that doesn’t say Summer, I don’t know what else does! Also I’m never, ever going to get sick of doing floral. Never. How could you ever get sick of something so pretty! Hence why I keep filling my closet with more & more floral clothing pieces. The obsession continues! 🌿🌼🌱

    what do you think of this design? Are you feeling Summery? Leave a comment down below & let me know!