Glow-in-the-Dark Inspired Stars ⭐️

Hello lovelies & happy Tuesday! I hope you’re having a beautiful start to your week.

I’m starting my week off (ish) with a fun nail art look. It feels like absolute ages since I attempted any kind of nail art on my nails… I’ve mostly just been wearing solid colours, press on nails, or maybe like a glitter accent nail (very 2013). So it was kind of fun to dig into my nail desk box, find my good nail art brushes, & give some art a try.

The polishes I used for this manicure are: 

  • Base Coat: Essie Hard To Resist Strengthner
  • Top Coat: Sinful Colors Power Paint Top Coat
  • Essie Bell Bottom Blues
  • OPI Suzi Shops & Island Hops
  • OPI That’s Hula-rious
  • Essie Bikini So Teeny
  • Quo by Orly Breathable De-stressed Denim
  • NailStuff Mermaid Tail Brush
  • Bobby Pin (couldn’t find my dotting tools haha)

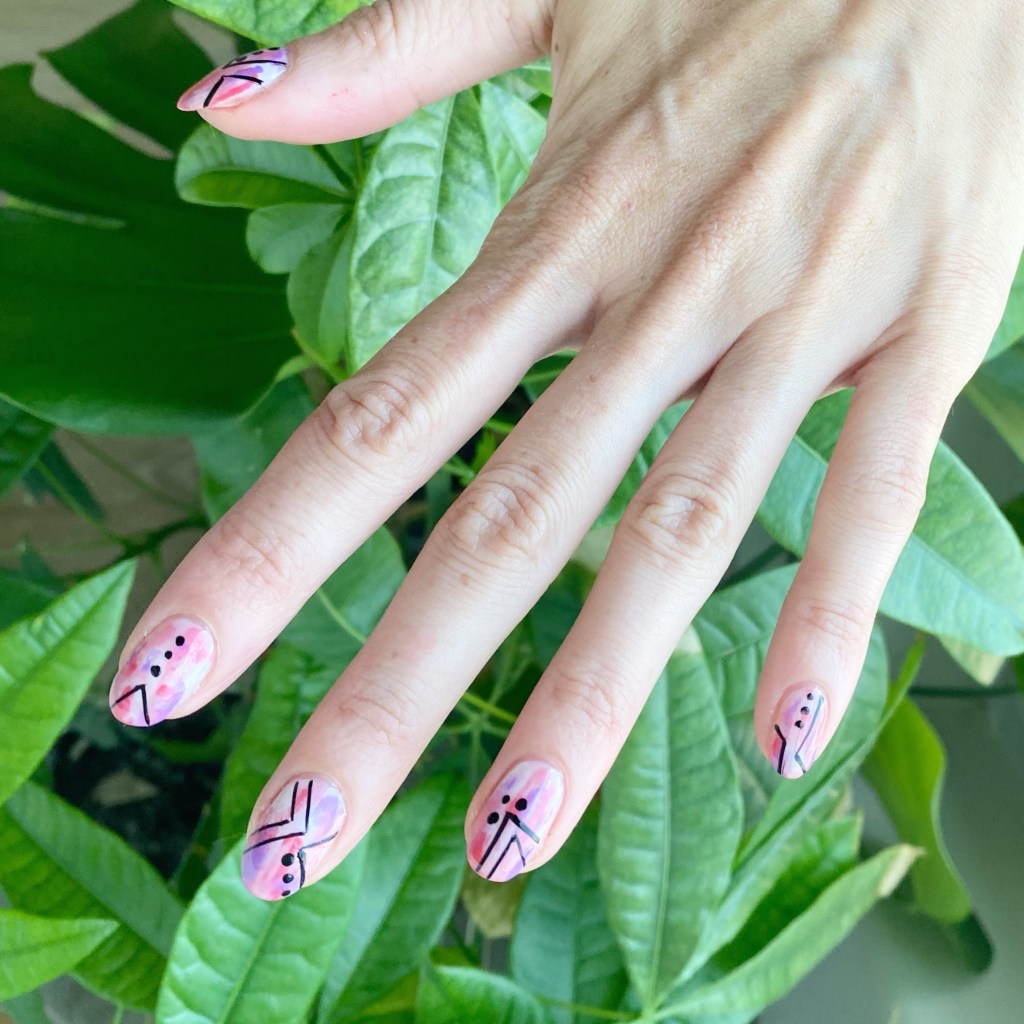
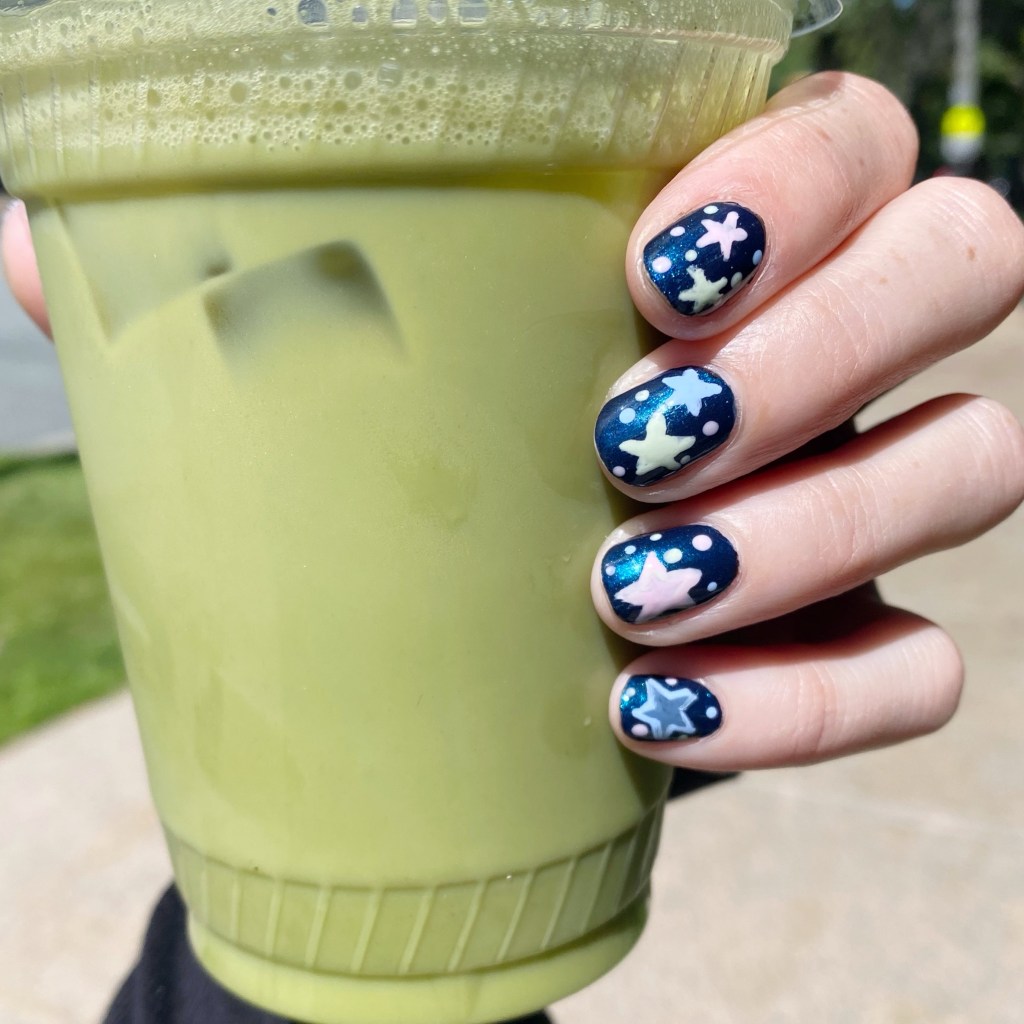
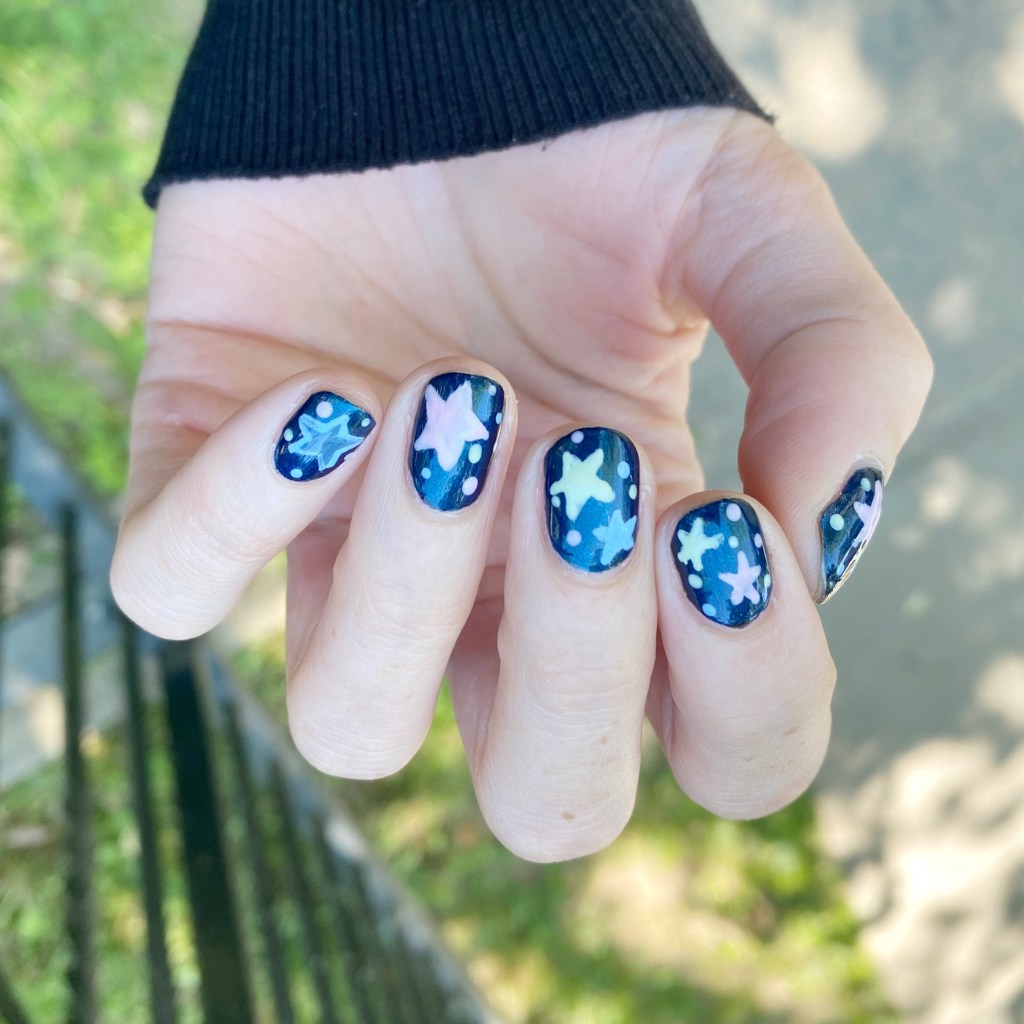
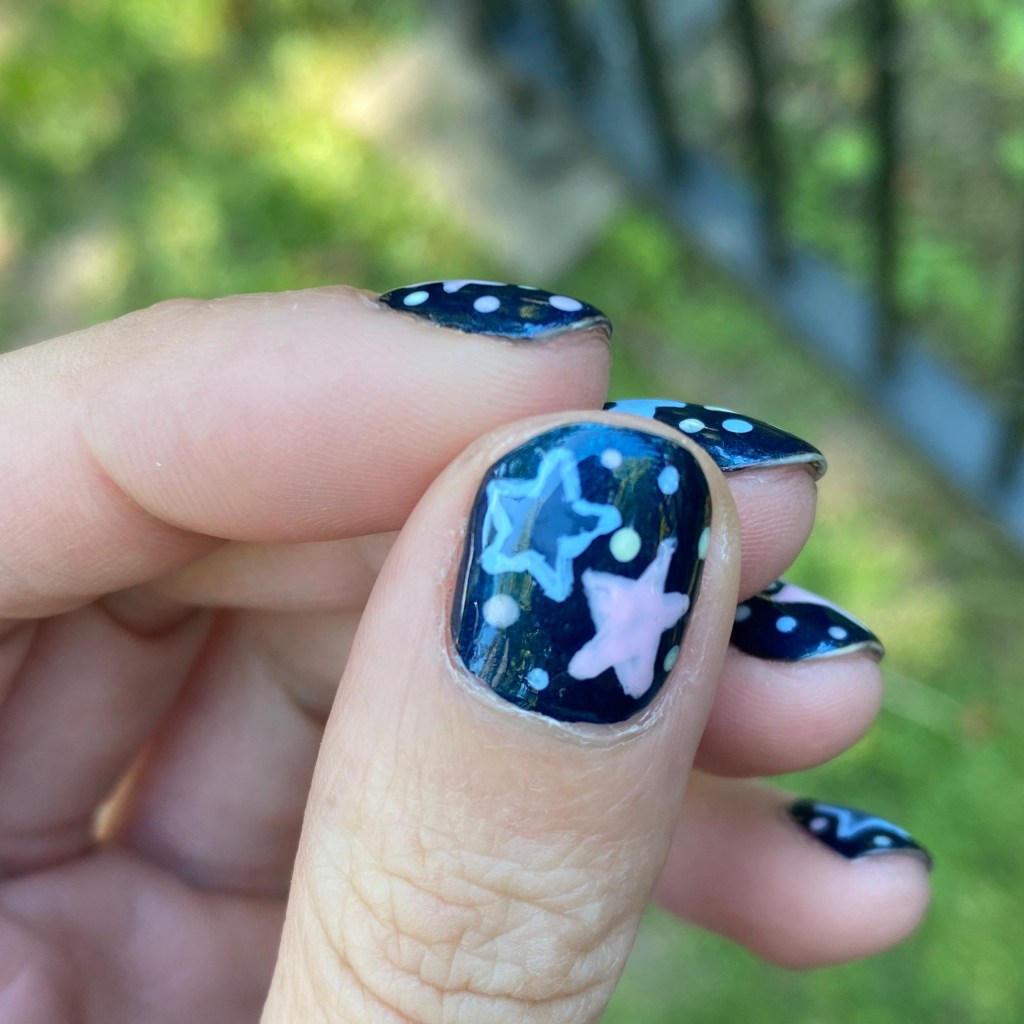
So the inspiration behind this nail art look are glow-in-the-dark stars. Truthfully, I was seeing way too many videos of Hilary Duff’s Glow in the Dark star dress she’s wearing on tour, & this blue base was the perfect not-black shade, that I really wanted to see if I could freehand some stars on my nails!

& even though it’s been forever since I did any freehand designs on my nails, I’m so obsessed with how these turned out! Plus, I got complimented on them while out & about, so I feel pretty awesome about this nail art. They look exactly how I imagined them in my head!

What do you think about my glow-in-the-dark inspired star nails? Do these remind you of being a kid, like they do me? Would you wear this look? Let me know all your thoughts in the comments below & if you love them too!

Happy Wednesday darlings.

♥︎

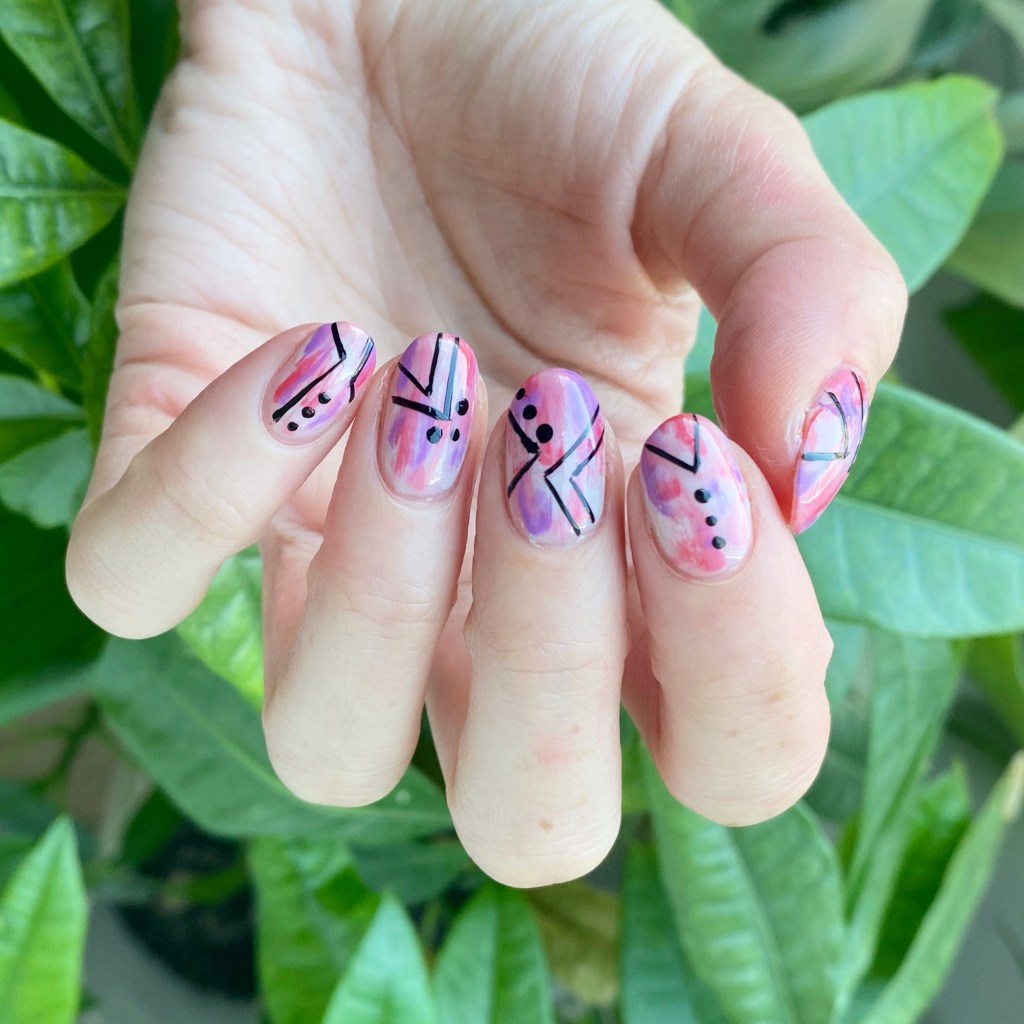
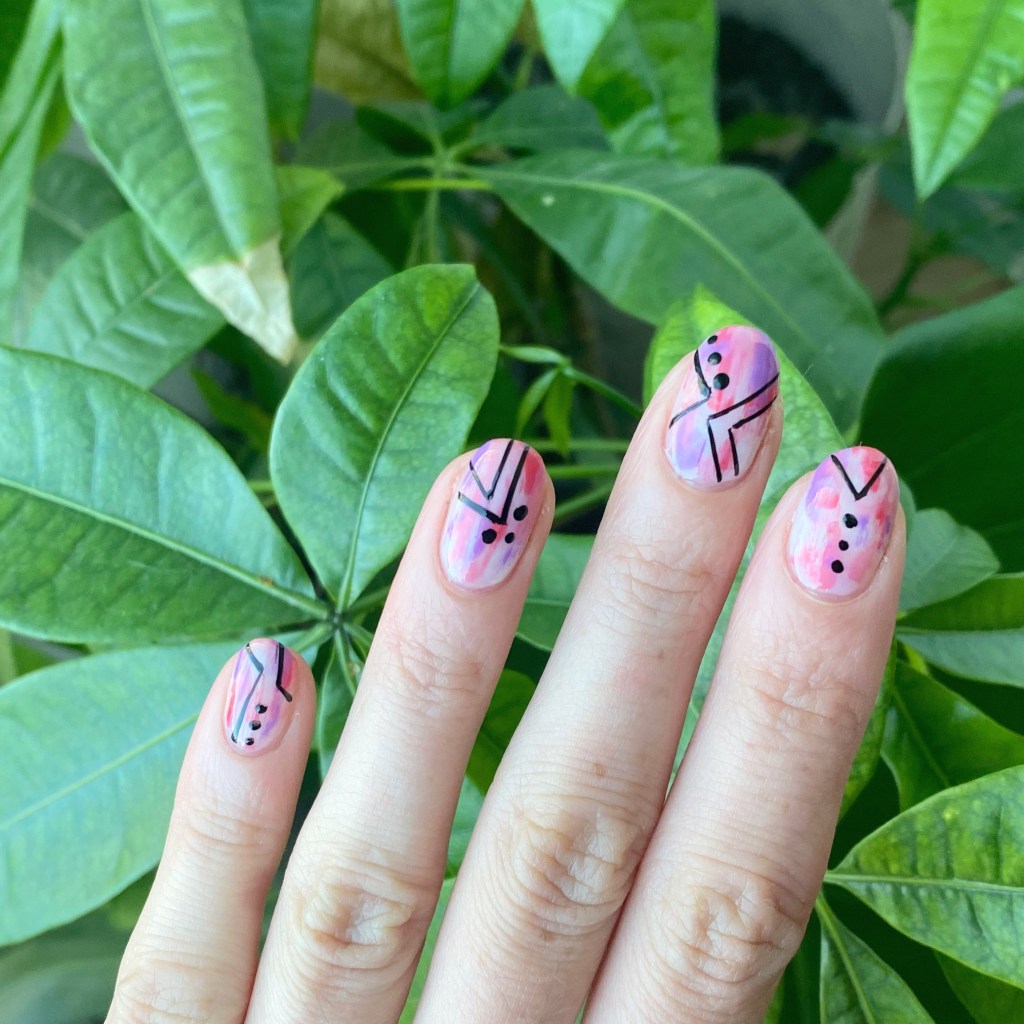
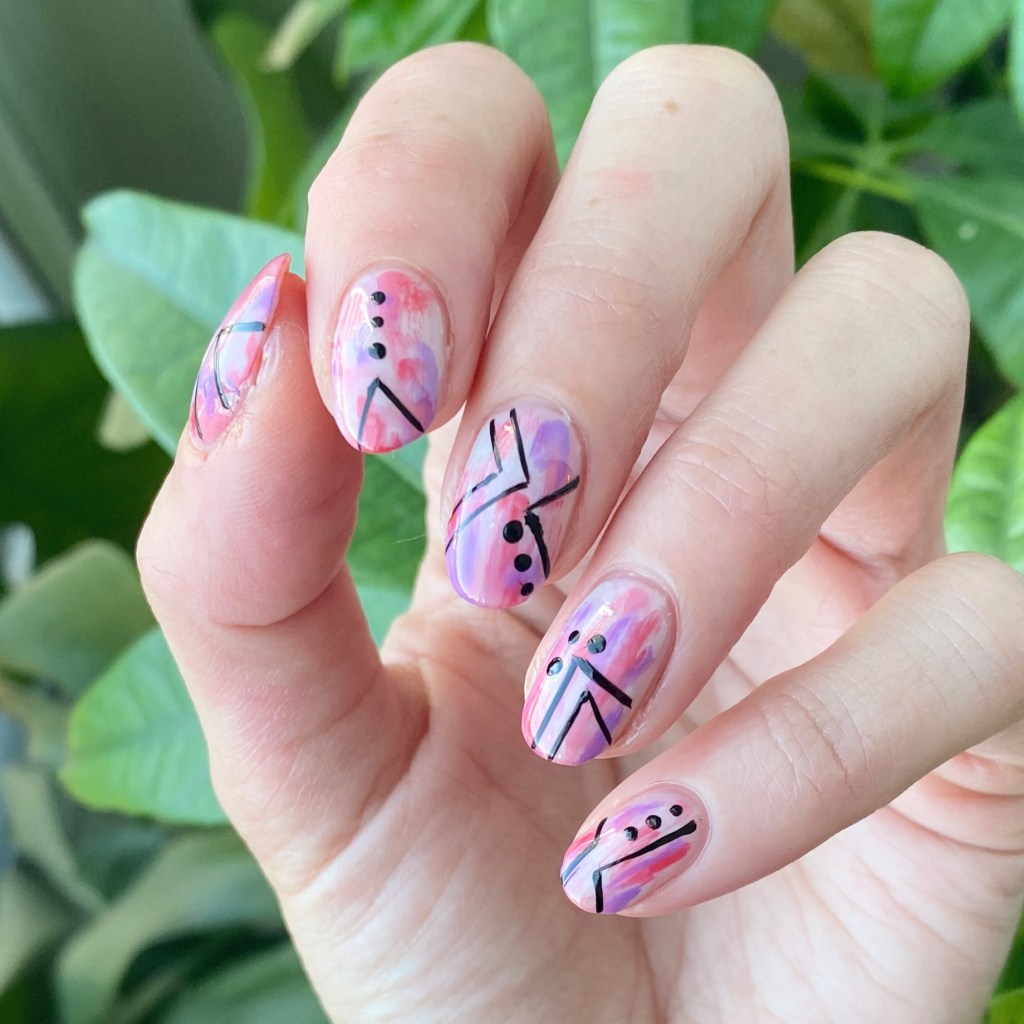
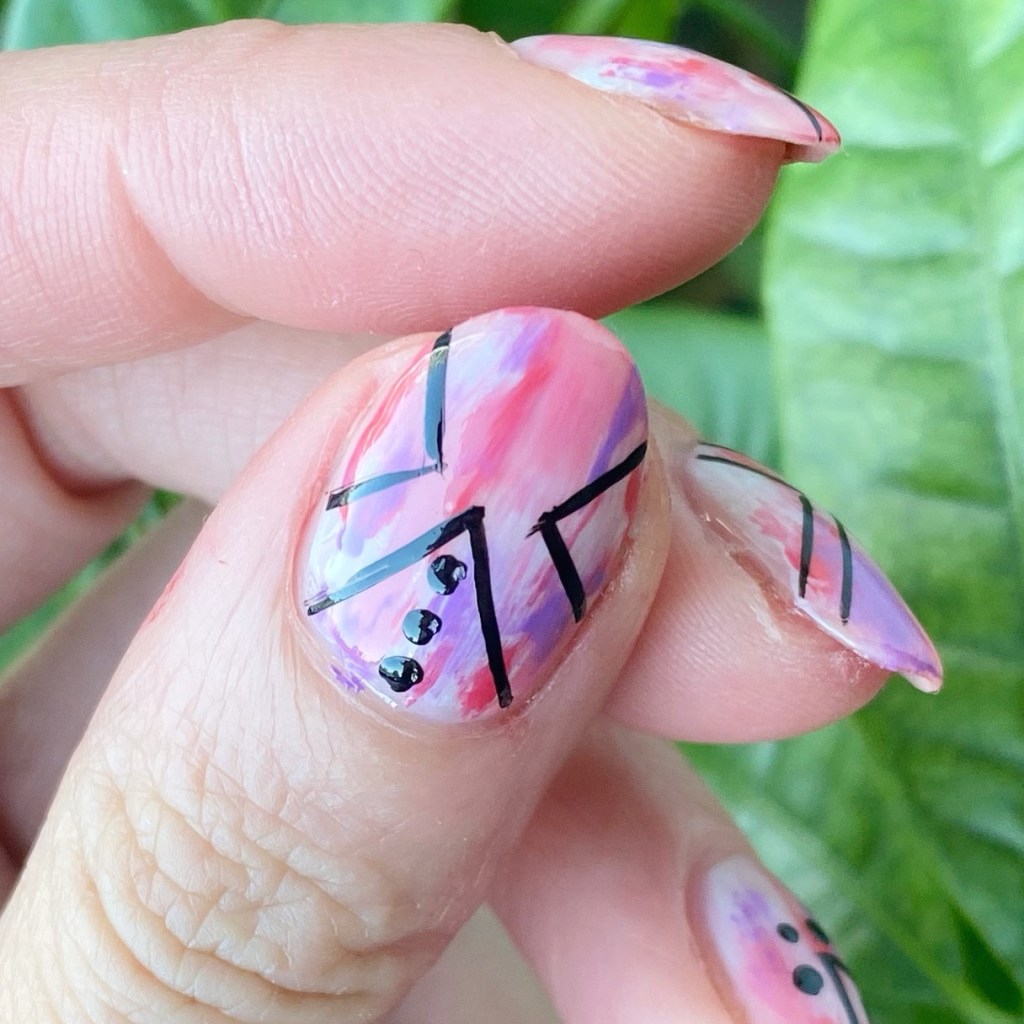
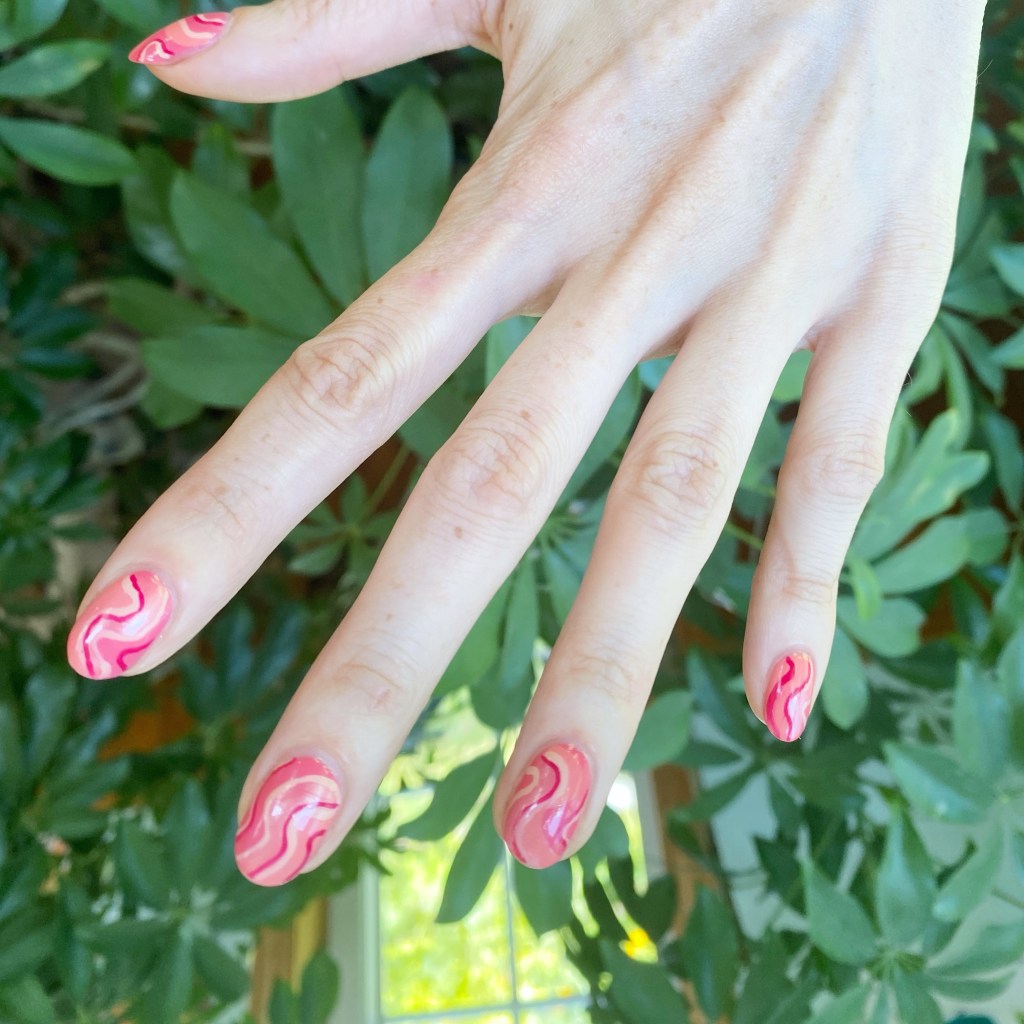
Summer Coral Abstract Stripes

Hello lovelies & happy Friday! I hope you’re having a beautiful week so far. My August allergies have hit & hit hard so I’m sneezing my way through the days — hence why I missed posting on Wednesday. I was in an allergy induced haze.

Today I decided to go for a super Summery design, especially since I feel like I’m shifting into Autumn vibes hard.

The polishes I used for this manicure are: 

  • Top Coat: Essie Good To Go Top Coat
  • Base Coat: Essie Hard to Resist (purple)
  • Essie Throw In The Towel
  • Essie Watermelon
  • Essie Peach Side Babe
  • Essie Spring Fling
  • Essie High Class Affair
  • Nailstuff.ca Mermaid Tail 7mm liner brush

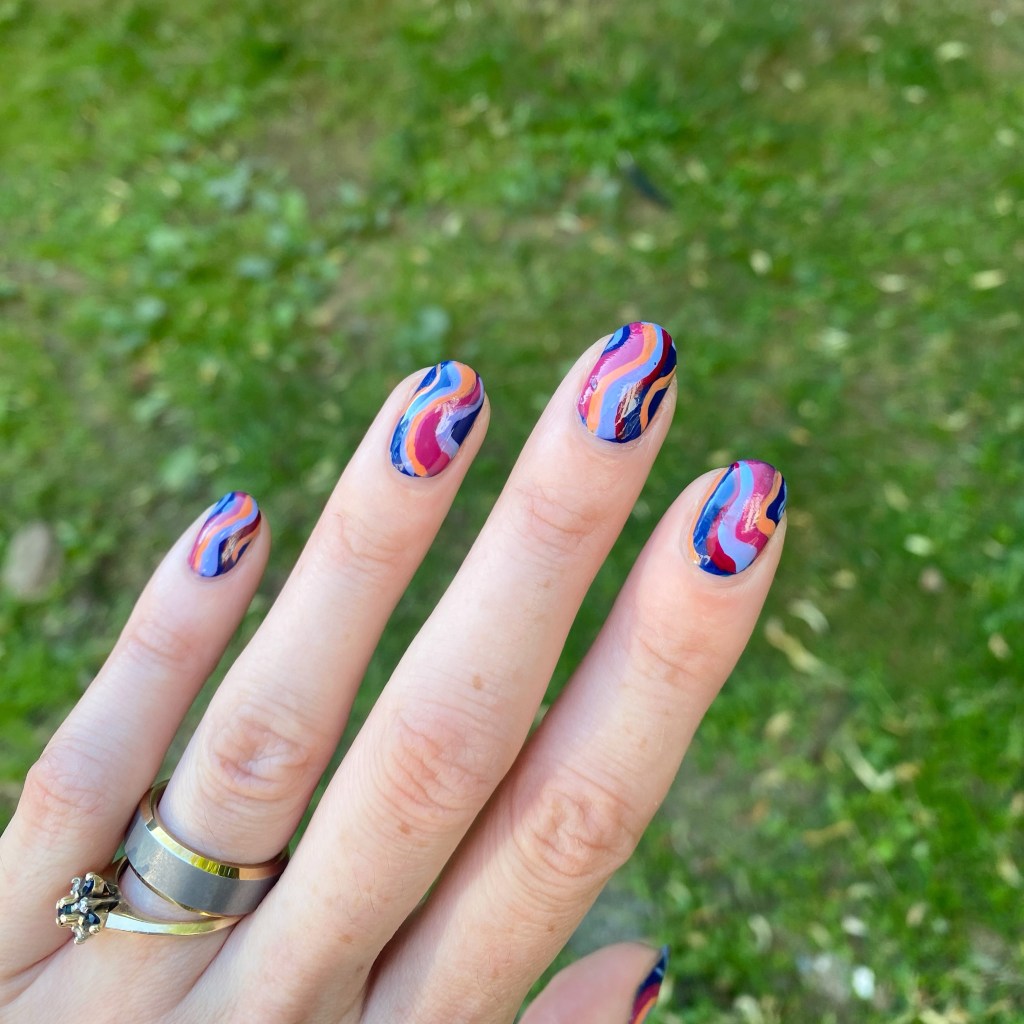
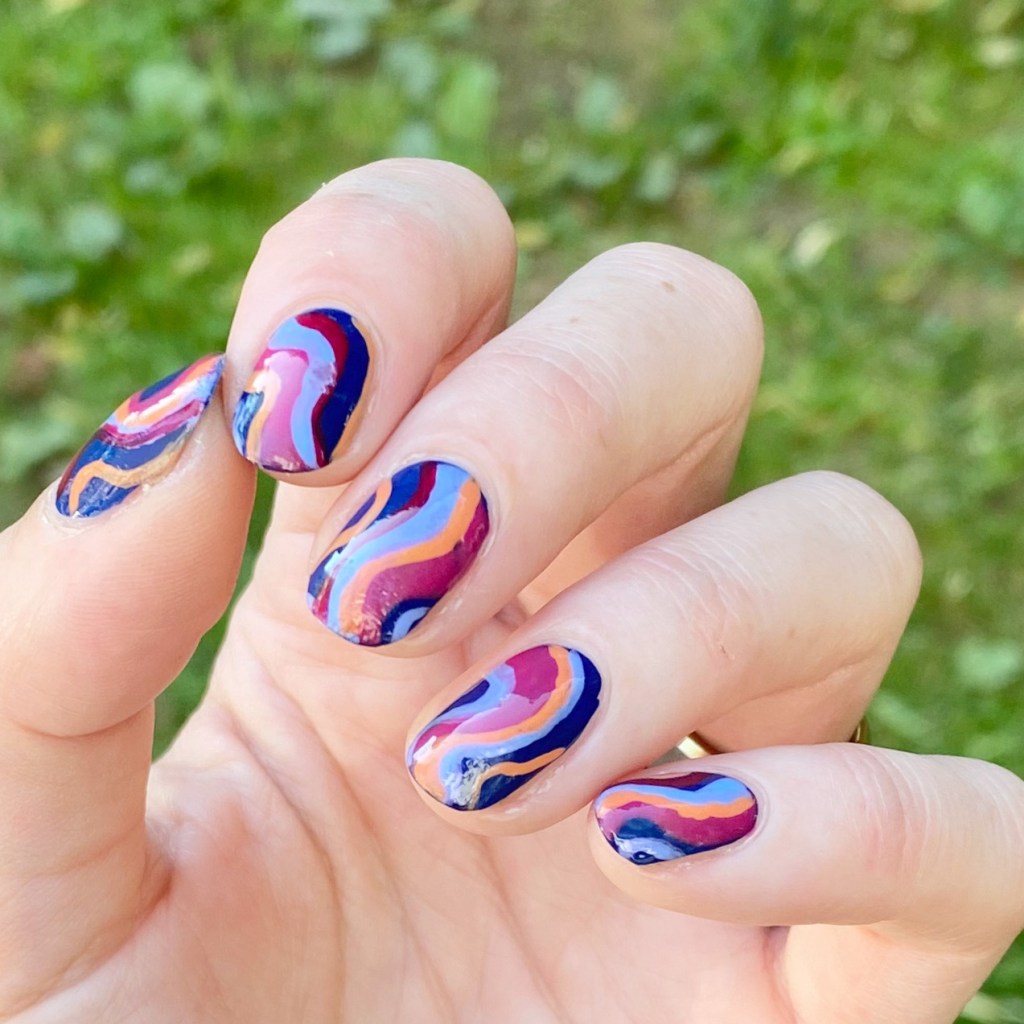
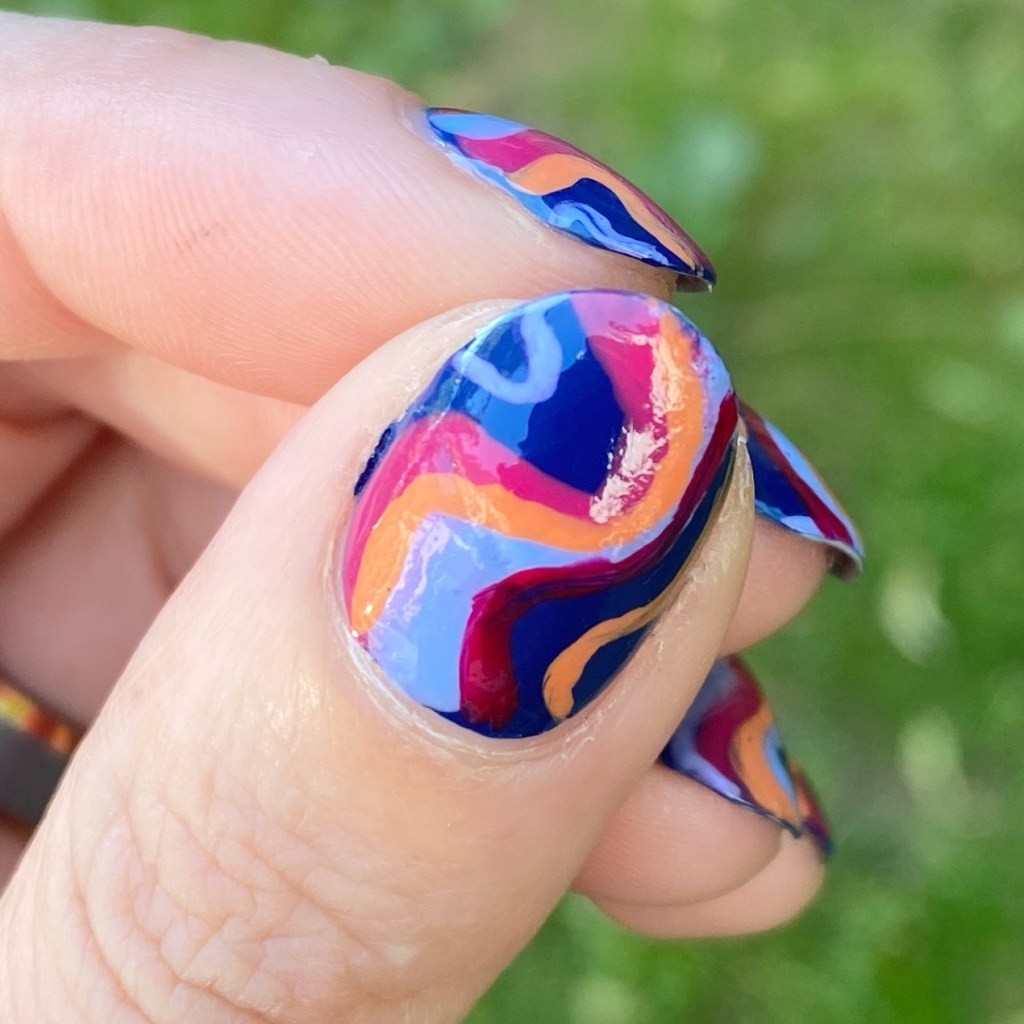
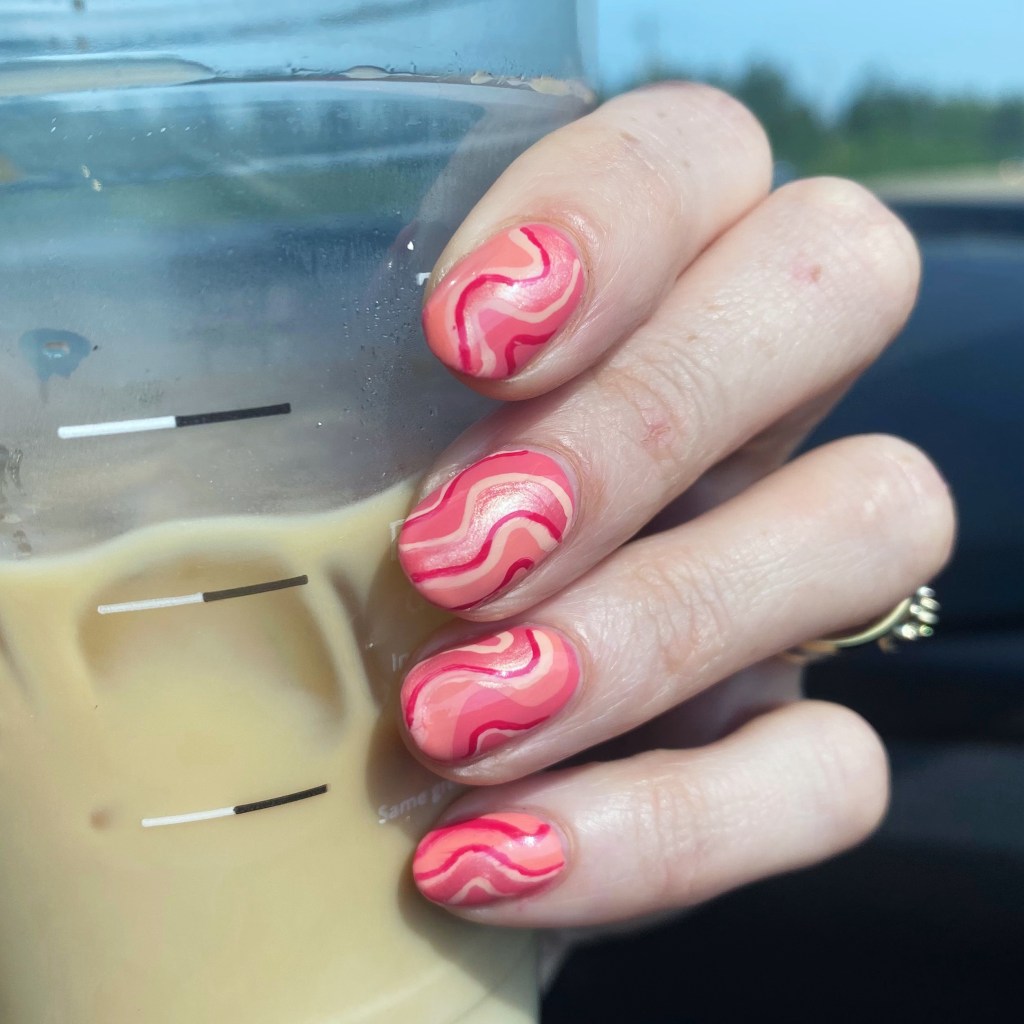
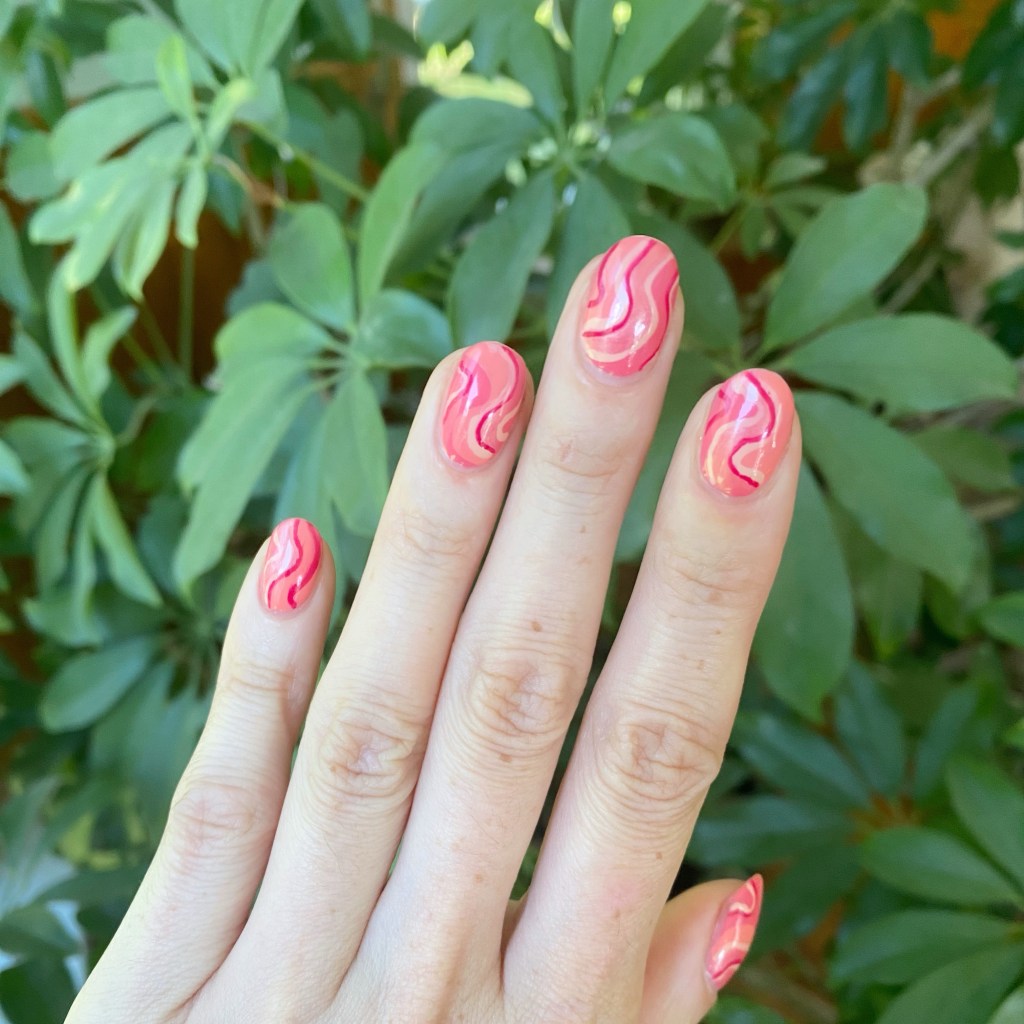
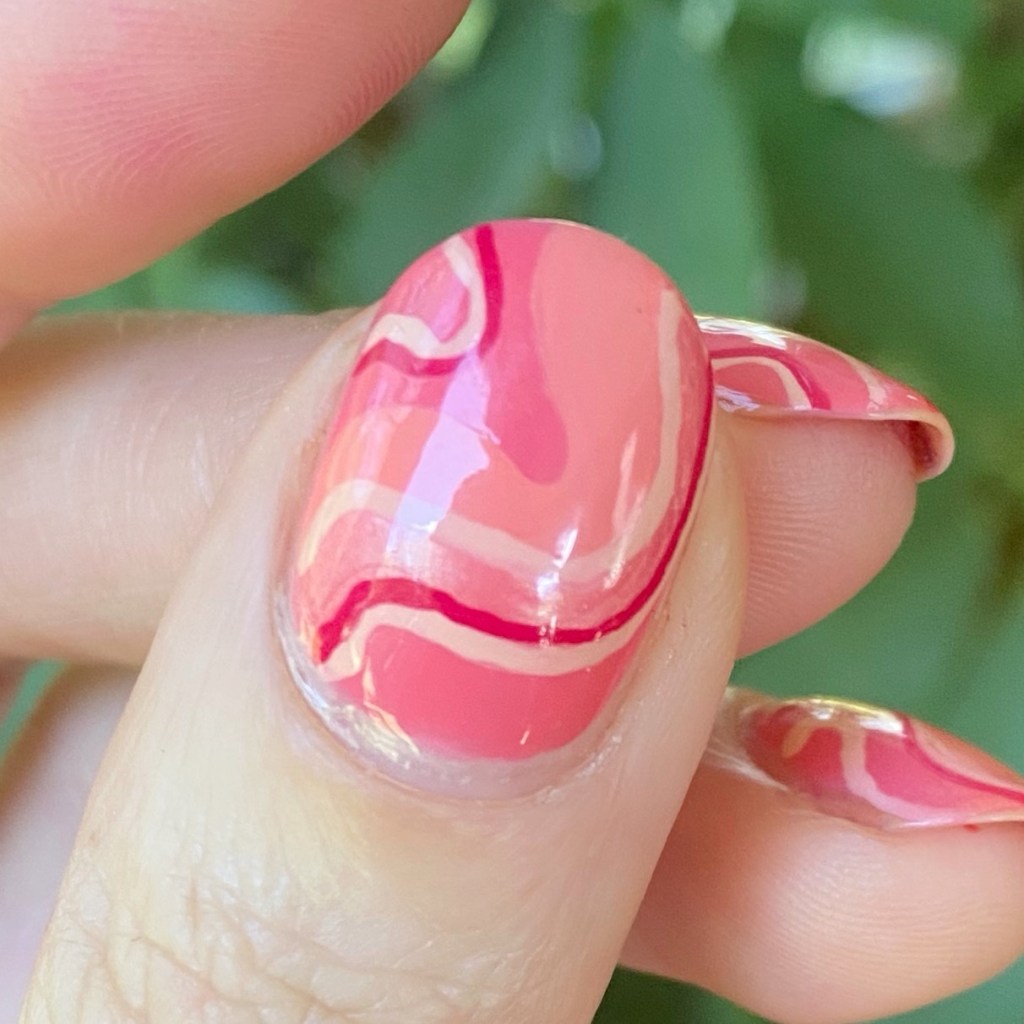
How pretty did these abstract stripes turn out? I just love the combination of pinky corals. Very bright, very Summery. This is the perfect nail polish send off before I really transition into the Autumn vibes & all things pumpkin spice (already drinking it in my coffee!)

What do you think about these Summery abstract stripes? Are you looking forward to Fall as much as I am? Let me know all your thoughts down in the comments below!

Happy Friday!

🖤

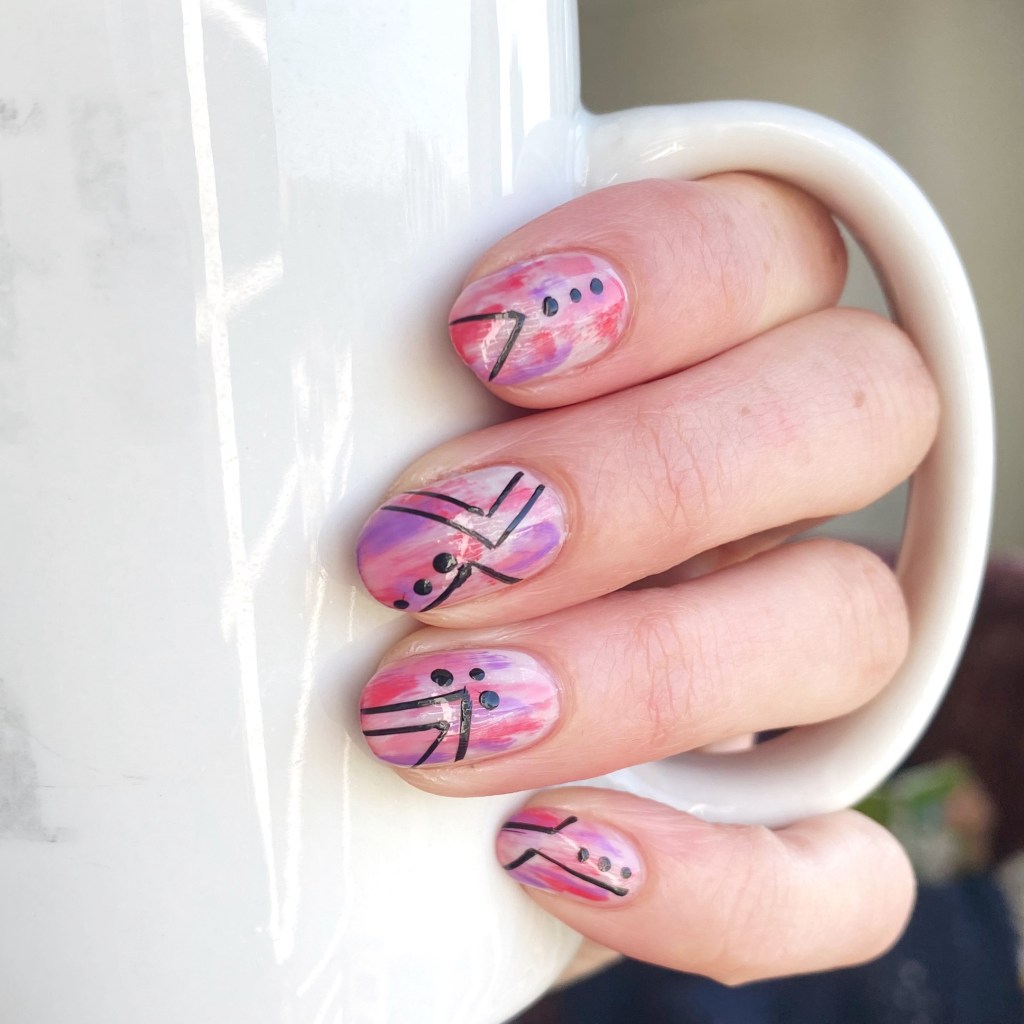
Pastel Marble Sponging

Hello lovelies & happy Wednesday. A brand new week — & this month is certainly speeding quickly by. It’s already the 13th of August, & while that means I’m that much closer to PSL season, the velocity at which this Summer is passing can slow down just a smidge.

Today’s nail art look was kind of a happy accident. Originally I was going to try to create some pastel galaxies, but it turned into more of a marble effect. Either way, I think they turned out absolutely stunning. & I love them.

The polishes I used for this manicure are: 

  • Top Coat: Essie Good To Go Top Coat
  • Base Coat: China Glaze Calcium Gel Fortifier
  • Sensationail Nailtural Born to Explore
  • Essie Mint Candy Apple
  • Sally Hansen Miracle Gel Beatnik
  • Sally Hansen Miracle Gel Feelin’ Grape
  • Essie Separated Starlight
  • Latex free Make Up Sponge

Such a neat effect. & I added the little bit of sparkle to give it a more dimension effect & I really think it looks cool. Like little geodes on my nails.

What do you think about this marble nail effect? Do you like the combination of colours? Let me know what you think down in the comments below! I’ve been really trying to switch up & do some new nail art looks I haven’t done in a while — so please share any old designs you’d love to see me recreate!

Happy Wednesday

🖤

SWATCH SUNDAY — Essie Throw in the Towel 🕶️ (2020 Sunny Business collection)

Contains PR

Hello lovelies & happy Sunday! It’s a sunny, hot & humid Sunday here — & we are still without some much needed rain unfortunately.

Today though, I’m sharing a bright & summery nail polish shade with you, that I kindly received gifted from Essie. This is Essie Throw in the Towel.

2 coats + top coat

This beautiful bright coral pink is gorgeous Summery shade! The formula was a bit on the thin side, but built easily to opacity. My nails are on the shorter side right now, so if they were longer I would probably do three coats to avoid visible nail line.

The colour is very vibrant & eye catching, which I love. I used to be all about the corals on my nails in the early days of my nail addiction, but started leaning towards more blues & purples — & I’m realizing now how much I love a bright coral on me!

You can definitely see in my close up that this shade is a big on the sheer side, but it doesn’t make me love it any less. It’s light enough I don’t find that too distracting.

Essie Throw in the Towel is part of the Essie core collection, so you can purchase it anywhere you buy your Essie nail polishes. In Canada, it usually ranges anywhere between $9.99 CAD to $14.99 CAD.

What do you think about Essie Throw in the Towel? Do you love this bright coral pink as much as I do? Doesn’t it just scream Summer? Let me know all your thoughts in the comments below!

Happy Sunday!

🖤

Pink Glitter Placement 🩷✨

Hello lovelies & happy Wednesday! How is everyone’s week going so far? Enjoying the balmy weather? Our days have been hot hot hot which means the grass is crunchy & the fire risk is extremely high. I don’t usually wish for rain, but we could definitely use some.

Today, though, let’s share some pretty nails.

& you know what’s pretty — a flakie glitter placement. Especially when it is as easy as this one was to do!

The polishes I used for this manicure are: 

  • Top Coat: Essie Good To Go Top Coat
  • Base Coat: China Glaze Calcium Gel Fortifier
  • China Glaze Glow With The Flow
  • ‘Ard As Nails Fairy Flakes

Look at those pretty sparkles! They’re just so pretty, & girlie & sparkly. I love it. This was also a super simple design to do, with no tools needed. & it’s just the right amount of sparkle — especially over a vibrant base like Glow With The Flow.

What do you think about my pretty pink glitter placement? Do you like this glittery combination? I’m still on the hunt to add more glitters to my collection for glitter placement looks — especially come to Autumn months. So please let me know your favourites!

Happy Wednesday.

♥︎