Easy Pop Art Nail Art with Stickers

Hello lovelies! I hope everyone is having a lovely week so far. Today I’m feeling Summer vibes, so I wanted to share a fun pop art inspired nail art I recently did that were super easy to do — especially since they basically involve no actual talent what-so-ever! & isn’t that the best kind of nail art?

The polishes I used for this manicure are: 

  • Base Coat: Essie Hard To Resist Glow & Shine 
  • Top Coat: Seche Vive Fast Dry Top
  • Holographic Top Coat: Starrily Eclipse
  • Essie In The Cabana
  • Olive & June Nail Art Stickers (discontinued sheet)
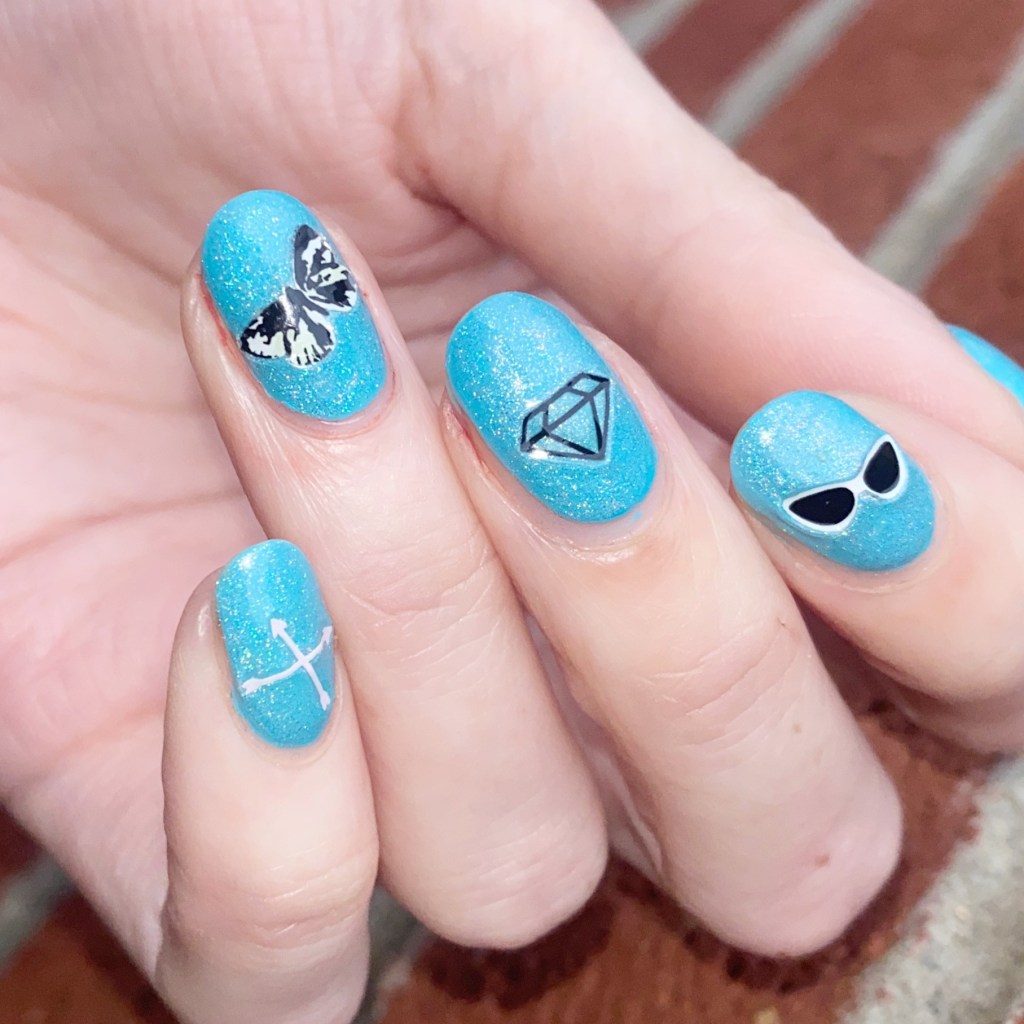
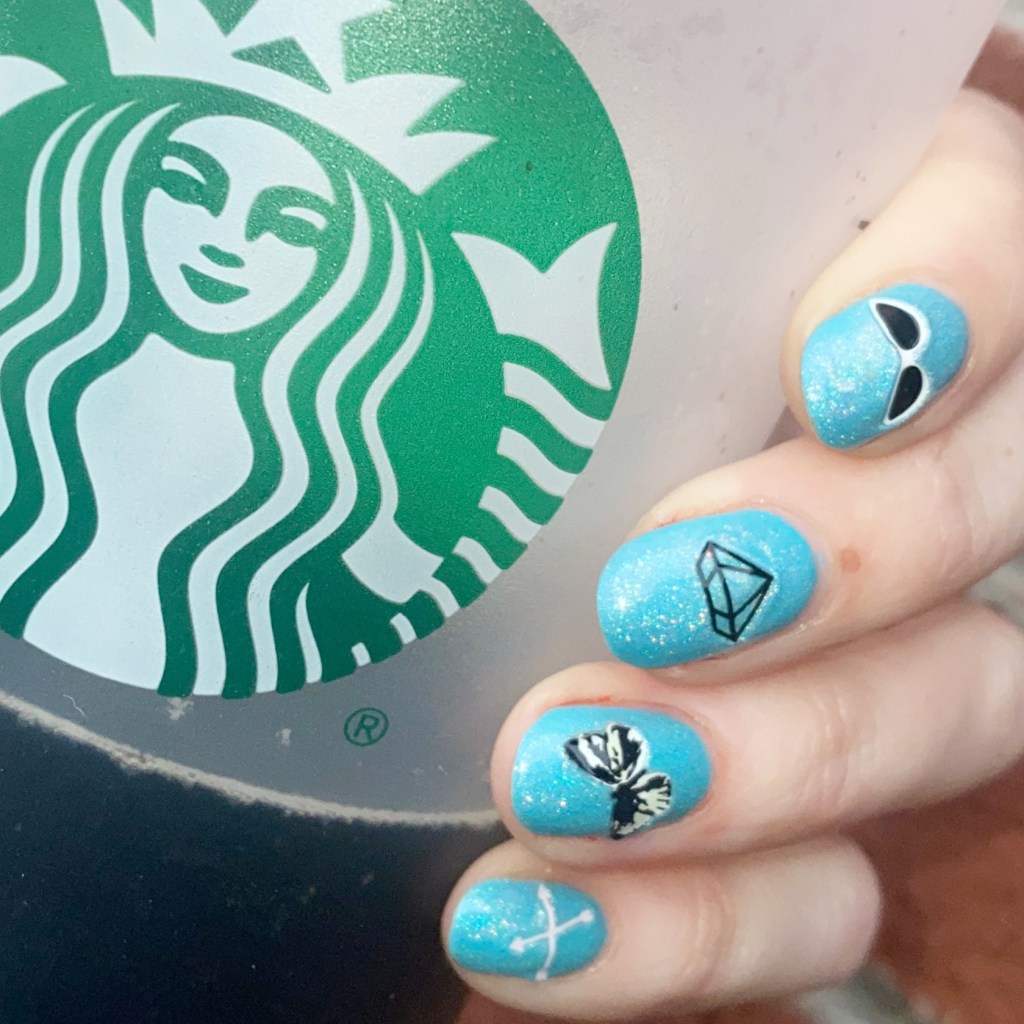
I recently picked up (well… last Summer) a new bottle of Essie In the Cab-ana which is one of my favourite Summer shades. But adding Starrily Eclipse over top brought it to a whole other level! & I’m definitely obsessed.

I also thought these Olive & June nail art stickers were so cute over top. The black & white stickers feel very pop art to me. This sticker line is long discontinued (I think it’s about 5 years ago I was gifted them) but they do have lots of other cute nail art stickers on their site. You can also find cute nail art stickers through my go to, NailStuff.ca, Deco Miami — although I’ve never tried them — & Amazon, obviously!
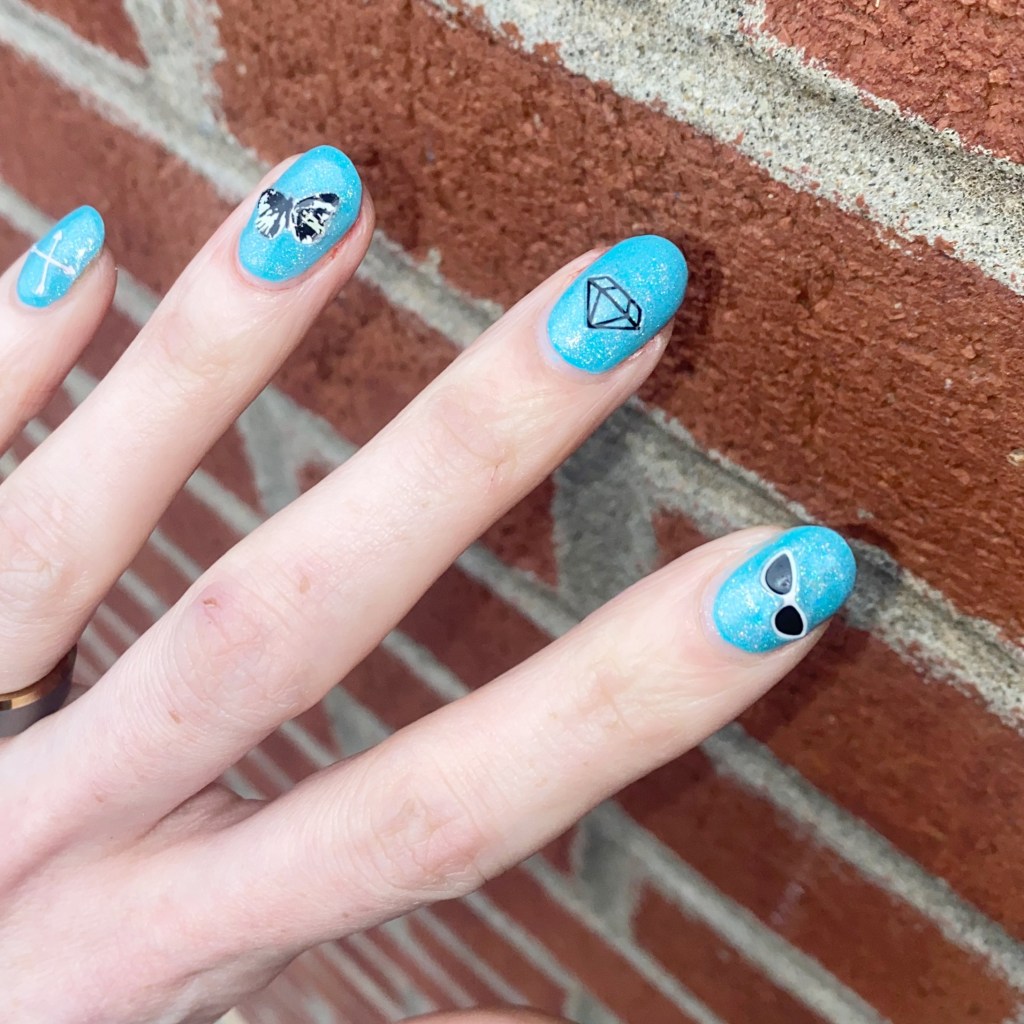
What do you think about these fun nail art looks? Do you like easy nail art looks like this?

Let me know all your thoughts down in the comments below.

GLAM NAILS CHALLENGE APRIL — Rainbow 🌈

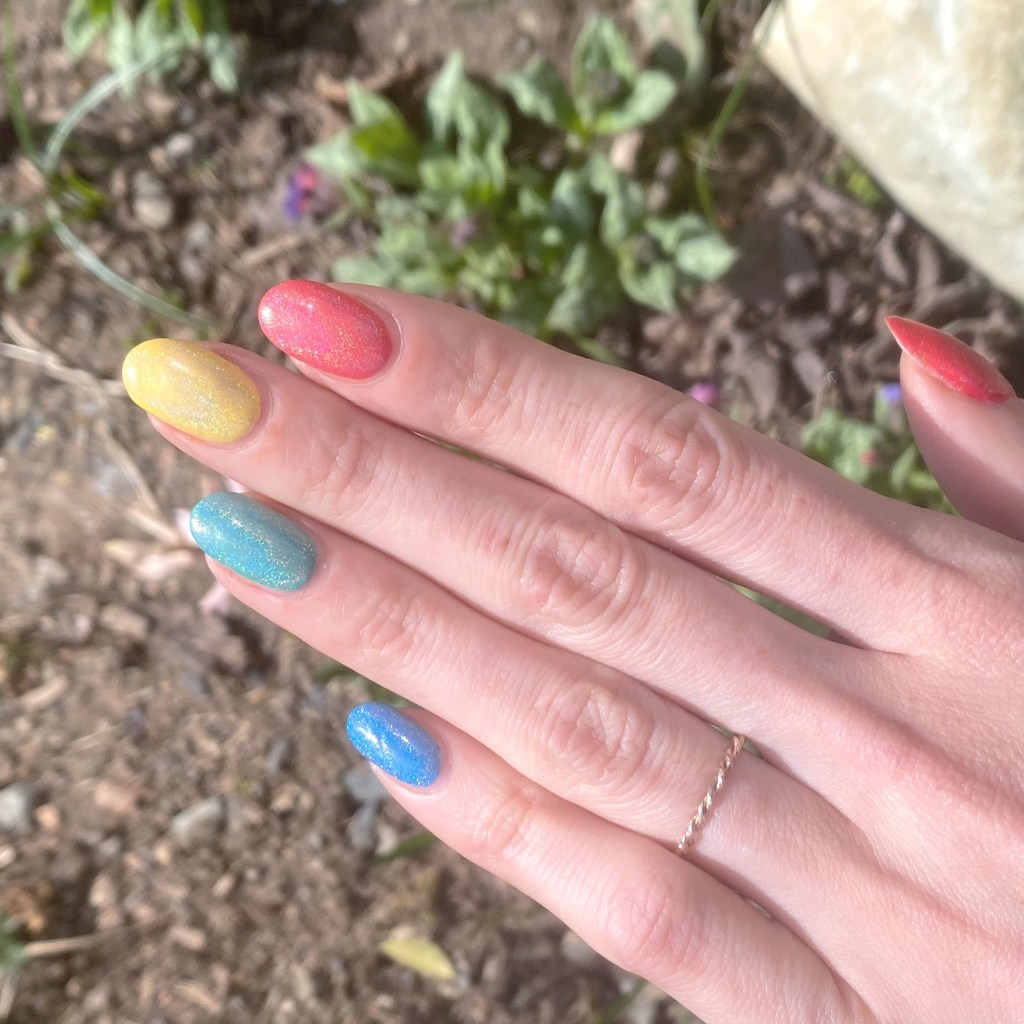
Hello lovelies & happy Monday! I hope your day is starting off beautifully. Today I’m in a great mood because I’m sharing another beautiful manicure for Glam Nails Challenge April.

& what is the next prompt? Rainbow 🌈

The polishes I used for this manicure are: 

  • Base Coat: Essie Hard To Resist Glow & Shine 
  • Top Coat: Seche Vive Fast Dry Top
  • Holographic Top Coat: Starrily Eclipse
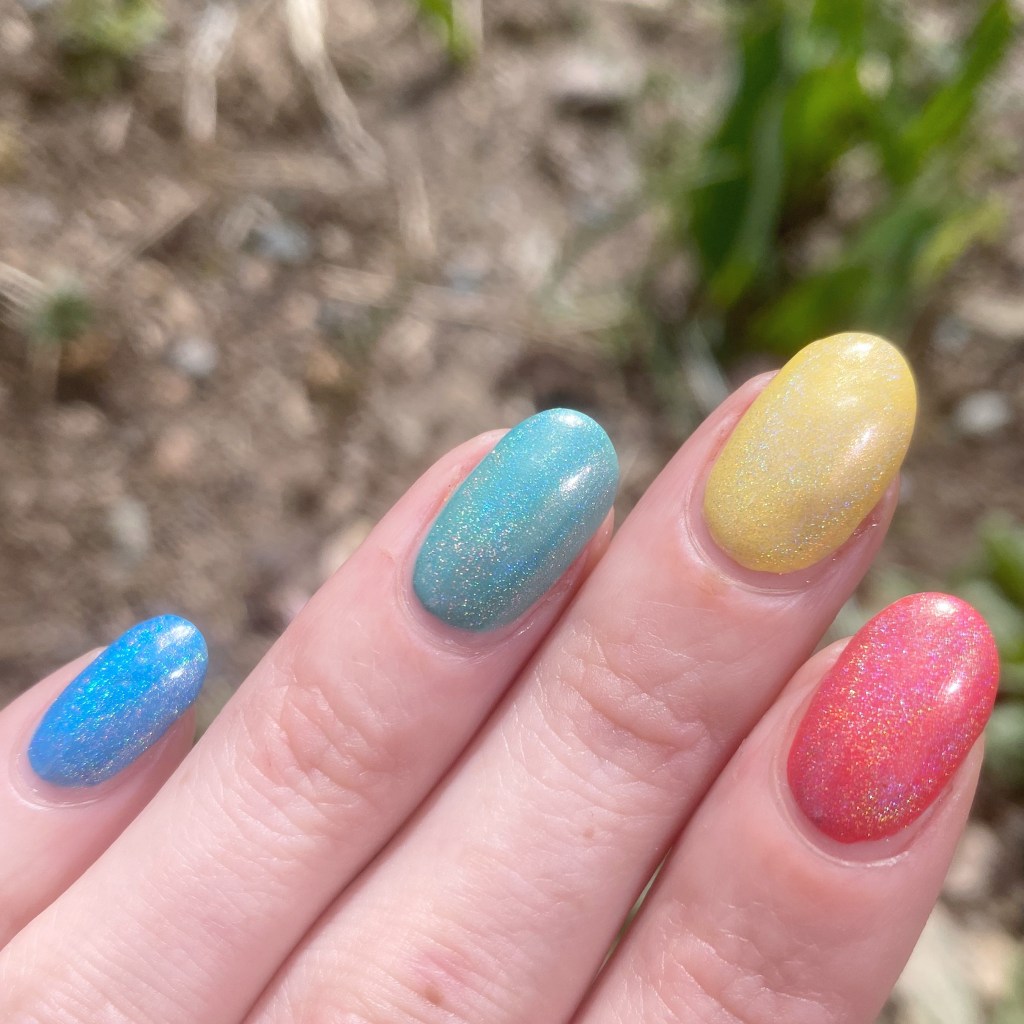
  • Sally Hansen InstaDri Cerulean (pinky)
  • Sinful Colours Fitspo
  • OPI Nature Strong Make my Daisy (middle)
  • Sally Hansen Complete Salon Manicure Fiery Island (pointer)
  • Essie Too Too Hot (thumb)

How pretty is this rainbow? I thought about hand painting a rainbow, but there is just something about a skittle design. I totally could have freehanded little white ‘s’ in the middle of each nails, & they would have been legit skittles! Simple, but effective.

Also the kiddos loved the look so much, they asked me to give them both rainbow nails! So here is a bonus shot of their fun rainbow nails. Even though I sometimes get a little on edge painting their nails — mostly because they hate sitting still — I do adore anytime they ask for me to paint their nails!

What do you think of these rainbow nails? Are you a fan of a rainbow skittle look? Let me know down in the comments below!

& just for fun: what is your favourite skittle flavour. I’m controversial because I will die on the hill that the green apple skittle was the best, especially in sour, but I know not everyone shares that opinion.

Have a lovely Monday!

Sally Hansen Salon Effects Perfect Manicure Press On Nails (Review)

• gifted • PR •

Features Gifted Product in Exchange for Content

Hello lovelies & happy Friday! The weekend (& holiday) is upon us, so I thought I would switch things up with an extra post. Recently, I was gifted some of the new Sally Hansen Salon Effects Perfect Manicure & was excited to try them out.

As you might remember, I tried out the Kiss brand press on nails around Halloween, but to be honest I’m not someone who wears them on the regular. I am, however, a huge Sally Hansen fan so if they’re jumping into the press on nail game, I figured it would be fun to get them a try.

Continue reading “Sally Hansen Salon Effects Perfect Manicure Press On Nails (Review)”

Cotton Candy Saran Wrap Splatter

Good morning lovelies & happy Tuesday! It’s a chilly Tuesday morning here & not very Spring like unfortunately. I’m so over these cold, grey days.

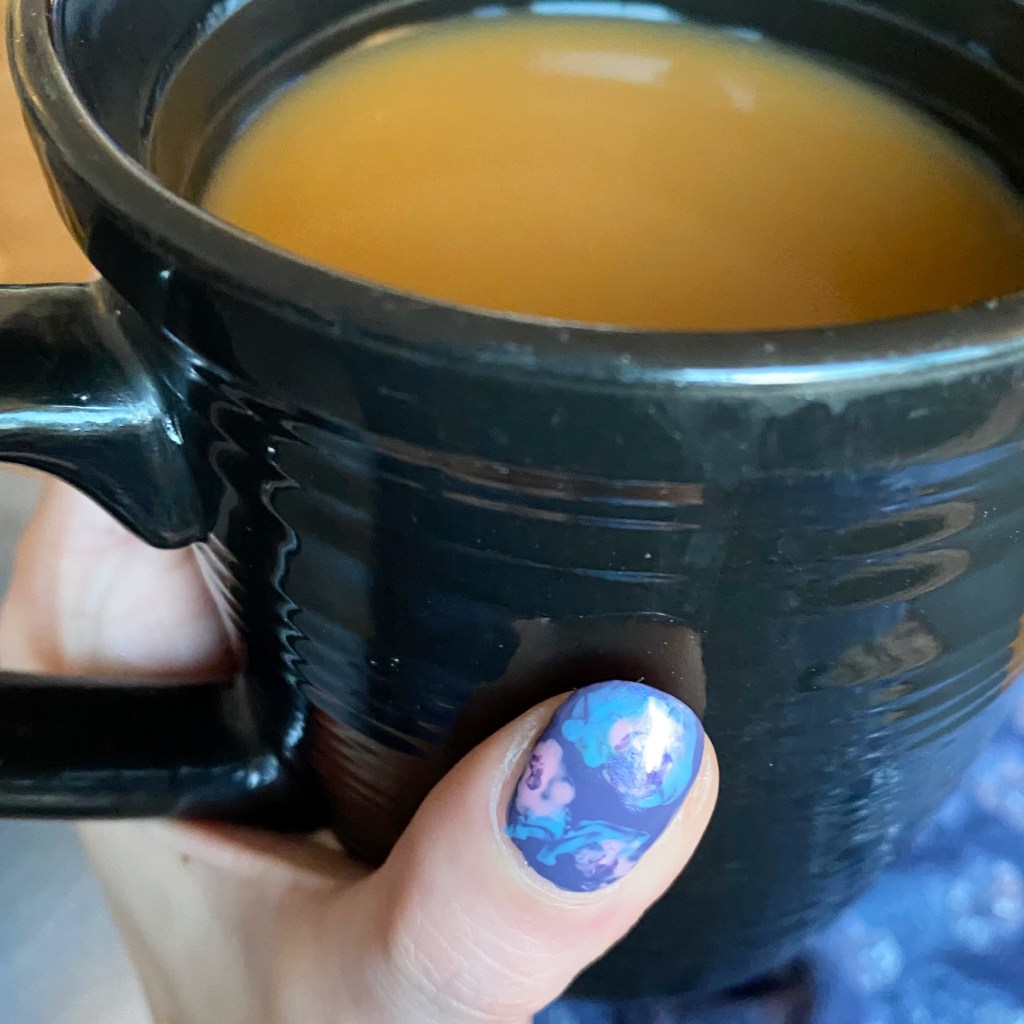
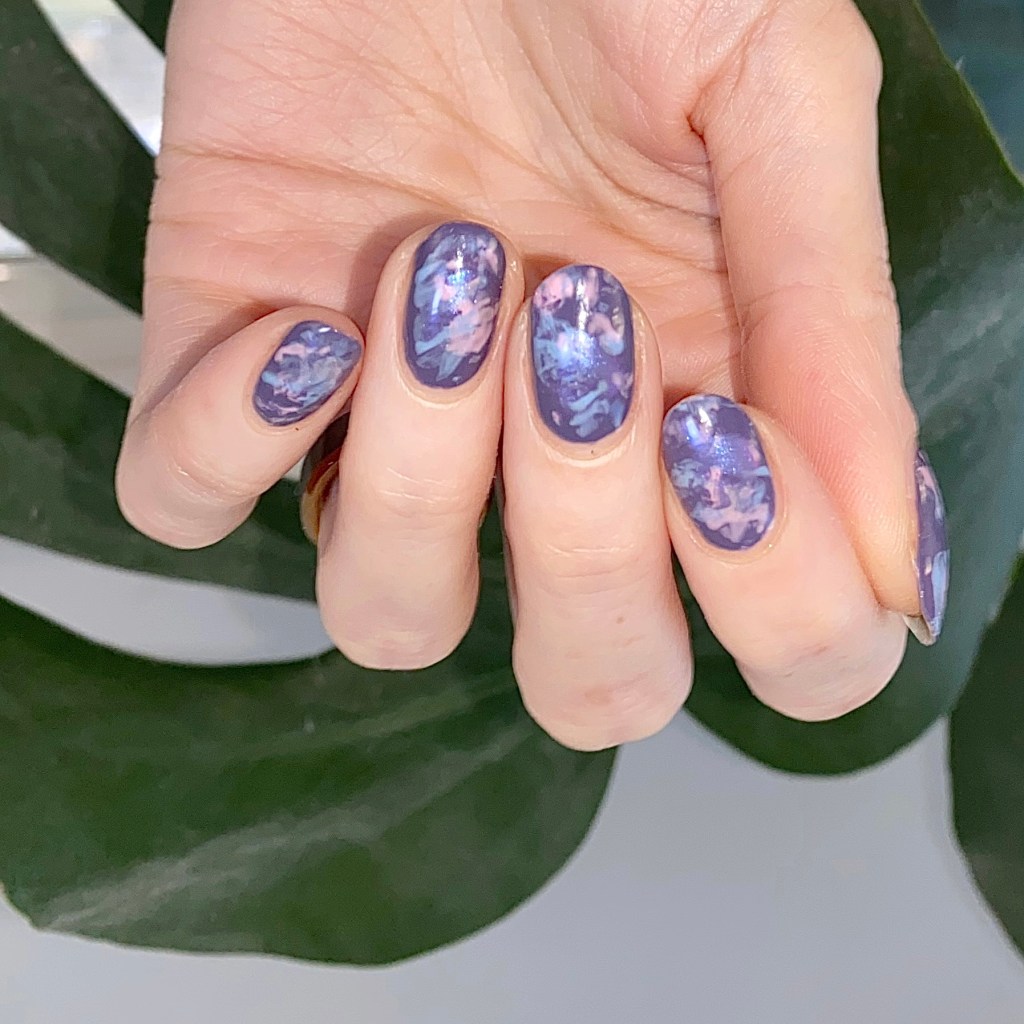
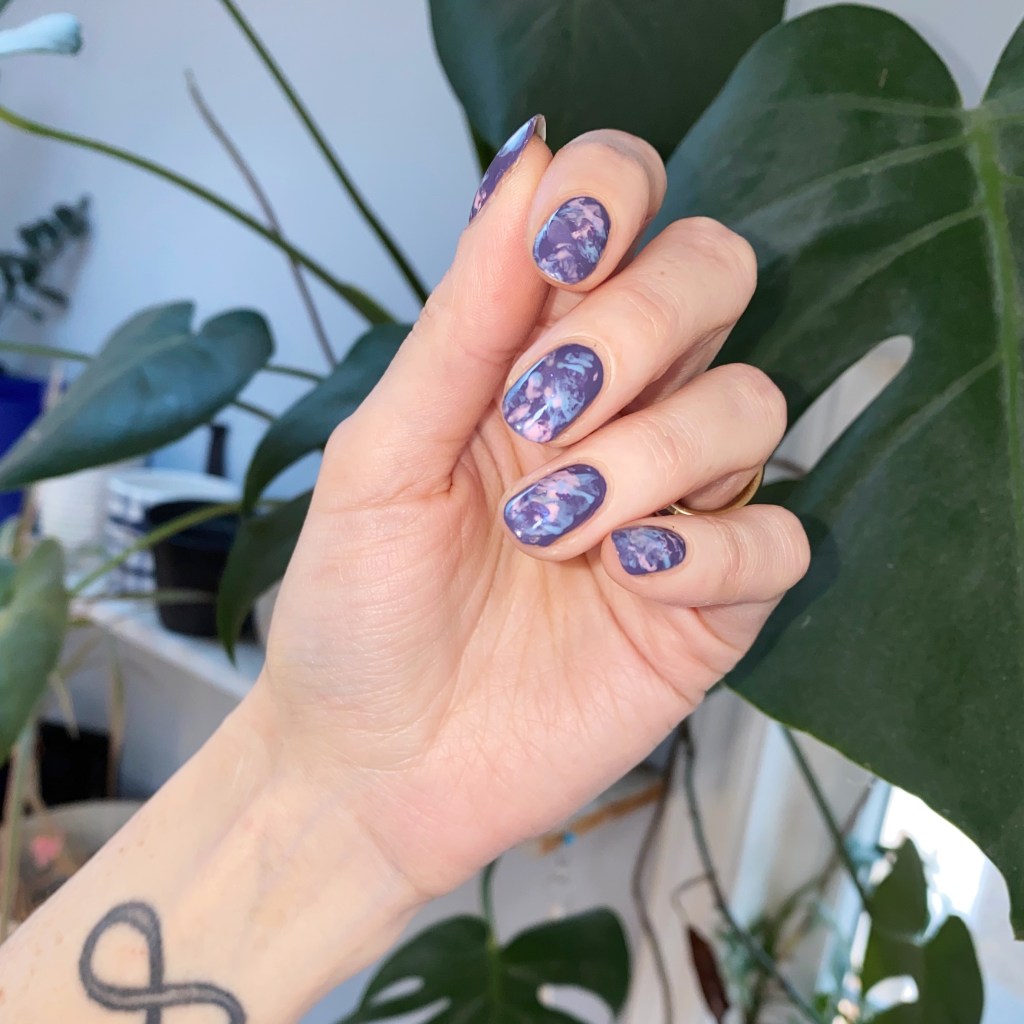
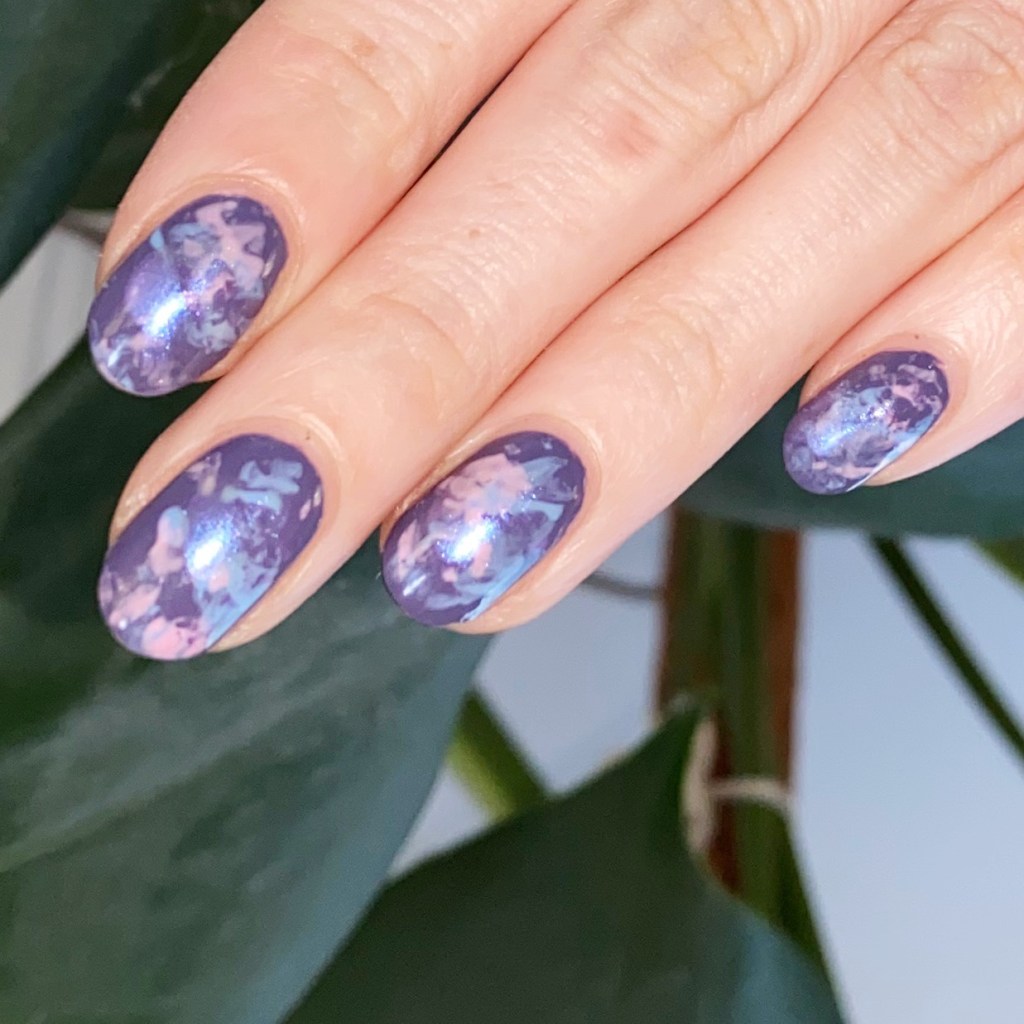
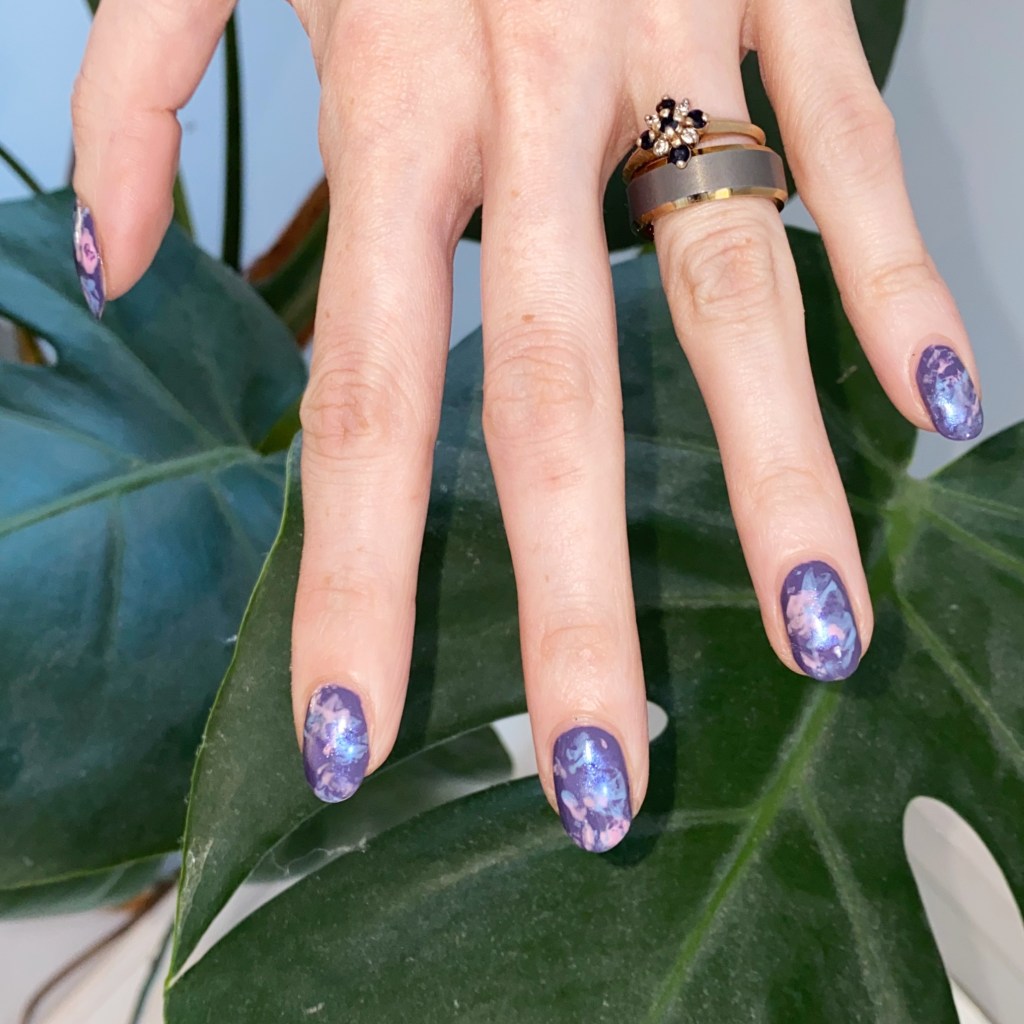
But I do have a cute nail art look to share today. I recently added a few new polishes to my stash—which I acquired on some good deals—so I decided to combine a few in a Saran Wrap splatter look. It’s been a hot minute since I did one of these, so I was excited. & the fact it turned out looking a bit like cotton candy was even cooler!

The polishes I used for this manicure are:

  • Base Coat: Essie Hard To Resist Glow & Shine 
  • Top Coat: Seche Vite Fast Dry Top Coat
  • Essie No Ex-pectations
  • Sally Hansen Miracle Gel Sugar Rush
  • L.A. Colors Gossip
  • Essie Expressie FX Iced Out
  • Crinkled up plastic wrap

I’m super in love with how this turned out. Essie No Ex-pectations turned out to be a bit more grey than I had expected, but it made for an excellent base for my splatters of colour to pop! Plus I really do think it gives off the effect of cotton candy. I also like the subtle shimmer from the bit of Expressie FX Iced Out. It gives off just enough sparkle.

What do you think of this Saran wrap splatter design? Do you like easy nail art like this? I really need to do a tutorial to show off just how easy this look is to do! Maybe when things slow down a bit, I can get that reel made!

Have a happy Tuesday. 🖤

Pastel Neon Half Moons

Hey beauties & happy Tuesday!

I hope everyone’s weekend & beginning of a new week was lovely. We’re quickly approaching March, & that is probably the weirdest nail art month for me because it’s the least inspiring — aside from St. Patrick’s Day, of course. Naturally, I’m craving Spring, as I have been for the last few posts, but Winter has actually hit Halifax which is lame.

So give me some neon!

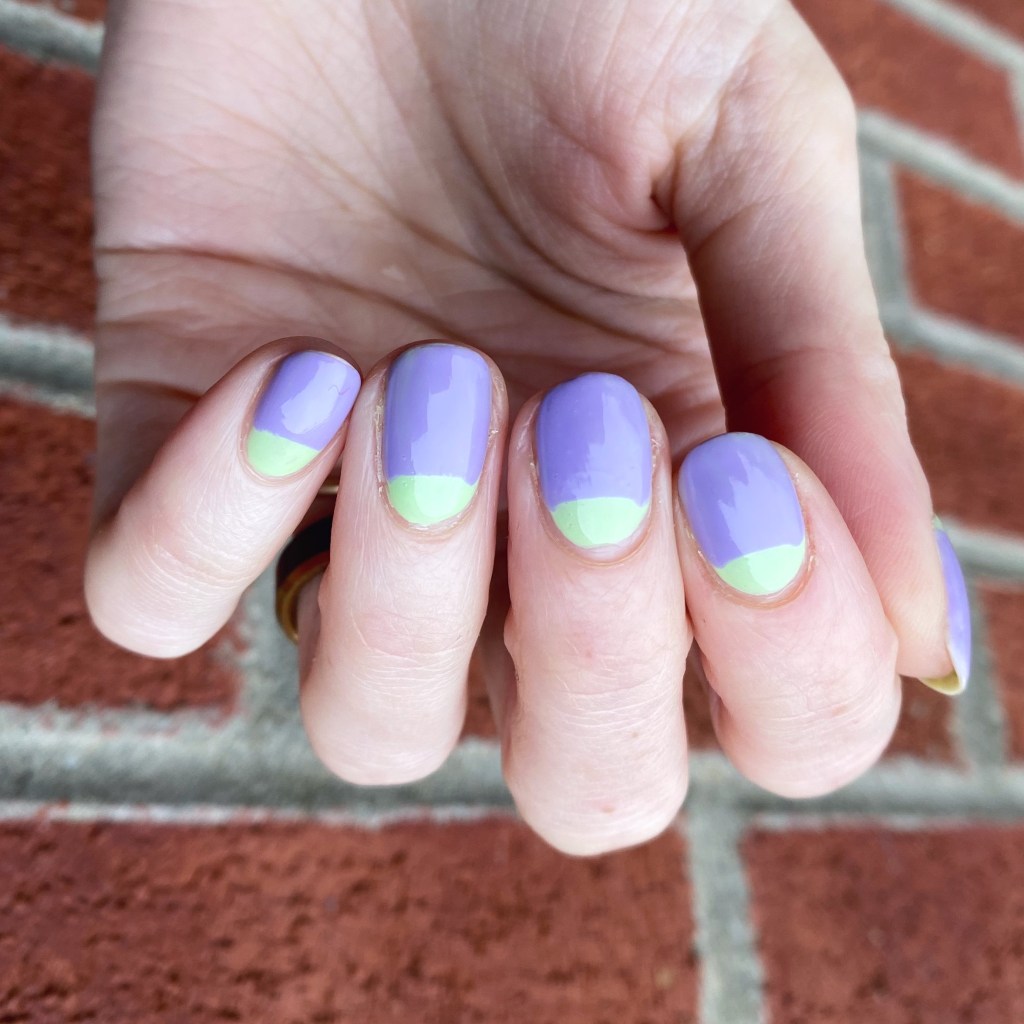
Today’s look was a quick & easy look to satisfy my neon cravings. A little hint of Spring, even when it’s way below freezing.

The polishes I used for this manicure are: 

  • Base Coat: Essie Hard To Resist Glow & Shine 
  • Top Coat: Seche Vite Fast Dry Top Coat
  • Sally Hansen Miracle Gel Neon Electri-Lime 
  • Sally Hansen Miracle Gel Orchid-ing Aside
  • Paper Hole Reinforcements (Dollarama stationary section)

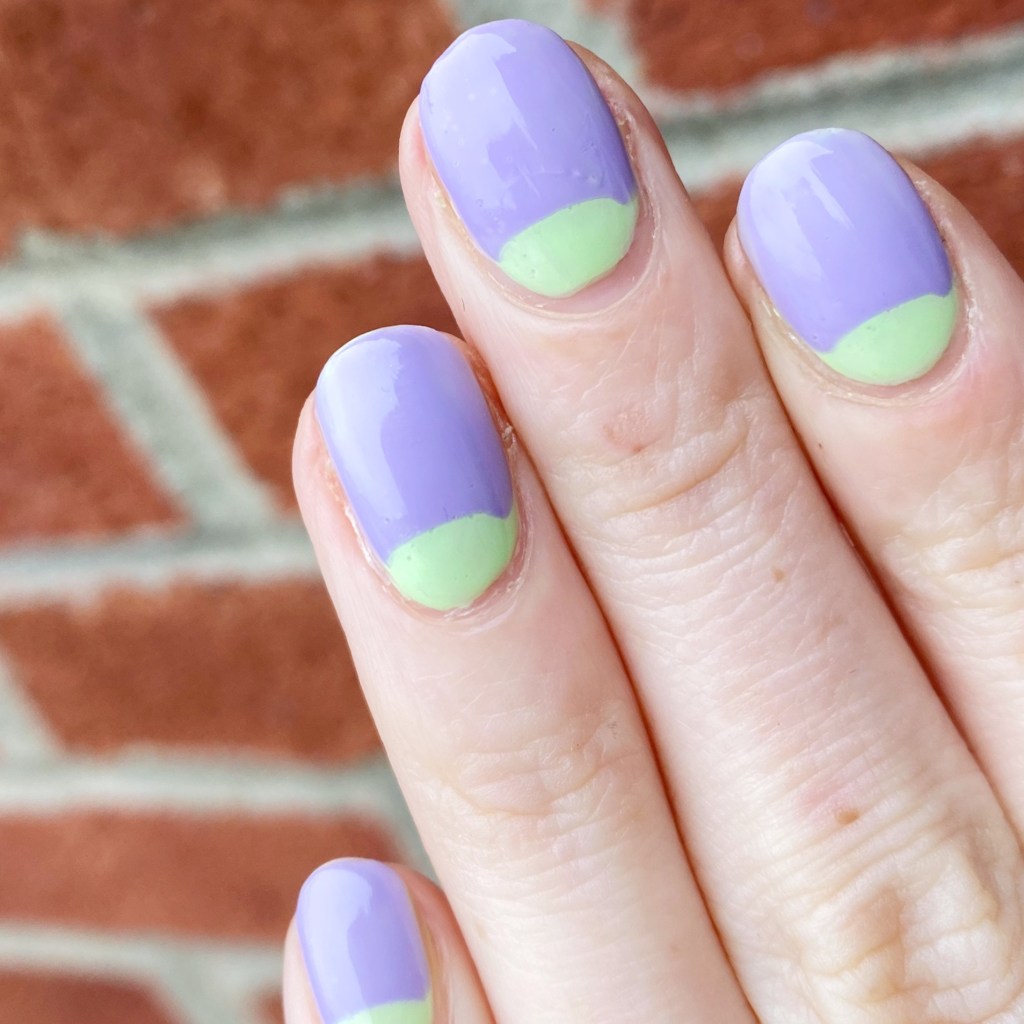
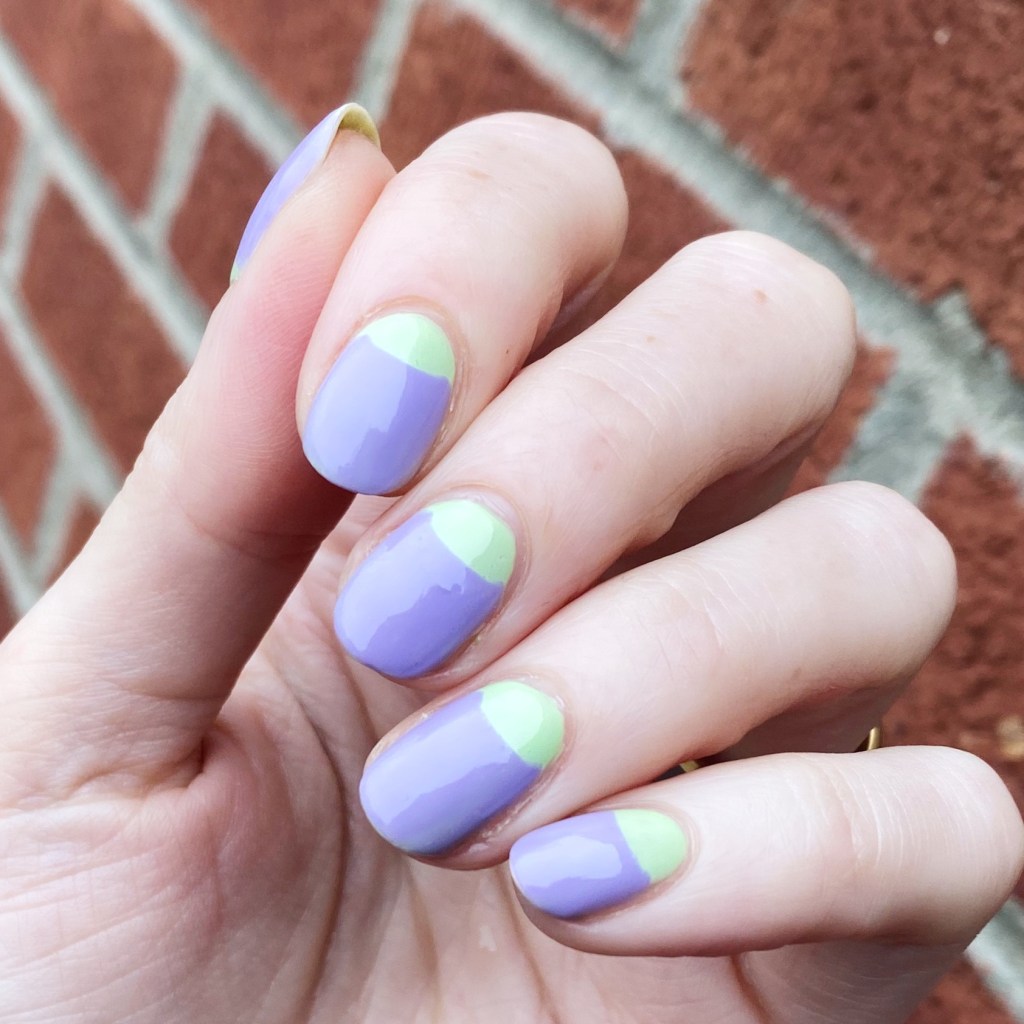
How cute are these! I love the pastel purple & the neon green paired together. It’s a nice bright look on a chilly day — which we’ve been having a lot of lately. I may not be able to break out the Spring dresses yet, but at least I can wear some Spring nail polishes. It’s the little things that make me happy.

Also this is a super, super easy look to do. Half moons this way were one of the earlier nail art techniques I taught myself — circa like 2011/2012 — but even after all the years, it’s still one of my easy nail art go tos. Seriously… if you’re wanting to dip your toes into the nail art game, but nervous about technique, go with this easy look! As long as you make sure your base is well dried, it’s pretty hard to muck this look up.

What do you think about these pastel neon half moons? Are they giving you all the Spring vibes? Let me know what you think down in the comments below, & if you would try this easy nail art look.

Have a lovely Tuesday! ♥︎