Valentine’s Gradient Dotticure

Hello beauties & happy Thursday! & what a gorgeous & sunny Thursday it is here on the East Coast — too bad we’re going to hit another Winter storm tomorrow.

Is it Spring yet?

Today though, I’m concentrating on some more Valentine’s Day inspired nails with a fun (& easy) gradient dotticure. I wanted something pink & fun leading up to the big day, but didn’t necessarily want to go fun on hearts with this look. So I thought why not capture the essence of the holiday with the colours I was feeling, without out right saying Valentine’s. & besides, what is more fun than a dotticure.
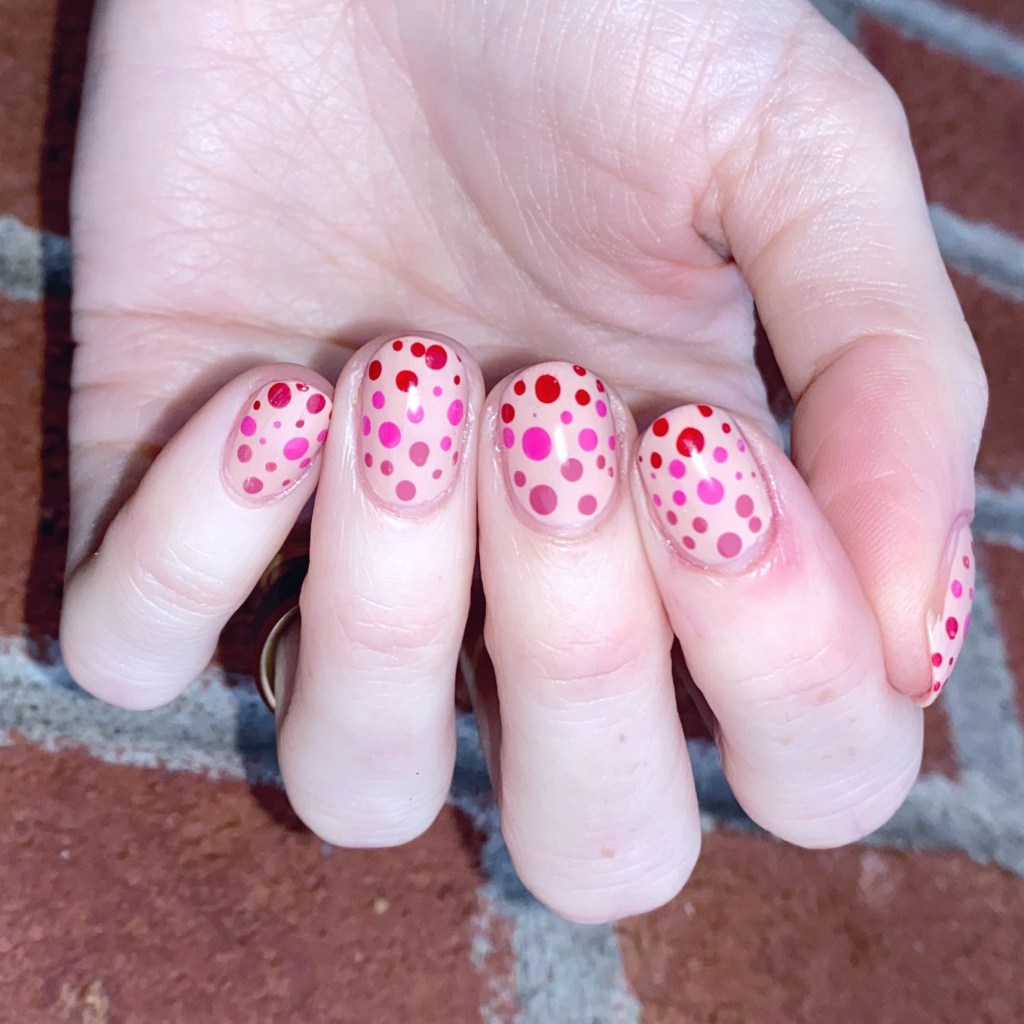
The polishes I used for this manicure are: 

  • Base Coat: Essie Hard To Resist Glow & Shine 
  • Top Coat: Seche Vite Fast Dry Top Coat
  • Sally Hansen Good. Kind. Pure. Almond Tan
  • Sally Hansen GKP Eco Rose
  • Sally Hansen GKP Peony Origins
  • Sally Hansen GKP Pomegranate Punch
  • Dotting tool (NailStuff.ca — Dotting Tool Trio)

I wanted a really neutral base shade, that wasn’t white & wasn’t completely naked, which is why I picked Sally Hansen Good. Kind. Pure in Almond Tan. I feel like it’s pretty close to my natural colouring. & then I figured, why not just keep the Good. Kind. Pure. train going with a few more of my favourite pink-y shades from my stash. & bam! A fun gradient dotticure which is perfect for a Valentine’s date night, or to enjoy 50% off chocolate on the 15th. Either way, it was a super easy design to do, so I was excited to wear it!
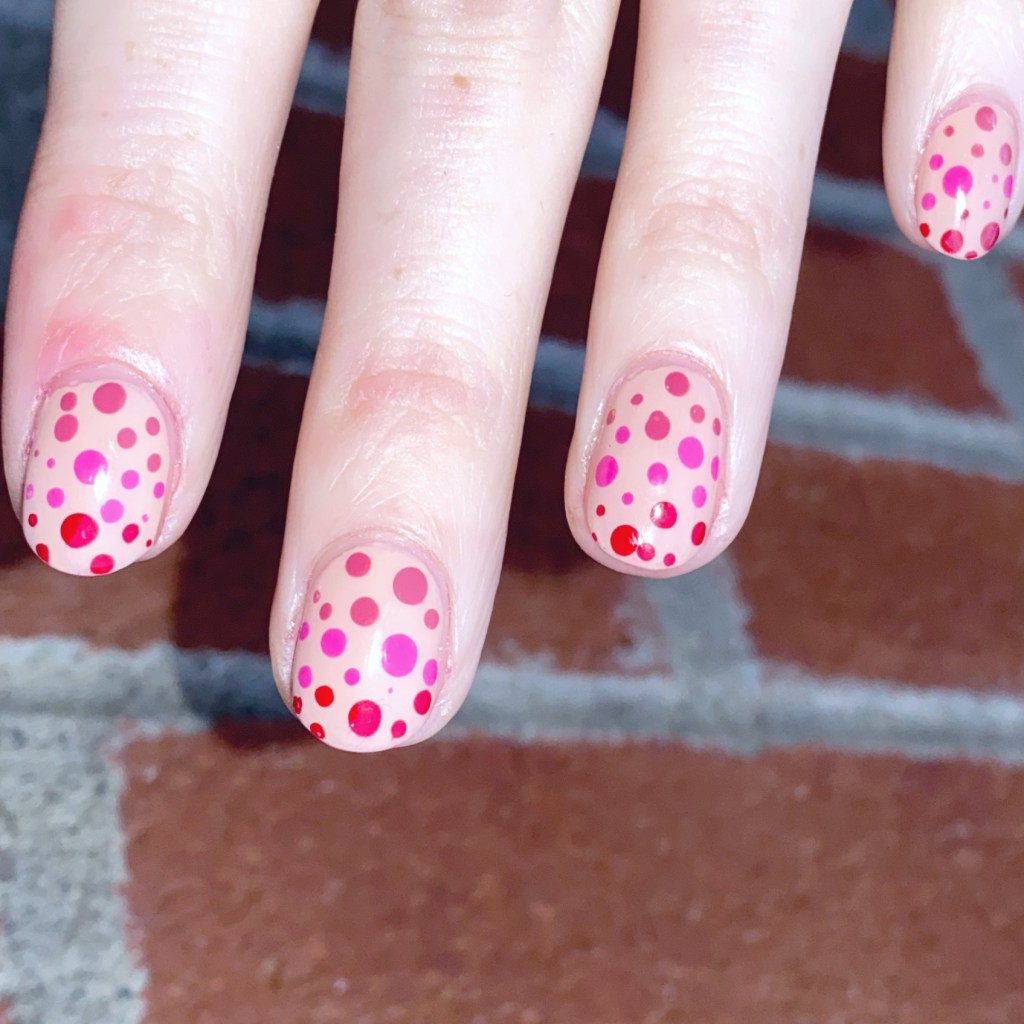
What do you think about this gradient dotticure design? Are you a fan of these funky easy designs, or do you prefer something a little more complicated? Let me know what you think, & what colour combination you would rock this design in!

Have a happy Thursday loves ♥︎

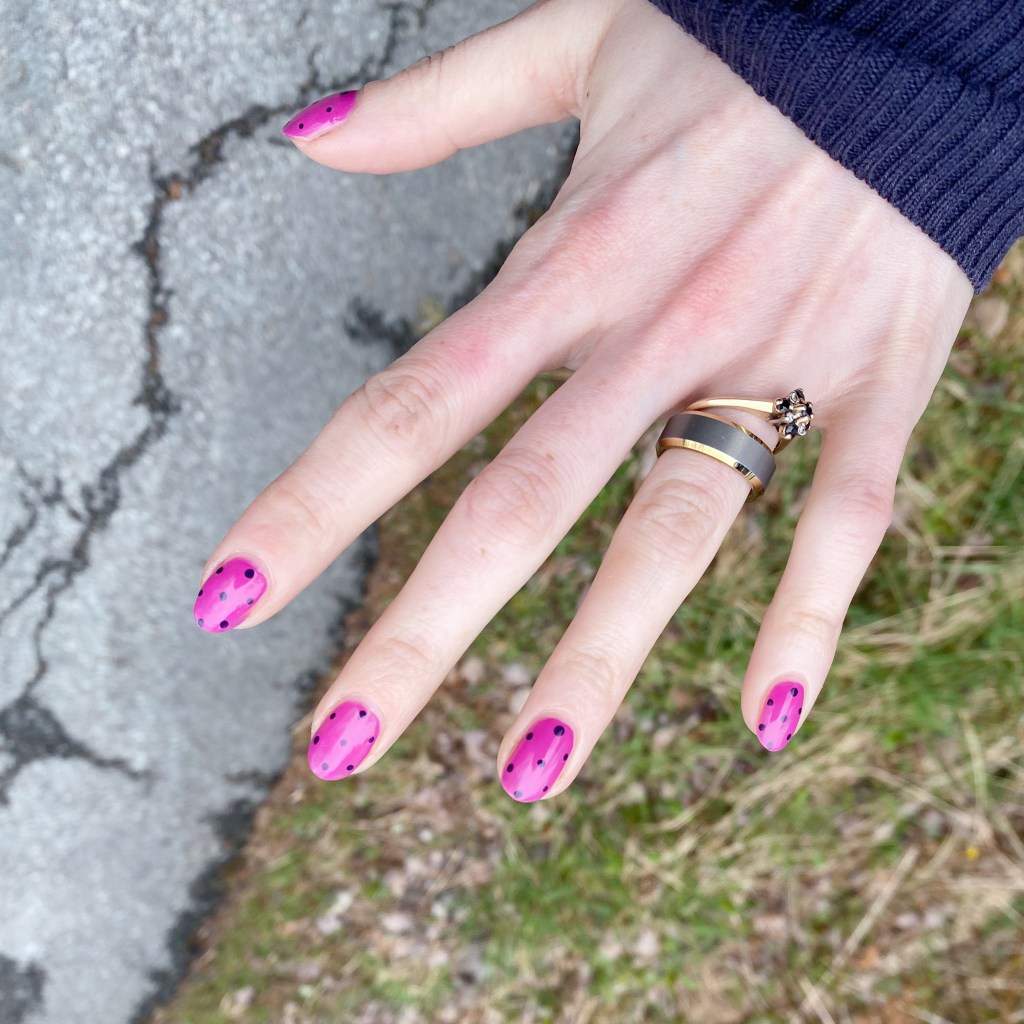
Hot Pink & Polka Dots

Hello beauties & happy Tuesday! A very, very snowy Tuesday here. The weather definitely cannot make up its mind lately.

Today I have a pretty design to share that I actually did a little while ago, but didn’t get a chance to share. I thought that it would be gorgeous for a pre-Valentine’s Day design, so I wanted to share.

The polishes I used for this manicure are:

  • Base Coat: Essie Hard To Resist Glow & Shine 
  • Top Coat: Seche Vite Fast Dry Top Coat
  • Essie Swoon in the Lagoon
  • Sally Hansen Miracle Gel Blacky-O
  • Dotting tool (I always use mine from NailStuff.ca — Dotting Tool Trio)

Gosh I love a good polka dot design. It’s literally the easiest & quickest nail art I think you can do — & it always looks so put together. This is definitely a great nail art look for anyone wanting fun nails, without wanting to put an hour+ into painting something.

What do you think about this nail art look? Is this a nice prelude to February & the Valentine’s Day looks to come? Let me know all your thoughts down below!

Bright & Simple Swirls

Hello lovelies & happy Tuesday! A freaking chilly Tuesday here. We went from it feeling like Winter this weekend, to it feeling like Spring yesterday, right back into a cold snap. My nails are definitely not happy about the back & forth, but I’m trying to keep them looking cute regardless.

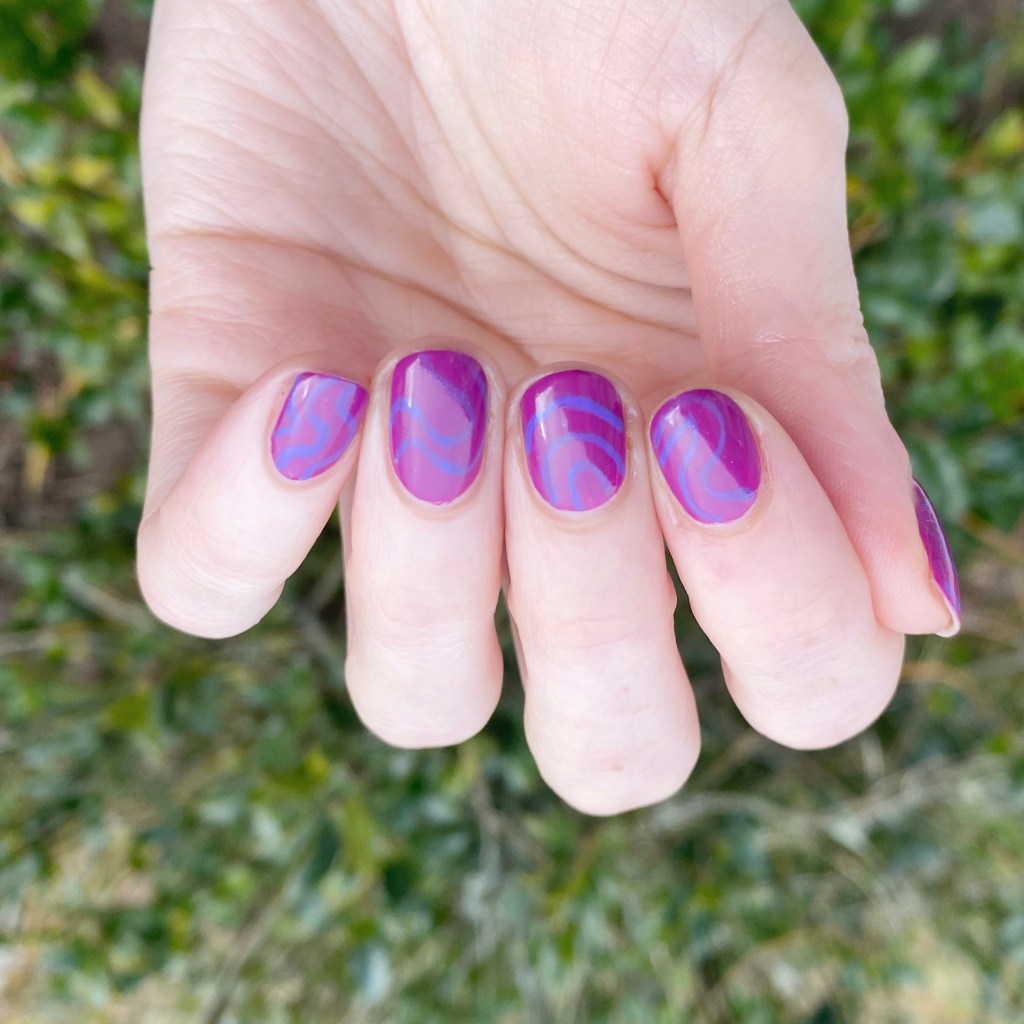
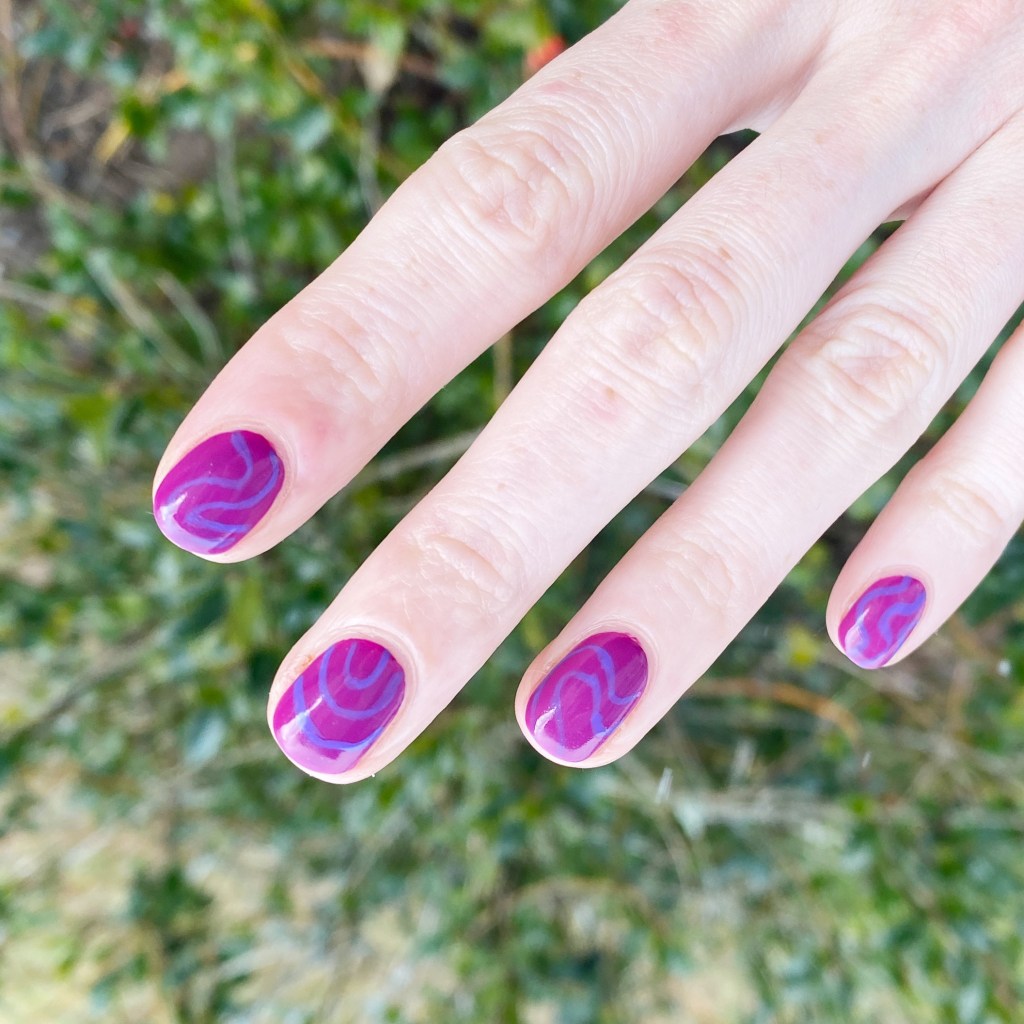
Todays look was a really simple one I did last week. I wanted something a little bit bright & colourful, & I was especially feeling Essie Flowerista as my base shade, so this is what I ended up with!

The polishes I used for this manicure are: 

  • Base Coat: Essie Hard To Resist Glow & Shine 
  • Top Coat: Seche Vite Fast Dry Top Coat
  • Essie Flowerista
  • Color Club Art Club Striper Passion Flower

I really wanted to do some nail art over my base, but I was running short on time. However — I thought these wavy lines using my Color Club Striper was perfect! I thought about doing them in more than one colour, but I think the purple over the fuchsia is more than perfect. I like the simplicity. It’s a great pop of colour which is exactly what you need when it’s still January.

What do you think about these bright & simple swirls? Are you feeling the simplicity of this design or do you prefer nail art that is more complex?

Let me know all your thoughts in the comments below. I love when people share their thoughts on my nail art!

Have a lovely Tuesday! 🌸

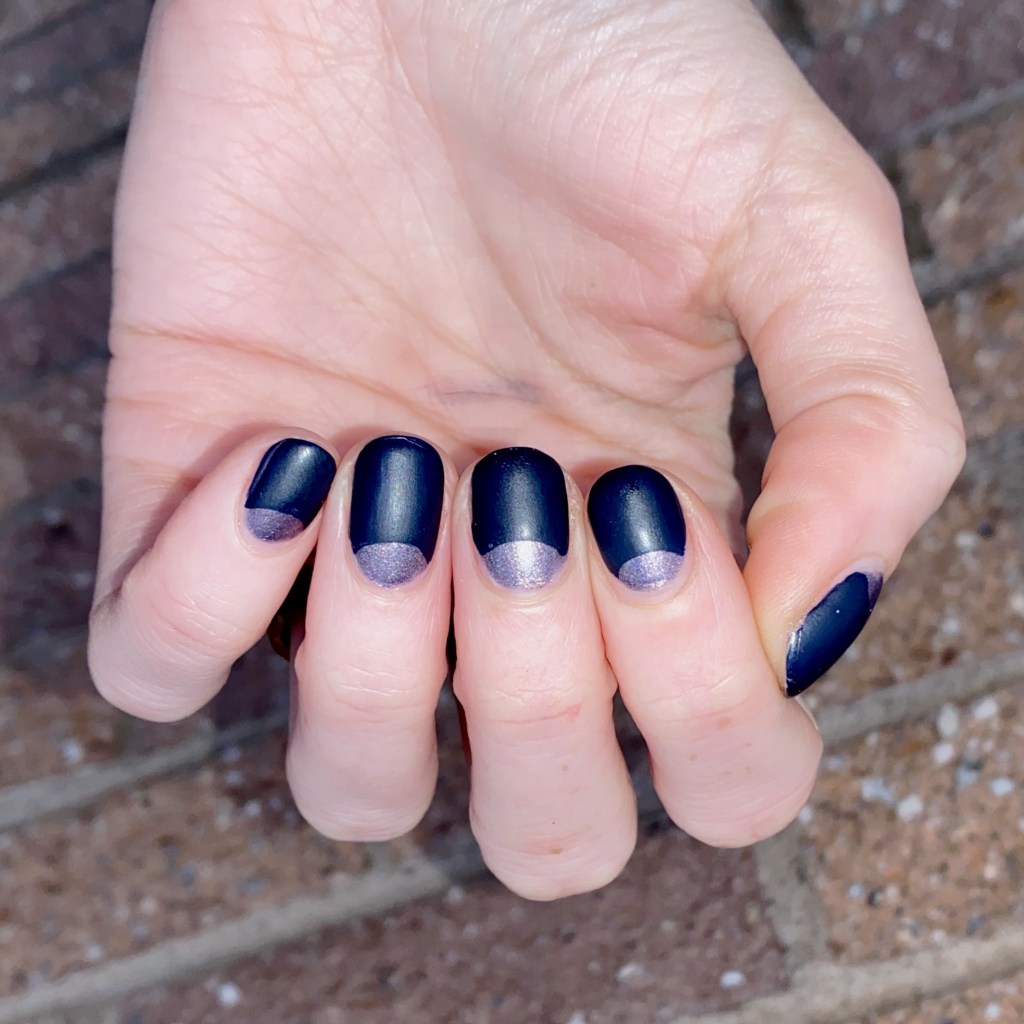
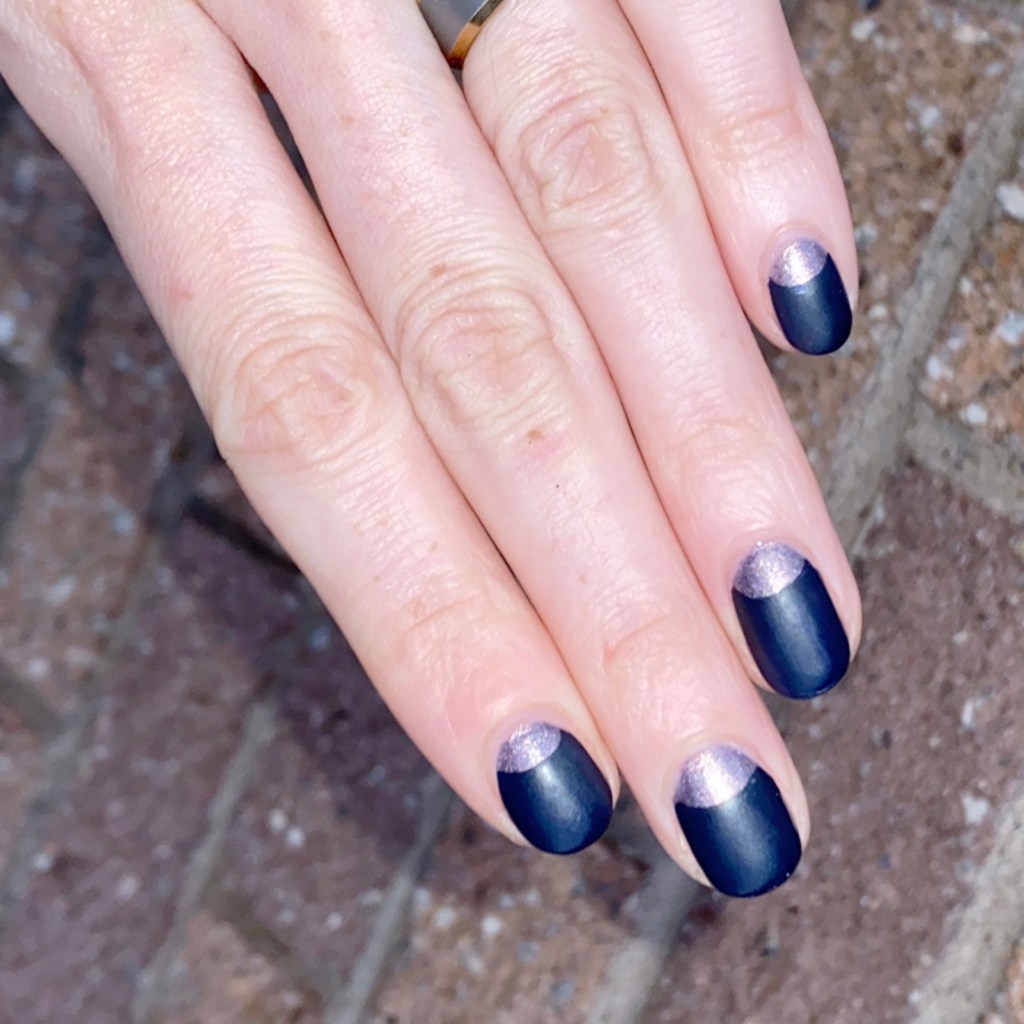
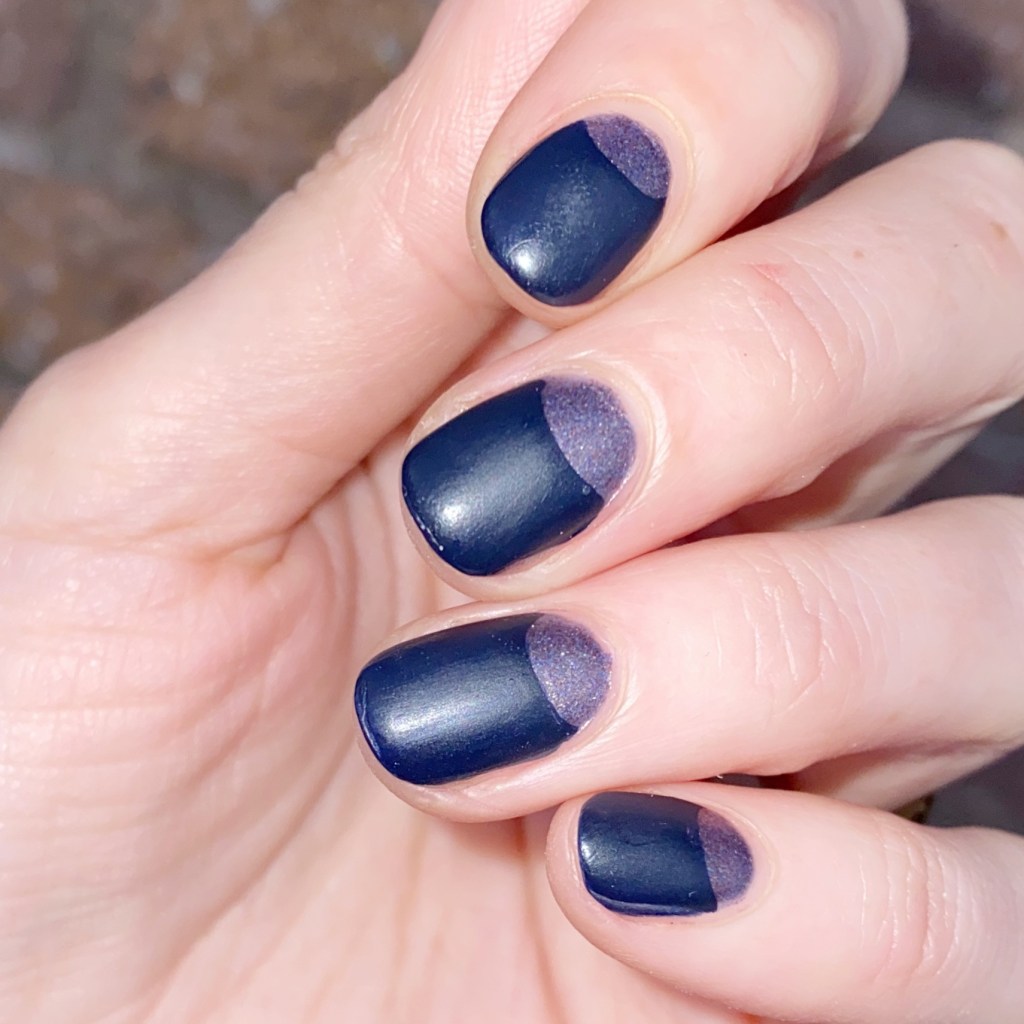
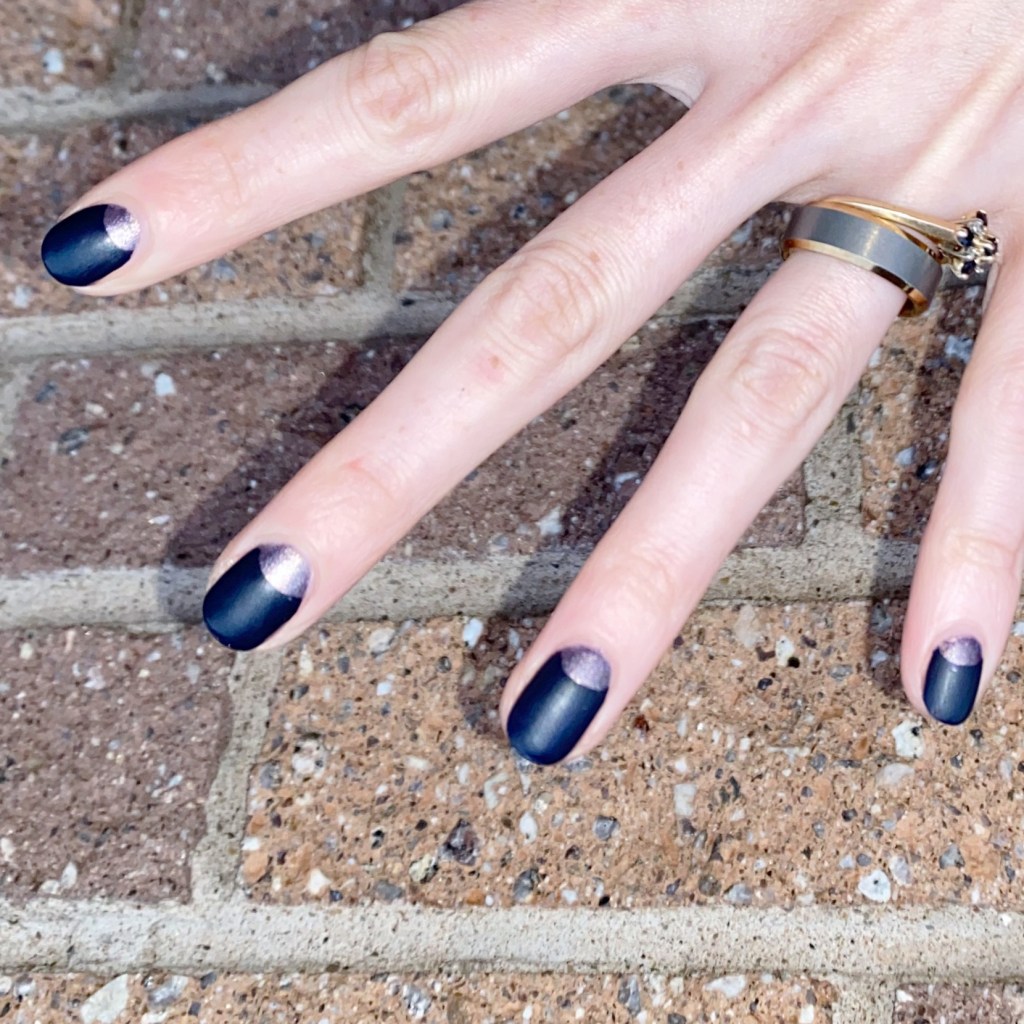
Soft Matte Half Moons

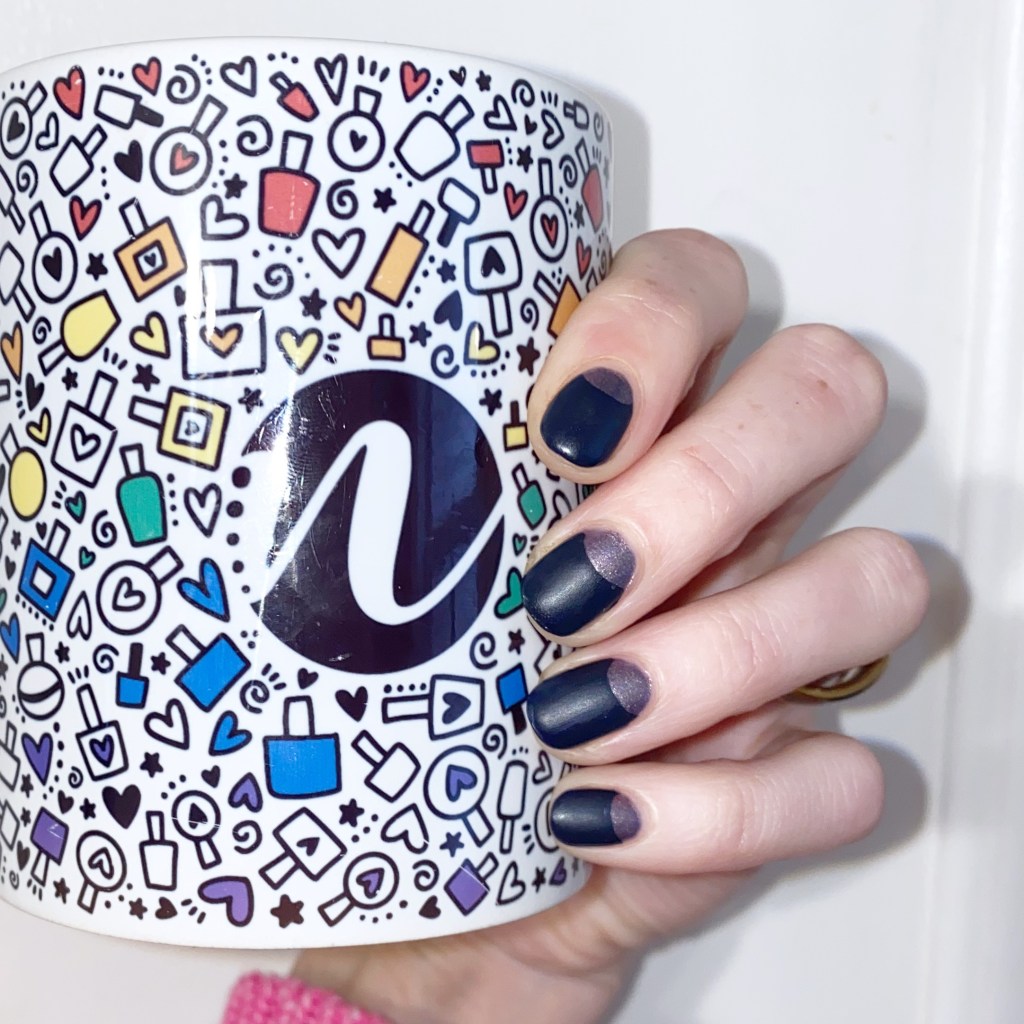
Hello lovelies & happy Tuesday! I hope everyone’s had a good start to the year so far. It’s been relaxing on my end, that’s for sure. But now it’s time to drive right back into all things nail polish, nail art & manicures in general. I was kind of trying to figure out what kind of vibe I wanted to start off 2023 with, & I decided to let my nostalgia win with not only a half moon manicure… but a matte half moon manicure.

Two of my favourite things combined into one.

The polishes I used for this manicure are: 

  • Base Coat: Essie Hard To Resist Glow & Shine 
  • Top Coat: Seche Vite Fast Dry Top Coat
  • Matte Top Coat: Sally Hansen Miracle Gel Matte Top Coat
  • Zoya Devin
  • Essence Into the Unknown
  • Paper Hole Reinforcements

I was on instagram early into Fall, & I saw someone post that half moon manicures were going to become popular again, & all I could think was “I never stopped doing them”.

These have always been a favourite nail art look of mine, & I just find it such an easy technique to do. But I really, really love this look with the matte top coat applied as the finishing touch. Matte nails are my absolute favourite in the Winter months, so expect lots of matte nails in the coming months.

What do you think of this nail art look? Are you a fan of the half moon design? Let me know what you think, & what nail art trends for 2023 you’re excited to try!

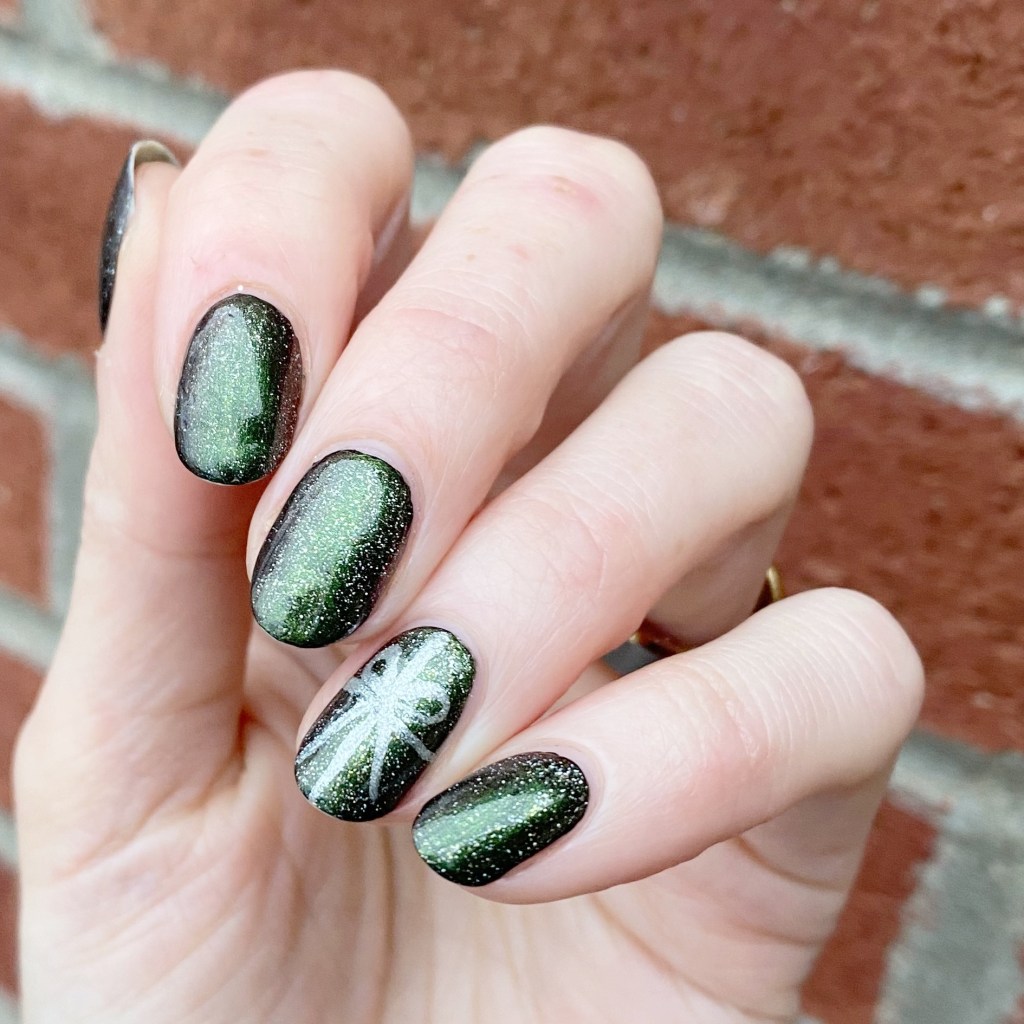
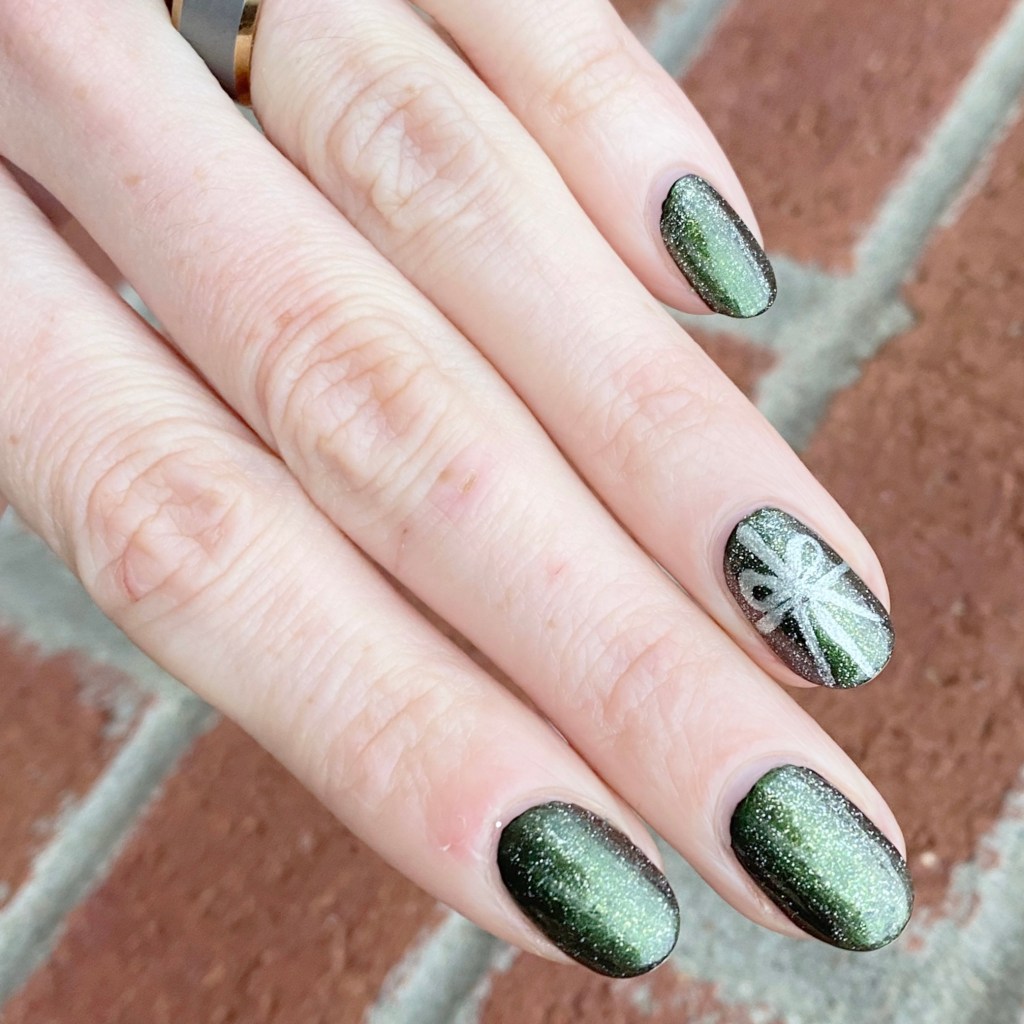
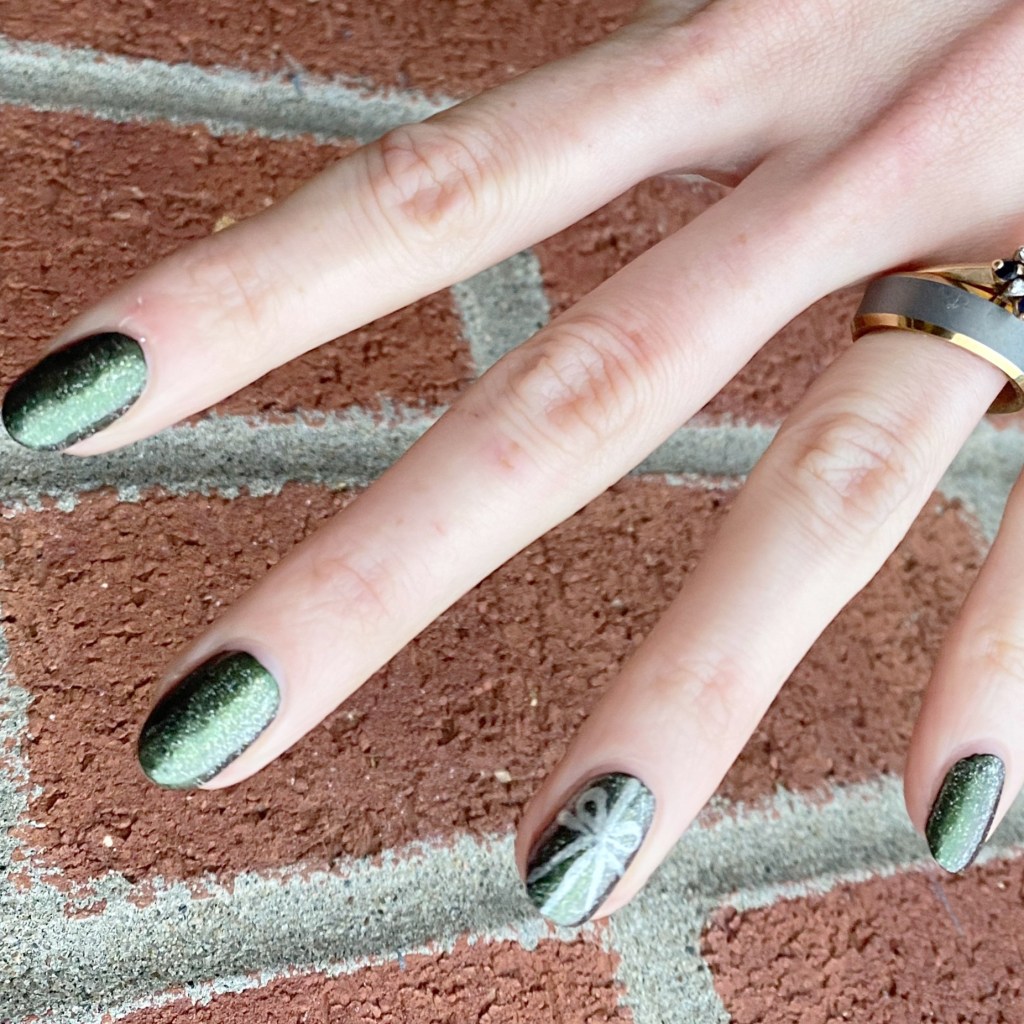
Dainty Present Accent Nail Art 🎁

Hello beauties & happy Friday! Can you believe we’re just a little over a week before Christmas? Where has the time gone?! We have less than 0 snow which means it doesn’t really feel like Christmas or, even, December here. But I’m hoping for a Christmas miracle, & a little bit of snow for the holiday.

Today though I have a cute Christmas design to share with you that I’ve been wearing for the last few days. I recently took a trip to the Chatters by my new work, looking for nail polish. While they don’t quite have the stash they used to have, I did find a couple cute shades including a mini bottle of OPI Green on the Runway from the 2014 Coca-Cola collection. I thought it would be a fun non-traditional Christmas colour choice.

The polishes I used for this manicure are: 

  • Base Coat: Essie Hard To Resist Glow & Shine 
  • Top Coat: Sally Hansen Insta-Dri Anti-chip Top Coat
  • Starrily Vantablack (c/o: NailStuff.ca)
  • OPI Green on the Runway
  • Sally Hansen Miracle Gel Make It N-Ice
  • China Glaze Sleigh Bells Ring
  • NailStuff.ca Mermaid Tail Nail Brush Trio (11mm Liner Brush)

I really wanted to see how Green on the Runway would look layered over black, & I like it! Obviously, I had to had some sparkle, & Sally Hansen Miracle Gel Make It N-Ice is a great topper! It adds just the right amount of sparkle to this design. It’s Christmas, so sparkle is almost mandatory!

Also I love how my teeny little bow turned out. Sometimes all you need is just a little accent nail, & I feel like this was the perfect combination of colour, with a little bit extra holiday added. It makes me so happy! My slightly dry cuticles thanks to freezing temperatures? Not so happy. But hopefully Santa has a big tin of Burt’s Bees cuticle balm for my stocking this year.

What do you think of this dainty accent nail, & colour combination? Are you a fan of simple of fancy holiday designs? Let me know all your thoughts down in the comments below! Just 8 more days until Christmas Eve, so now is the time to get the rest of my Christmas nails finalized.

Have a fantastic Friday!