Hello lovelies & happy Tuesday. I know I usually post my Glam Nails Challenge Sunday prompts on Monday, but we were on a long drive yesterday & I totally forgot to write down what shades I used for my nails before we went away haha. So I had to wait until I was back home before I could write up my post — silly, silly me.
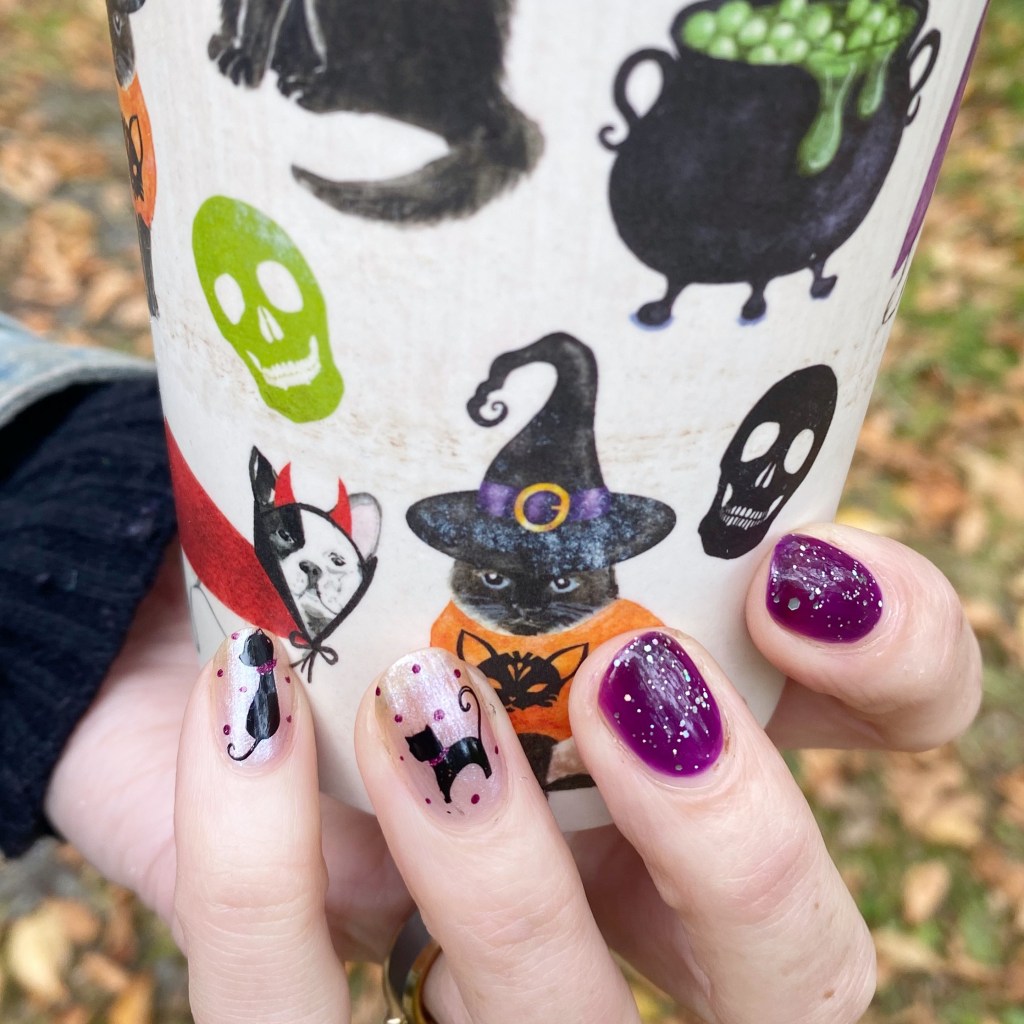
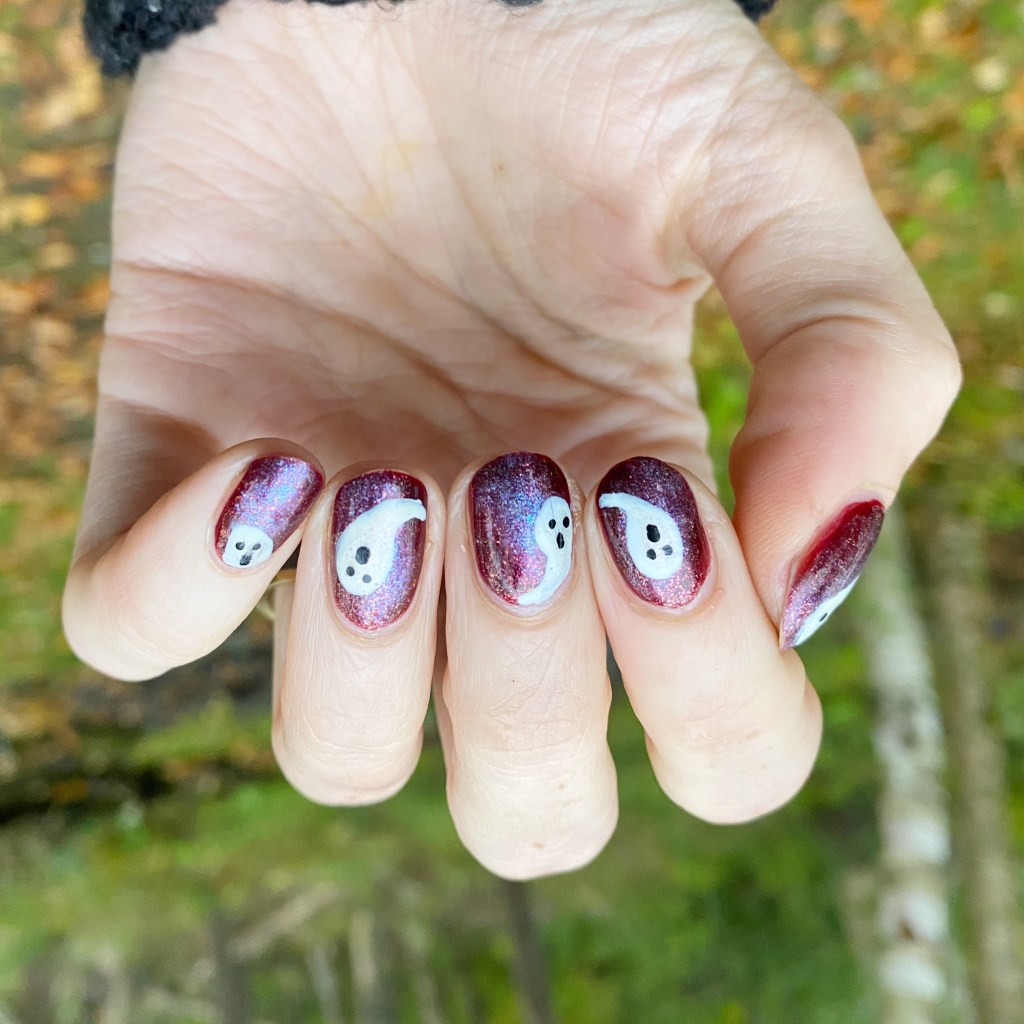
The next prompt for Glam Nails Challenge is ghosts! & I was super pumped for this prompt. I always have fun coming up with ghosty looks, & this manicure was no different.
The polishes I used for this manicure are:
- Base Coat: Essie Hard To Resist Glow & Shine
- Top Coat: Sally Hansen Complete Salon Manicure Fast Dry Top Coat
- Essie Chocolate
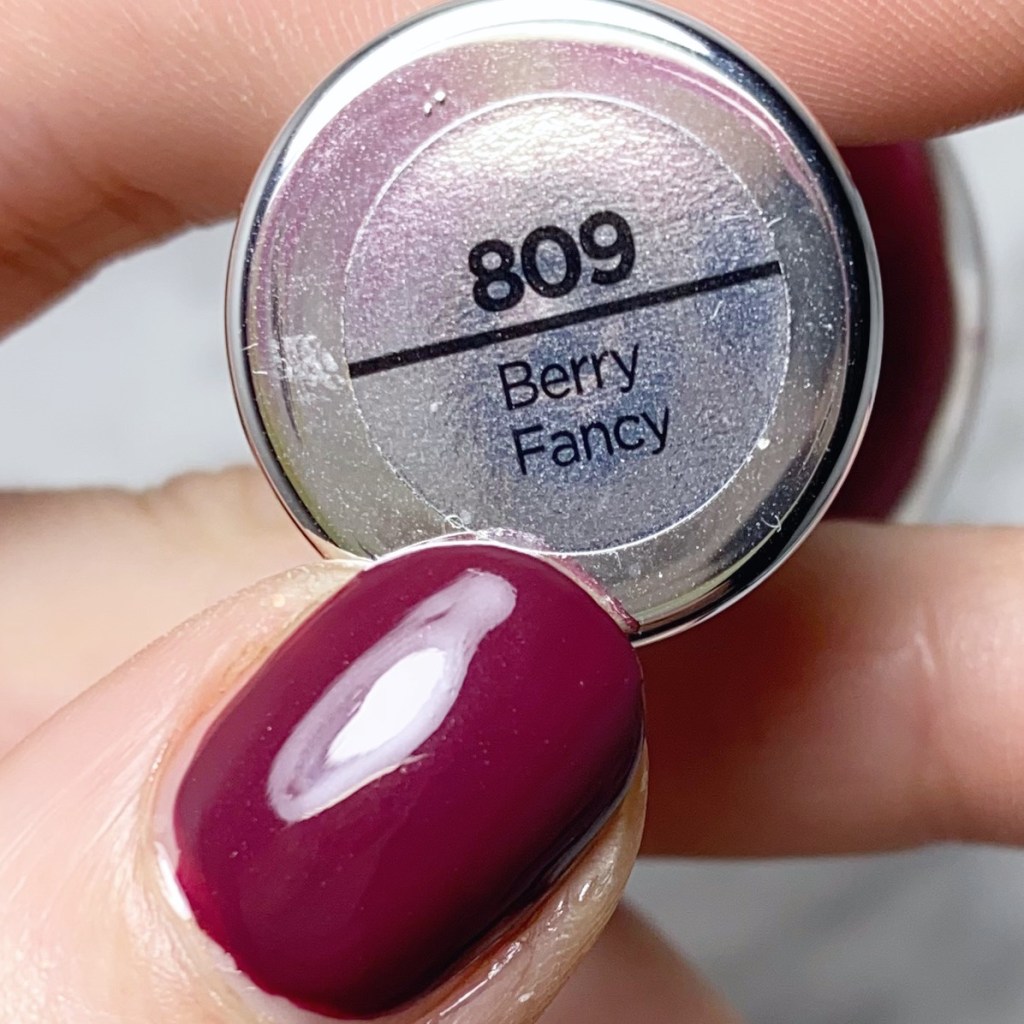
- CND Crimson Sparkle
- Sally Hansen Miracle Gel Get Mod!
- OPI After Alter
- Starrily Vantablack
- NailStuff.ca 7mm detail brush

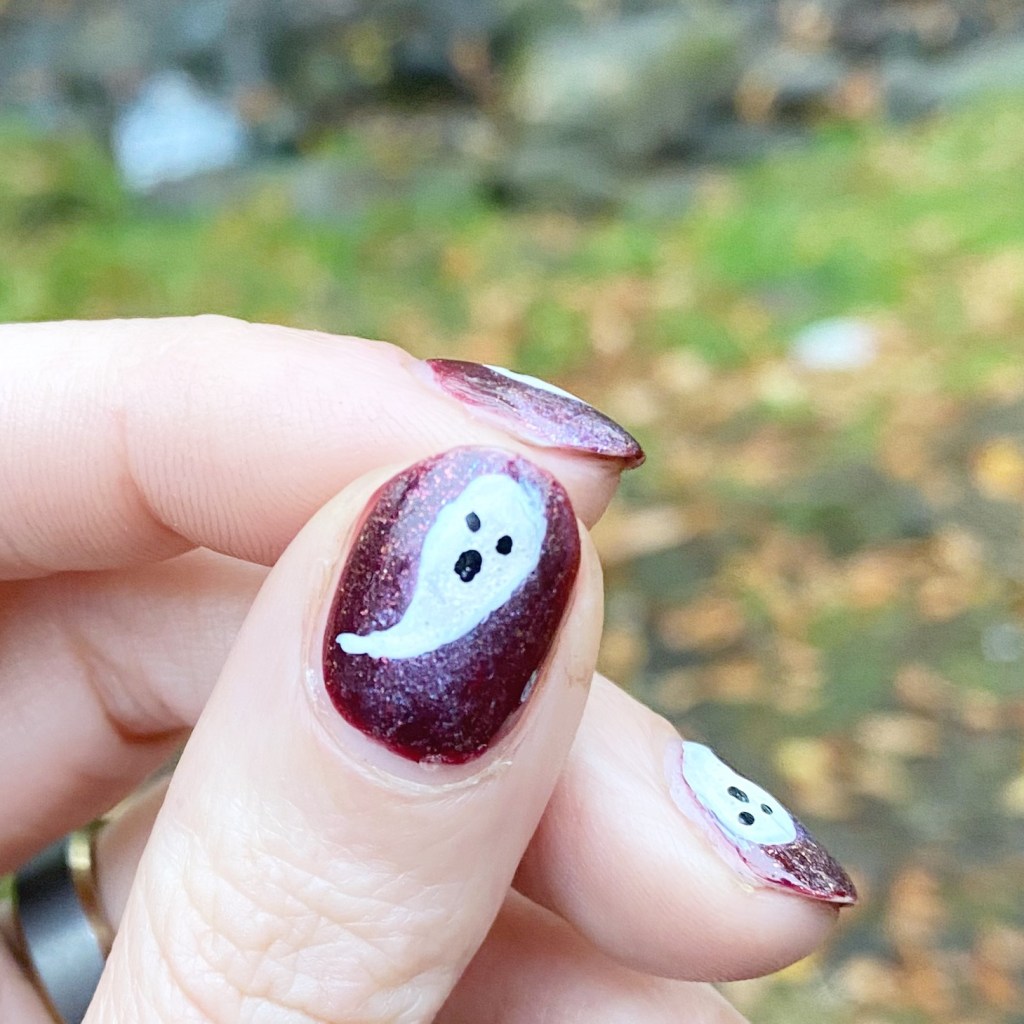
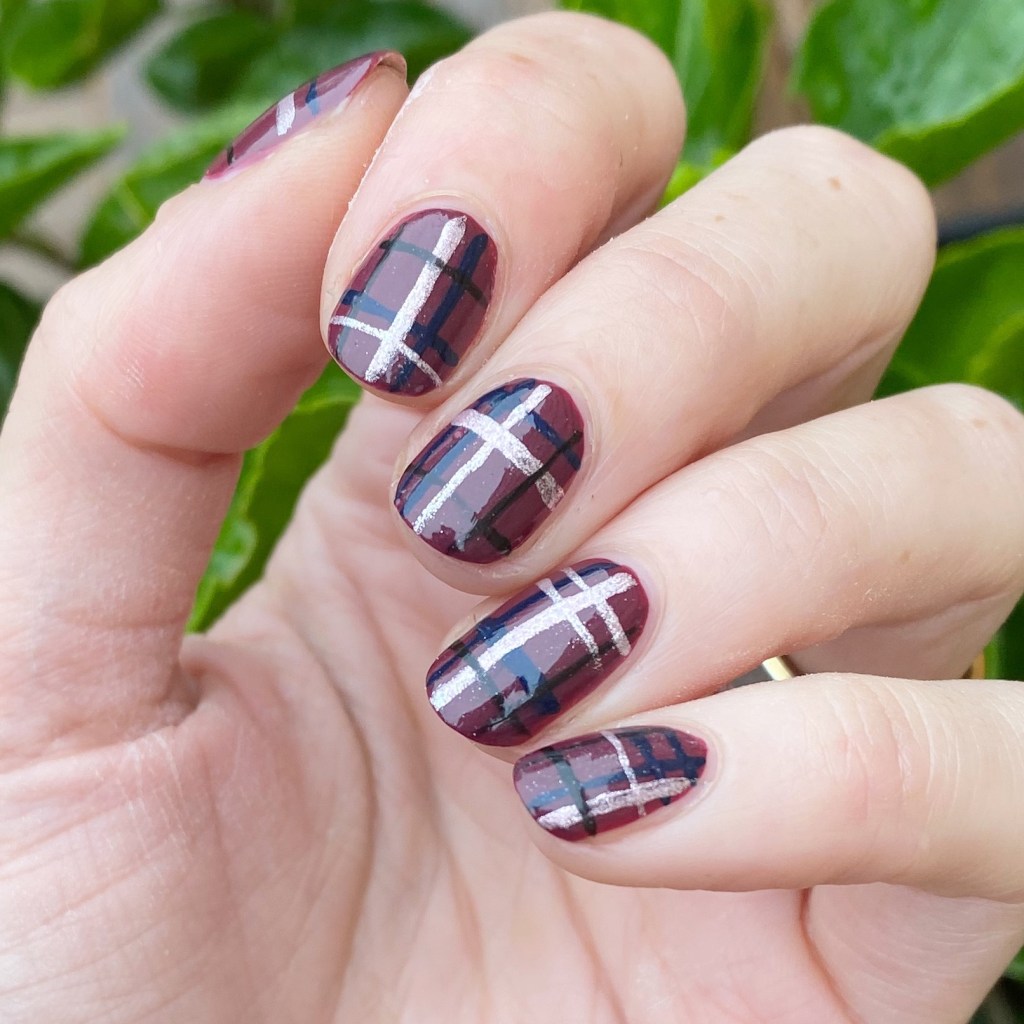
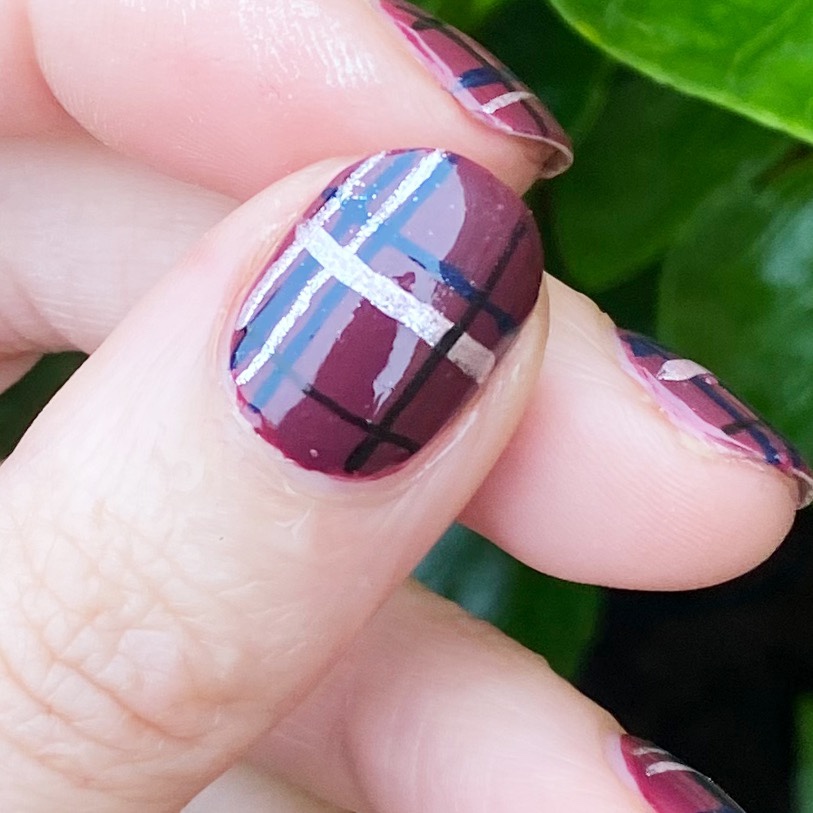
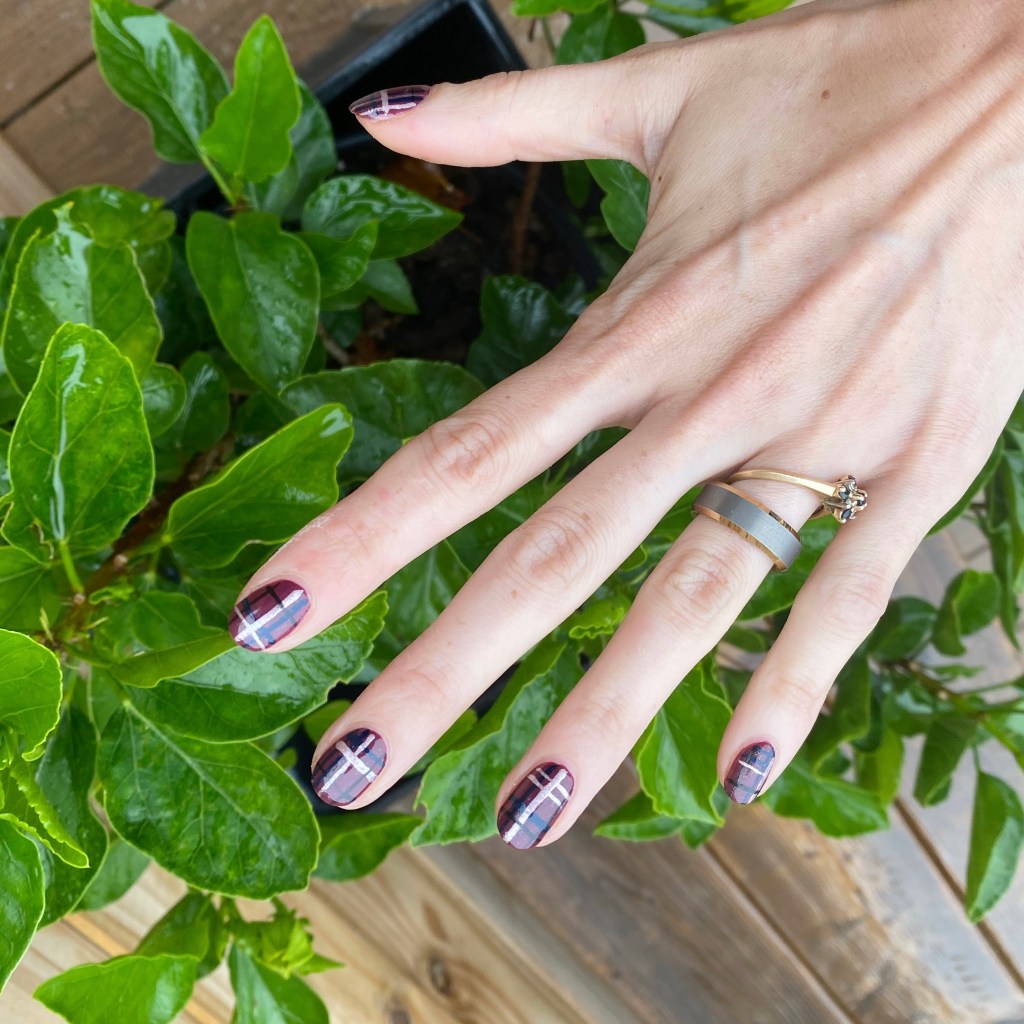
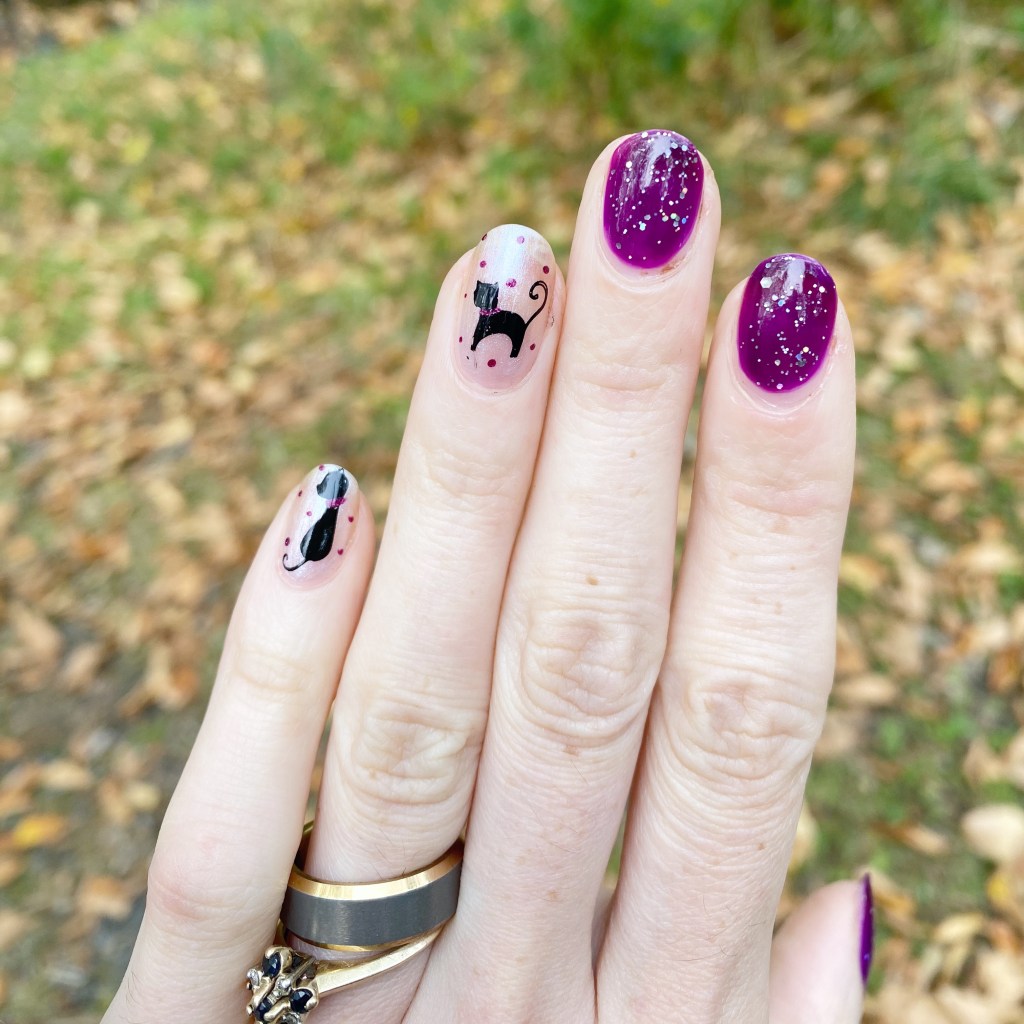
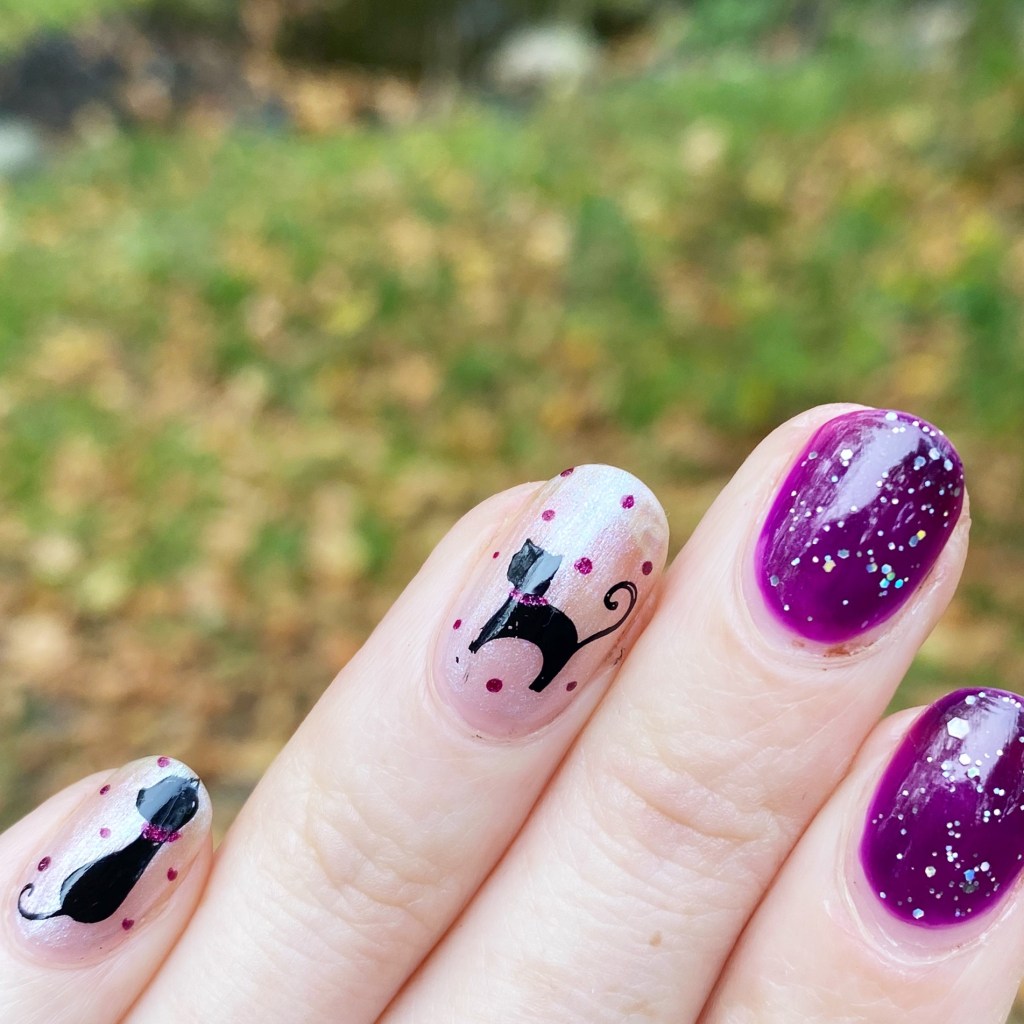
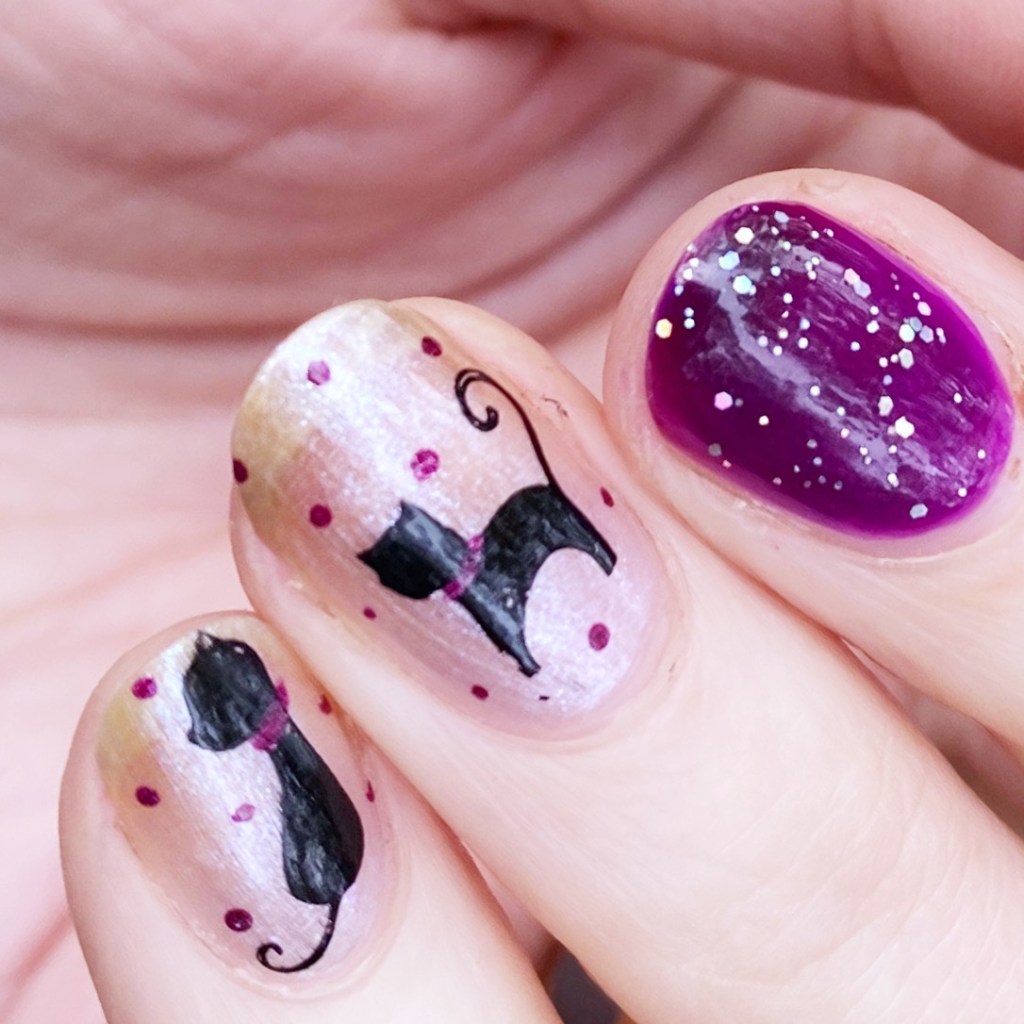
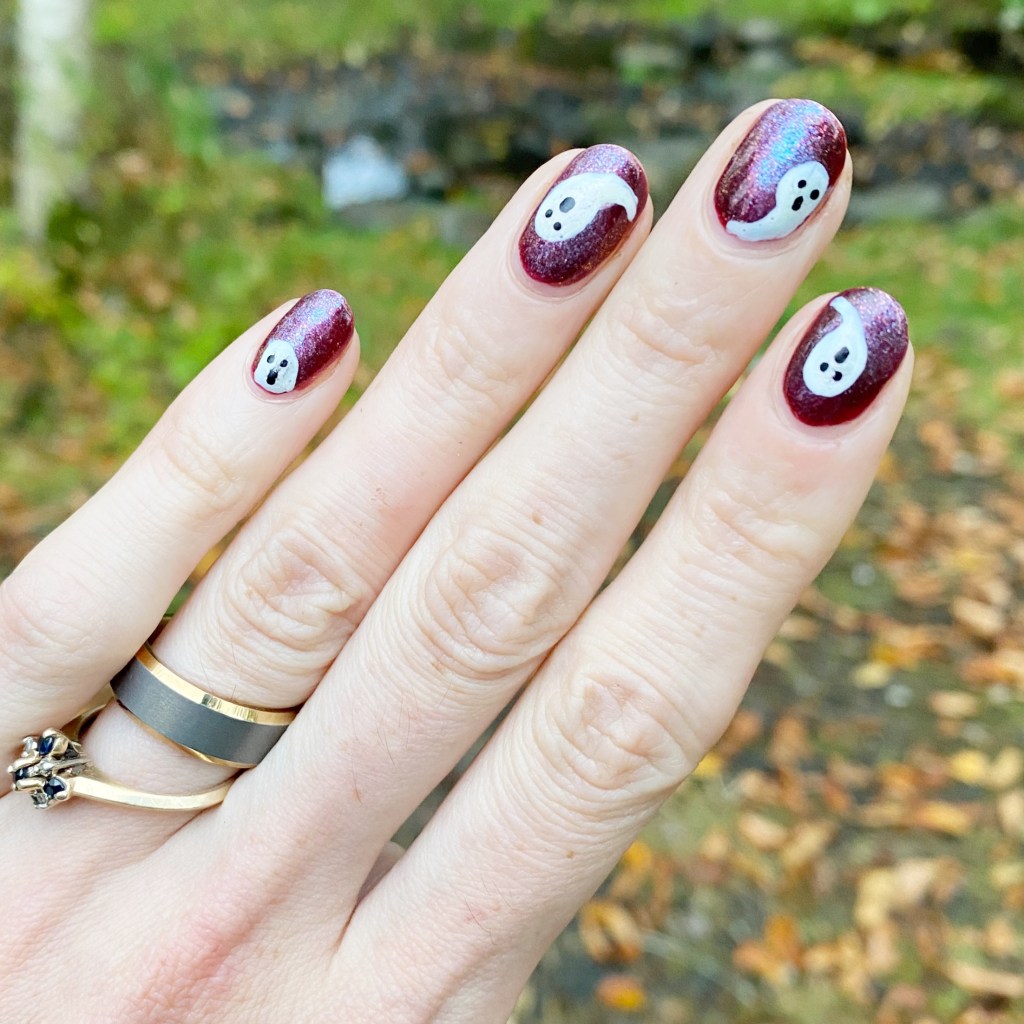
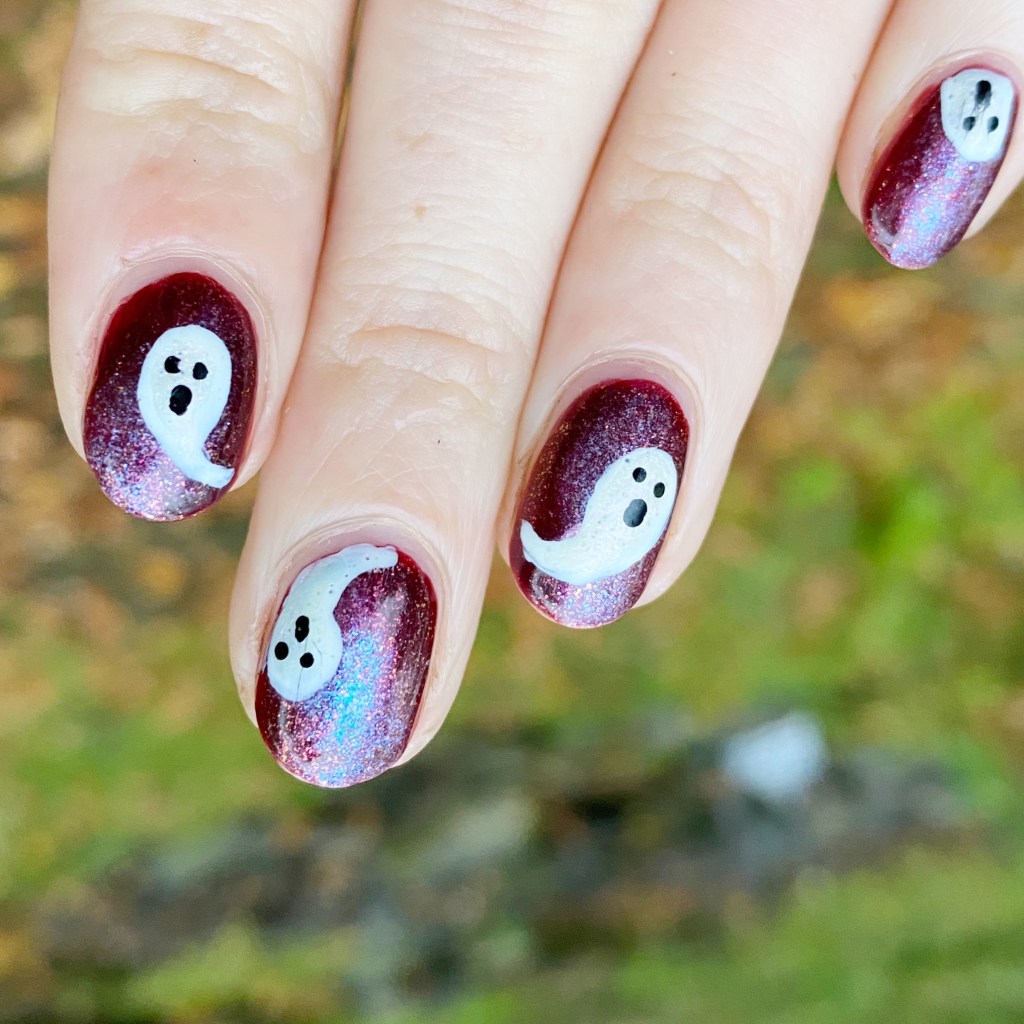
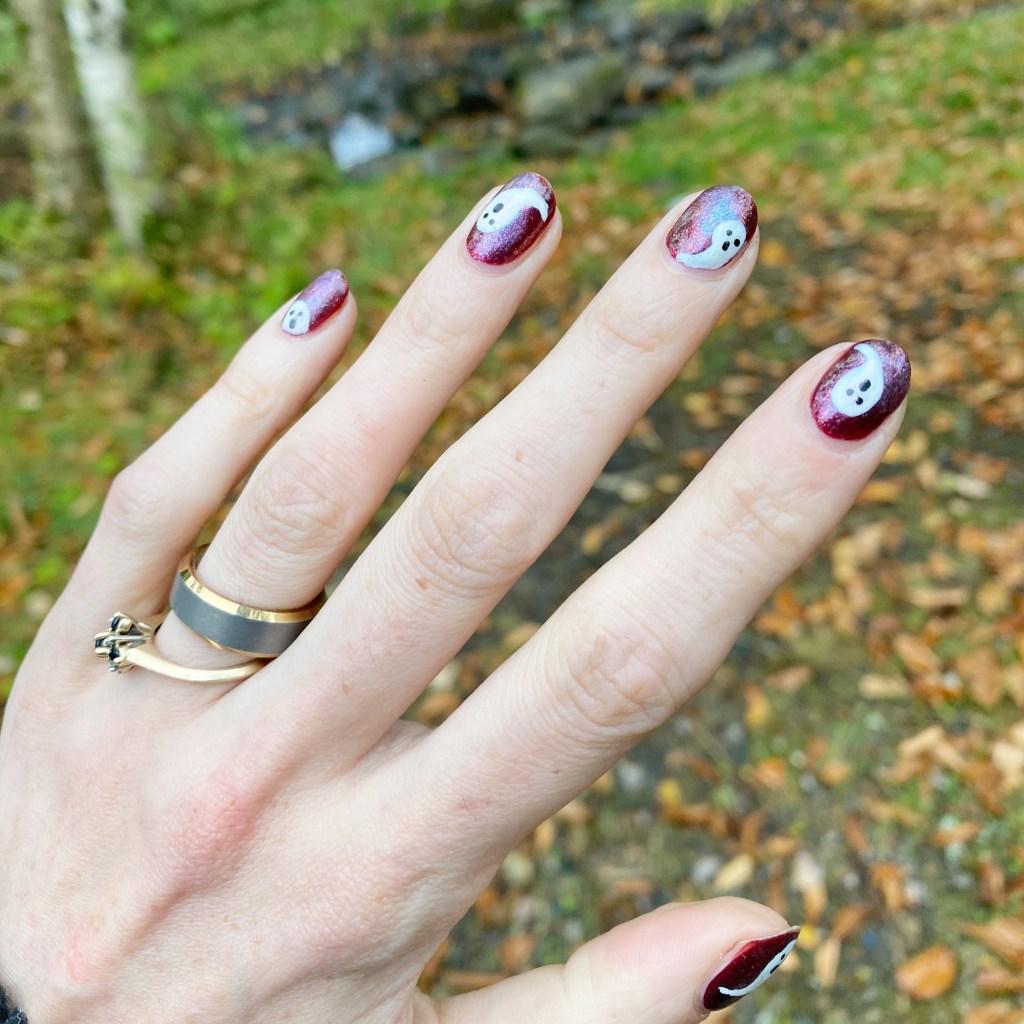
How cute did these little ghosties turn out? I’m absolutely obsessed with how they turned out. Ghosts are one of those nails are you can do in so many different styles, but I really like the contrast of the white over the burgundy base, with those sparkles & flakes — gives it a ghostly appearance. Plus the colour is just lovely — even if it’s not traditionally Halloween.
Oh man, I’m having so much fun with this prompt, even if this month is turning out to be a bit busier than I had originally intended. But that’s okay! This is definitely the nail art challenge I did to get my creative nail art juices flowing.
& don’t forget to keep following along with #glamnailschallengeoct to see all the other fun nail art looks that are being posted!