Silver Stamped Snowflakes.


IMG_1465

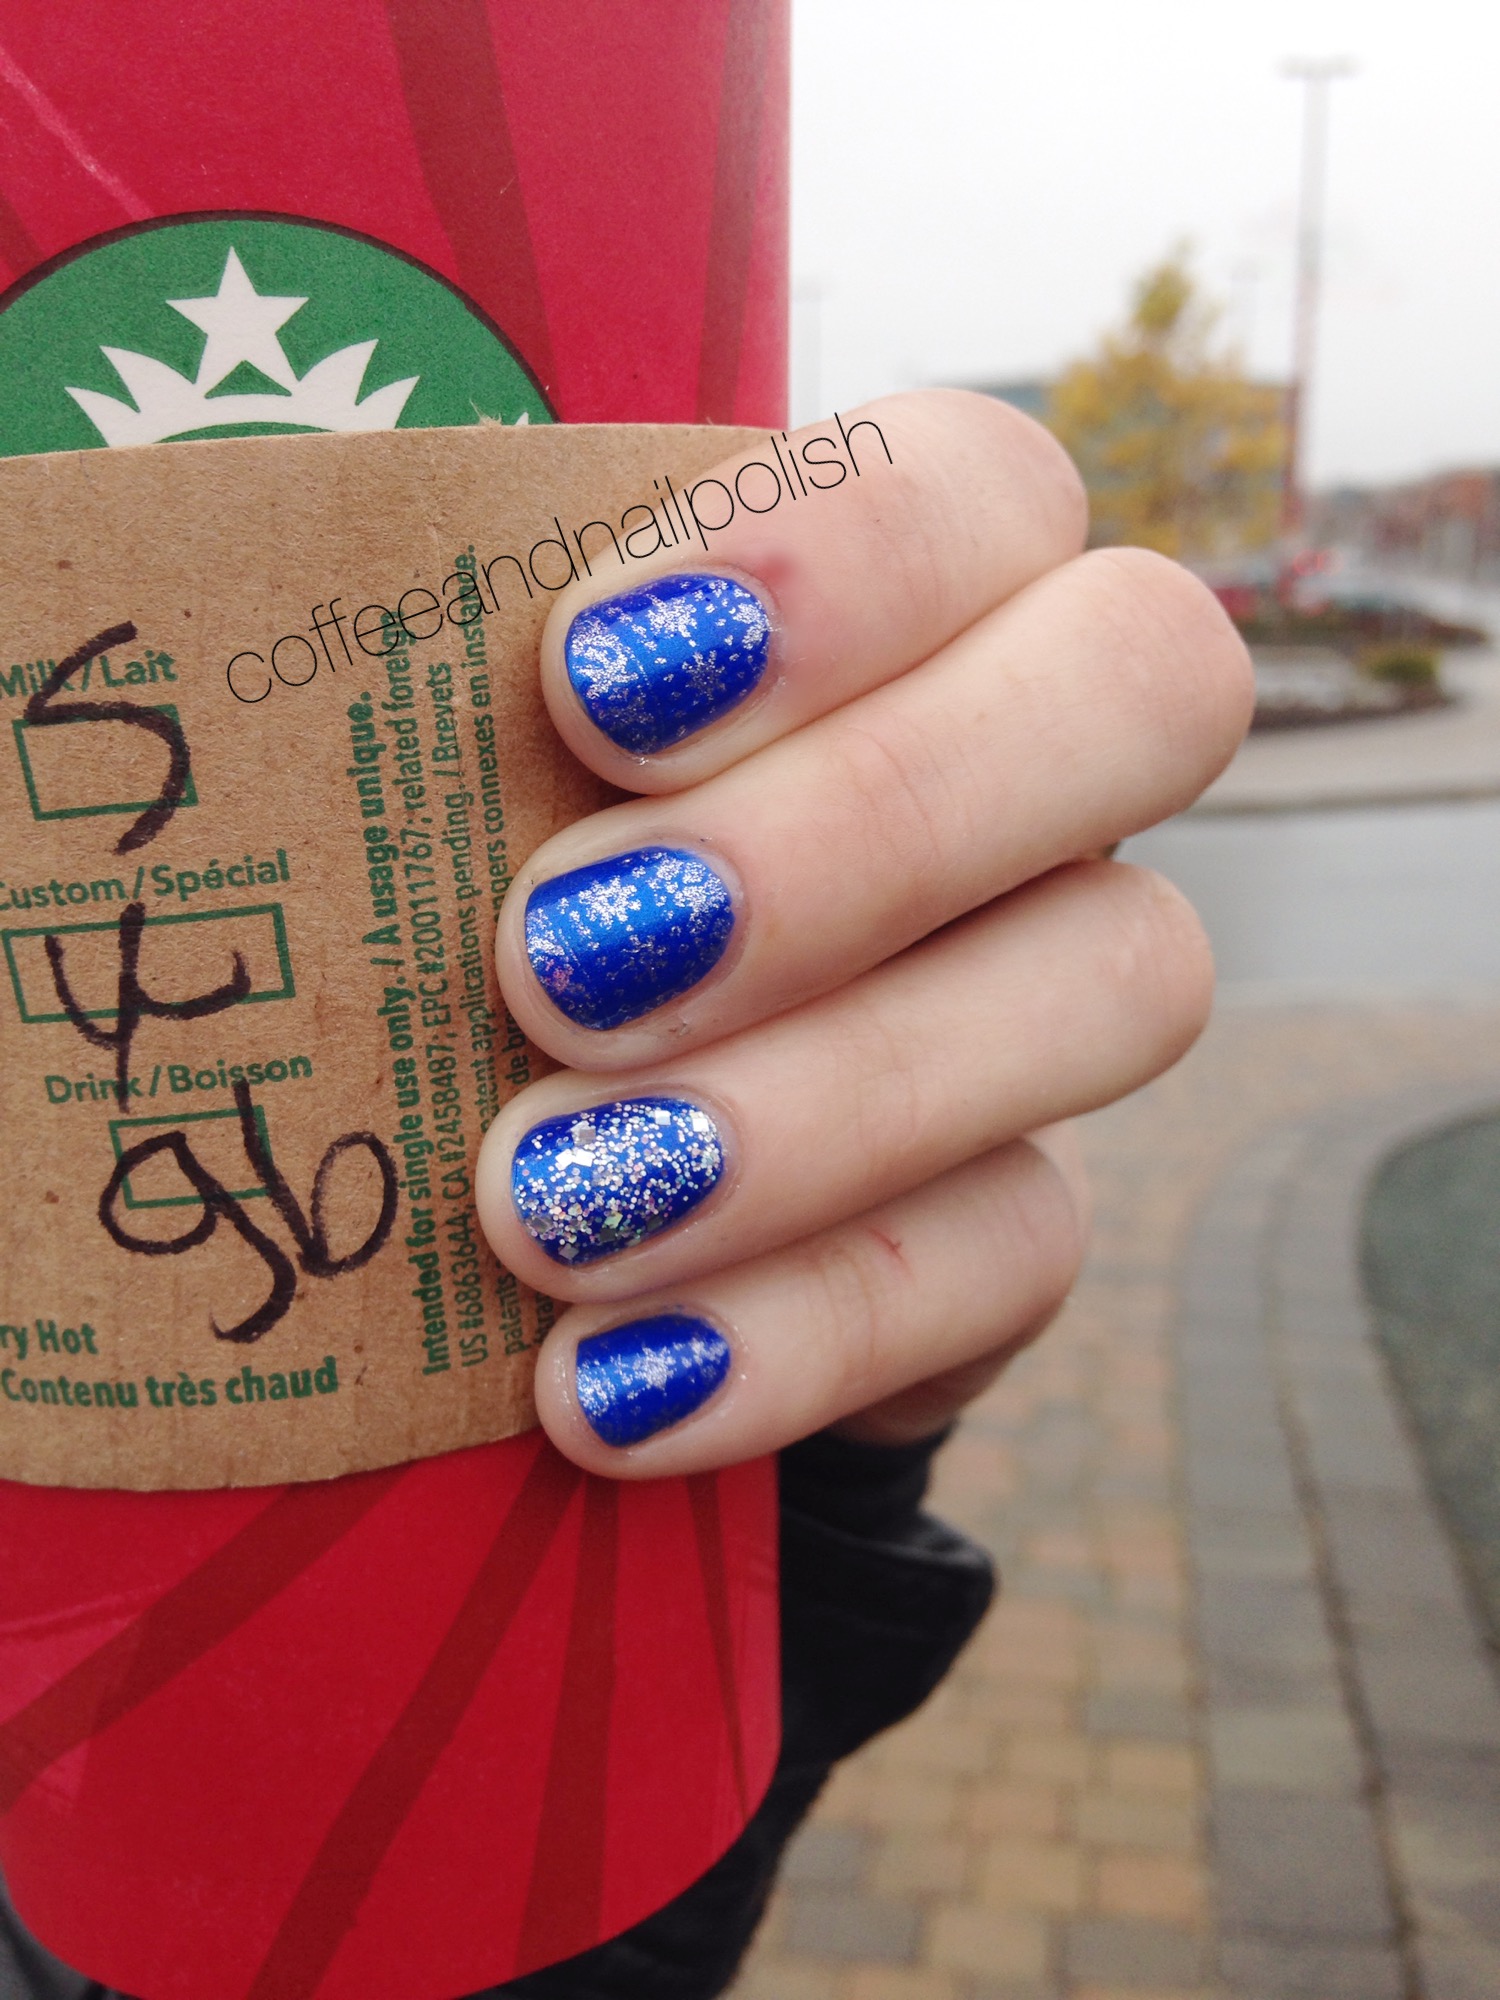
Last month, I made my first ever Born Pretty Store purchase, after dawdling about the idea for a while. I was in awe over all their options for stamping plates. I’m totally in awe of all the stamping I’ve seen around. I haven’t stamped in a while–almost a year! So I decided to order some fun plates with images I could never create freehand. One of my favorite plates I ordered was a collection of sweater-style winter prints. So when they arrived the other day, I knew I had to use them–immediately!

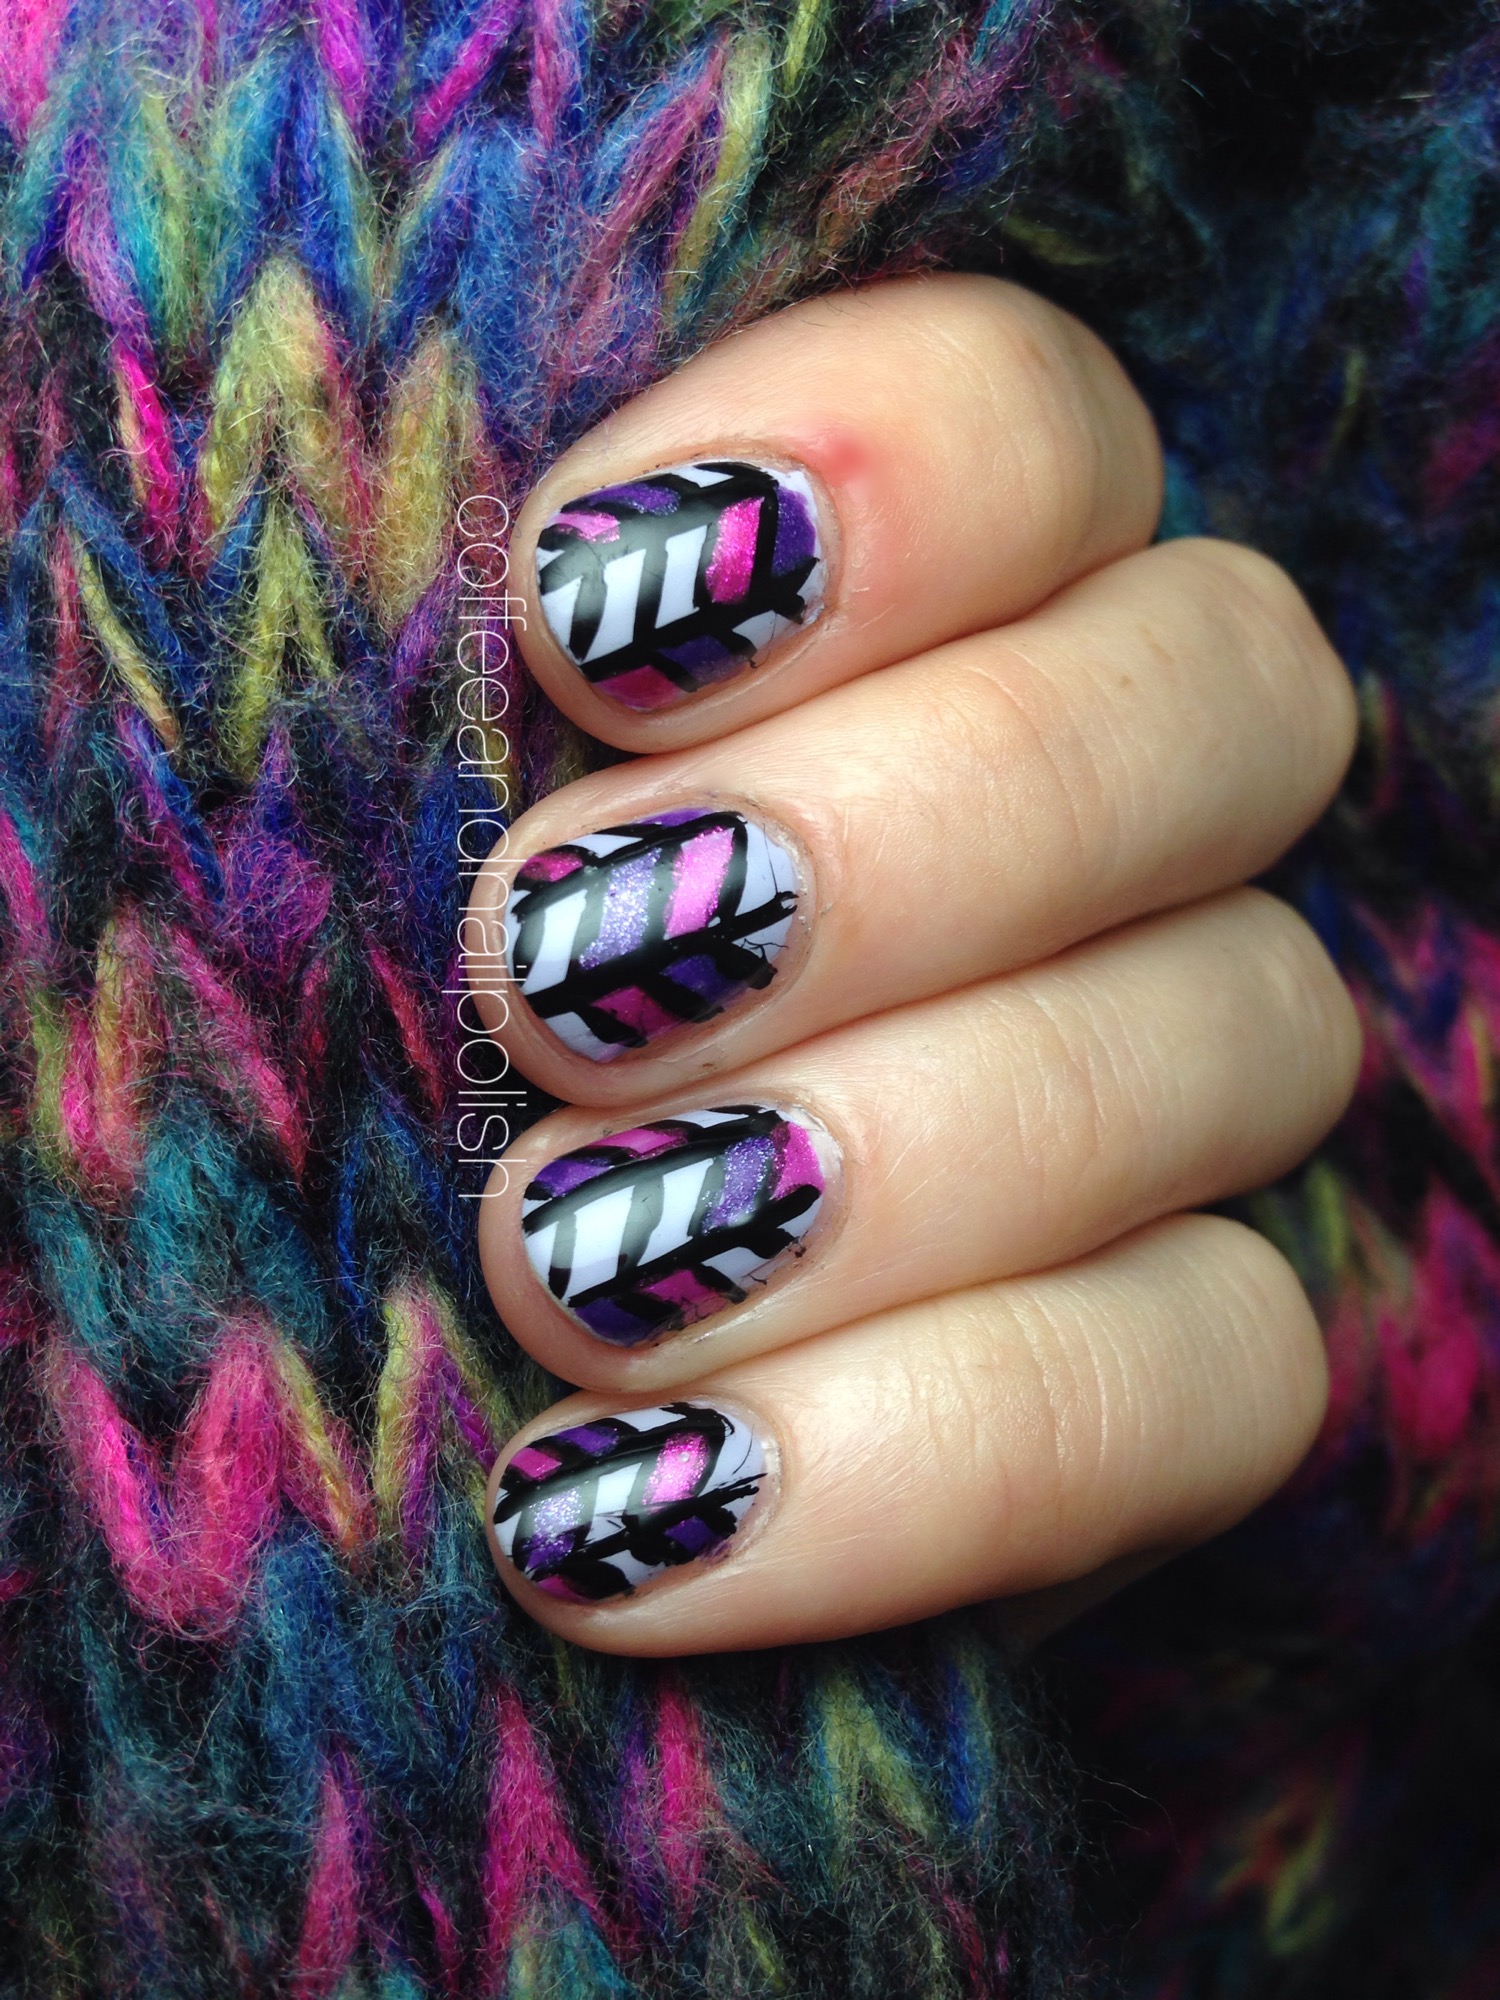
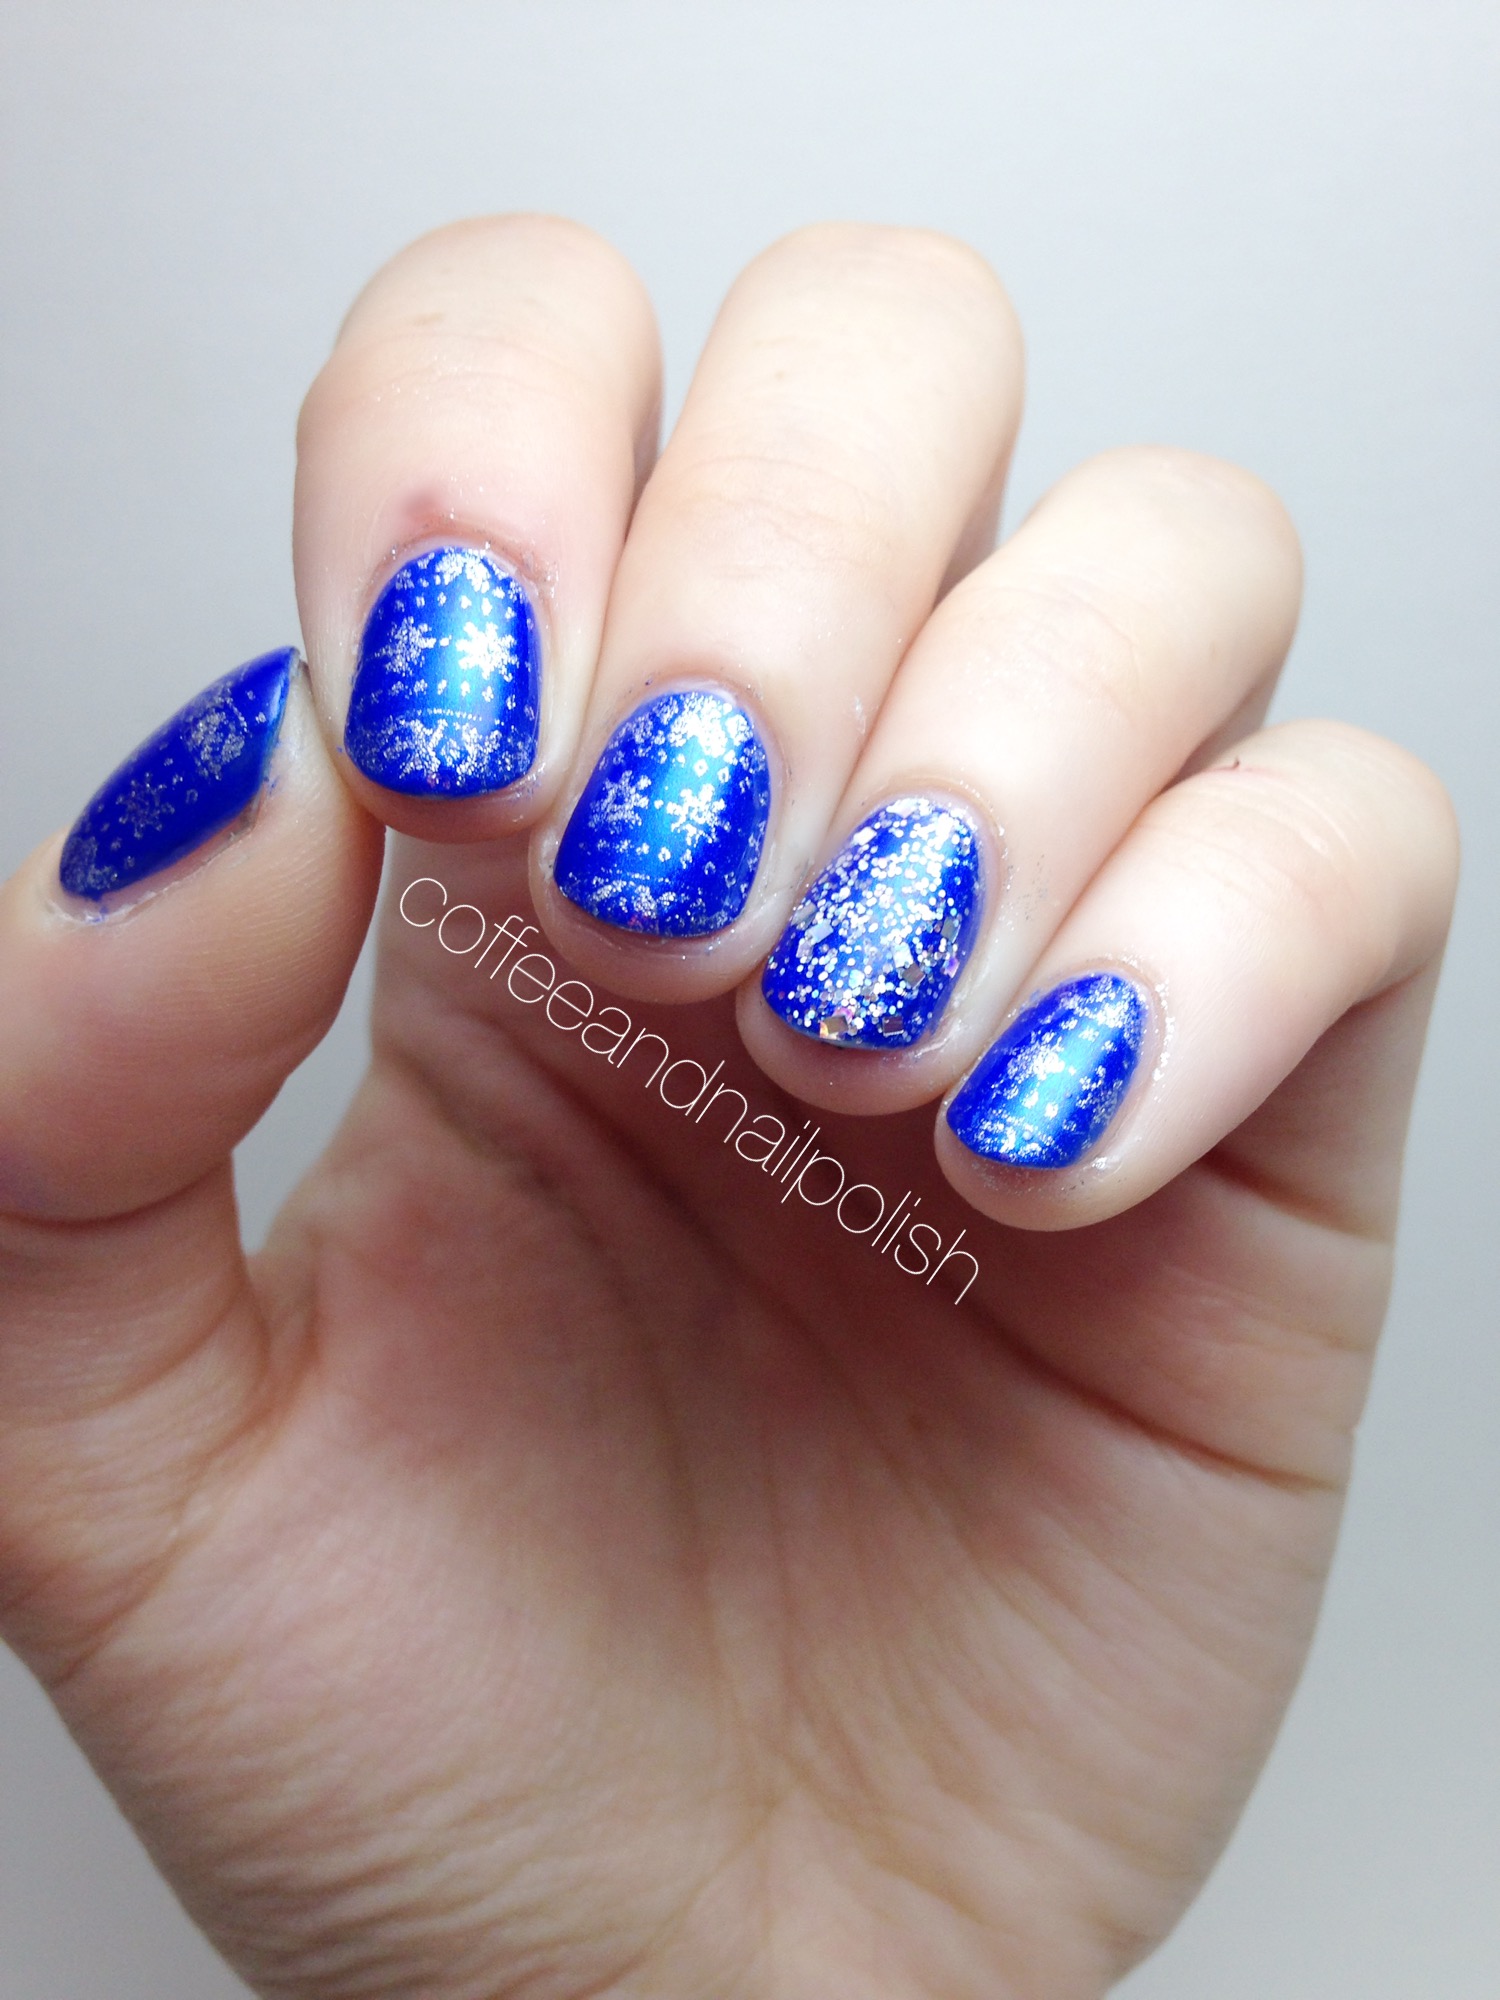
I stamped these nails at 7am, before having to get ready for work so they’re not perfect. But for my first time stamping in a long while, I’m really proud of how I did.

IMG_1466

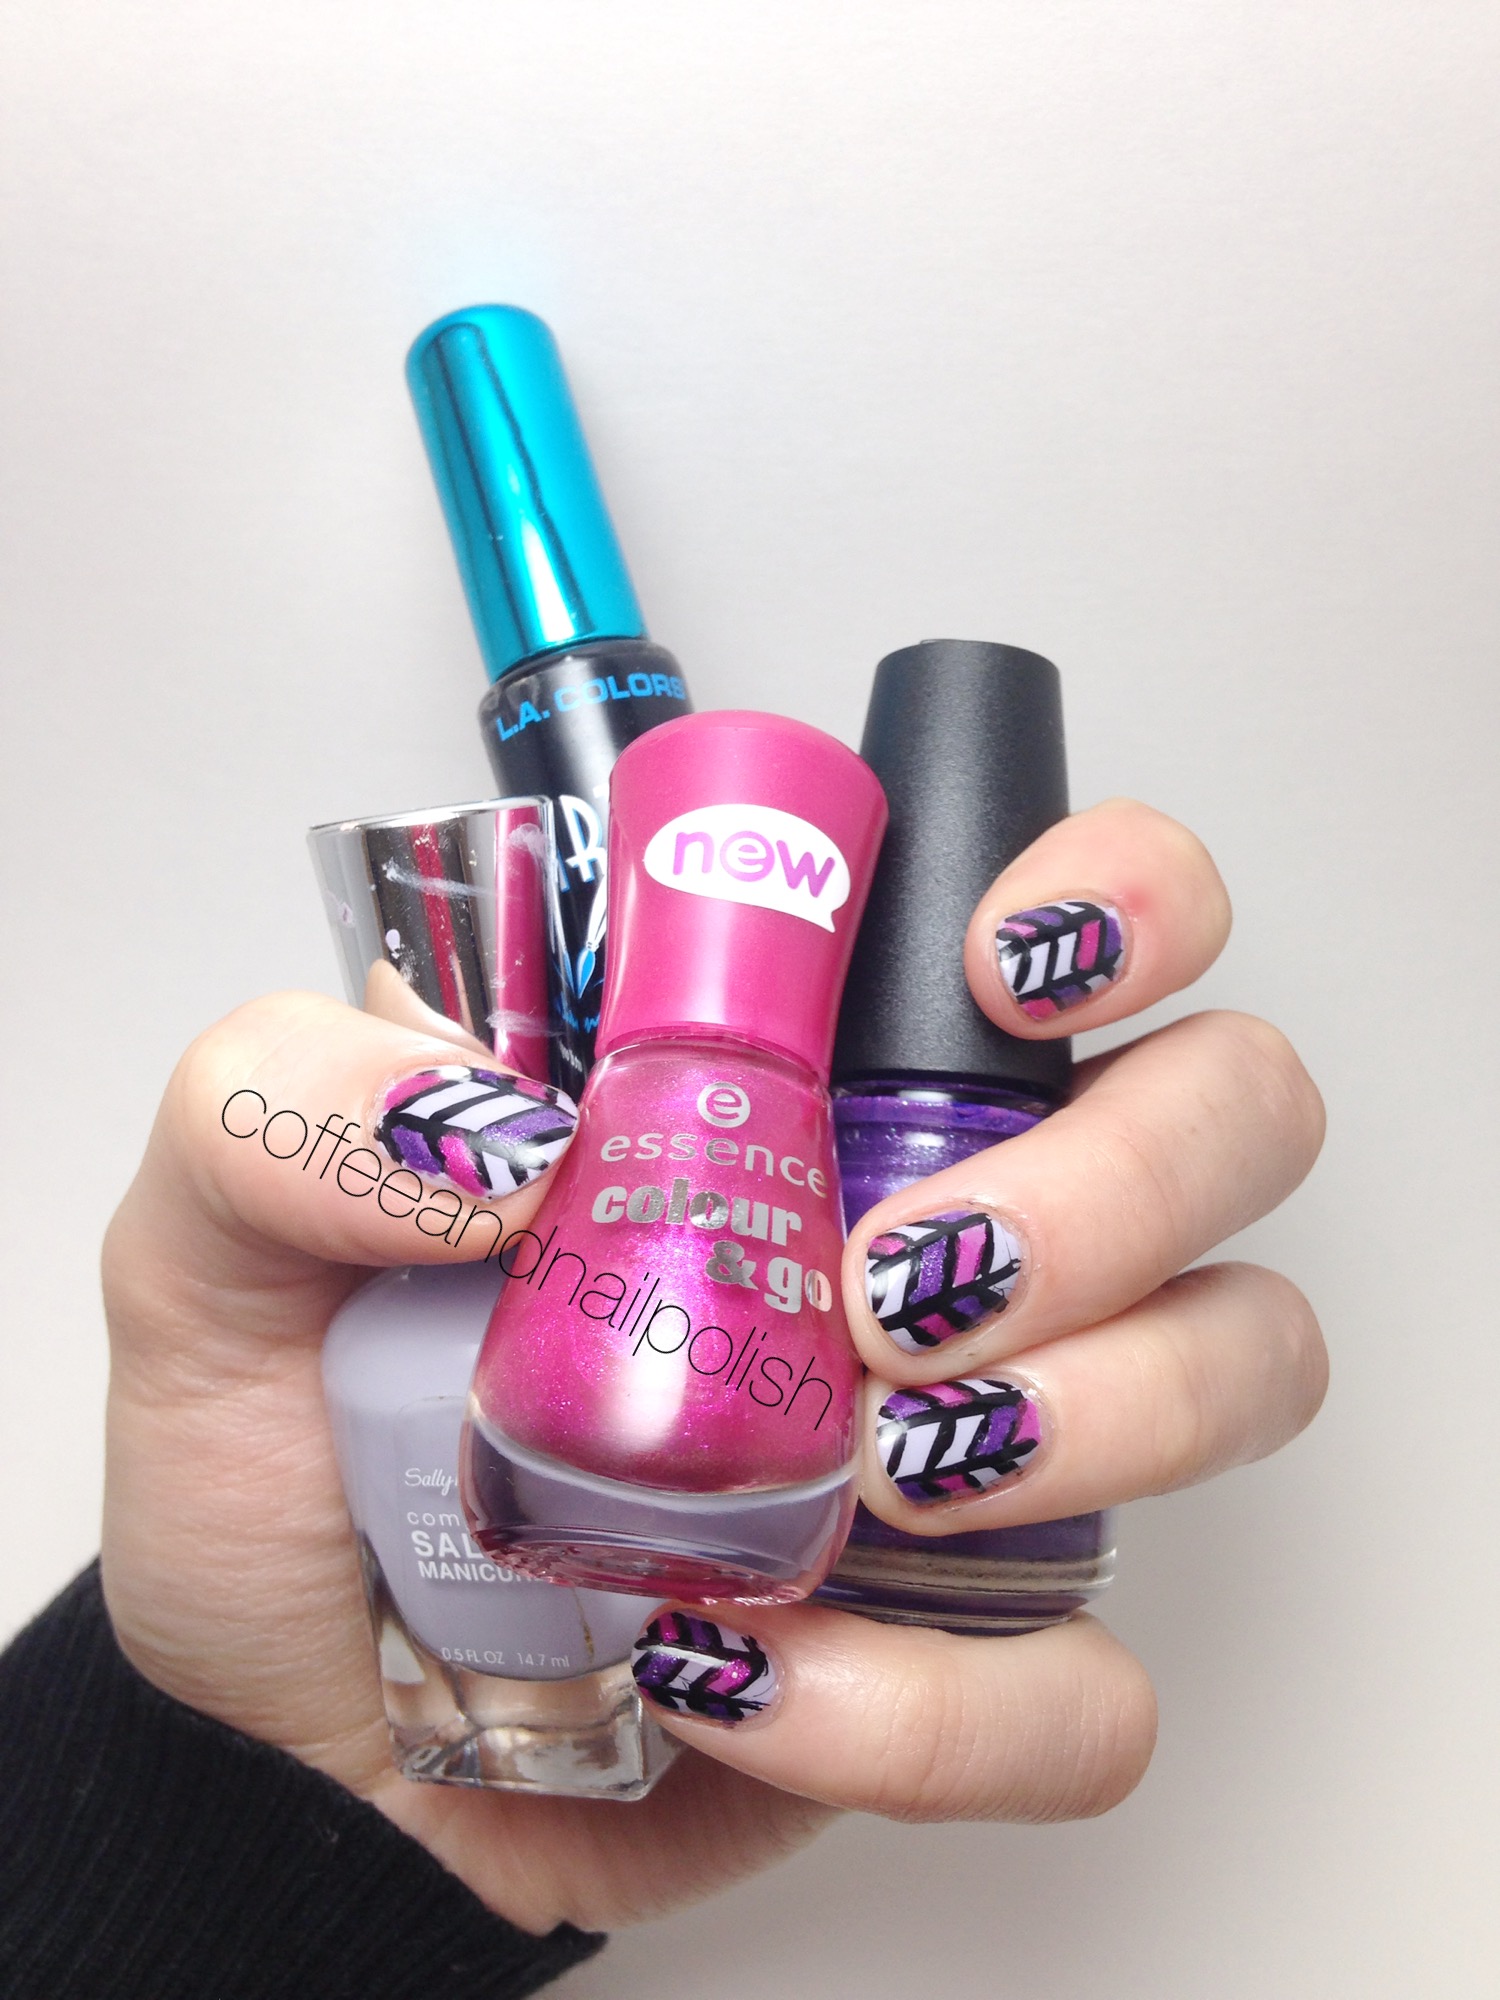
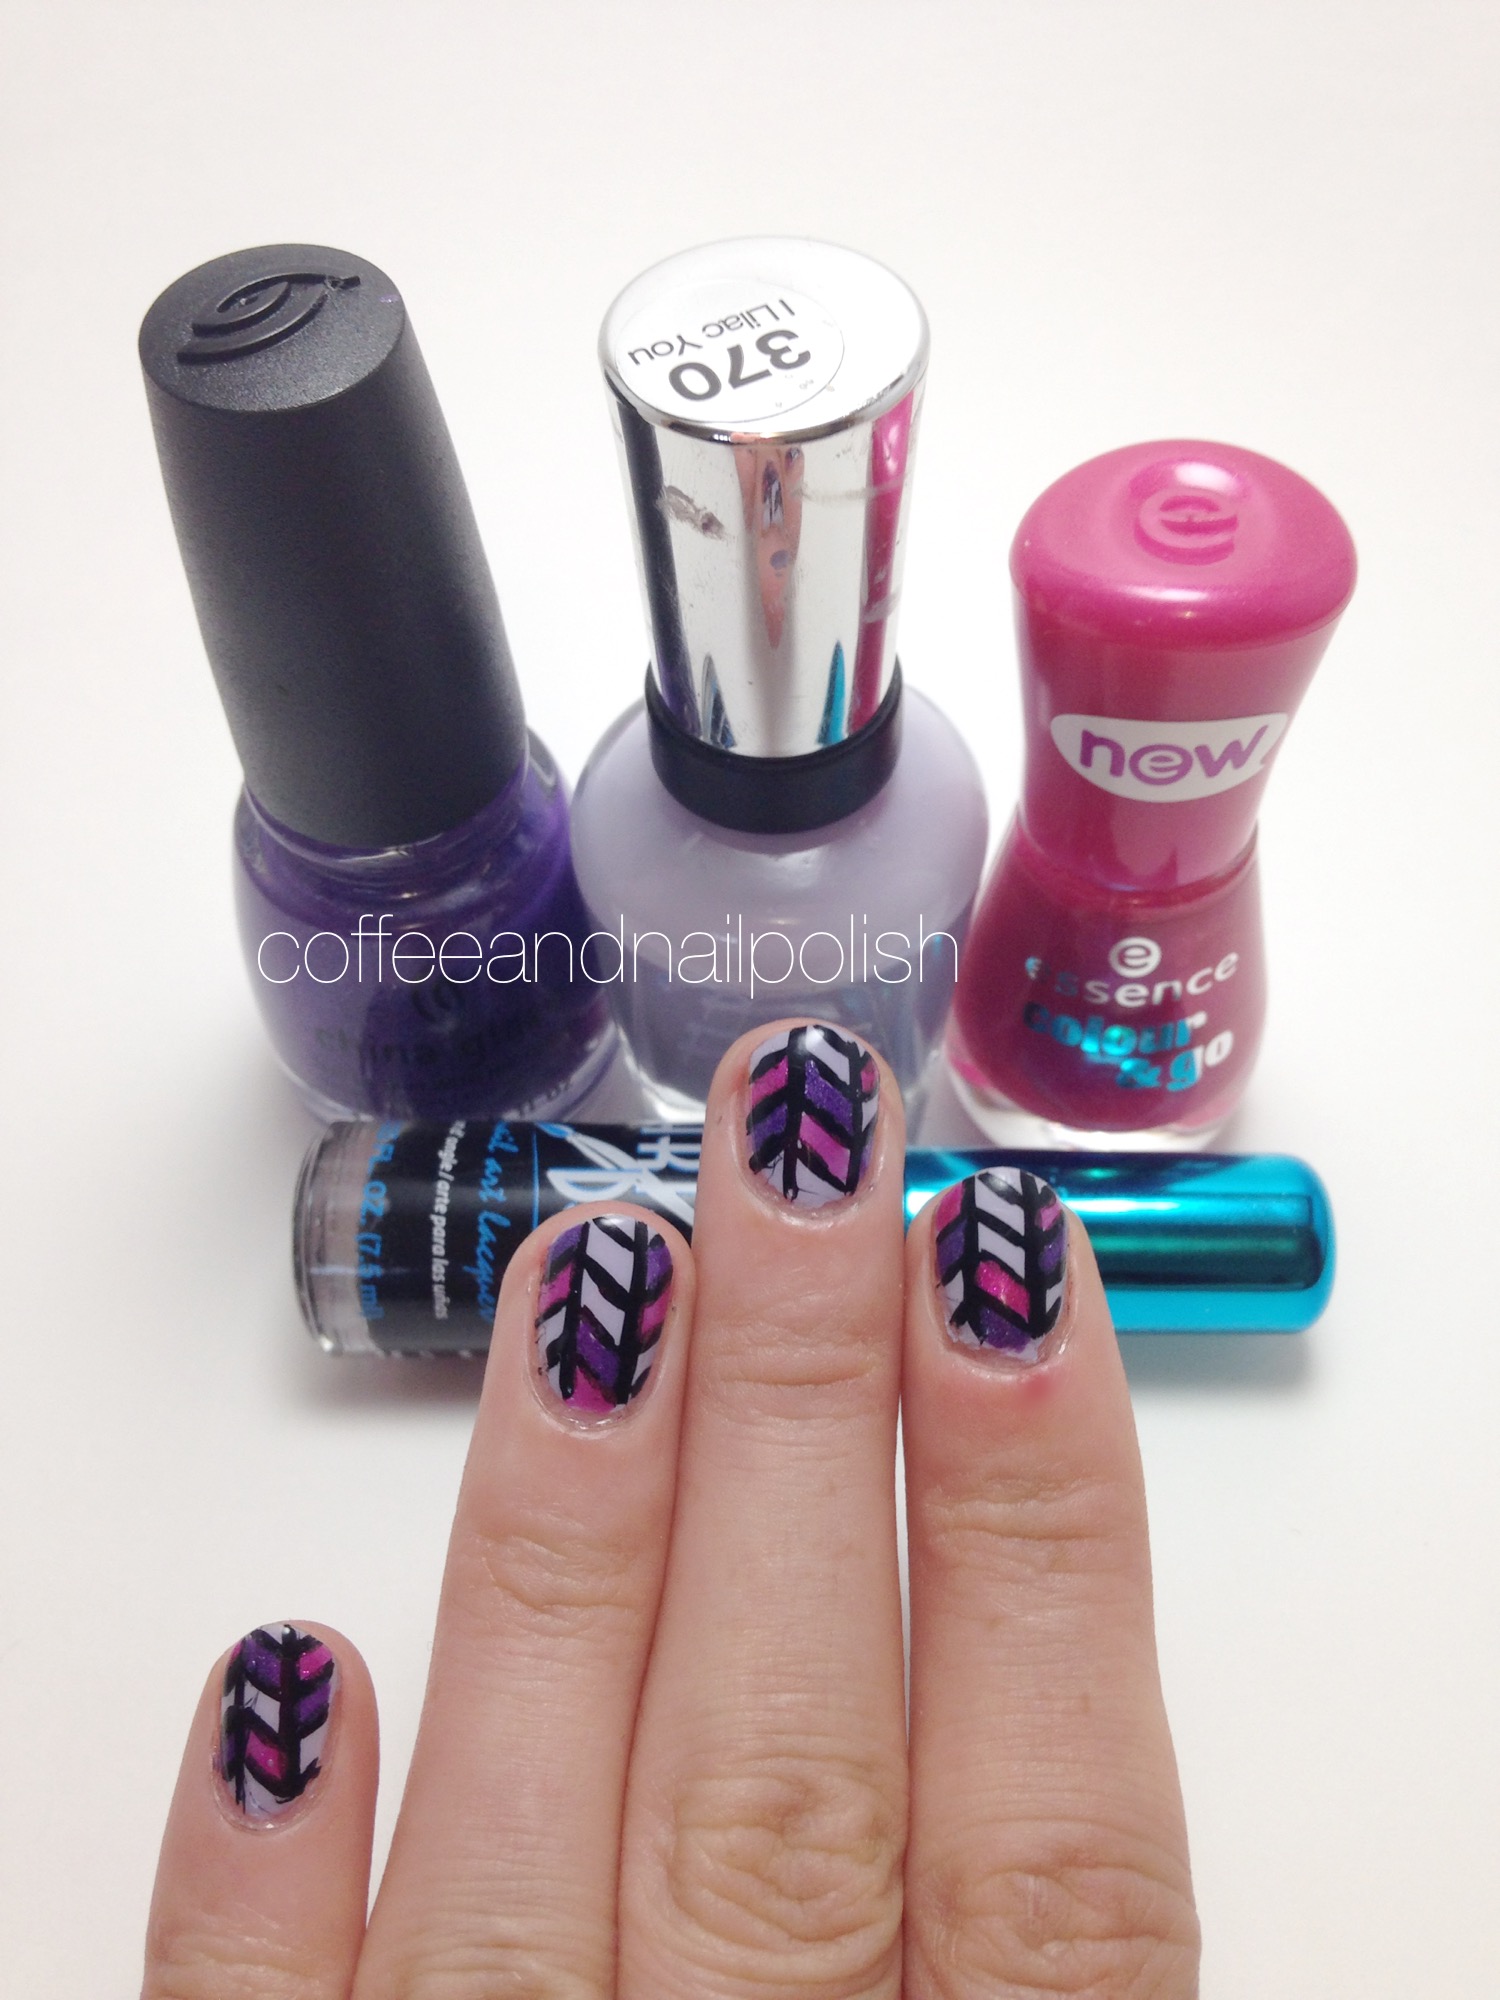
The polishes I used for this manicure:

  • China Glaze Frostbite (applied over undies of China Glaze I Sea the Point)
  • Sally Hansen Xtreme Wear Celeb City — stamping.
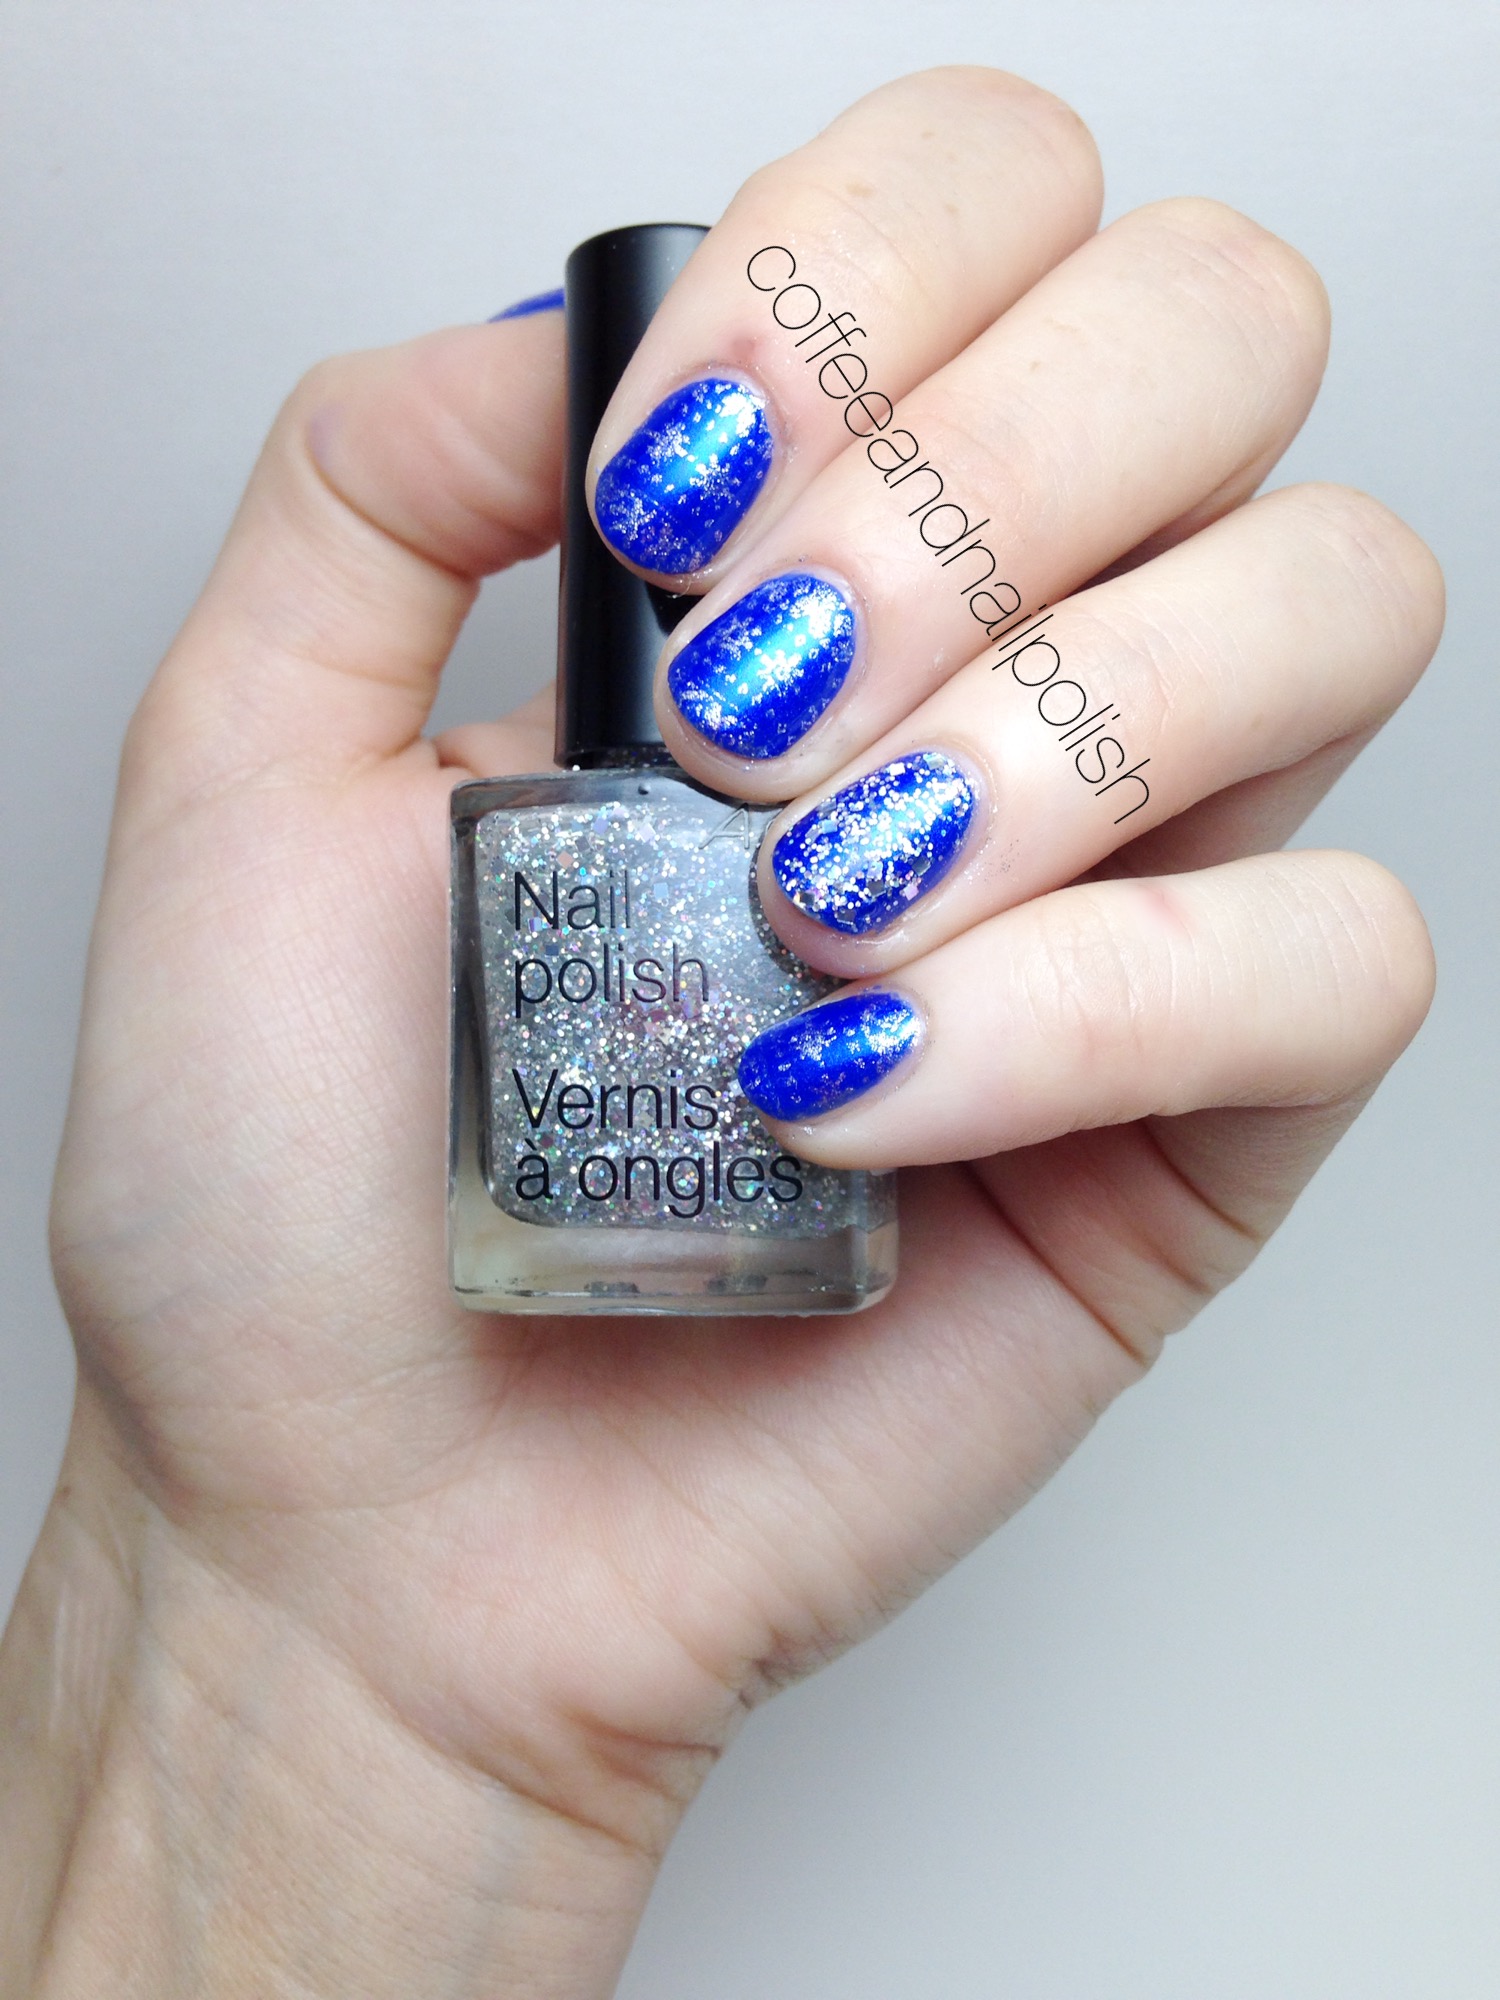
  • ACO by Ardene Style Icon –gorgeous chunky silver and holo glitter.
  • Born Pretty Stamping Plate ID #6457 (Lace Snowflake Pattern).
  • Seche Vite Quick Dry Top Coat.

IMG_1463

IMG_1464

IMG_1477

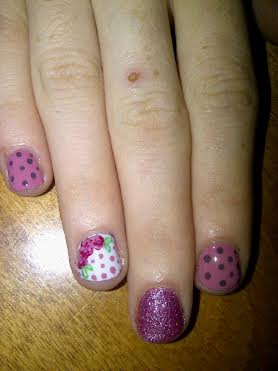
This is about as close to a Christmas Manicure as I’ve gotten so far this year, but I really love this sweater print. I’m already collecting a whole bunch of designs in my head I want to do for Christmas this year, so I have a feeling once December hits, there will be a lot of Christmas/Holiday manicures to share. There are also a few I did last year that I’m really itching to recreate and see how things have improved.

What Christmas manicures are you itching to do?

Another round of Bestie Twin nails and pretty herringbone nails.

IMG_1425


I’ve been having a blast doing Bestie Twin Nails with all the fellow girls I’ve been meeting on Instagram, so today I’m going to share another fun #bestietwinnails I got to do with one of my fellow nail girlies, @bene_loves. I’ve been dying to do a herringbone designs on my nails for a while, and I’m so excited she joined me in on it! We decided on the colours Dark Purple, Light Purple and Dark Pink then went to work creating our designs. (To check out what polishes she used for her design, just click on her name and check out her Instagram. She’s amazingly talented!)

IMG_1390

IMG_1392


IMG_1413

For my manicure, the polishes I used were:

  • Sally Hansen Complete Salon Manicure I Lilac You — my favorite light purple!
  • China Glaze Grape Juice — dark purple.
  • Essence Color and Go Girls Night — dark pink.
  • LA Colors Art Deco Striping Polish — black.
  • Seche Vite Rapid Dry Top Coat.

Oh my god, can I just say how freaking much I love this design! Like I said I’ve been really wanting to give the herringbone design a try, but last time I tried my striper was not my friend and I got frustrated and gave up. So glad I didn’t give up this time, because WOW! I used the tutorial by @DiamondNailArt which was a huge hope in getting this right. =) I still had a couple issues with my striper gunking up on me while I was doing this (hate that!) I think the next time I try this manicure, I’m going to use my Essence Nail Art Tattoo pen which I just picked up! I bet I could create a much smaller herringbone pattern.

IMG_1412

Oh look! My nails match my scarf! =)

What do you think of this Herringbone design? I’m so in love with it! I’m definitely already thinking up a whole variety of different designs… I can definitely see me doing another one using Christmas colours! Because Christmas is quickly approaching, and now that Remembrance Day is over, I’m already planning my Christmas manicures!

Candy Corn Gradient Nails!

IMG_0713

Tis the season… for Halloween nails!

Halloween is one of my favorite holidays, and has been since I was a kid, so I always look forward to Halloween–especially because there is nothing better than a Halloween manicure! Last year, I made my first attempt at Candy Corn nails—except I did the colour in the wrong pattern! I wanted to give them another go, and figured the best way to do so was in a candy corn gradient.


The polishes I used for the manicure were:

  • Sinful Colors Easy Going — white/cream base.
  • Essence Color and Go Polka Holga — orange gradient.
  • Essence Color and Go Wake Up! — orange gradient.
  • China Glaze Metro Pollen-tin –yellow gradient.
  • Sally Hansen Xtreme Wear Mellow Yellow — yellow gradient.
  • ACO by Ardene Meteorite — glitter.
  • Essie Good to Go Top Coat.

I absolutely ADORE how this gradient turned out. Sometimes gradients can be a hit or miss for me, but I was absolutely in love with this one. It really looked like little candy corn on my nails, and it was super easy to do! (Please ignore the boo-boo on my middle finger–I’m such a klutz sometimes.) Also, I’m really loving the new graffiti top coats that ACO by Ardene has just released–they have them in a whole assortment of different colors, so I had to try them out! This one (Meteorite) really complimented my candy corn gradient, and I think brought the whole look together. =)

FullSizeRender(2)

IMG_0715


Do you have a favorite Halloween manicure you love to do?

Rose-y bridesmaid nails.


kristaweddingnails3

So my sister came over the other day for me to do her nails for a wedding she is in this weekend. She was telling me how all the other bridesmaids had gotten their nails professionally done, and she was bummed because she just couldn’t afford to do that. I didn’t want her to feel left out, so I told her she should come over because I wanted to make them pretty for her! =) So while the boyfriend distracted my nephew, I got her to sit down, and came up with some gorgeous nails for her to rock. She told me the wedding colors were rose pink, white, and black so I brain stormed for a while and figured that roses would be the most perfect bridesmaid nails. =)

kristaweddingnails2

The polishes I used for this manicure were:

  • Icing Beach Barbie — thumb and middle finger.
  • Bourjois Cendres de Roses — pointer and pinky fingers base color (and roses).
  • Sally Hansen Xtreme Wear Grey Area — pointer and pinky fingers polka dots.
  • OPI My Boyfriend Scales Walls — ring finger base color.
  • Bourjois Le Rouge fidele — roses.
  • Bourjois Mais Oui! — roses.
  • Mariposa shimmery pink — roses.
  • ACO by Ardene Green Peace — leaves.
  • ACO by Ardene Techno Green — leaves
  • LA Colors Palm Tree — leaves.
  • Seche Vite Quick Dry top coat.


kristaweddingnails

I thought the end result turned out really pretty. It just so happened I had a dusty rose pink (Bourjois Cendres de Roses) that perfectly matched the pink in the wedding colors! I went with dark grey polka dots, instead of black, just because I thought it would be a little more subtle–and would compliment the rose color. My sister was really excited for her nails, which made me so happy. =) I also lent her my Icing Beach Barbie so she could paint her toes sparkly to match, since they have opened toe shoes. So she’ll look pretty from head to toe. =)


So what do you think of this rose and polka dot manicure? Do you ever do other people’s nails? I’m still not 100% used to doing them, but it is fun playing around on someone else–even if she has the tiniest little nails compared to my own.

Pastel Stripes, and a few “diamonds” for good measure.

Finally!  Something that isn’t just polka dots. 😉

I bought some new stripers last week at–of all places–the Dollarama! They’re by the brand Mariposa, whose polish I’ve featured in manicures before. I really love stripers as I’m not as good at using striping tape for manicures. Since I hadn’t had a chance to test out my new stripers yet, I decided to pull them out yesterday to see what they could do. And the end result? I’m very happy with it. The brush is thin, which is important so you don’t end up with gloopy, ugly freehand lines. Also the polish is fairly opaque which means they could be used over darker colors as well.

 stripes4

The polishes I used for this manicure were:

  • Sally Hansen Miracle Gel Birthday Suit.
  • Mariposa Striping Polish in Mint.
  • Mariposa Striping Polish in Pink.
  • OPI I Snow You Love Me.
  • Seche Vite Quick Dry Top Coat.

stripes2

 stripes3

stripes5

So what do you think of this stripey manicure? Also, I’m seriously digging I snow you love me and all the glitter placement possibilities. From a distance, it looks like you have rhinestones on your nails, as they catch the light really well. It’s only when you look up close you see that they’re flat and glitters. Love, love, love.