Good morning lovelies & happy Saturday! It’s been a while since I posted, but I have a new manicure to share with you!
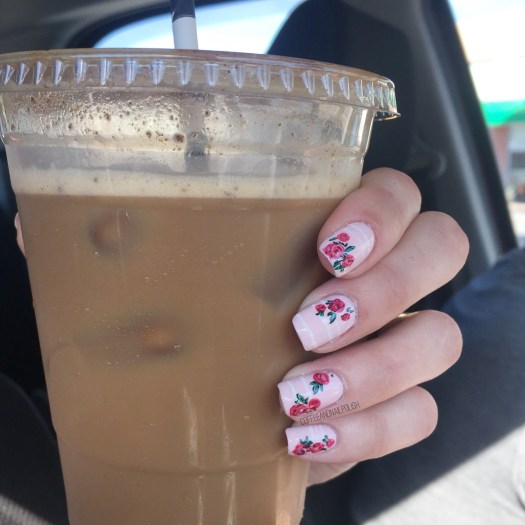
This design was actually originally done earlier in the spring, but I never got a chance to share! Since I haven’t really had a chance to do any nail art since our baby girl arrived, I thought I would share this look with you now!

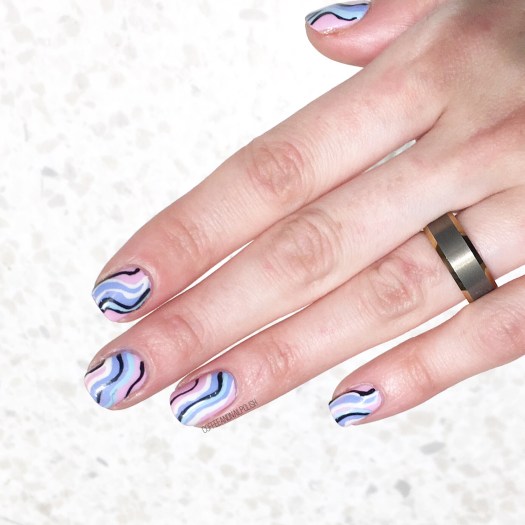
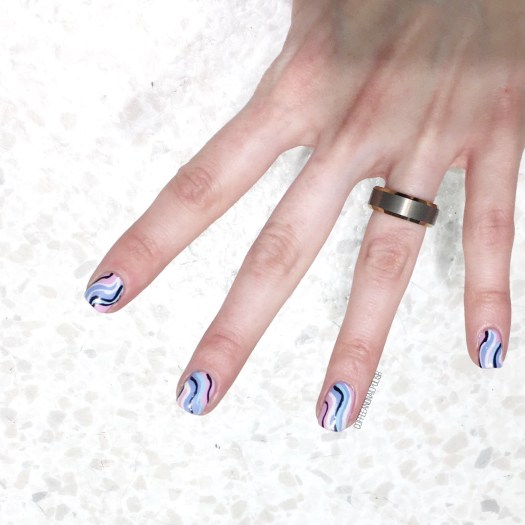
The polishes I used for this manicure were:
- Base Coat: OPI Nail Envy
- Top Coat: Seche Vive
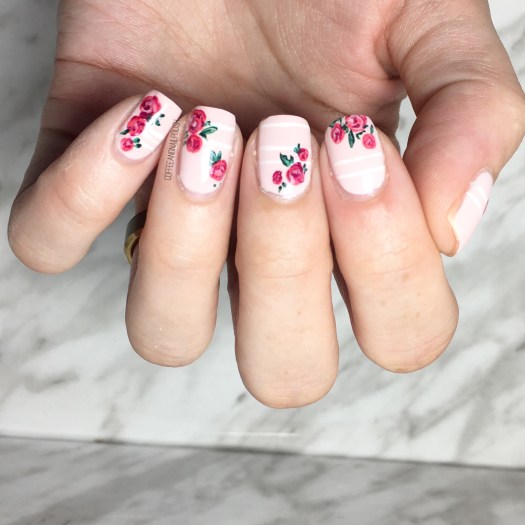
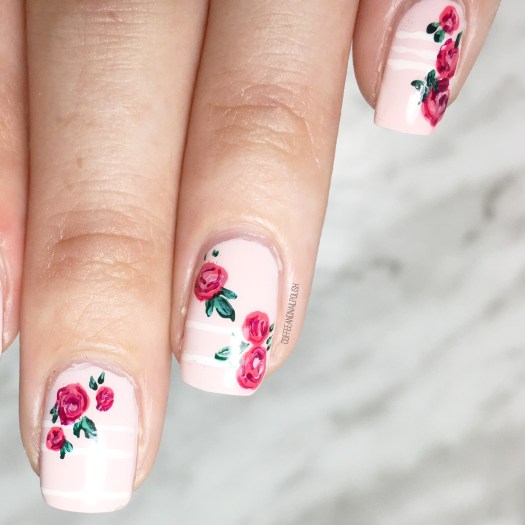
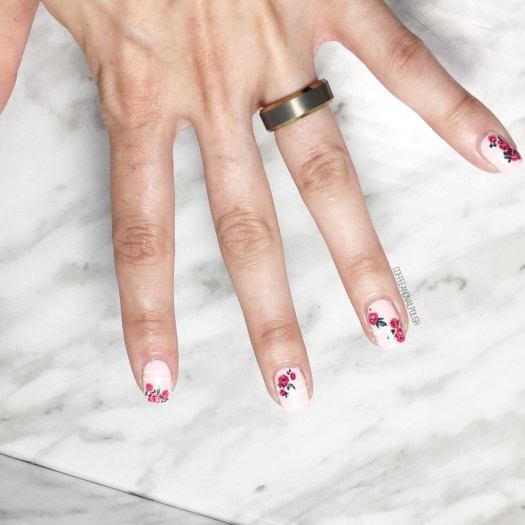
- Sally Hansen Complete Salon Manicure Rose to the Occasion
- Sally Hansen Sugar Fix
- Art Club Nail Art Striper in Paisley Blue
- Kiss Nail Art Striper in white
- Kiss Nail Art Striper in Black
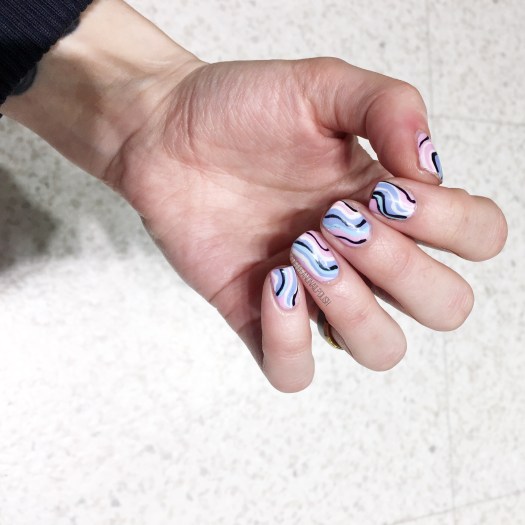

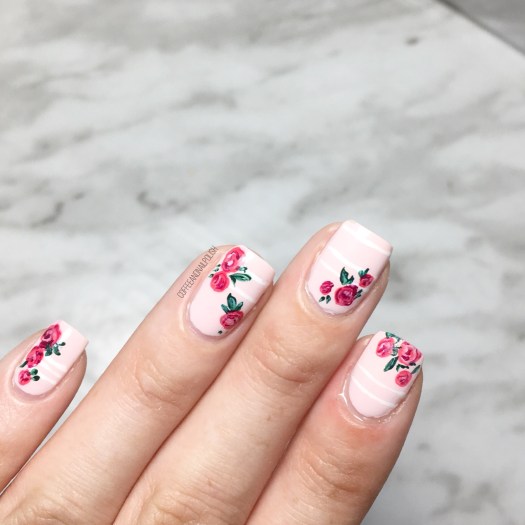
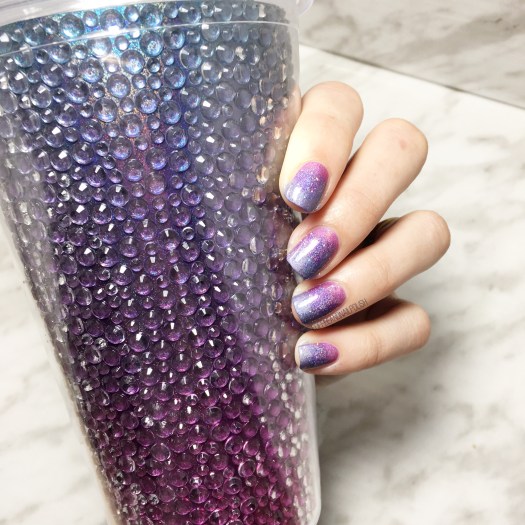
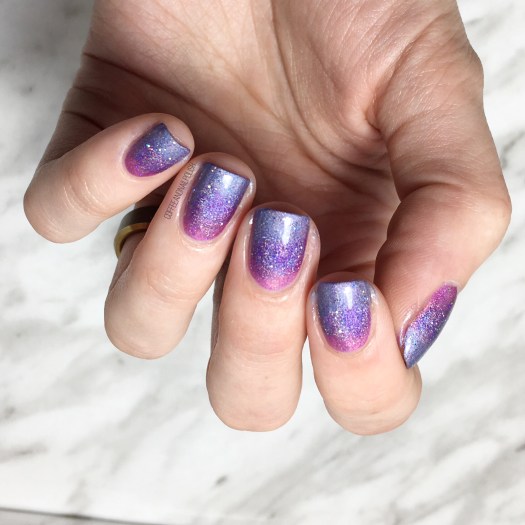
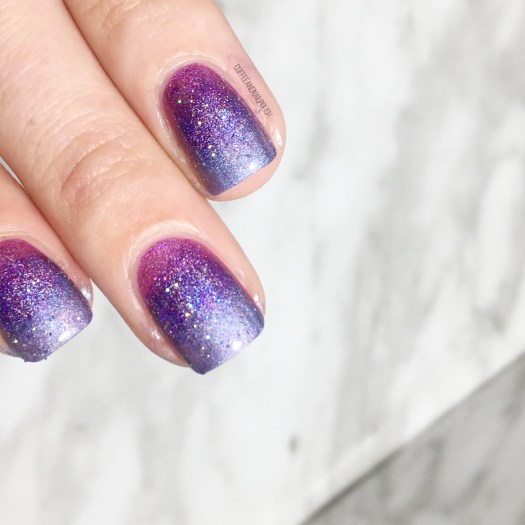
I can’t remember the last time I did an abstract stripe design, but it most definitely has been a while. (I went back through my Instagram feed, & this post from May 2018 seems to be my last time doing this technique, with a similar colour scheme. I guess I really love creating this style using shades of blue.
& honestly looking at these nails, it really makes me want to buy nail art stripers in every shade so I can do these kind of looks more often–I have a Sally Beauty gift card from Christmas waiting to be used that I feel like using on a few new stripers from some more line love!
what do you think of this design? What are your favourite colour combinations when it comes to stripes? Share down below!
 Good morning lovelies & happy Sunday. Today I’ve got a bright & girlie pink to share with you from deep in my stash: Quo by ORLY Color Amp’d in LA Dreamin’. This shade is from the Shoppers Drug Mart based Quo by ORLY range & I picked up this particular shade in the clearance last Summer for only $1!
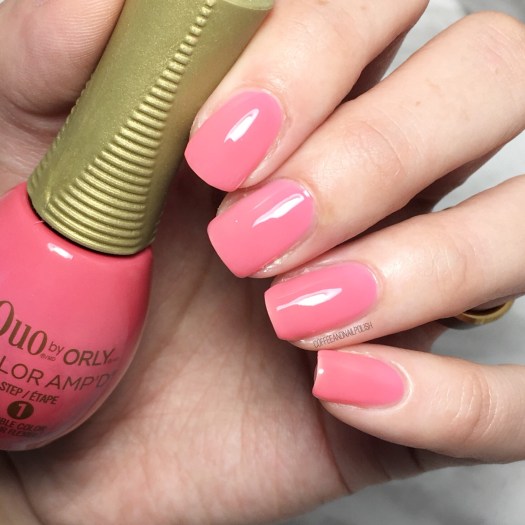
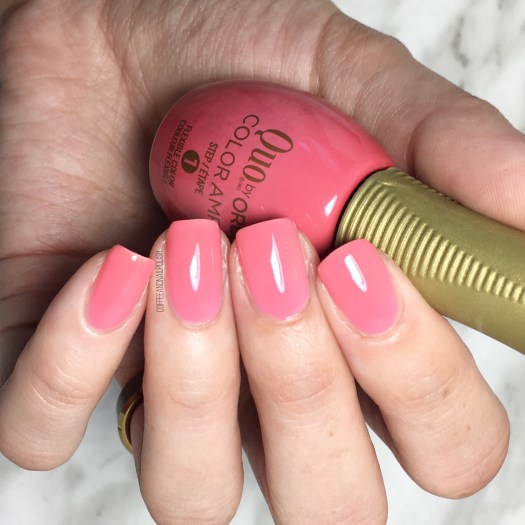
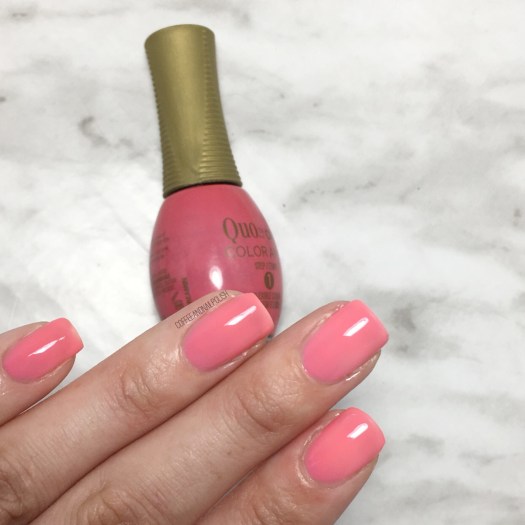 Who doesn’t love pink!? What colour do you feel like is your shade for Summer? I feel like with how much I’ve been wearing it lately, pink/coral is going to be the shade for me for Summer 2019!