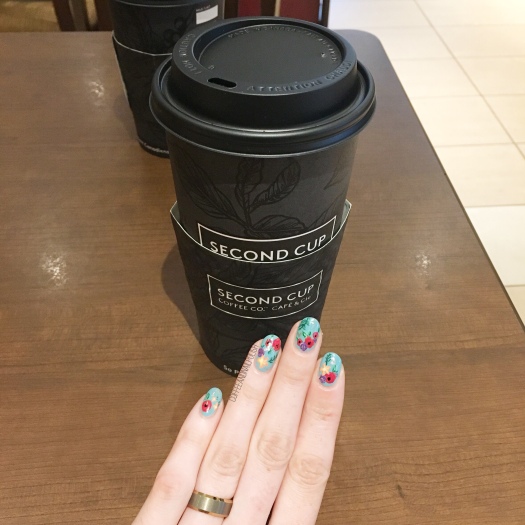
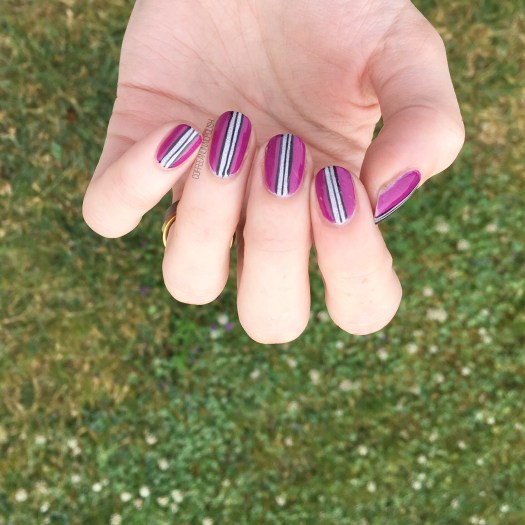
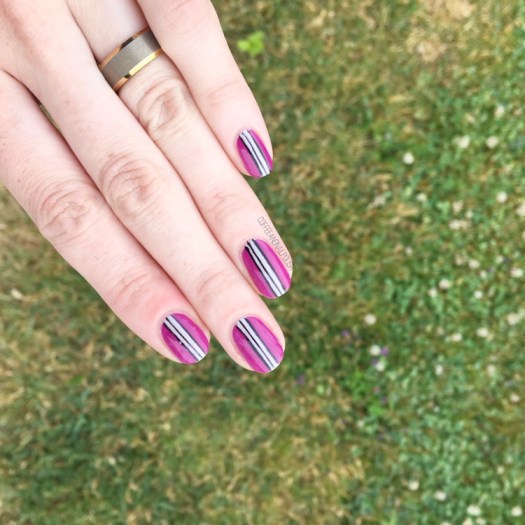
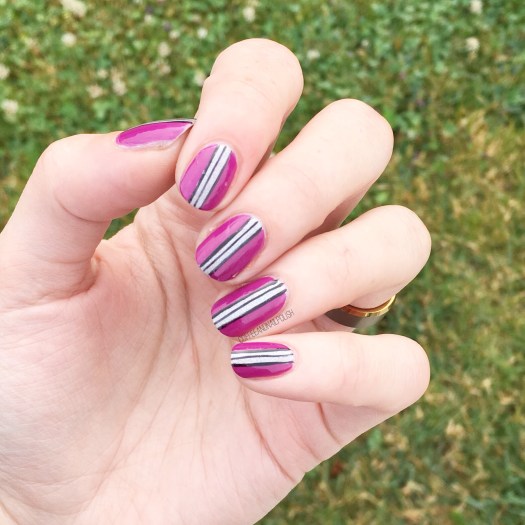
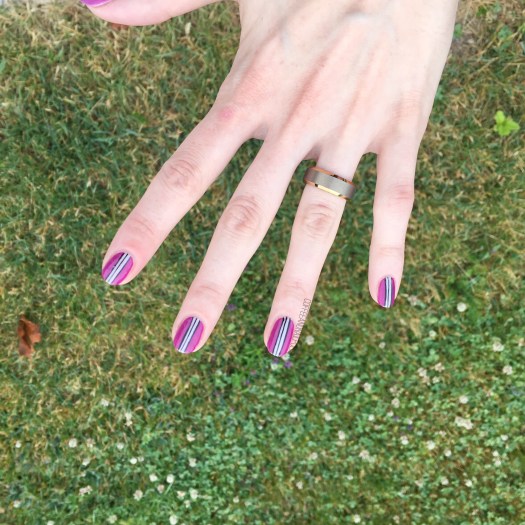
Hello lovelies! Hope everyone is having a good start to their week. Today I have a brand new nail look to share with you featuring one of my favourite easy nail art techniques–a Saran Wrap splatter. This time, I wanted a deeper more jewel toned colour scheme (because those Fall vibes are calling me) so I picked a few of my favourite Fall-ish shades for the occasion!
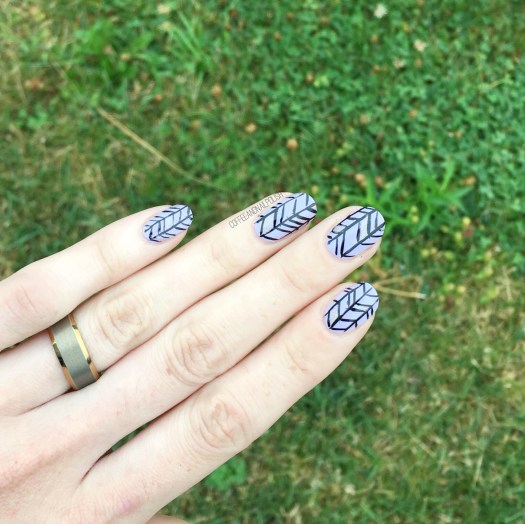
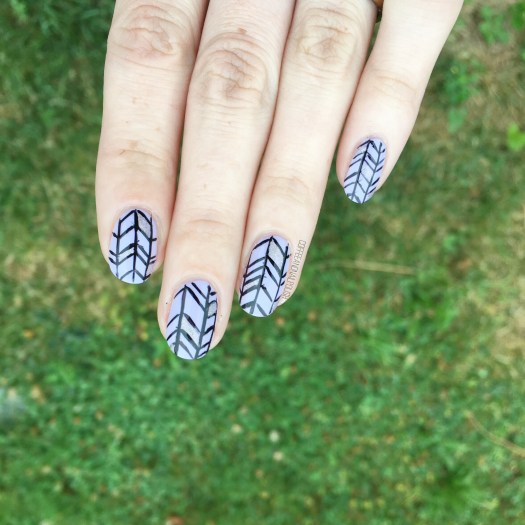
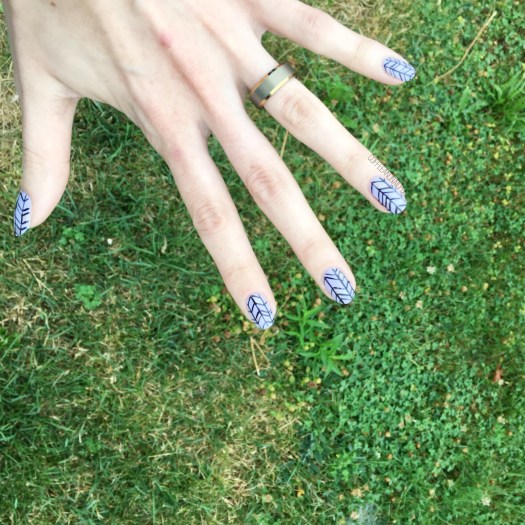
For those of you who don’t know, this whole look is created easily using crinkled up Saran Wrap/Plastic Bag. You paint you polish onto the crinkles up bag & then dab it into the nail. That’s how you create the “splatter” effect. I really love doing my splatter over a “naked” base, so that some of the natural nail comes through.
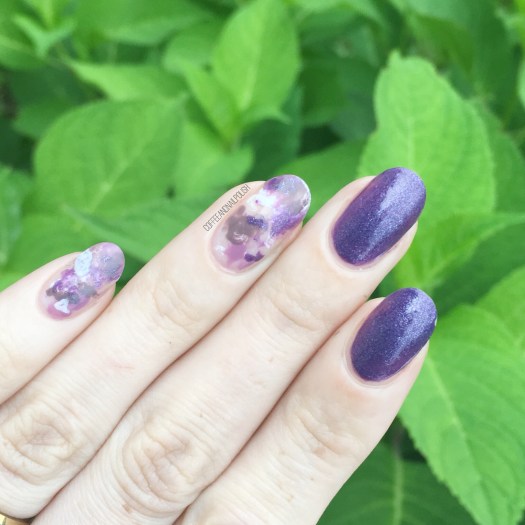

For this manicure, the polishes I used were:
- Base Coat: OPI Nail Envy
- Top Coat: Essie Speed Setter
- China Glaze Grape Juice
- OPI One Heckla Of A Color!
- OPI Angel With A Lead Foot
- Essie Merino Cool
- Saran Wrap
- Edge Perfection Cutcile Barrier


Can you believe it’s almost the end of August?! I can’t. Where did our Summer go? Pumpkin Spice lattes are officially back, which I think we can all agree means that it’s officially Fall. & that means it’s going to be all about deep dark nails over here! Ooooh & Halloween. I cannot wait to create some Halloween nails too!

What do you think of this splatter look? Which colour combination would you love to see? Share down below!