Good morning lovelies & happy Wednesday. Hopefully wherever you are right now it’s feeling like Spring is around the corner. Here in Halifax, sadly, it seems like Winter has finally hit & it’s been bitterly cold. So naturally that means it’s time for floral! Seriously, anytime I remember that it’s still winter, I just have to create some floral nails again.
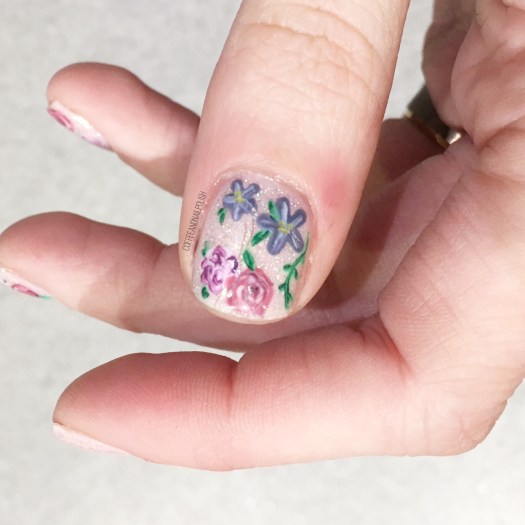
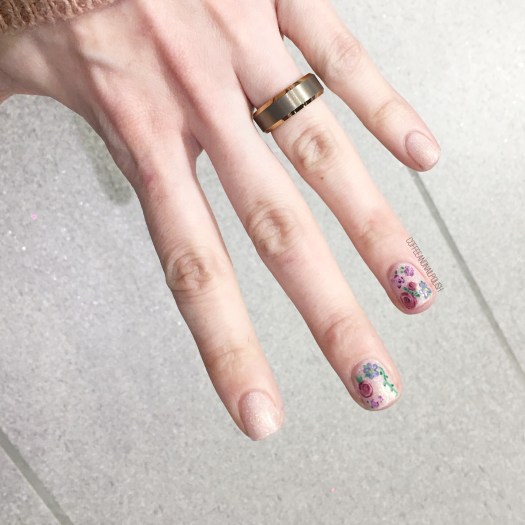
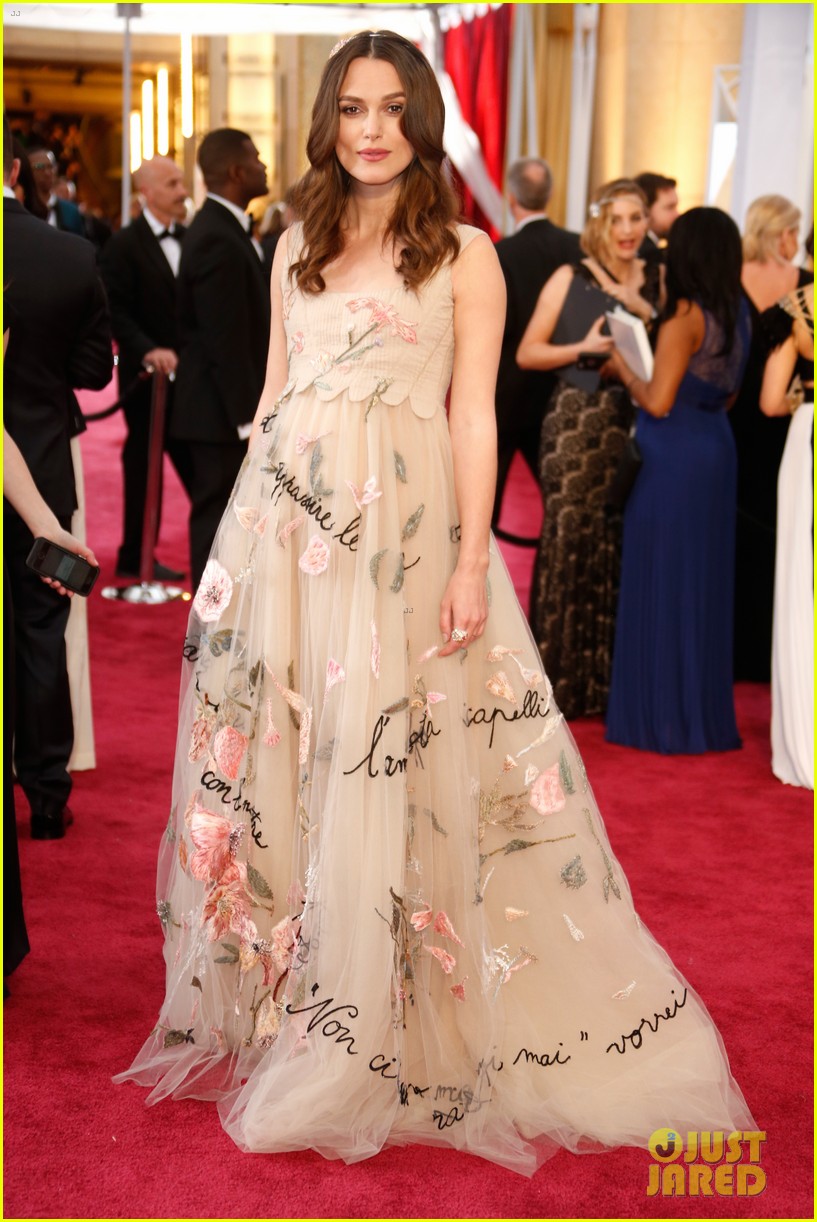
Today’s nail art look was done while watching the Oscars on Sunday night & inspired by the Valentino dress worn by Keira Knightley in 2015. I remember wanting to create Nails inspired by that gorgeous dress 4 years ago… but you know, I always get distracted haha. So I decided while watching this year’s show that it was finally time.
For this manicure, the polishes I used were:
- Base Coat: OPI Nail Envy
- Top Coat: Essie Speed Setter
- Sally Hansen Miracle Gel In the Sheer
- Sally Hansen MG Make It N-Ice
- China Glaze Life Is Rosy
- Sally Hansen MG Orchid-ing Around
- Essie Play Date
- Sally Hansen Complete Salon Manicure Trouble Maker
- Sally Hansen MG Sugar Rush
- Sally Hansen MG Just Maui’d
- China Glaze Metro Pollen-tin
- Sally Hansen I ♥️ Nail Art pen in green
- Essie Off Tropic
- Nailstuff.ca dotting tool set
- Nailstuff.ca mermaid detail brush
I’ll be honest–I used so many polishes, that I probably forgot some. But that’s the gist of what I used. I always use a ton of polishes when feeehanding my floral & I never think to write all of them down. Maybe someday I’ll remember.
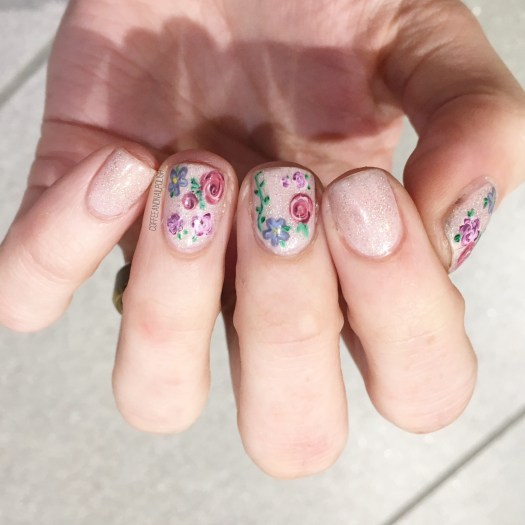
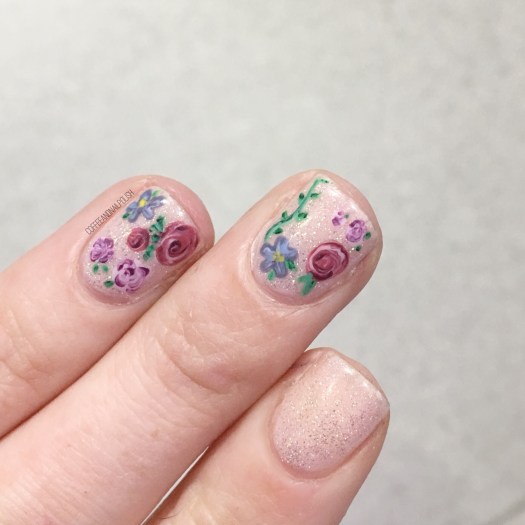
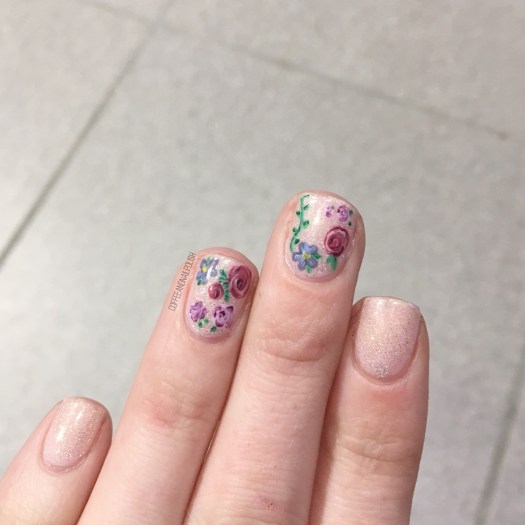
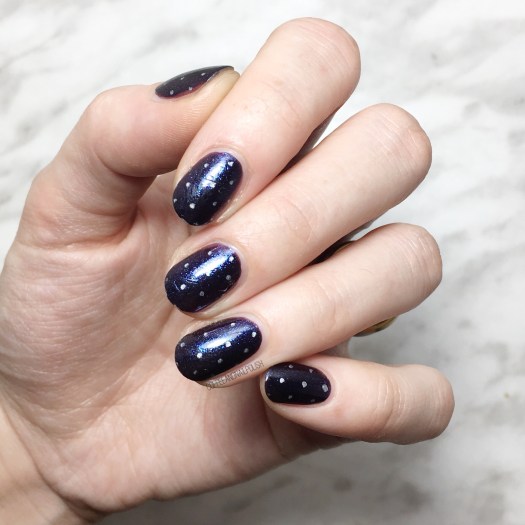
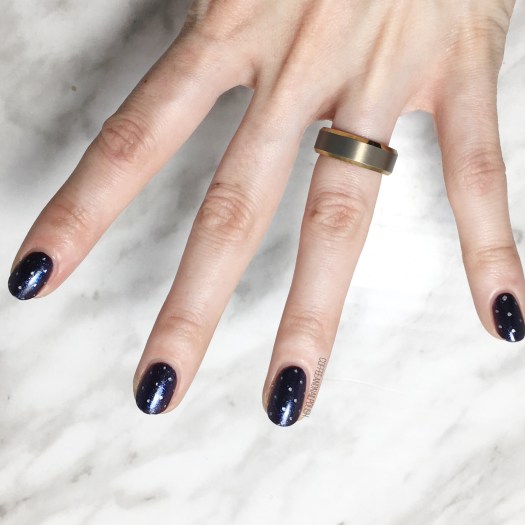
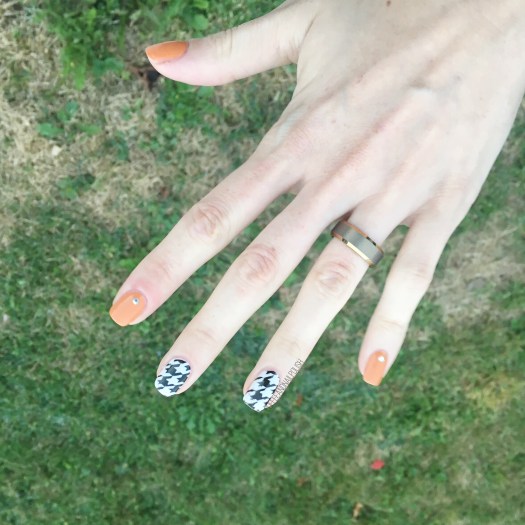
I really love how this turned out, especially over the light almost nude base (with hint of holo.) A little pop of colour.
what do you think of this design? Who else is craving Spring weather hardcore? Ooooooh dreaming of maxi dresses & jean jackets & counting down the days (weeks… months…)
💗


