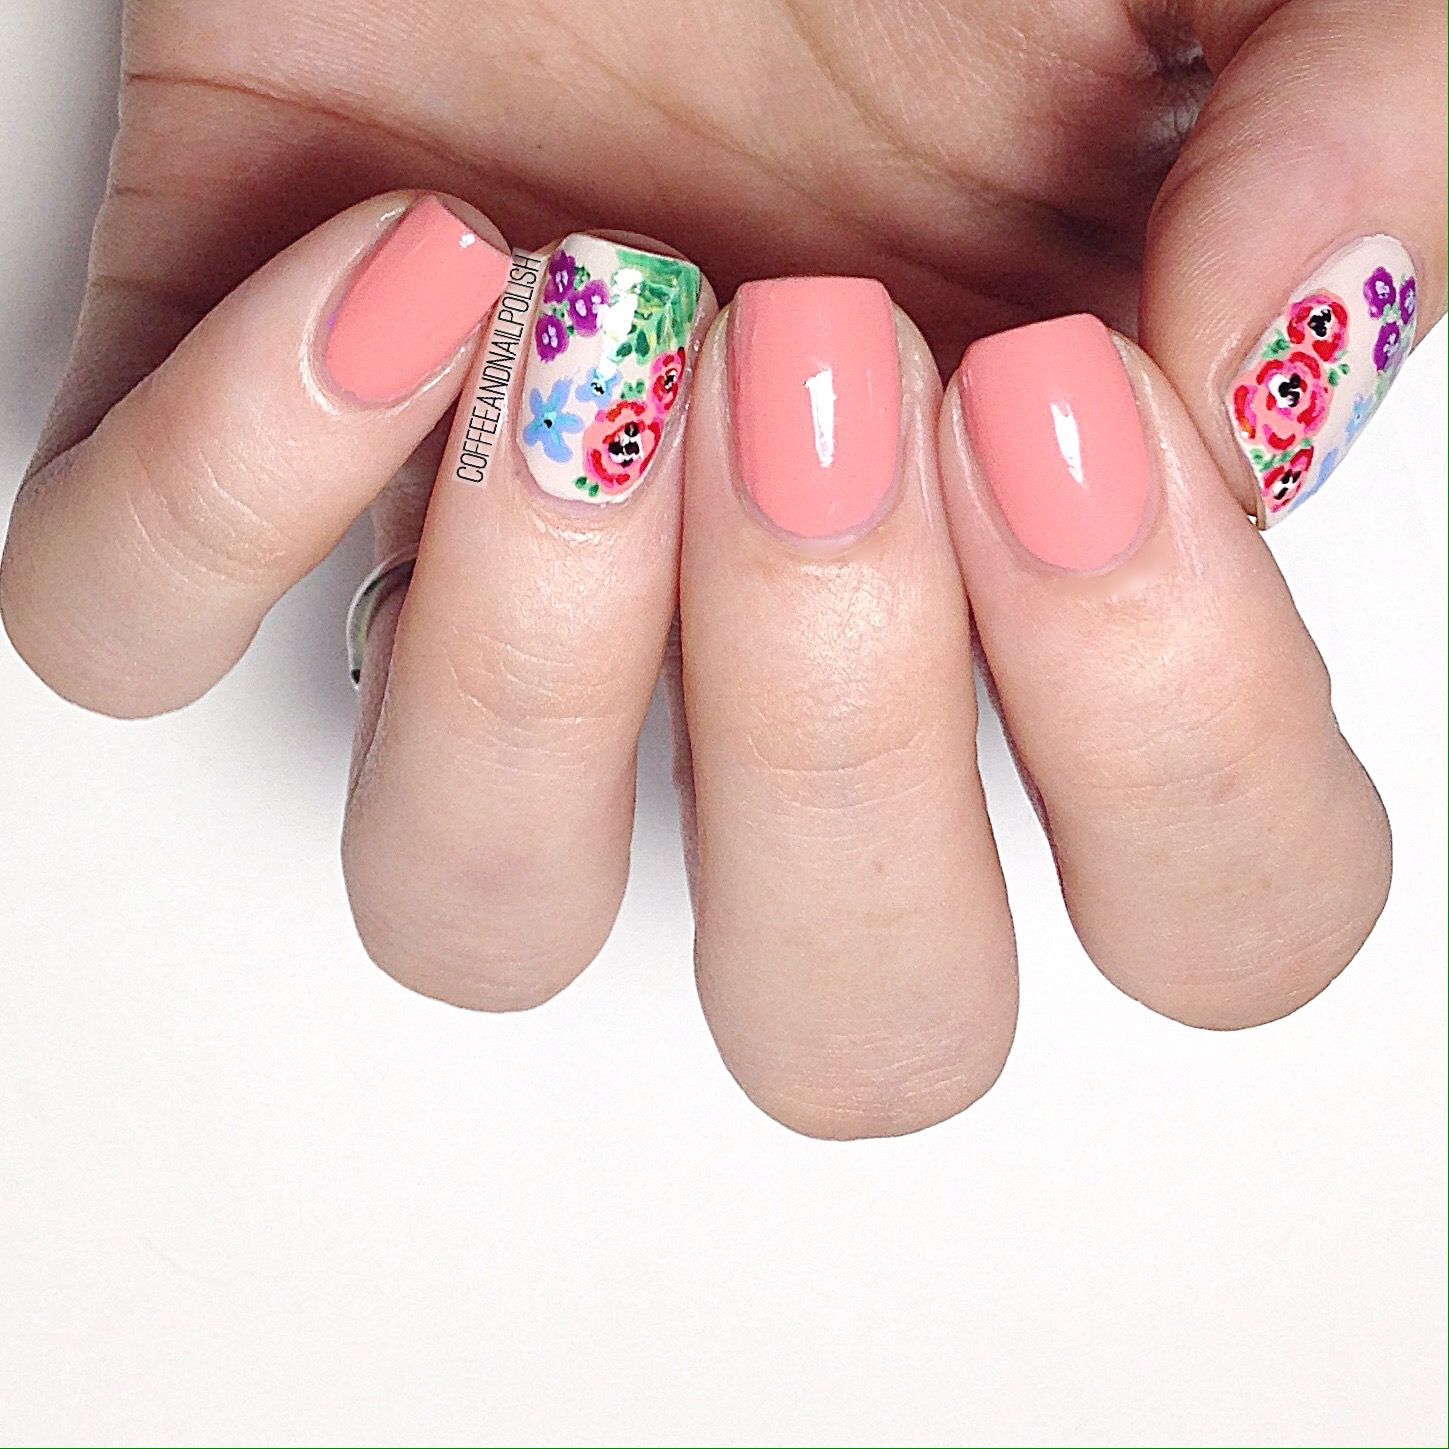
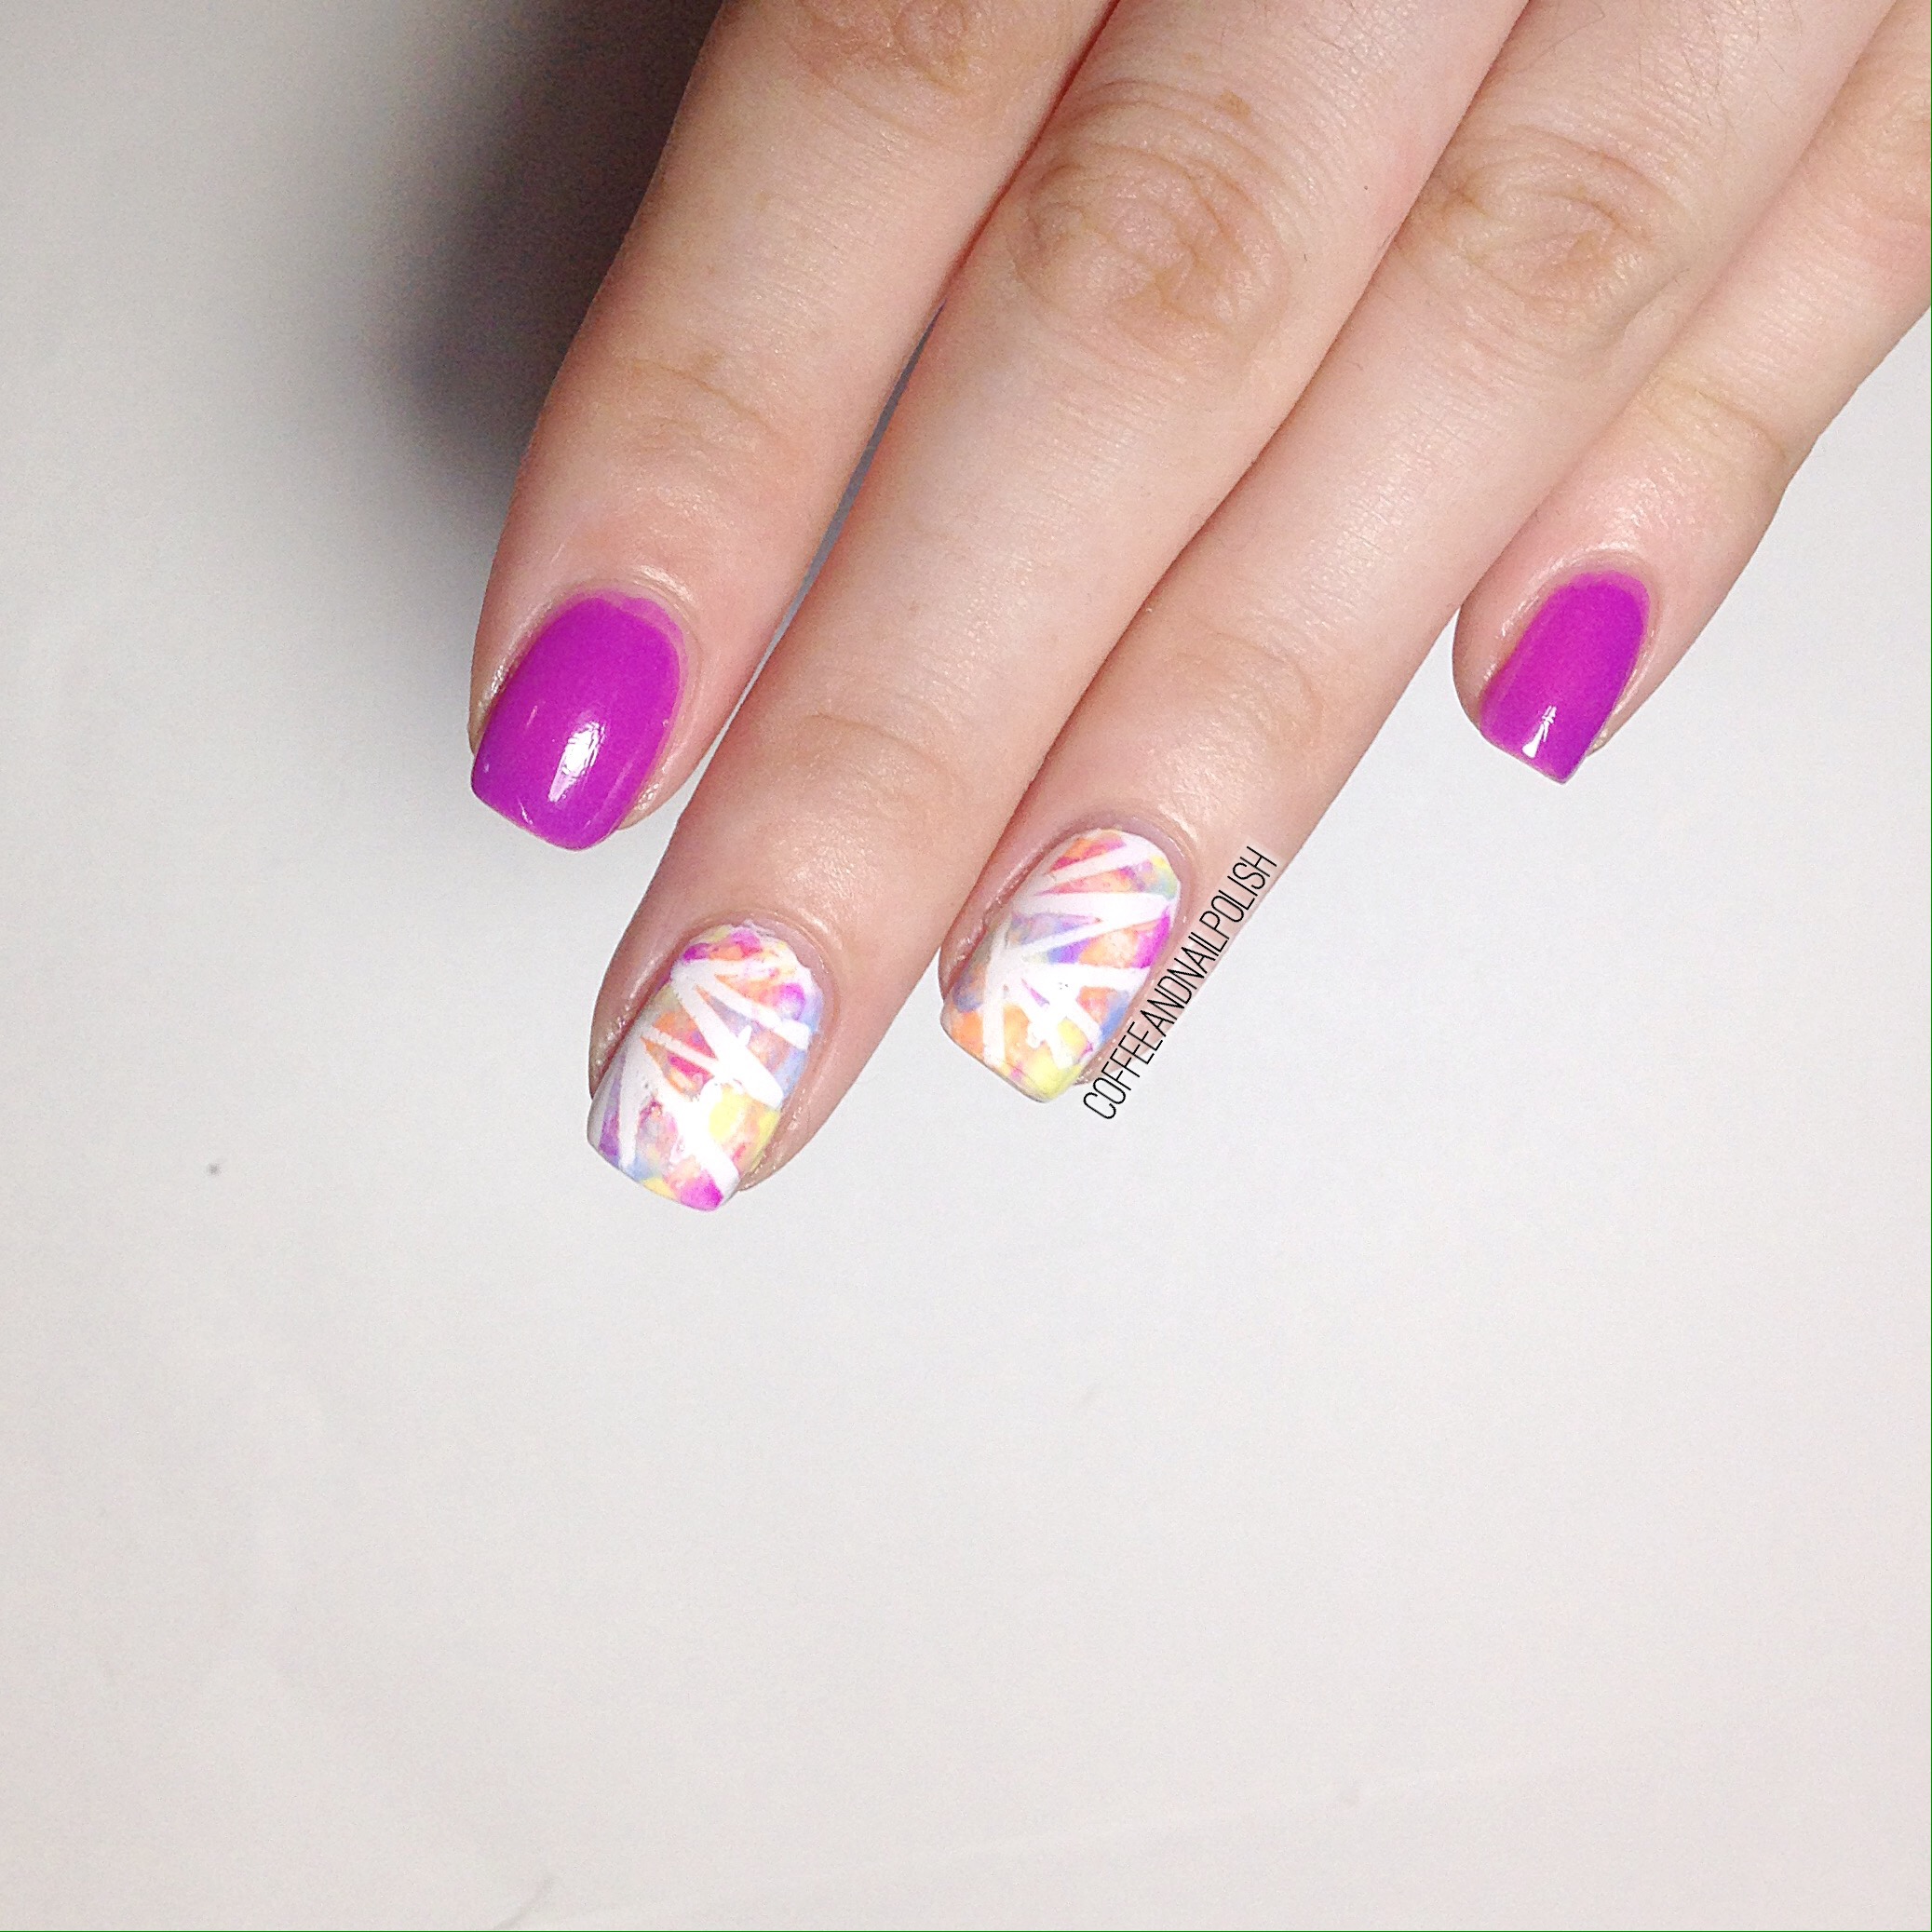
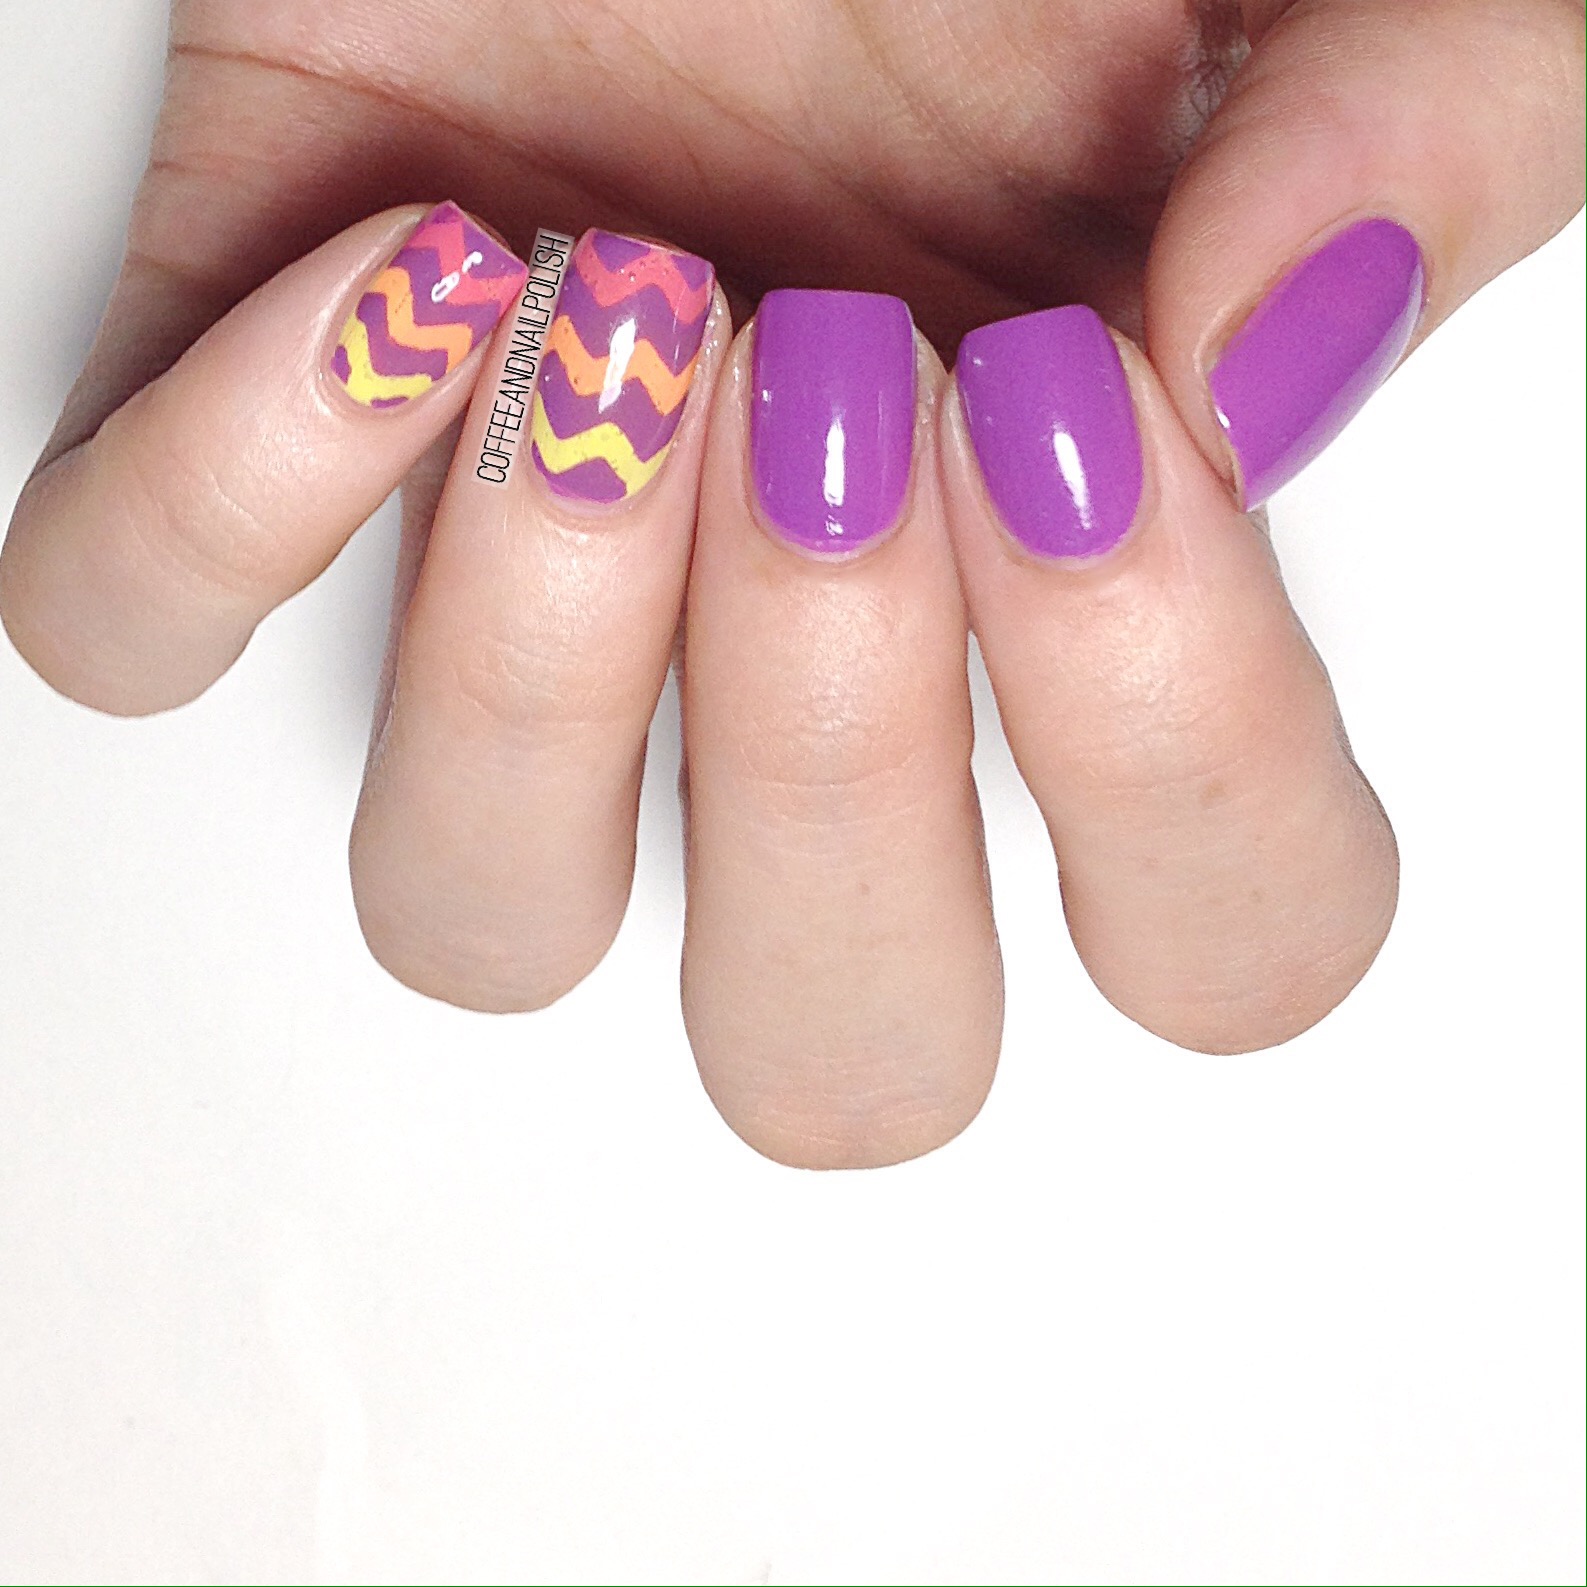
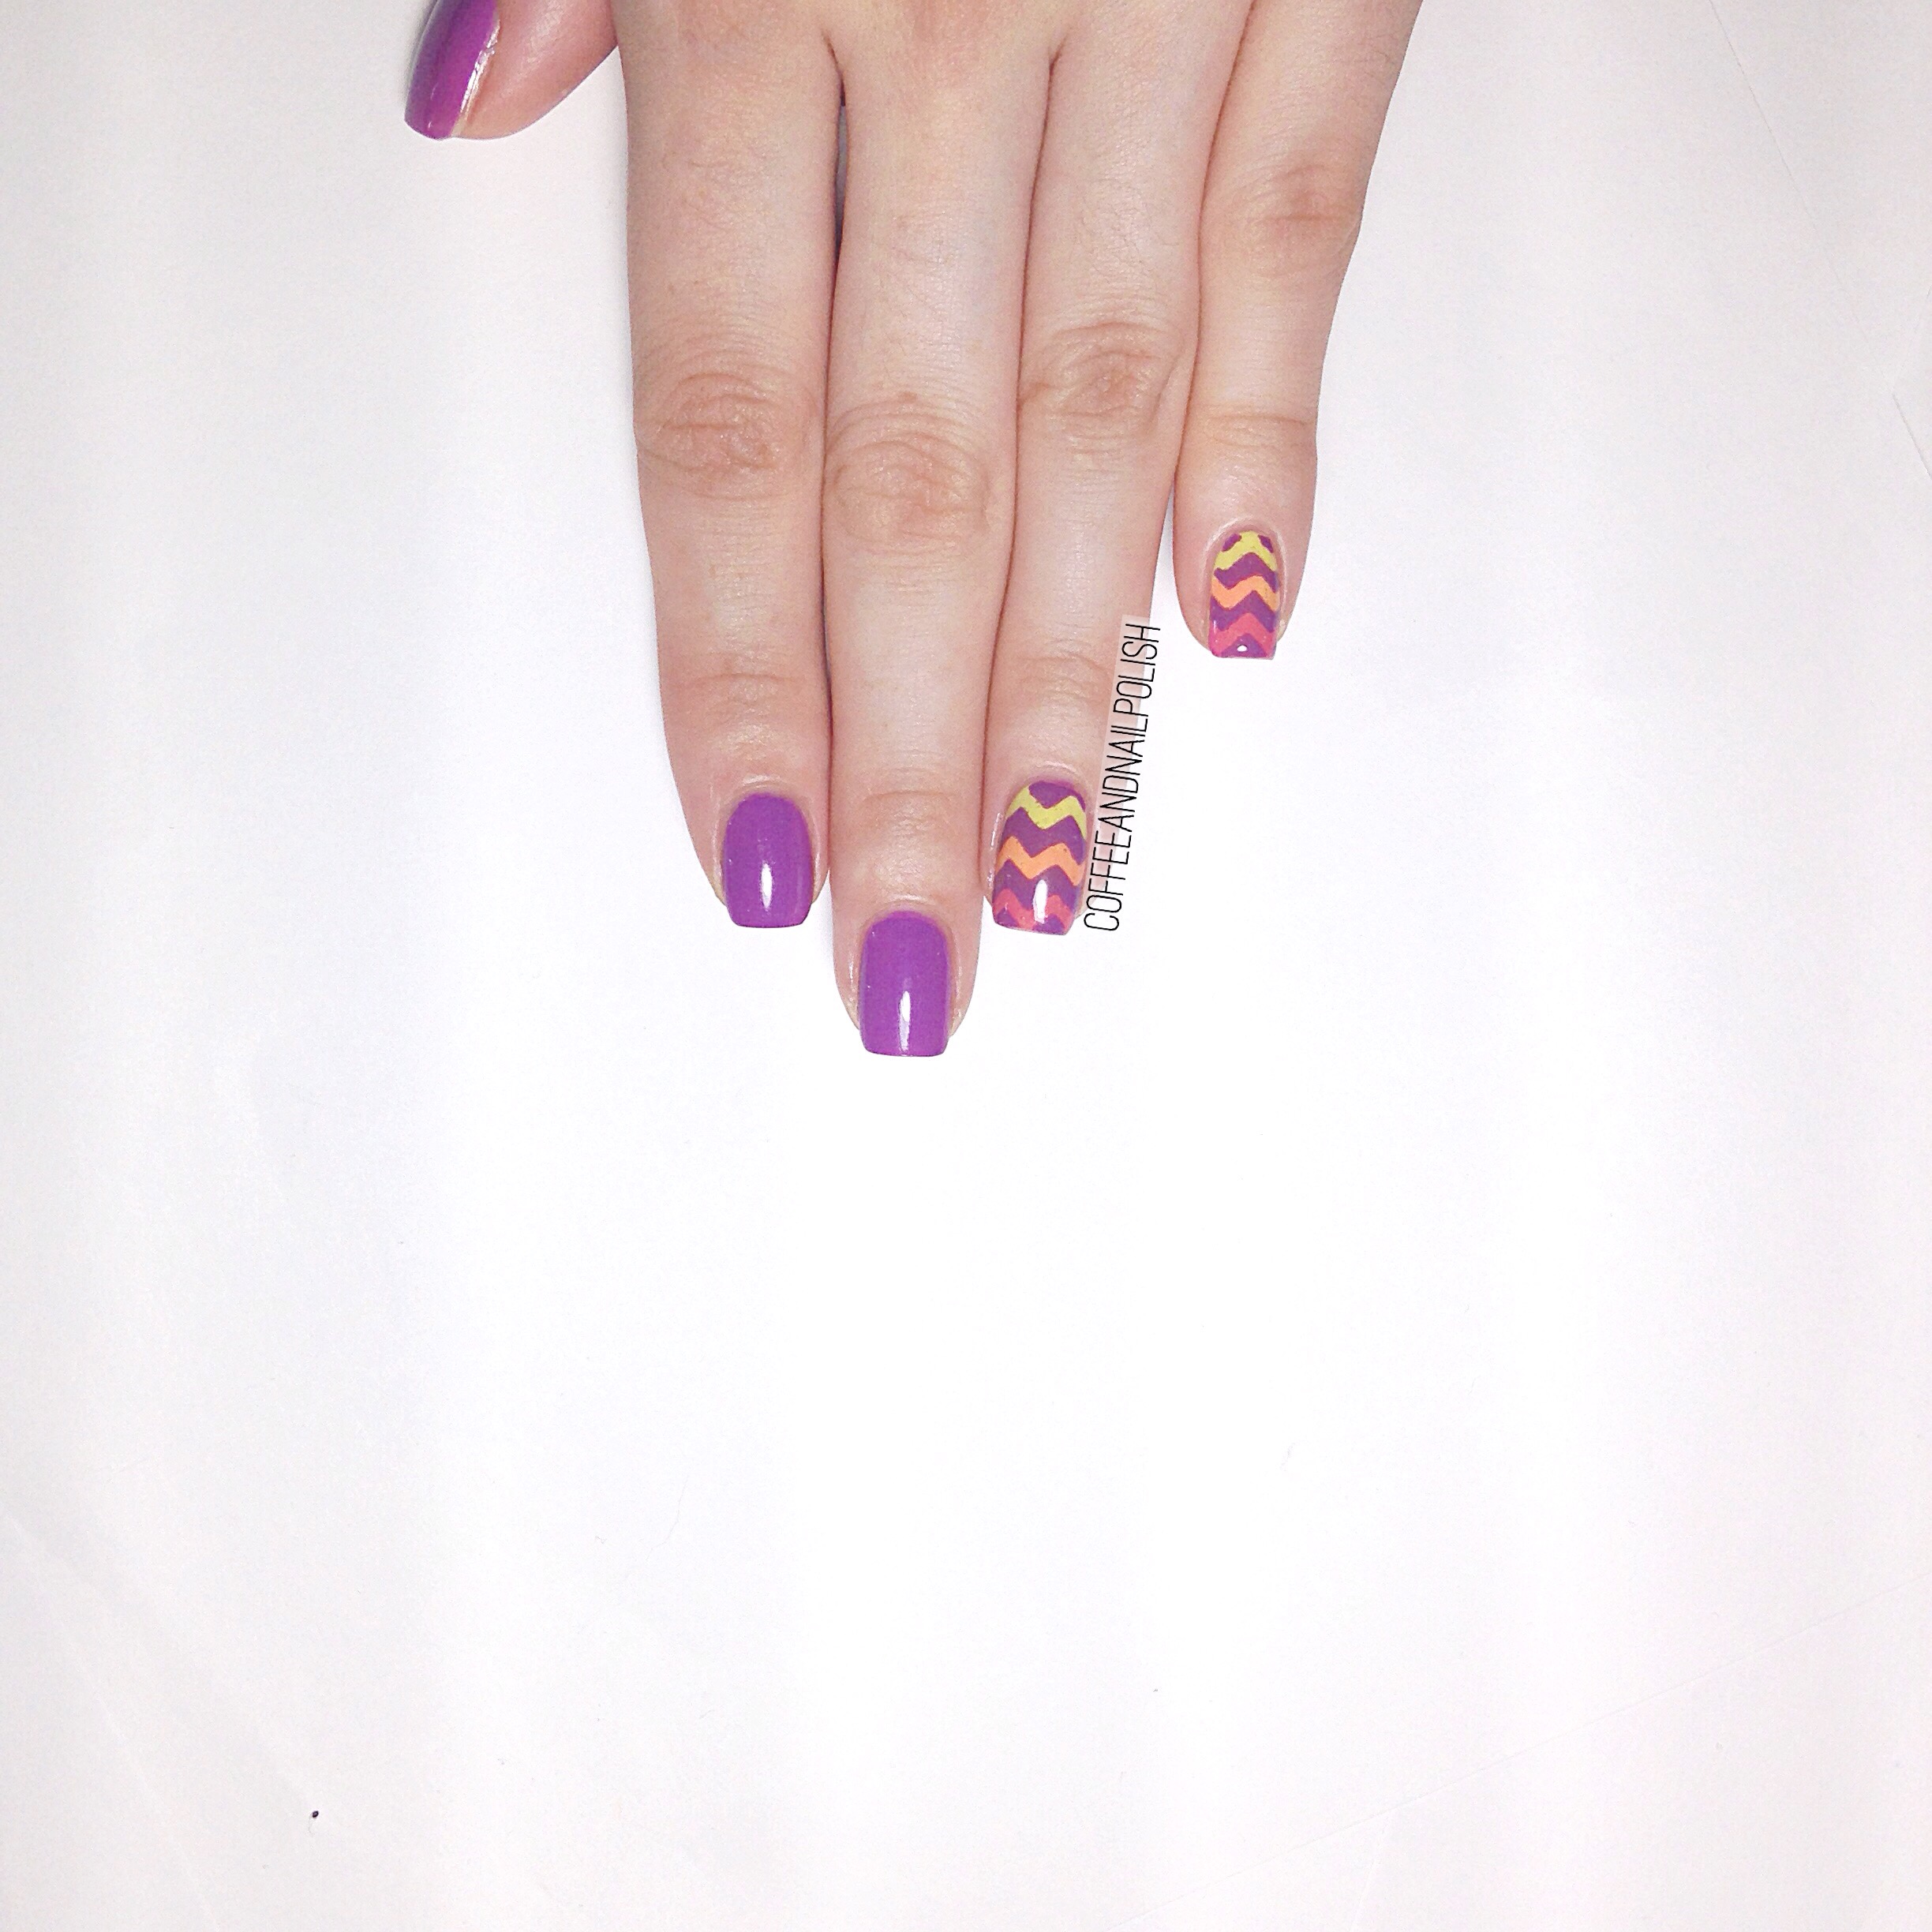
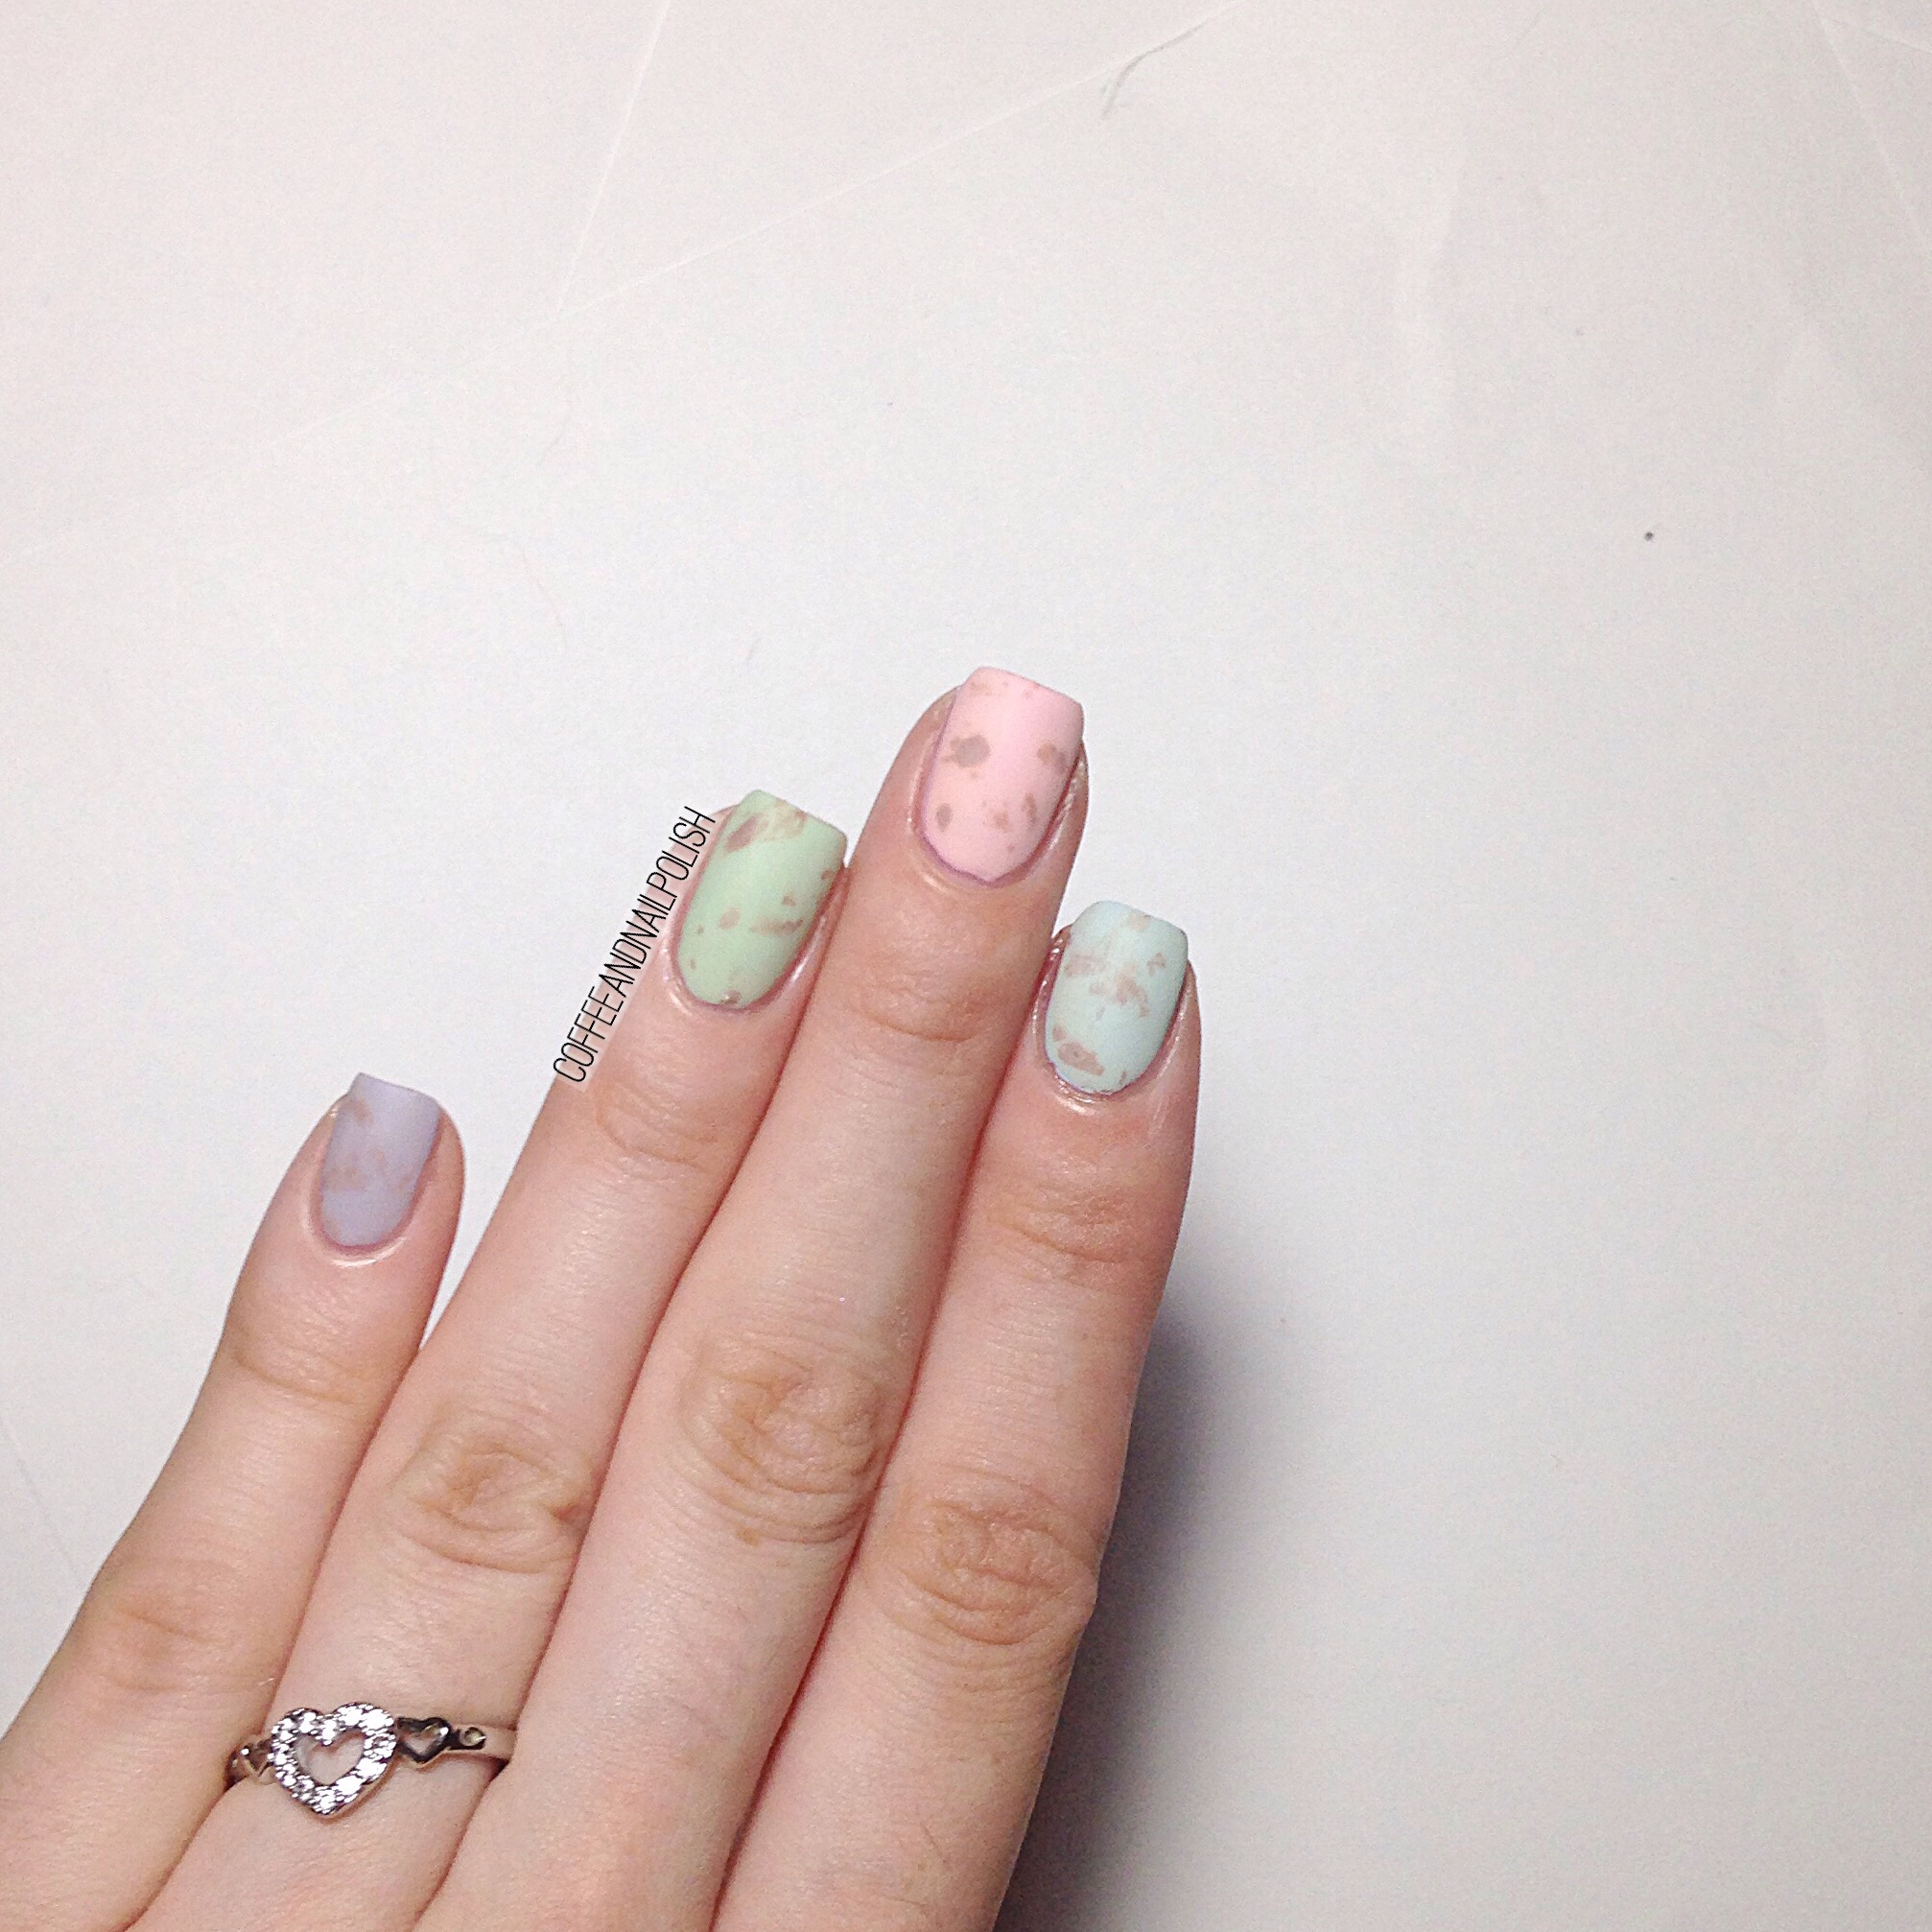
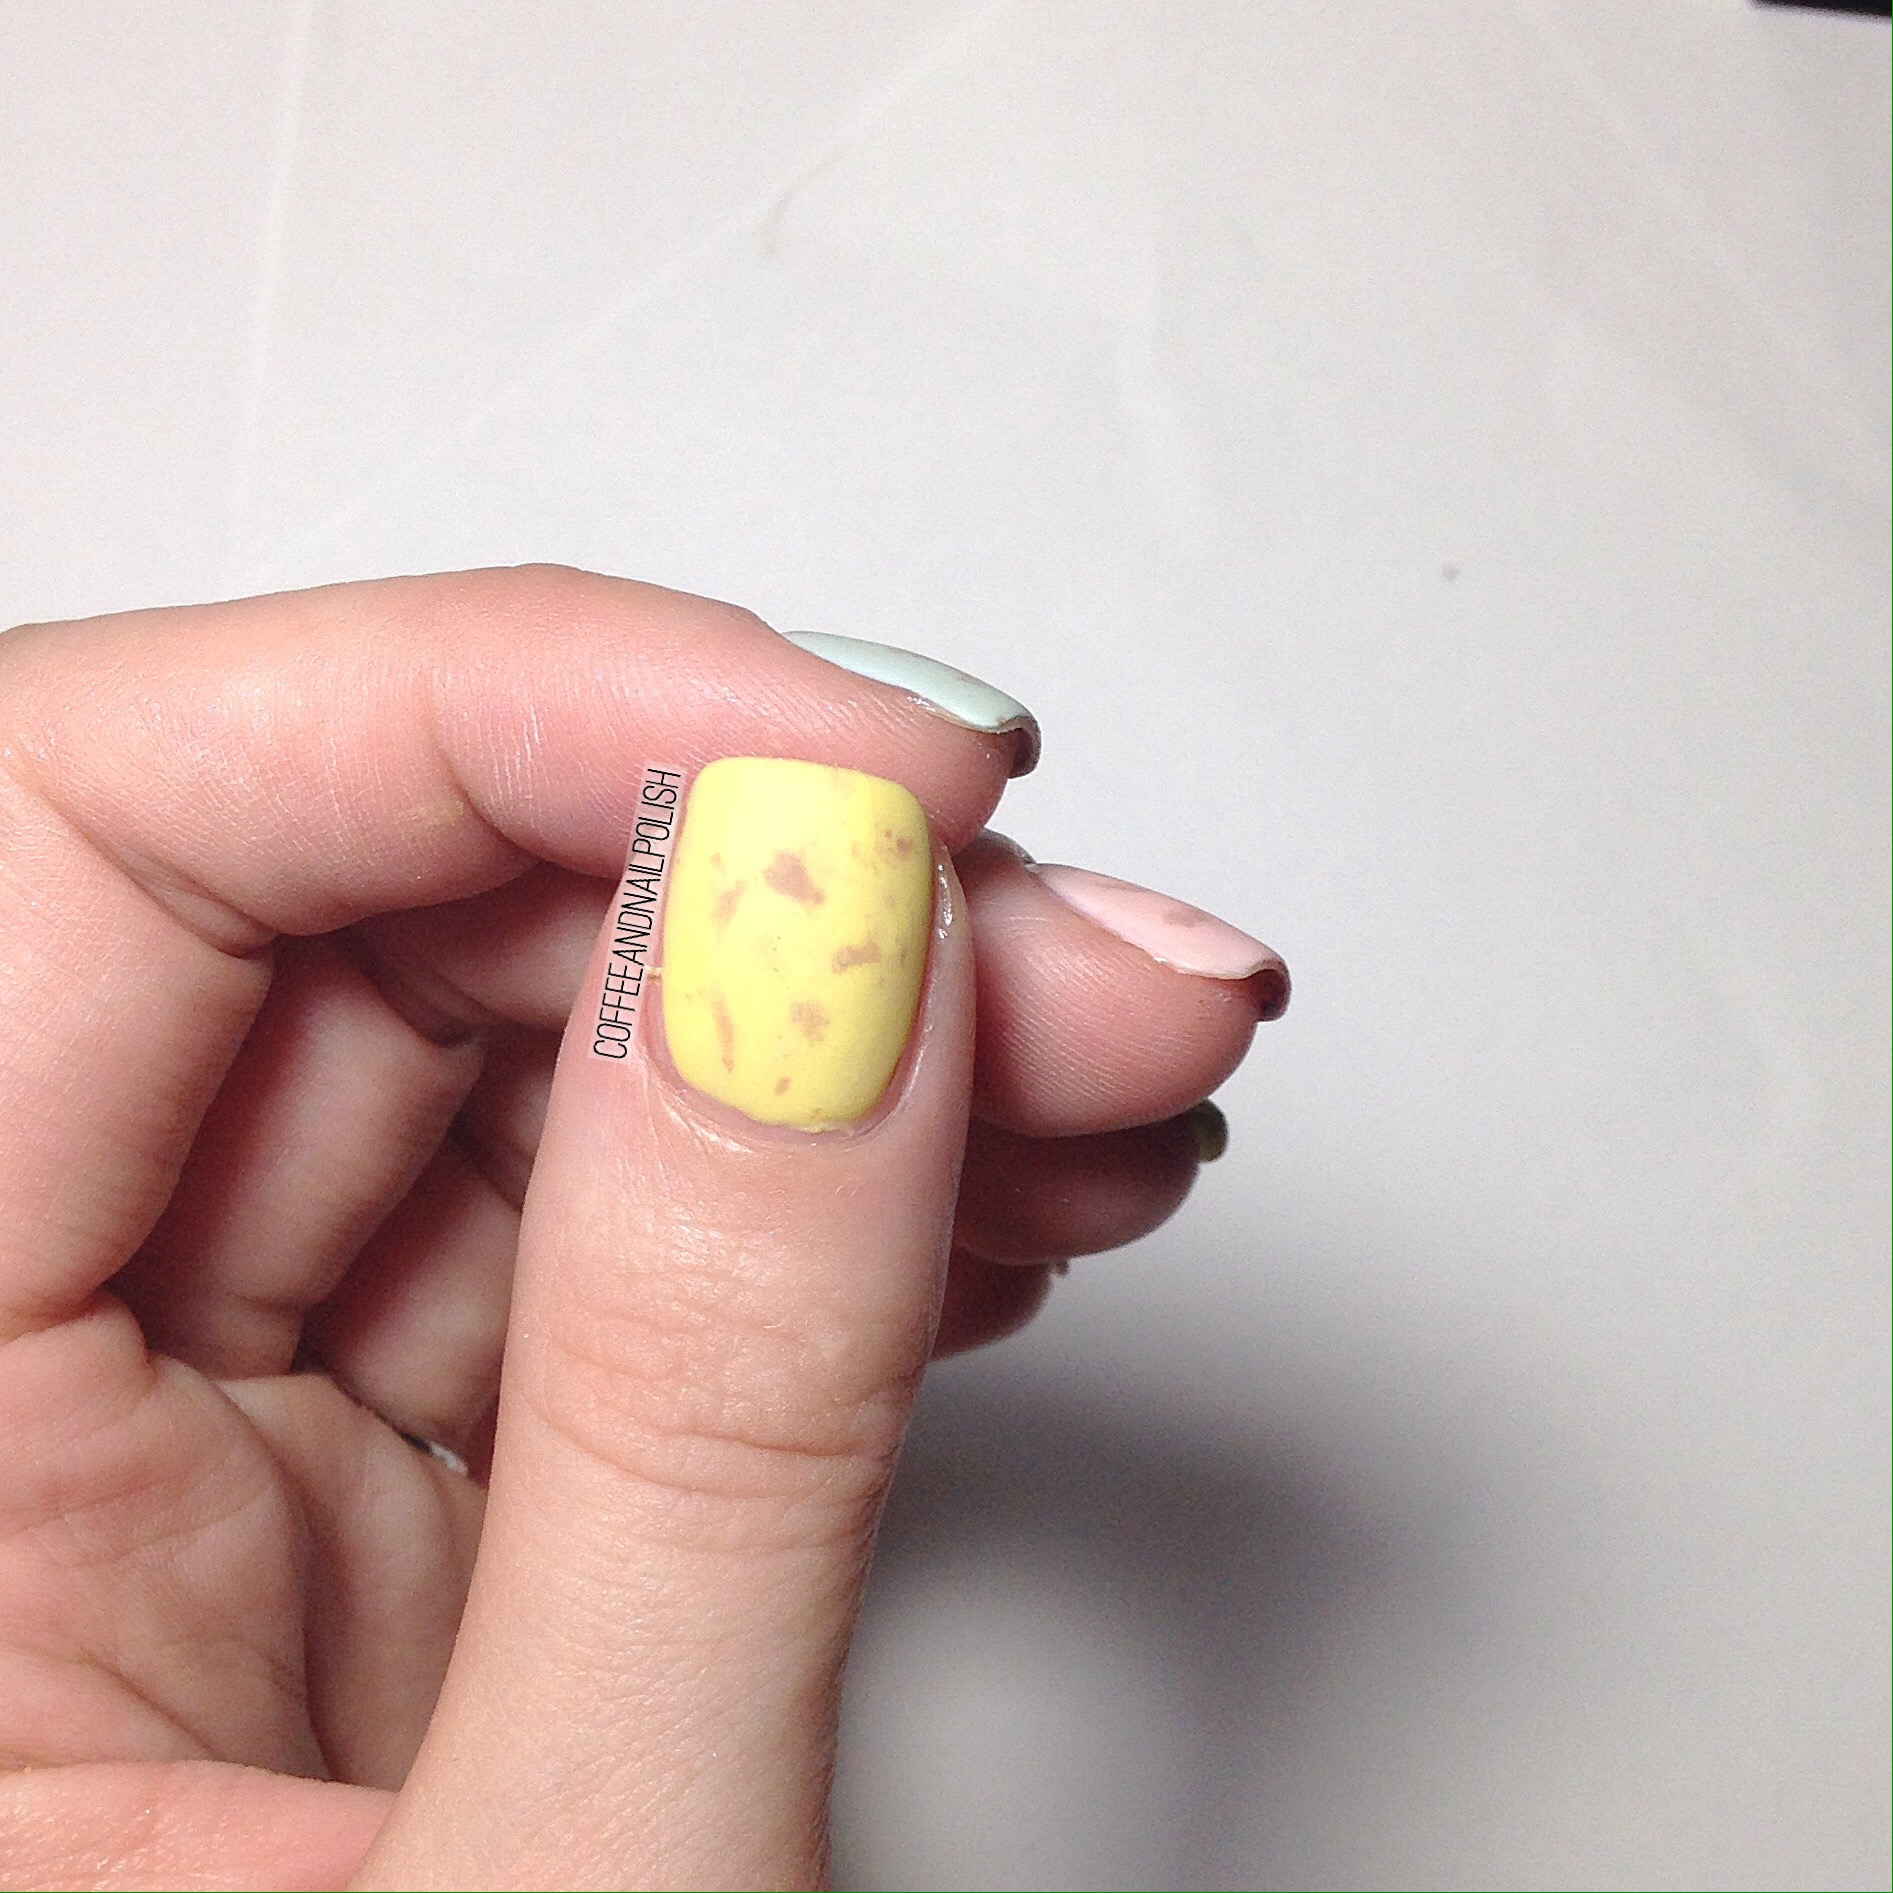
Lately it’s been warm enough to wear flats, & it makes it feel like Spring is really here to stay. I’m just so ready to put away my winter boots & jackets, & replace them with all the Spring dresses I can. In the mean time, I’m just going to have to settle for some Spring floral accents nails, because let’s be honest–it could easily snow again next weekend (but I hope not).
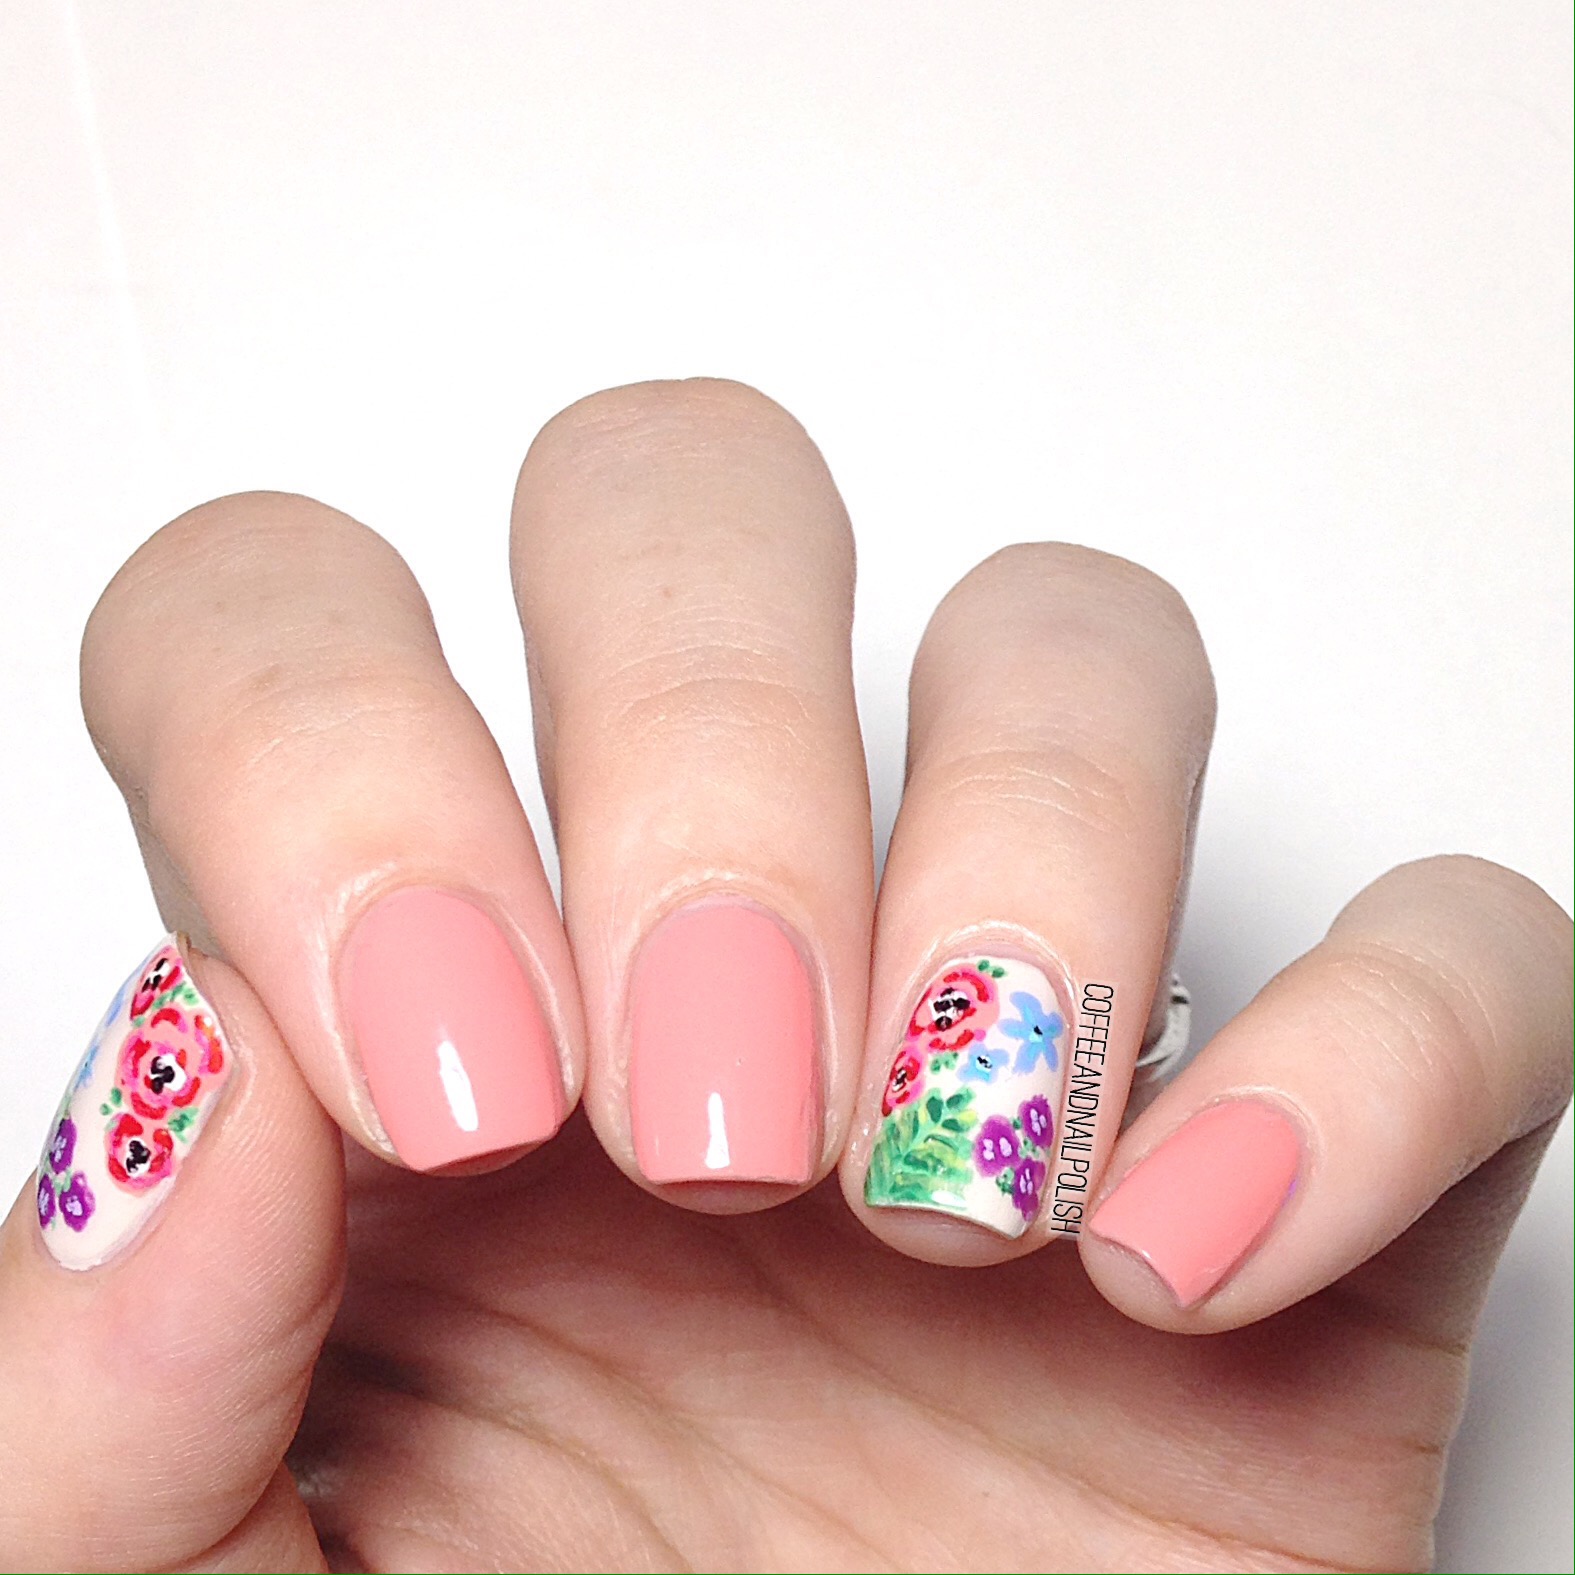

For this manicure, I used:
- Base Coat: Perfect Formula Pink Gel Coat
- Top Coat: Cutex Quick Dry Top Coat
- Essie Stones N’ Roses
- Essie Wrap Me Up
- Sinful Colors Hip To Be Square
- Essence Break Through
- Sally Hansen I ❤ Nail Art Pen in Pink
- Sally Hansen I ❤ Nail Art Pen in Turquoise
- Sally Hansen I ❤ Nail Art pen in Purple
- Sally Hansen I ❤ Nail Art pen in Green
- Sally Hansen I ❤ Nail Art pen in White
- Sally Hansen I ❤ Nail Art pen in Black
- Sally Hansen I ❤ Nail Art pen in Red
- Essence The Green and the Grunge
- Essence LOL


What do you think of this floral? Has Spring found you where you are? Let me know in the comments below! 🌸


