Red Toned Skittle Nails 🔥

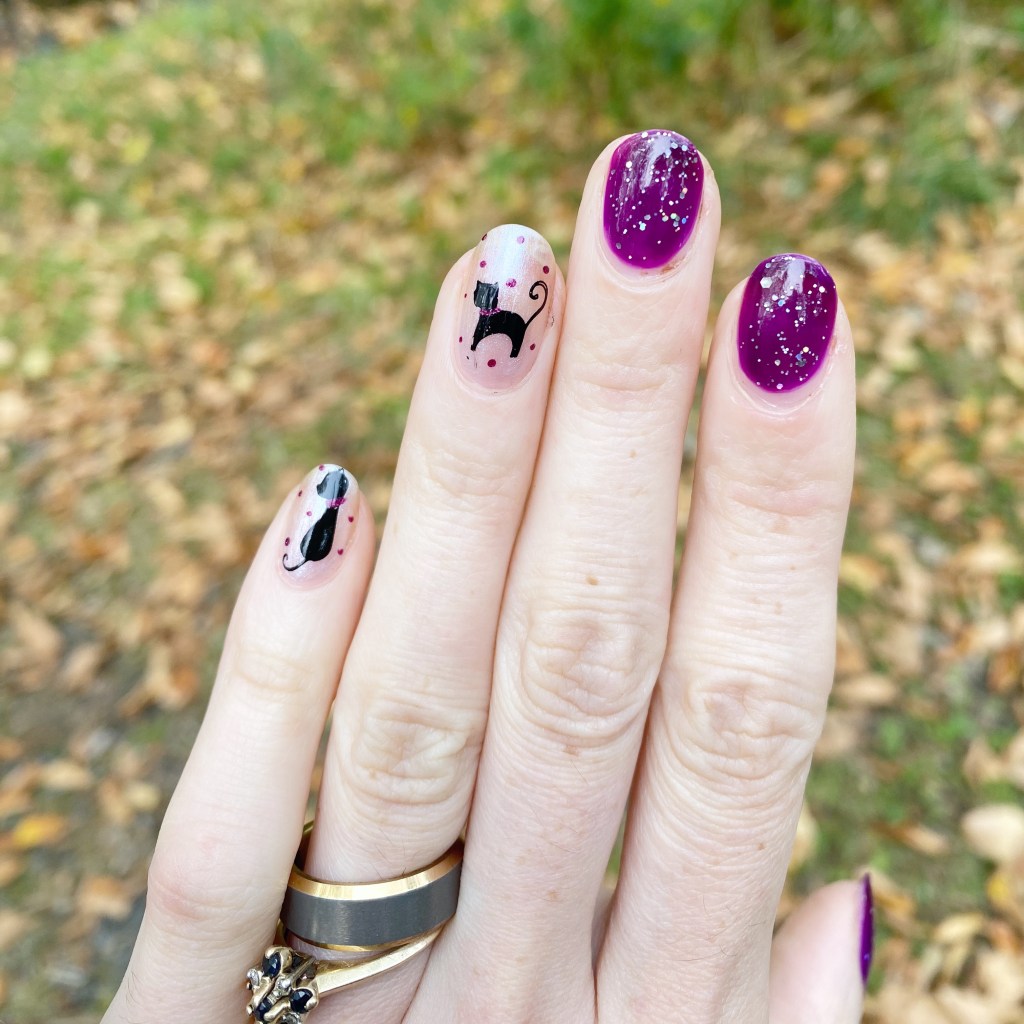
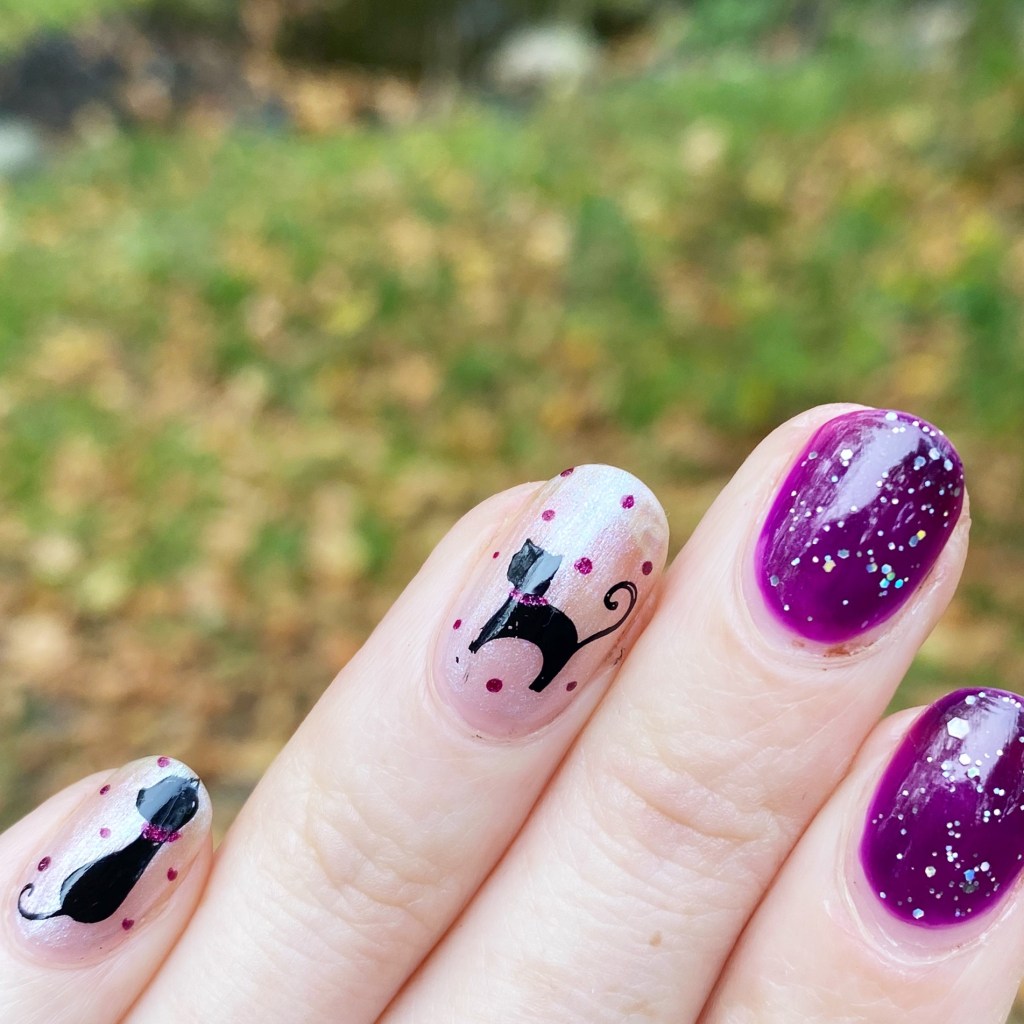
Good morning lovelies & happy Thursday. A beautiful sunny—albeit chilly—day here on the East Coast. You really can’t ask for a better late Autumn day. It’s got just the right amount of chill to make it feel like Christmas will be here soon… without needing 4 pairs of tights under your pants. Haha.

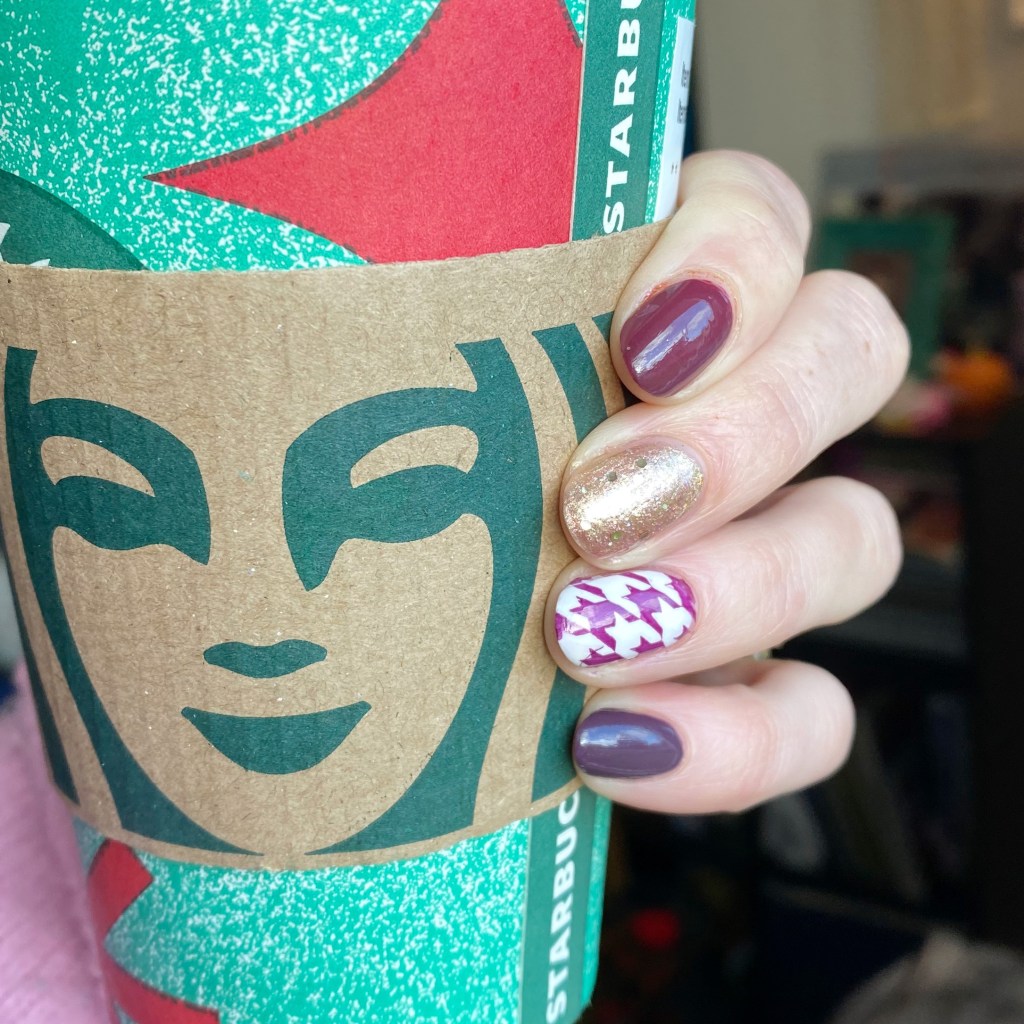
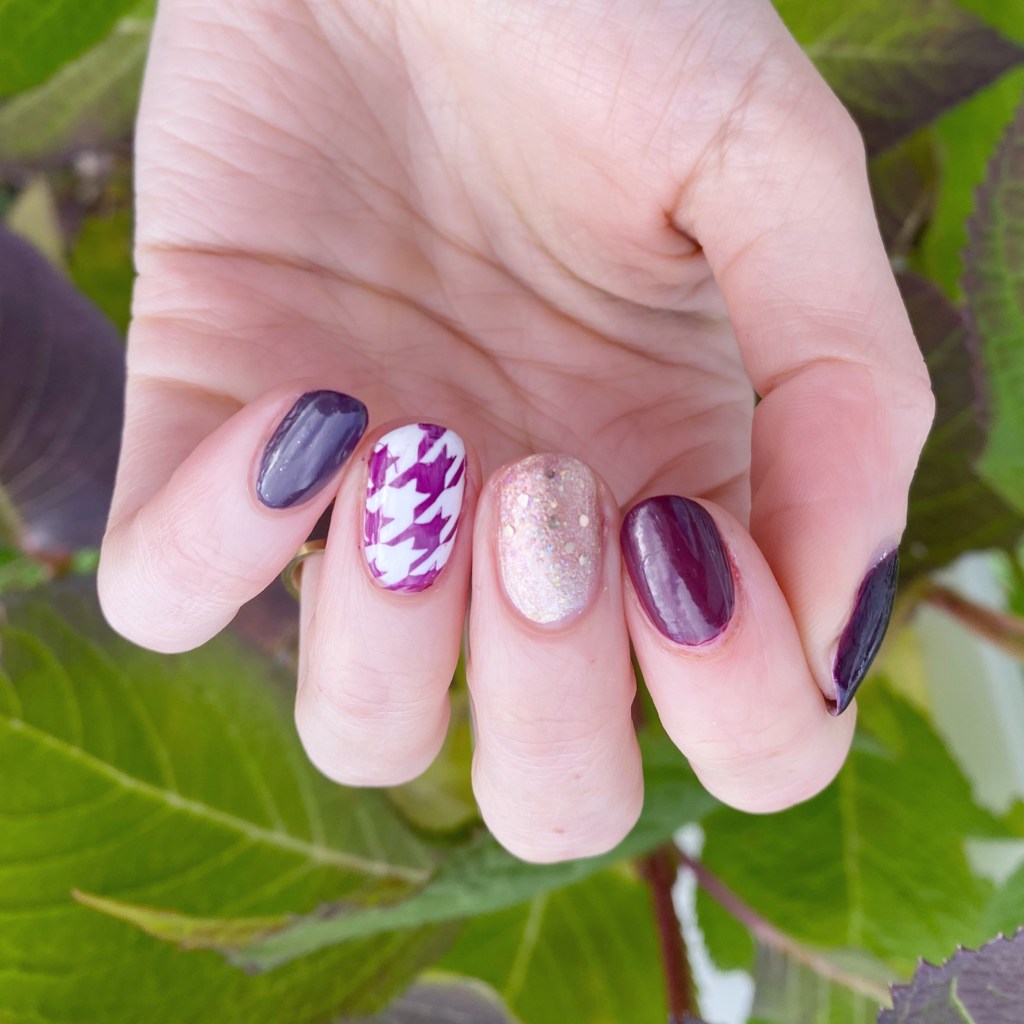
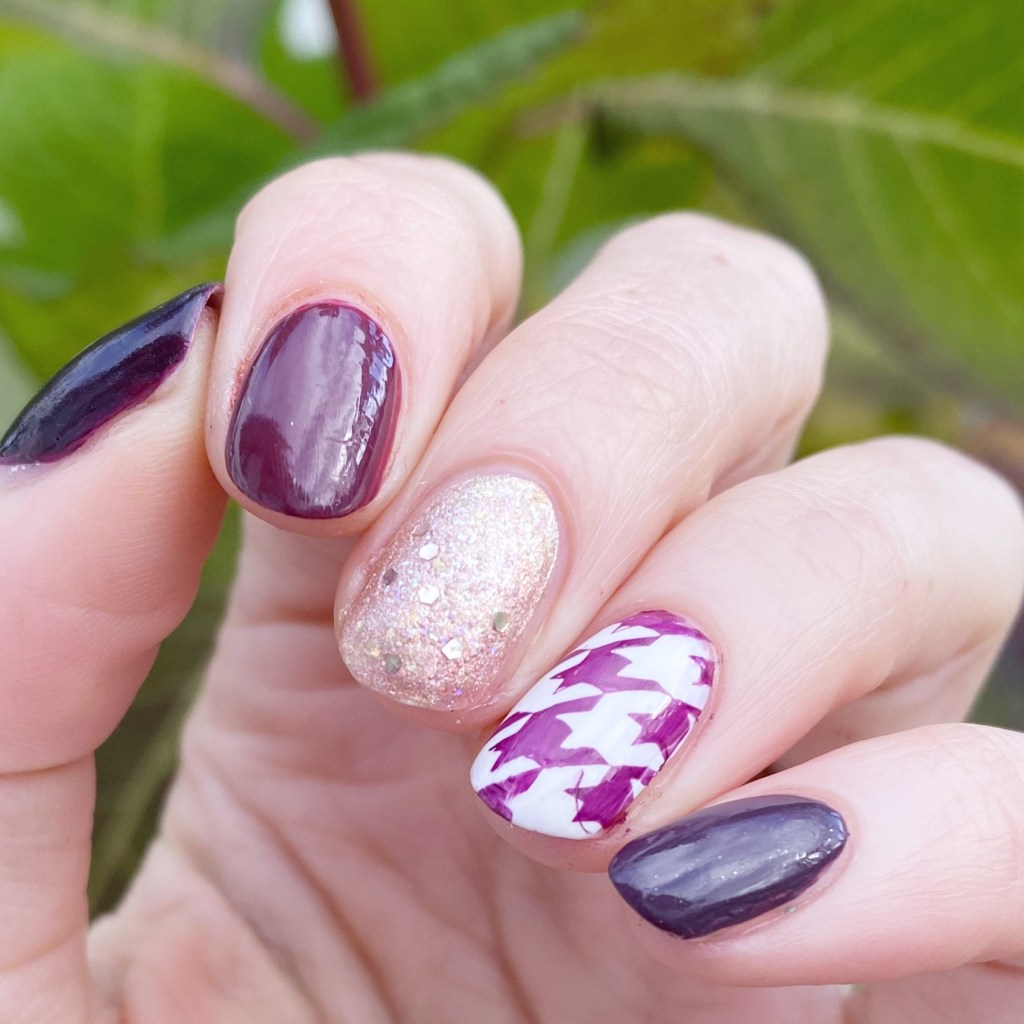
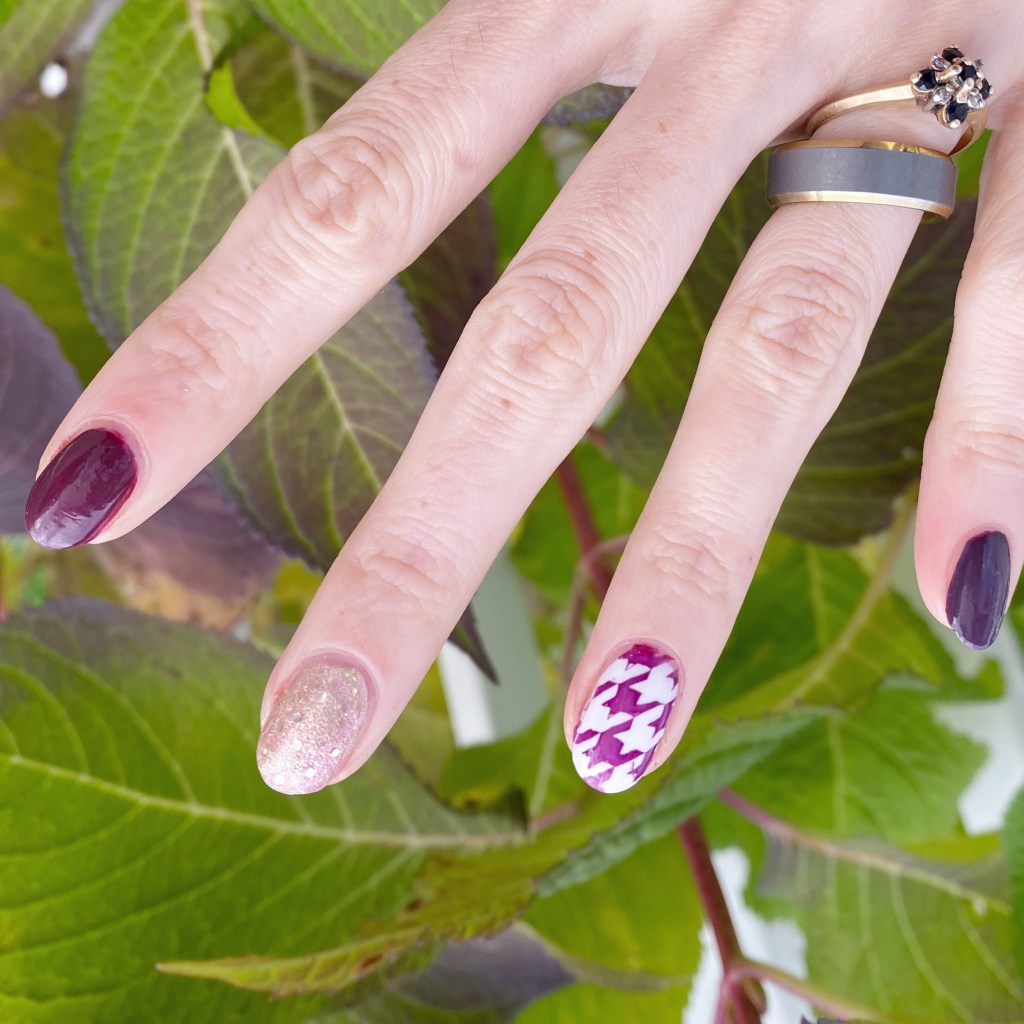
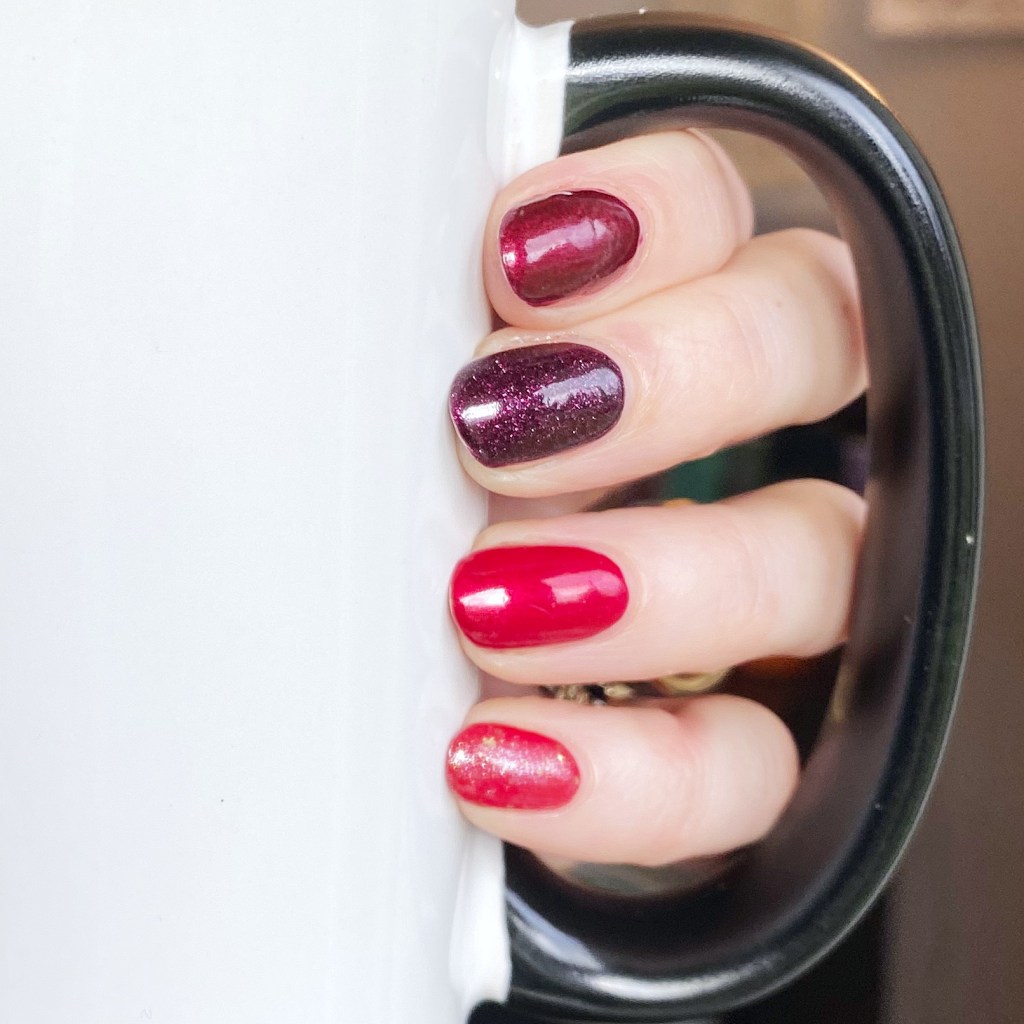
Today I have a fun red toned skittle manicure to share with you inspired by @heysolomiya on Instagram. I know, I know… I literally just posted a skittle manicure on Tuesday, but she posted a fun reel of some different skittle looks, & I was too obsessed with hers not to try another fun colour pairing. This time, though–& truthfully, after some false starts–I decided on a red toned skittle look.

The polishes I used for this manicure are: 

  • Base Coat: Essie Hard To Resist Glow & Shine 
  • Top Coat: Sally Hansen Insta-Dri Anti-chip Top Coat
  • Deborah Lippmann Through the Fire
  • Deborah Lippmann Good Girl Gone Bad
  • Deborah Lippmann New York State of Mind
  • Deborah Lippmann It’s Raining Men
  • Deborah Lippmann Boom Boom Pow

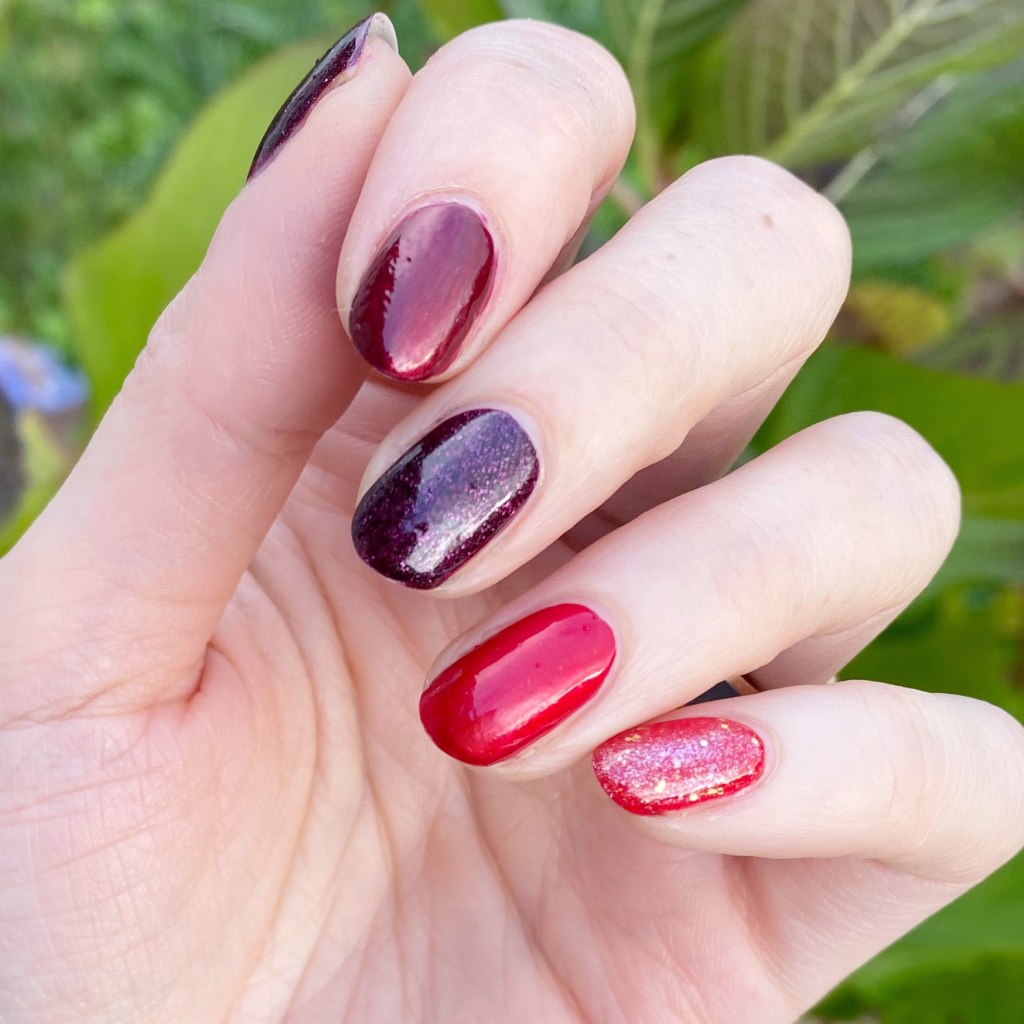
I decided to go with my Deborah Lippmann reds because they make some of my favourite red polishes, & I had enough for almost every finger. They combination turned out absolutely perfect, which I was so happy about, because this isn’t my first time trying to recreate this look, but it’s definitely the best combination I’ve ever done. & all these reds together scream✨ Holiday ✨ to me.

What do you think about this skittle look? Do you prefer skittle pairings with all the same colour, or pairing different complimentary shades together? Let me know all your thoughts down in the comments below!

Fall Houndstooth Skittlette

Hello beauties — long time no see! I know, it’s been quiet on the blog front, again. It was an interesting weekend, that saw me get that lovely stomach sickness my kids had. Not fun. Have I mentioned I hate Winter & sickness season?

But I’m back, I feel better, & I even managed to paint my nails! I was feeling some Fall inspired skittlette nails, inspired by fellow Canadian nail blogger GrapeFizzNails & here stunning colour combinations — only I wanted to throw a little extra accent nail action into the mix. Mostly because I’ve been itching to use the old Born Pretty stamping plate featuring this houndstooth pattern.

The polishes I used for this manicure are: 

  • Base Coat: Essie Hard To Resist Glow & Shine 
  • Top Coat: Sally Hansen Insta-Dri Anti-chip Top Coat
  • Sally Hansen Complete Salon Manicure Pat on the Black
  • Sally Hansen CSM Berry Fancy
  • Sally Hansen CSM Clean Slate
  • Sally Hansen CSM Let It Snow
  • Sally Hansen Miracle Gel Goldie Rocks
  • Sally Hansen Insta-Dri Shooting Star
  • Born Pretty Store Classic Patterns Stamping Plate BP-L006 
  • Nailstuff.ca clear stamper & scraper set

Okay, please ignore the weird stamped hair on that accent finger. Haha. Second how Autumn-esque is this colour combination. I love how these turned out with the darker plum/purple shades & then the sparkle from the golds on my middle finger. It turned out really pretty, & I really like the whole combination. Who needs to wear just one colour on their nails when you can wear all the colours on your nails!

What do you think of my houndstooth skittlette design? Do you like these colour combining manicures? What colours are you feeling right now? Have you gone full on holiday-manicure mode yet? Let me know all your thoughts down in the comments below!

Cozy Plaid Nails

Hello lovelies & happy Friday! I know, a post on a Friday… I’m feeling crazy. But I have a few cute Autumn nail art looks I haven’t yet posted, so I thought I would try to sneak a few in between Glam Nails Challenge looks.

Today is a simple look, but a repeat favourite. Plaid nails! I’ve been doing this style of nail art a long time, & I never get tired of them. They just make a plain colour a little more fun. Plus, obviously plaid screams Fall as well.

The polishes I used for this manicure are: 

  • Base Coat: Essie Hard To Resist Glow & Shine 
  • Top Coat: Sally Hansen Complete Salon Manicure Fast Dry Top Coat
  • Sally Hansen Complete Salon Manicure Berry Fancy
  • Sally Hansen InstaDri Midnight Drive
  • Sally Hansen InstaDri Pedal to the Metal
  • Sally Hansen Miracle Gel Blacky-O
  • NailStuff.ca 16mm Striper Brush

This look was super easy to do. Nails painted a simple colour, & then just (carefully) paint some straight lines along the nail to create your plaid pattern. There are definitely a few different ways you can create a plaid pattern, but this is definitely my favourite way to do it. Plus, it’s probably the easiest way to create them as well.

What do you think about this nail art look? Do you like plaid nail art? Are my fellow Canadians excited about Thanksgiving this weekend? Let me know all your thoughts down in the comments below!

GLAM NAILS CHALLENGE OCTOBER— Black Cats 🐈‍⬛

Hello lovelies & happy Monday! & happy first prompt of Glam Nails Challenge October! It’s been a while since I participated in one of these challenges, so naturally I had to jump back in for my absolute favourite month because it’s all about my favourite holiday: Halloween!

First prompt this month: Black Cats.

This one has a special place in my heart because not only do I adore black cats in general, but we recently lost our own black cat. So I was very excited to do a special black cat manicure.

The polishes I used for this manicure are: 

  • Base Coat: Essie Hard To Resist Glow & Shine 
  • Top Coat: Sally Hansen Complete Salon Manicure Fast Dry Top Coat
  • Sally Hansen Xtreme Wear Purple Craze
  • Sally Hansen Xtreme Wear Knighttime
  • Sally Hansen Xtreme Wear Stargazer Lily
  • Starrily Vantablack
  • OPI DS Extravagance
  • Bodico Stamping Plate B-20
  • NailStuff.ca Clear Stamper & Scraper 
  • NailStuff.ca Dotting Tool Trio

How cute is this stamping plate? These aren’t very spooky black cats, haha, but that’s okay I like my cute little kitties with sparkly collars. I thought about trying to paint some tiny little witch hats on my kitties, but I was so scared of messing them up, I decided to go for a pretty kitty look instead of a spooky one. Plus there is still lots of time left for spooky nail art looks — & there are lots of spooky nail art looks to come!

What do you think about this nail art look? Have you started planning your Halloween nail art looks? Are you as pumped as I am for another round of Glam Nails Challenge October? Let me know down in the comments below!

& don’t forget to follow along with #glamnailschallengeOctober on Instagram to see all the fun (& spooky) nail art looks.

Bronze-y Abstract Stripes (Featuring OPI)

Hello lovelies & happy Tuesday. It’s a rainy Tuesday here — in fact it’s supposed to be rainy all week, capping off with a potential Hurricane on Saturday. So that’s… fun. We’ve had such beautiful weather the last few weeks, I think I got spoiled, because I am not here for rainy days.

But! I have a fun nail art look to share that I wore last week during sunnier times. I was feeling some Autumnal colours, & decided to pull a few beauties from my OPI display to create this fun abstract stripe look. It’s giving me 70s vibes.

The polishes I used for this manicure are: 

  • Base Coat: Essie Hard To Resist Glow & Shine 
  • Top Coat: Sally Hansen Complete Salon Manicure Fast Dry Top Coat
  • OPI I’ll Have A Gin & Tectonic
  • OPI Bronzed to Perfection
  • OPI Icelanded A Bottle of OPI
  • OPI I Sing In Color
  • NailStuff.ca 16mm Striper Brush

How fun are these!? Obviously, with my super short nails, I’ve been struggling a bit on inspiration, but abstract stripes always make me happy to paint my nails. Plus these colours look awesome together. Thankfully, my middle finger nail is finally growing out enough I can shape it to match the others.

What do you think about this abstract stripe look? Do you think this colour combination is as fun as I do? Let me know all your thoughts down in the comments below, & share what you’re wearing on your nails right now!