Holo Mermaid Vibes 🧜🏼‍♀️

Hello lovelies & happy Monday!

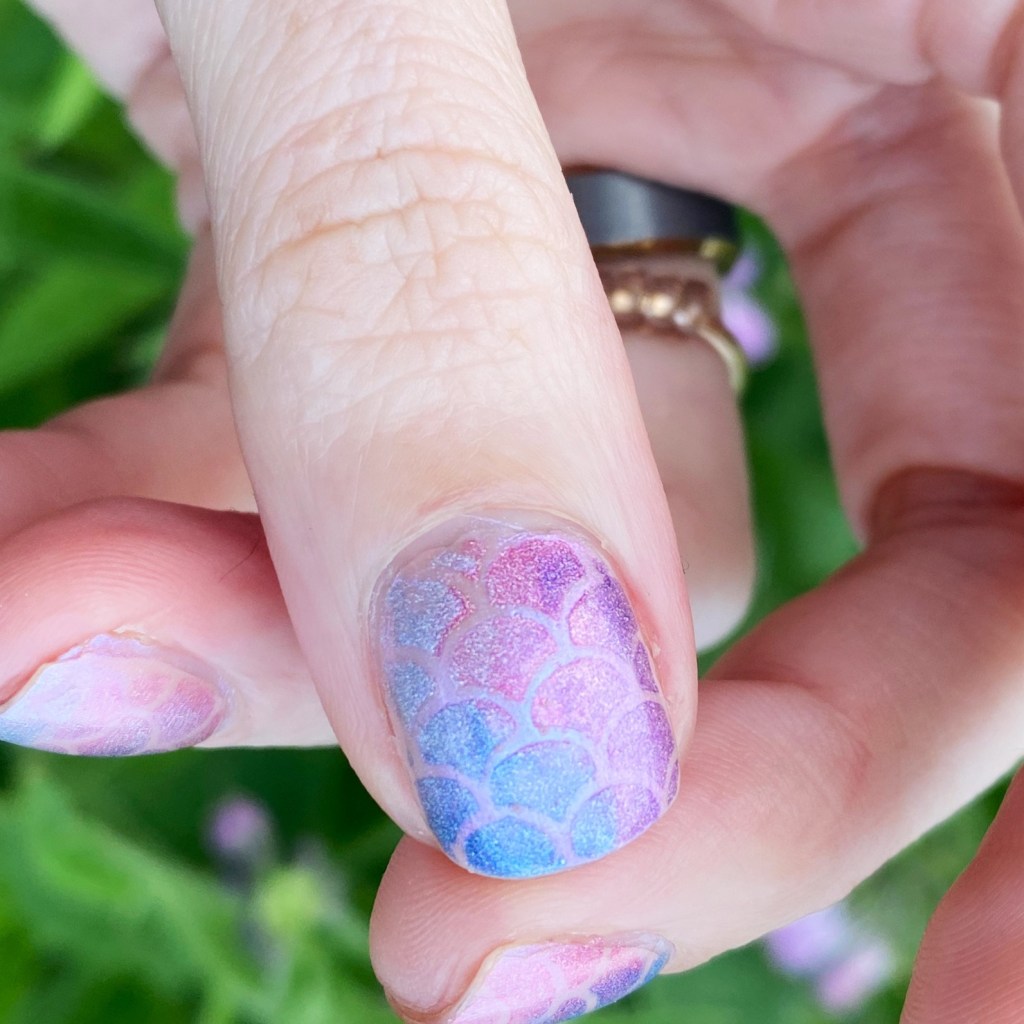
I hope you had a fantastic weekend — the last full weekend of June. This means we are almost officially half way through this year, & I just need to slow down a smidge. But I thought we could, & should, start this week off on a sparkly vibe with the nails I wore this past weekend to celebrate my daughter’s 4th birthday. She decided on a Mermaid Princess party, & naturally that means I needed my nails to match.

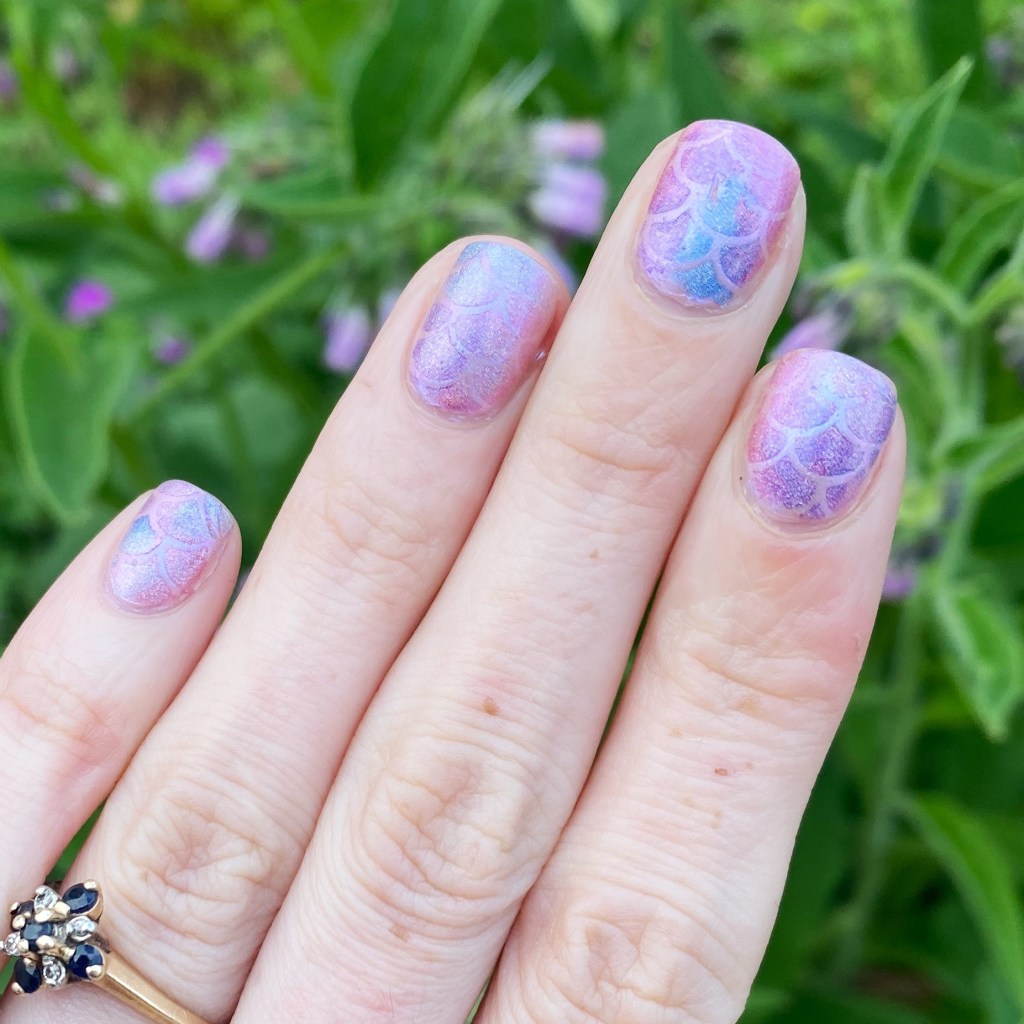
The polishes I used for this manicure are: 

  • Base Coat: Londontown KUR Nail Hardener & Base Coat 
  • Top Coat: Seche Vive Fast Dry
  • Essie Gel Couture Princess Charming
  • Essie Expressie FX Iced Out
  • Color Club Bewitched
  • Color Club Crystal Baller
  • Color Club Eternal Beauty
  • Color Club Trick of the Trade
  • Beyond the Nail Mermaid Vinyls

I think these turned out absolutely magical & they were perfect for the theme of the party & the whole day. It was a beautiful sunny day, so the sparkle really came out — which I was hoping for! Originally I was thinking you couldn’t really see the scale pattern, but they got noticed for sure. & my little girl was excited about them!

I don’t have pictures, but she rocked a fun combo of Essie Bikini So Teeny & Birthday Girl for her birthday manicure, with a few nautical themed stickers as accents. The perfect look for my birthday princess.

\

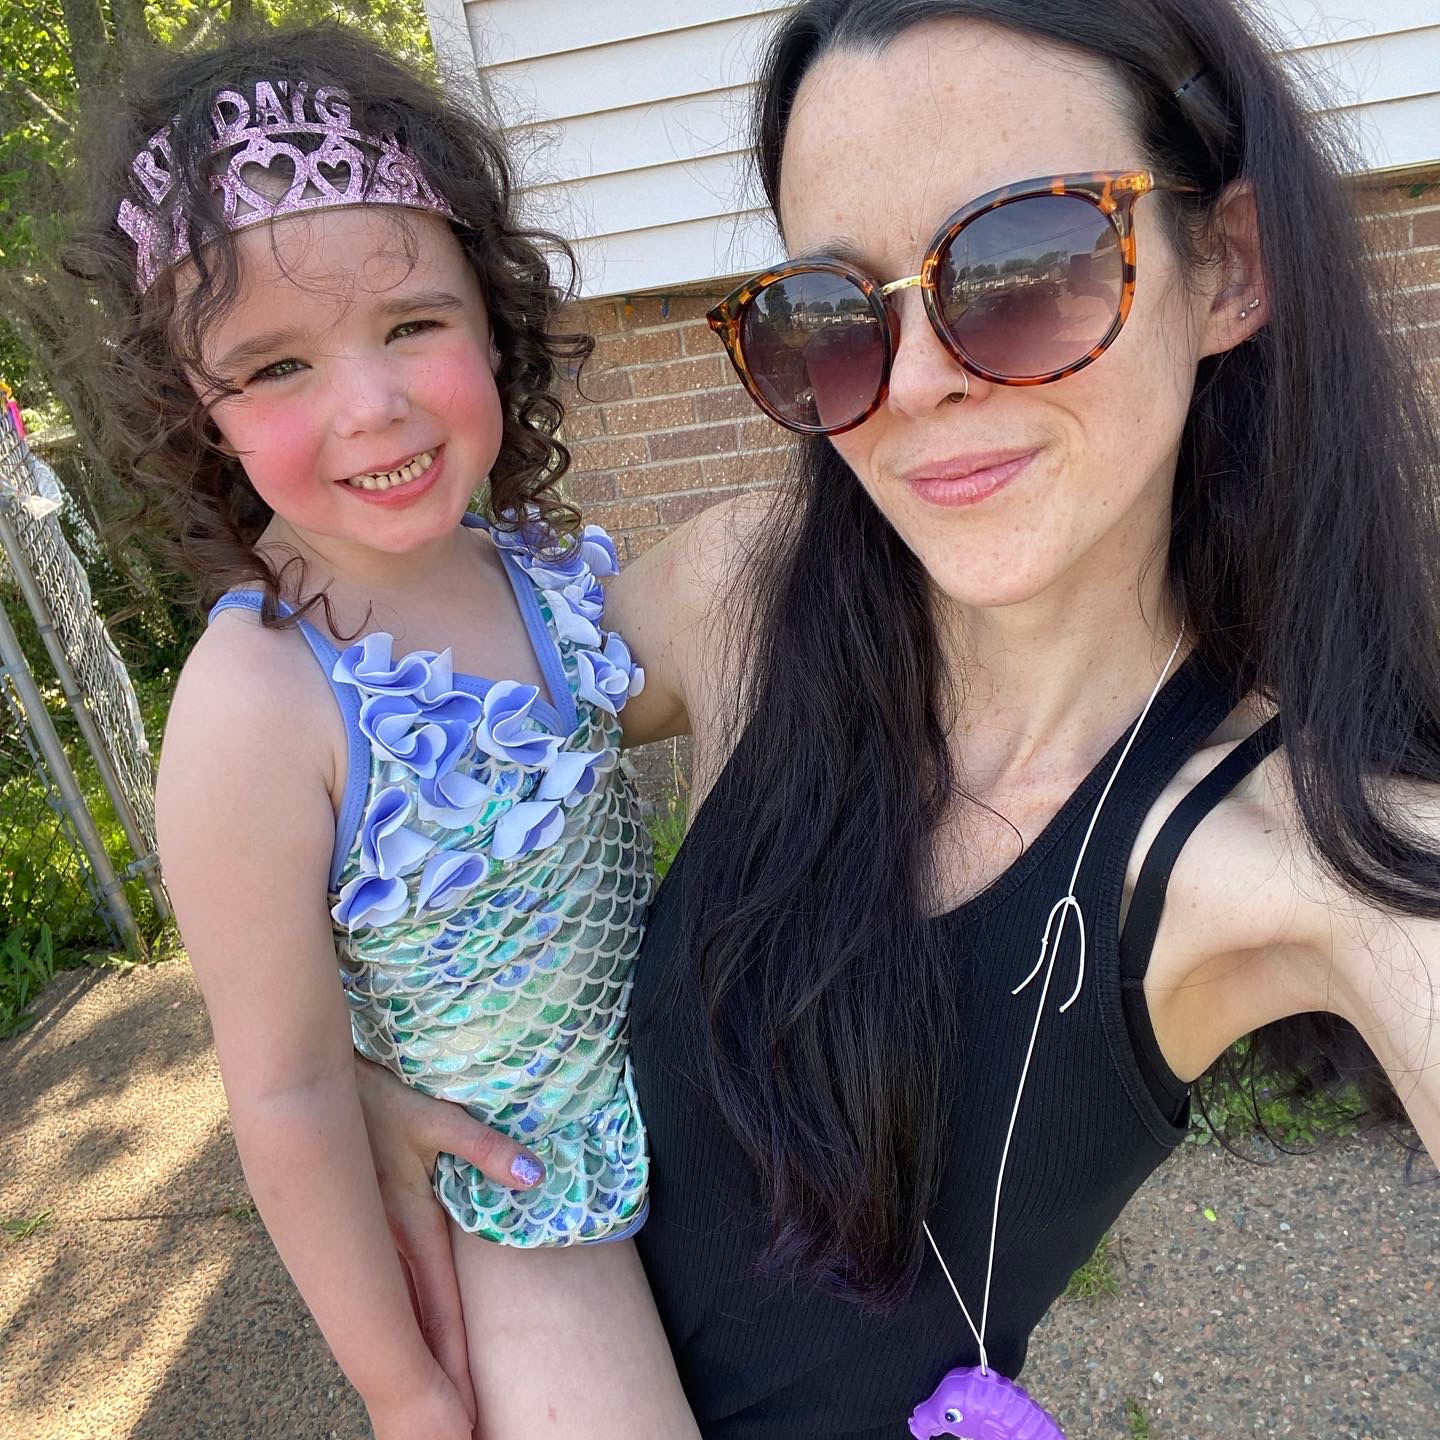
& a quick pic of my with my birthday princess. My nails almost matched her new special bathing suit!
What do you think of my special mermaid nails? Do you like to match your nails to special occasions? Let me know all your thoughts down in the comments below!

Have a fantastic Monday loves. ♥︎
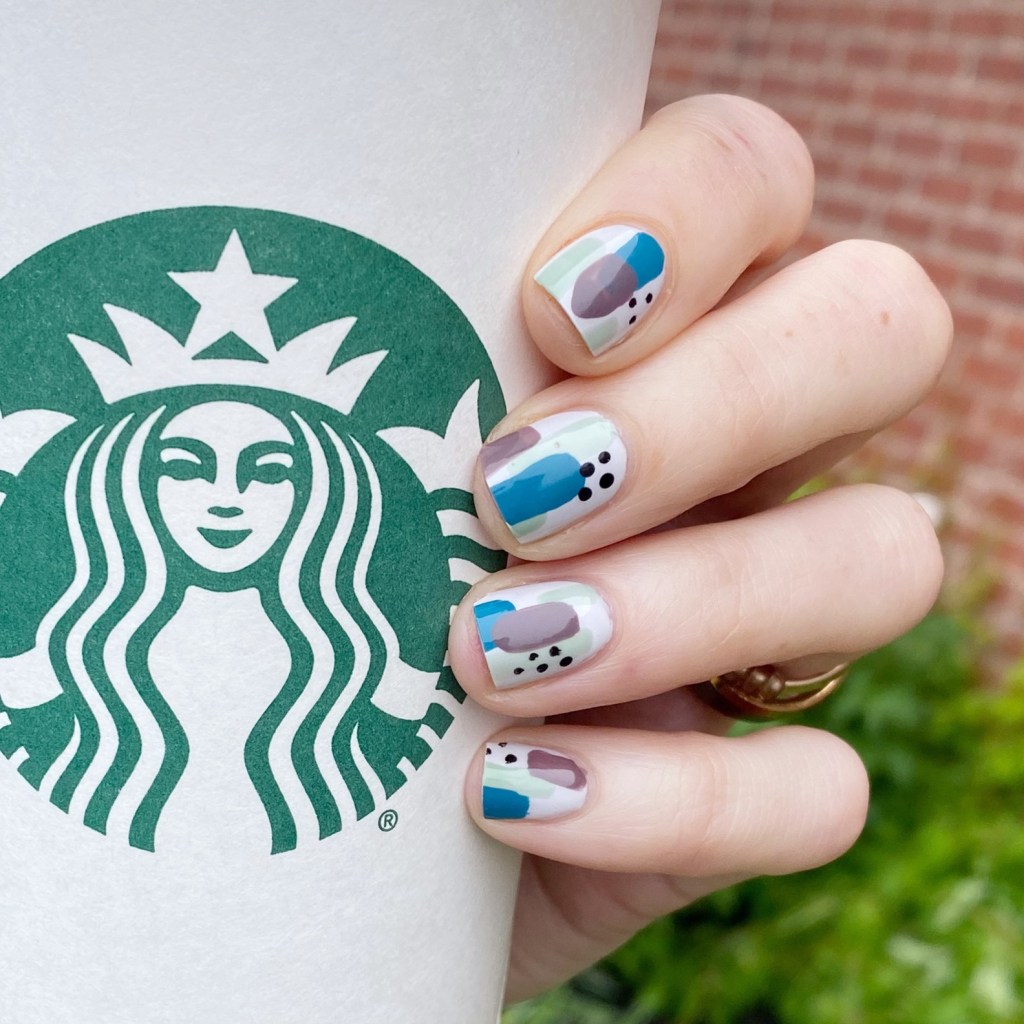
Abstract Shorties

Hello lovelies & happy first day of Summer to those in the northern hemisphere! & it actually feels very Summer like today, which is very exciting. I’m definitely here for it, & all things Summer related.

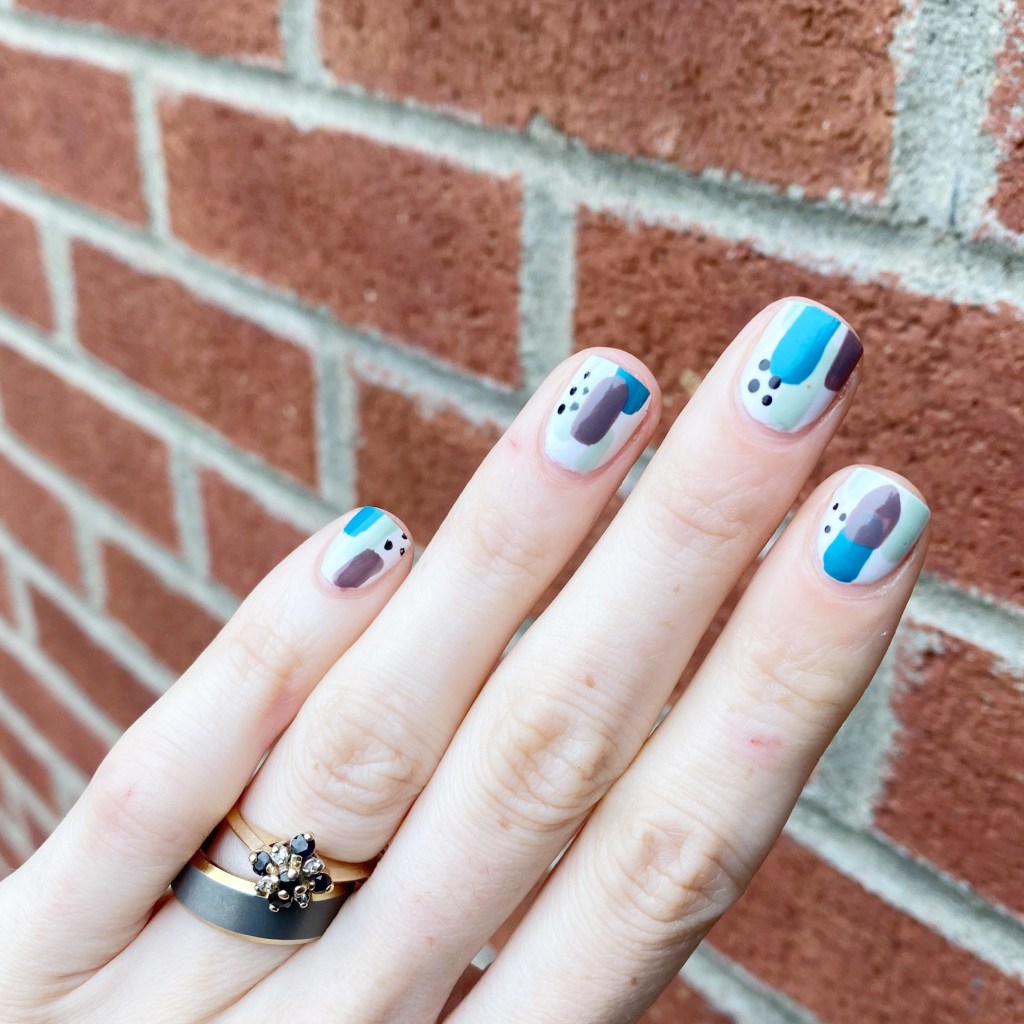
Todays look is a quick abstract design I applied over my base of OPI I Cannoli Wear OPI from my Swatch Sunday post for this week. I wanted to extend my wear another day or so, & decided an abstract look was the perfect way to do that!

The polishes I used for this manicure are: 

  • Base Coat: Londontown KUR Nail Hardener & Base Coat 
  • Top Coat: Seche Vive Fast Dry
  • OPI I Cannoli Wear OPI
  • Essie Revenge’s A Beach
  • Essie Turquoise & Caicos
  • Essie Merino Cool
  • OPI Who You Callin’ Bossy?!
  • Small dotting tool — NailStuff.ca Dotting Tool

As you can see, I’m rocking extra shorties right now thanks to a break on my ring finger at work on Saturday.

Normally I would be upset about it, but I’m kind of enjoying shorter nails right now. I find when my nails are square, I prefer a shorter length to them. Plus I love showing off that you can rock fun nail art no matter the length of your nails!

What do you think of these abstract shorties? Are you a fan of looks like these? Let me know all your thoughts down in the comments below, & what colour scheme you would choose.

Have a lovely Wednesday ☀️

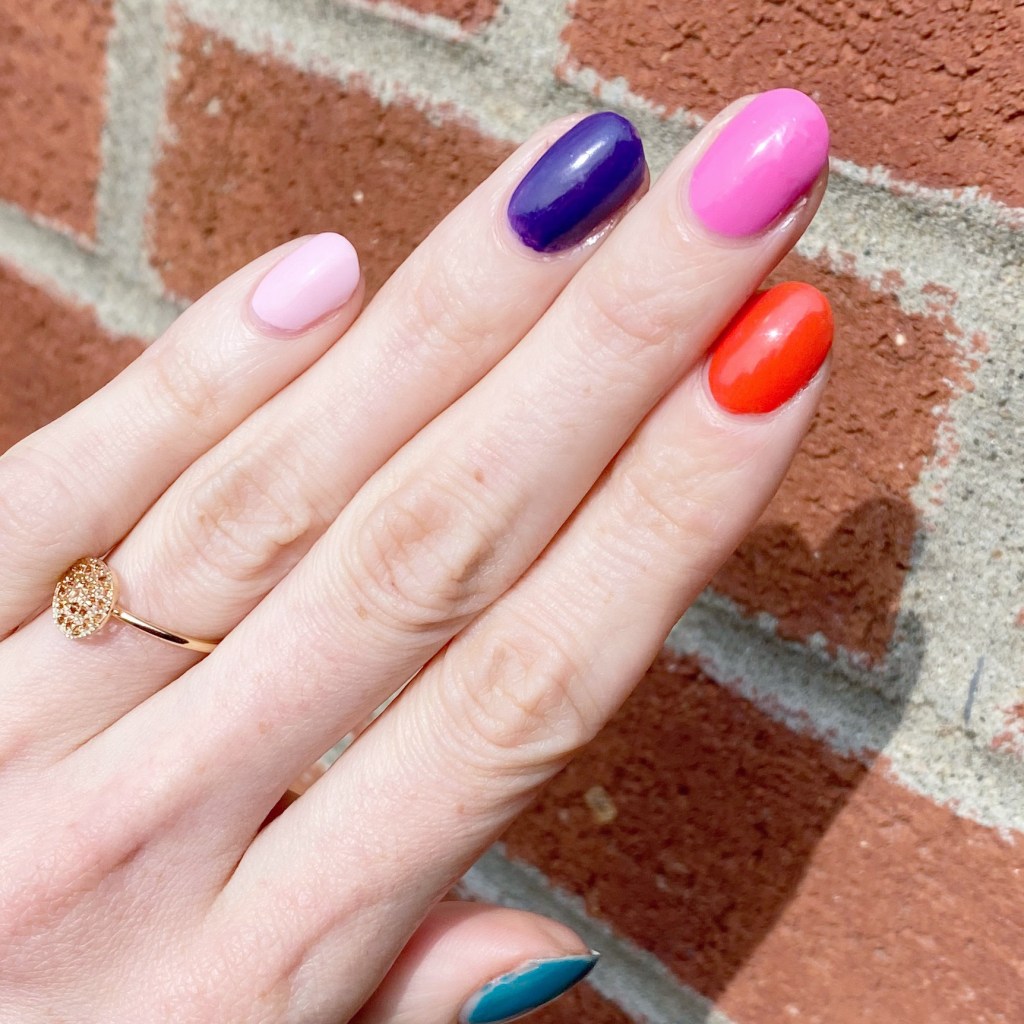
OPI Minis Skittle Mani

Hello lovelies & happy Wednesday! I hope everyone’s week is off to a good start. Today I’m sharing a simple skittle look for this mid-week slump.

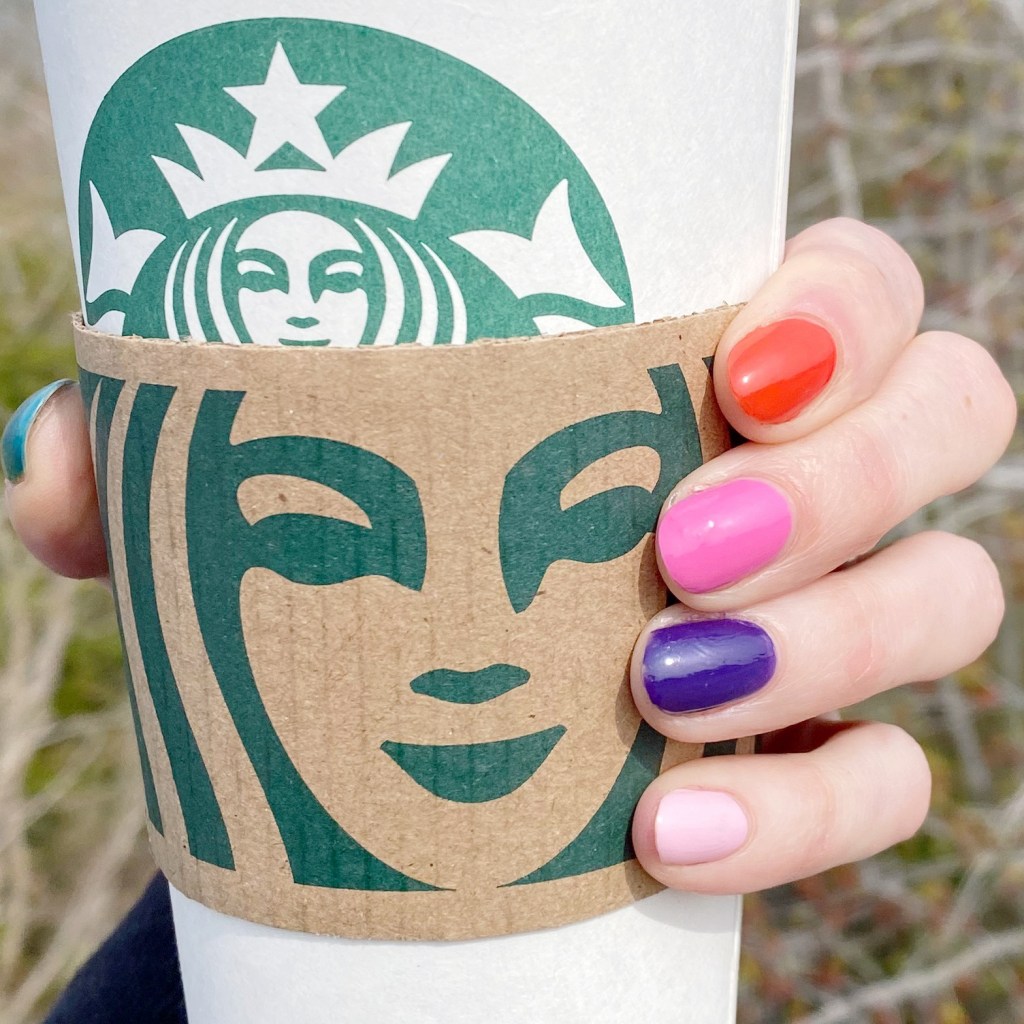
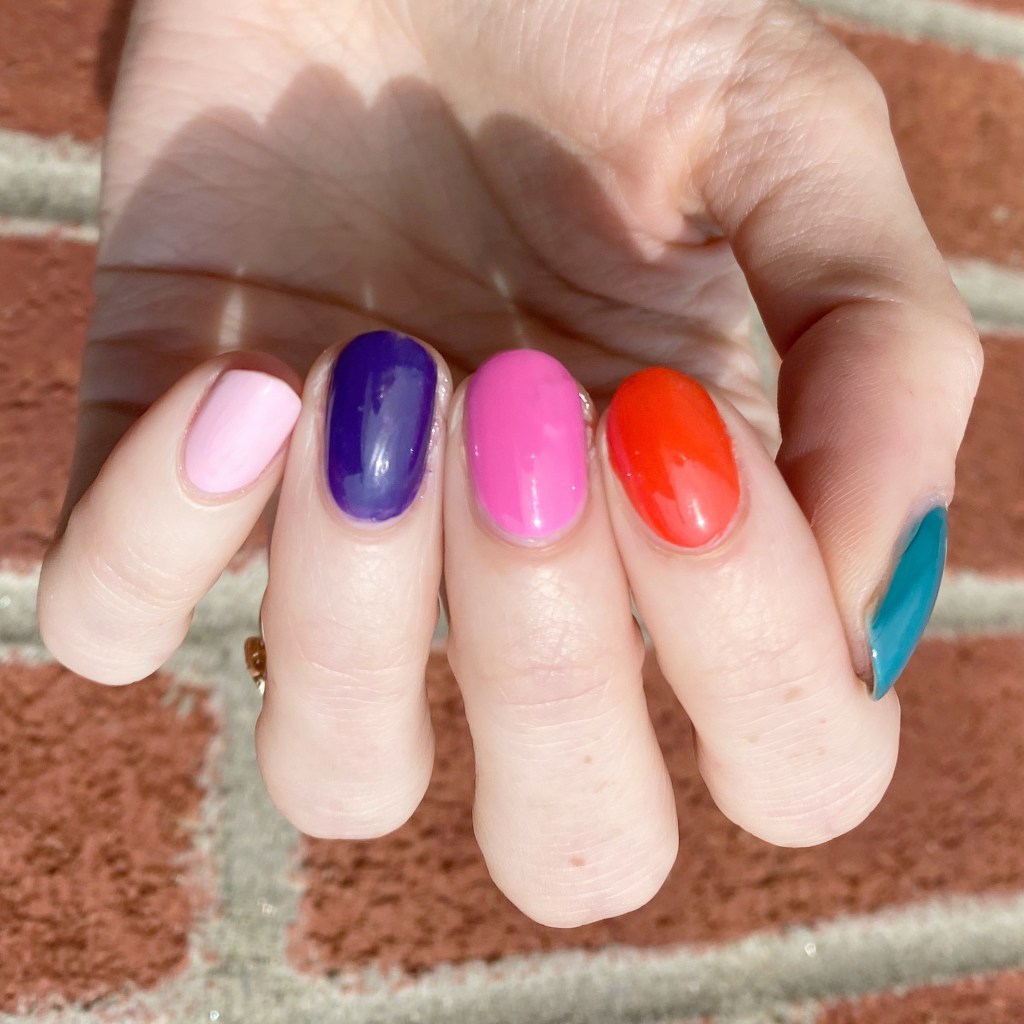
I was recently going through my drawer of mini polishes, & found a few great OPI colours I haven’t worn in a while. Instantly I thought: these would look awesome in a skittle design. Easy manicure accomplished!

The polishes I used for this manicure are: 

  • Base Coat: Londontown KUR Nail Hardener & Base Coat 
  • Top Coat: Seche Vive Fast Dry Top
  • Thumb — OPI Is That A Spear in Your Pocket (2017 Fiji Collection)
  • Pointer — OPI Living On The Bula-vard (2017 Fiji Collection)
  • Middle — OPI Two Timing The Zones (2017 Fiji Collection)
  • Ring — OPI Do You Have This Color in Stock-holm? (2014 Nordic Collection)
  • Pinky — OPI Getting Nadi on My Honeymoon (2017 Fiji Collection)

I really, really like this combination of colours together. As I’ve mentioned before, I’m always jealous when I did these perfectly coordinated skittle manicures on Instagram because I never feel like mine look as good. This is the first time I’ve done one like this where I’ve been like “yes… perfect!” & I’m so happy about it.

As you can see from my product listing, I used 4 shades from the 2017 Fiji collection, & then one from the 2014 Nordic collection. I really felt like I needed one more darker shade to compliment Is That A Spear in your Pocket? & Do You Have This Color in Stock-holm? was perfect for that! I have so many of these little OPI mini bottles from sets I’ve collected over the years, & I really should reach for them more often.

What do you think of my skittle design? I was this close to adding little white “s” on each nail after my co-worker said they reminded her of berry skittles (we work in a candy store, so it would be very fitting!) but I ended up feeling sick that night & not having the energy to do it. Even still, I absolutely love this colour combination. It just looks so good together.

Have a fantastic Wednesday loves! ♥︎

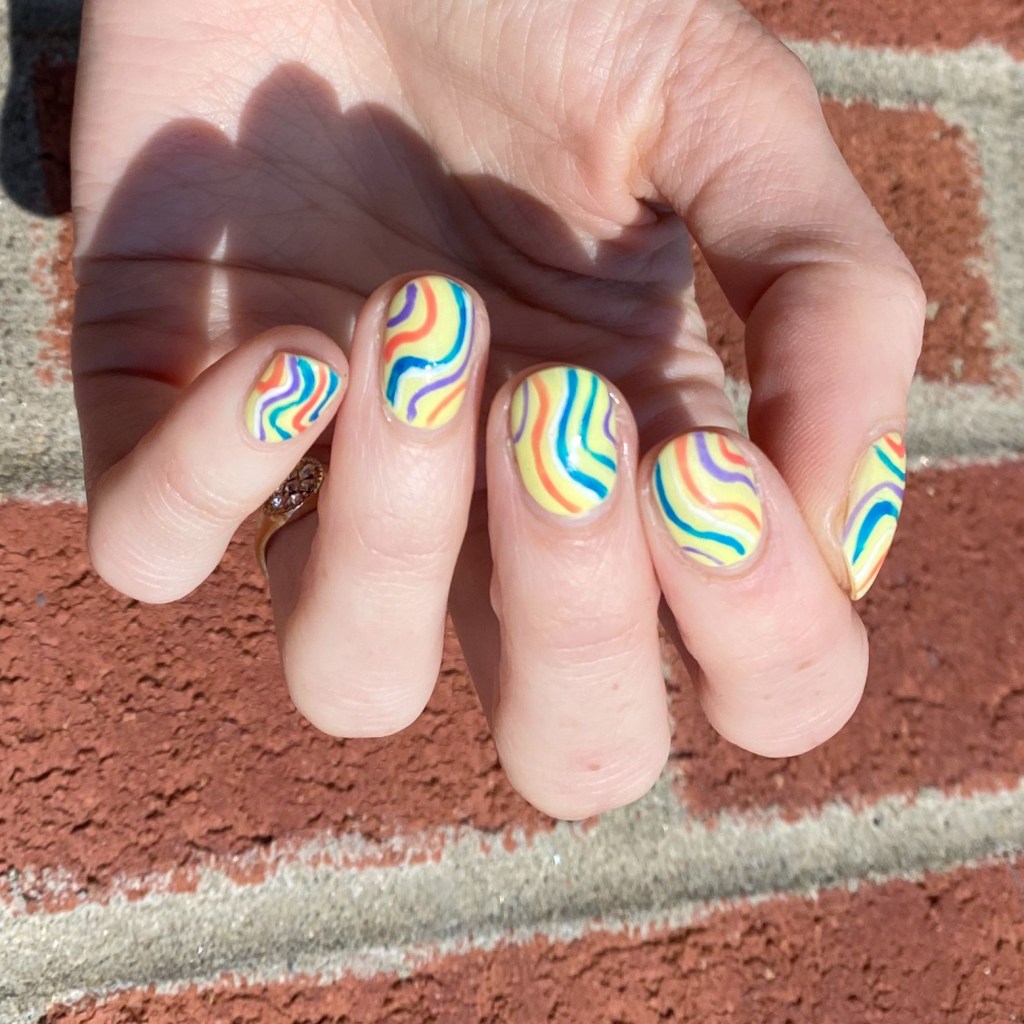
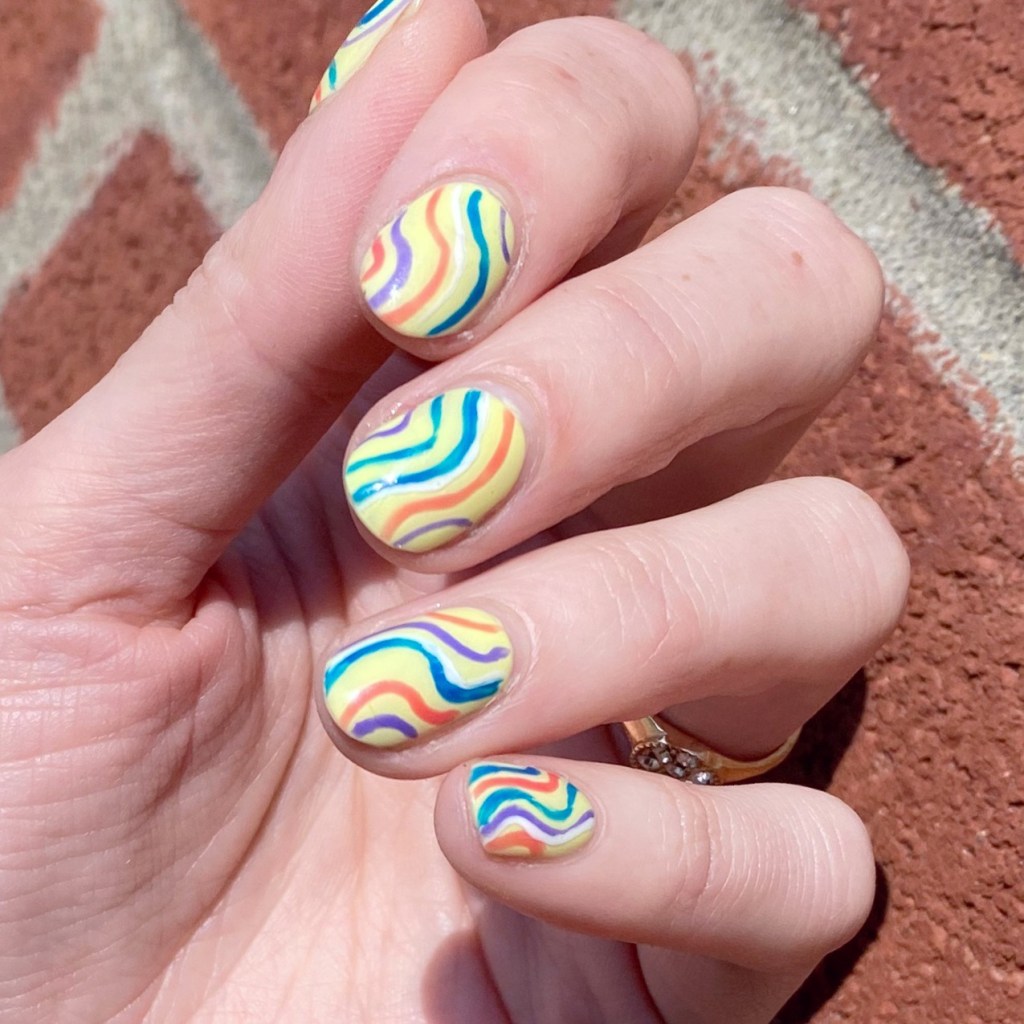
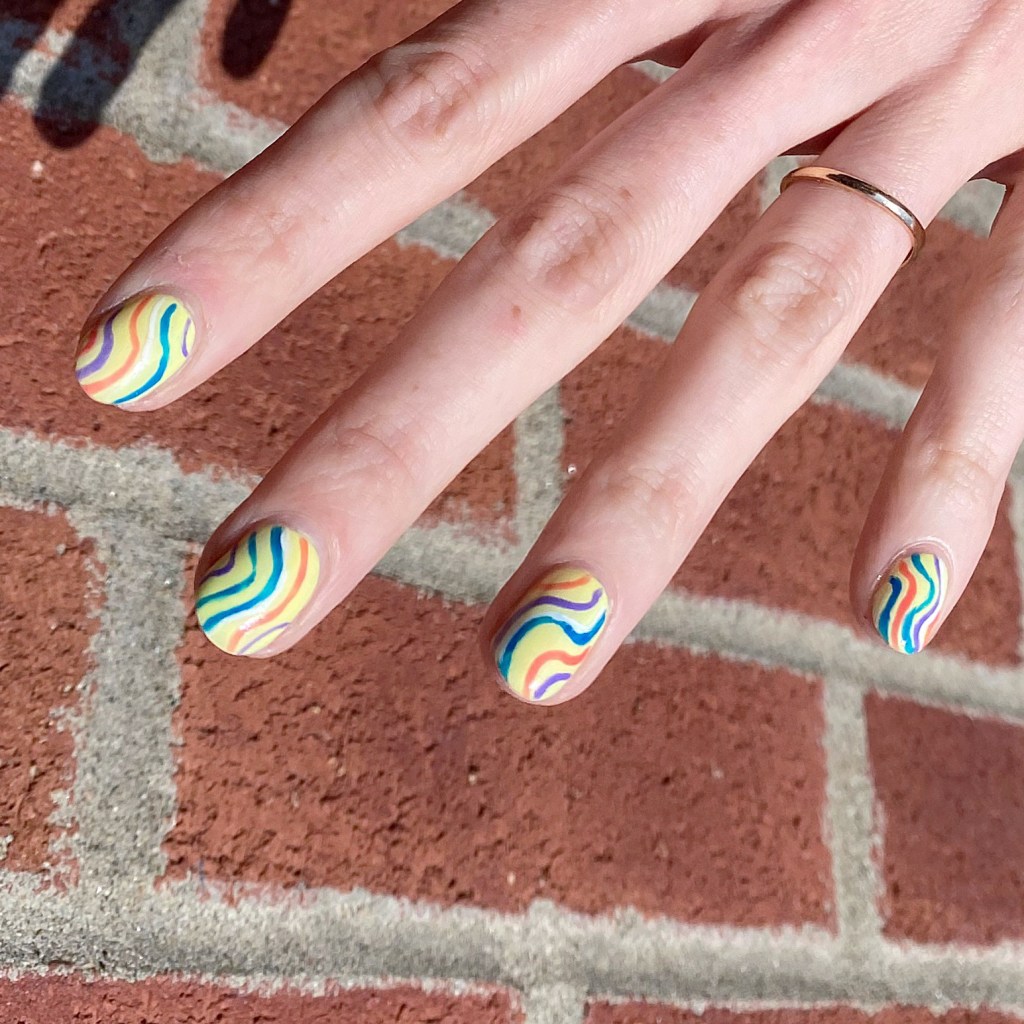
Zany Freehand Swirls

Happy Friday lovelies! 💙

I hope everyone has had the best week! The weekend is (almost) here. & it’s a long weekend at that! What could be more exciting? Well… how about some fun nail art? Today I’m sharing a fun look that was super, super easy to do: these fun & zany freehand swirls.

I recently re-discovered some old Art Club Nail Art Duo pens from years ago, & decided to see if they were still any good. What resulted was this fun look! The colours are a little bit outside my usual wheel house, but I wore this look for over two days, so I ended up really liking it.

The polishes I used for this manicure are: 

  • Base Coat: Londontown KUR Nail Hardener & Base Coat 
  • Top Coat: Seche Vive Fast Dry Top
  • Sally Hansen Miracle Gel Neon Lemon Chillo
  • Sally Hansen MG Get Mod
  • NailStuff.ca 16mm Striper Brush
  • Color Club Art Club Striper Passion Flower
  • Art Club Nail Art Duo Hot Purple
  • Art Club Nail Art Duo Royal Blue

Sometimes I forget that nail art isn’t supposed to be stressful, it’s supposed to be fun! & this nail art look was definitely fun. It definitely has me already planning on buying a whole bunch for stripers, just for fun.

What do you think of this nail art look? Are you a fan of this colour scheme? Would you wear a look like this? Let me know all your thoughts down in the comments below!

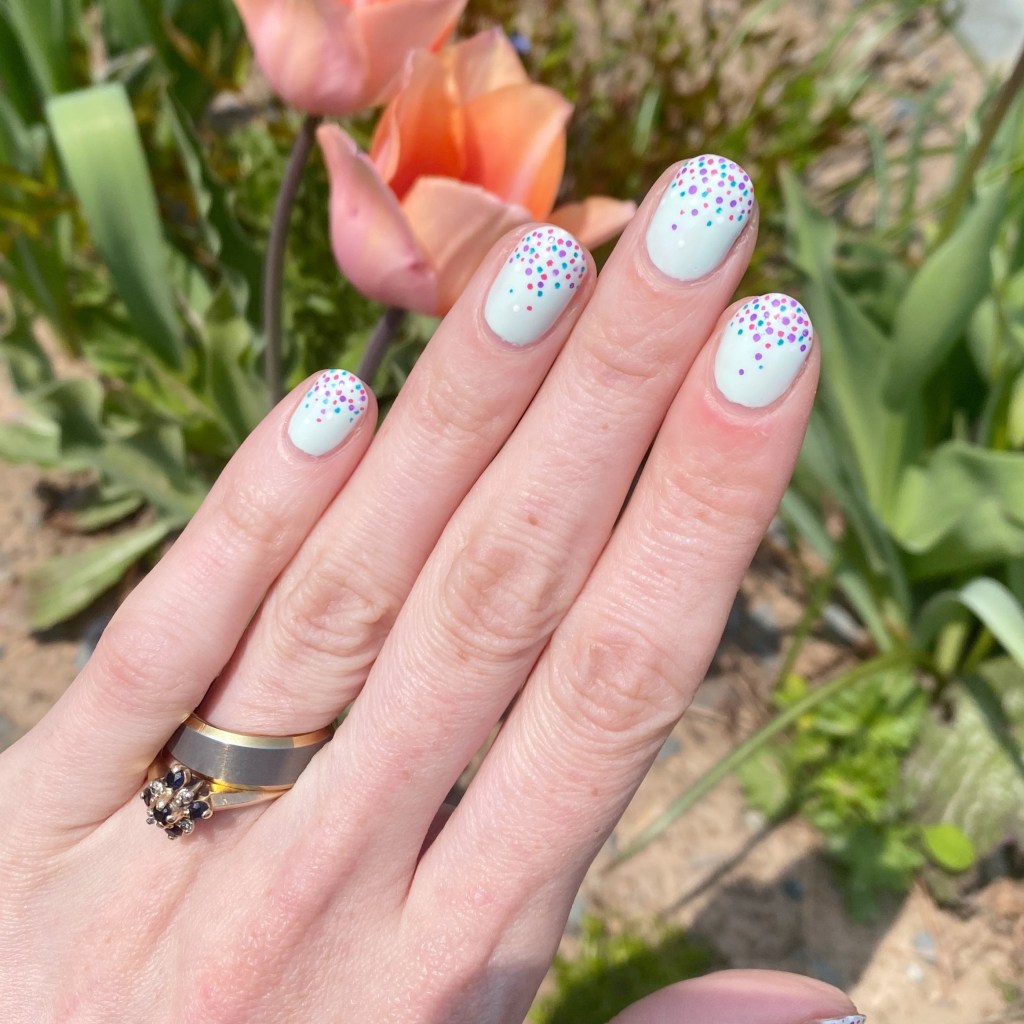
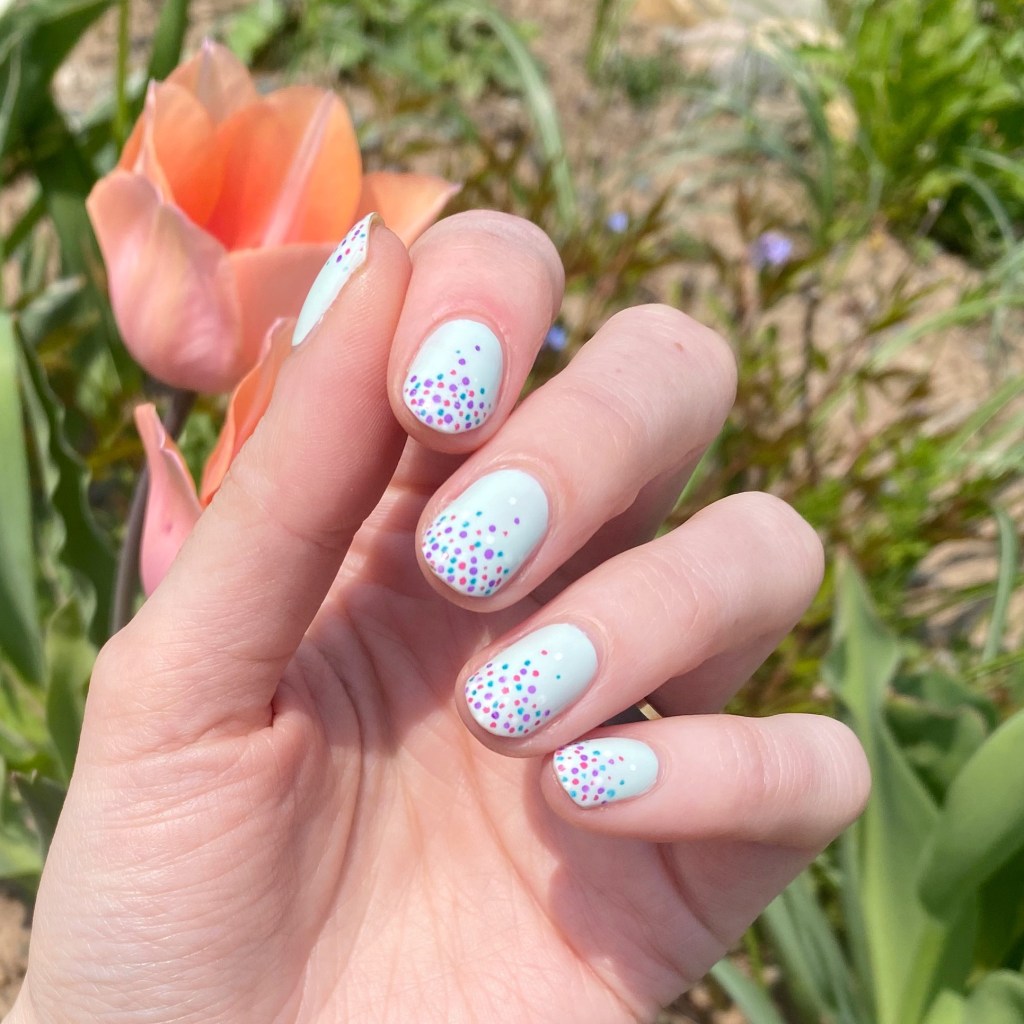
Itty Bitty Gradient Dotticure

Hello lovelies! Yes it’s me — only we’re rocking some shorties again. (Okay, & I’m drinking a matcha lemonade — my other drink aside from coffee!) I mentioned I had a patch on my middle finger nail of a bad crack. I finally decided I was over trying to keep it from cracking worse, & decided to chop my my nails down.

Today I went with a simple but fun look to wear. I love a good gradient dotticure, but I realized it’s been a long time since I actually did one. This design was actually inspired by this look from 2016. I thought since we were back down to shorties, why not find some fun nail art to do on short nails!

The polishes I used for this manicure are: 

  • Base Coat: Londontown KUR Nail Hardener & Base Coat
  • Top Coat: Seche Vive Fast Dry Top
  • Londontown KUR Mint No Chip
  • Sally Hansen I ❤️ Nail Art pen in purple
  • Sally Hansen I ❤️ Nail Art pen in turquoise
  • Sally Hansen I ❤️ Nail Art pen in pink
  • Sally Hansen Miracle Gel Get Mod
  • Itty Bitty Dotting Tool (NailStuff.ca Dotting Tool Trio)

How absolutely adorable as these itty bitty polka dots? You could definitely do this with a tiny dotting tool & an assortment of polishes, but I love those Sally Hansen I ❤️ Nail Art pens because it makes it so easy! I really wish Sally Hansen would bring them back, because they’re amazing for nail art — & mine are starting to empty out after all these years.

What do you think about this Gradient dotticure? Do you think you’d wear this fun (& easy!) look? Let me know all your thoughts down in the comments below.

& feel free to share any nail art you’d love to see me do on my new short nails!

Happy Friday! 🖤