Hello lovelies & happy Tuesday! It’s hot hot hot out there — feeling close to 40 degrees C today with humidity — so going to need to keep well hydrated!
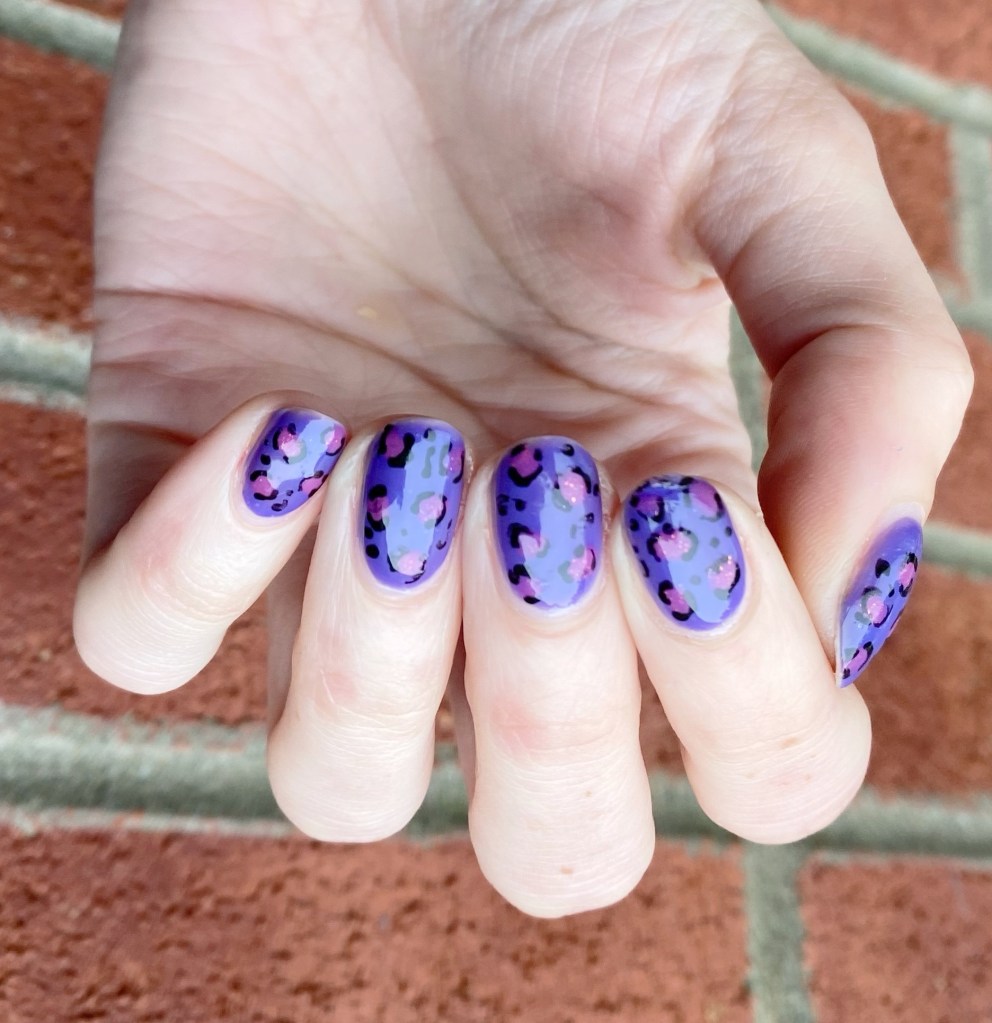
Today I’m sharing an old classic when it comes to nail art: leopard print. It’s been a while since I wore any leopard on my nails (last September) so I thought I was due!

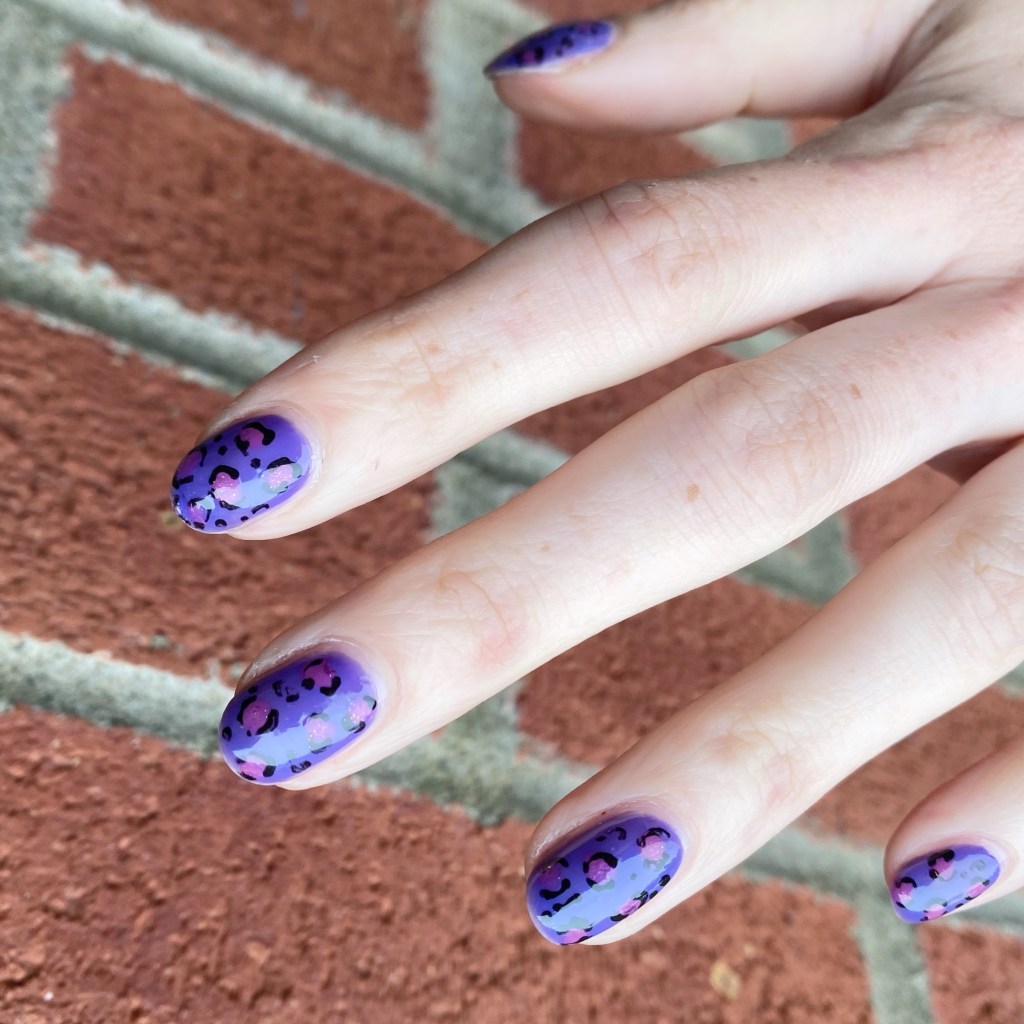
The polishes I used for this manicure are:
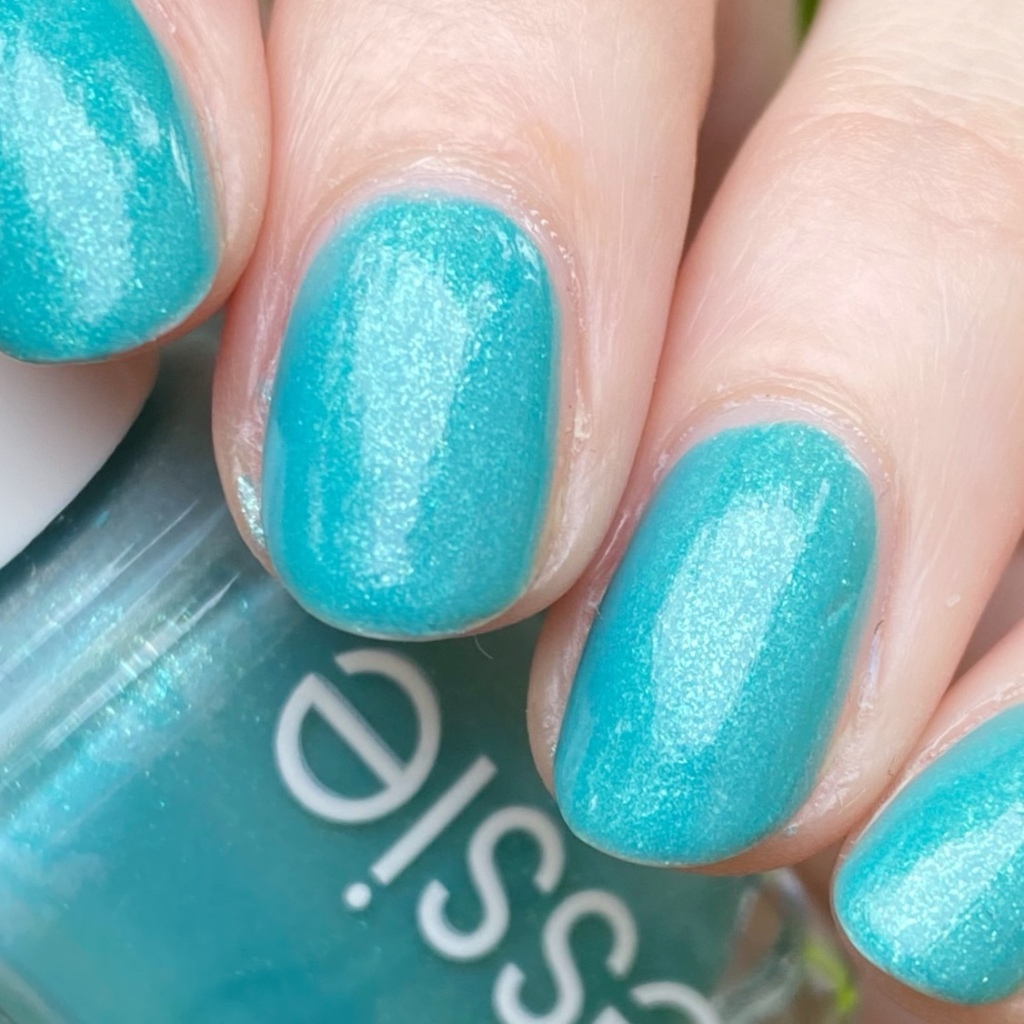
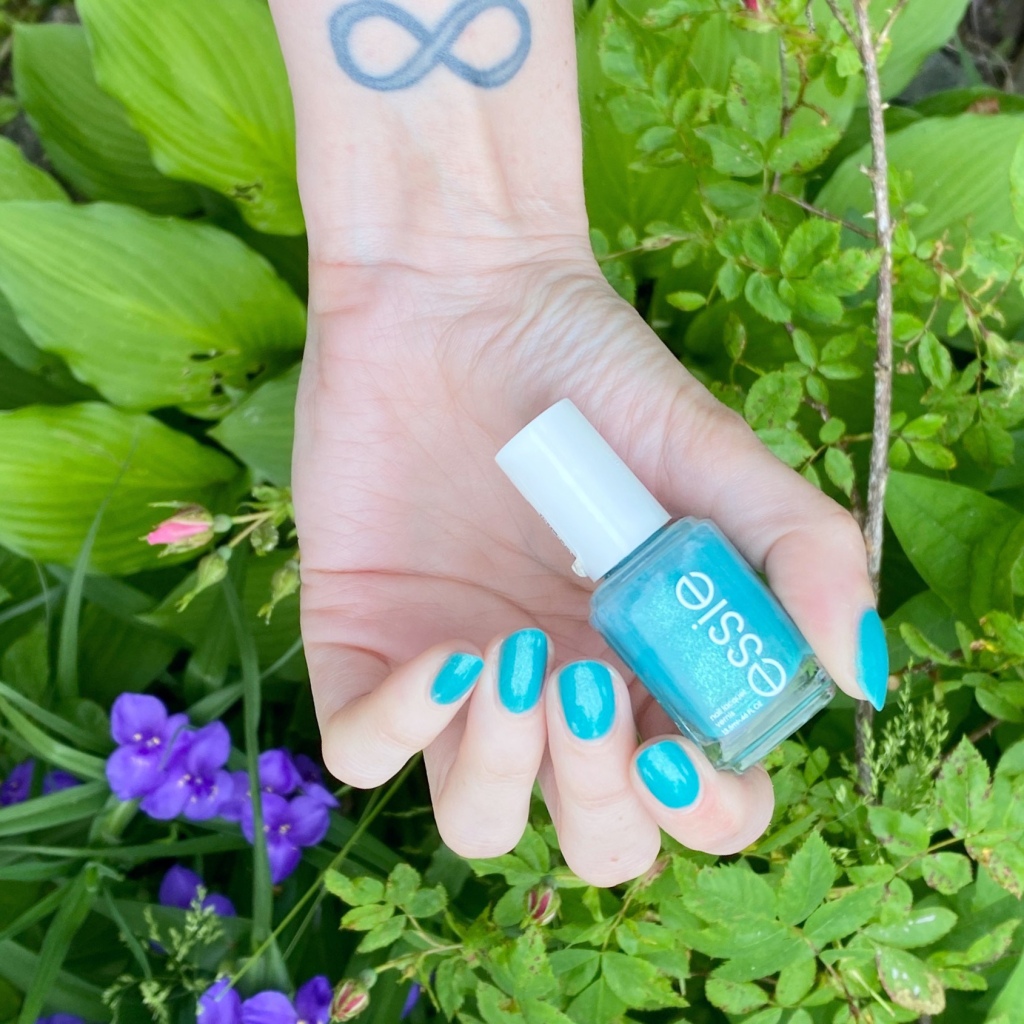
- Base Coat: Essie Here to Stay
- Top Coat: Essie Gel Setter
- Olive & June House of O&J *Gifted
- Olive & June How Do You Spell Bougainvillea? *Gifted
- Olive & June Starshower *Gifted
- Sally Hansen InstaDri Ghouls Night Out *Gifted
- NailStuff.ca Dotting Tool Trio (tiniest size) *gifted
- Nailstuff.ca Mermaid Tail 7mm liner brush *gifted
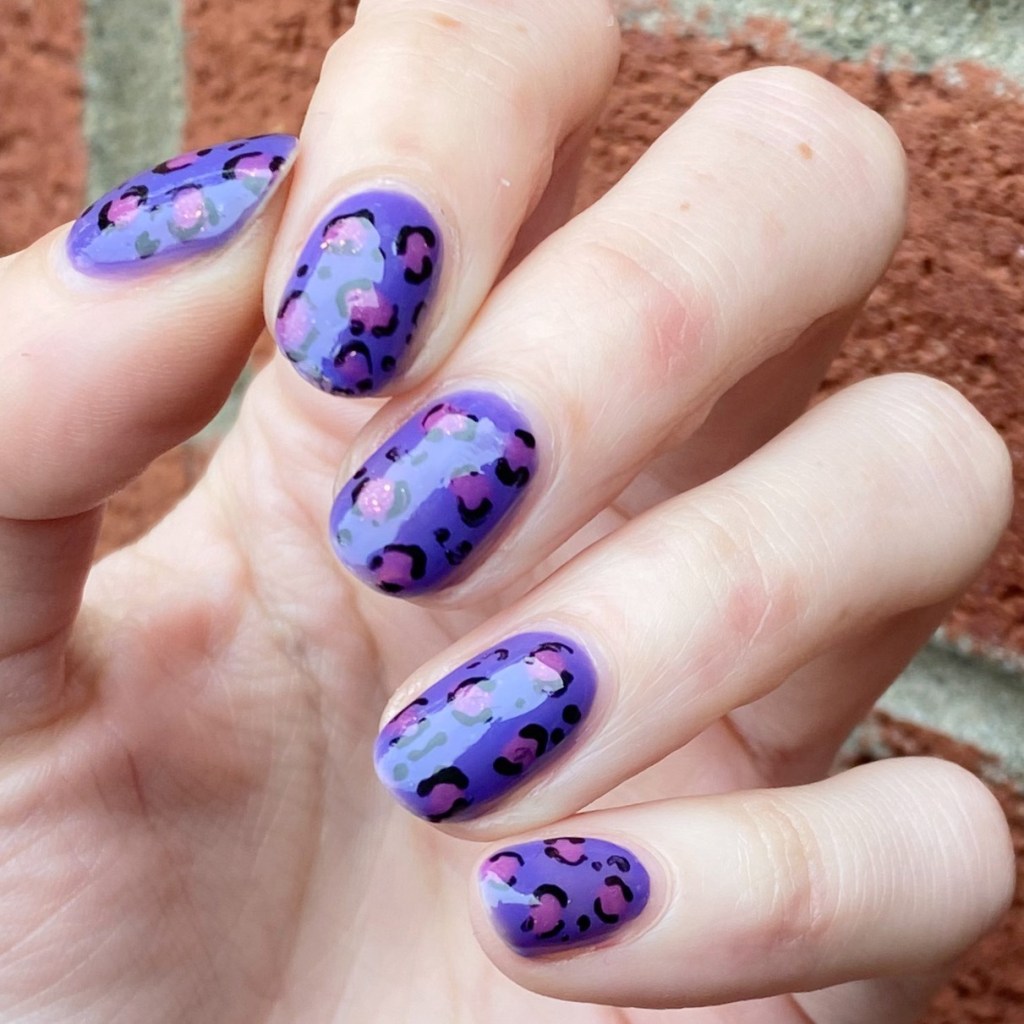

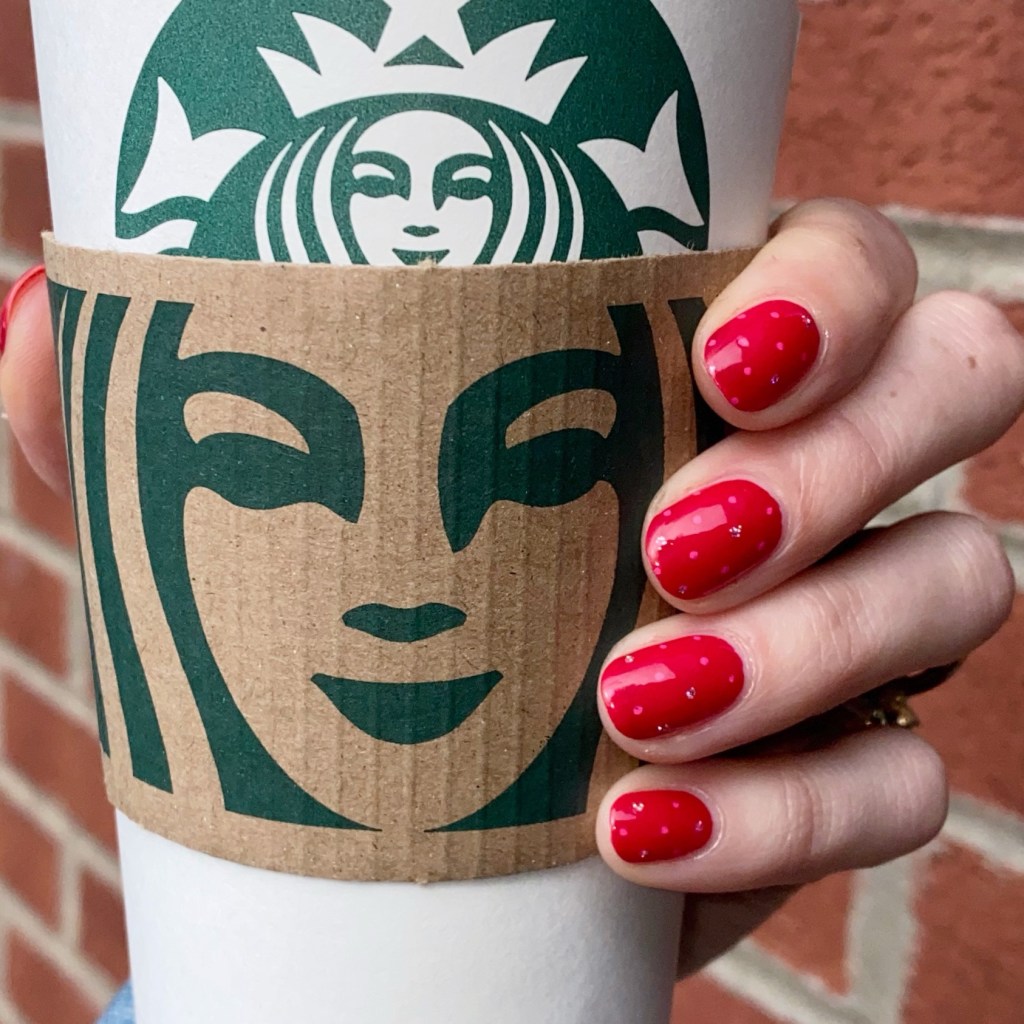
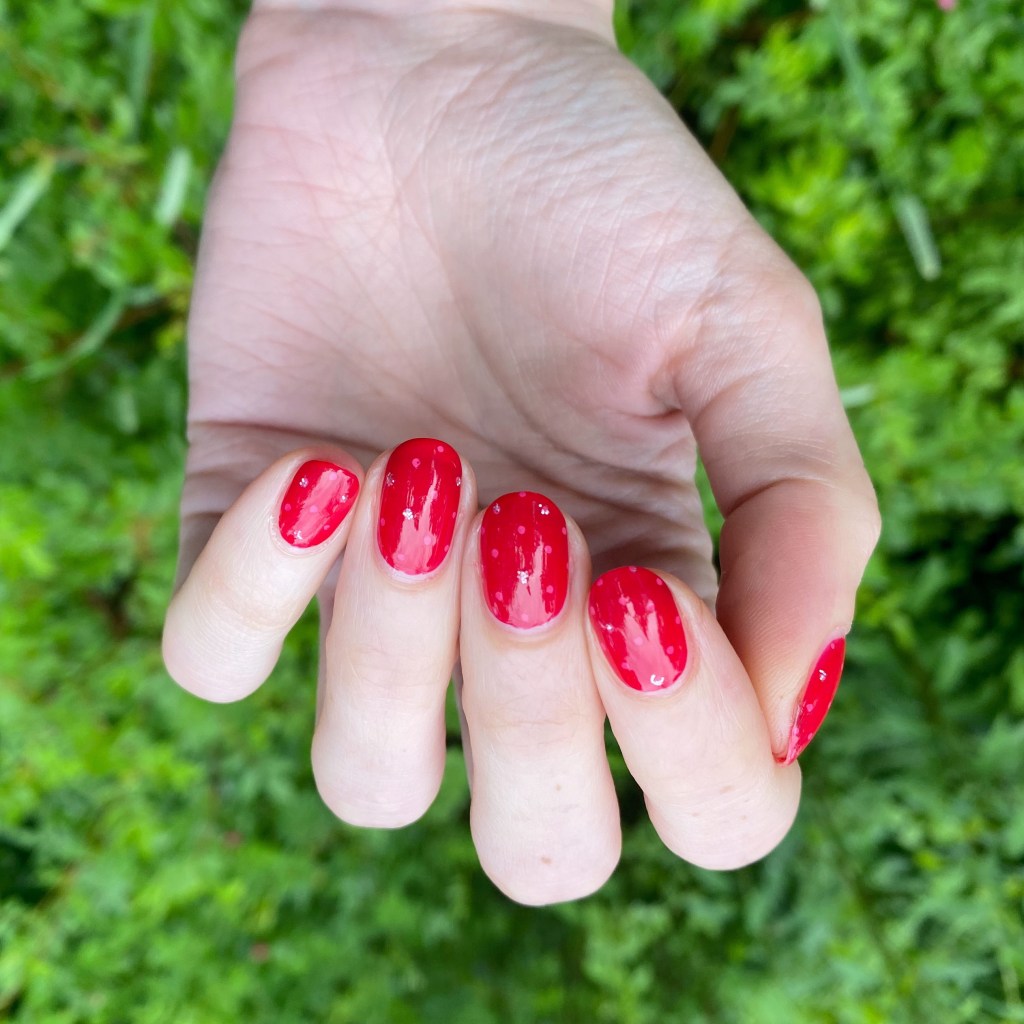
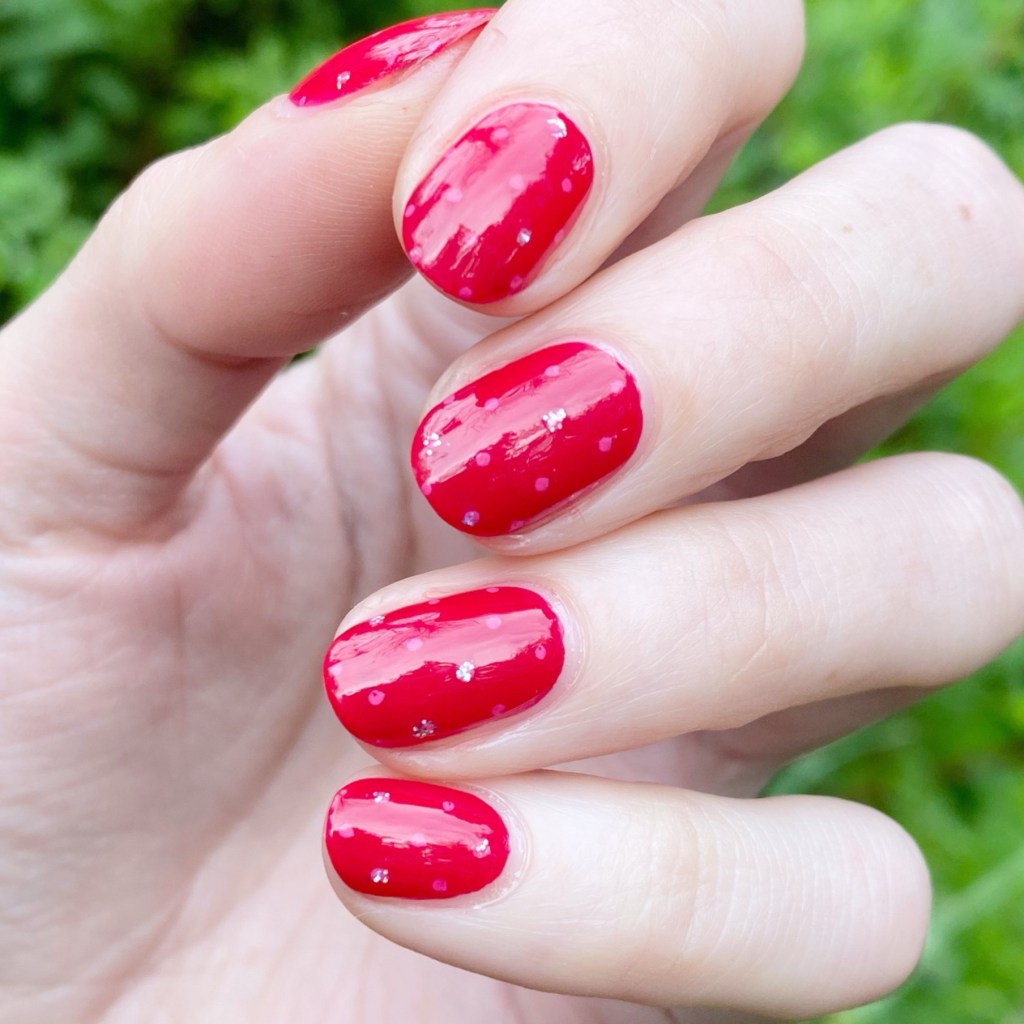
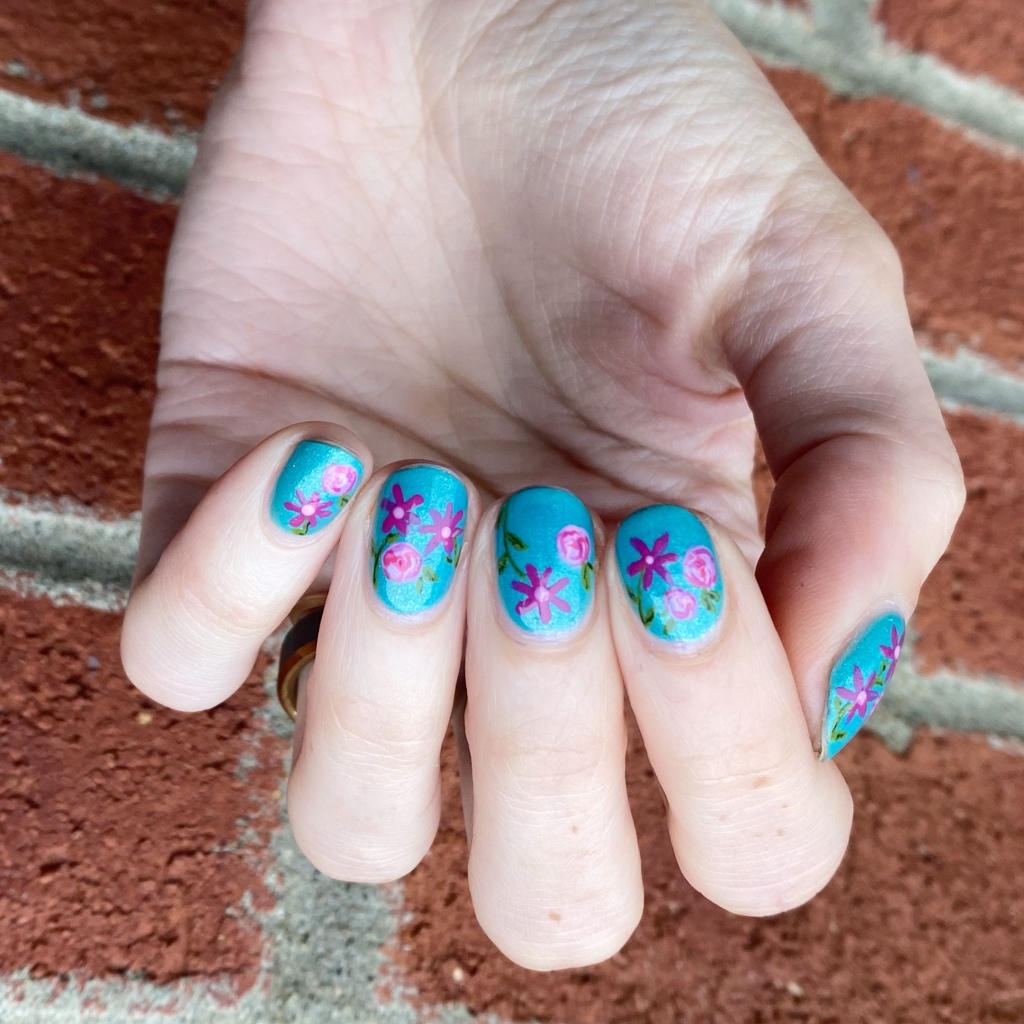
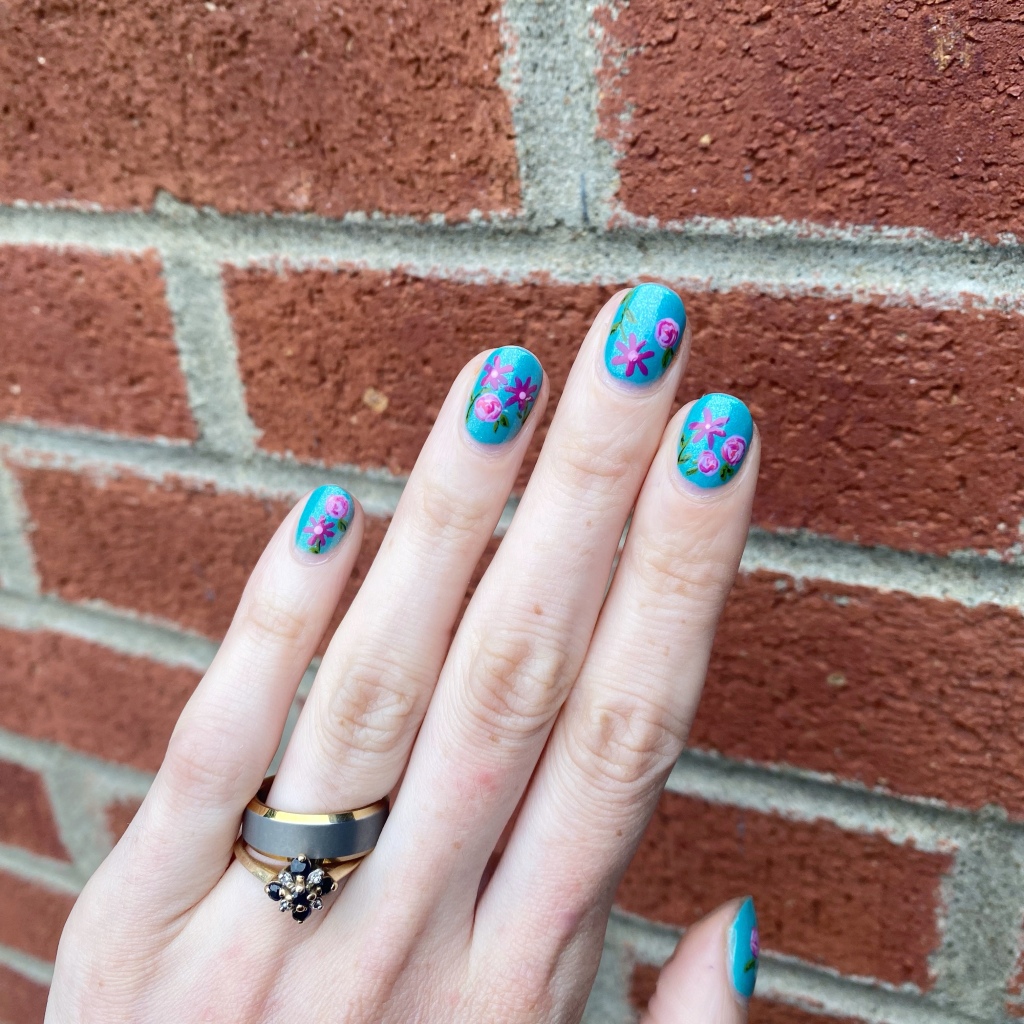
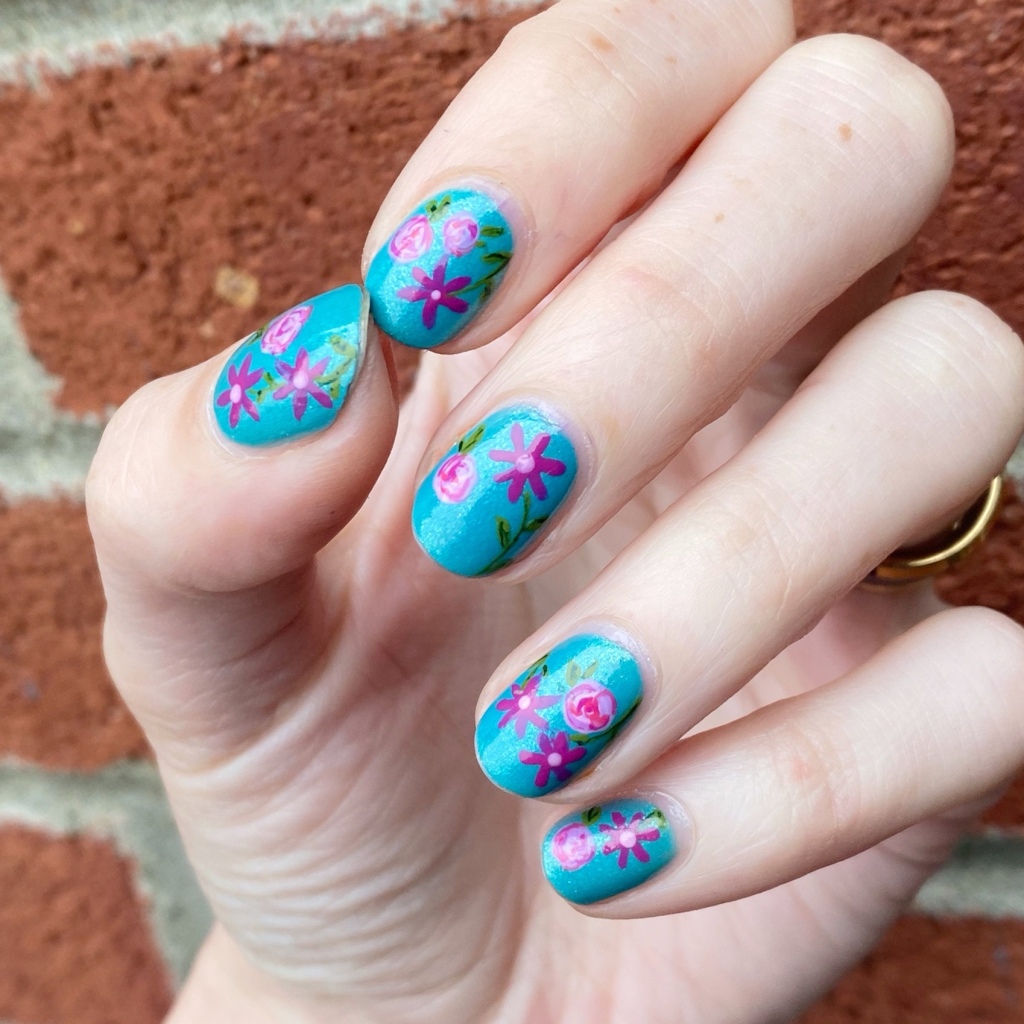
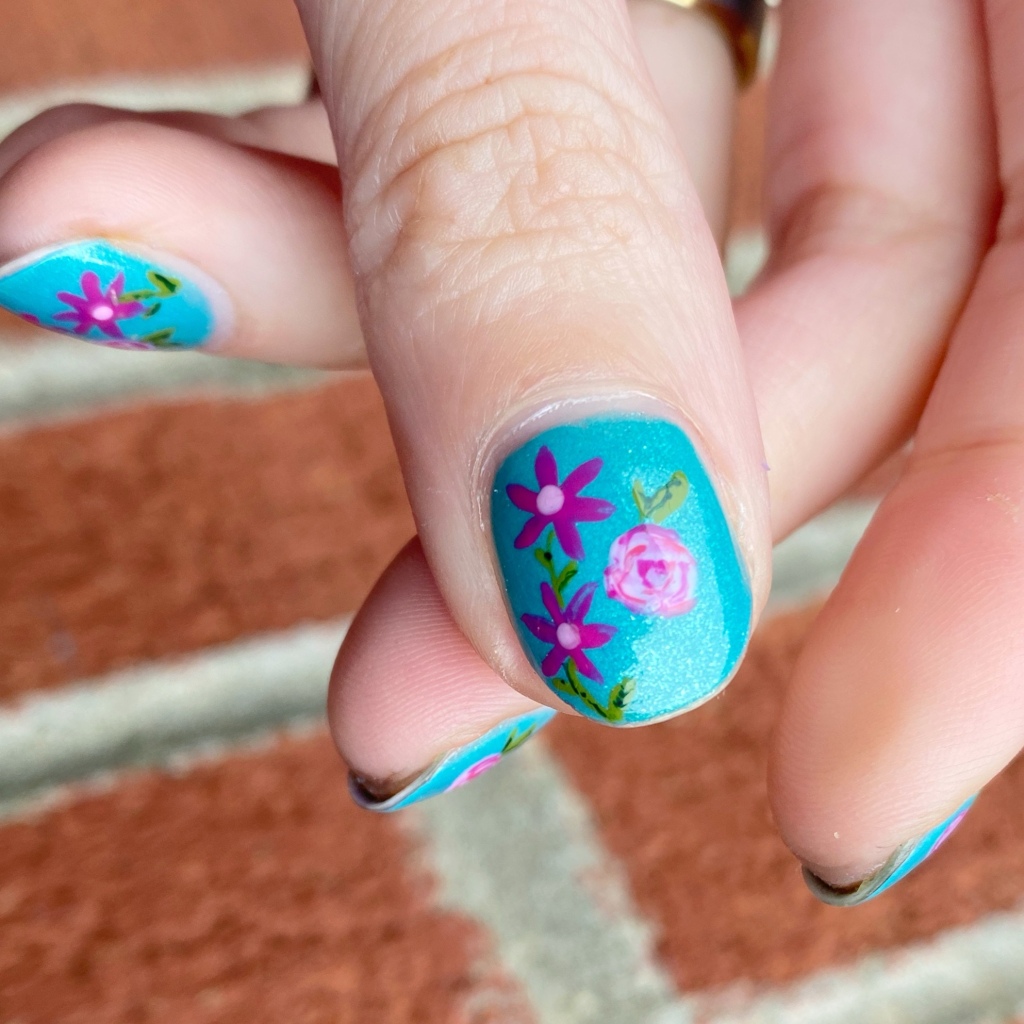
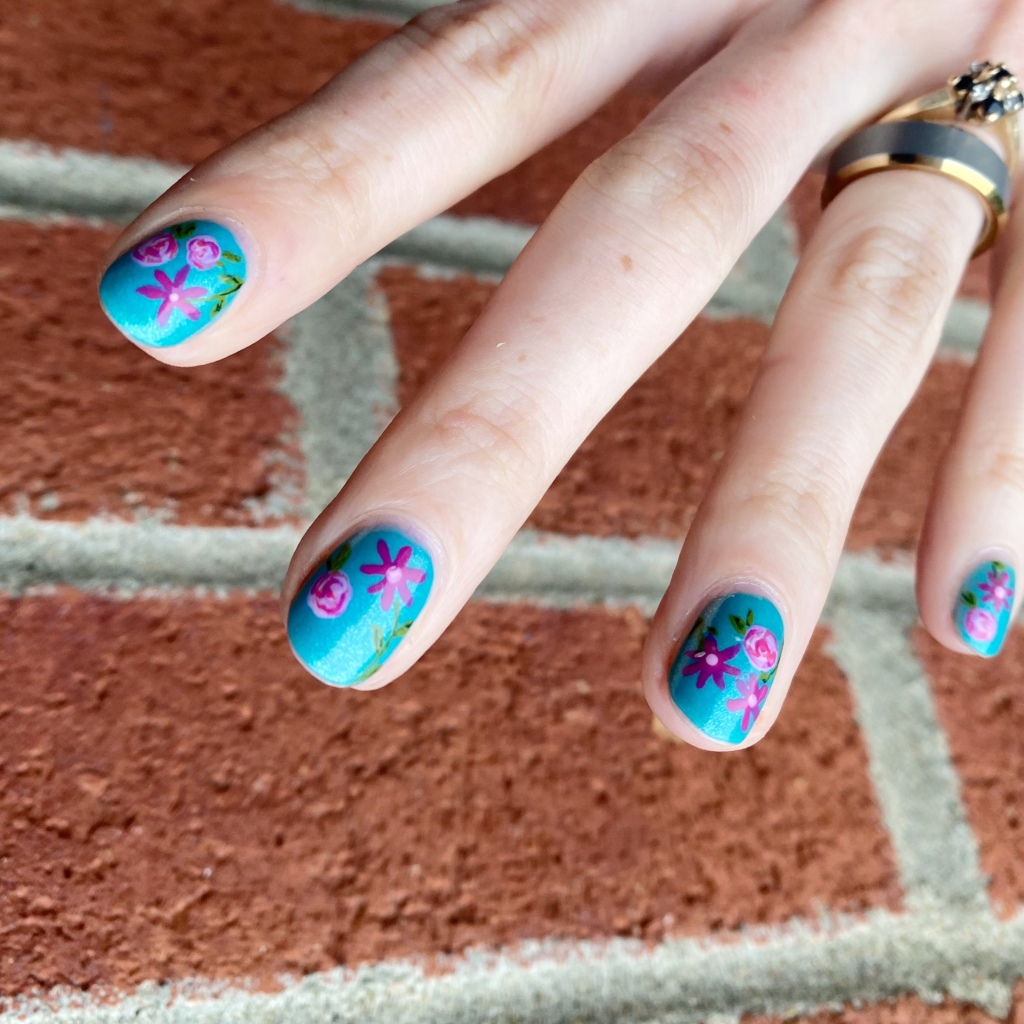
How cute is this leopard design? I love the colours together, the added sparkle from Starshower in the middle of my leopard spots — just everything. Plus leopard nails are so easy to do, I really should do them more often. I’ve always loved a good spotted pattern; the amount of leopard print clothing I have owned over the years is impressive.
What do you think about this leopard design? Are you a fan of patterned designs like this? As always, leave a comment down below! I love hearing what you think!
🖤