Marble Fluid Nails

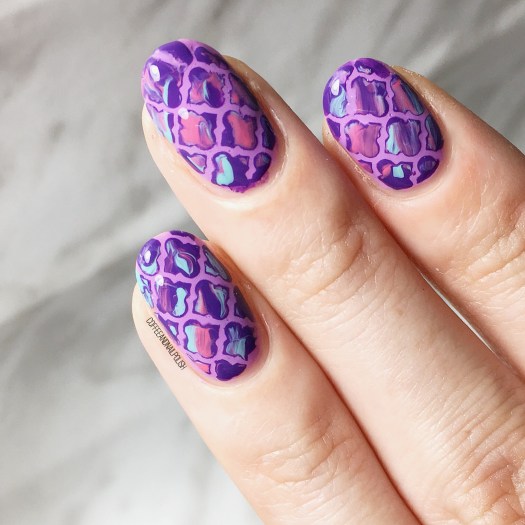
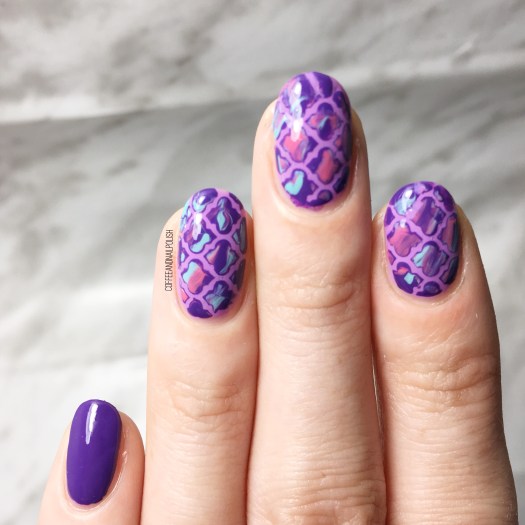
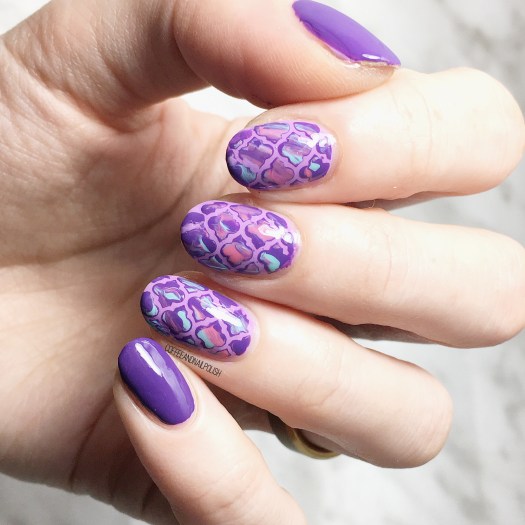
Good morning lovelies & happy Friday! Who else is excited for the weekend!? Today I have some brand new nails with a new to me technique I’ve been wanting to try for AGES: fluid nails.

This technique has been popping up on Instagram for a while & I’ve been obsessed with how they looked just as long — I even went out & bought a few of the Sinful Colours Hypnotic Transforming Top Coats that were released a few years ago, but was dawdling on actually giving the technique a try!

The polishes I used for this design were:

  • Base Coat: Sally Hansen Bamboo & Green Tea Strengthner
  • Top Coat: Essie Speed Setter
  • Sally Hansen Miracle Gel Pretty Peony
  • Sally Hansen Miracle Gel Neons Peach Please
  • Sinful Colors Hypnotic Transforming Top Coat Rebel Rebel
  • Sinful Colors Hypnotic Transforming Top Coat Purpunk
  • Stamper (I used my clear stamper from Nailsuff.ca)

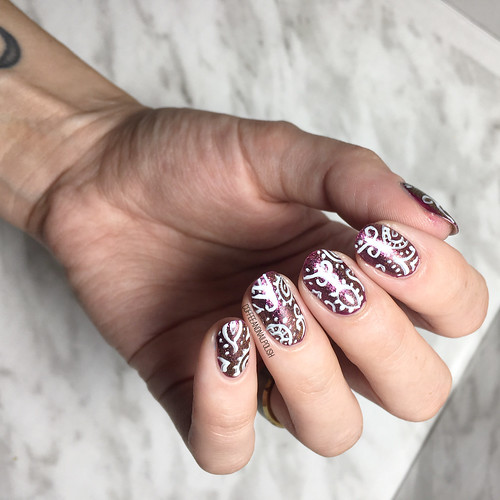
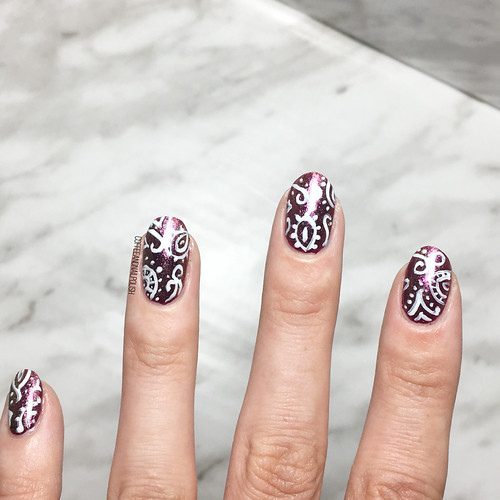
Most of the tutorials I saw involved creating decals to make your cells for the fluid look, but being lazy (& tired) I decided to see if I could use the smoosh technique to get a similar look. I painted my nails my base colour of choice & then applied drops of polish including my Sinful Colors Hypnotic Transforming Top Coats & then quickly pressed down using a stamper to smoosh my shades together. & it worked!

I was a little careful with application to keep mess to a minimal (couldn’t find my Edge Perfection & wasn’t in the mood for a ton of clean up) but you could definitely make the fluid look cover more of the nail if you applied more polish & smooshed down harder. I will definitely be trying this look again & seeing if I can do a fuller nail look. However, that being said my pinky was the first nail I did & it turned out my favourite!

Have you tried out the fluid nail art look yet? I know I’m about 2 years behind, but I’m so glad I finally gave it a try & finally used these awesome spotted polishes I’ve had in my stash forever!

What do you think of this look? Let me know in the comments below!

My Nails & My Cup — Holo Gradient Nails

Are you guys sick of the holo yet? I certainly hope not because I have another mani to share–this time I created a Holo gradient to match my new-ish tumbler that I picked up at Claire’s on clearance for $2. It came with cute little manicure tools inside, so I had to have it!

I posted on Instagram the other day what nail art I should do on my naked nails, while holding the above cup, & received an overwhelming amount of responses saying I should match my cup… so that’s what I decided to do!

For this manicure, the polishes I used were:

  • Base Coat: Sally Hansen Green Tea & Bamboo Strengthener
  • Top Coat: Seche Vive
  • China Glaze BFF
  • Color Club Eternal Beauty
  • China Glaze 2Nite
  • Quo by ORLY Falling Star
  • Latex free make up sponge
  • Creating the holo gradient may have been one of the easiest gradients I’ve ever done! I don’t know if it’s the sparkle or formula or what, but I was as to sponge on each colour separately (which kept from making a big old mess around my cuticles) & they blended together seamlessly!
  • I know the cup has a whole bunch of rhinestones, but I definitely did not have enough on hand to apply to my fingers (or enough colours that would match) so I decided a couple coats of a scattered holo top coat could give a similar look, so I grabbed Quo by Orly Falling Star because I find the glitters larger than some of my other holo toppers (like China Glaze Fairy Dust). Gave off just enough extra sparkle on the nail without being distracting!
  • so what do you think of the holo gradient? Which colour combination do you think I should try out next? Share your thoughts down in the comments below!
    Turquoise & Purple Marbled Nails

    Good morning lovelies! I’m back from the land of the stomach flu. Thankfully I managed to avoid catching it but the rest of the house was not so lucky. After 3 days of basically hiding, I finally managed to do my nails & it feels so good. Especially since yesterday marks 🎉FIVE YEARS🎉 since the beginning of this little nail blog of mine.

    & I totally forgot until yesterday (I blame pregnancy brain & trying to avoid gastro.) I’m going to do a post tomorrow soon I’ve been planning on writing forever, but in the meantime I have some quick & easy nails that have become a favourite over the years!

    Today’s look is another Saran Wrap splatter/marble.

    The polishes I used for this look were:

    • Base Coat: Nailtek 2
    • Top Coat: Seche Vive
    • Icing Matte Effect Polish 60217
    • Color Club Disco Dress
    • Sally Hansen Hard As Nails Black Heart
    • Crinkled up plastic bag

    Usually I try to create a splatter effect when I do my Saran Wrap nails, but I wanted to do more of a marble look this time so I layered my polishes… a splatter of purple, a splatter of turquoise, a splatter of Black & then a little more turquoise. This created the more marble effect & they look EXACTLY like how I pictured in my head!

    I’m seriously just so in love with how they turned out.

    I just want to say thank you really quick to everyone who has been checking out this blog for the last five years. From my early days with some questionable photography skills to now, you guys are the reason I keep coming back… even if there are long pauses due to things like morning sickness & birth haha.

    & I’ll keep coming back no matter what new adventures life comes my way.

    💙💙

    Purple & Grey Saran Wrap Splatter

    Hello lovelies! Hope everyone is having a good start to their week. Today I have a brand new nail look to share with you featuring one of my favourite easy nail art techniques–a Saran Wrap splatter. This time, I wanted a deeper more jewel toned colour scheme (because those Fall vibes are calling me) so I picked a few of my favourite Fall-ish shades for the occasion!

    For those of you who don’t know, this whole look is created easily using crinkled up Saran Wrap/Plastic Bag. You paint you polish onto the crinkles up bag & then dab it into the nail. That’s how you create the “splatter” effect. I really love doing my splatter over a “naked” base, so that some of the natural nail comes through.

    For this manicure, the polishes I used were:

    • Base Coat: OPI Nail Envy
    • Top Coat: Essie Speed Setter
    • China Glaze Grape Juice
    • OPI One Heckla Of A Color!
    • OPI Angel With A Lead Foot
    • Essie Merino Cool
    • Saran Wrap
    • Edge Perfection Cutcile Barrier

    Can you believe it’s almost the end of August?! I can’t. Where did our Summer go? Pumpkin Spice lattes are officially back, which I think we can all agree means that it’s officially Fall. & that means it’s going to be all about deep dark nails over here! Ooooh & Halloween. I cannot wait to create some Halloween nails too!

    What do you think of this splatter look? Which colour combination would you love to see? Share down below!

    Cactus Accent Nails 🌵💅🏻

    Happy Thursday! It’s been a while since I rocked any cactus nails, & I was craving some vibrancy. I don’t often reach for green polish when painting my nails, but I’ve been trying to get out of my comfort zone. Keeping with that, I decided to pull a green (textured) polish from deep in my stash that I haven’t worn in too many years to count, & paired it with some cute cacti on my accent nails!

    Polishes I used for this design were:

    • Base Coat: OPI Nail Envy
    • Top Coat: Essie Speed Setter
    • LA Girl Sand Blast Nail Polish in Green Island
    • China Glaze What’s She Dune?
    • Essie First Timer
    • Essie Off Tropic
    • Deborah Lippmann She Drives Me Crazy
    • Essie A-List
    • OPI I Eat Maine-ly Lobster
    • Small detail brush (from Bundle Monster)
    • Small dotting tool (from Bundle Monster)

    Sadly I kind of hid the texture of LA Girl Green Island with my top coat, but it came through a bit. This was my very first textured polish, back in the very early days of my nail art. It was also the beginning of my obsession with finding nail polish deals at Lawton’s—I remember scoring it & a blue Sand Blast Polish for only a dollar. & so began my obsession with finding old polishes at awesome deals. & I still hate spending full price for polish to this day!

    Also I love creating these little freehand cactus. Still on the search for some cactus nail vinyls, because I’m a little cactus obsessed, but in the meantime I don’t mind freehanding my cacti. I also just picked up a new stamping plate from Essence with a cactus on it, so stay tuned as I plan on trying it out soon (hopefully this weekend!)

    What do we think of this design? Do you still have any textured polishes in your stash? Let me know down in the comment below!