Dainty Red Dotticure ♥️

Good morning lovelies, happy Tuesday & happy July! We’re officially 1/2 way through the year, & that just seems insane to me. It’s officially Summer vacation for my kids, which means the free time to myself I have (when they’re not asleep) becomes much more limited!

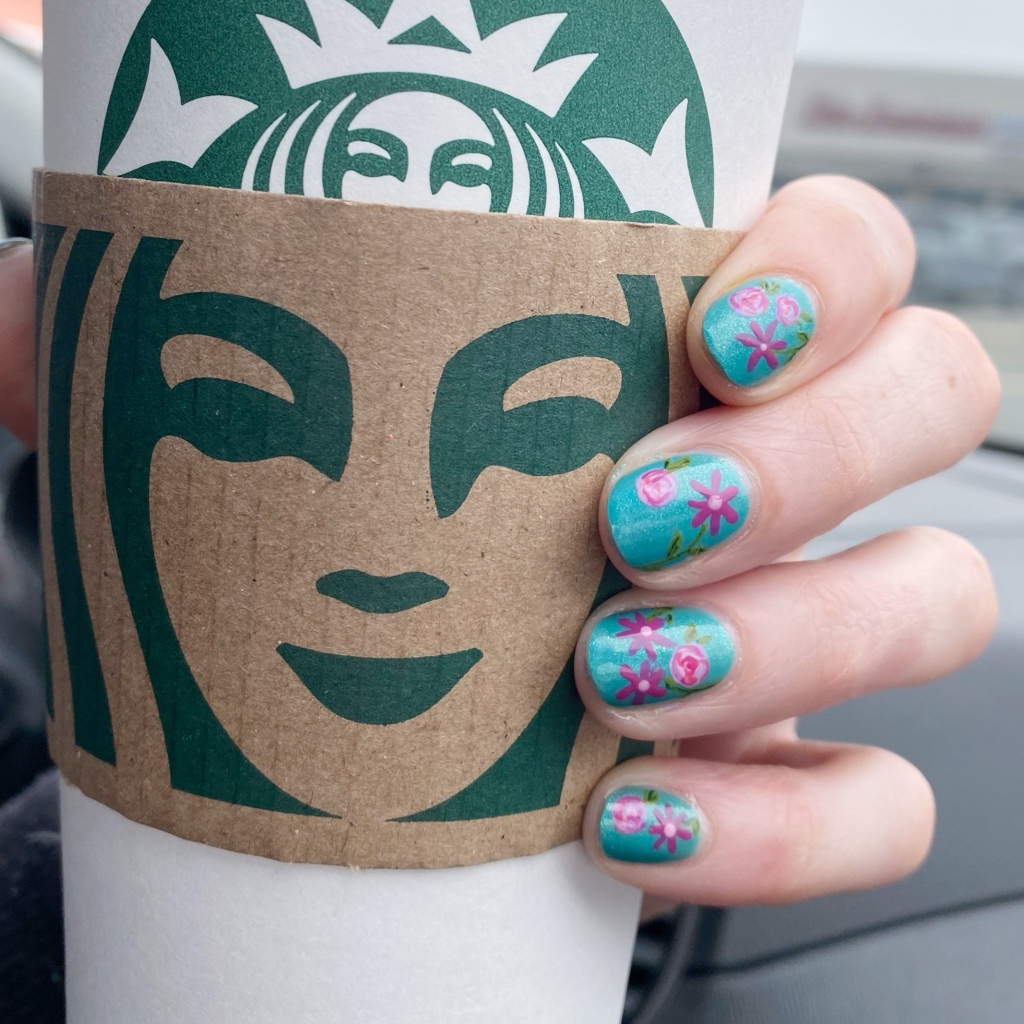
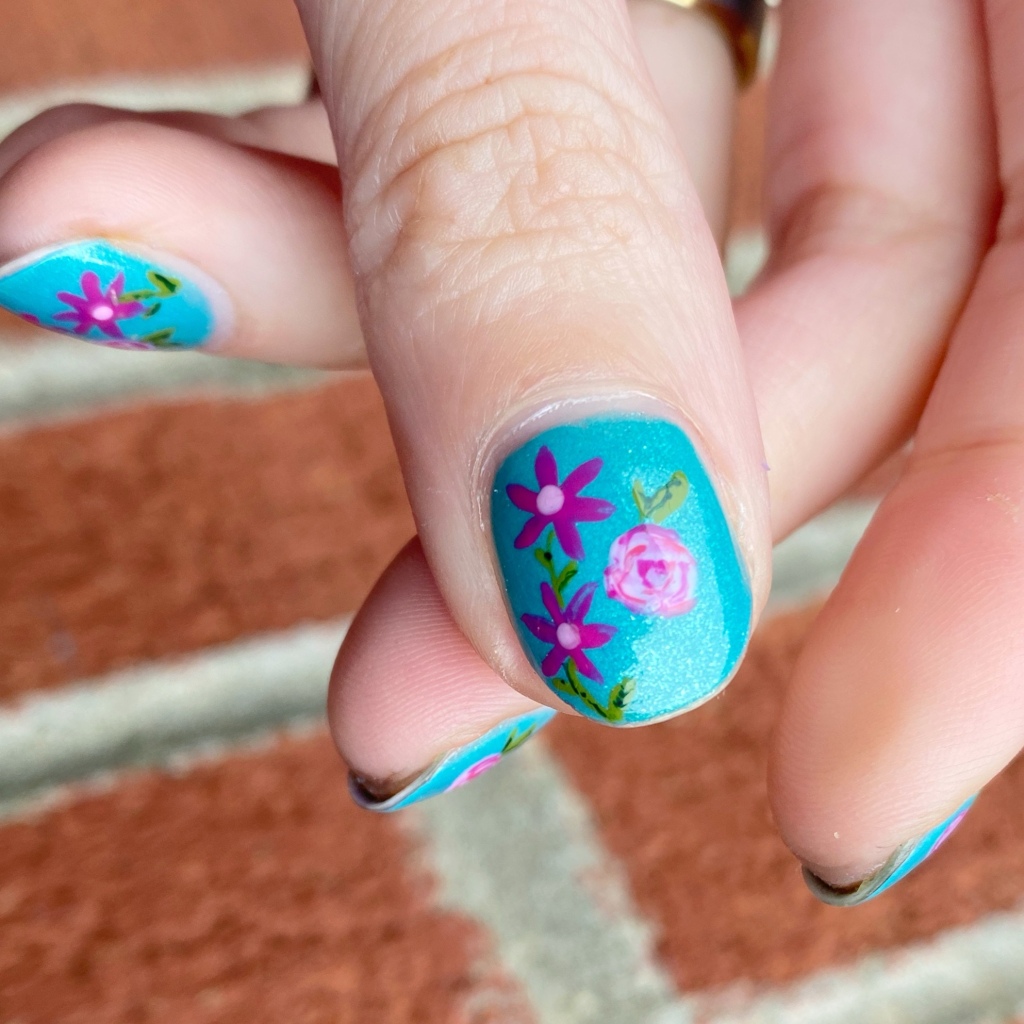
So simple nail art becomes a bit more necessary. But simple does not need to mean boring, & I feel like today’s look is anything but boring!

The polishes I used for this manicure are: 

  • Base Coat: Essie Here to Stay
  • Top Coat: Essie Gel Setter
  • Essie She’s Pampered
  • Sally Hansen I ♥️ Nail Art pen in pink
  • Color Club Top Shelf
  • NailStuff.ca Dotting Tool Trio (tiniest size)

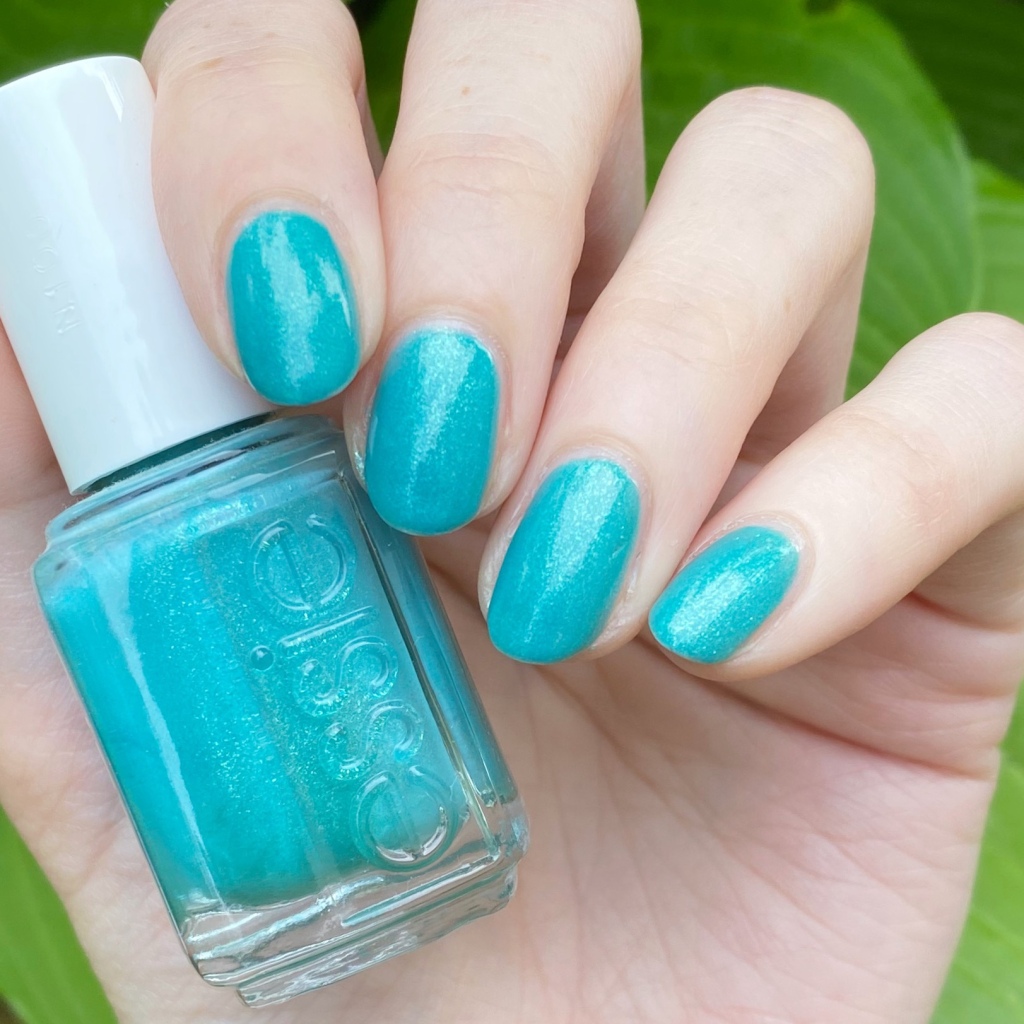
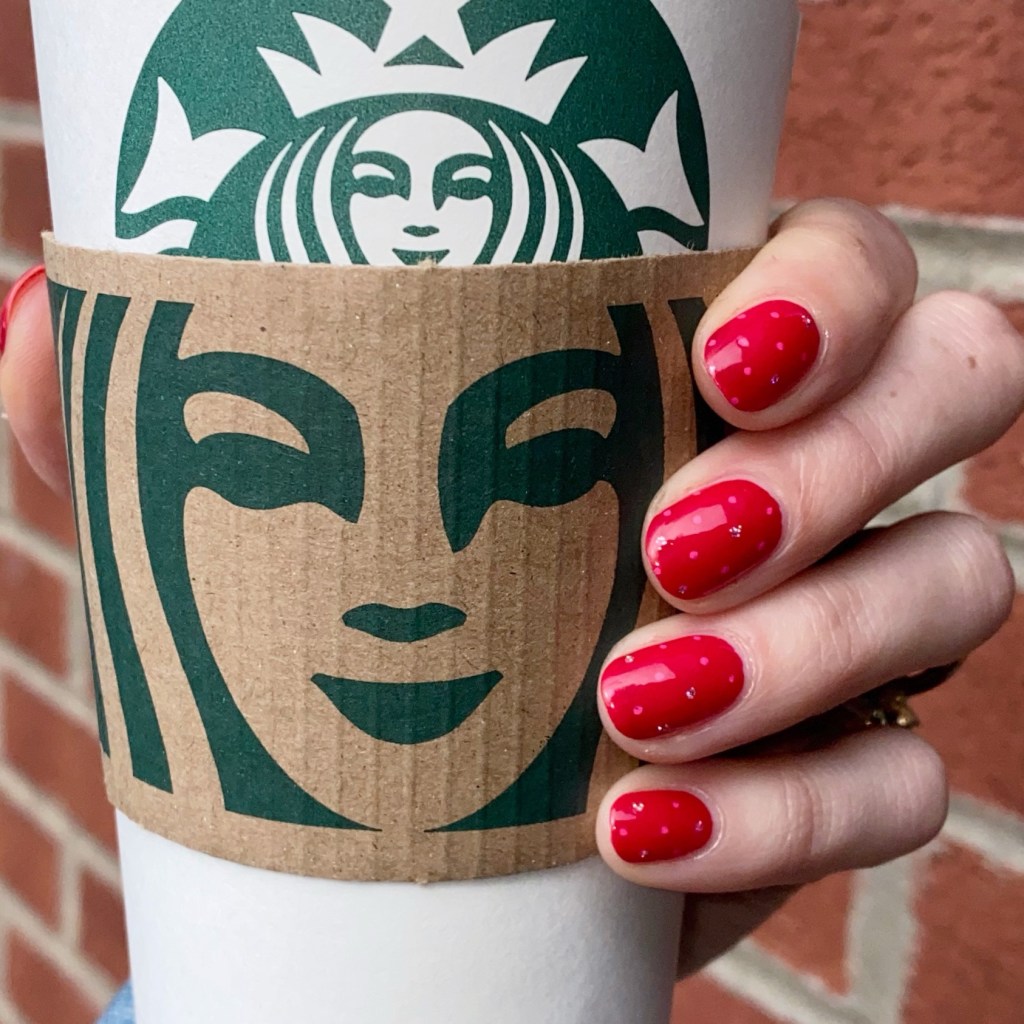
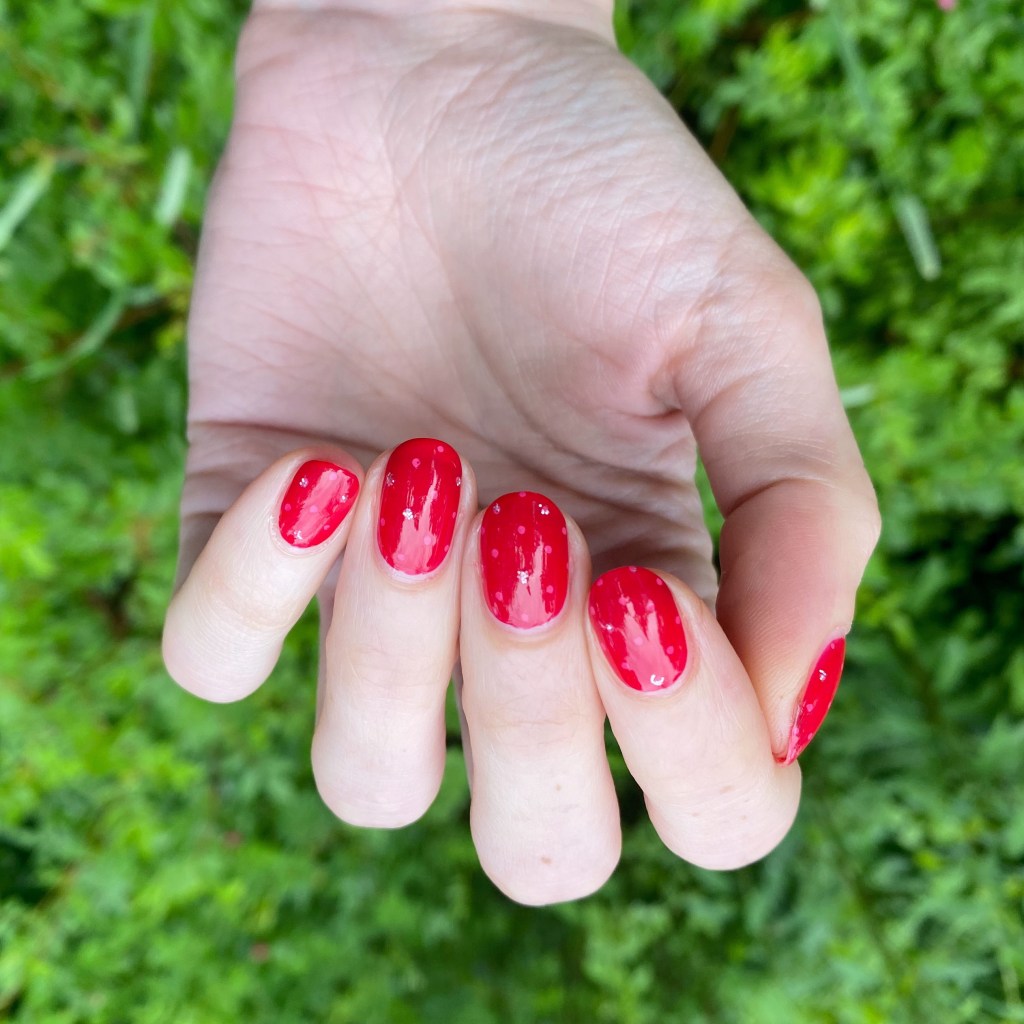
This beautiful polish is another thrift store score that I was not expecting, but I quite love. It looks much more pink in the bottle, but on my nail it’s giving all the way red. But I’ll never say no to a red nail polish — that is well established by now.

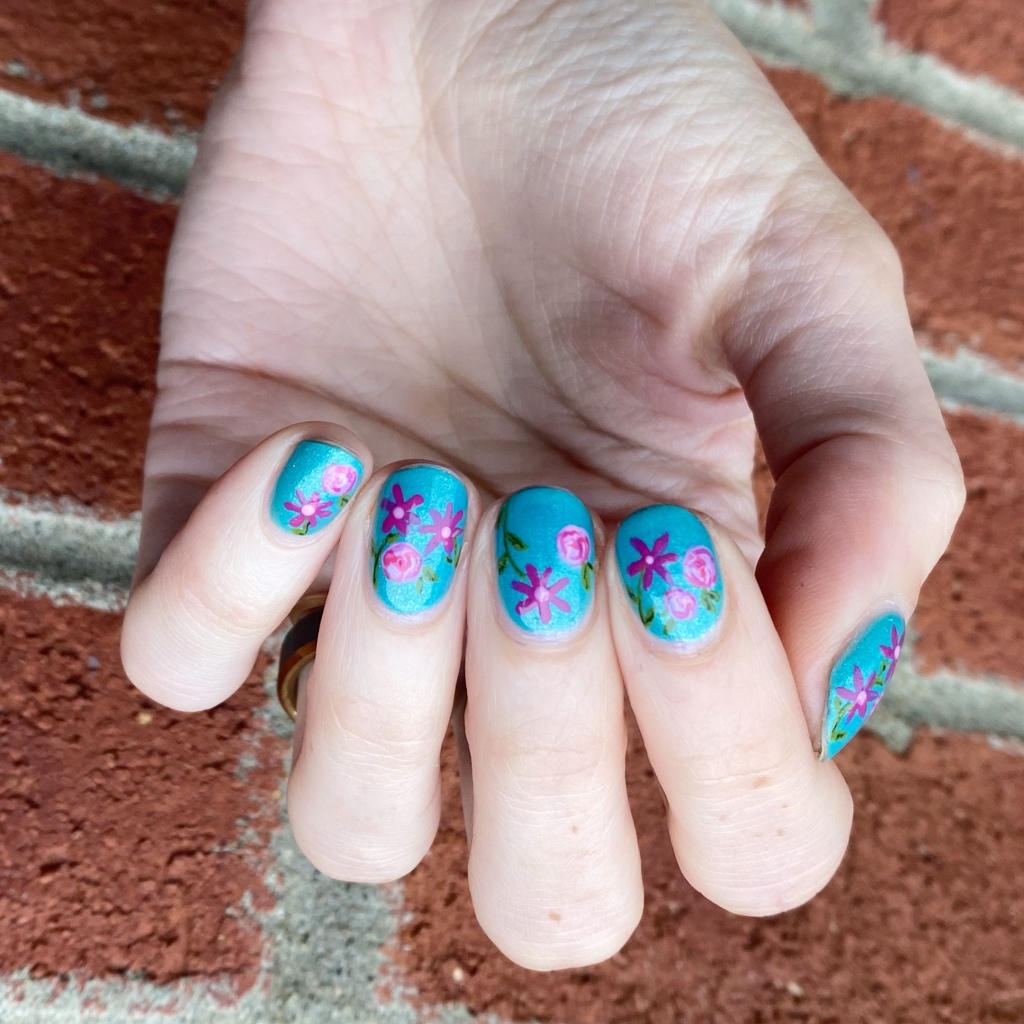
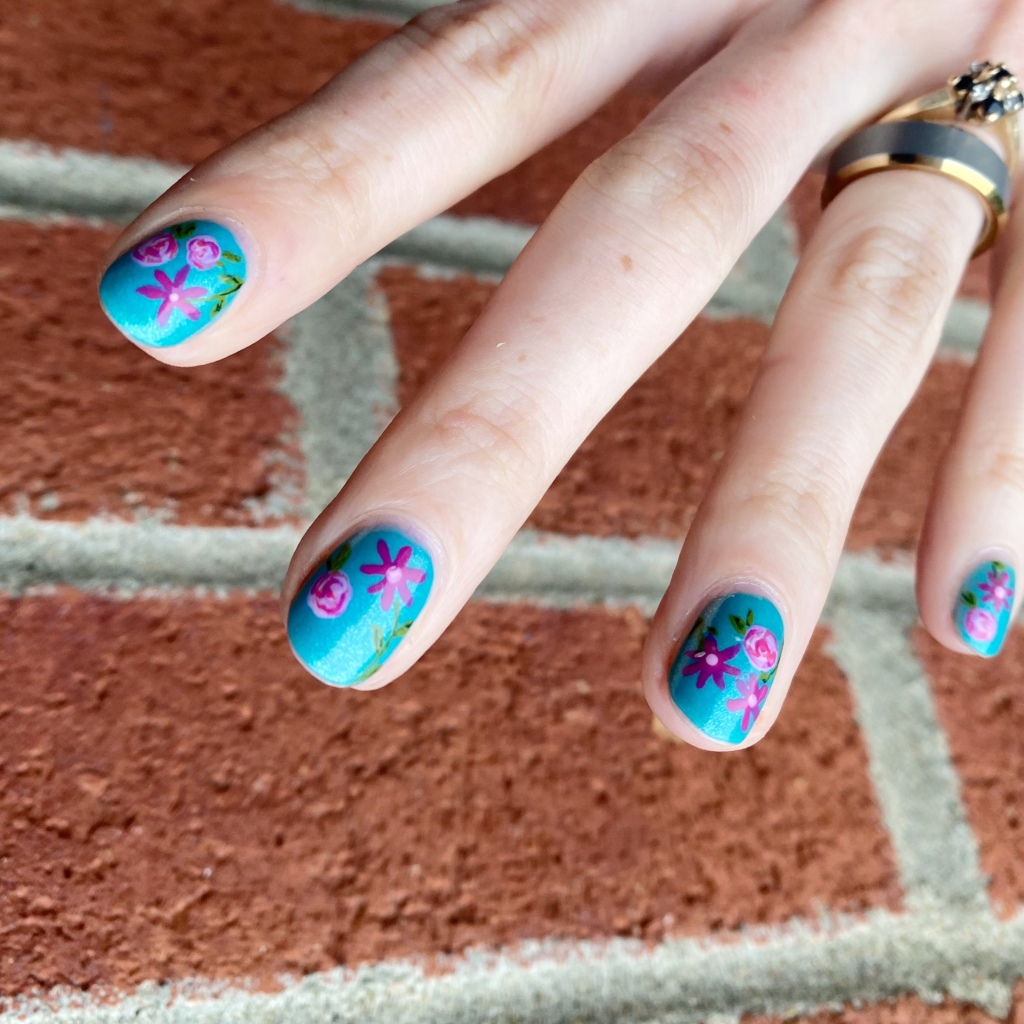
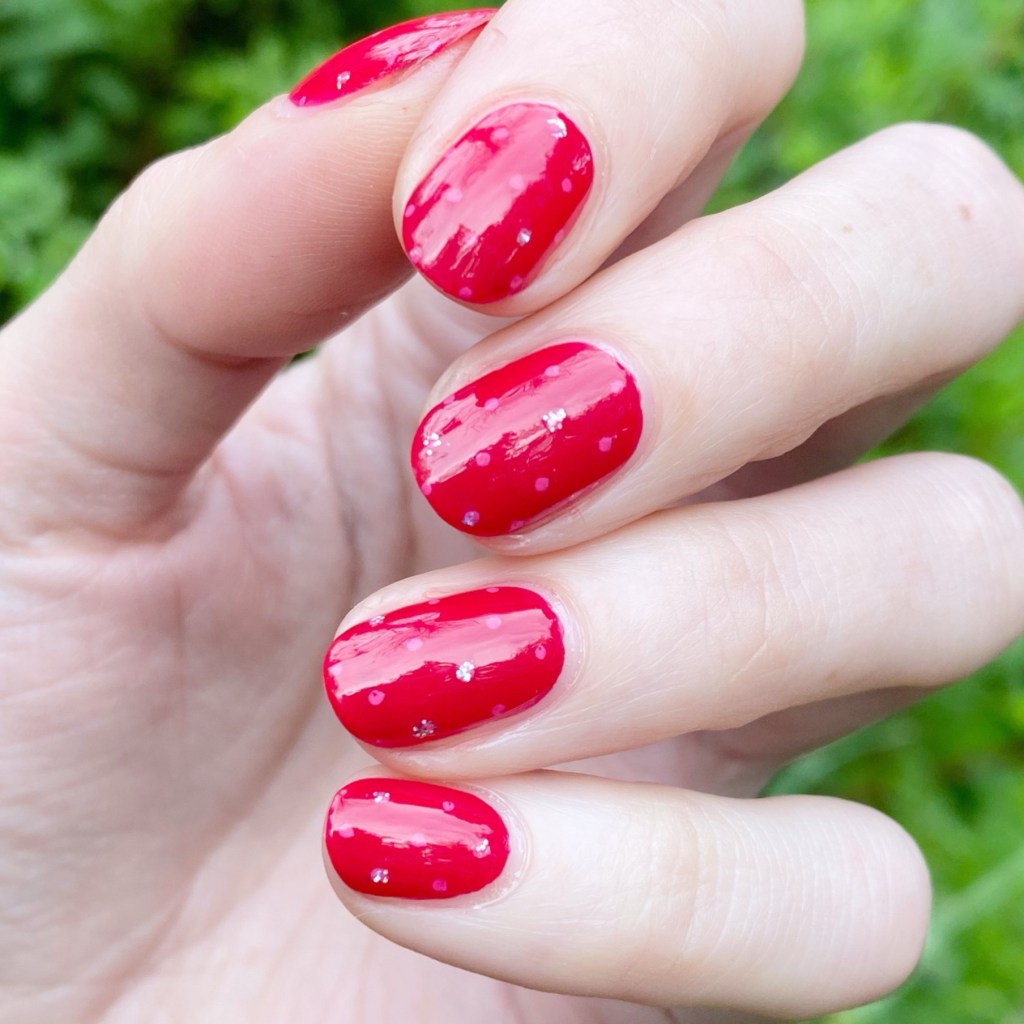
I added some pink polka dots over my base shade, with a colour sparkly ones just for fun! I think this look turned out chic & classic, but it’s also fun. From far away you get red nails, but up close you get the full fun look. & I love a nail art design like that! Polka dots were one of the first designs I ever taught myself, & they remain one of my favourites.

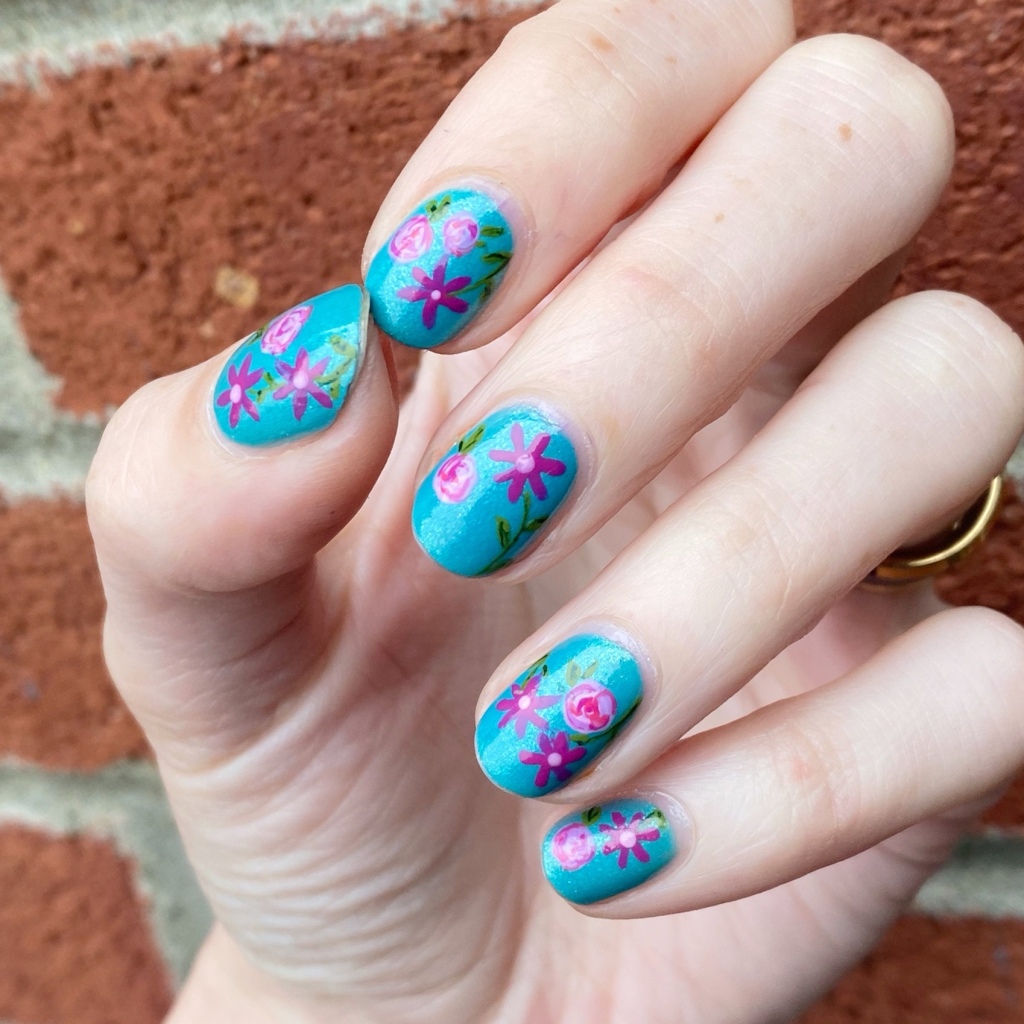
What do you think about this chic dainty dotticure? Are you a fan of a subtle look like this? Let me know what you think in the comments below & please — PLEASE — let me know any nail art looks you’d like to see me attempt!

🖤

Vibrant Floral Shorties 🌱🌸

Hello lovelies & happy Thursday! We have another rainy one today, which is quite disappointing. But you know what can turn a lame, rainy day around? Cute floral nails!

The polishes I used for this manicure are: 

  • Base Coat: Essie Here to Stay
  • Top Coat: Essie Gel Setter
  • Essie Viva Antigua!
  • Essie Swoon in the Lagoon
  • Essie Muchi Muchi *gifted
  • Essie Play Date
  • Essie Willow in the Wind *gifted
  • Essie Off Tropic
  • Nailstuff.ca Mermaid Tail 7mm liner brush *gifted

Yep! We’re back to some shorties again. At this point, it’s inevitable! I work in retail, & retail is rough on your nails! But I do kind of like these rounded shorties. & you know I am always going to love when I paint floral on my nails.

What do you think about this pretty floral? Let me know all your thoughts down in the comments below.

Happy Thursday 🖤

SWATCH SUNDAY— Essie Viva Antigua! (Summer 2016)

Good morning, happy Sunday! It’s been a beautiful, warm & busy week for me — hence the lack of nail art posts! I was super busy at work, plus prepping for my little girls birthday party yesterday, so I had no time for any nail art at all! It’s been kind of crazy!

But today I’ve got some swatches to share of an Essie shade from 2016 that I remember I was absolutely obsessed with when I first purchased it. This is Essie Viva Antigua!

2 coats + Essie Gel Setter

This beautiful turquoise has a relatively thin formula which is perfect for showing off the glass flakes scattered throughout. It was super easy to apply, no issues with formula — which is pretty much perfect! It also dries down super quickly, even without applying your top coat.

Look at that glass flake finish! Doesn’t it just remind you of tropical waters? I was obsessed back in 2016 when I first bought this beauty, & I’m obsessed with it now. It’s such a beautiful fun colour with a very unique finish.

& it totally screams Summer, don’t you think?

What do you think about Essie Viva Antigua! from the Summer 2016 collection? Do you remember this unique fun shade, or have it in your stash? Let me know all your thoughts down in the comments below.

Rainbow Paint Splatter (Using Acrylic Paint 🎨)

Good morning lovelies & happy Thursday! How is everyone’s week going so far? I hope it’s been filled with beautiful days.

Today I’m sharing a super easy design that was totally inspired by my daughter. I asked her how I should paint my nails, & she told me rainbow 🌈. I haven’t played with my acrylic paints in a while so I decided to use them for a splatter-y effect, & I think it turned out pretty cool!

The polishes I used for this manicure are: 

  • Base Coat: China Glaze Calcium Gel Fortifer
  • Top Coat: Seche Vive
  • OPI I Cannoli Wear OPI
  • Acrylic Paint
  • Paint brush
  • Water

These nails were kind of an experiment because I wasn’t sure initially what I was going to create. I ended up applying drops of acrylic paint on my nails, then using the water to make it spread out a bit. My ring & pinky finger probably turned out my favourite of the 5 on this hand, but I definitely know what I’ll do next time to get the look I want.

These were super easy though, & because I was using acrylic paint vs nail polish I could easy erase any mistakes & start over. My only tip is make sure the acrylic paint is dry before applying top coat, otherwise you’ll end up with some smearing & transferring which kind of mucks up the final look a bit (like on my middle finger). Over all though, such a fun quick look to do.

What do you think of this rainbow paint splatter design? Do you love this quick & easy look? Let me know all your thoughts down in the comments below.

Black Swirls on Blue Shimmer

Good morning lovelies & happy Tuesday! We all survived Monday, & today is looking to be a beautiful day.

Today I’m sharing a somewhat simple to do nail art look, that is still super eye catching! As I’ve been mentioning, I’m absolutely obsessed with layering glitter over nail polish lately. It’s my go to look. But sometimes, I still want something more which is where this nail art look came from. I loved the flakie over blue look, but it felt like it needed something more.

Thank goodness for nail art stripers!

The polishes I used for this manicure are: 

  • Base Coat: China Glaze Calcium Gel Fortifer
  • Top Coat: Seche Vive
  • Ardene Blue Tide
  • ‘Ard as Nails Fairy Flakes
  • Quo by Orly Nail Art Striper Black

This look was sort-of inspired by this previous look. After applying to my base, I saw that design in my Instagram feed & realized I wanted to wear something like that. & I’m so in love with the eye catching result. Obviously, you can never go wrong with glitter (as is my new motto) but it’s fun to add something a little extra to the look.

& seriously, these took no time at all to create which is even better!

What do you think of my blue abstract stripes? I definitely am hoping to get more time for more complex nail art soon, but in the mean time I’ve really been loving these simpler looks so I hope you’re enjoying them too!

Happy Tuesday!

♥︎