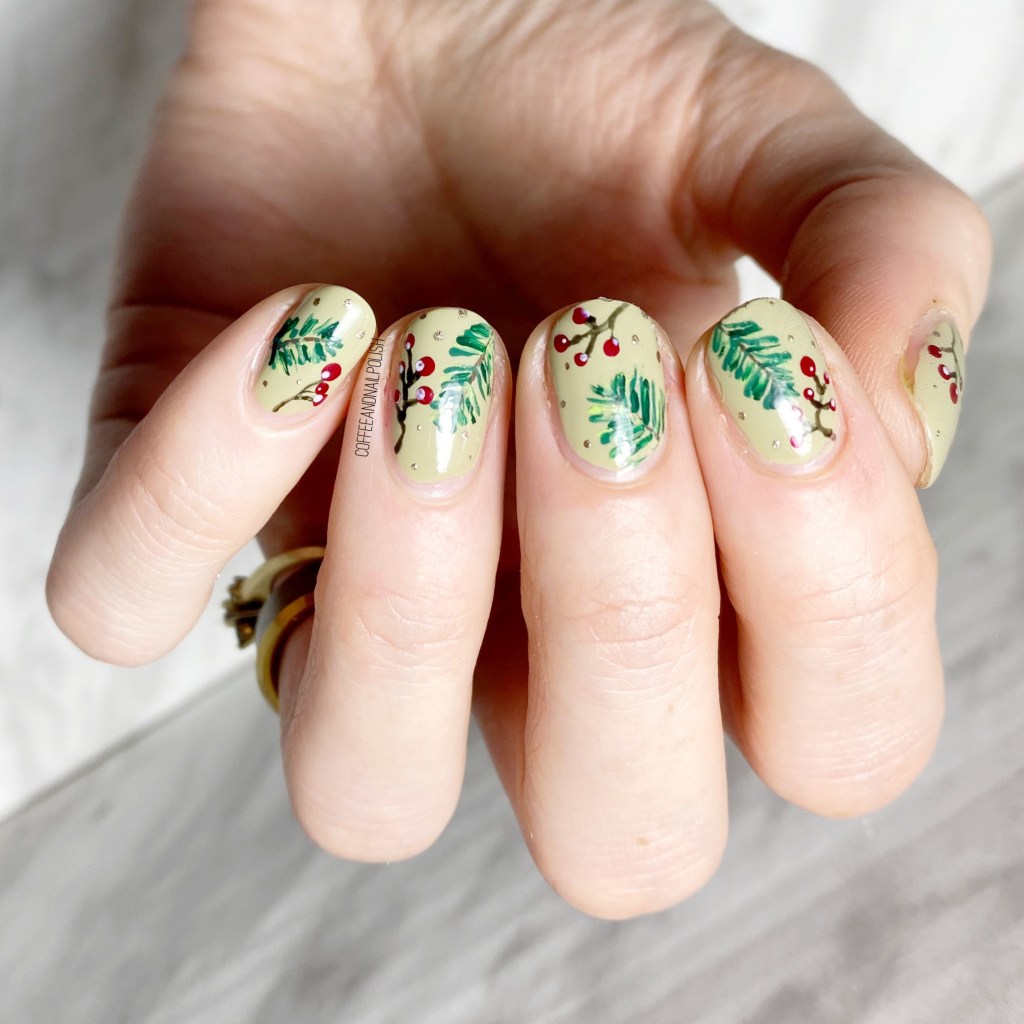
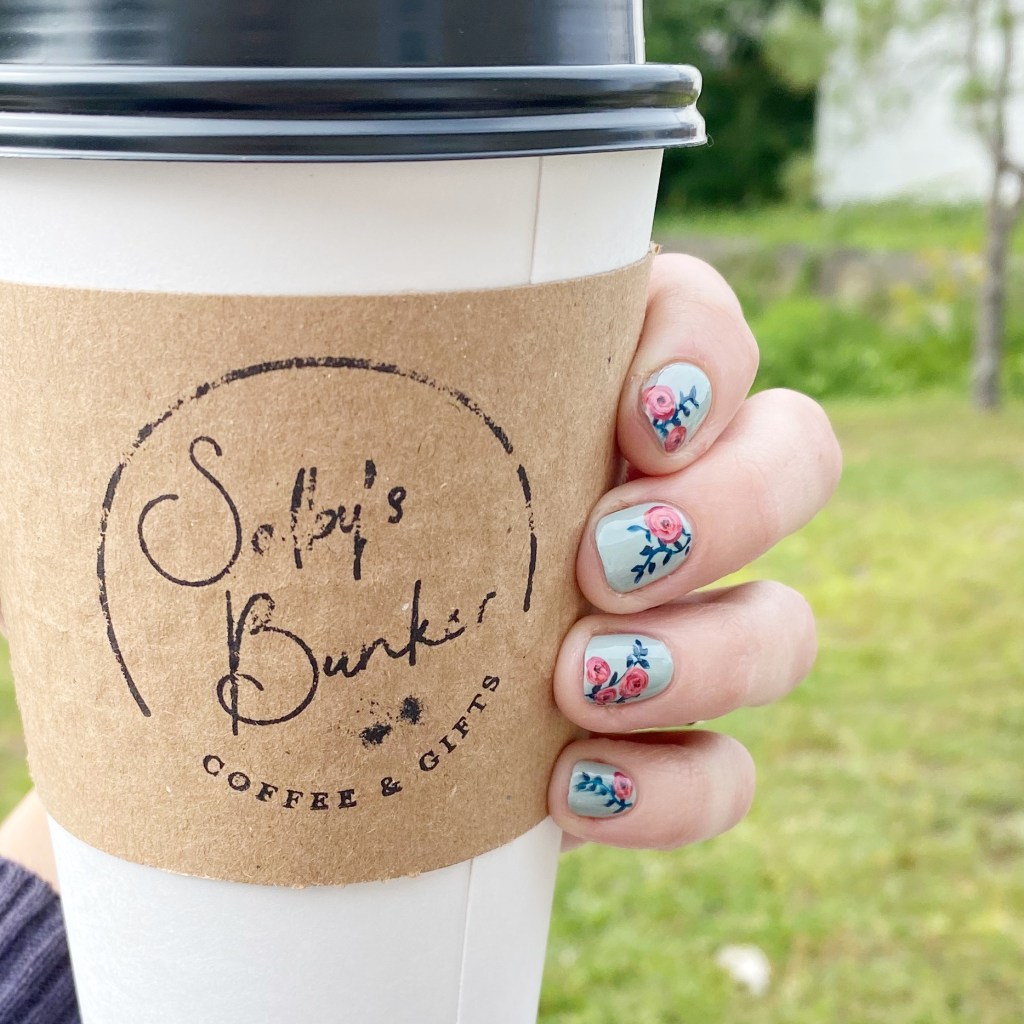
Hello lovelies & happy Wednesday!
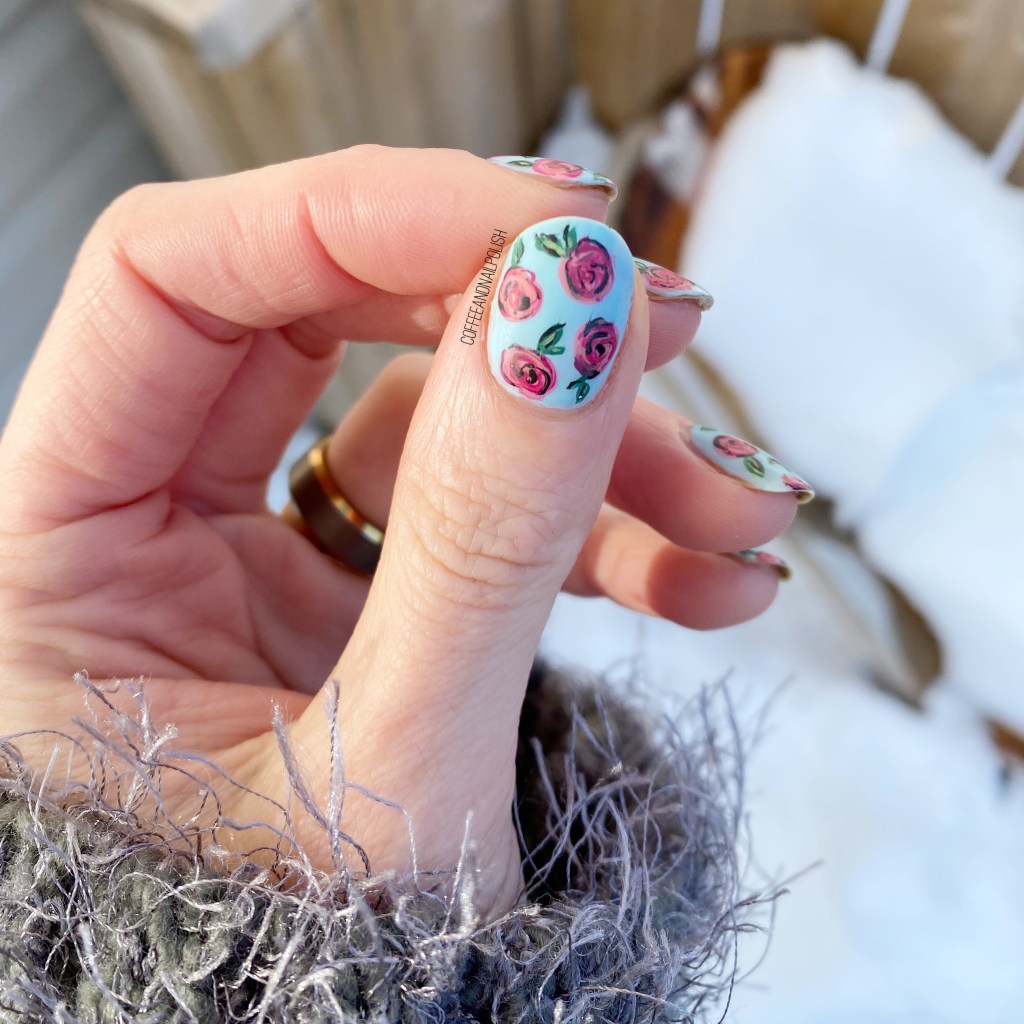
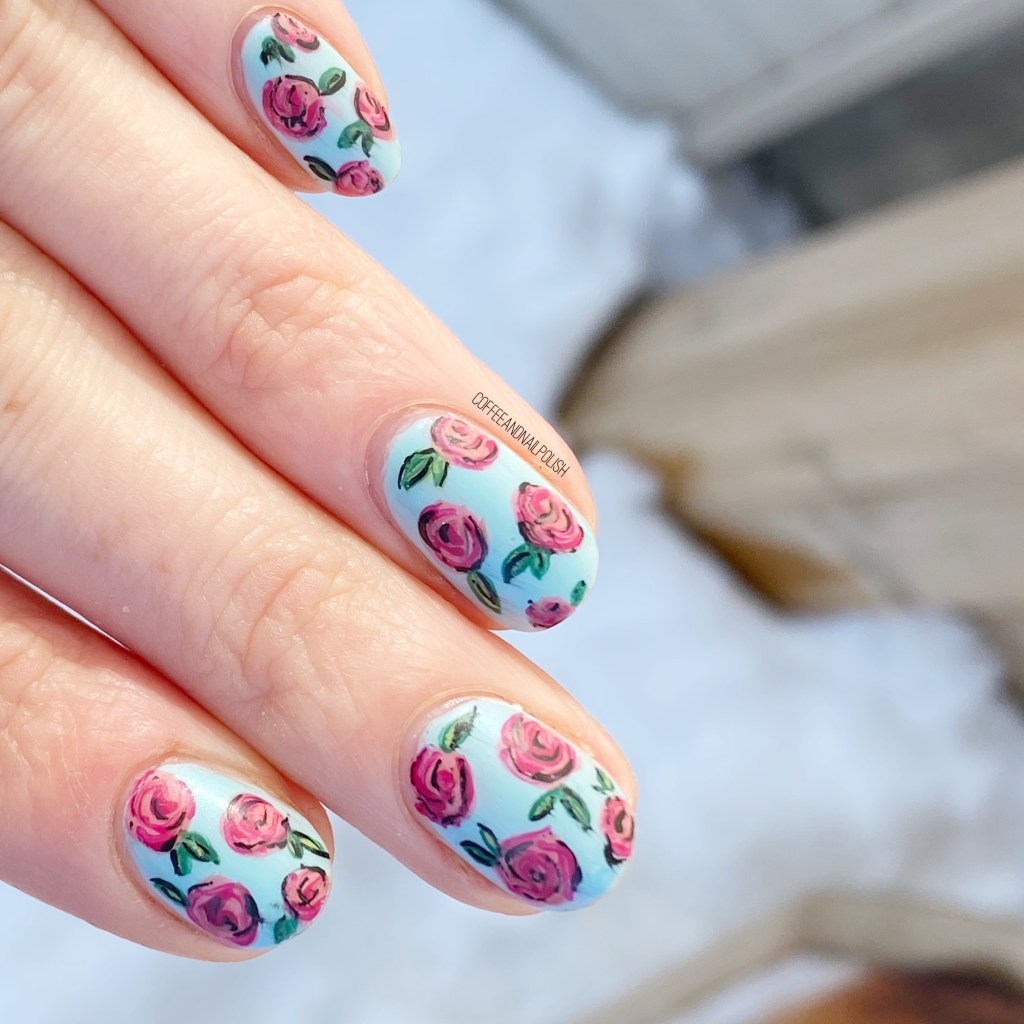
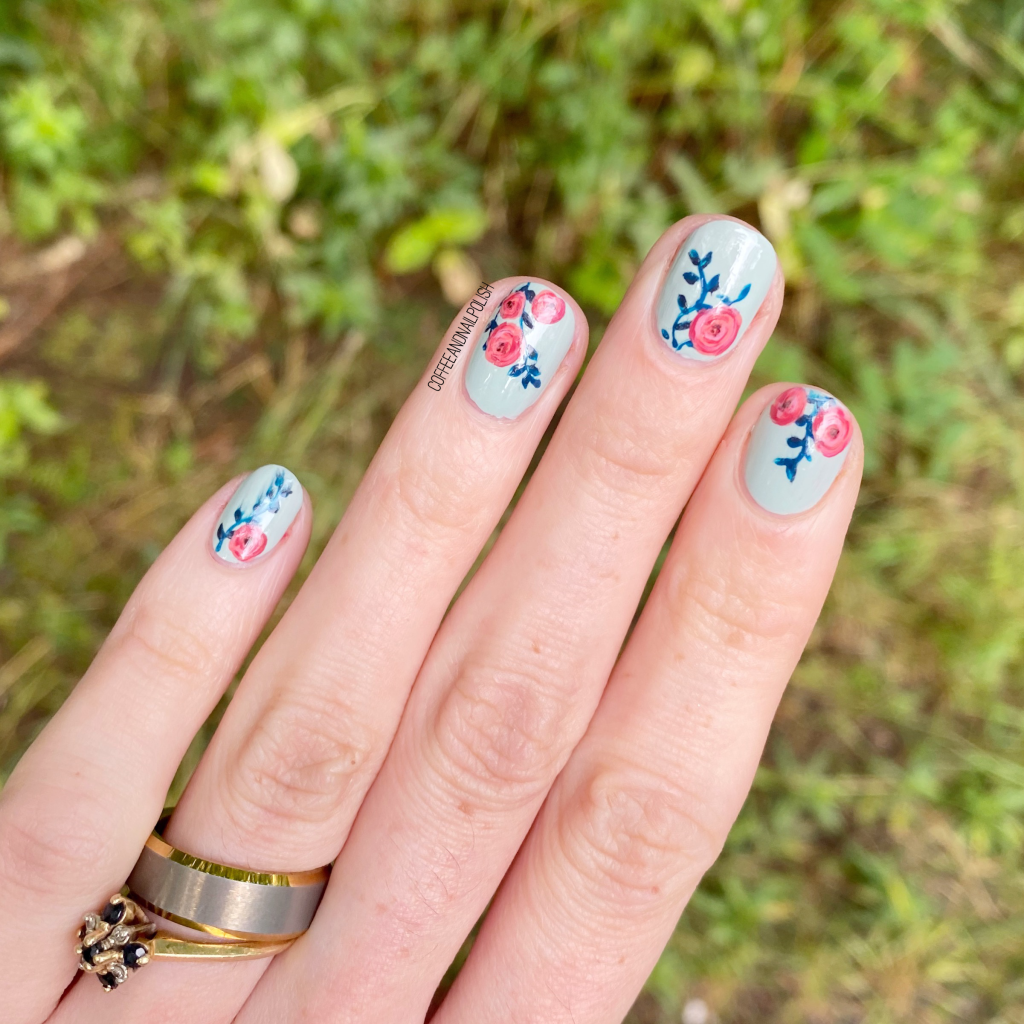
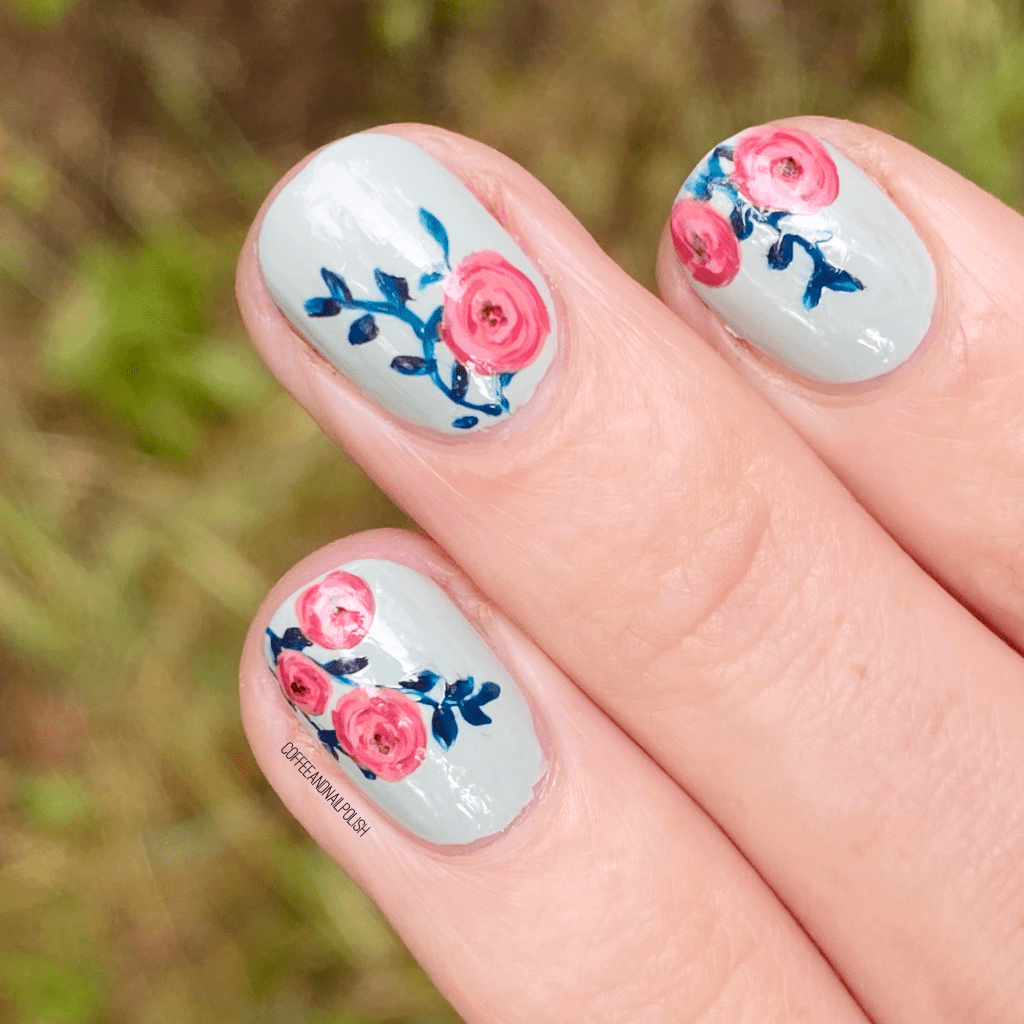
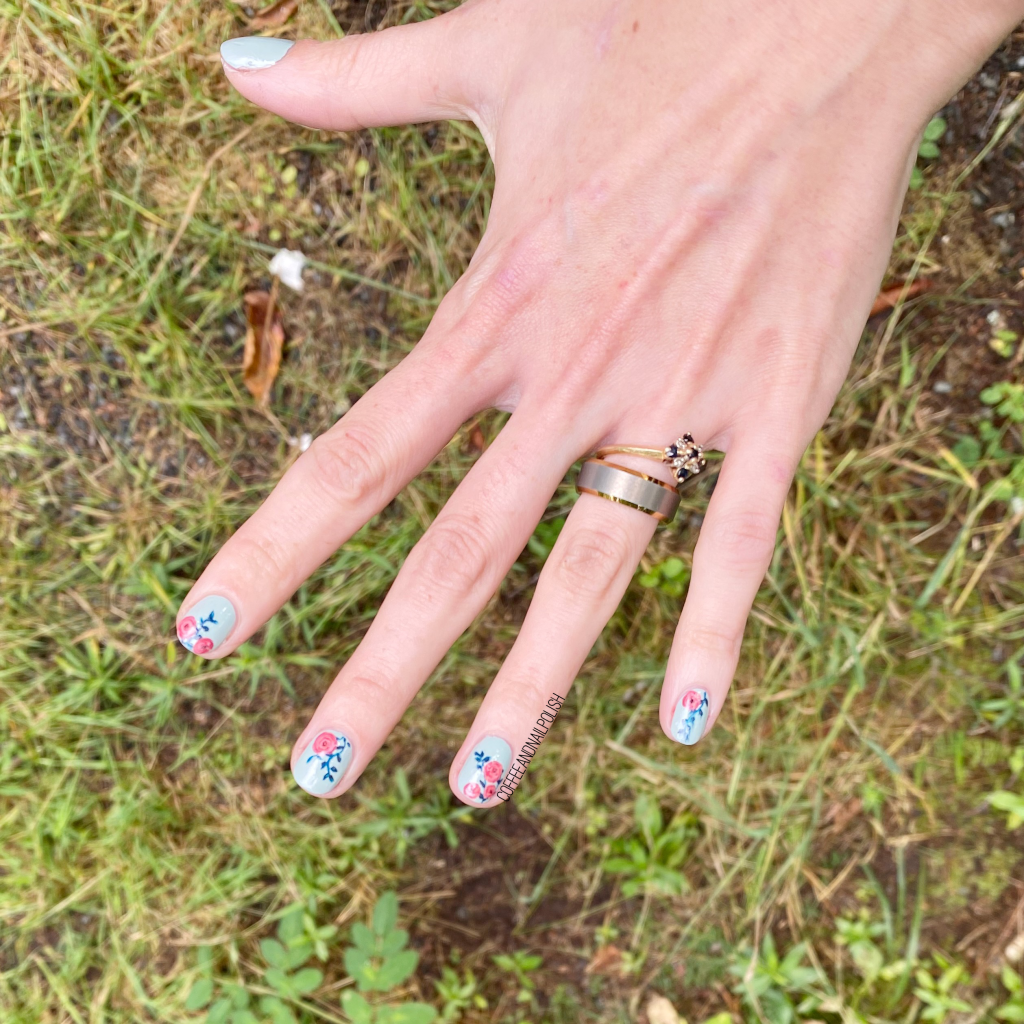
I’ve been slacking a bit on my posting this week, haha. Sometimes real life just gets in the way of blog life. But I’ve got a big, big coffee to start my day, & I’m finally sharing this floral I teased on my Instagram stories last week. 💗🌸

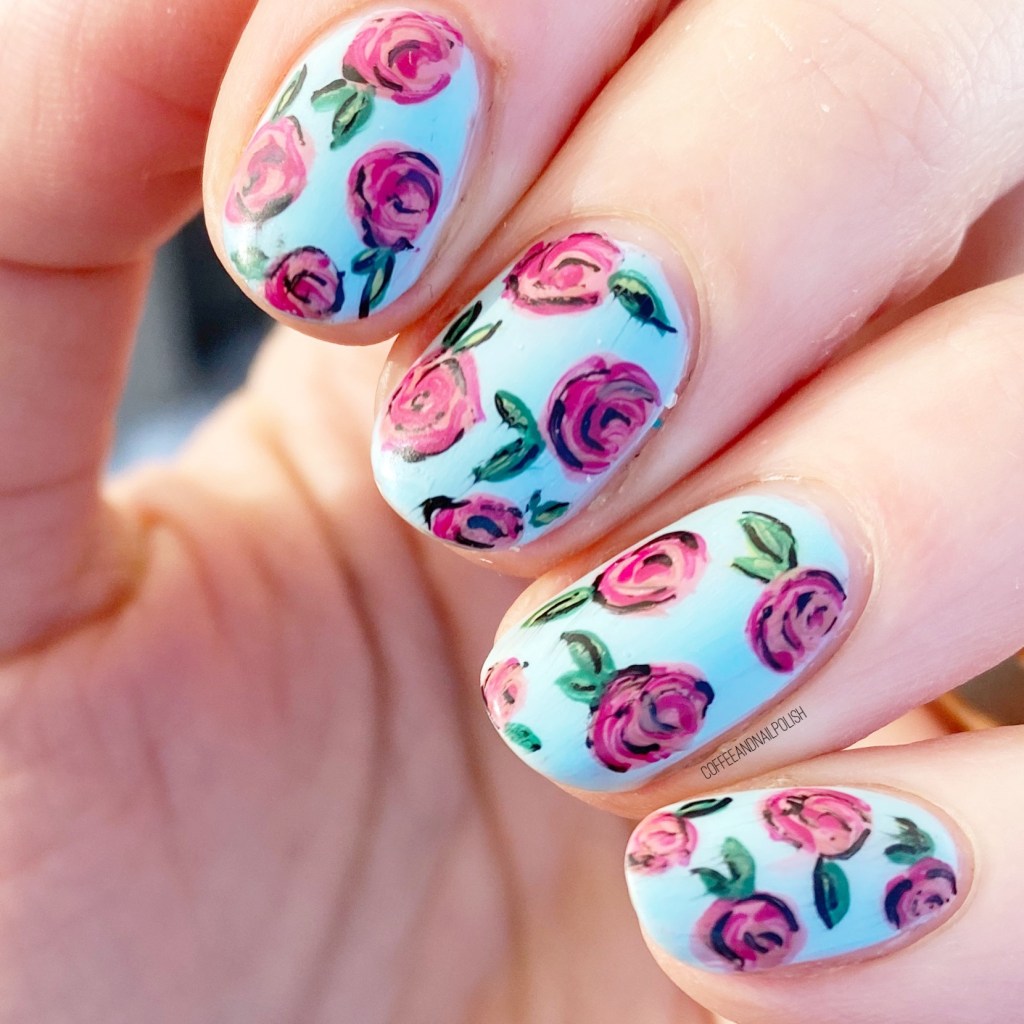
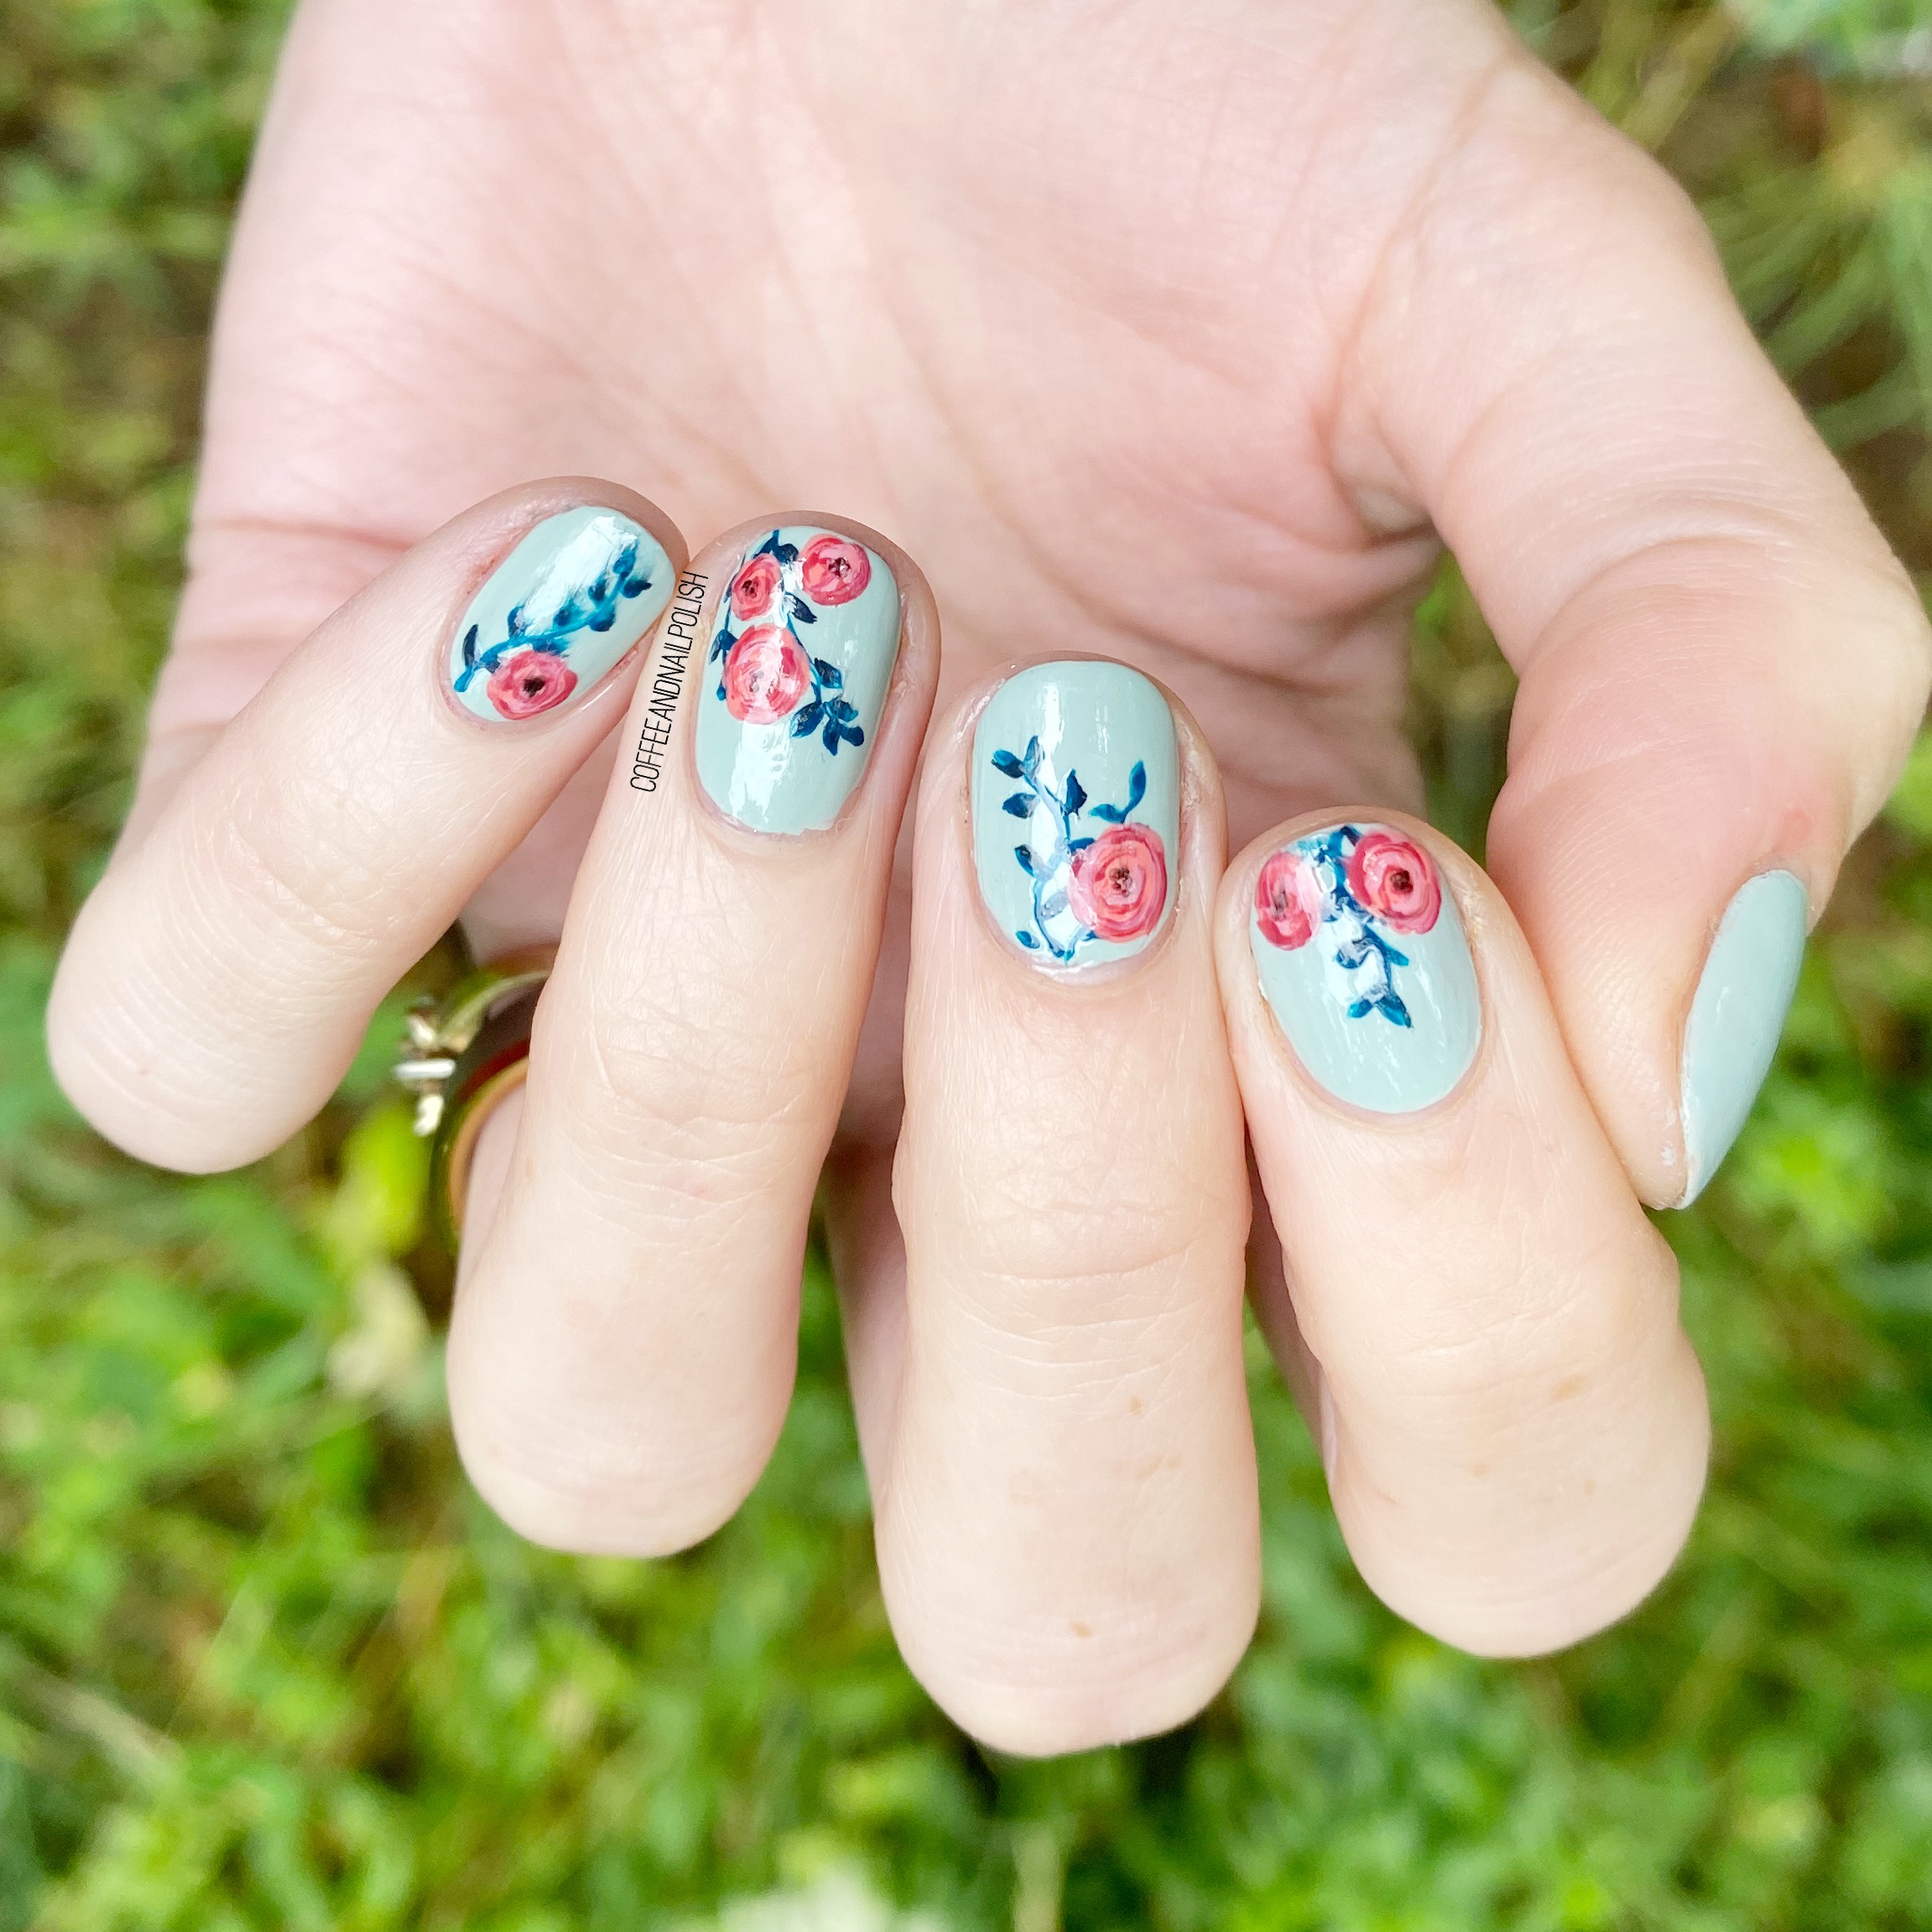
For this manicure, the polishes I used were:
- Base Coat: Sally Hansen Nailgrowth Miracle
- Top Coat: Essie Good to Go
- Sally Hansen Miracle Gel In The Sheer
- Starrily Eclipse
- Sally Hansen Miracle Gel Orchid-ing Aside
- Sally Hansen Miracle Gel Violet Voltage
- Sally Hansen I ♥️ Nail Art pen in Pink
- Sally Hansen I ♥️ Nail Art pen in Blue
- Sally Hansen I ♥️ Nail Art pen in Turquoise
- Sally Hansen Insta-Dri VaVa Violet
- Sally Hansen Insta-Dri Thyme is Money
- Sally Hansen CSM Let’s Snow
- Sally Hansen Hard As Nails Black Heart
- Essie Off Tropic
- Essie In The Cabana
- Color Club Art Club Pink Pastel
- NailStuff.ca 7mm detail brush
- NailStuff.ca Dotting Tool Trio


Whew, this was a lot of polishes to bring it alive, but the end result…. well I think it speaks for itself! Also check out that peak-a-boo holo! I’m kind of a obsessed with dainty holographic looks over a nude-ish base. It’s a nice introduction to Spring, & since here on the East Coast it’s apparently going to be above average temperatures for the next 3 months, I think we’re going to have an early Spring! Which, you know… I’m okay with. Give me Spring dresses, no snow, & pastels, & I’ll be happy. It’s the least 2021 can do for us after the dumpster fire that was last year.

What do you think about this Spring floral, & it’s sneaky holo base? Are you, too, ready for more Spring? Let me know what you are looking forward to the most about Spring down in the comments below!