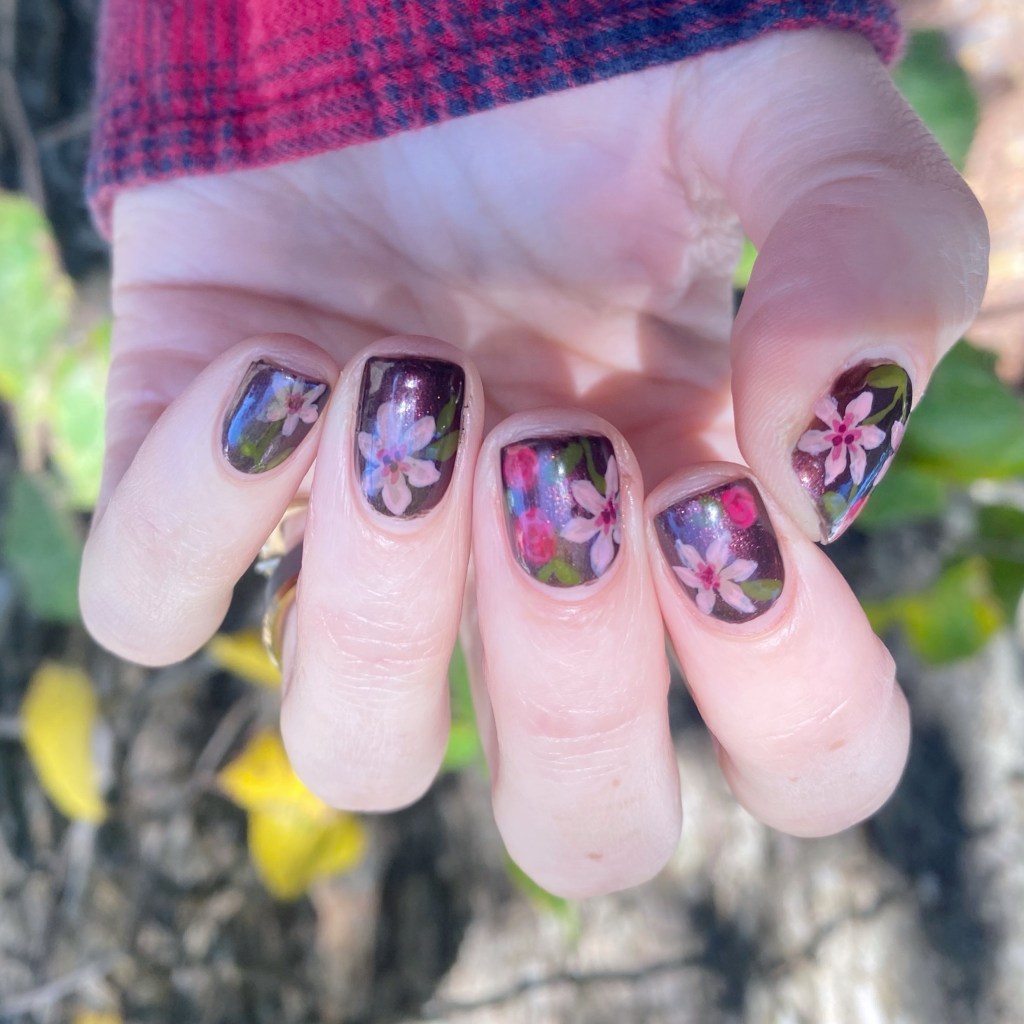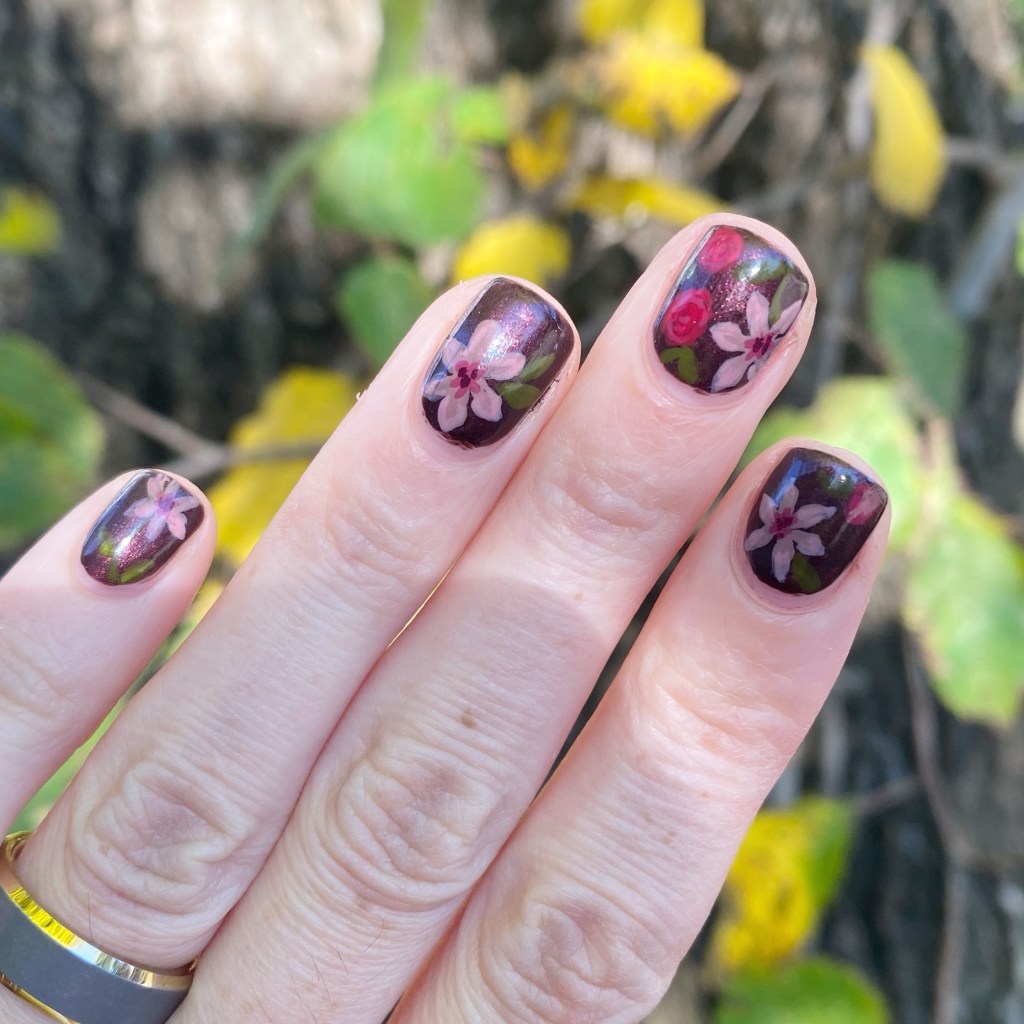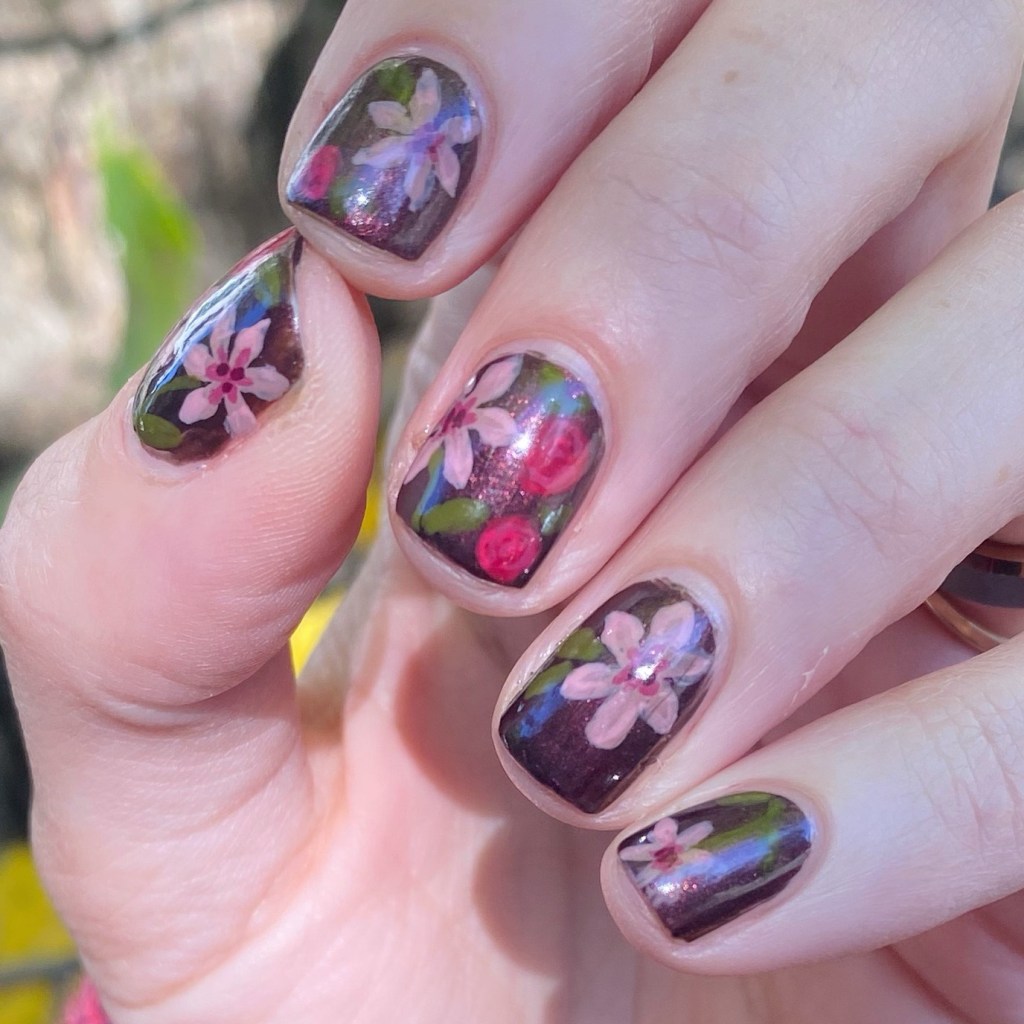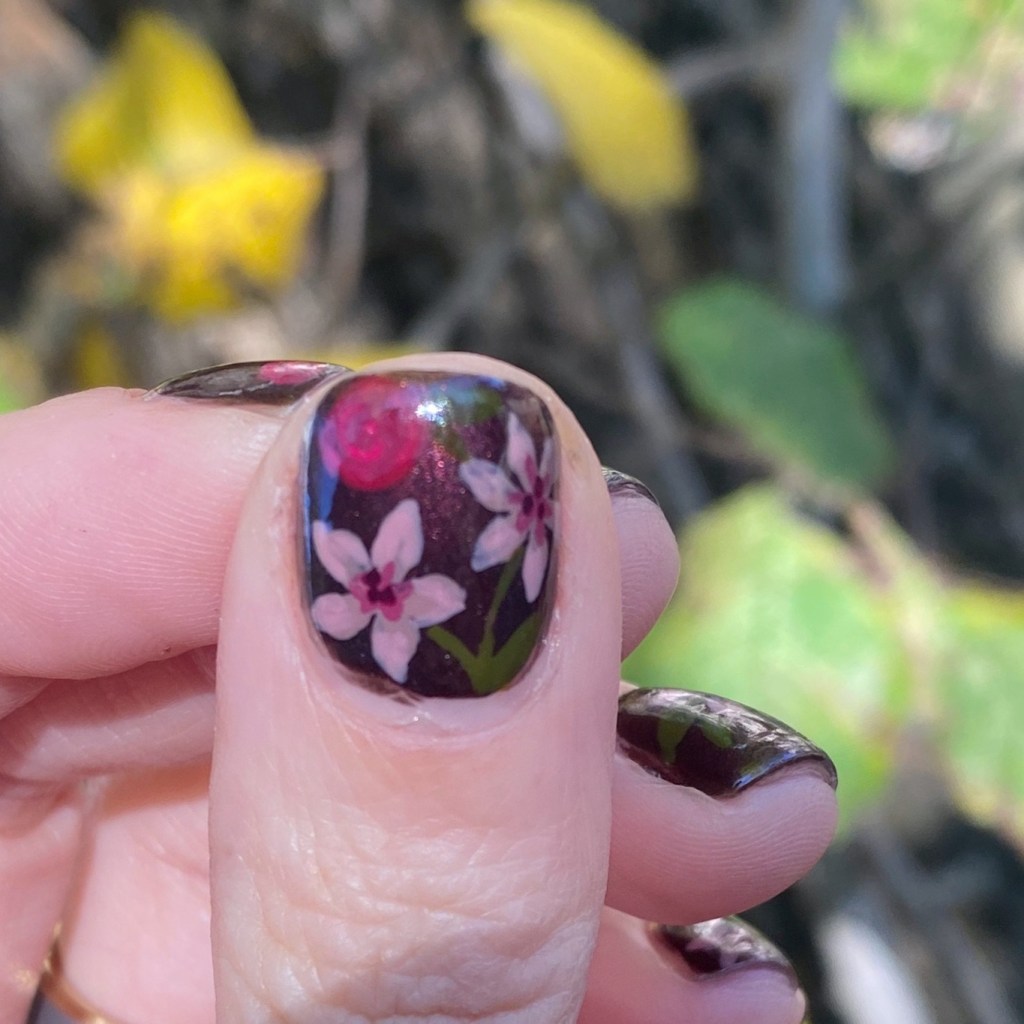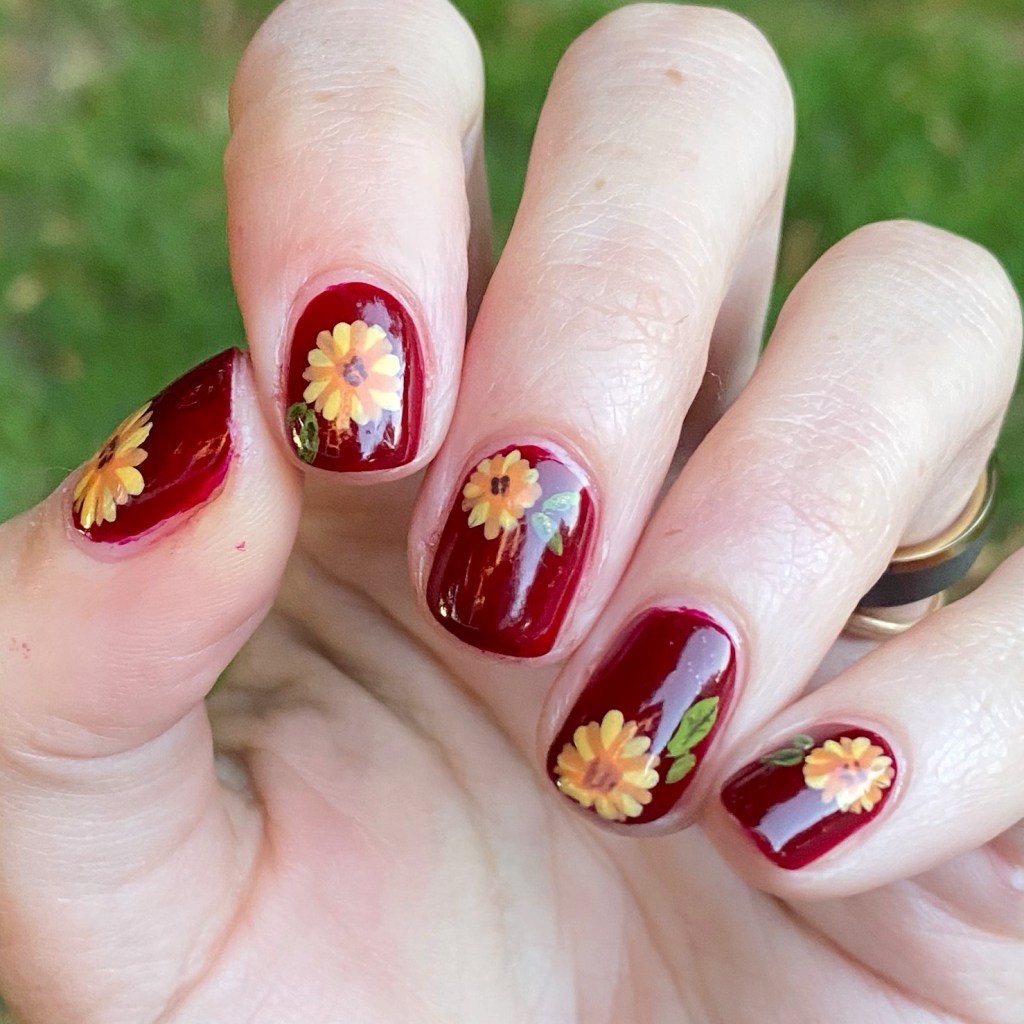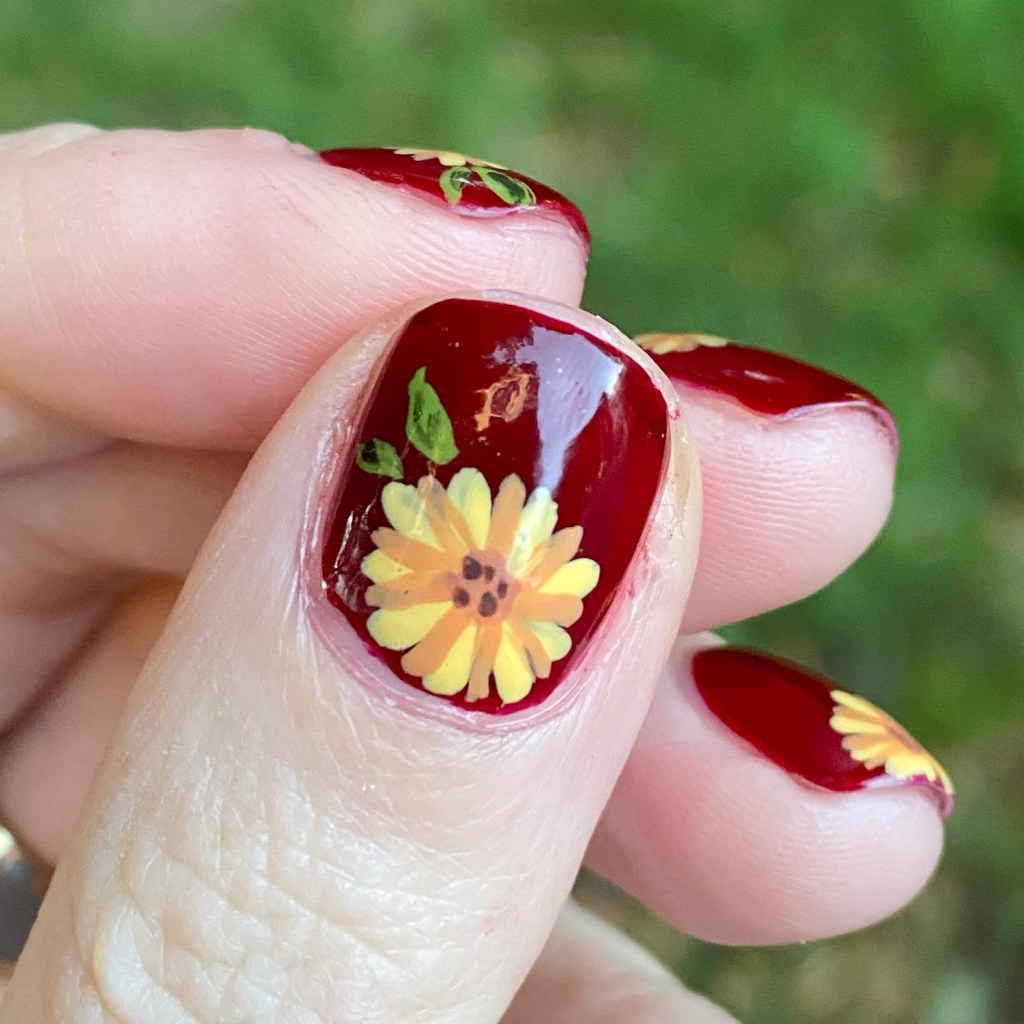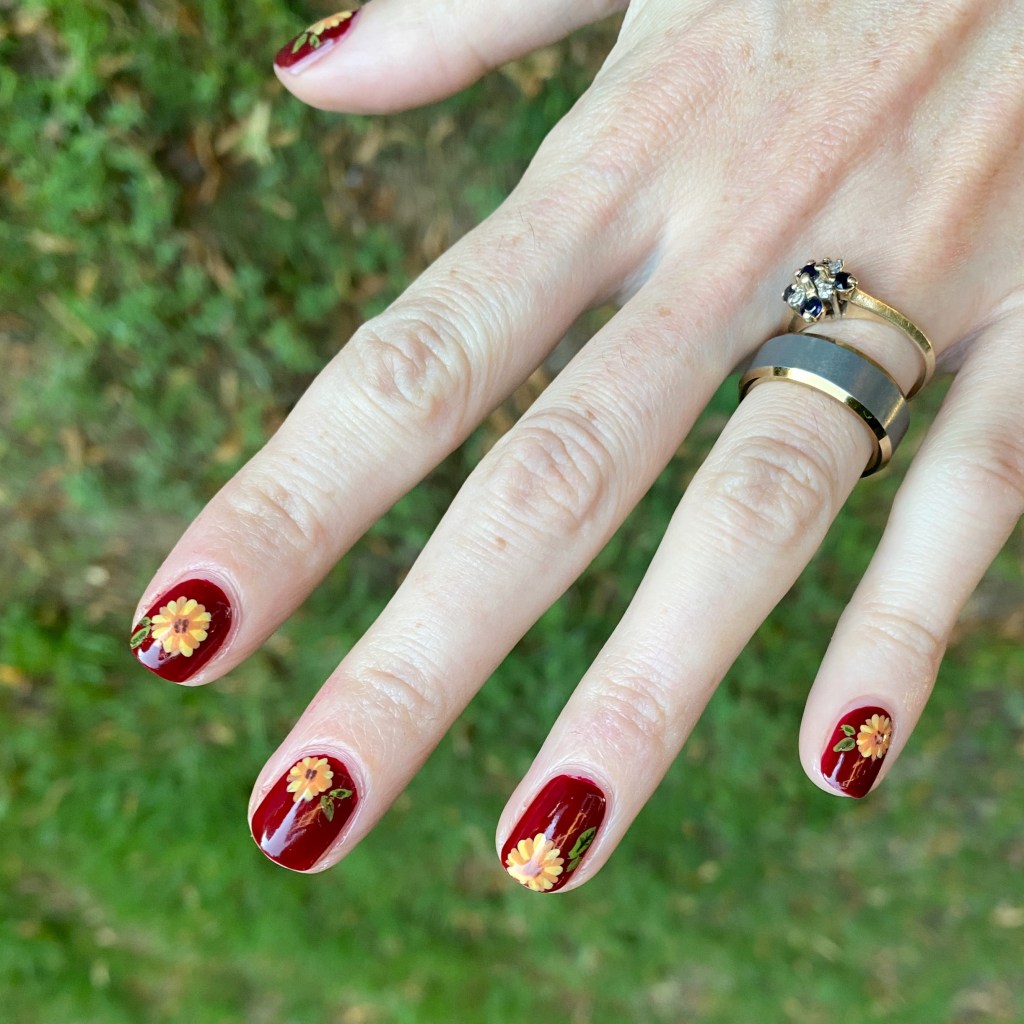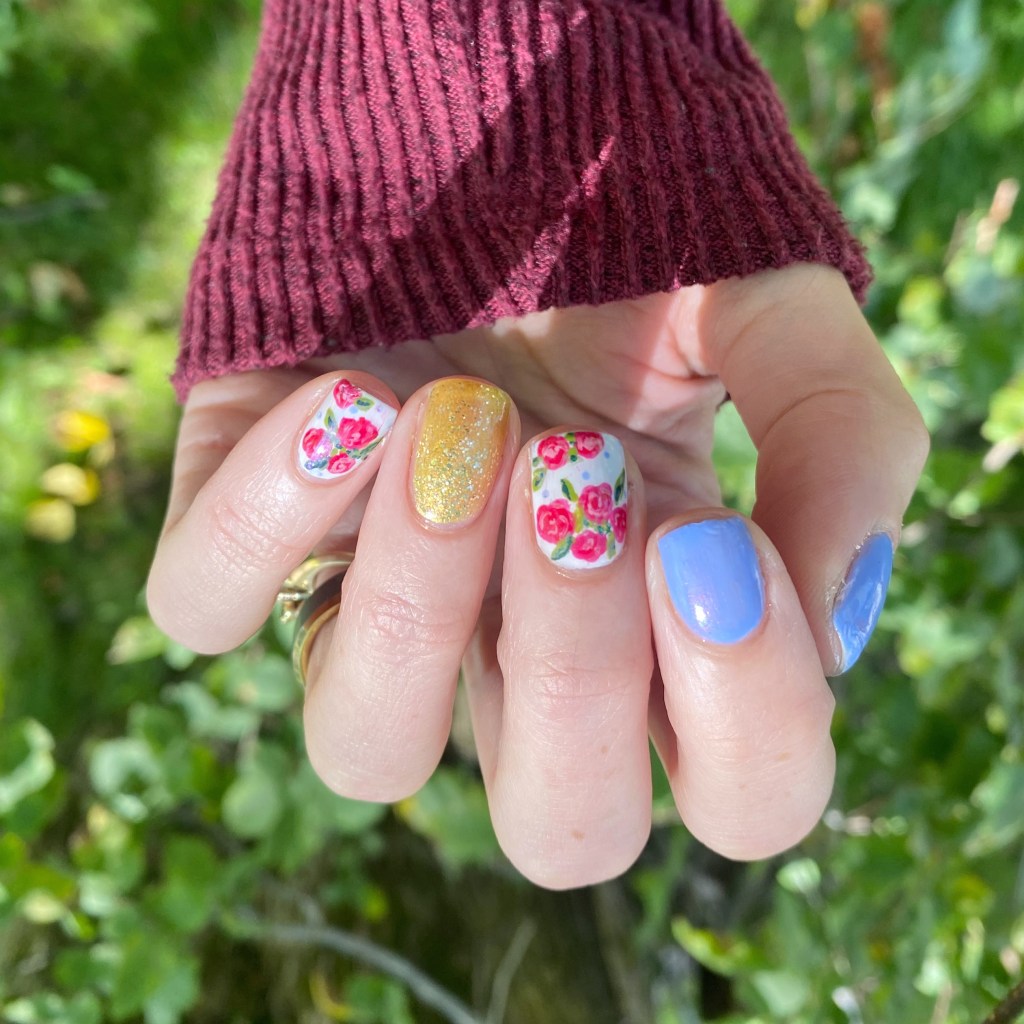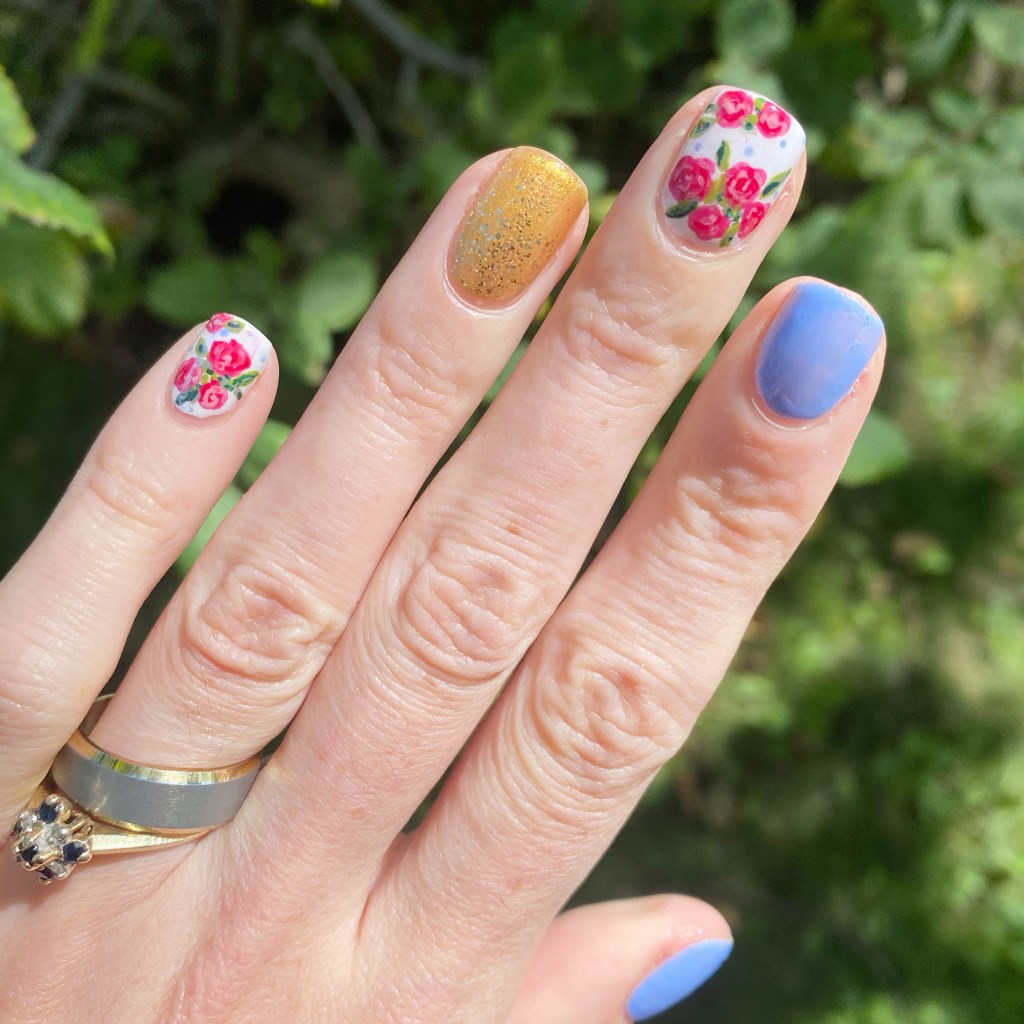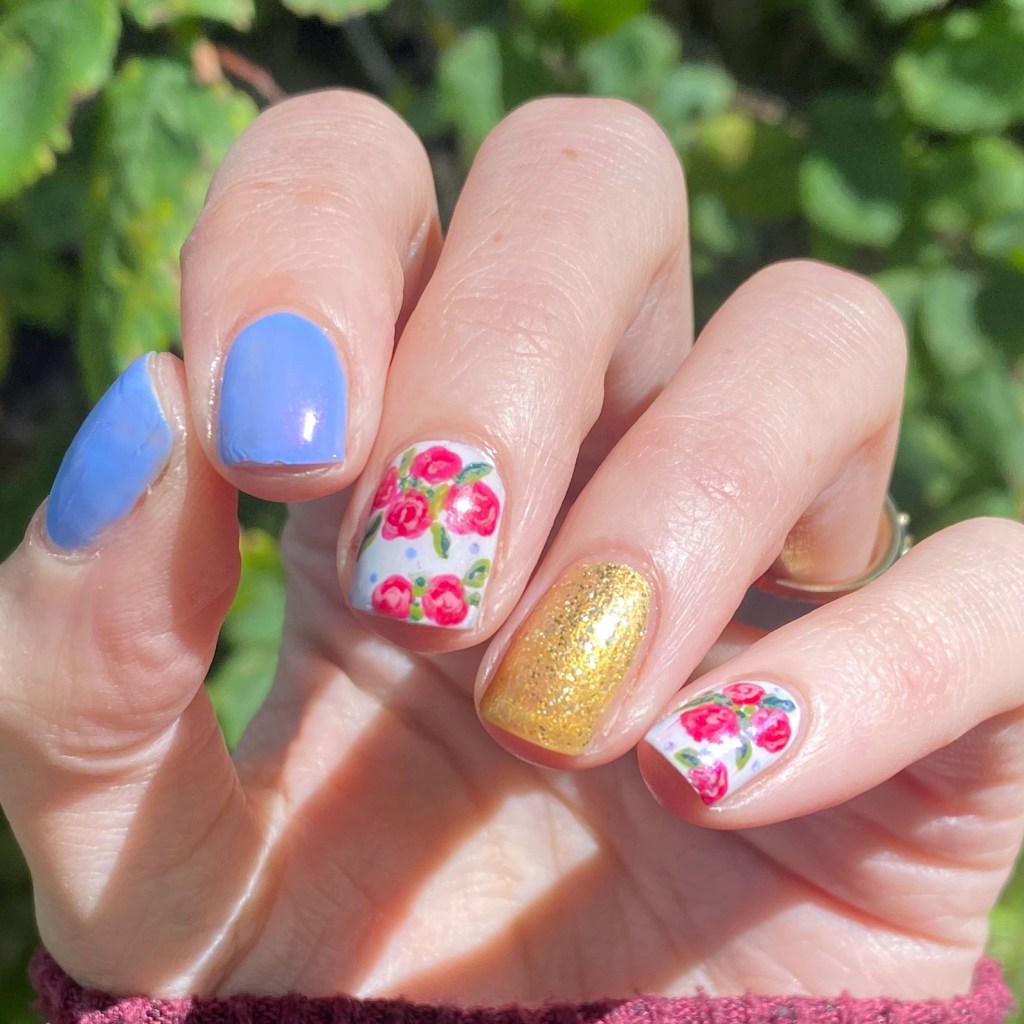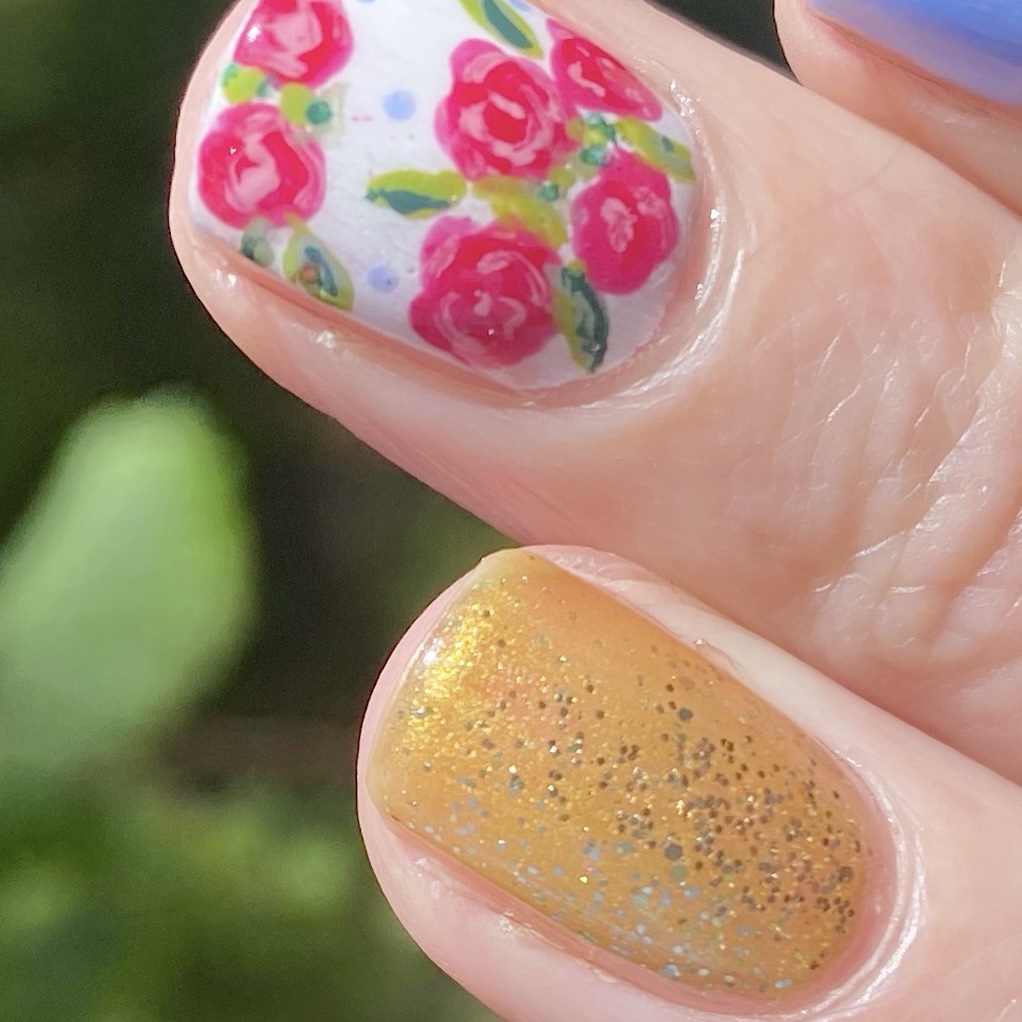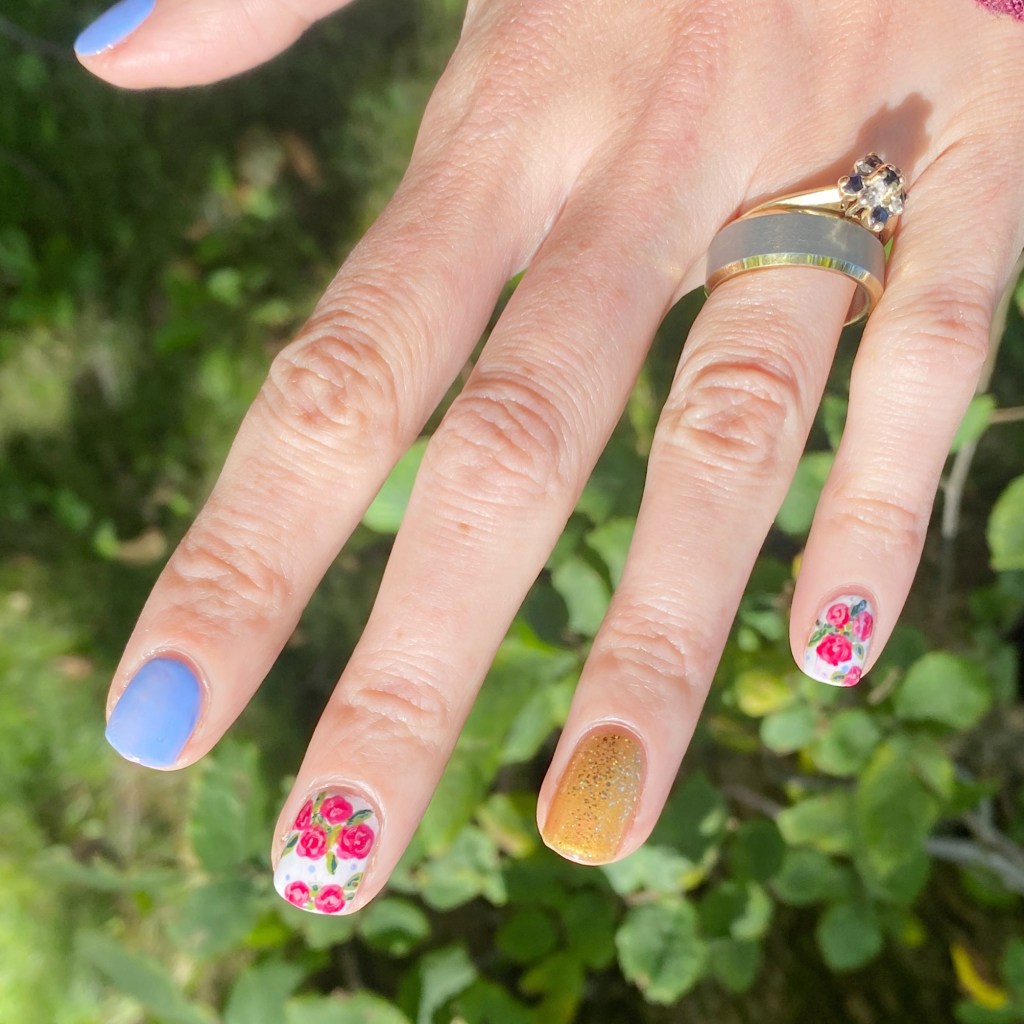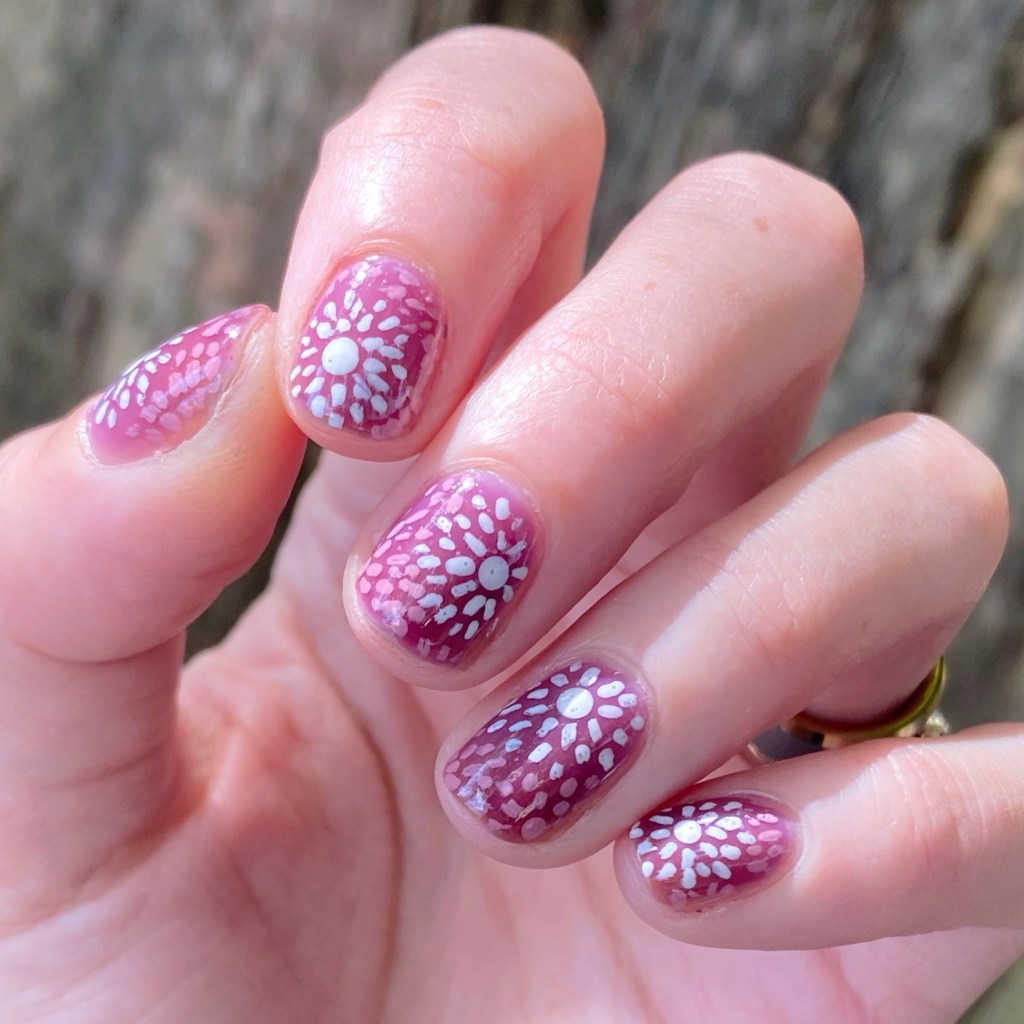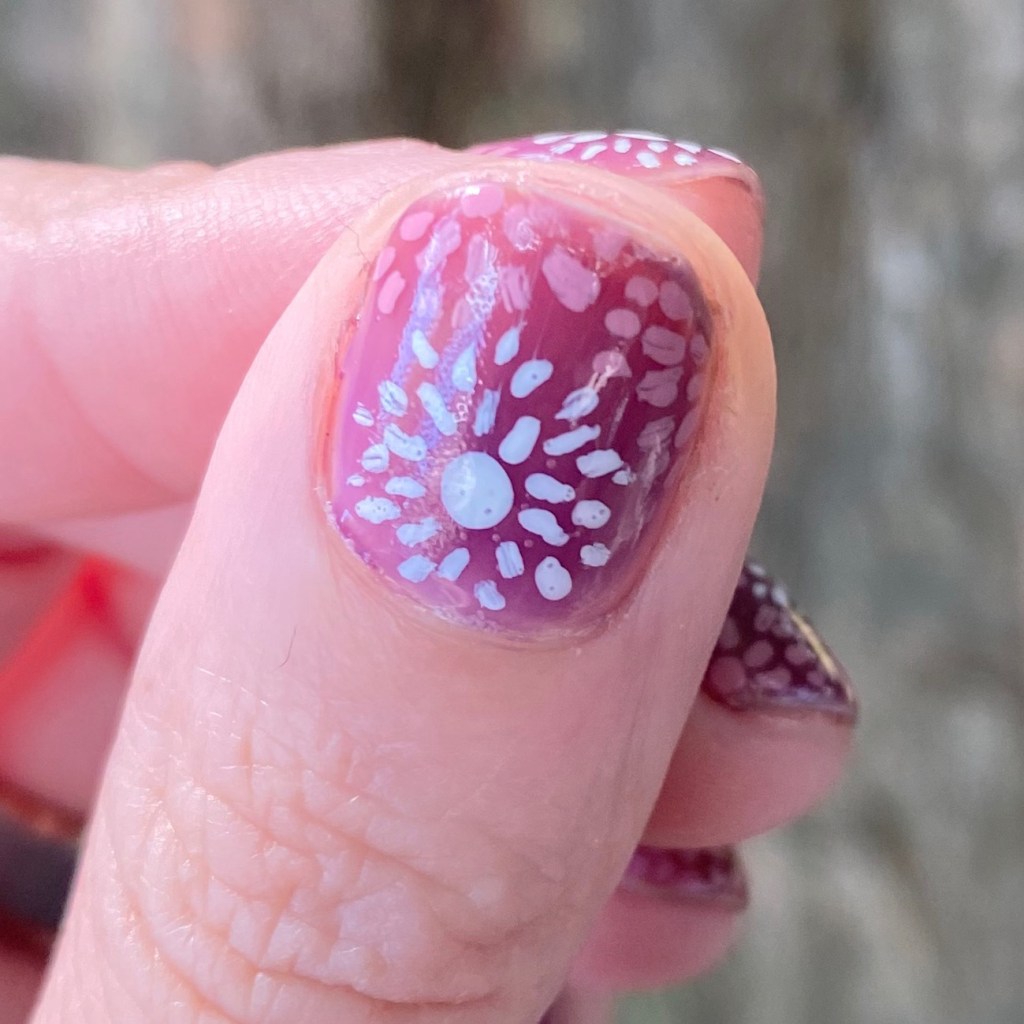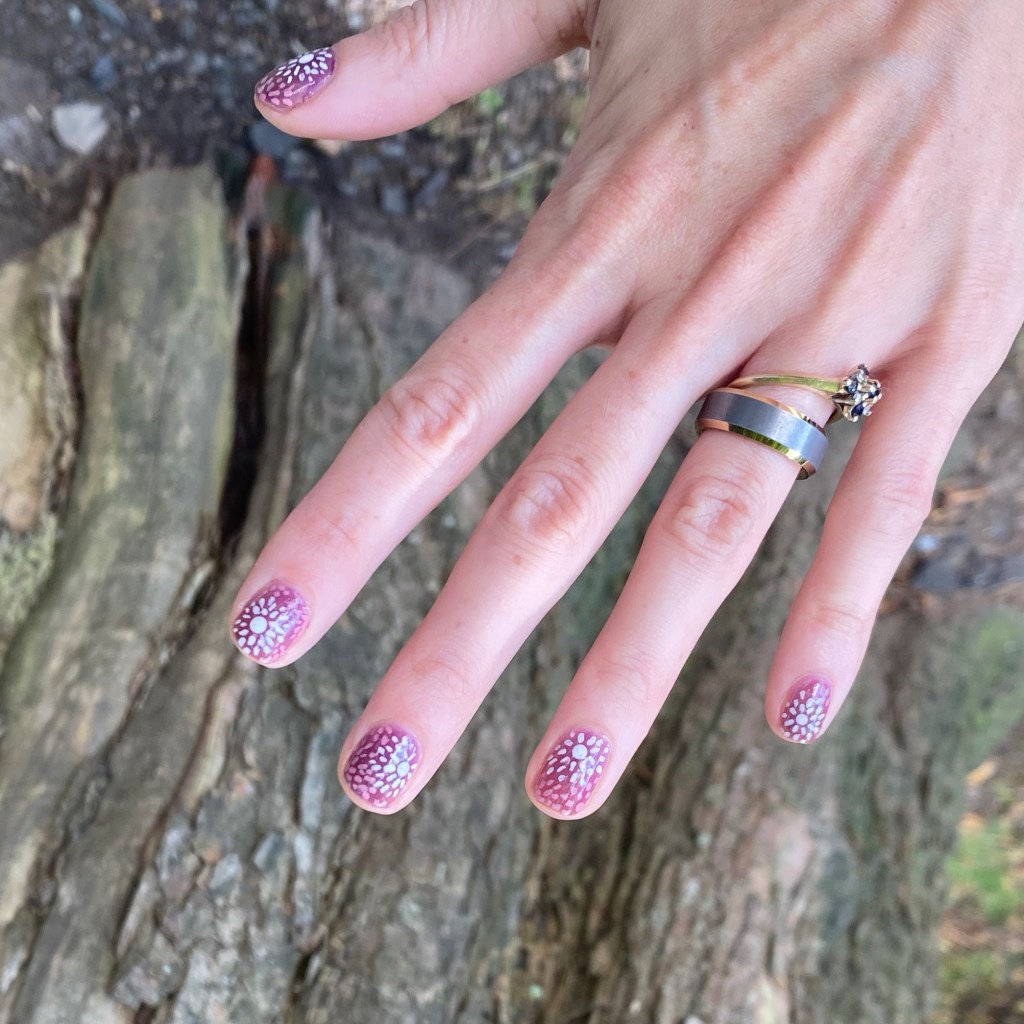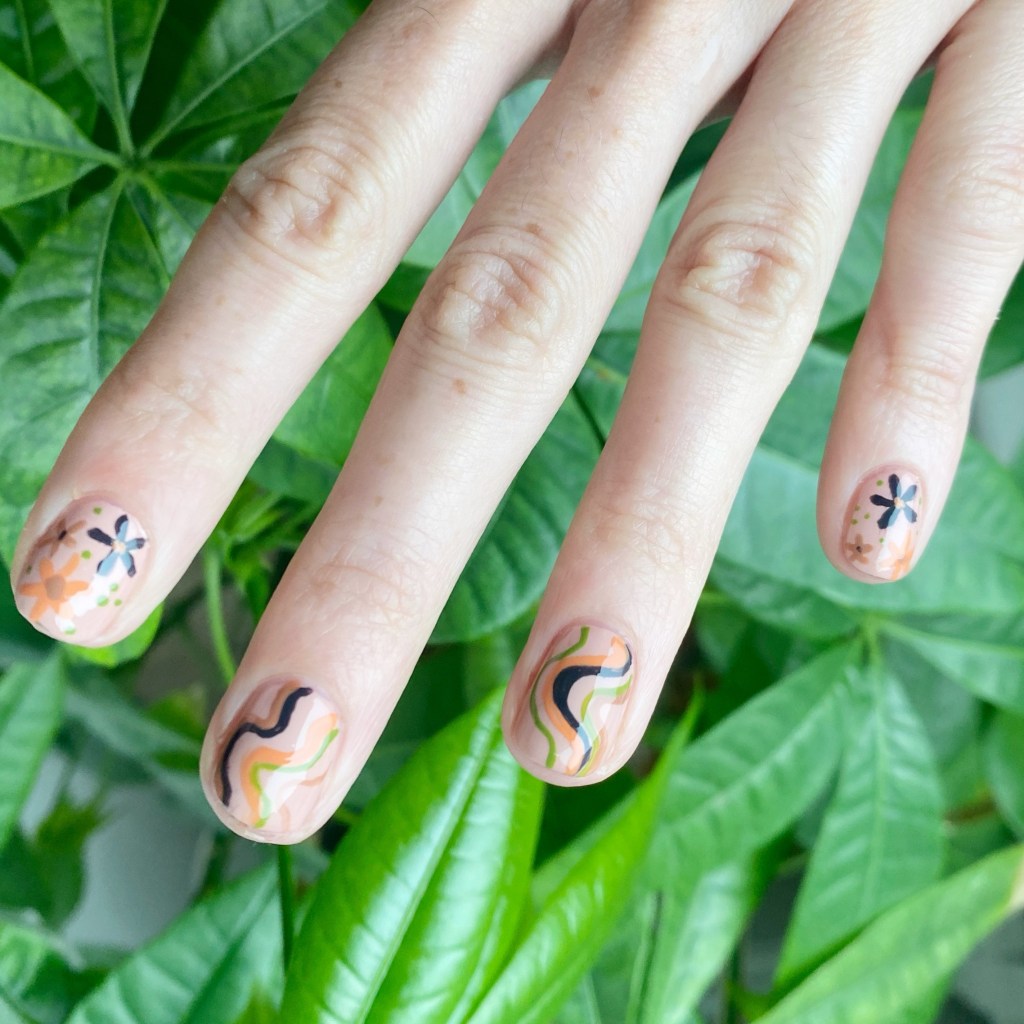
Autumn Floral (Inspired by Christabell Nails)

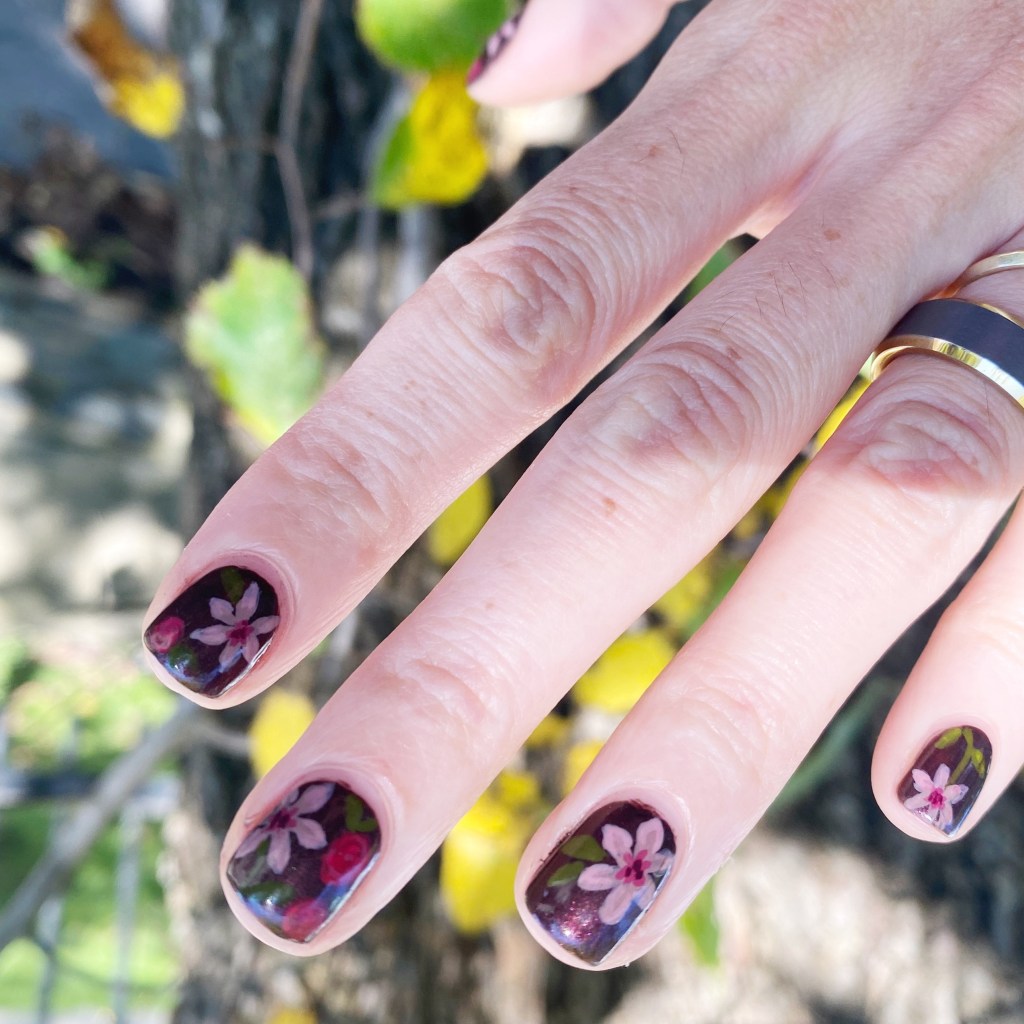
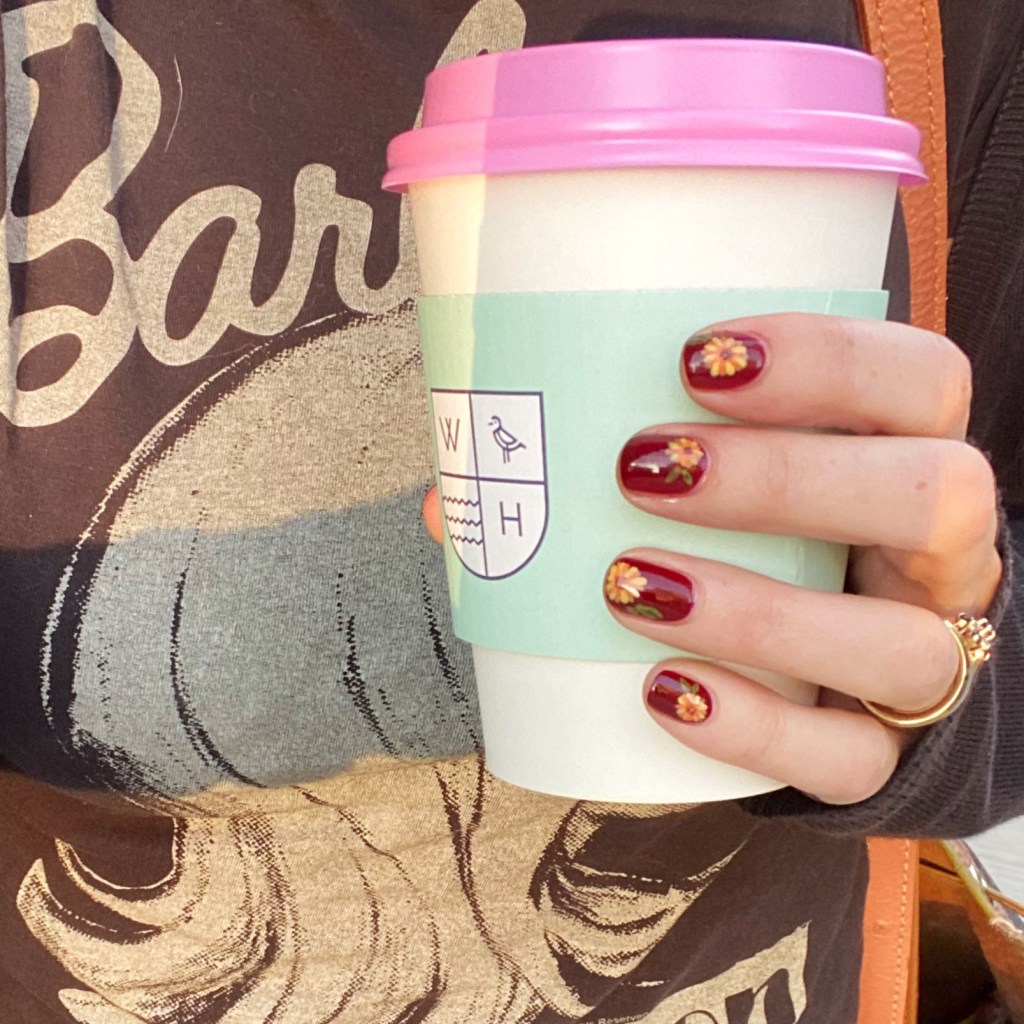
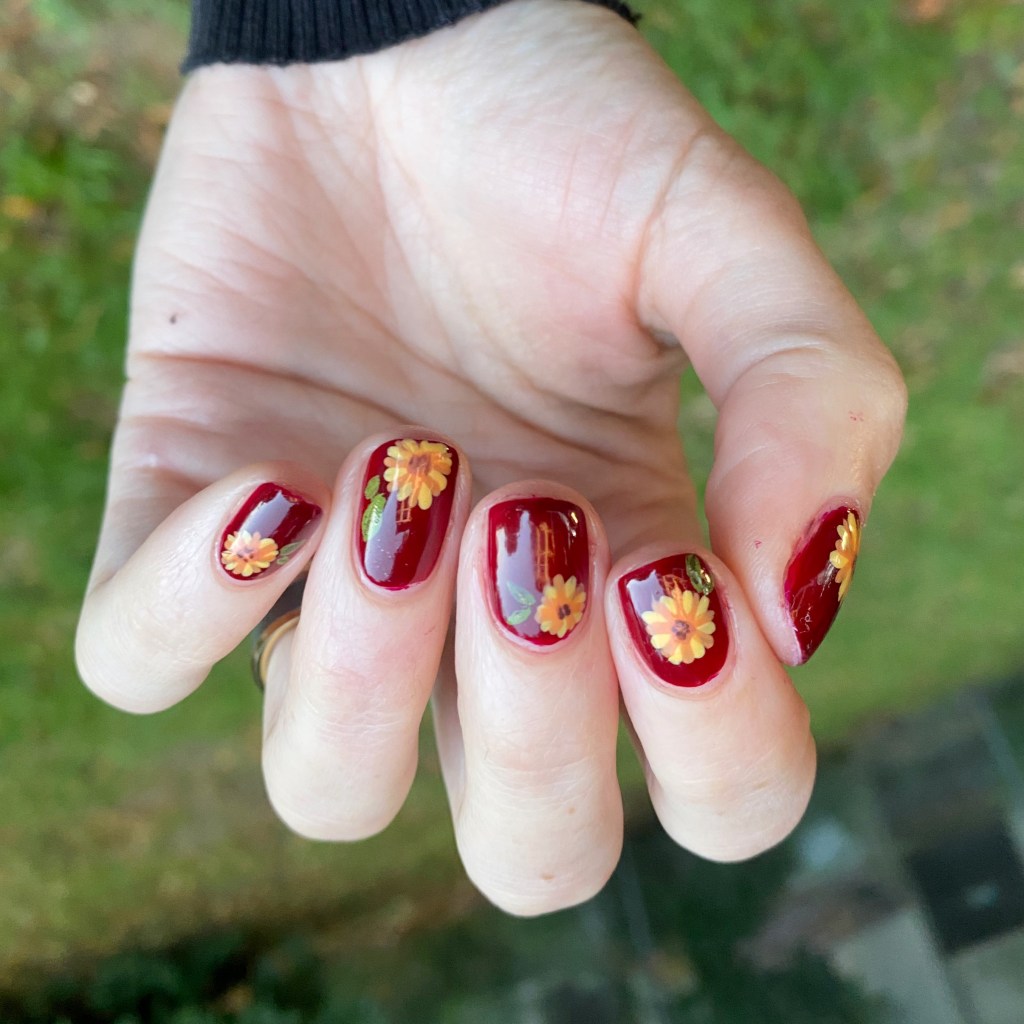
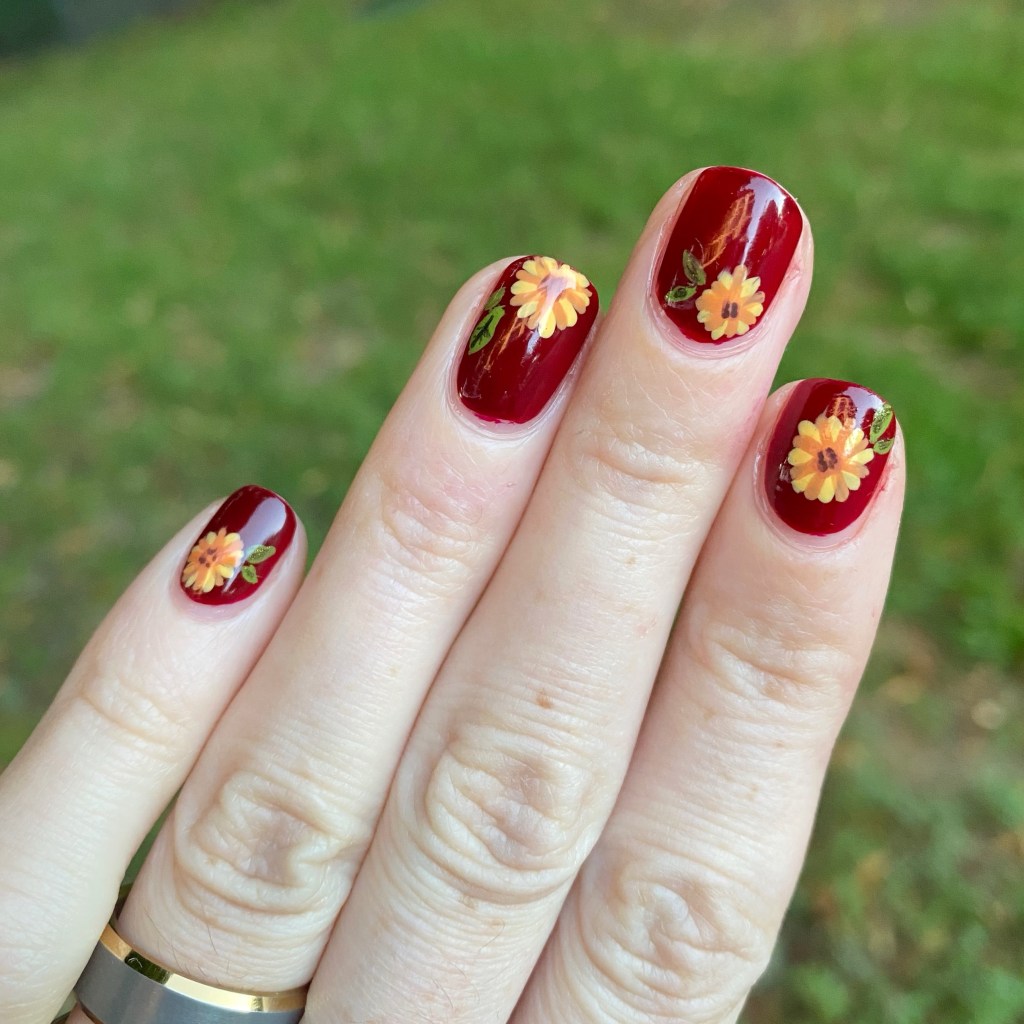
Hello loves & happy Wednesday! I hope everyone is having a good start to their week (& this brand new month!) Today I’m super excited to share a manicure I recently did inspired by one of my OG Nail inspirations circa 2013-2016: Christabell Nails.

I was browsing Pinterest while trying to figure out what I wanted to paint on my nails, when I clicked over to Youtube & saw my Subscriptions & remembered Christabell! After a little scrolling, I stumbled upon her Autumn Floral Nails Tutorial , & knew I needed to recreate it on my nails immediately! It is such a pretty, but unique, design & I thought it would be a perfect September design.

The polishes I used for this manicure are: 

  • Base Coat: Essie Hard To Resist Strengthner
  • Top Coat: Sinful Colors Power Paint Top Coat + Essie Speed Setter
  • Essie Silk Water Colours No Shrinking Violet
  • Essie The A-Bliss
  • Essie Blank Page
  • NailStuff 7mm Liner Brush
  • NailStuff Dotting Tool Trio (larger size)

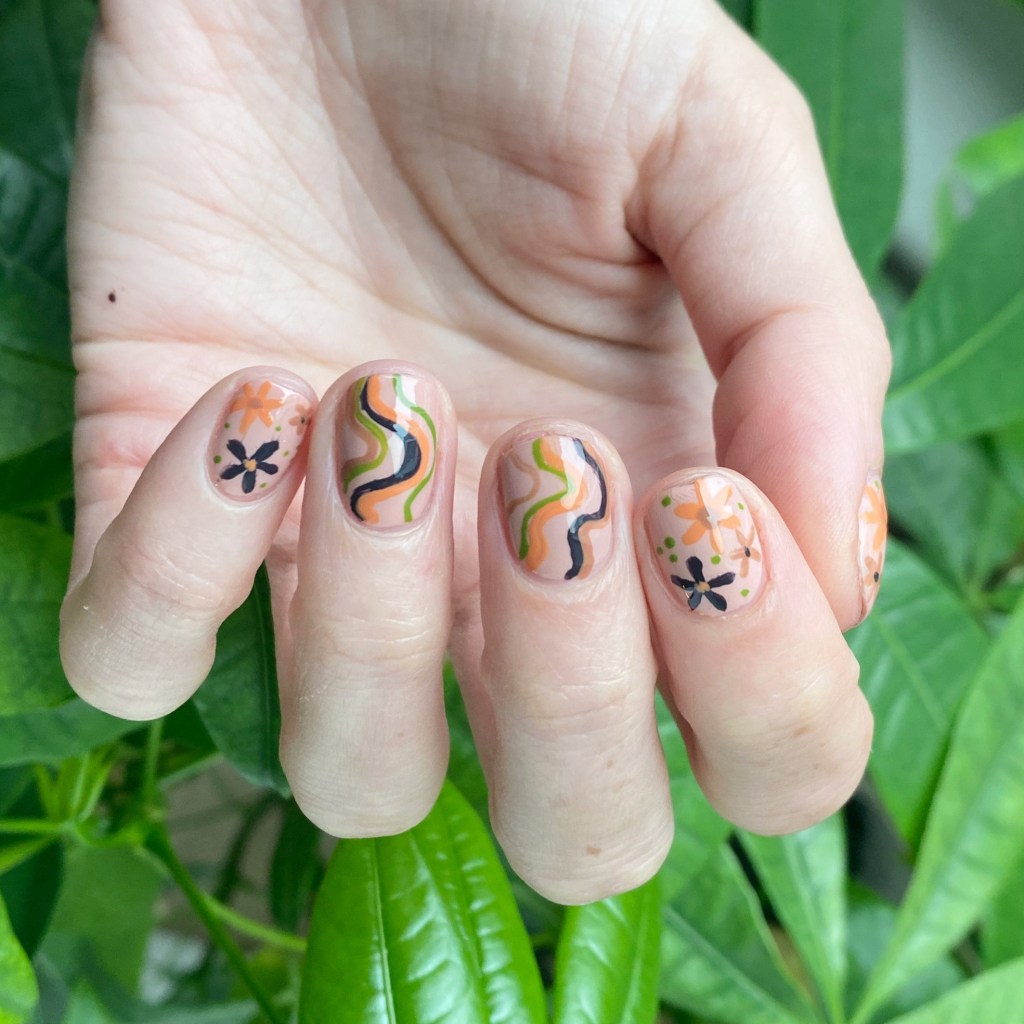
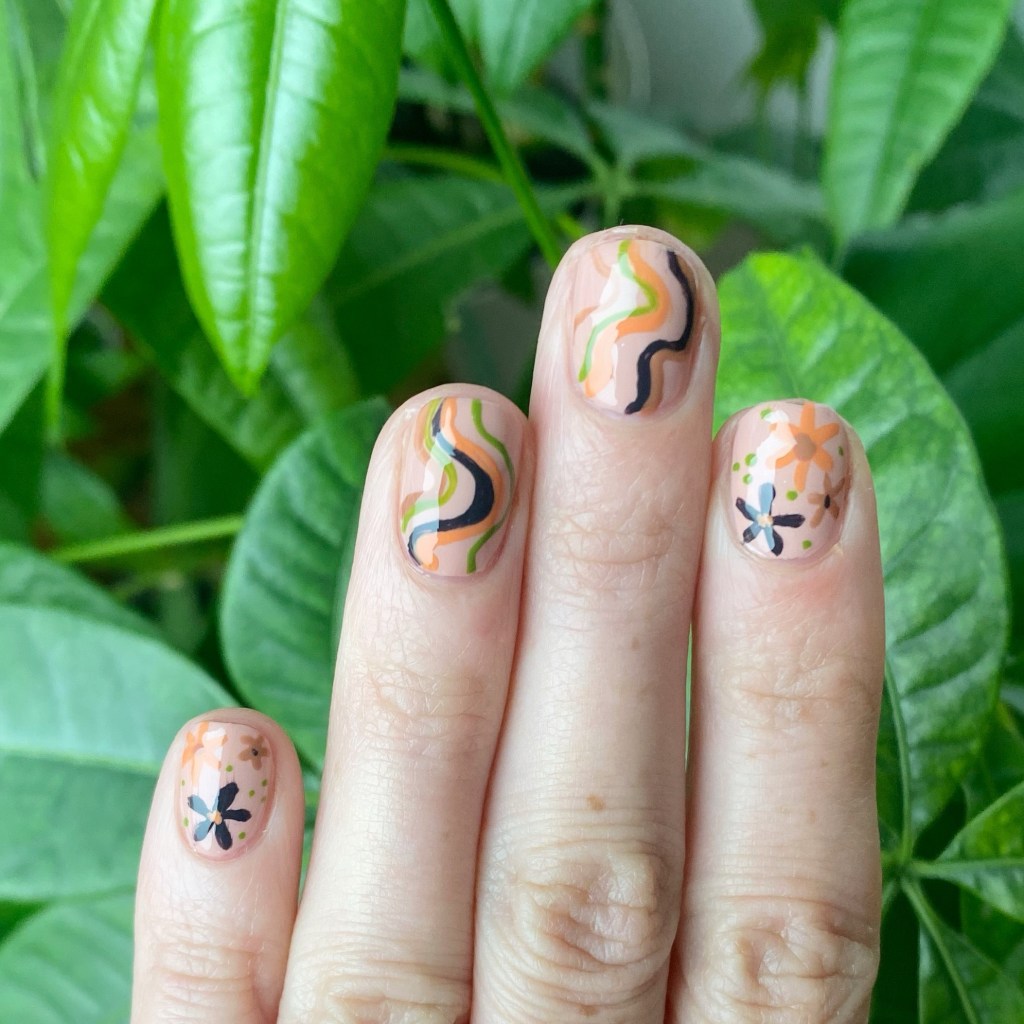
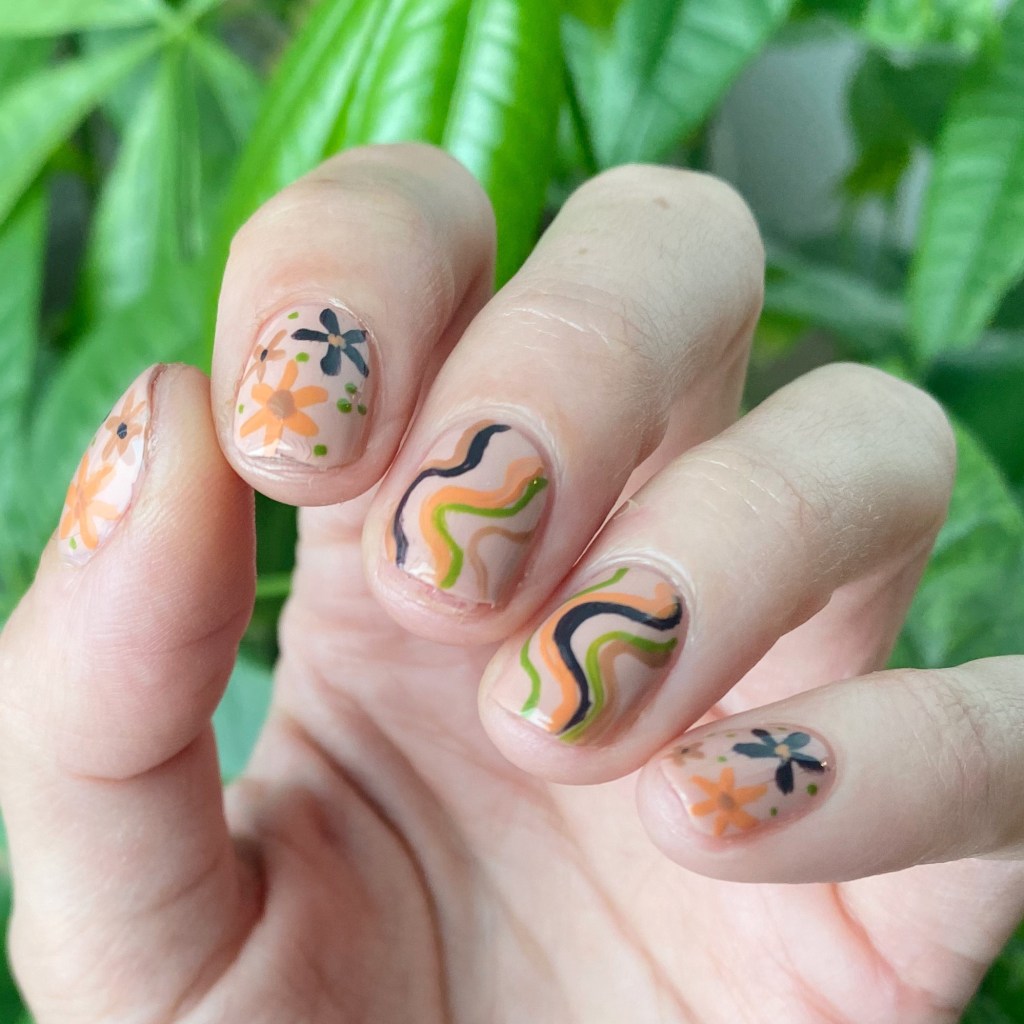
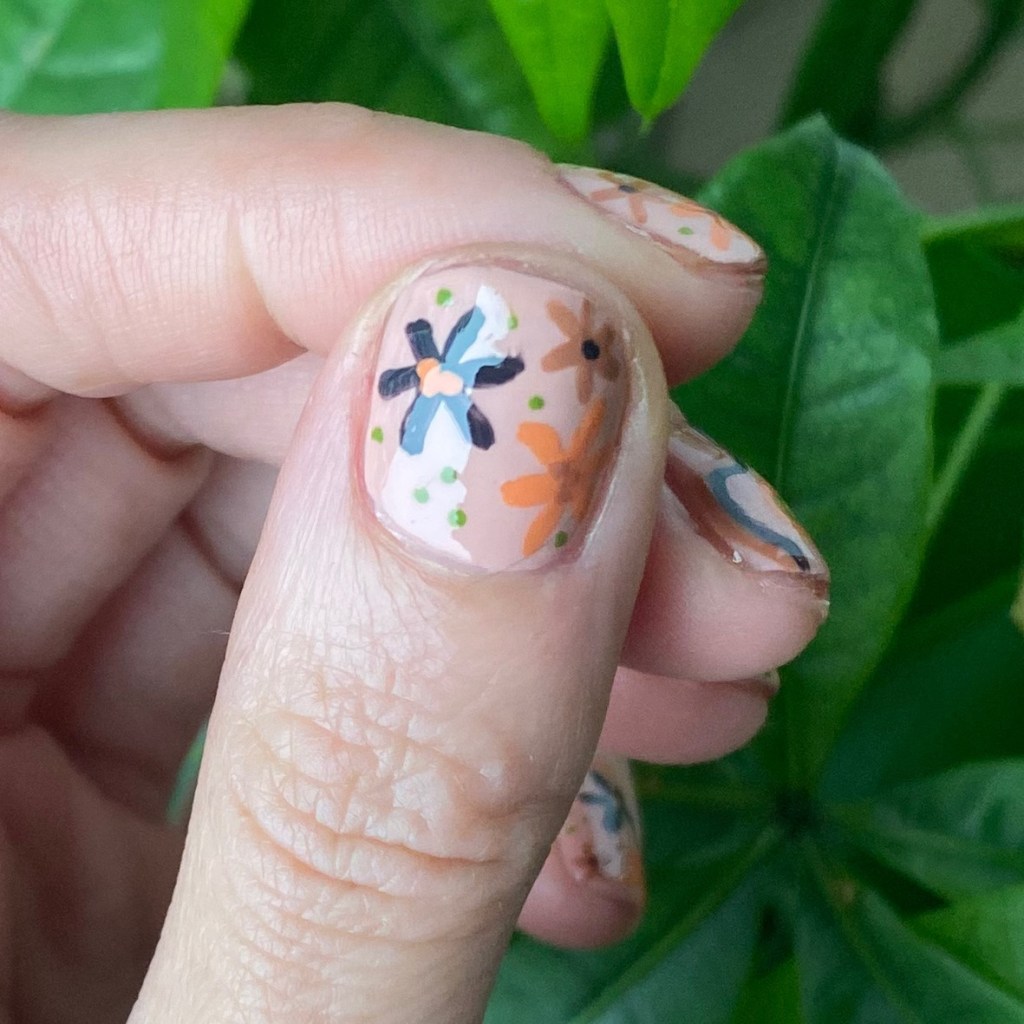
Aren’t these fun? It definitely was a time consuming manicure to do, especially where I painted all 10 of my fingers. But I think it turned out so unique & fun. My strokes were a little messy, but I think that adds to the whole look.

Definitely a striking manicure that came together perfectly, & was absolutely worth the time it took to do!

What do you think of this design? Do you like to go back to old nail inspo, & reinsure yourself again? I feel like I might started doing it again — nail artists like pshiit_polish (her instagram is now private, but a lot of old manicures are on Pinterest!), The Nailasaurus & Lucys Stash. Maybe I’m feeling nostalgic to the olden nails of nail blogging, but it’s fun to take a trip down nail polish lane, & be inspired by what could be considered retro nail trends.

Let me know your thoughts, & where you get your nail inspo from!

❤︎

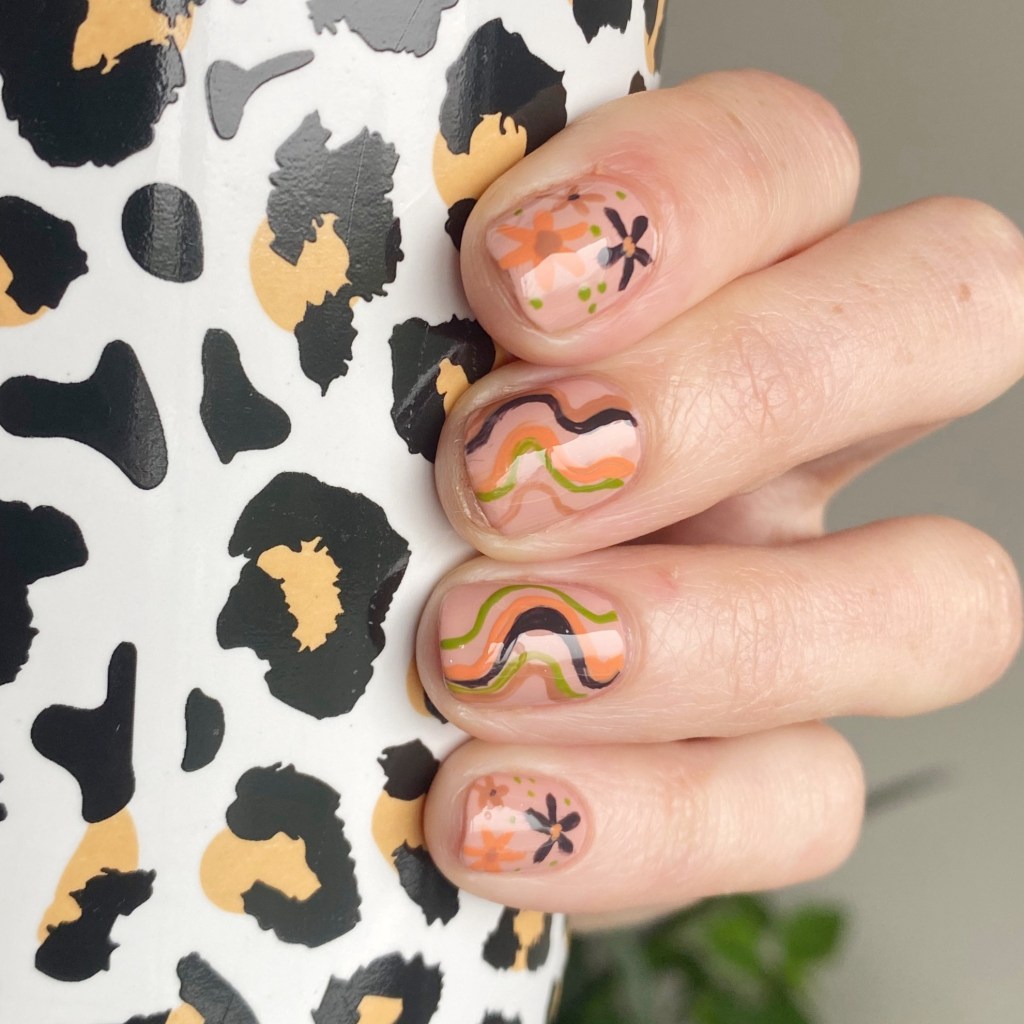
70s Groovy Autumn Vibes 🍂✨

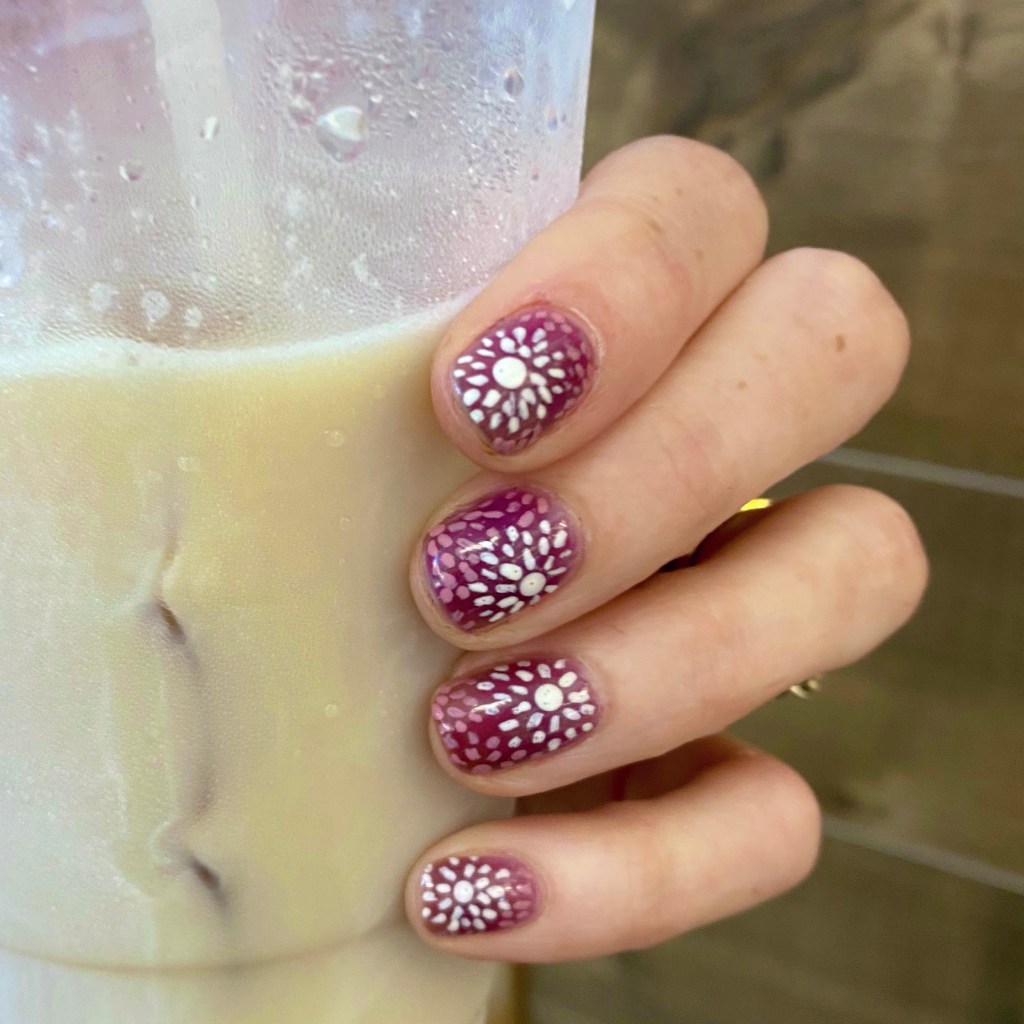
Hello lovelies & happy Monday. It is rainy, & gloomy, & humid outside, & I’m really not enjoying it. It has me dreaming of better days — aka, Autumn. I did my best, I tried my hardest, but honestly… I just love Fall. I love everything about Fall, & I can’t wait for it to be here! I want knee high boots, tights, & plaid skirts, okay?

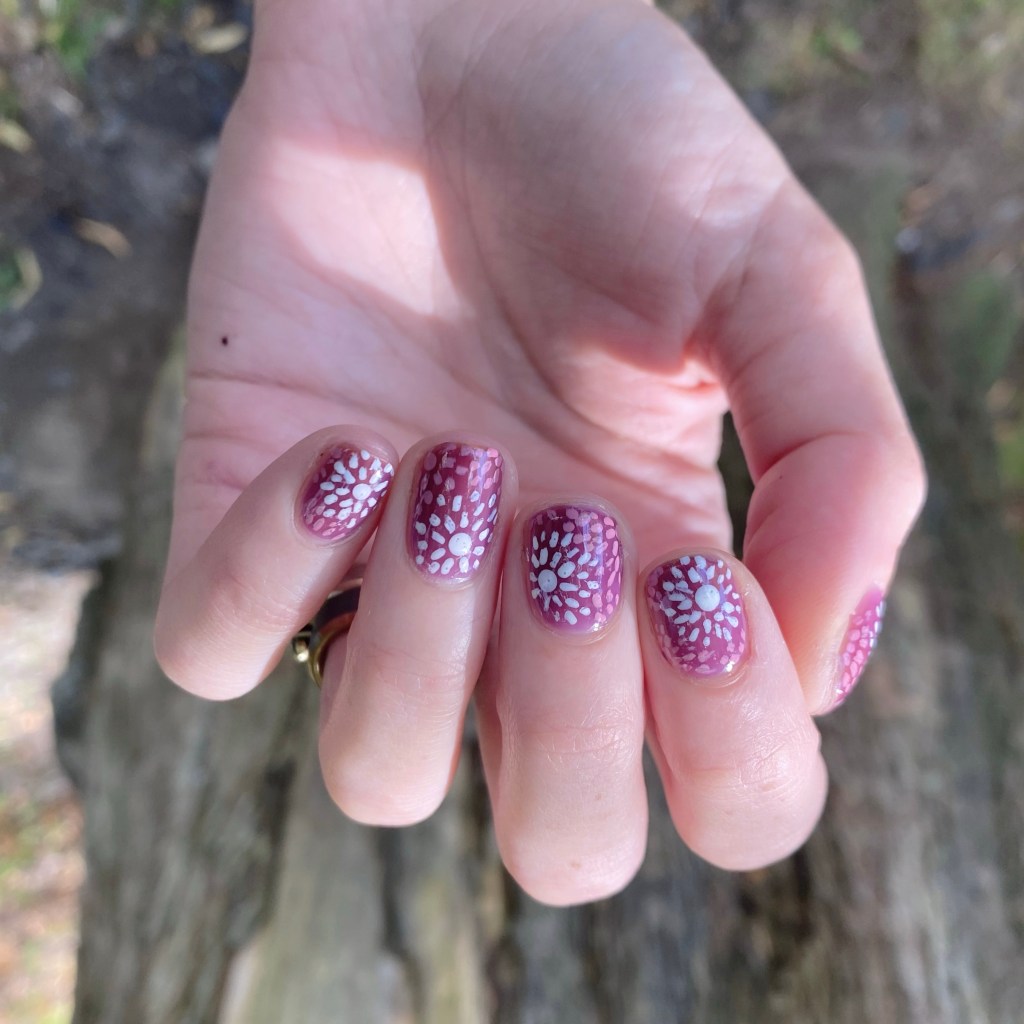
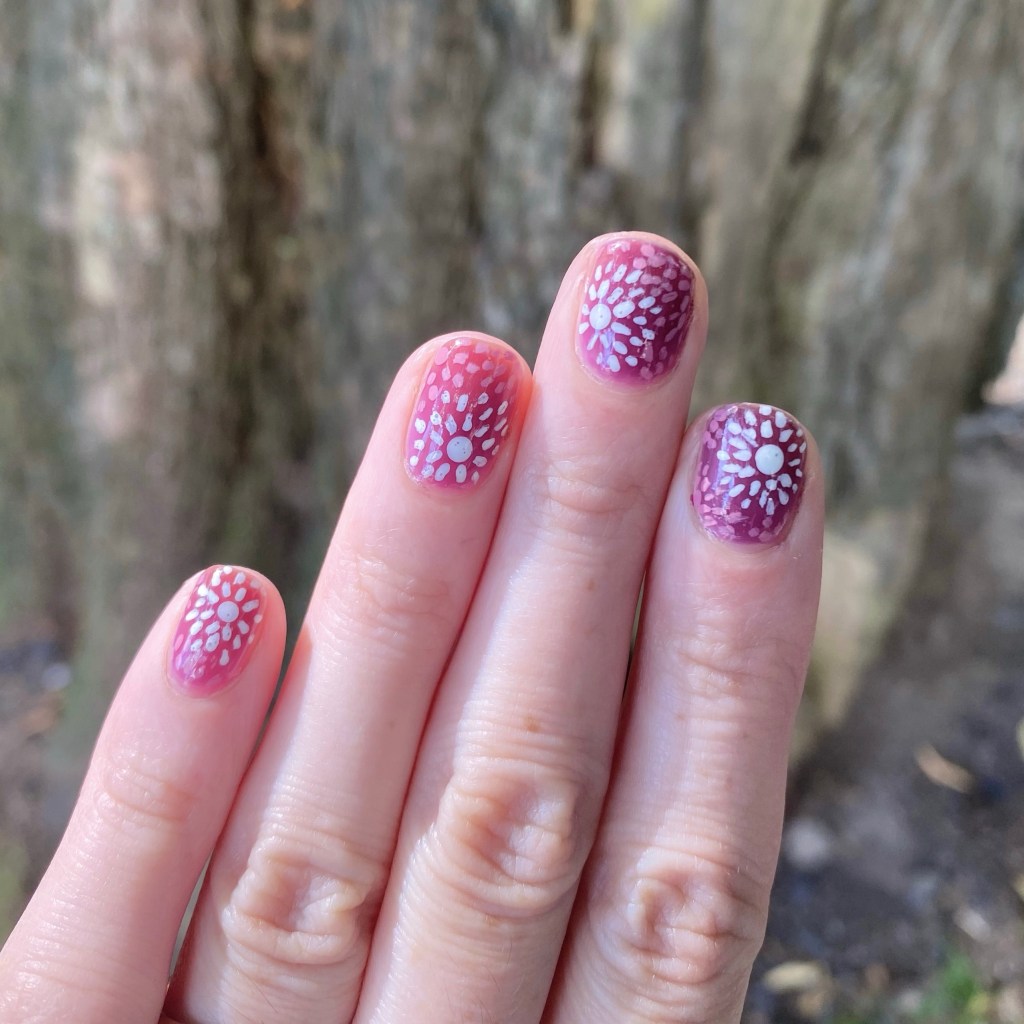
So I felt like some fun Autumn-esque toned nails were exactly what I needed.

I also had a horrendous break on my middle finger while opening a bin of coffee beans at work, so a bit snip was in order. But just because my nails are super duper short, doesn’t mean they can’t be cute!

The polishes I used for this manicure are: 

  • Base Coat: Essie Hard To Resist Strengthner
  • Top Coat: Sinful Colors Power Paint Top Coat + Essie Speed Setter
  • Essie Bare With Me
  • Essie Home After 8
  • Essie Frilly Lillies
  • Essie Cliffhanger
  • Essie Willow in the Wind
  • NailStuff 11mm Mermaid Tail Liner Brush

I love this colour combination together too. I picked out my colours before I knew what kind of design I was going to do, but it came together so fun! The colours work together so beautifully, & it is giving both 70s wallpaper vibes, & early Autumn.

My only gripe is a I wish I had mixed up my swirls & my flowers better so they alternated, but it’s such a small thing it doesn’t take away from how fun these look.

What do you think of this Autumn inspired look, featuring my brand new super shorties? Personally I’m really happy with how these turned out — & especially the colour combination. It’s giving just enough Fall vibes to keep this girl going until she gets her hands on her very first PSL.

Happy Tuesday!

♥︎

SWATCH SUNDAY — ImPress The No Glue Manicure Effortless Spring Manicure

pr/gifted product.

Hey beauties — long time no see!

I know what you’re thinking — Shannon, where have you been? Well the last few months have been kind of crazy behind the scenes, & we actually moved at the beginning of this month, selling our house we’ve lived in for the last 9 years. It’s been an emotional roller coaster, but we’re happily settled in our new place so I’m excited to finally get back into the swing of things.

Today’s Swatch Sunday is a little bit of a switch up, because it’s not a polish but a review of some press on nails that imPRESS was lovely enough to gift to me. & seeing how my nails are currently short short short, I’m excited to show them off!

imPRESS was so kind when they sent me a whole bunch of their newly released designs, & it was hard to pick just one! The first set I decided to try out was this beautiful floral French tip design, with these very cool 3D flowers called Pastel Bloom.

Like the imPress mini x Wicked nails I did on my daughter, these are so easy to apply. Like all fake nails, I feel like I spend the longest time matching up individual nails to my nail beds, & laying them down to I can grab them easily for application. But, with the imPRESS line instead of having to mess with glue — which, I’ll admit I kind of hate — they already come with sticky pads attached! All you have to do is pull the clear tab away, & stick on your nail.

No glue mishaps to be seen!

Now, obviously using the tabs instead of glue–which covers the majority of the nail–means that they might not feel quite as secure as other press on nails which use glue. Personally, the only time I found this an issue was around the cuticle line. I didn’t find the sticky tab came down far enough, so I would–for instance–catch my hair under it. I also noticed that it was easily for dirt to slip under there as well.

Not cons enough to make me not wear them, but definitely something I know that could deter other people. Personally, these lasted for me through showers, work outs, & everyday general wear without any nails popping off. & to me, that is a huge win!

In fact, I’m loving these imPress nails so much that when I decided to take off this design that I had been wearing… I immediately put on another design! This one–called Elegance–felt very fun, & 90s inspired, which I couldn’t turn down.

How freaking cute, am I right?!

Over all, I’m a big fan of these press on designs, & the ease in which they have to put on — but also remove! As someone who likes to change her nails as much as her mind, that is a big bonus to me. If you’re curious to try out some of these nails, you can find them on their website, as well as in store. Here in my part of Canada, I’ve seen them most often for sale at Shoppers Drug Mart & Walmart.

What do you think of these imPRESS nails? Have you tried any of their press on nails, & what did you think? Let me know what you think, & if you would also wear these nails. I’d love to know your thoughts.

Happy Sunday!

♥︎

Easy & Simple Spring Floral 🌼

Hello lovelies — & happy Wednesday!

& Happy April 1st. I hope everyone’s week is going okay. I don’t know about where you are, but here on the East Coast of Canada the weather is miserable–which is just more reason for Spring-y designs. The flowers may not be showing themselves in our garden, but at least I can wear them on my nails.

Today’s look is me wistfully wishing for some warmer, Spring-like days. Which, obviously, means floral!

The polishes I used for this manicure are: 

  • Base Coat: Sally Hansen Maximum Growth
  • Top Coat: Seche Vive Gel Like Top Coat
  • OPI Infinite Shine Mariachi Makes My Day
  • OPI Infinite Shine Shaking My Sugarplums
  • Essie Willow in the Wind
  • Essie Off Tropic
  • OPI I Cannoli Wear OPI
  • OPI Where Did Suzi’s Man-go?
  • Sally Hansen Complete Salon Manicure Red My Lips
  • Sally Hansen Good. Kind. Pure. Peony Origins
  • Sally Hansen Miracle Gel Montley Hue
  • NailStuff.ca 7mm Mermaid Tail Brush

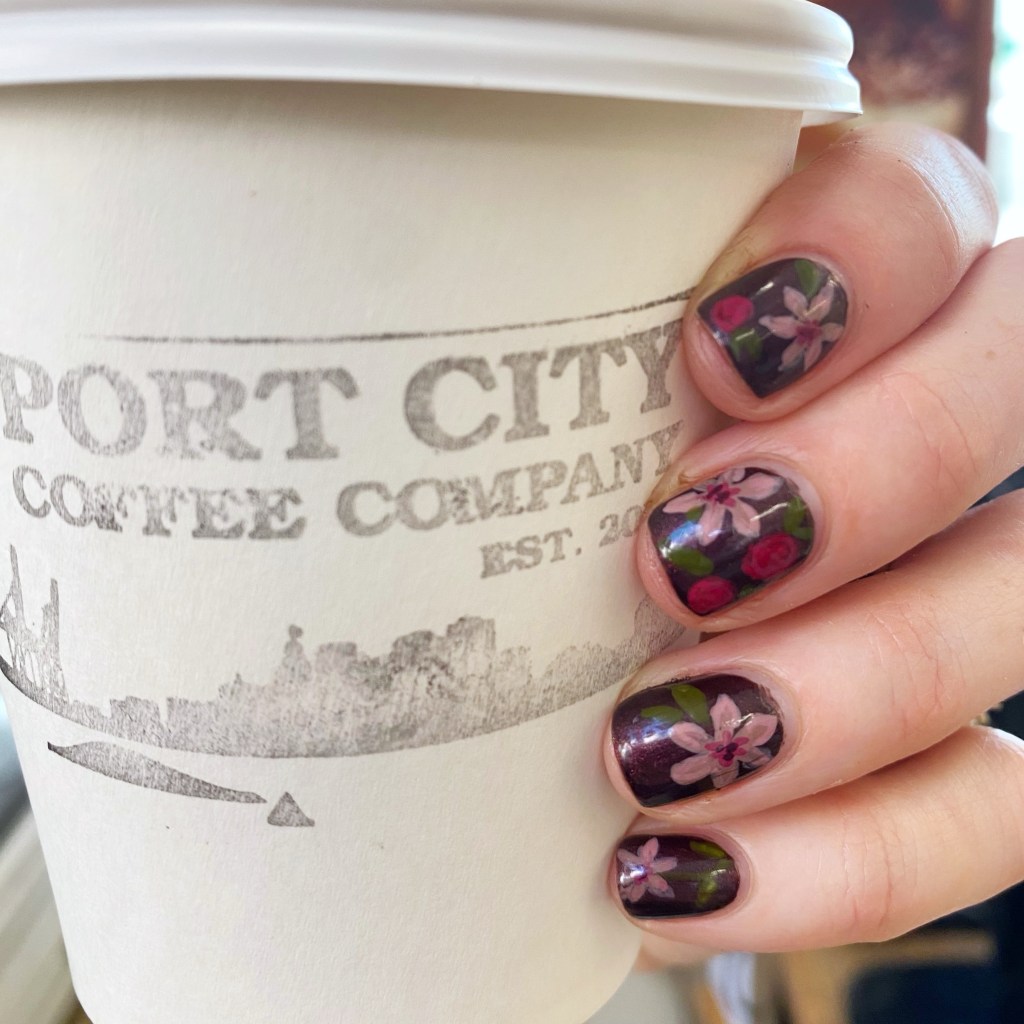
This design started off as simply just a rose design, but after I had painted my roses I realized that something was missing, so I added a bit more greenery, & then a few of the white flowers (sort of daisies, but not really). & once I added my white flowers, I felt like it pulled everything together perfectly.

Is it a totally original floral look? Well, no.

Do I still absolutely adore the end result? Absolutely, yes. Especially where my nails are so short at this current moment in time, I feel like a floral design looks so beautiful & put together. Plus, the darker purple base is a little bit end of winter, with the floral adding the touch of Spring I’m desperately craving.

What do you think of this floral look? Do you like the combination of colours? Does it have you craving Spring as much as I am craving spring? Let me know all your thoughts down in the comments below.

& if it’s feeling like Spring where you are, I’d love to know! Give me some hope so warmer, sunnier days to come.

♥︎

Pretty Spring Floral (with Butter London) 🌸

*contains PR/gifted items

Hello beauties & happy Wednesday!

We are back up & running, & I’m trying my best to keep my posting routine going.

I’m hoping today’s nail art look is going to encourage Mother Nature to get her stuff together. The calendar may say Spring, but the weather is screaming December. So maybe. simple floral look will encourage some warmer days — because I want to wear my Spring dresses again!

Today’s look uses my two new Butter London shade for Spring 2026 — Bloomsbury & Posh Petal.

The polishes I used for this manicure are: 

  • Base Coat: Sally Hansen Maximum Growth
  • Top Coat: Seche Vive Gel Like Top Coat
  • Butter London Pure Colour 21X Bloomsbury
  • Butter London Pure Colour 21X Posh Petal
  • Acrylic Paint
  • Small Nail Art Brush

I love floral nails so much! These were done while I was away from my stash, so I used acrylic paint for my floral instead — because that’s what I had available. I also didn’t have my usual favourite nail art brush from NailStuff, but I think I this look really came together for a beautiful Spring look. I love love love Posh Petal as the sheer base for my flowers, & I think it works perfectly for this naked, but not really naked, effect.

What do you think of this floral look using my new Butter London Spring 2026 shades? Do you like this combination as much as I do?

Sadly, this was my last look I did before breaking two of my long nails, & needing to trim them all down to a much shorter length! I enjoyed having my nails super long, but it’s fun to start over & come up with some cute nail art looks for my baby nails.

Happy Wednesday!

♥︎