Hello lovelies & Happy Thursday! I don’t know about where you are, but the August swelter is real here in Halifax. So I thought it would be a good idea to pull out some neons, embrace the heat, & enjoy what is left of Summer before I dive fully into wanting all things Fall (& it’s coming…. oh it’s coming!)
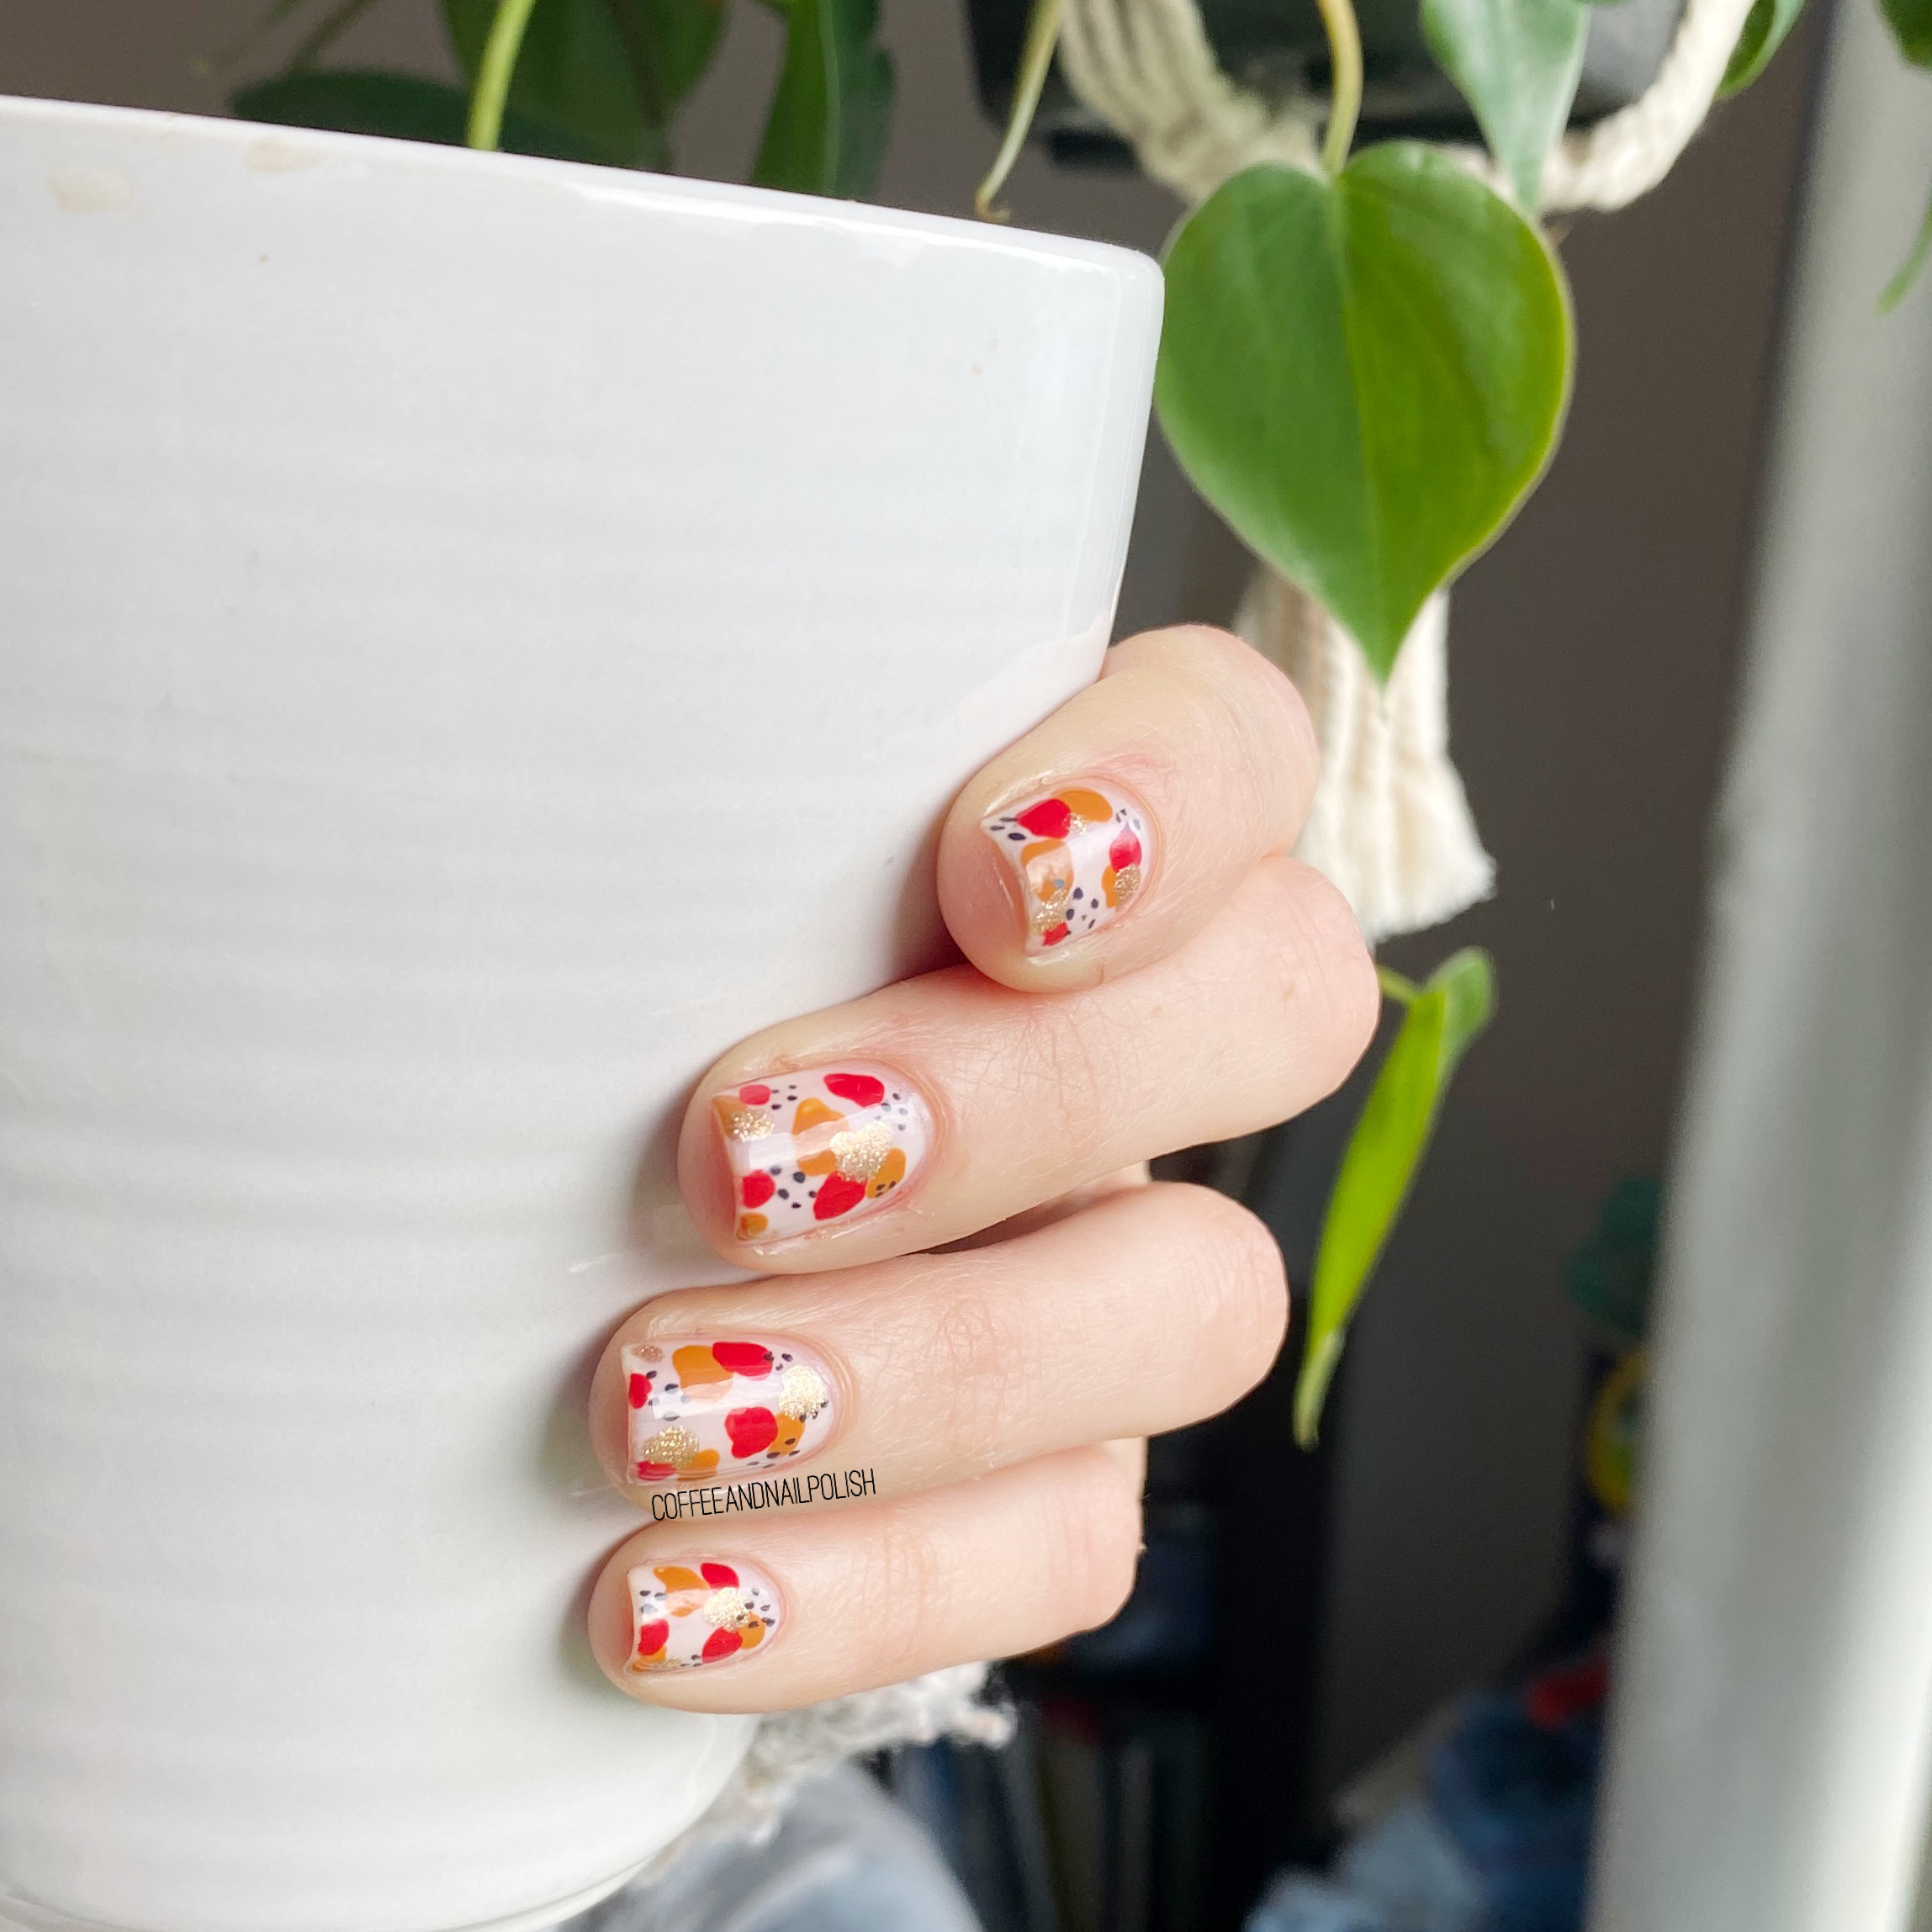
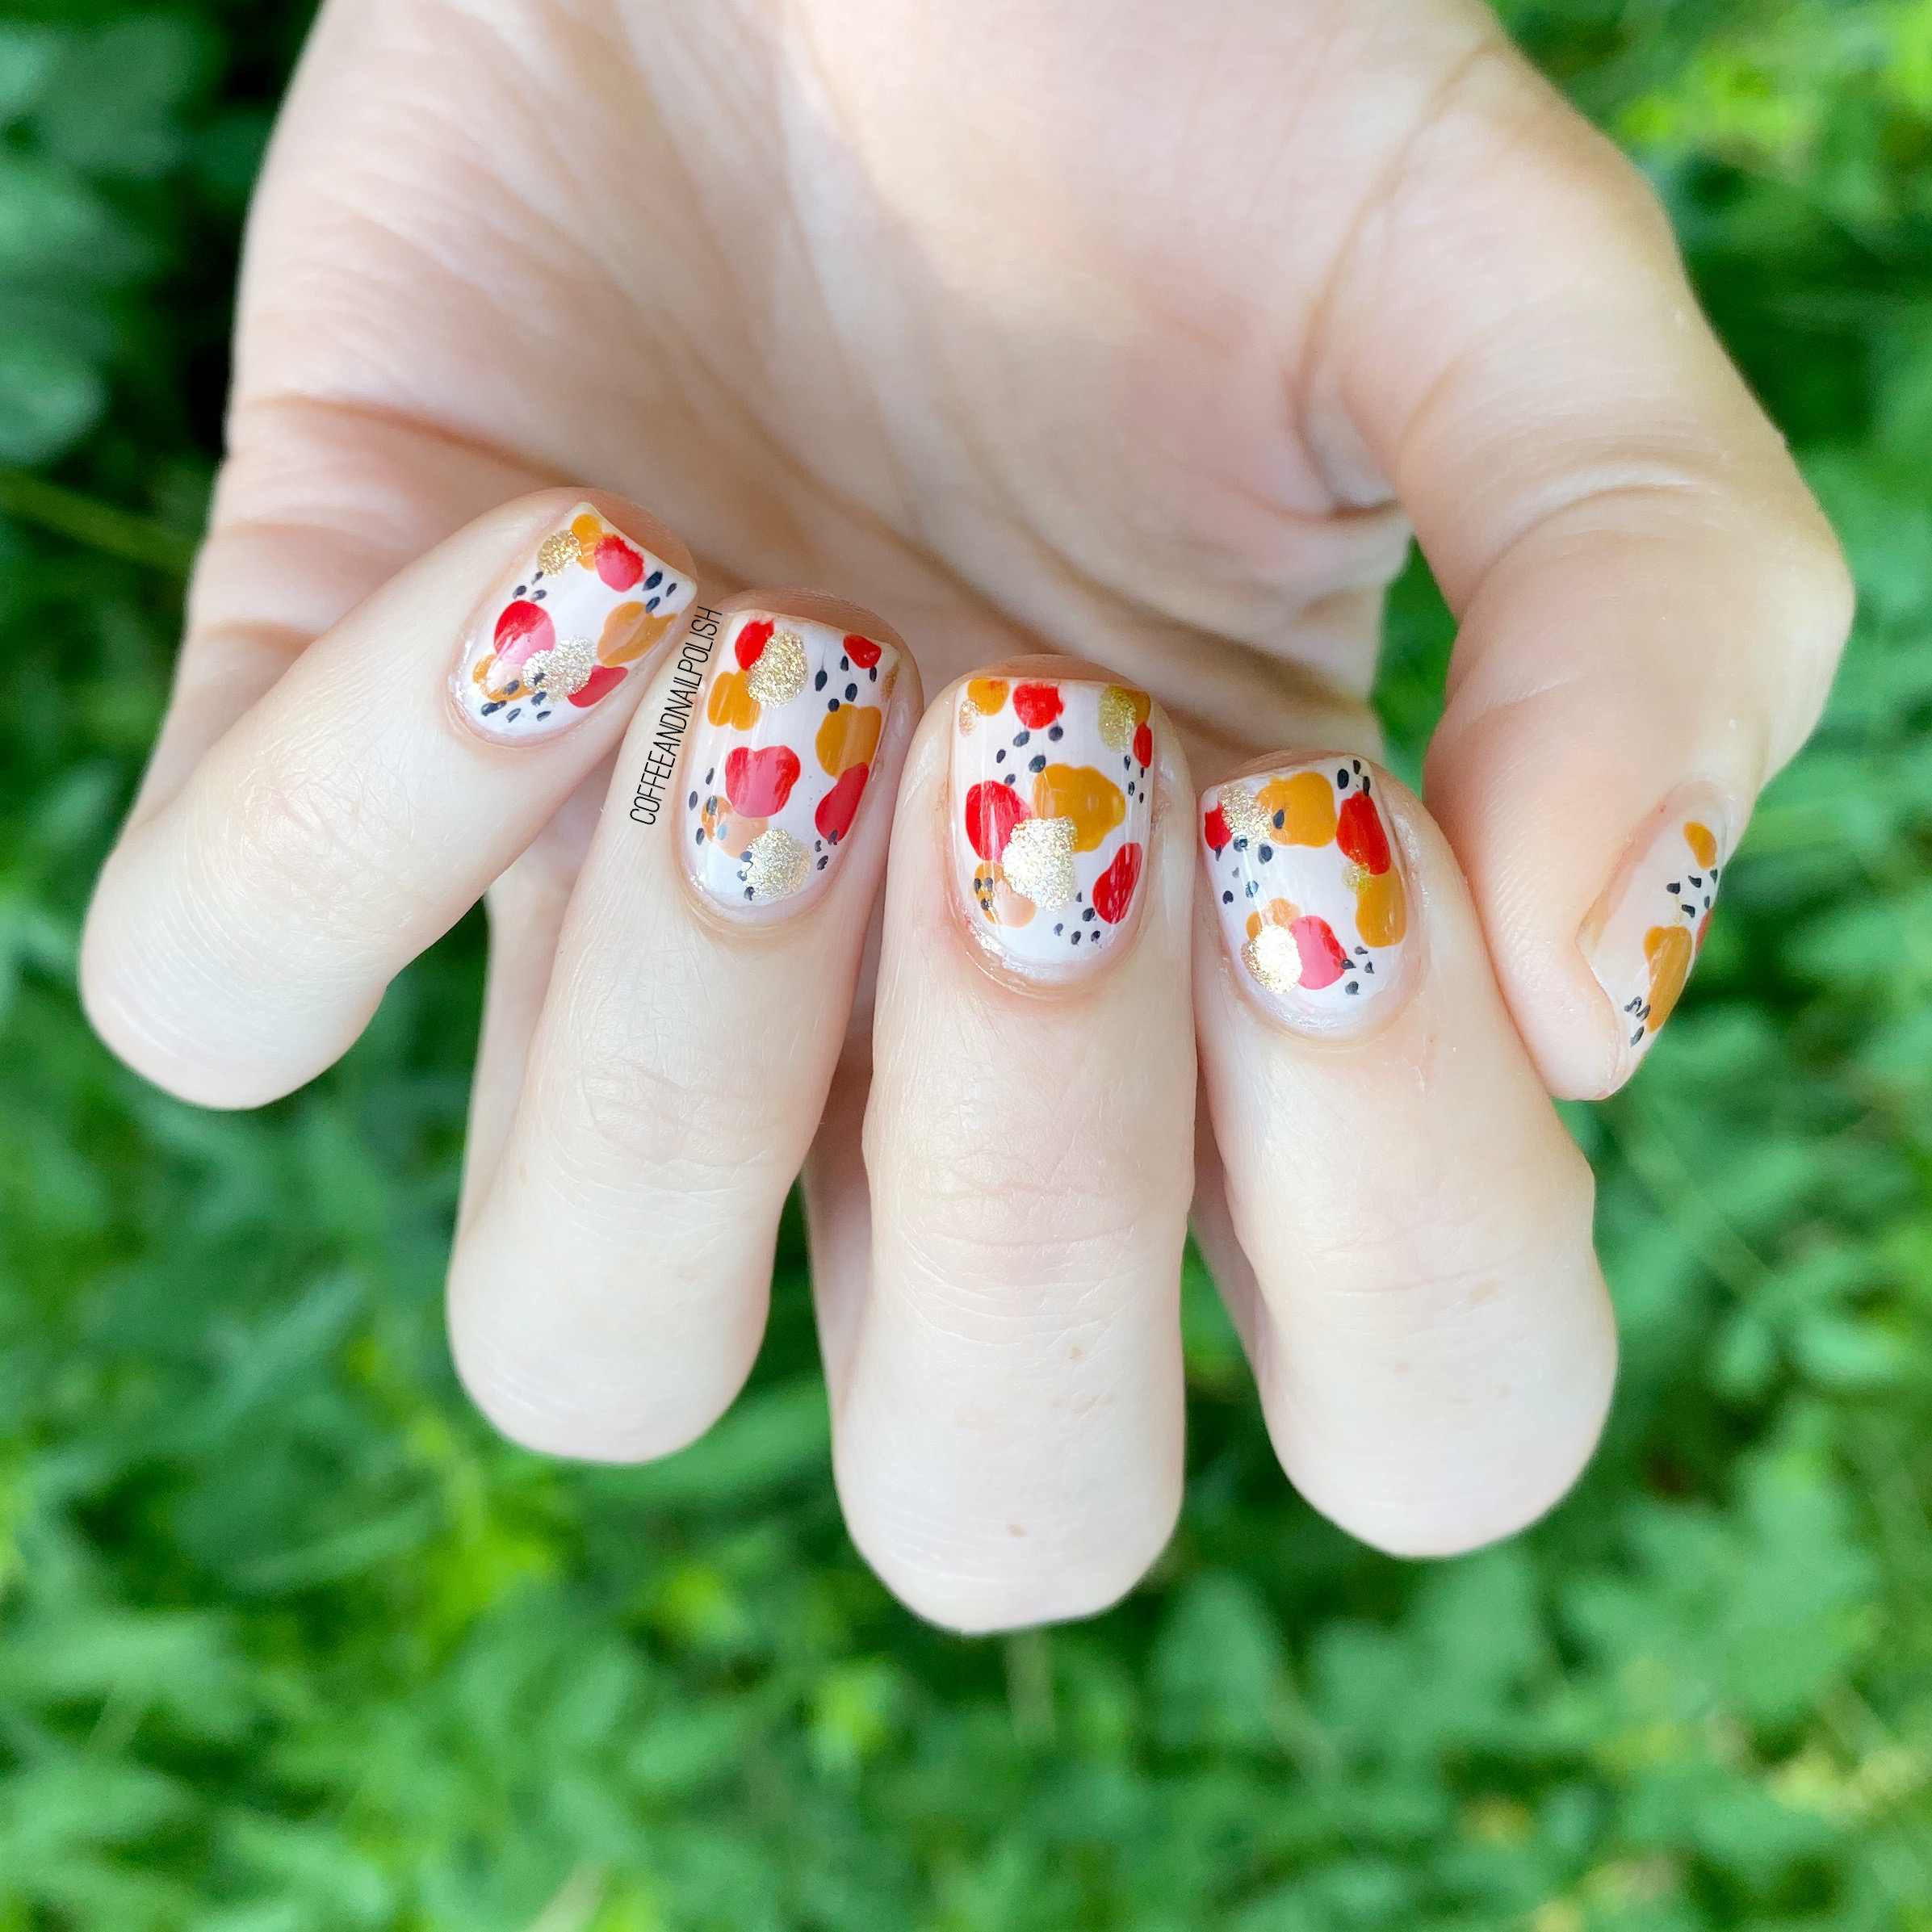
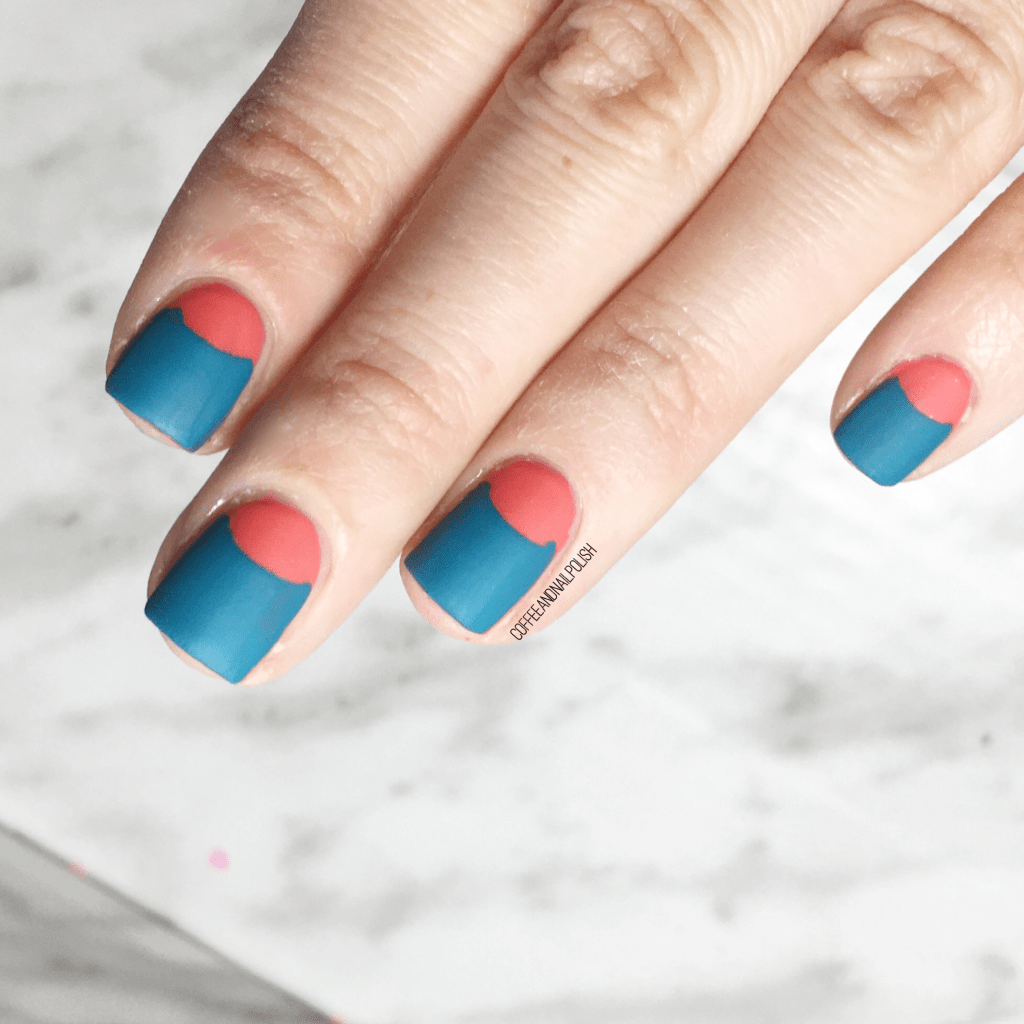
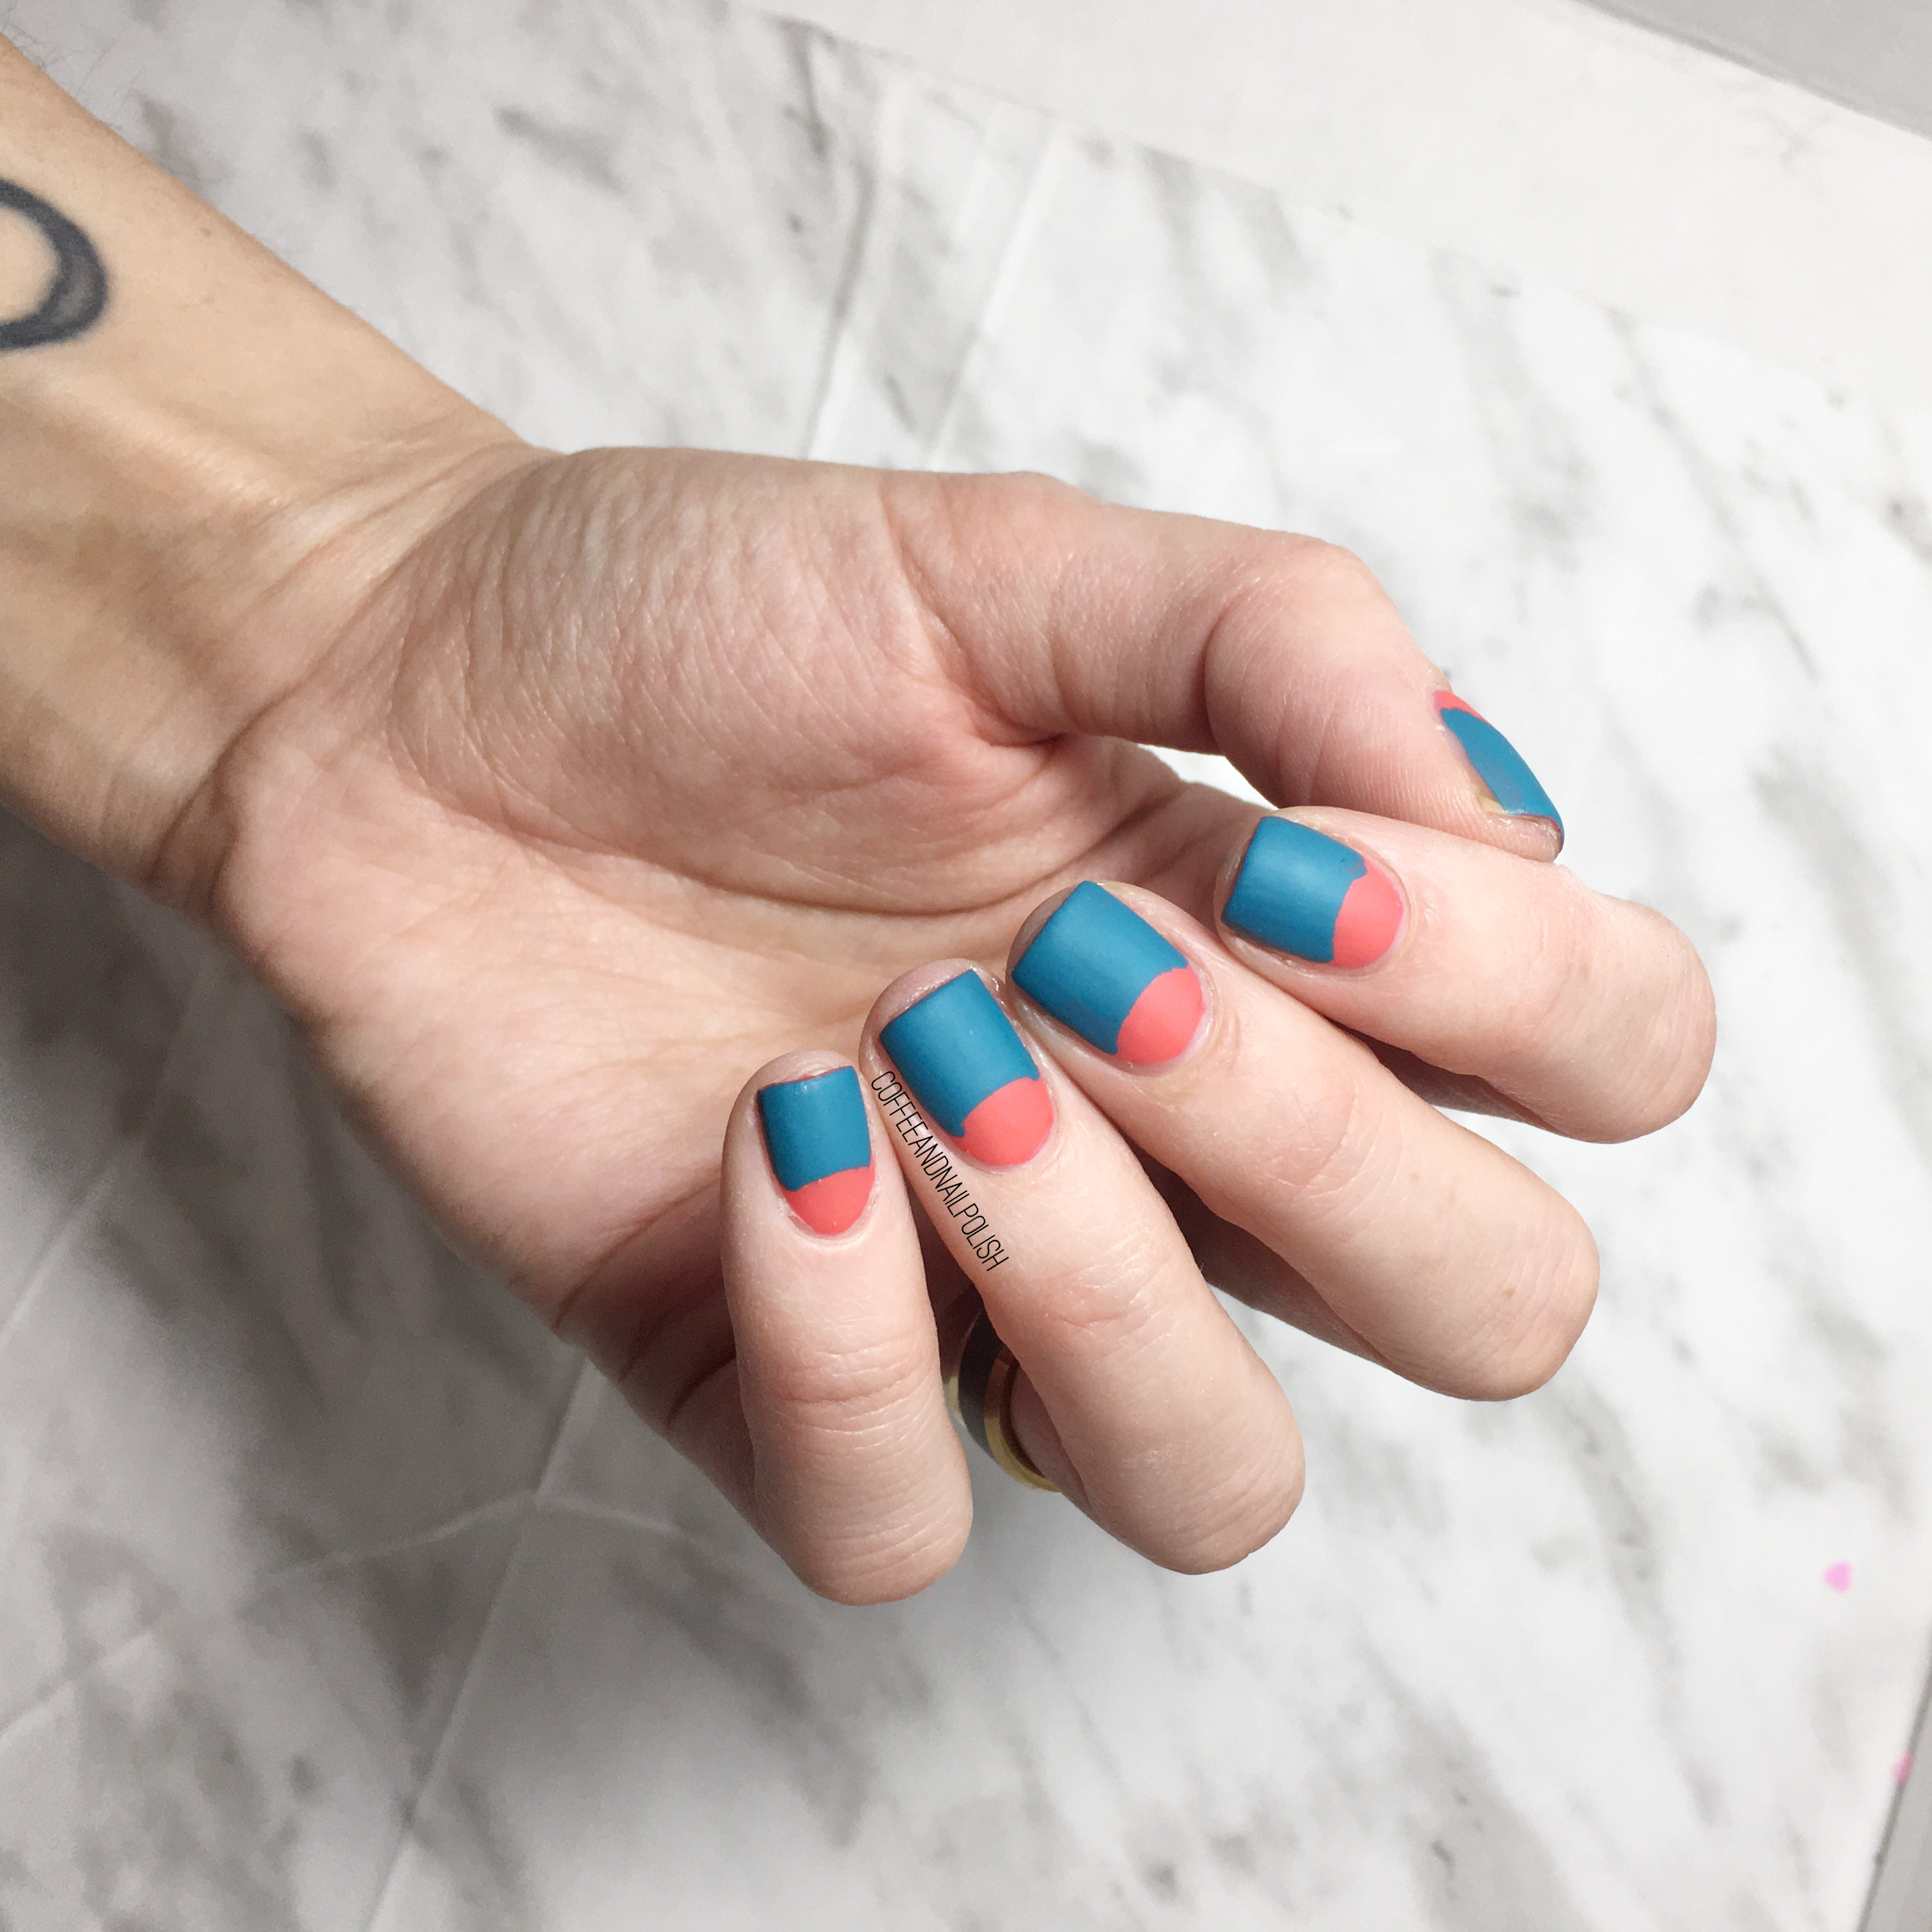
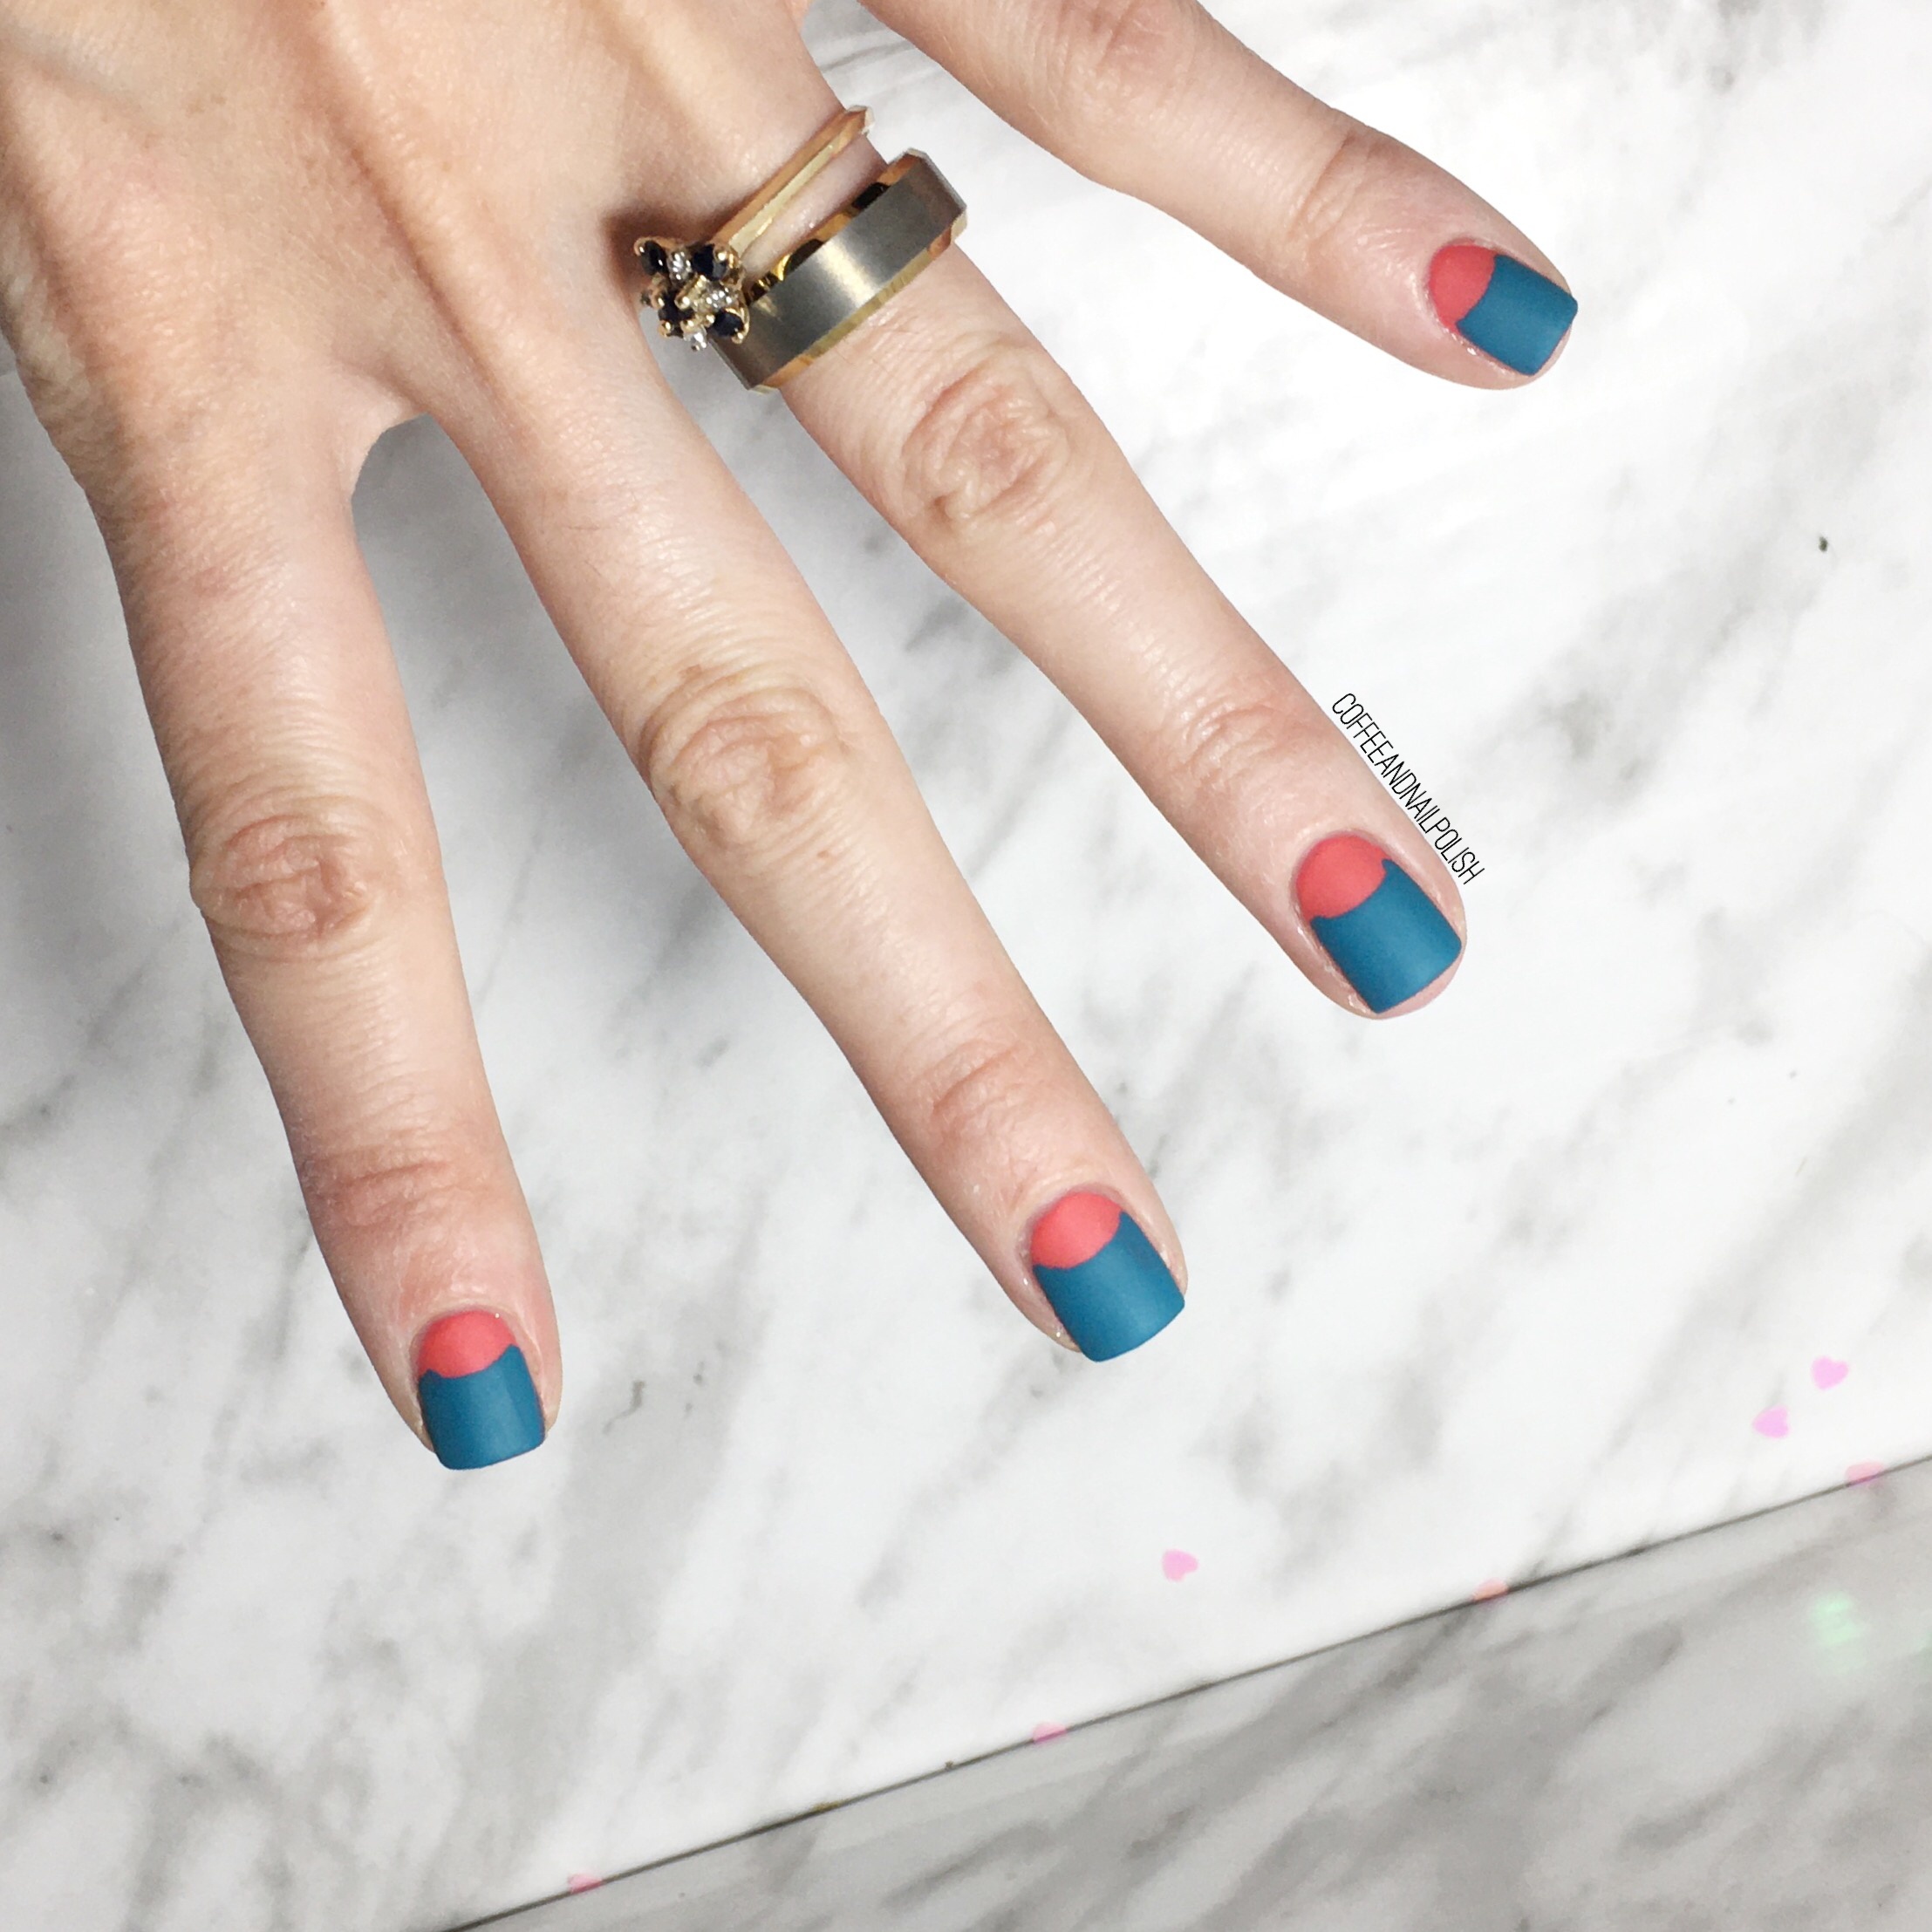
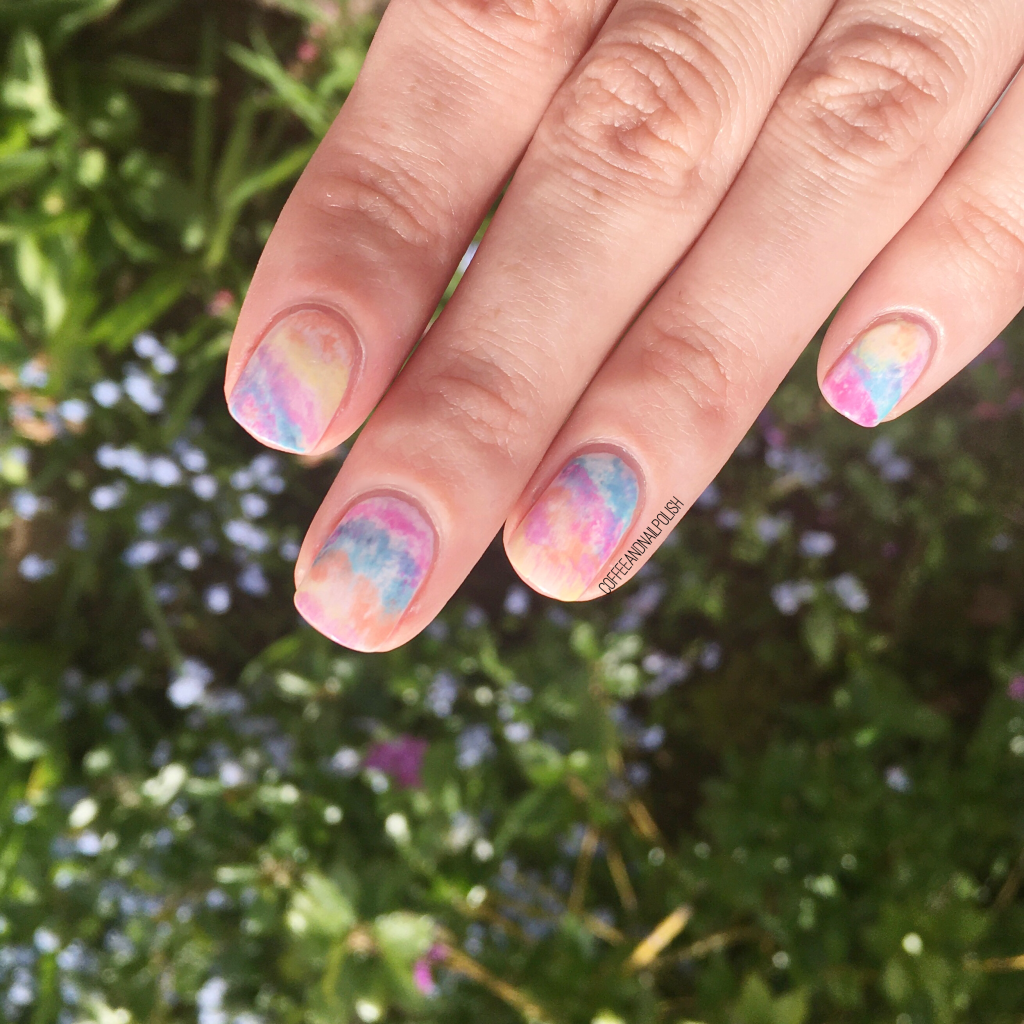
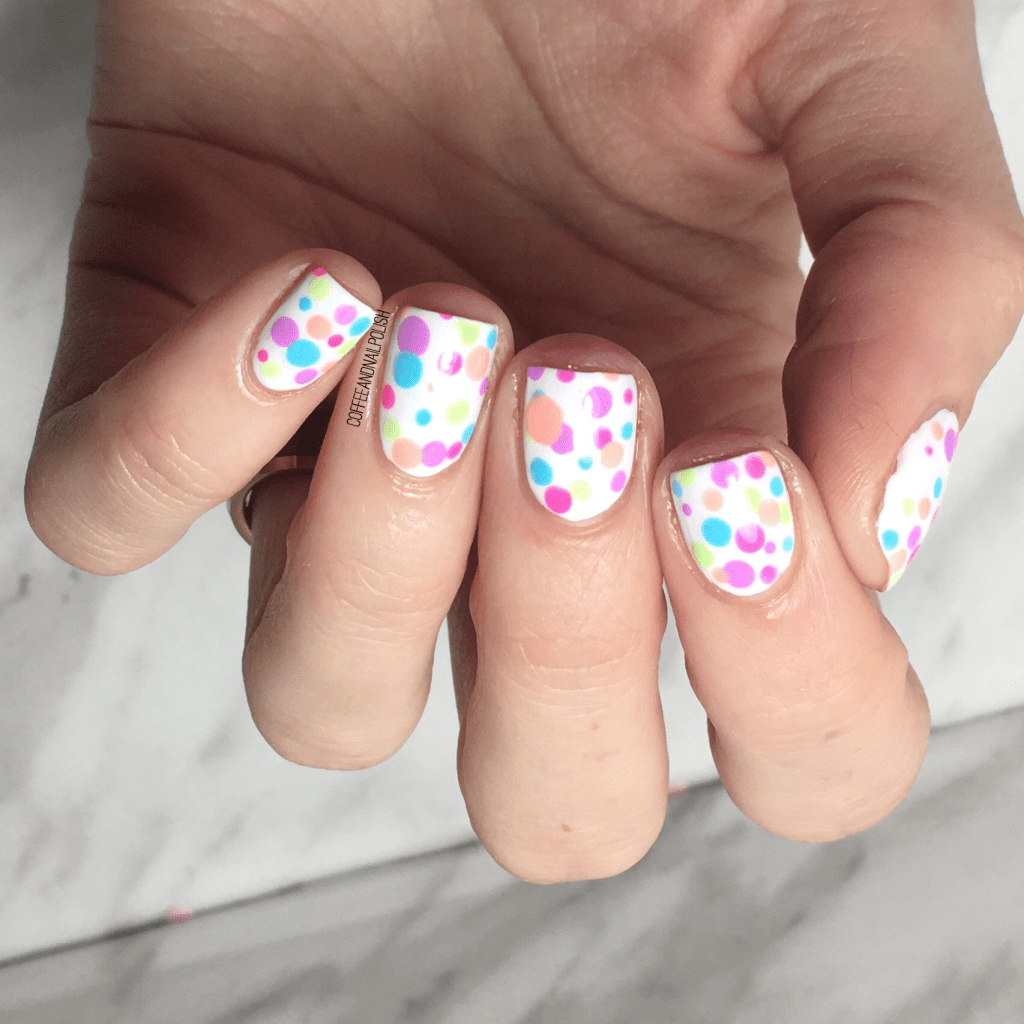
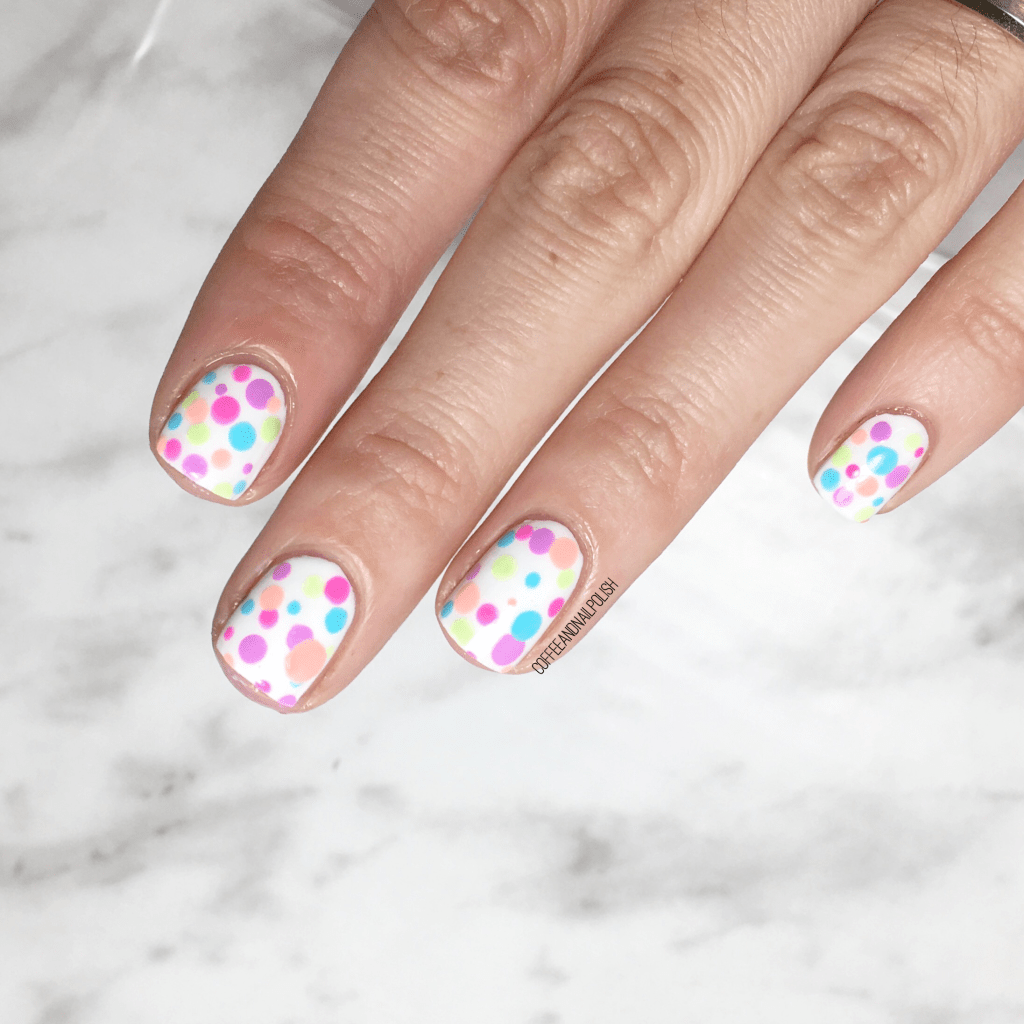
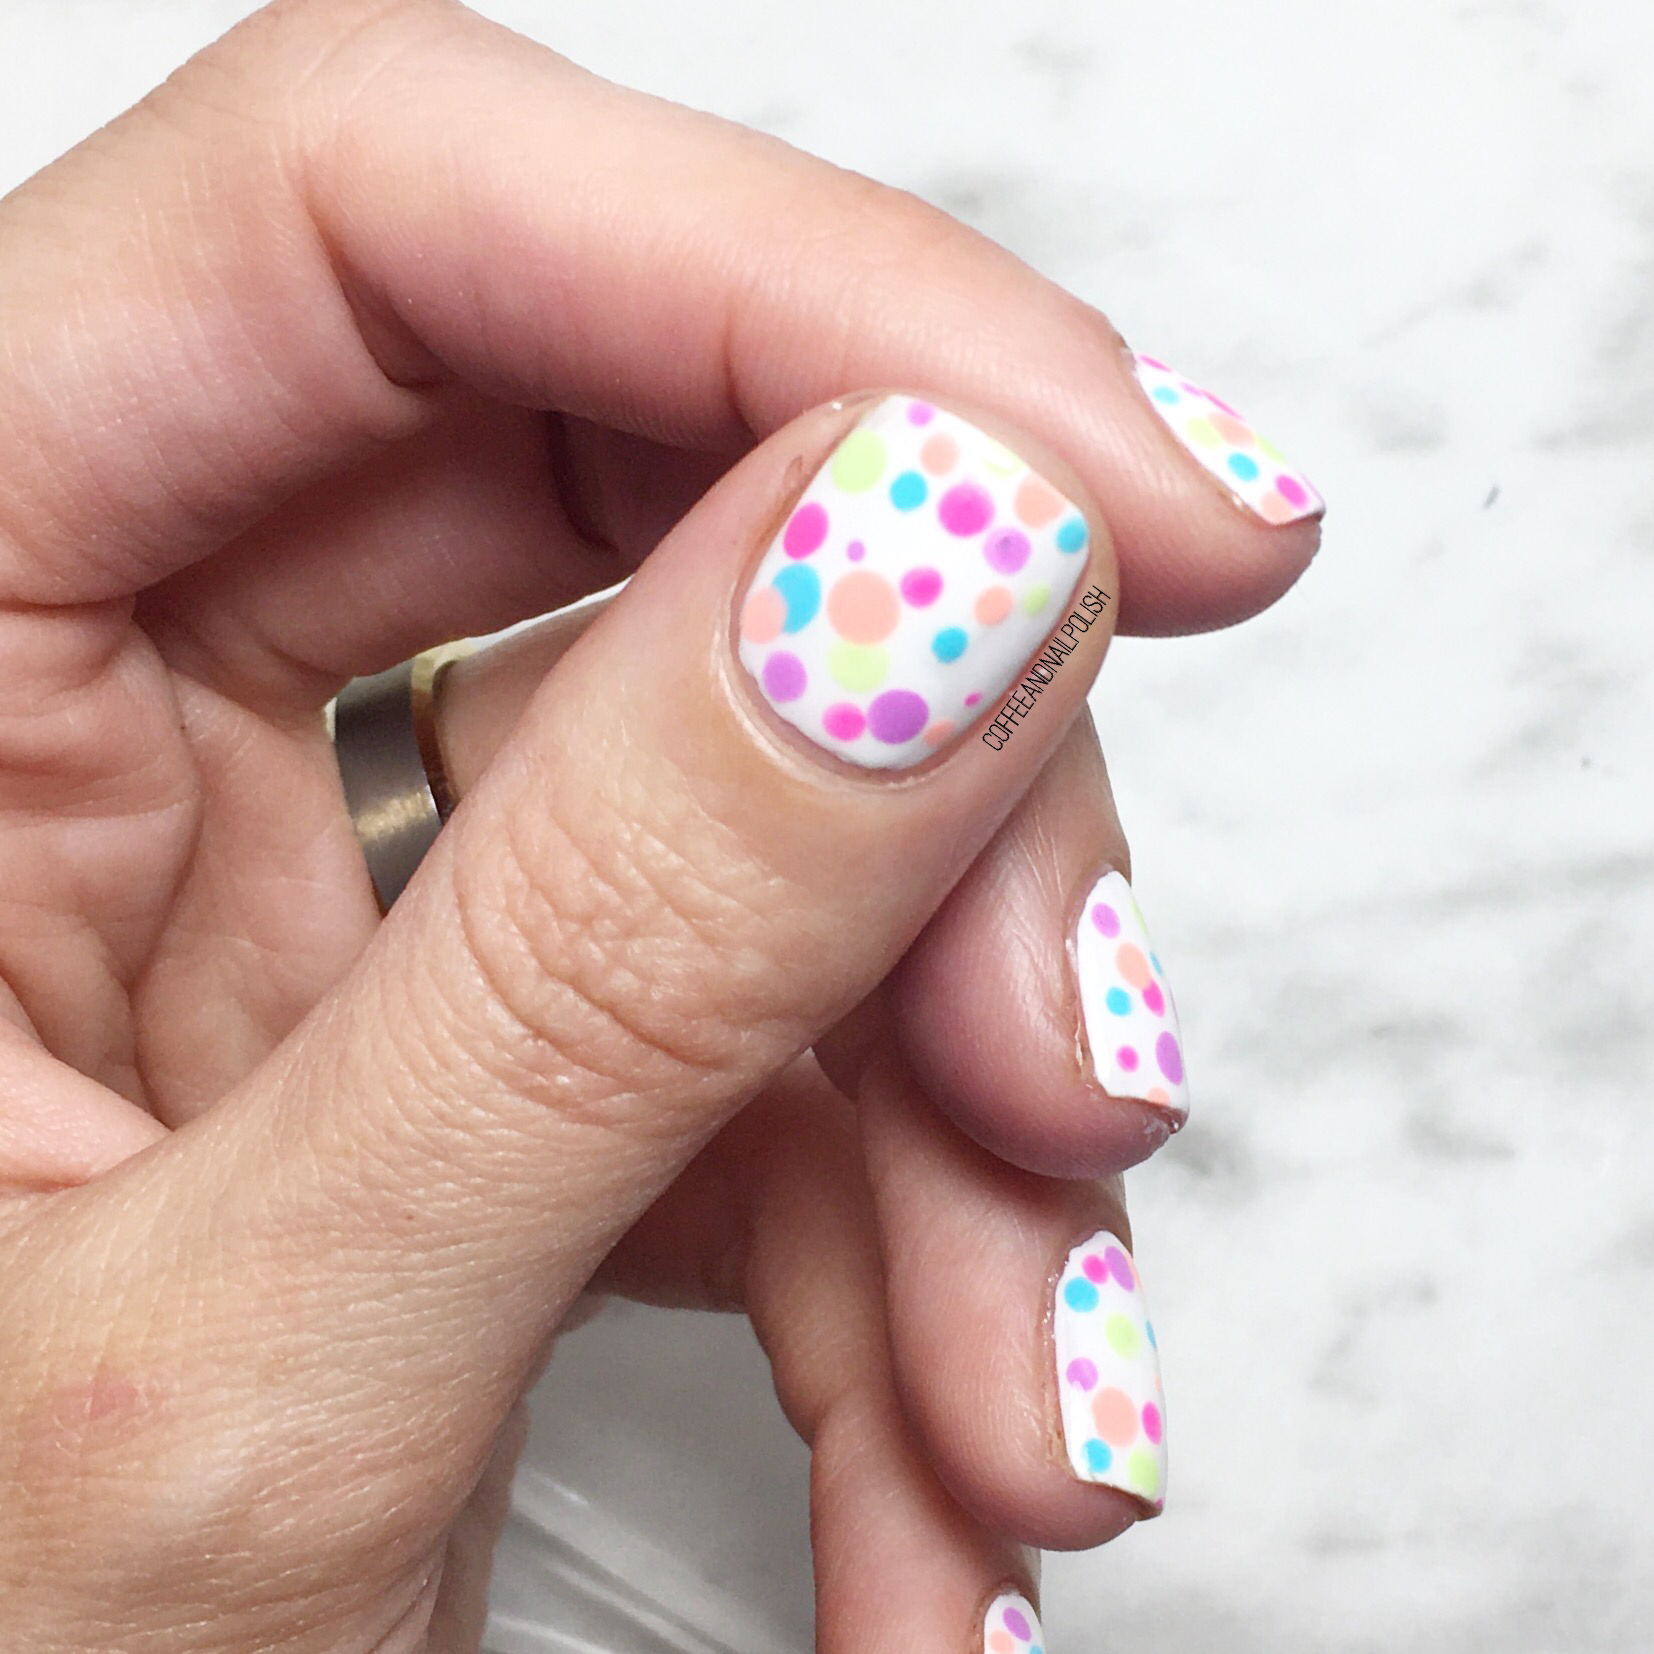
Today I thought I would share this fun neon dotticure I did with a few of Sally Hansen Miracle Gel’s neon shades they released last year! It’s fun, it’s bright, & it takes little real talent to look gorgeous, which is why they’re my favourite to do when I’m short on time, or too tired to function.
For this manicure, the polishes I used were:
- Base Coat: OPI Nail Envy
- Top Coat: Essie Gel Setter
- Sally Hansen Miracle Gel Get Mod
- Sally Hansen Miracle Gel Peach Please
- Sally Hansen Miracle Gel Electri-Lime
- Sally Hansen Miracle Gel Miami Nice
- Sally Hansen Miracle Gel Fuchsia Fever
- Sally Hansen Miracle Gel Violet Voltage
- NailStuff.ca dotting tool from Dotting Tool Trio
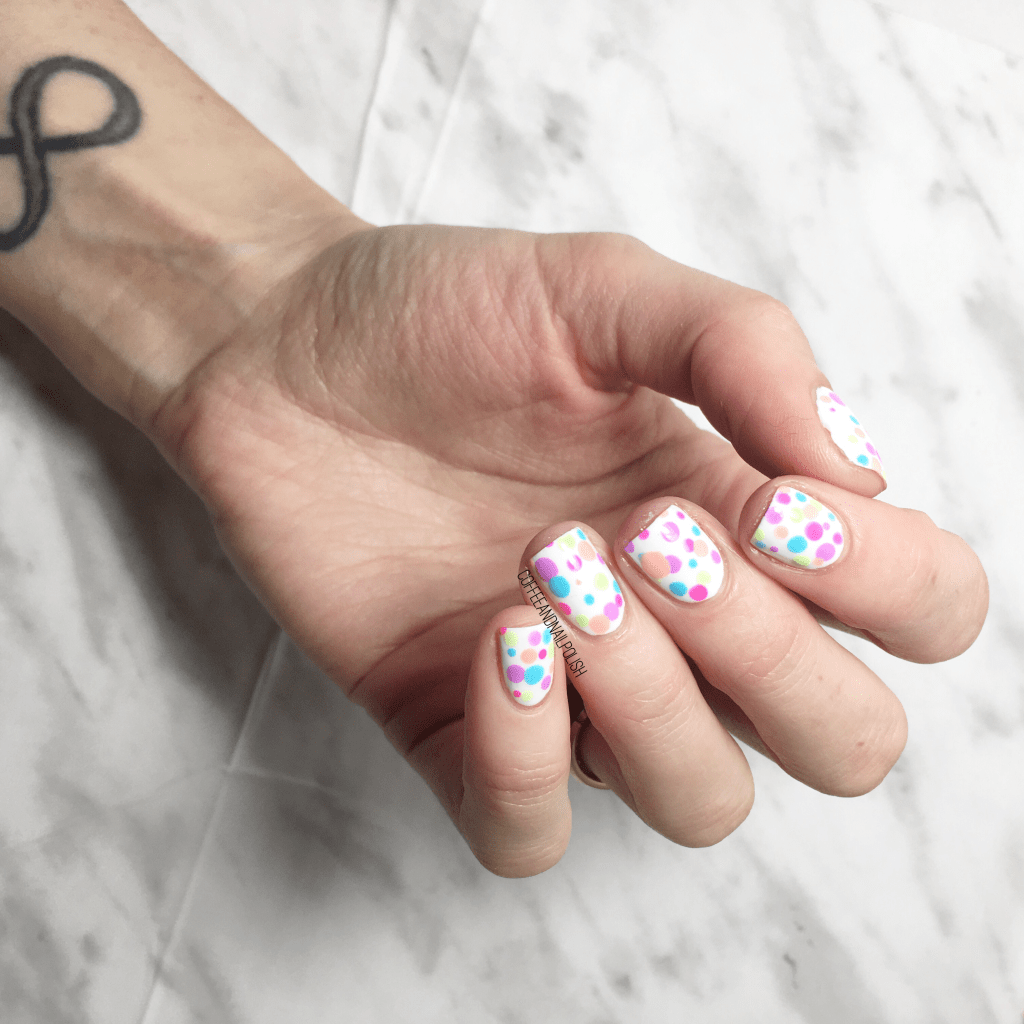
Hey, so I know what you’re thinking: Hey Shannon, haven’t you already done a dotticure with these shades? Yes, yes I have. But that was a much more dainty dotticure, & this one is much more BAM! in your face. Or, at least that’s what I’m telling myself. Haha.
Or maybe I just totally forgot. I mean, 2020 has all kind of done our brains in a little bit. Who even remembers last year anymore?
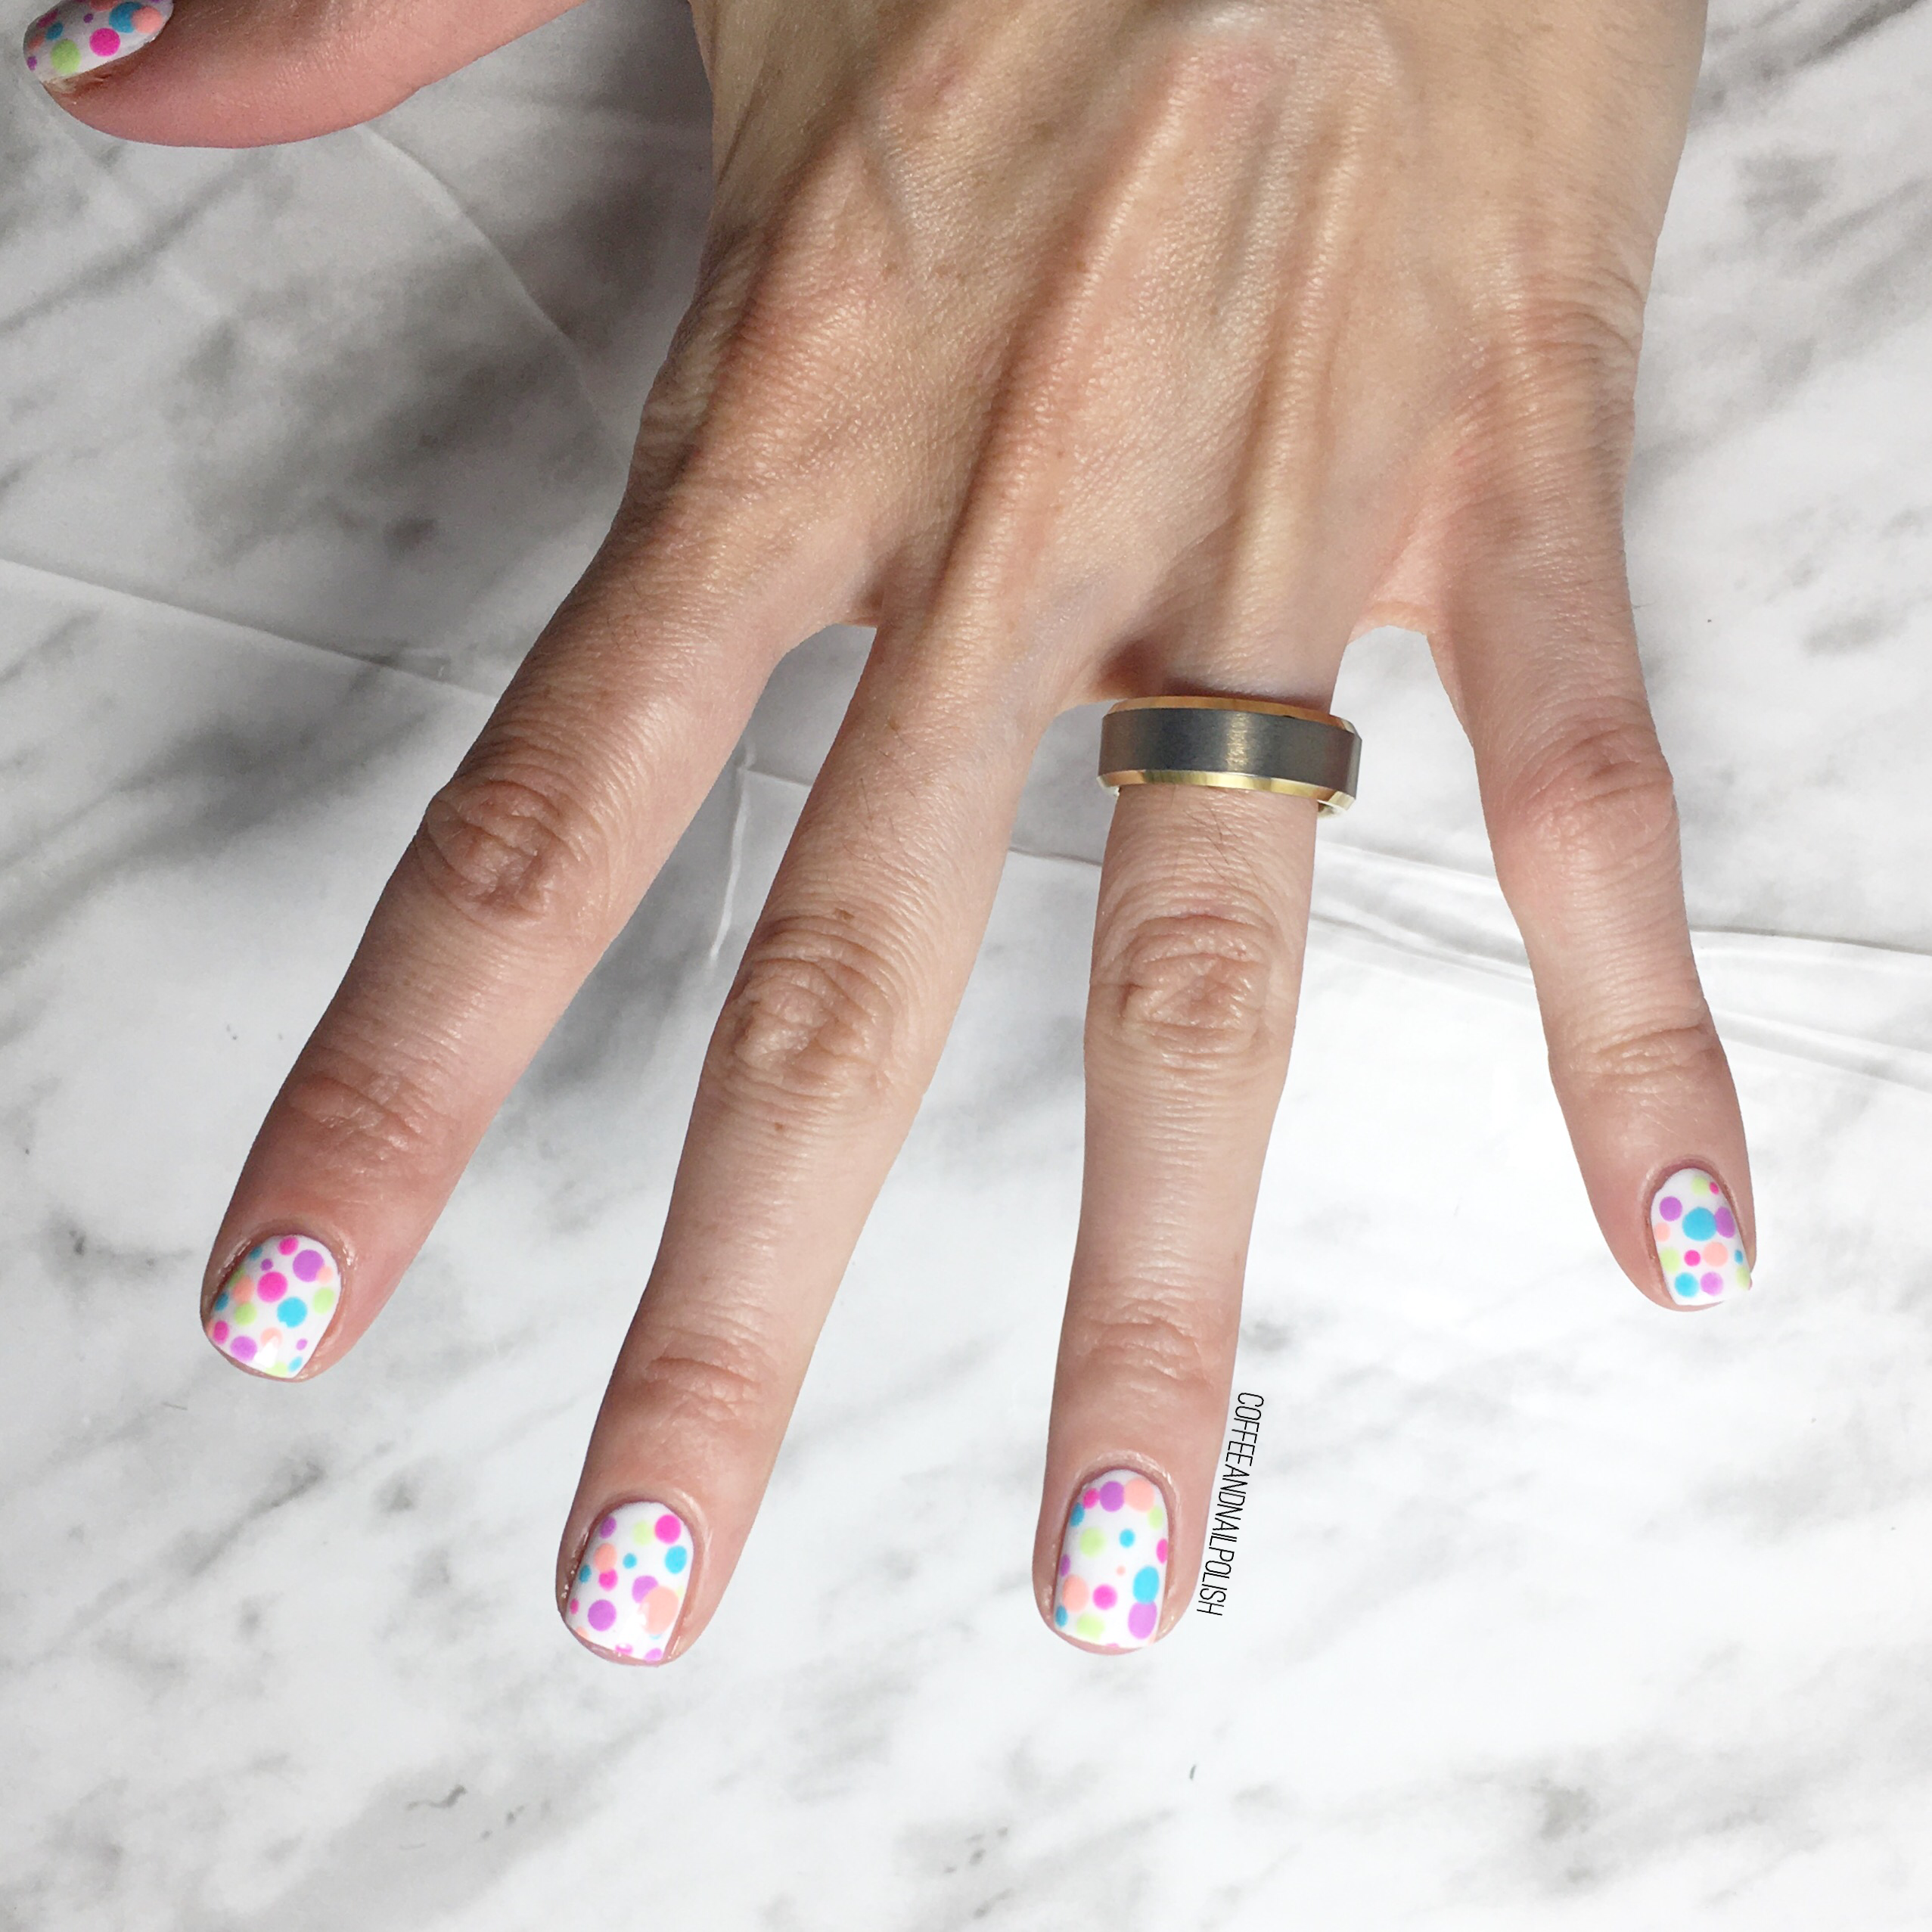
What do you think about this dotticure redux? Are you still embracing the neon? Let me know what you think down below!