#GlamNailsChallengeDec — Christmas Presents

Hello lovelies & happy Tuesday!

I’m super late posting these Christmas Present nails for #GlamNailsChallengeDec! I’ll blame it on a post Christmas sugar hangover haha. I can’t believe we’re already post-Christmas — this year is almost over. & we just have a few prompts left to go before this month (& year) is over!

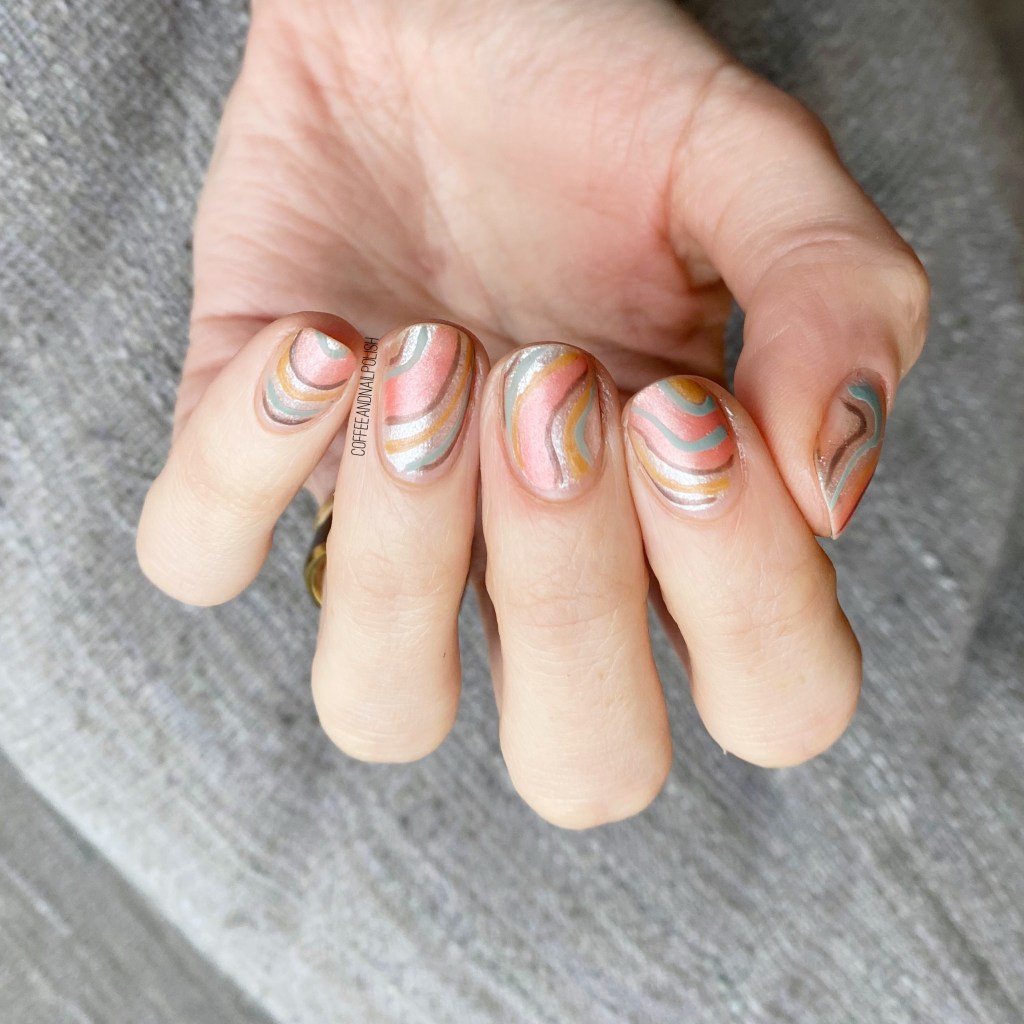
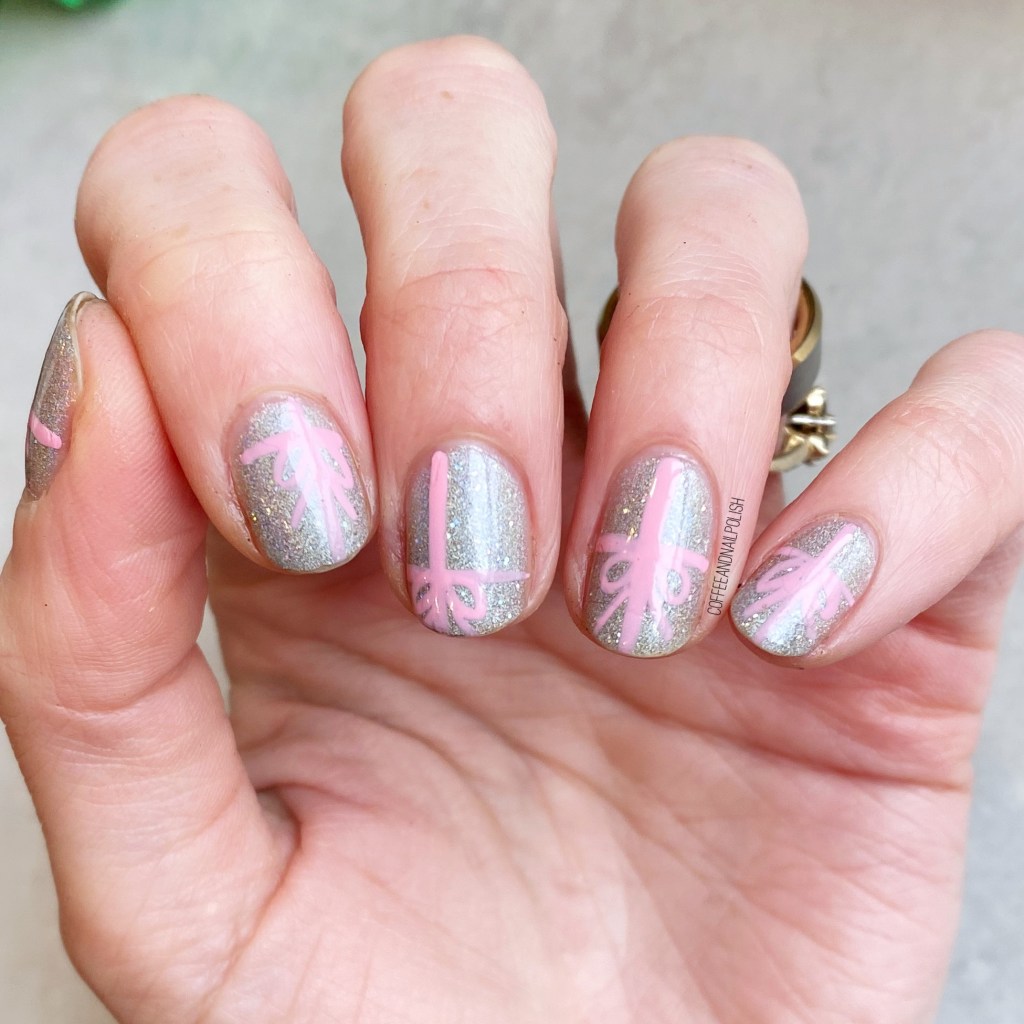
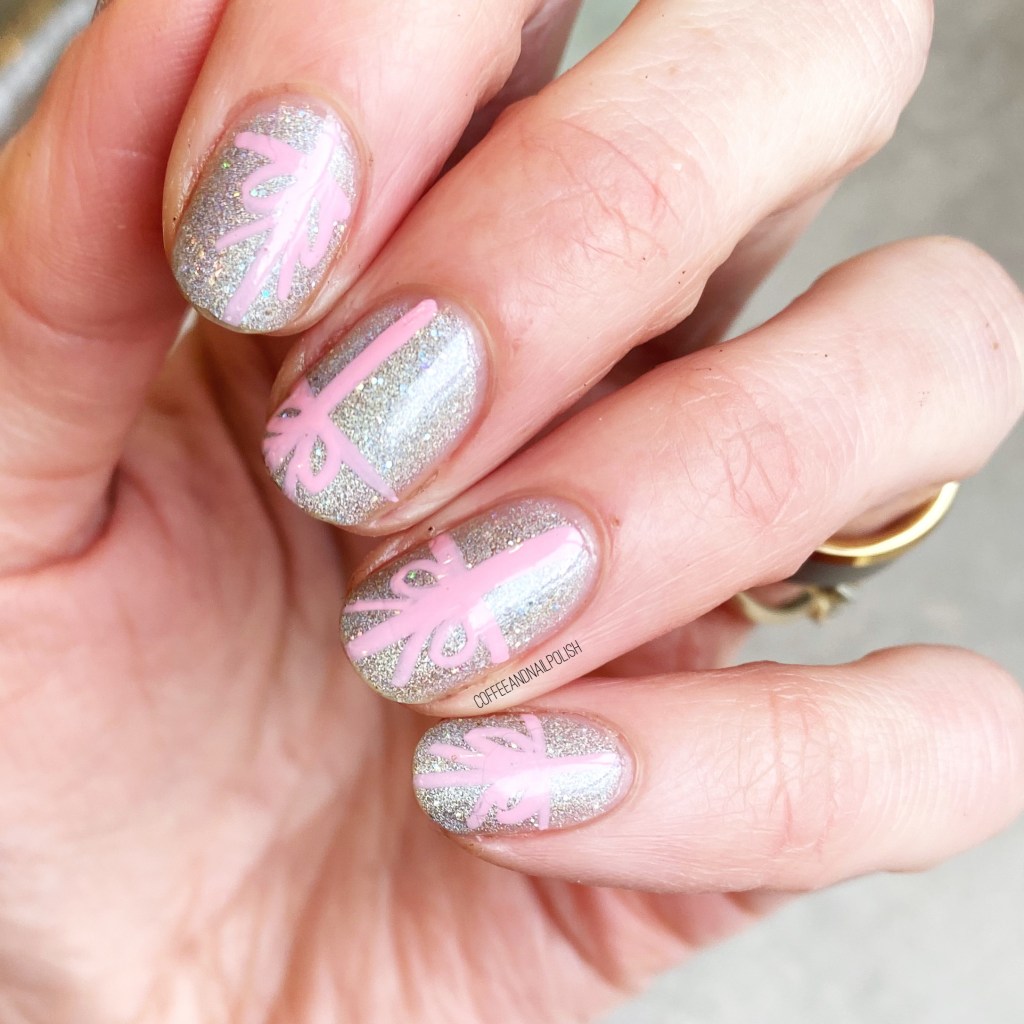
Today’s look is definitely a simple one (again, post Christmas sugar hangover/exhaustion) but I think the simple pink ribbon over the holographic base is exactly how I would love to find all my presents under my tree.

For this manicure, the polishes I used were:

  • Base Coat: Sally Hansen Hard As Nails
  • Top Coat: Sally Hansen Miracle Gel Shiny Top Coat
  • ORLY Mirrorball
  • Color Club Art Club Pink Pastel

This is probably one of the easiest nail art designs I’ve done this whole prompt! All you need is a nail art striper, & a steady hand. They were super quick to do too! & the colour combinations are endless—works for Christmas, birthdays, anything holiday involving presents. & I just adore it!

What do you think about this quick & easy Christmas Present nails? Have you been keeping an eye on all the beautiful designs on Instagram for #glamnailschallengeDec? There is just one prompt left to go, so stay tuned!

Christmas-y Glitter Gradient 🎄❄️

Hello lovelies & happy Tuesday! I know, I’m switching this thing up by posting on a Tuesday. I decided this week that I’m doing to (try) & post a Christmas design every day leading up to Christmas Eve! I just have so many design ideas I want to share!

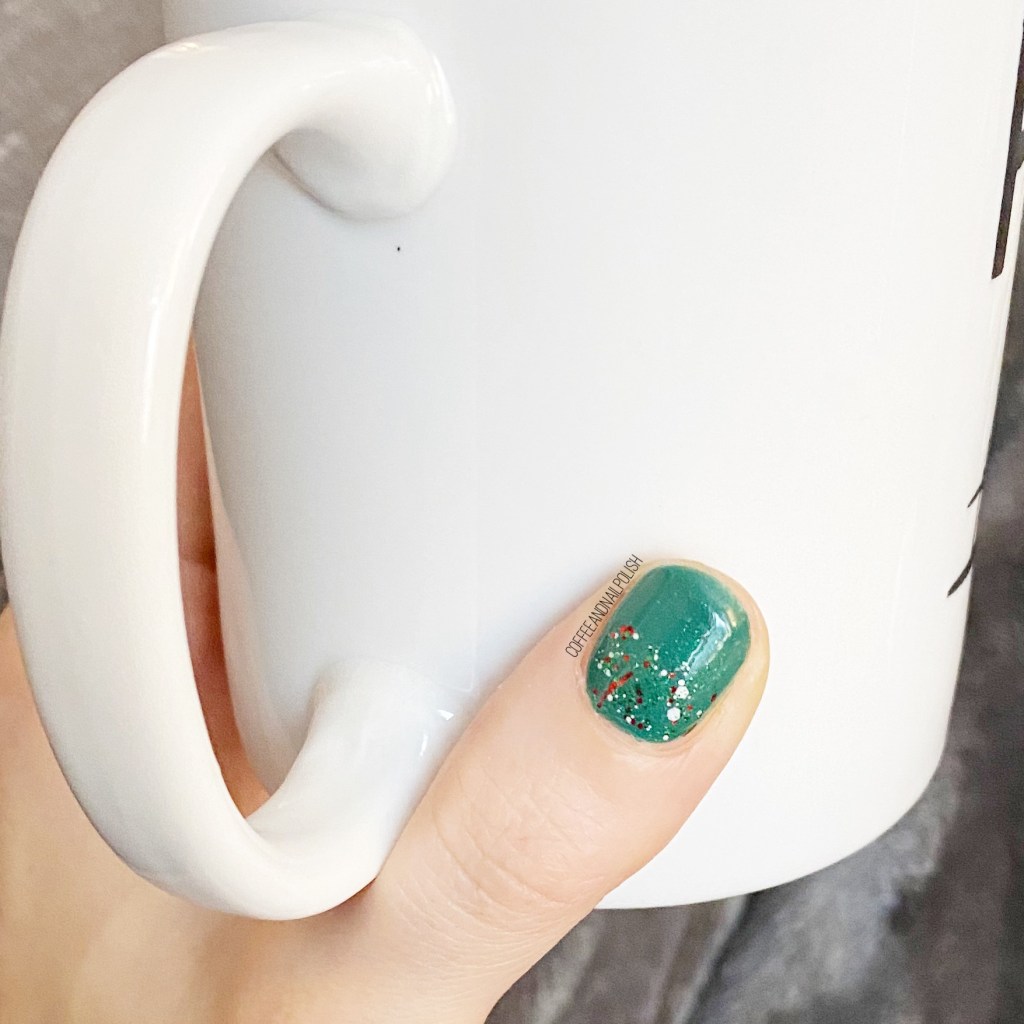
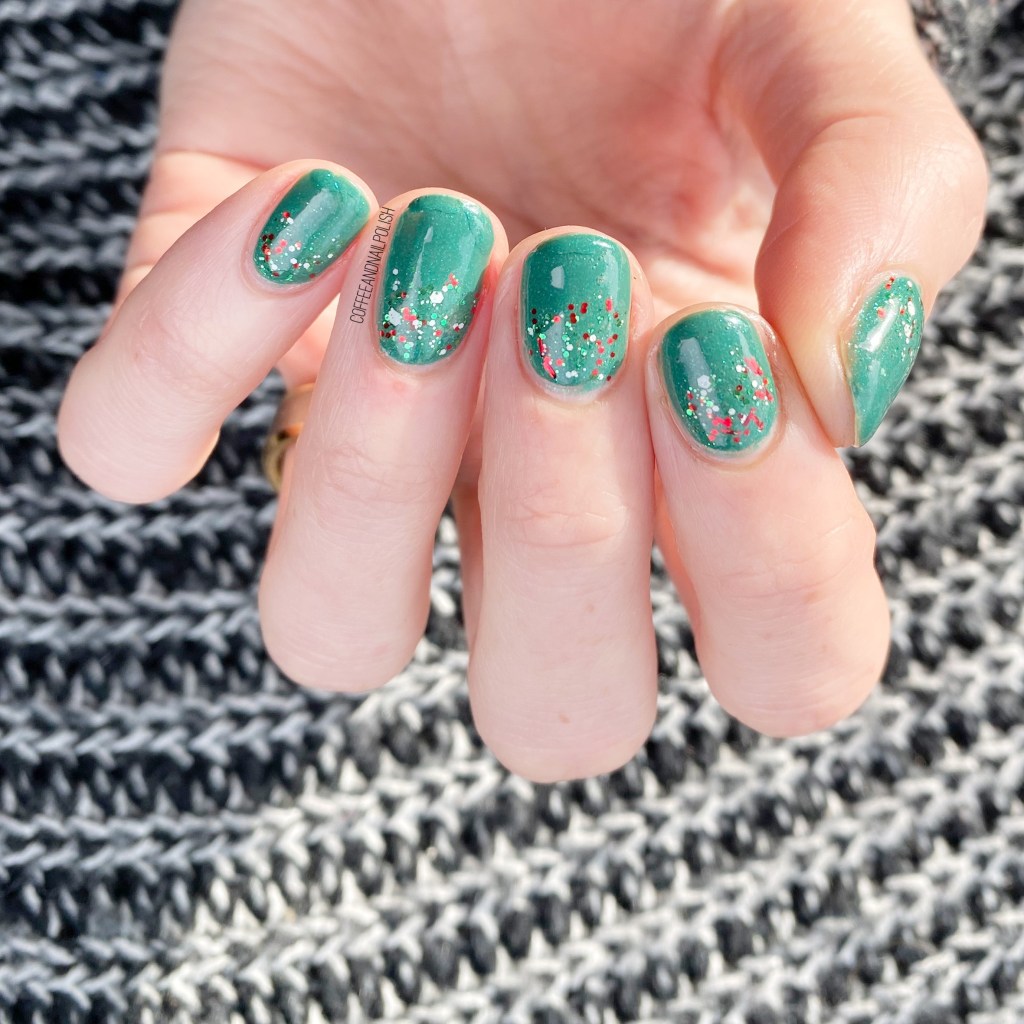
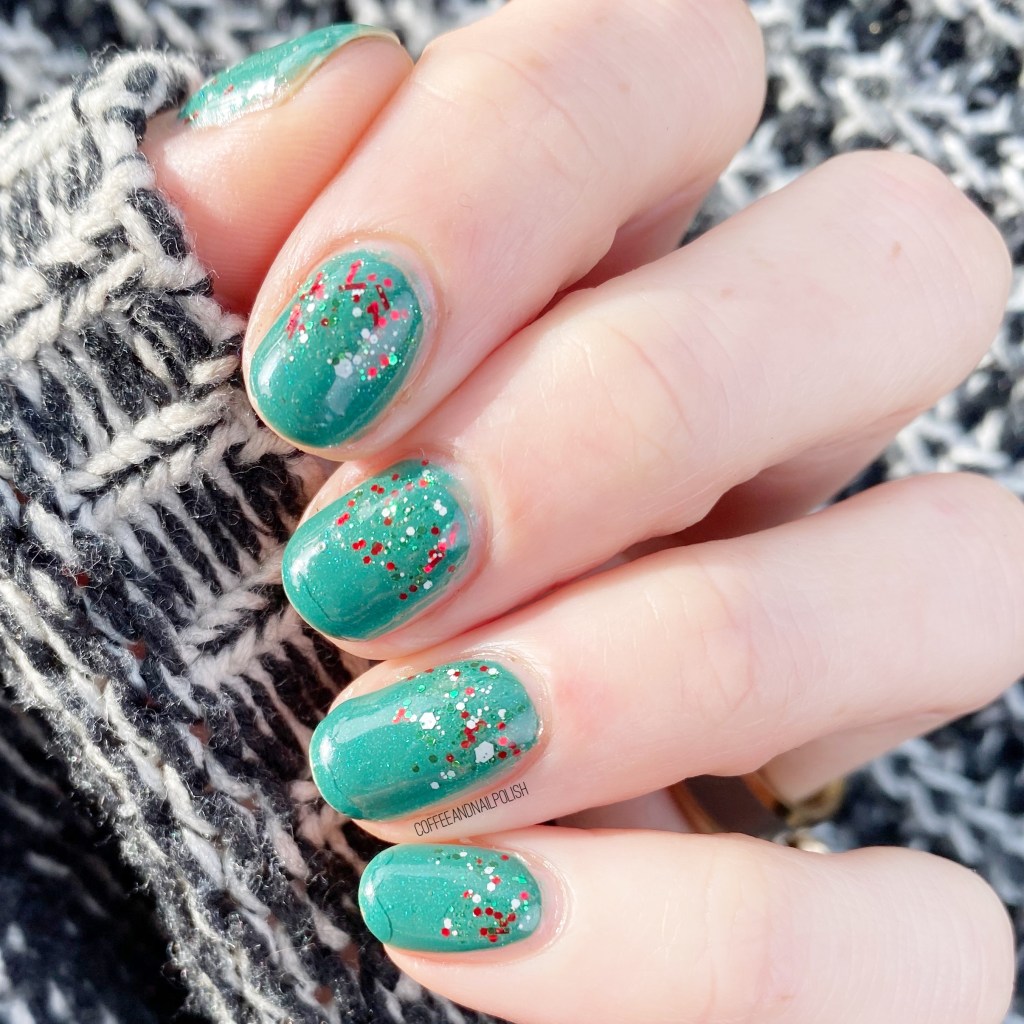
Today is a simple but effect look — a glitter gradient. Glitter gradients are definitely one of the best I-have-no-time-to-do-nail-art-but-I-want-fancy-nails designs but they take virtually not extra time to do. This one especially doesn’t require any tools at all—I just dabbed the glitter on using the nail polish bottle brush.

For this manicure, the polishes I used were:

  • Base Coat: Sally Hansen Hard As Nails
  • Top Coat: Sally Hansen Miracle Gel Glossy Top Coat
  • Icing Emerald City
  • Icing Santa Baby

How cute is that glitter on top of the green of Icing Emerald City? This is one of my favourite Christmas glitters of all time (I shared swatches of it last year), & I’ve done some version of this glitter gradient every year, with different base colours, because it works so well.

Also the polish is scented like candy canes when dry, even 5 years after I bought it, which I think is so much fun! The glitter also has a variety of different shaped glitters, which I really like, because it gives good dimension to the gradient so that it pops on the nail! In fact, I had a lot of people comment on my nails at work, which always brings a smile to my face!

What do you think of this glitter gradient? Are you a fan of this type of easy nail art design? What holiday design/polish are you currently wearing? I’d love to know, so please share down in the comments below!

Dainty Snowflakes

Hello lovelies! & happy Monday. It’s beginning to look a lot like… December. & a green one at that. But I really, really wanted some snowflakes on my nails — even if the weather feels more like October than a month before Christmas, that doesn’t me I can’t pretend!

For this manicure, the polishes I used were:

  • Base Coat: Sally Hansen Hard As Nails
  • Top Coat: Essie Gel Setter
  • Quo by Orly The Boulevard
  • OPI Pirouette My Whistle
  • China Glaze ChillinWith My Snow-mies
  • Essie Bobbing for Baubles
  • Born Pretty Store Stamping plate BP-L032 (item #23268)
  • NailStuff.ca Clear Stamper (COFFEE10 saves you 10%!)

First up, I created a jelly sandwich for my base using Quo by Orly The Boulevard, OPI Pirouette My Whistle & China Glaze Chillin’ With My Snow-mies. I thought it was the perfect dainty base for some snowflakes overtop. Also, I so rarely pull out Chillin’ With My Snow-mies, & it’s kind of sad. It was one of those polishes I bought simply because the name made me laugh, but I should definitely pull it out more.

I was also super, super happy with how my snowflakes stamped. They turned out so opaque, it made me so happy. Nothing worse than going to stamp an image, & it barely picked up, or the polish is just too thin & it looks like a shadow.

What do you think about these snowflake nails? Do you have snow where you are? Let me know in the comments below!

Matte Knit Pattern (inspired by xglitzandpolishx)

Hello lovelies & happy Wednesday! We are quickly approaching the end of November, if you can believe it — Christmas is officially one month away!

Today I’m sharing another nail art look inspired by one of my favourites on Instagram — @xglitzandpolishx! I was inspired by one of her old designs, & decided it was perfect for this time of year. & it would look amazing over my base of Zoya Ray from Sunday’s Swatch Sunday post.

For this manicure, the polishes I used were:

  • Base Coat: Sally Hansen Hard As Nails
  • Top Coat: Essie Gel Setter
  • Matte Top Coat: Sally Hansen Miracle Gel Matte Top Coat
  • Zoya Ray
  • L’Oréal Feeling Kilty
  • NailStuff.ca Mermaid Tail Nail Brush Trio — I used the 9mm size. (COFFEE10 saves 10%)

This design took a bit of patience, but was actually super easy to paint! It kind of reminded me of a doing a dotticure, but instead of polka dots, you’re doing dashes instead. The end result just looks like knit, & I’m totally obsessed with it. I’ve actually been meaning to recreate this look for a long time, so I’m glad that I finally did! & I’m totally going to do it again with some more colour combinations.

What do you think about this look? Would you wear this knit pattern on your nails? Was nail art look have you been meaning to recreate lately? Let me know in the comments below!

Criss Cross Freehand Pattern

Hello lovelies & happy Wednesday. It’s definitely a very, very chilly Wednesday here on the East Coast, & I don’t think I’m quite ready for it! I’m naturally a person who is always cold, so when the weather shifts, there is not enough layers or tea in the world to keep me warm!

But even if I’m cold, I still have cute nails to show off! I picked up a couple nail art stripers on clearance at Lawton’s a while ago, but hadn’t really played with them, so I decided to play around with some line work. I originally intended to do a kind of x-pattern look, which so of shifted as I was doing it. I’m not sure what to call this kind of pattern, but I absolutely love it. & it’s a look that even looks good on nubby nails like mine!

For this manicure, the polishes I used were:

  • Base Coat: Sally Hansen Hard As Nails
  • Top Coat: Essie Gel Setter
  • Matte Top Coat: Sally Hansen Miracle Gel Matte Top Coat
  • Sally Hansen Complete Salon Manicure Clean Slate
  • Color Club Art Club Pink Pastel

Oh man, I think this pattern turned out so neat! It actually wasn’t super difficult to do either; I started with painting an X on my nails, then when it each triangle section to repeat the same pattern over & over so you would get this interlocking/woven effect. It sounds complicated, but it really wasn’t. Just required a bit of a steady hand, & a little concentration, but the end result is totally worth it!

Also yes I’m totally obsessed with using my matte top coat again. I saw that Sally Hansen has a new Miracle Gel matte top coat, so I’m going to see if I can pick some up the next time I’m out. I also think I’m due for another “battle of the matte top coats”, so maybe I’ll have to add it to the mix!

What do you think about this look? Is this something you could see yourself rocking?

Also now that we’re hitting mid-November I was thinking of starting to post the occasional Winter/maybe Christmas look? Do you want to see that, or do you think it’s too soon?

Let me know down in the comments below!