Hello lovelies!
Hope everyone is having a fantastic start to their week & October! Can you believe it’s October already?! It is absolutely my favourite month of the year because HALLOWEEN! & my birthday as well, but still haven’t decided if I’m excited for my birthday this year or not.
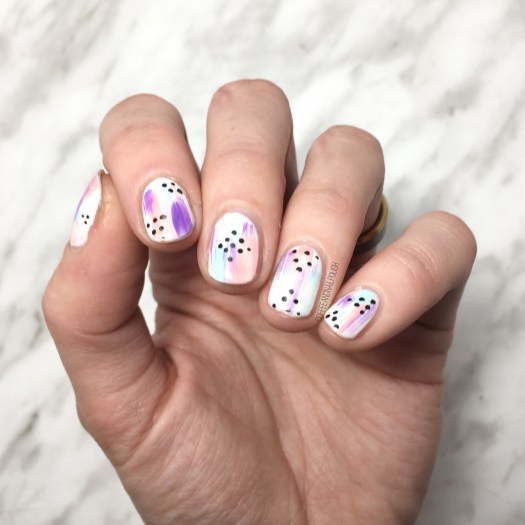
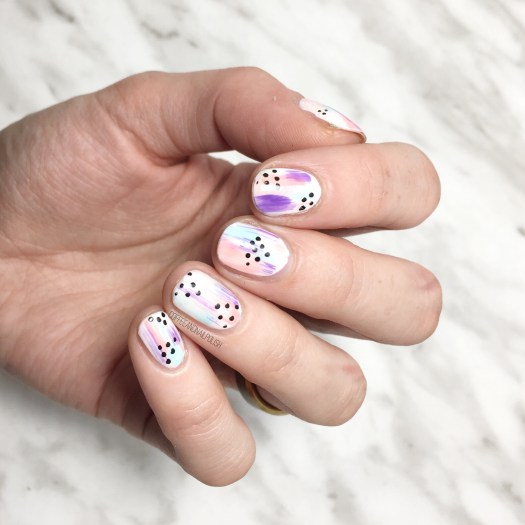
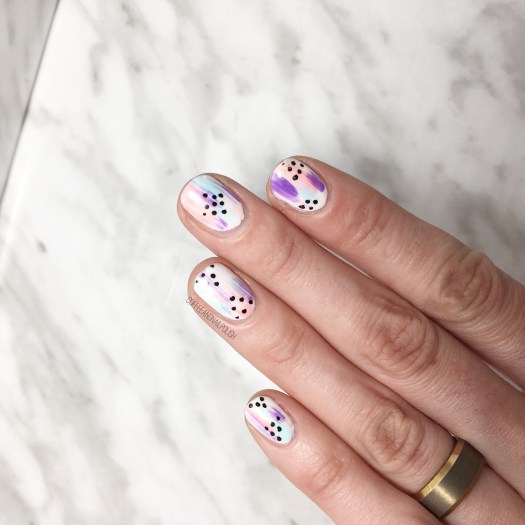
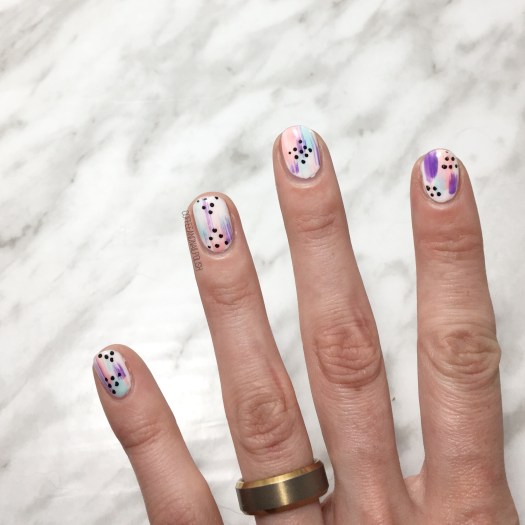
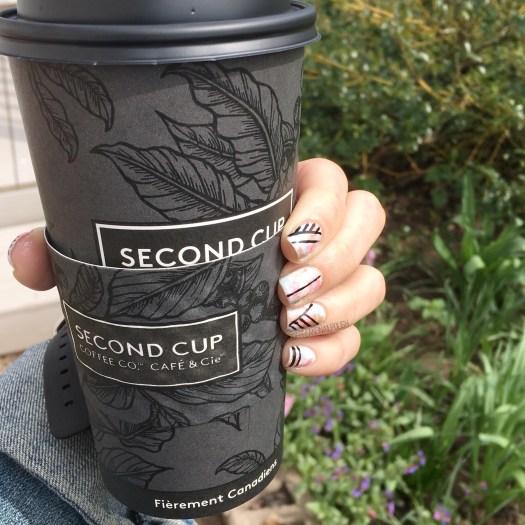
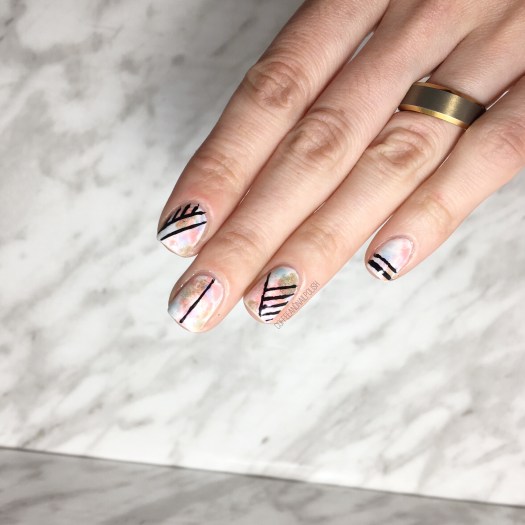
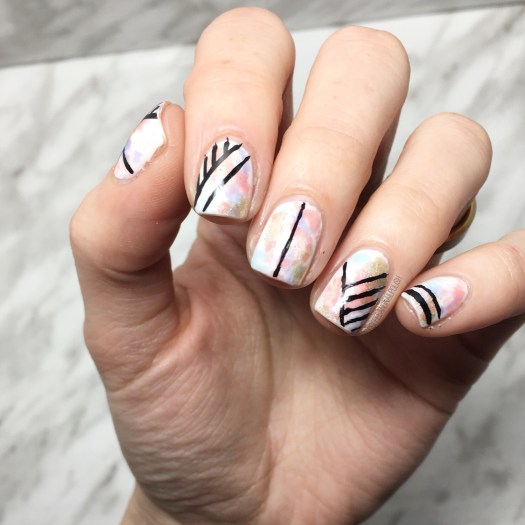
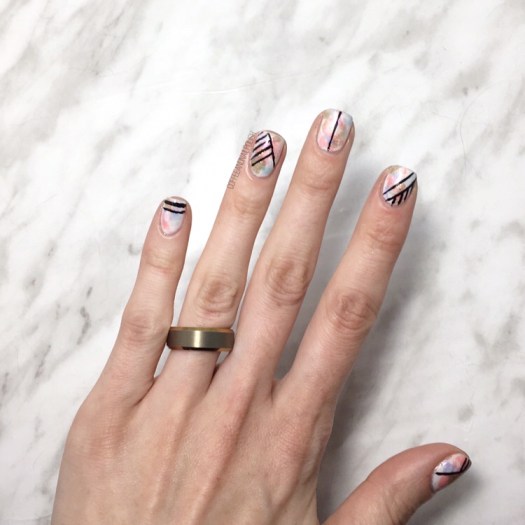
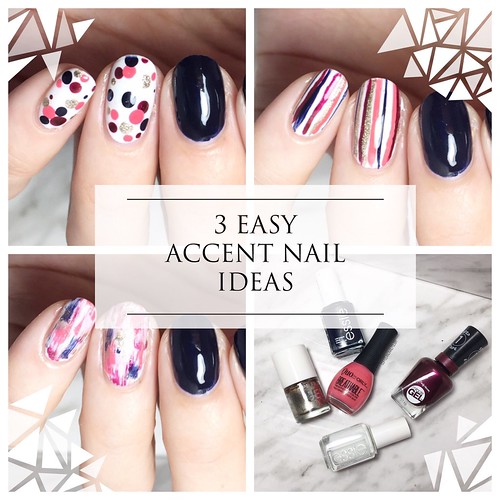
Today though I have a fun nail art post to share with you featuring 3 different accent nail art looks that are both quick & easy! For these designs I used the same polishes for all 3 looks, & tried to do nail art that #1. wouldn’t take forever to dry, & #2. didn’t need a whole lot of complicated tools

For all three designs, I decided to use the same polishes:
- Essie After School Boy Blazer
- Essie White Page
- Quo by ORLY Breathable Nail Superfood
- Joe Fresh Gel Look Sparkling Glitz
- Sally Hansen Miracle Gel Frosted Berries
As always, I used my base coat & top coat for a complete look. As well, I used a couple nail art tools in order to achieve my look–a dotting tool & a striping brush. Mine are both from NailStuff.ca, although there are a ton of different places you can purchase nail art tools.