Neon with Freehand Lines

Hello Summer, how you doing?

Hello lovelies & happy Tuesday. I hope everyone had a wonderful weekend. We celebrated my little girls 2nd birthday this weekend with lots of cake, a fun play date, more cake, & some actual sunshine. It was very exciting!

Now we’re set for a rainy, muggy, thunder-y week. At least I get a little bit of brightness through my nails! This neon look is a throwback to some nails I did (more than) a few years back. Something about short nails just makes me want to rock neons & graphic lines. & my nails have been pretty short lately.

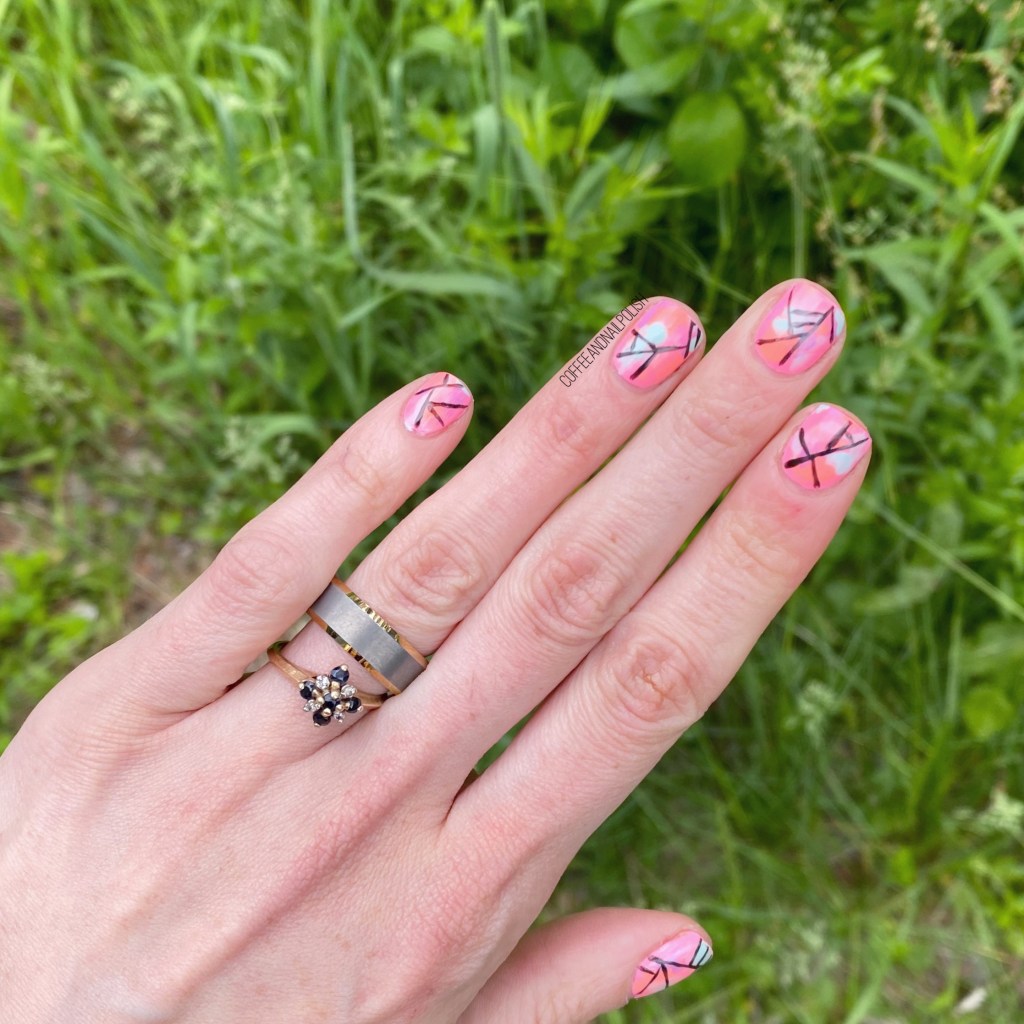
For this manicure, the polishes I used were:

  • Base Coat: Sally Hansen Nailgrowth Miracle
  • Top Coat: Essie Speed Setter
  • China Glaze Flip Flop Fantasy
  • China Glaze Shocking Pink
  • Essie Mint Candy Apple
  • Essie Worth The Tassel
  • Sally Hansen Miracle Gel Blacky-O
  • NailStuff.ca 16mm Striper Brush

So bright!

So this base was an attempt to cover up a chipped manicure, & then a saw how pretty it was & thought it would be perfect for some graphic black line work. I find these kind of designs much easier to freehand over the straight horizontal lines. Which sucks, because I have a few looks in my head I’m itching to try, but scared of mucking up with uneven lines.
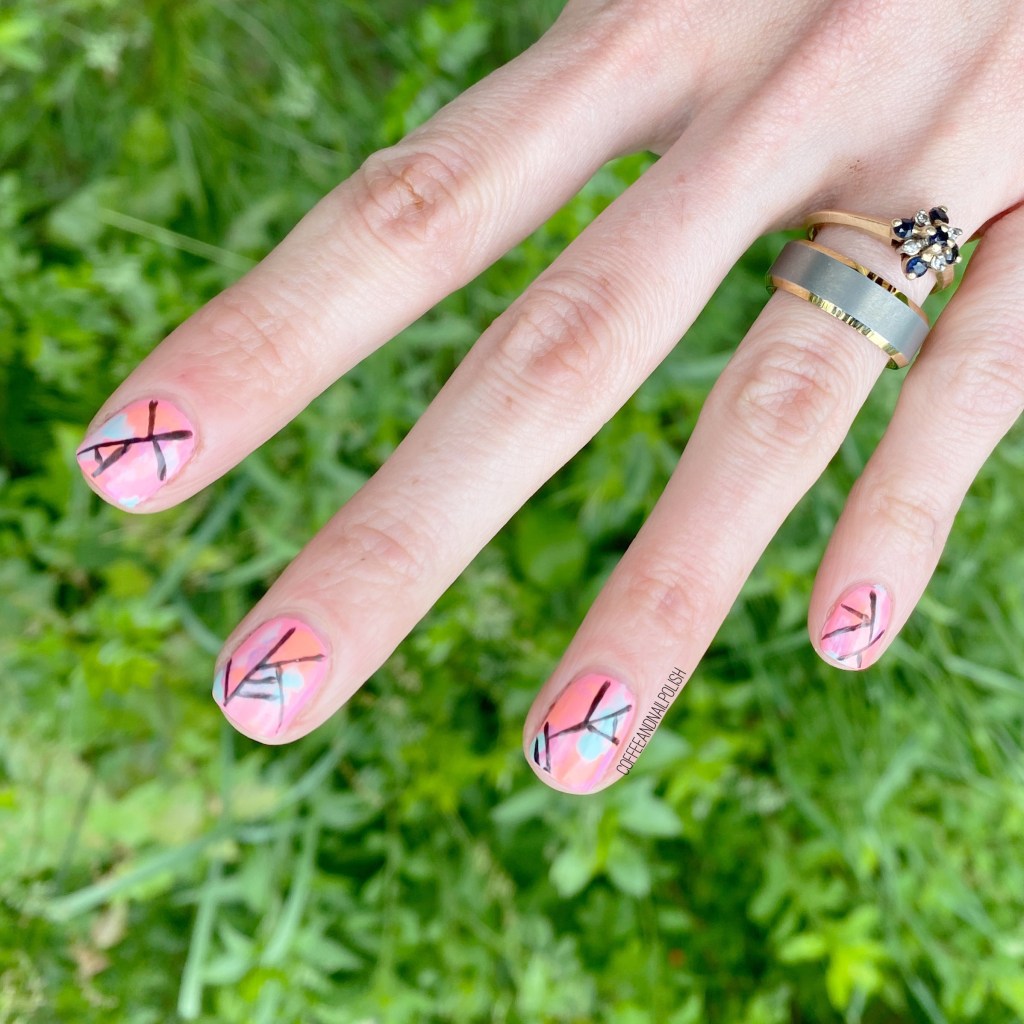
What do you think of this design? What nail art looks are you planning for this week? Let me know in the comments!

Navy & Bronze Dry Brush

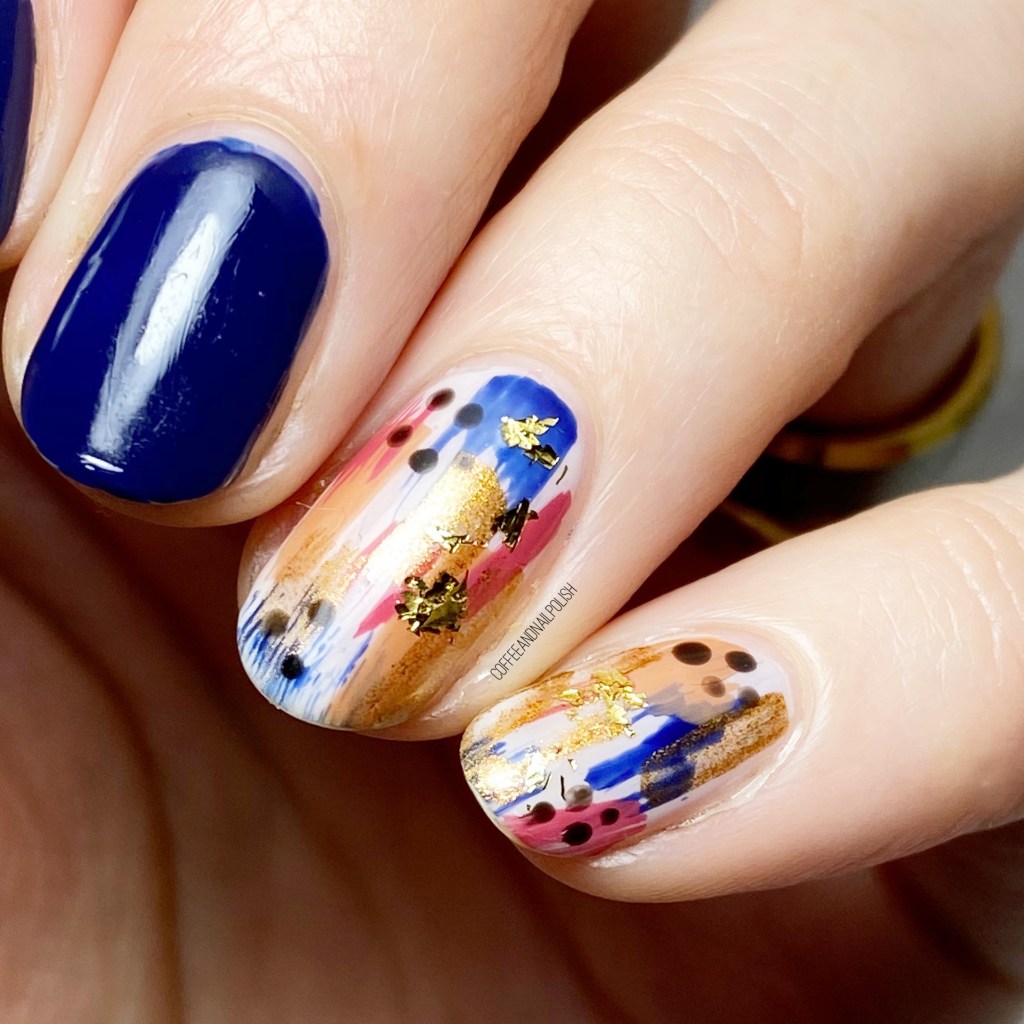
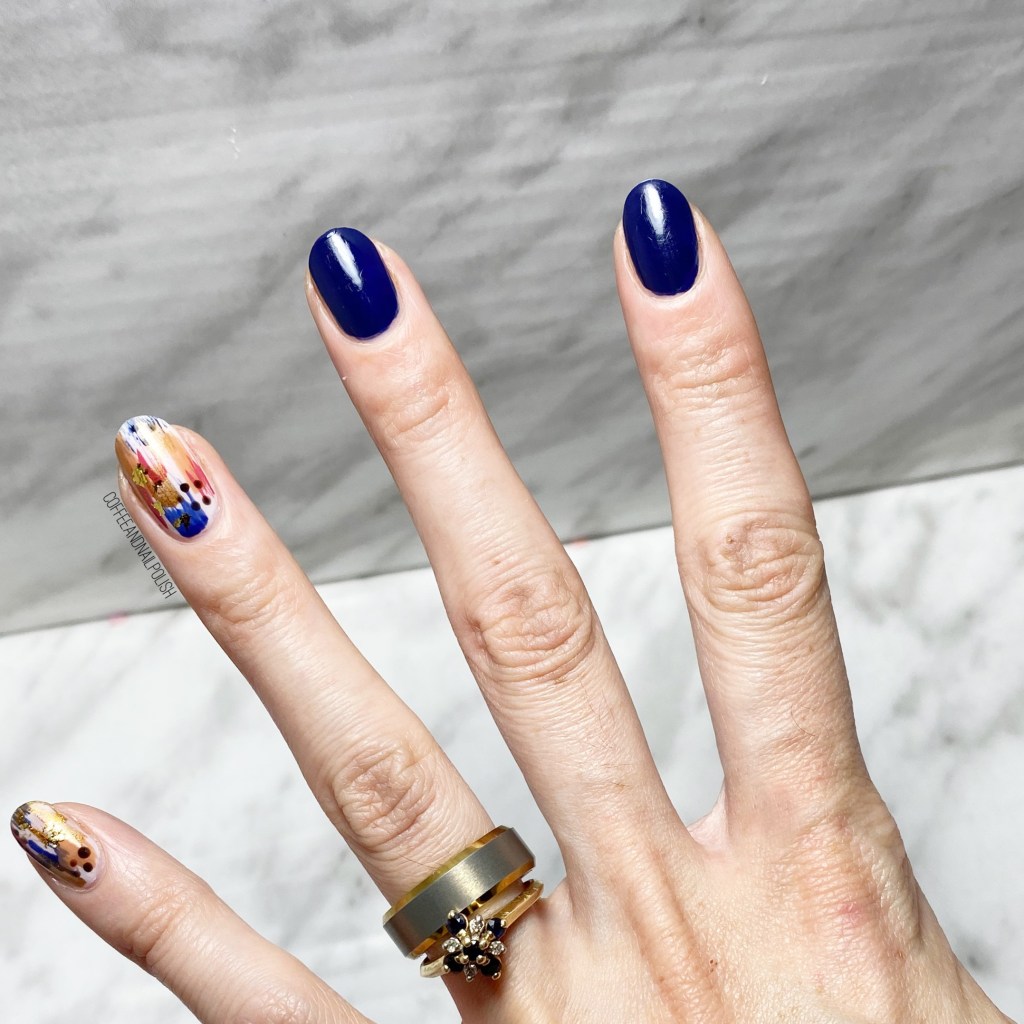
Hello lovelies & happy Tuesday! Hope everyone has a lovely start to their week so far. Today I’ve got another nail art technique to share with you (that I haven’t done in a while): dry brush!

Dry brush is such an easy technique that anyone can do. It’s a great option if you can’t quite figure out what to do on your nails— which is exactly what I was going through the other night when preparing to do my nails. I just love how the way you layer the polishes overtop of each other can create such a fun & unique look!

For this manicure, the polishes I used were:

  • Base Coat: Sally Hansen Hard As Nails
  • Top Coat: Essie Speed Setter
  • L’Oréal Le Vernis a L’Huile Bleu Royal
  • Essie Ballet Slippers
  • Essie Spice It Up
  • Essie Cliffhanger
  • Essie Leggy Legend
  • Sally Hansen MG Black-y O
  • NailStuff.ca Gold Metallic Flakes (COFFEE10 to save 10%)
  • NailStuff.ca Dotting Tool Trio

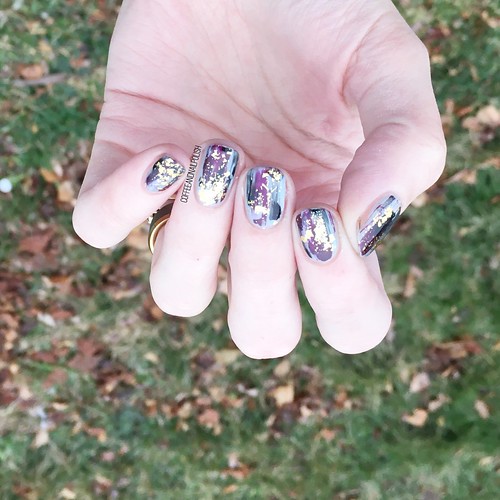
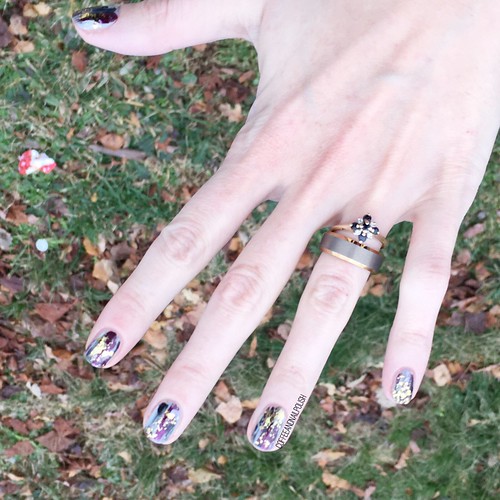
Look at that dry brush layering! I added some fun gold foil over top to complete my look, but dry brush is definitely a fun beginner design because it doesn’t require any nail art tools! You can just use whatever polish you have on hand. & the colour combinations are absolutely endless—you can do one for every season, or holiday. Also you can let it dry a bit so the colours don’t blend too much, or brush them together to create a fun almost watercolour effect. I love doing both!

What do you think of the dry brush nail art technique? How do you feel about this Autumn colour scheme? Let me know all your thoughts down in the comments below!

Purple Fall Leaves 🍁

Hello lovelies & Happy Tuesday!

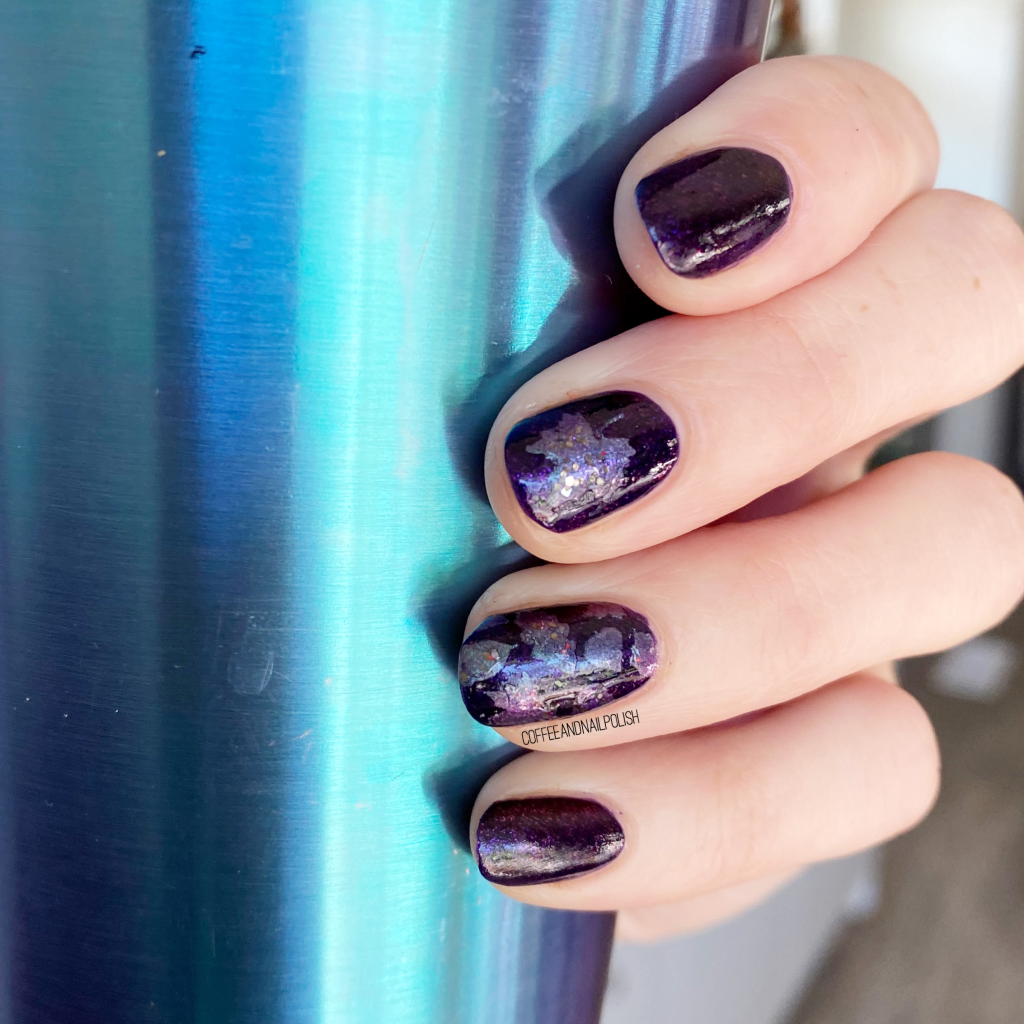
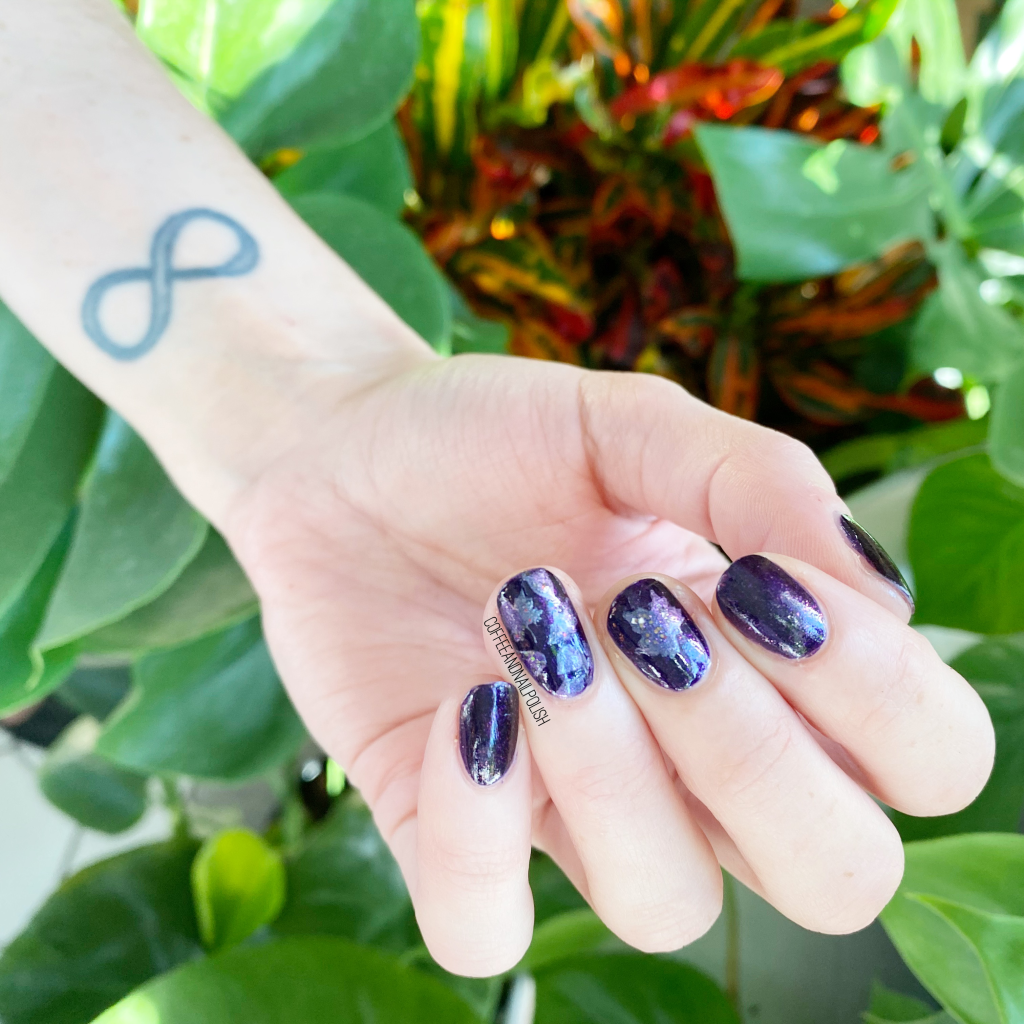
We’re eight days into September & I’m in full dark polish swing. While Summer shades are awesome, I feel like Fall polish makes my heart the happiest. I’ve also really been looking forward to pulling out my Fall leaves nail vinyls again! It’s been forever since I played around with vinyls, & I’ve missed them for sure.

For today’s look, I knew I really wanted to grab my bottle of Sally Hansen Slicks & Stones because it is such a lovely campus shade for this time of year. & I wanted to add some Fall leaves but I didn’t want to do gold or bronze or anything like that.

So I decided to go an untraditional route.

For this manicure, the polishes I used were:

  • Base Coat: Sally Hansen Hard As Nails
  • Top Coat: Essie Speed Setter
  • Sally Hansen Color Therapy Slicks & Stones
  • Essie For The Twill Of It
  • Quo by ORLY Kaleidoscope Haze
  • The Base Coat Fall Leaves Nail Vinyls

Seriously living for this purple-y colour combination. The shift in For The Twill Of It is just so gorgeous, & it really suits the dark purple of Slicks & Stones. I’m really loving the combination so much.

What do you think about this Fall mani? Are you loving the dark shades now? Let me know in the comments below!

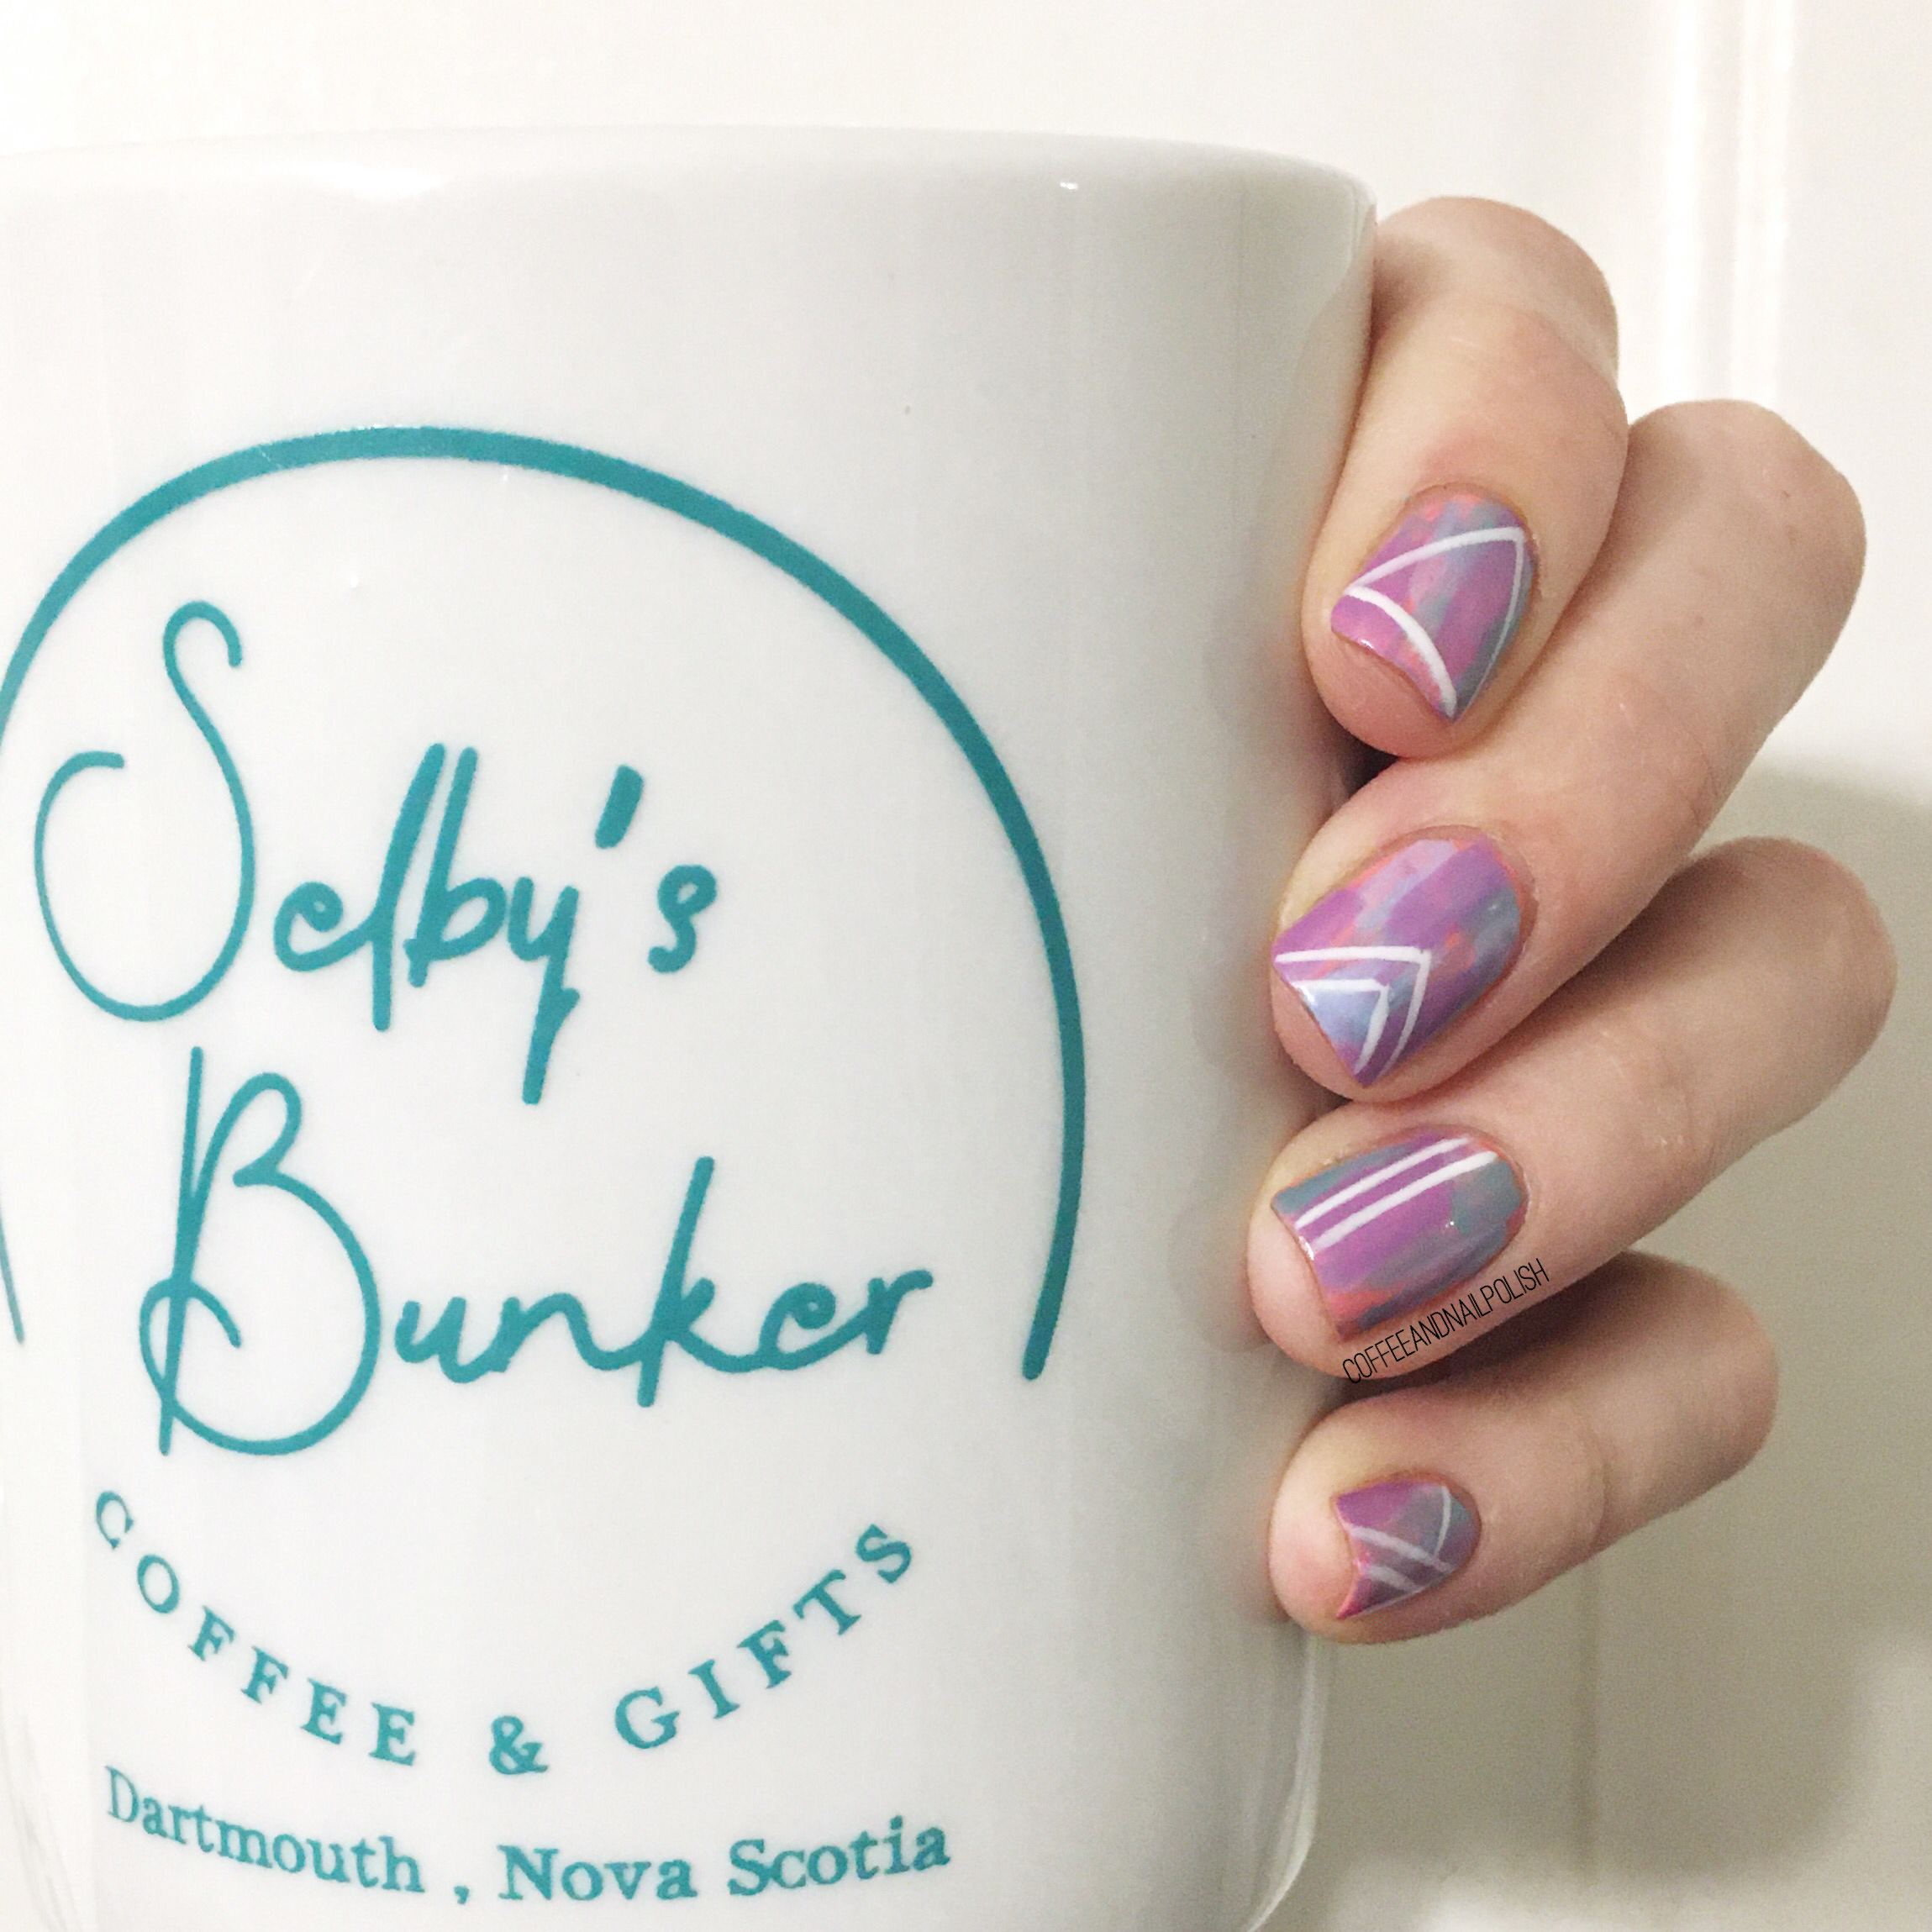
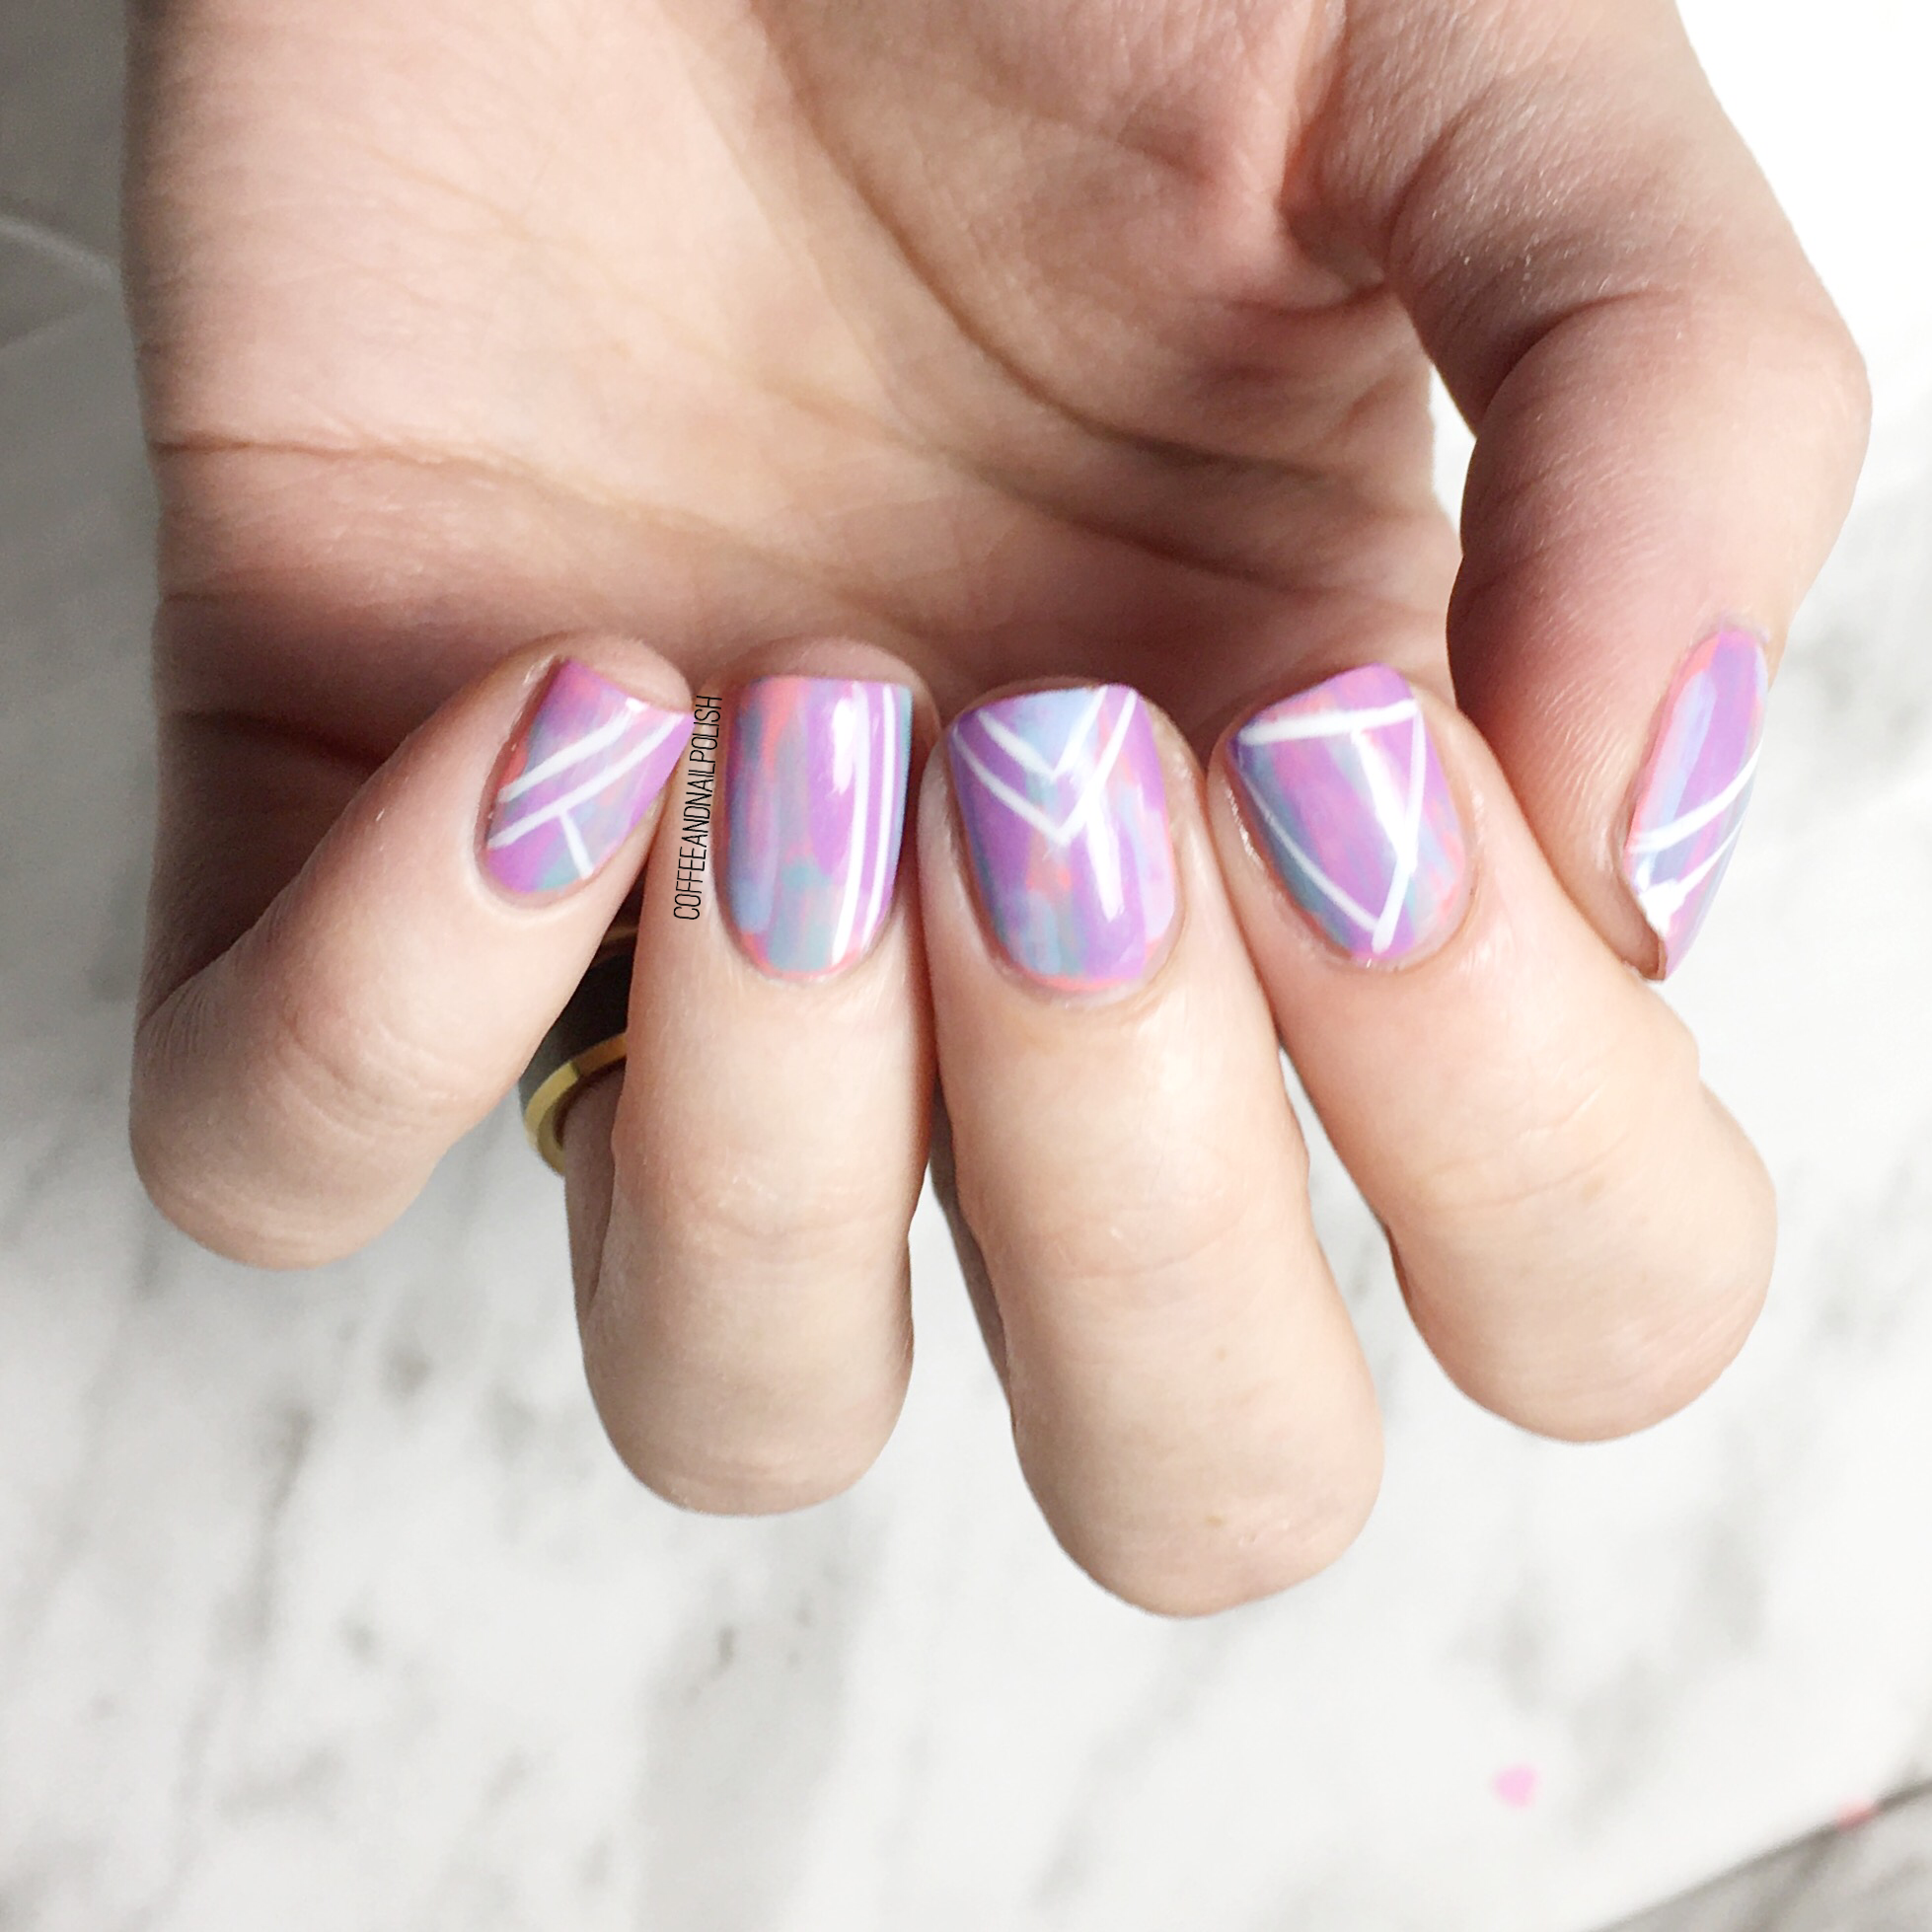
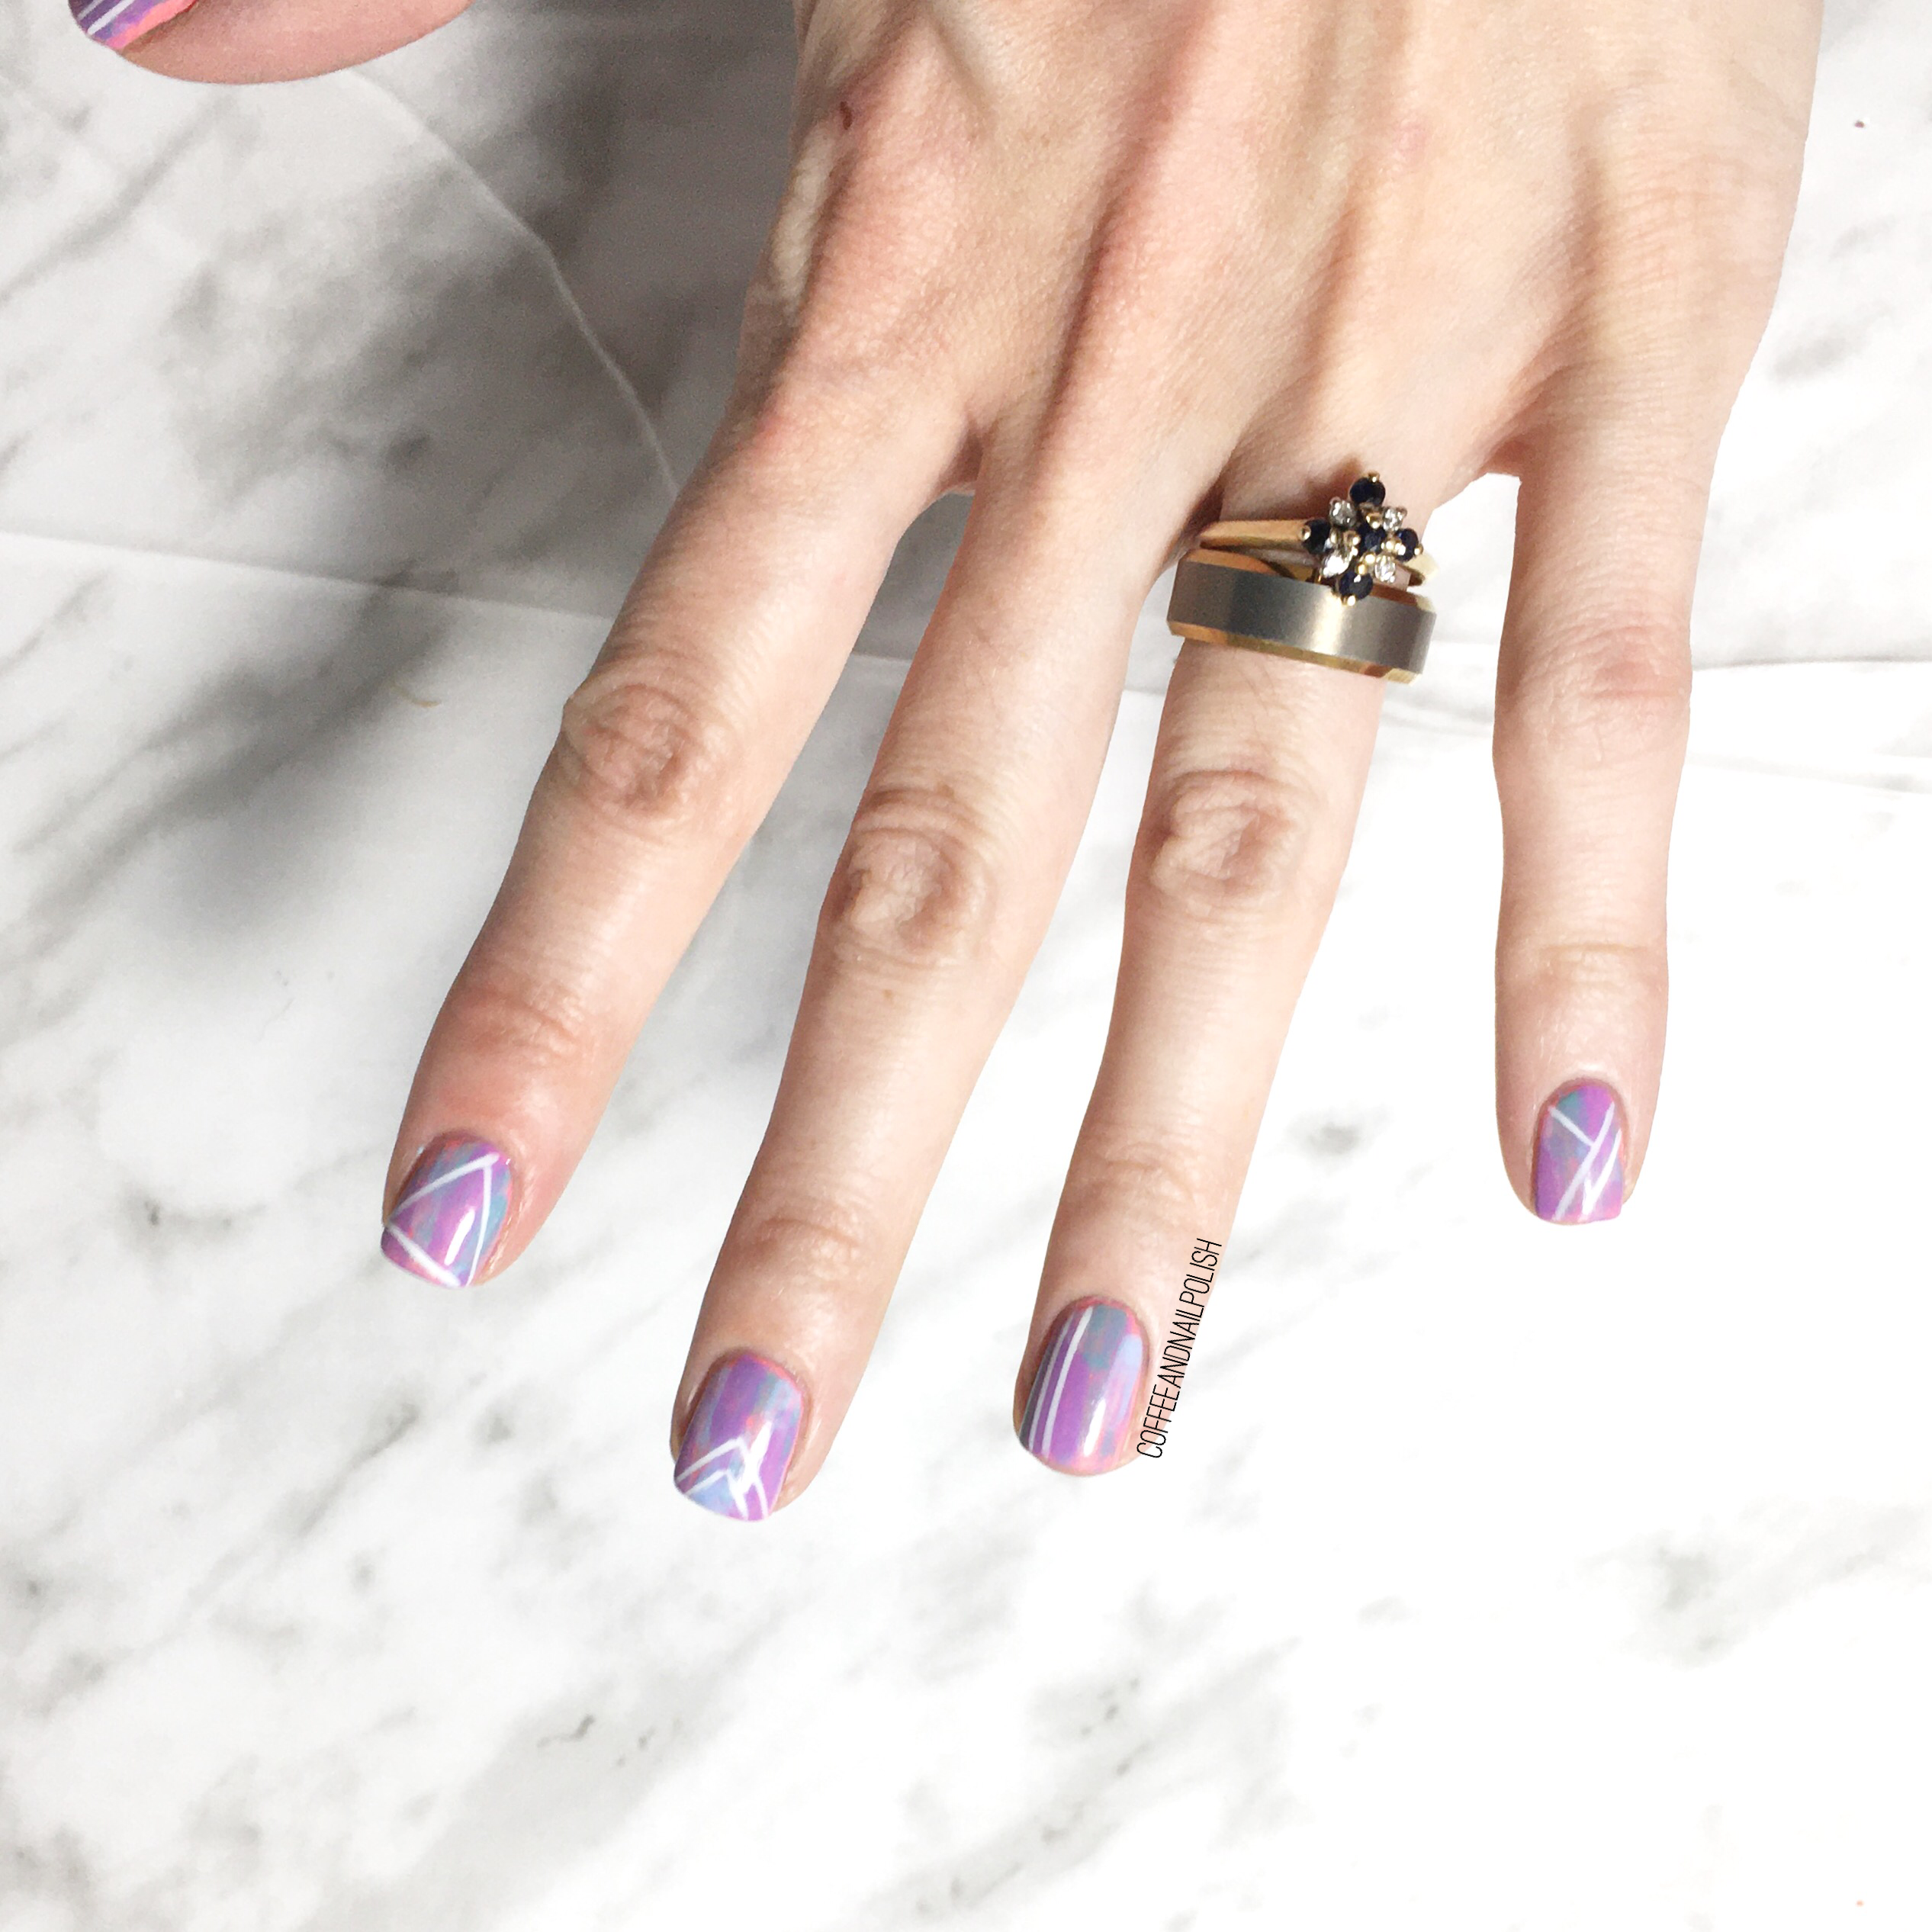
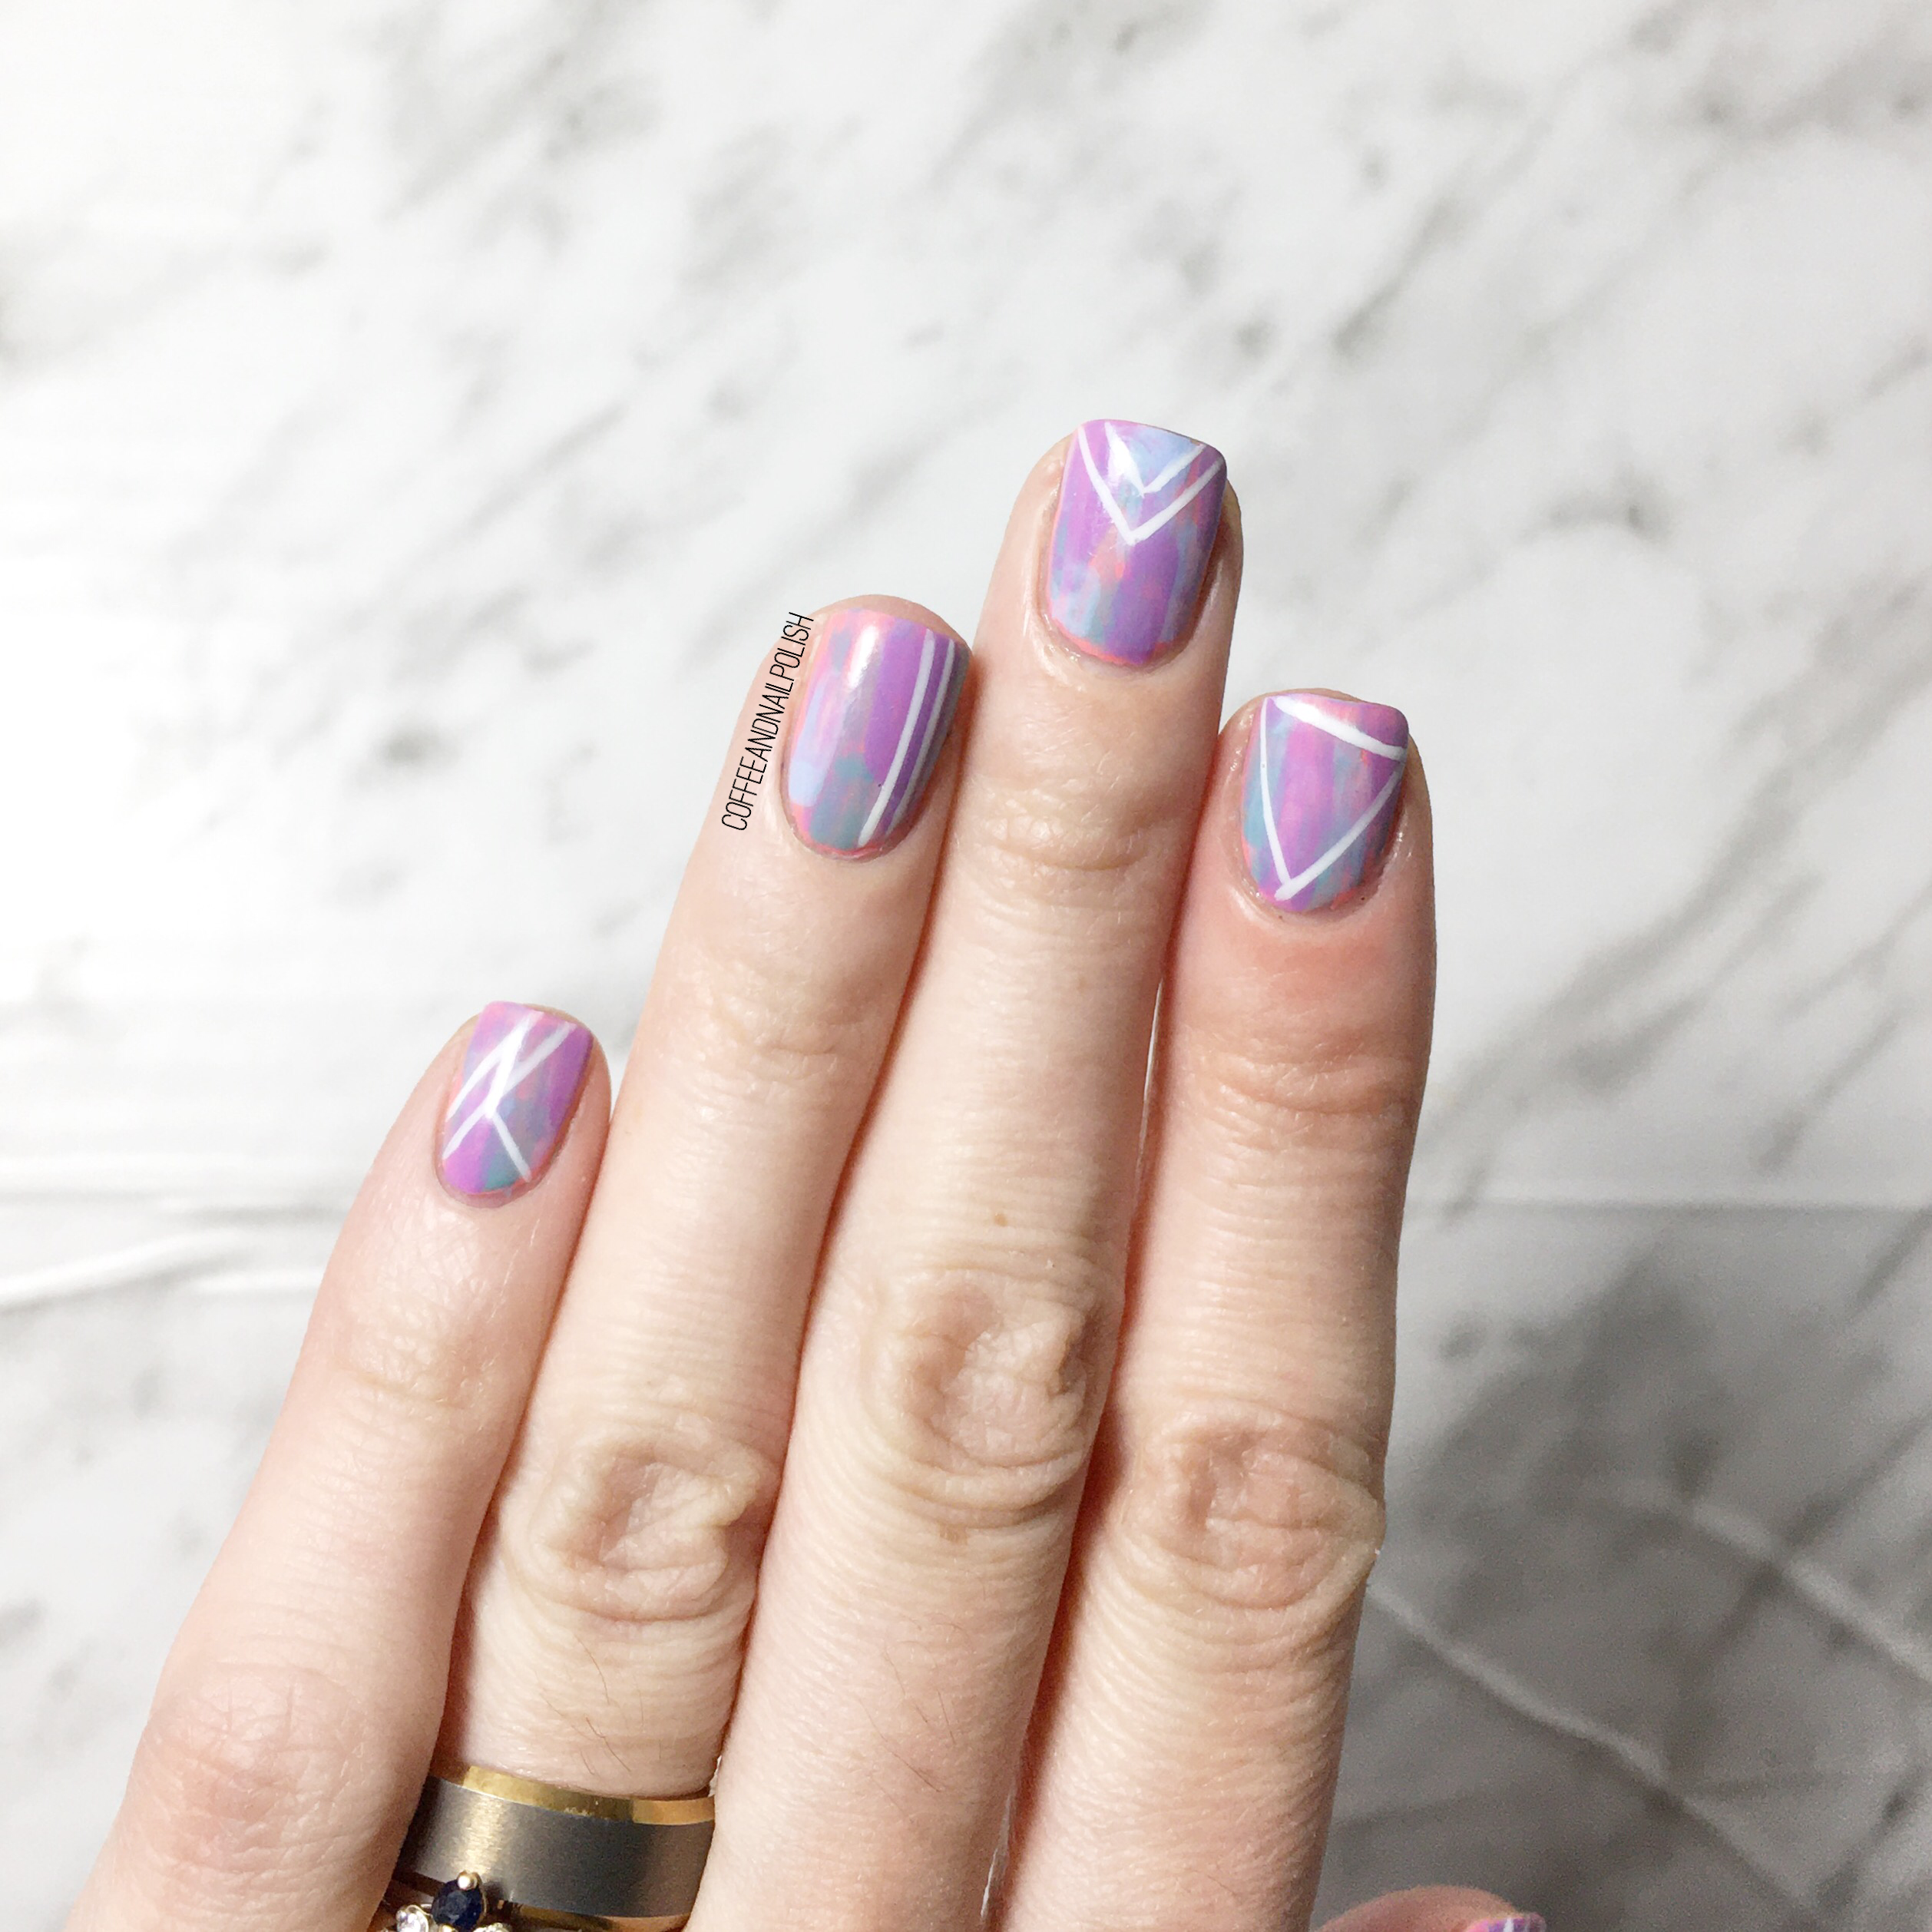
Pastel Geometric Dry Brush

Hello lovelies & happy Thursday! I hope the weather is more beautiful where you are — here in Halifax we have rain, & clouds & an overall dreary day. Well at least yesterday was beautiful!

How about I brighten things up a bit with some new nails? I actually did this look a few weeks ago, but (again) didn’t get around to posting it. I’m really feeling this coral/purple/turquoise colour scheme right now, & I have been putting out these shades a lot. This look was kind of me just playing around, but it turned out to pretty I decided to wear it!

For this manicure, the polishes I used were:

  • Base Coat: Sally Hansen Good Kind Pure Hardener
  • Top Coat: Essie Speed Setter
  • Sally Hansen Miracle Gel Malibu Peach
  • Sally Hansen Miracle Gel Get Mod!
  • Essie Where’s My Chauffeur? 
  • Essie Play Date
  • Claire’s Matte Sorbet Blue
  • NailStuff.ca 16mm Striper Brush (COFFEE10 to save 10%)

I’ve been a little bit obsessed with dry brush designs lately, just because they make such a pretty back ground for nail art. I really like how the clean white lines stand out so much against the blurred pastel background. Originally I had thought about doing some more complicated tribal print, but I think the simplicity of a few geometric lines works way better. You see both the background & the graphic lines as well. I like it a lot. Plus it was a great excuse to work on free-handing straight lines, which is definitely something I find tricky.

Please excuse my horrendously dry hands. I’ve been struggling through finding the right hand creams to help under these extreme circumstances! I think I may have found my new favourite one, but I want to give it a couple weeks of real hands on testing before I make any posts about it. It’s actually one my Dad recommended to me. Got to love suggestions from Dad! Haha.


So what do you think about this design? Have you ever worn a dry brush design before? Do you like them on their own, or with nail art added on top. Let me know all your thoughts down in the comments below, & for fun, share what hand cream is currently saving your dry hands right now!

♥♥♥

Dry Brush & Gold Flakies

3CA3561B-51C0-42CB-89F7-2C200A787E1E

Hello lovelies & happy Tuesday. Today I’ve got another fun design to share. It feels like absolute ages since I did a dry brush design, & so it felt long overdue! I love a good dry brush, because they’re so quick & easy to do. It had also been a while since I’d pulled out any of my Flakies from nail stuff, so I thought some gold was in order!

8BA09452-70A2-4A34-A39F-4AADA9469E48

For this manicure, the polishes I used were:

  • Base Coat: Essie Treat Love & Color Gloss Fit (clear)
  • Base Coat: OPI Nail Envy
  • Top Coat: Essie Speed Setter
  • Quo by ORLY Aloe, Goodbye
  • Sally Hansen Miracle Gel Pat on the Black
  • Essence Black is Back
  • Nailstuff.ca Gold Metallic Flakies (COFFEE10 to save 10%!)

.

87E3E482-3D47-4BBC-9912-1B4F42886623

I totally, accidentally, knocked half my gold Flakies all over my couch when creating this look, which was probably the most difficult part of doing this design. Haha. I had tucked these gold pieces away in my nail art draw, & had completely forgotten about them… & how much I love using flakies! They’re just so pretty!

41C9F5C6-3935-4798-829D-2DD069FECA60

I’m loving these. The colours, the whole overall look, how freaking easy they were. Everything about these are so fun.

19C7A9A4-0BAF-4E40-AA0C-63EAB3BA1EE4

What do you think about this manicure? Do you love dry brush designs? Let me know all your thoughts on this look.