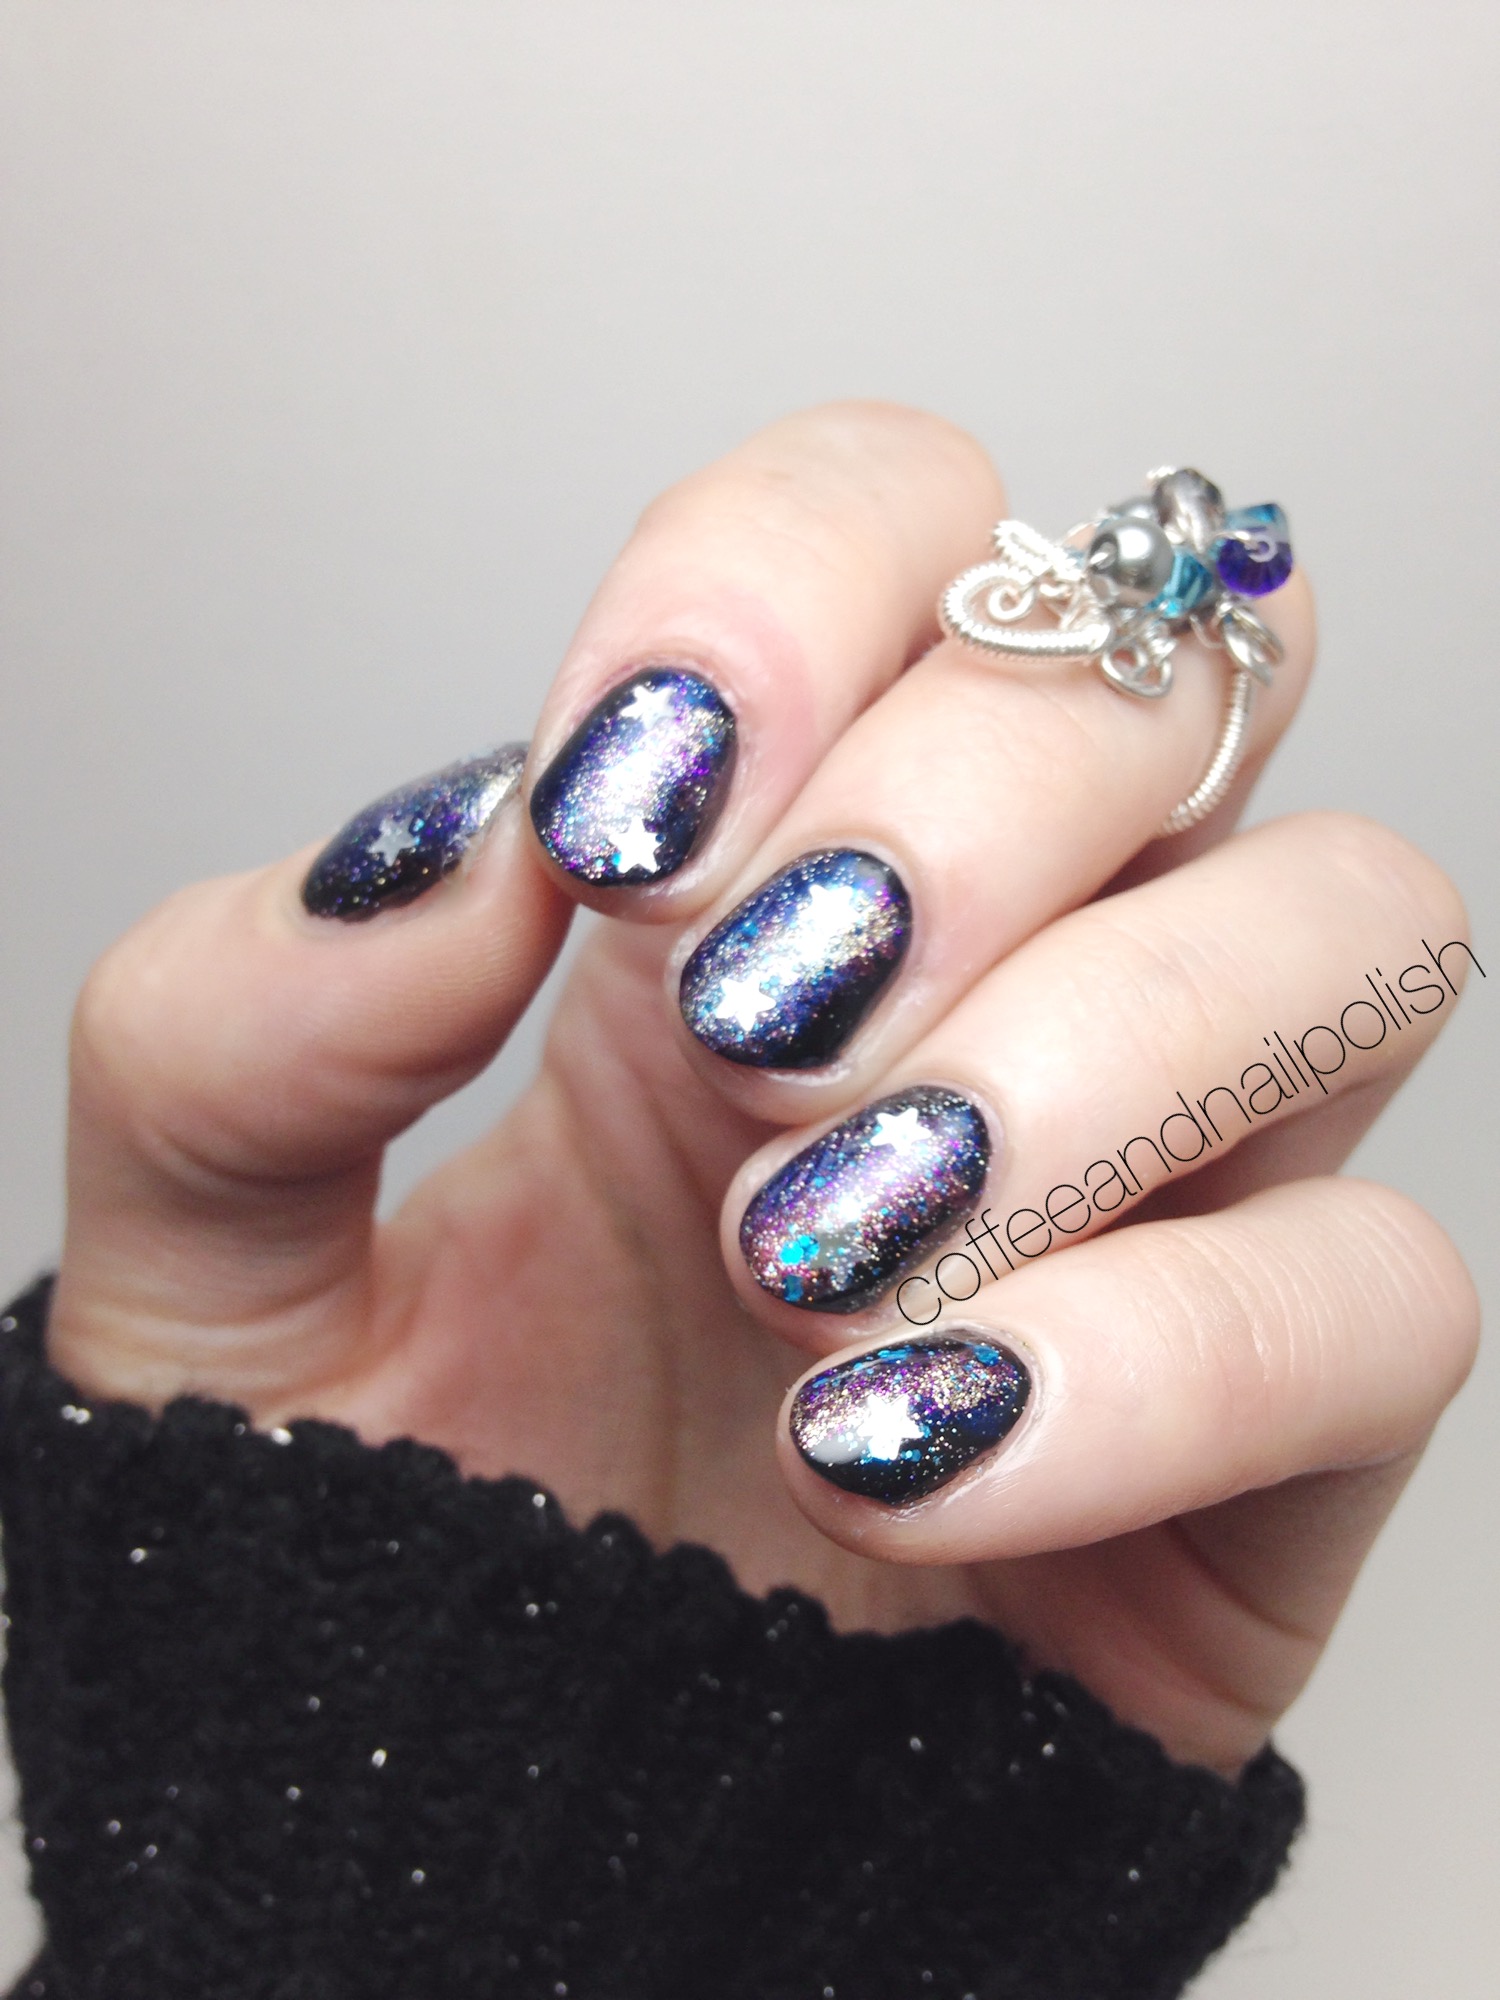
After being inspired by two of my fellow nail art girlies on Instagram (mymintnails and banulovesnailpolish) the other day, I was in the mood for Galaxy nails. The last time I did them was in April during the early weeks of this blog, and I hadn’t tried them since so it felt like a good time.


The polishes I used for this manicure were:
- OPI Who Are You Calling Bossy?!?
- Unnamed Blue Joe Fresh Metallic Polish I got as part of their holiday collection this season.
- LA Splash Heiress.
- LA Splash Glitz & Berry.
- LA Splash Maroon.
- Quo by ORLY Trashy Glam.
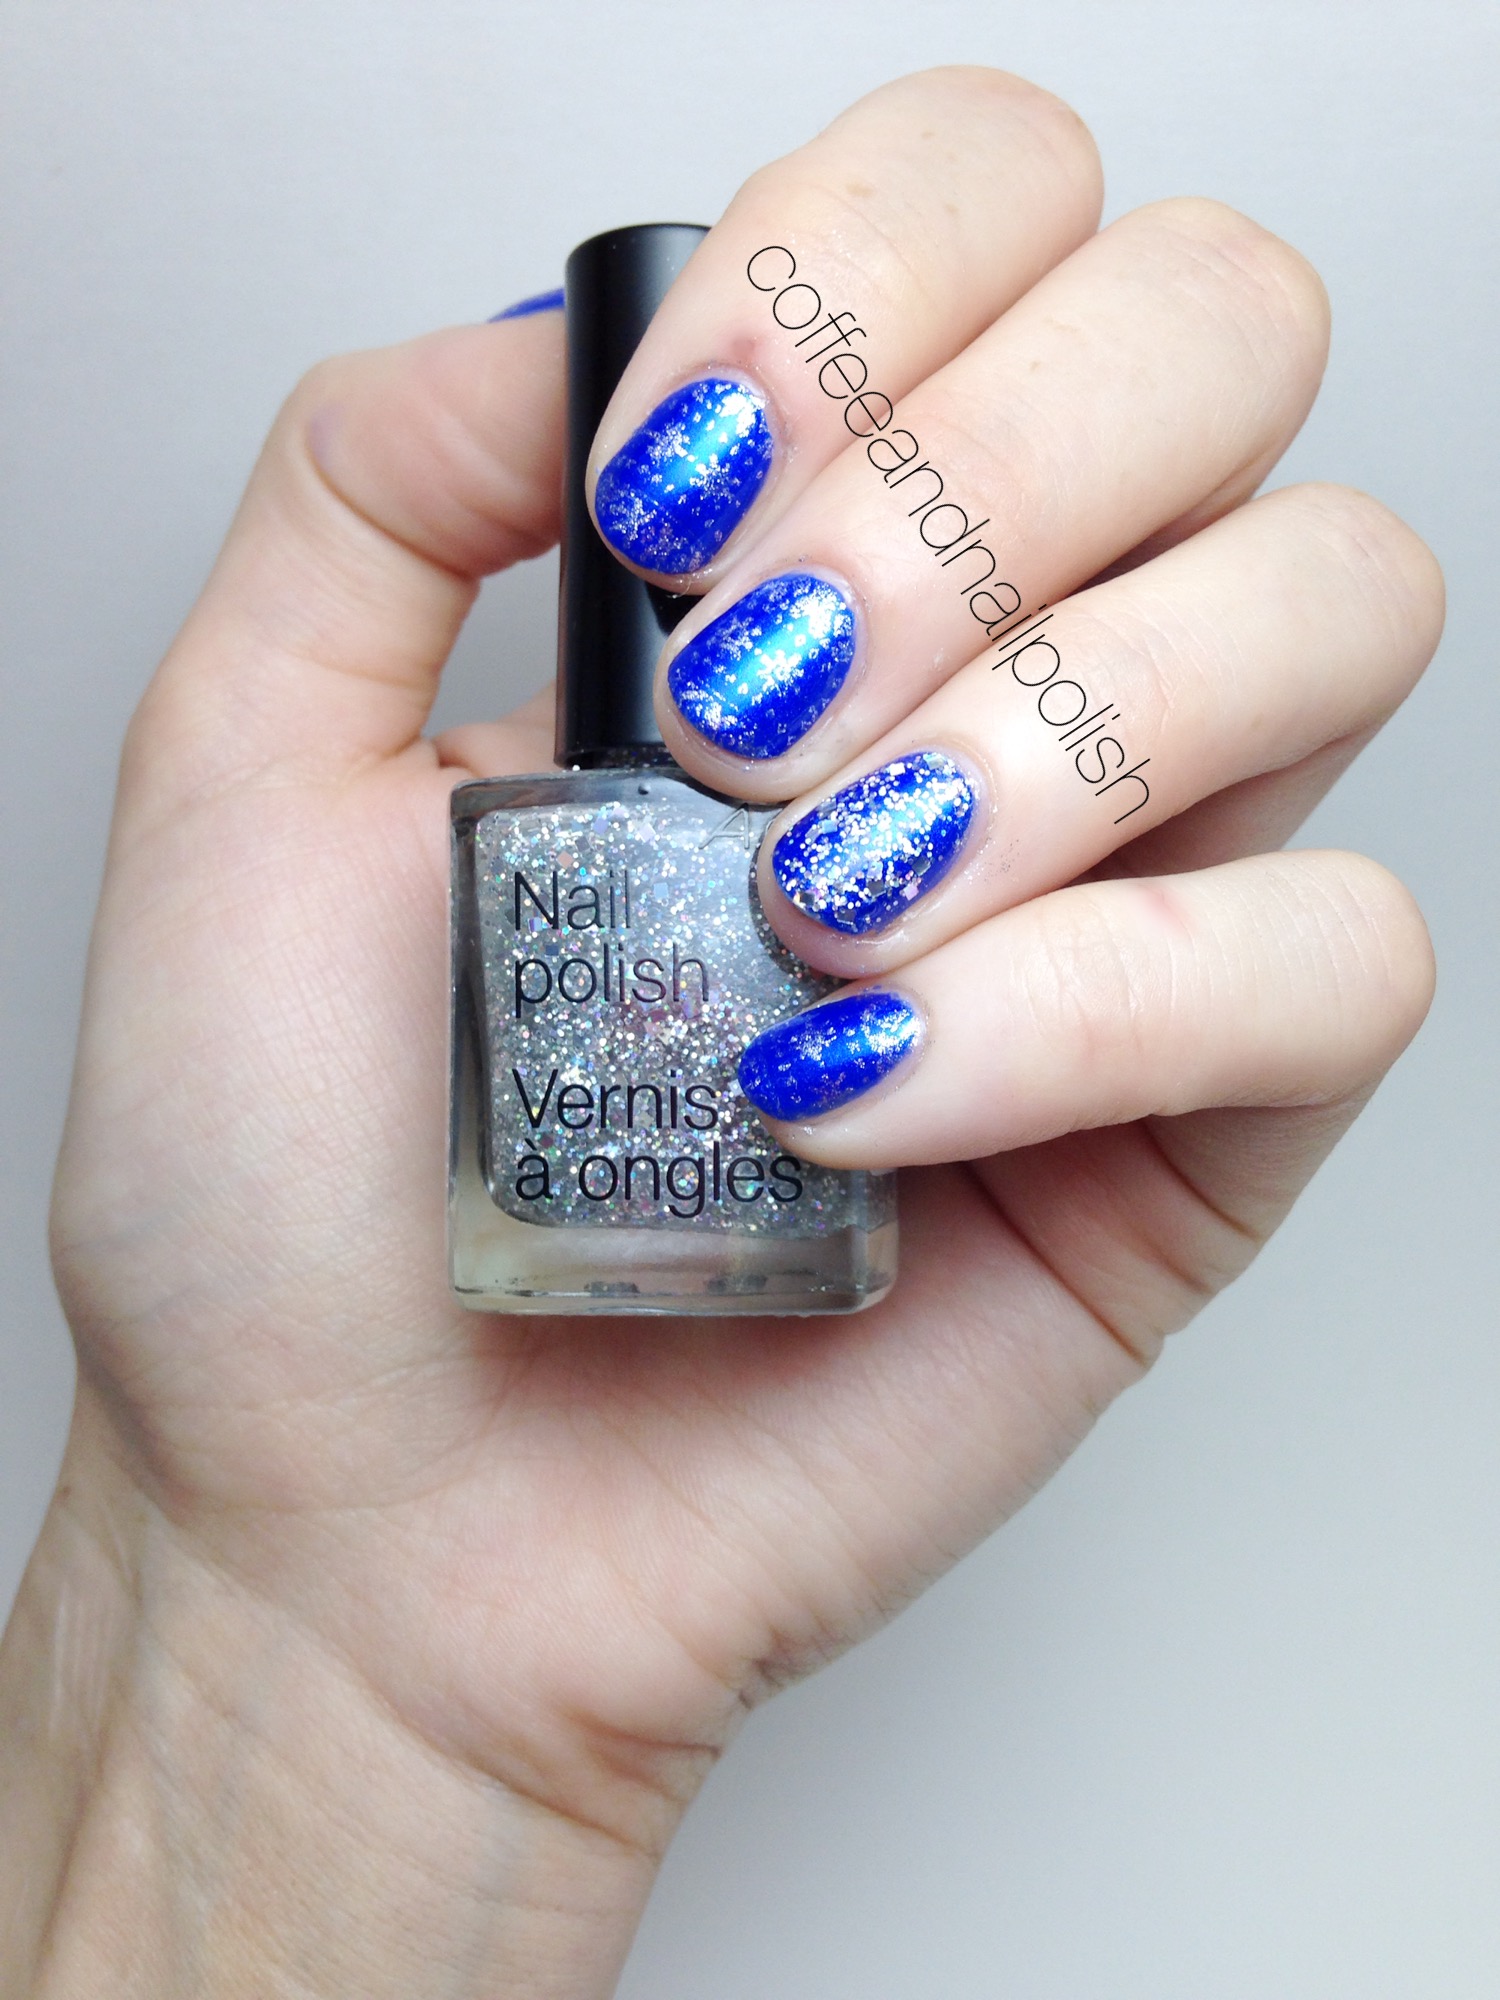
- ACO by Ardene Showtime.
- China Glaze Fairy Dust.
- Sally Hansen Diamond Flash Top Coat.
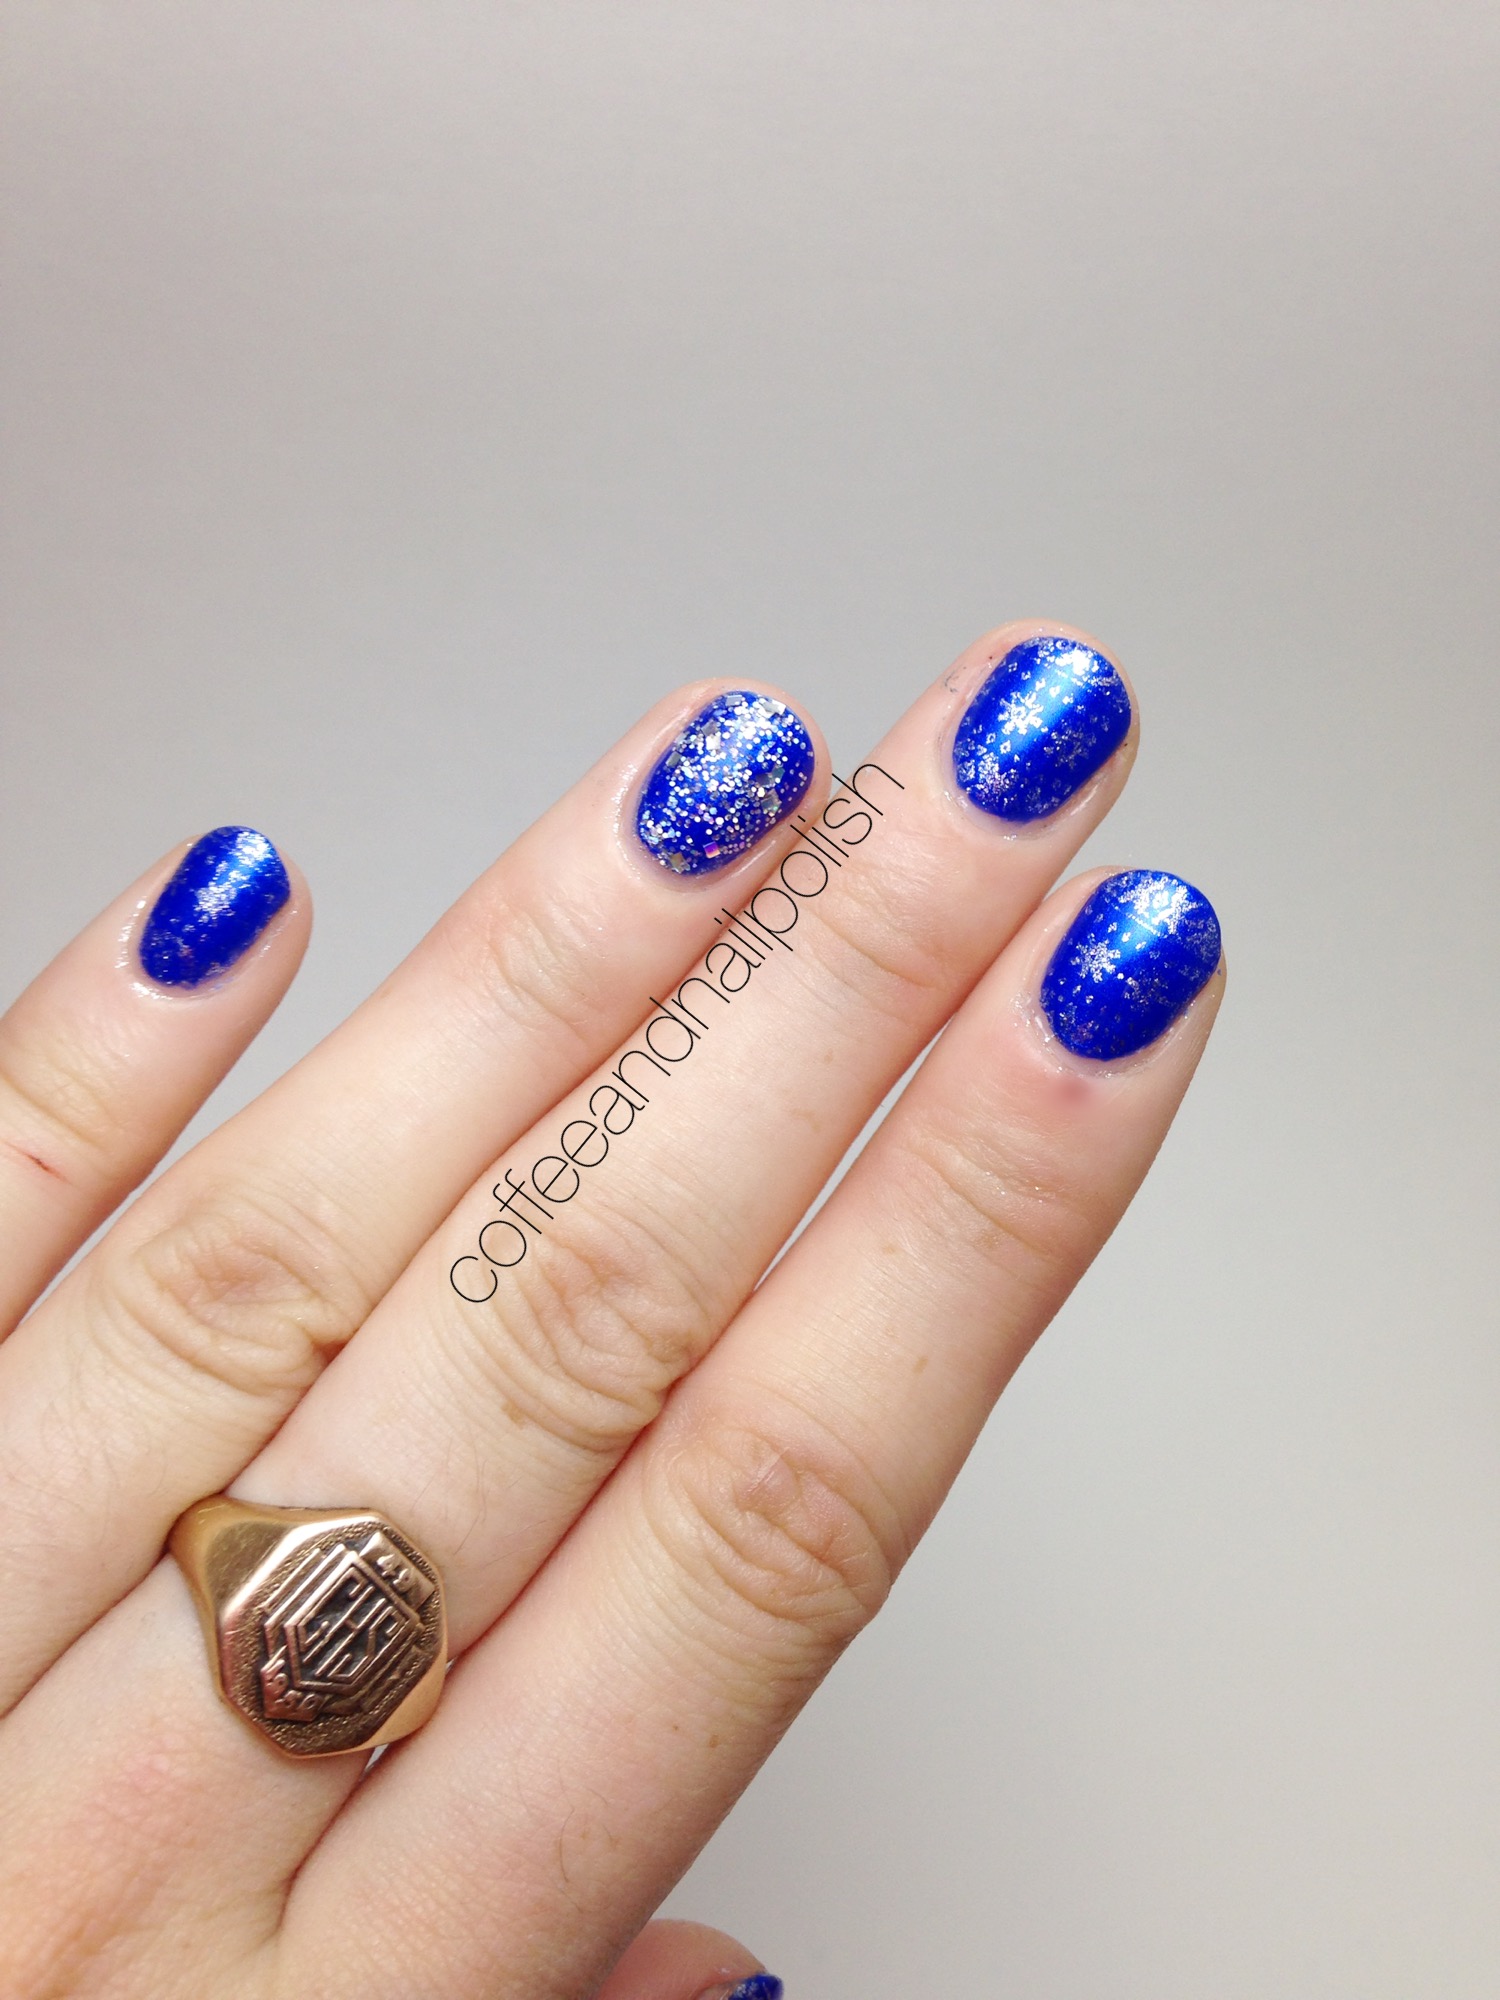
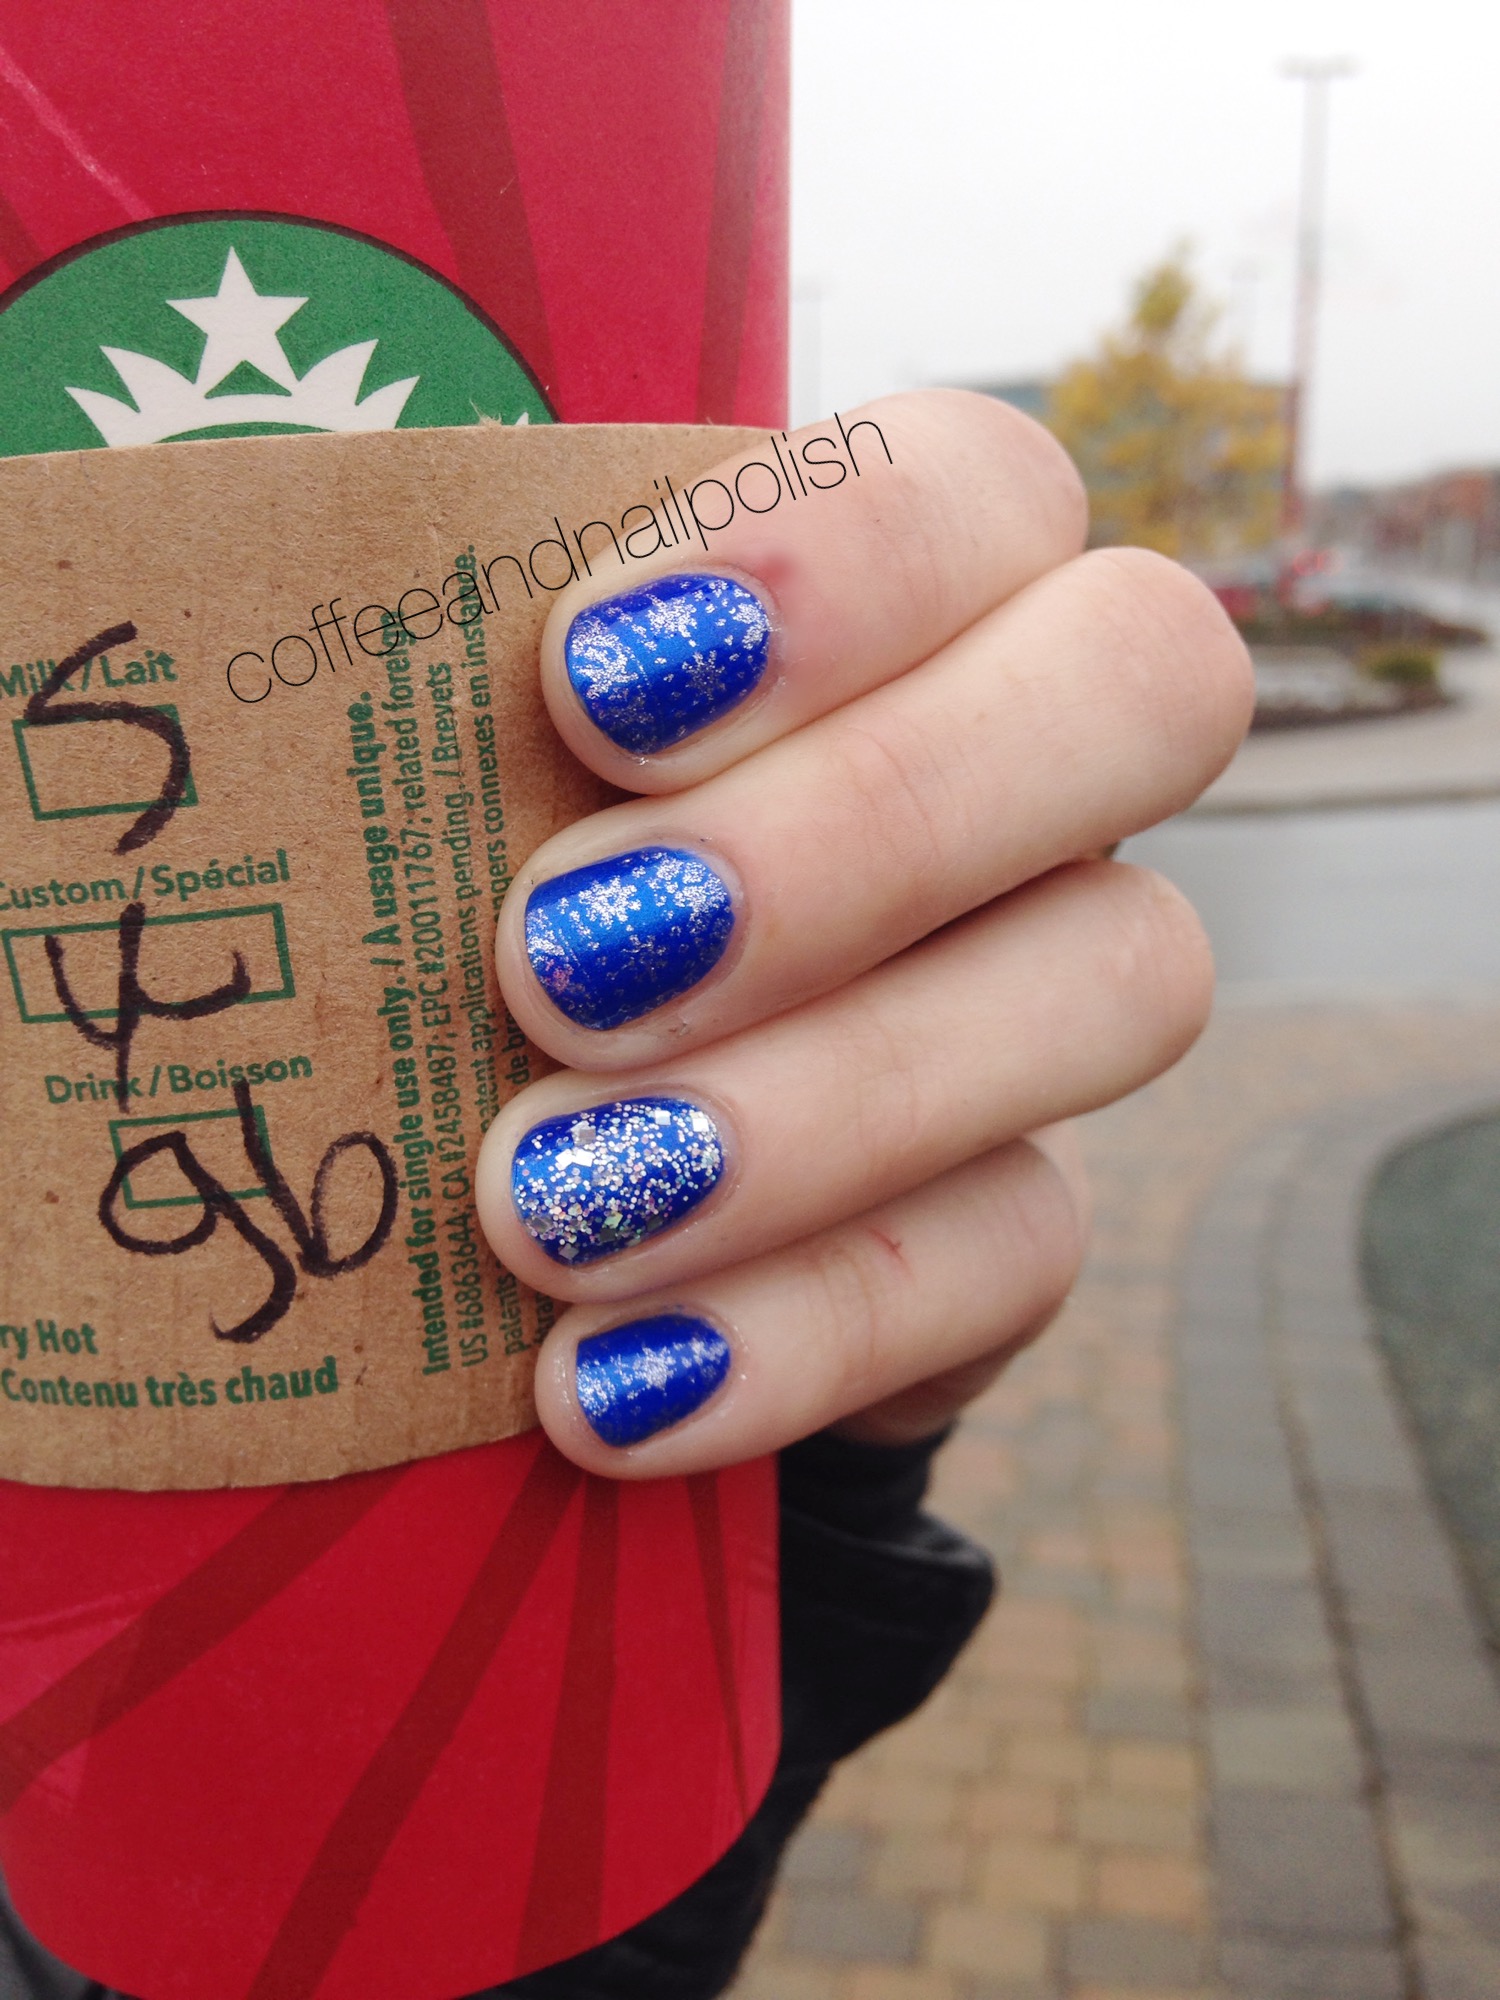
I’m seriously so happy with how my galaxies turned out. I’ve done galaxy nails a couple of times now, and always get frustrated by the fact I don’t find they look very Space-y. However thanks to using ACO by Ardene’s Showtime for glitter placement (the stars) and China Glaze’s Fairy Dust I managed to create my very own galaxies on my nails.
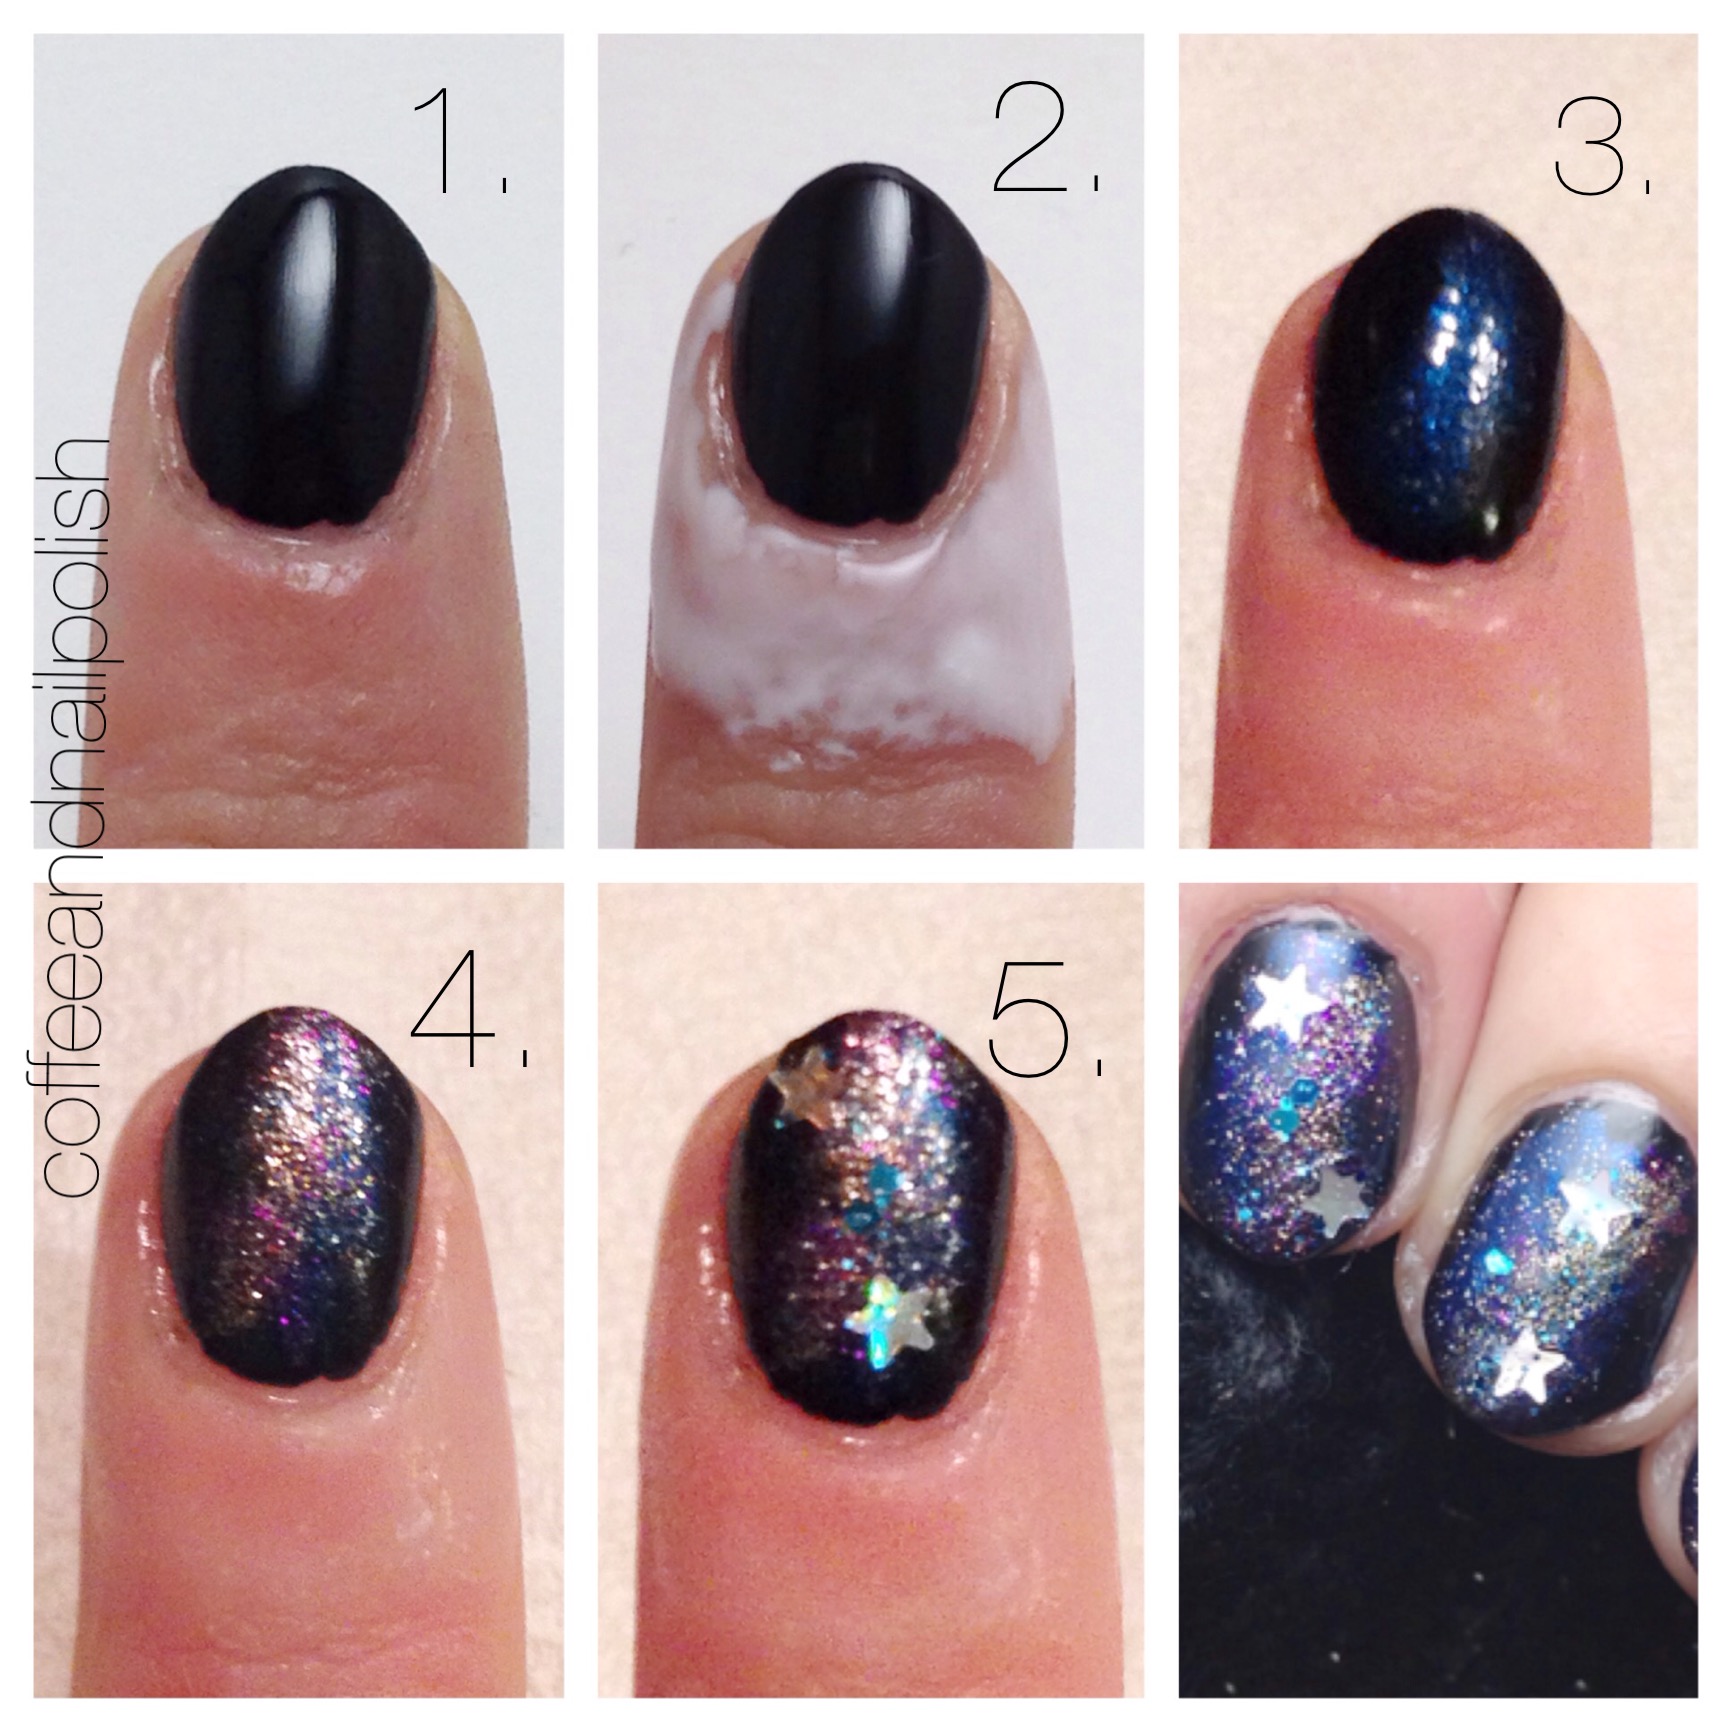
And I thought since I’m trying to create more tutorials I would share my steps for creating this manicure. I know everyone has their own way of creating galaxy nails, these are just the steps I took for the above manicure.

- Paint all nails black (OPI Who Are You Calling Bossy?!?) and apply quick dry top coat.
- While that is drying, applying OPI Glitter Off Base Coat around cuticle area. I do this to keep the sponging I do when creating gradients and other like manicures off my fingers and minimize clean up.
- Sponge on first colour (the unnamed Blue Joe Fresh polish with shimmer.) Depending on how sheer the polish is, you may have to sponge a couple times to be able to see the polish.
- Continue sponging using a variety of other colours. I try to keep my sponging in a line so you get that galaxy look. I also will apply some polishes thicker than others, or just sponge small spots so that it’s not too heavy handed.
- Using a dotting tool, place stars in random places on nail. (ACO by Ardene Showtime.) I also used some of the bigger glitters in Showtime for along the sponging.
- Apply a coat (or two) of Fairy Dust over everything. Then, after a couple minutes apply your top coat to seal everything in. Once that’s dry, you’ll be able to peel off your protective layer around your cuticles, and clean up what you might have missed around your cuticles.
And tada! You now possess galaxies on your finger tips. Galaxies are one of the easiest nail art designs you can probably do because they can be done with pretty much any polish, at any level, in whatever style you want! And the plus side is–it’s almost impossible to screw them up.

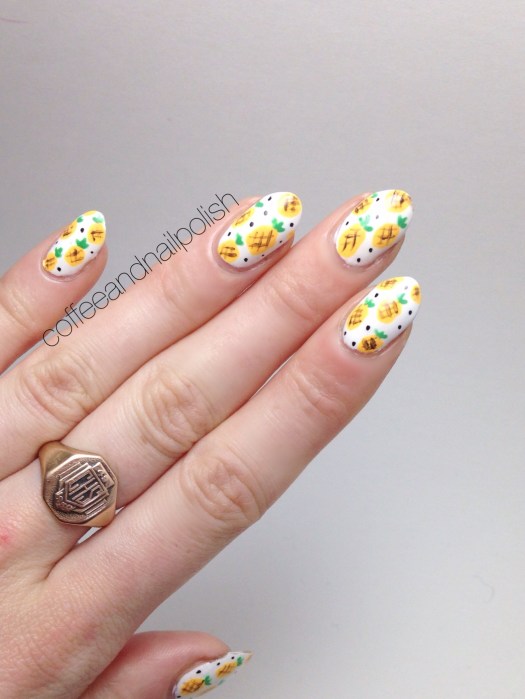
In case you’re interested, my ring is courtesy of Kristalized_Designs on Instagram (who also happens to be my sister!) She designed two gorgeous midi-rings for me, and is going to be designing a little something special for an upcoming giveaway I’m going to be holding. She’s in the process of getting her Etsy page up and going, but you should definitely check out her page for a sneak peak at her designs. Everything is hand made and one of a kind (there is even a picture of her making the above ring.)
So what do you think of these galaxy nails?