Blue & Holo Negative Space Colour Blocking

Good morning lovelies & Happy Friday! The countdown to the weekend is officially on… unless you work in retail or customer service & then what is a weekend? Haha.

Today I have another new manicure to share with you — I know, I’m on a roll. This time I’m throwing it back with some negative space colour blocking. This manicure idea popped in my head the other night when I was trying to figure out what to do on my nails including exactly the colours that I needed to use. & thankfully the sun decided to come around so I could show you this manicure in the light it deserves.

For this manicure, the polishes I used were:

It’s been so long, too long, since I pulled out my bottle of A Pirate’s Life from Wrenn Polish & I thought it would look so pretty with a holo accent so I grabbed Happy Thoughts too. In regular light the holo kind of hides a bit, but as soon as you hit bright light BAM! 💥 There it is! You can’t miss those gorgeous rainbows. & I just love how this design turned out, especially since the whole manicure took me less than 20 minutes & didn’t need any tools or tape — just a steady hand.

what are you wearing on your nails for the weekend? I’m going to (hopefully) redo my nails tonight so leave any nail art suggestions down in the comments below!

Turquoise & Purple Marbled Nails

Good morning lovelies! I’m back from the land of the stomach flu. Thankfully I managed to avoid catching it but the rest of the house was not so lucky. After 3 days of basically hiding, I finally managed to do my nails & it feels so good. Especially since yesterday marks 🎉FIVE YEARS🎉 since the beginning of this little nail blog of mine.

& I totally forgot until yesterday (I blame pregnancy brain & trying to avoid gastro.) I’m going to do a post tomorrow soon I’ve been planning on writing forever, but in the meantime I have some quick & easy nails that have become a favourite over the years!

Today’s look is another Saran Wrap splatter/marble.

The polishes I used for this look were:

  • Base Coat: Nailtek 2
  • Top Coat: Seche Vive
  • Icing Matte Effect Polish 60217
  • Color Club Disco Dress
  • Sally Hansen Hard As Nails Black Heart
  • Crinkled up plastic bag

Usually I try to create a splatter effect when I do my Saran Wrap nails, but I wanted to do more of a marble look this time so I layered my polishes… a splatter of purple, a splatter of turquoise, a splatter of Black & then a little more turquoise. This created the more marble effect & they look EXACTLY like how I pictured in my head!

I’m seriously just so in love with how they turned out.

I just want to say thank you really quick to everyone who has been checking out this blog for the last five years. From my early days with some questionable photography skills to now, you guys are the reason I keep coming back… even if there are long pauses due to things like morning sickness & birth haha.

& I’ll keep coming back no matter what new adventures life comes my way.

💙💙

SWATCH SUNDAY — China Glaze Turned Up Turquoise

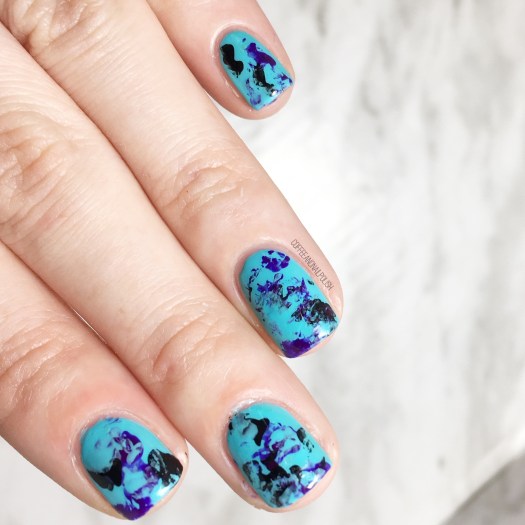
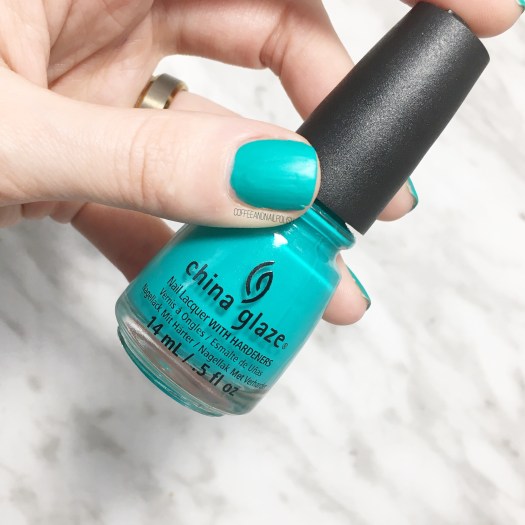
Good morning lovelies & welcome to another rendition of Swatch Sunday. Today’s polish is brought to you by my 2 year old who decides what colour I needed to wear. & his pick? China Glaze Turned Up Turquoise!

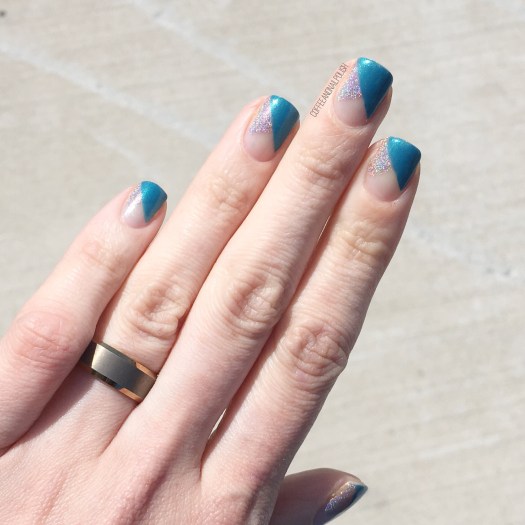
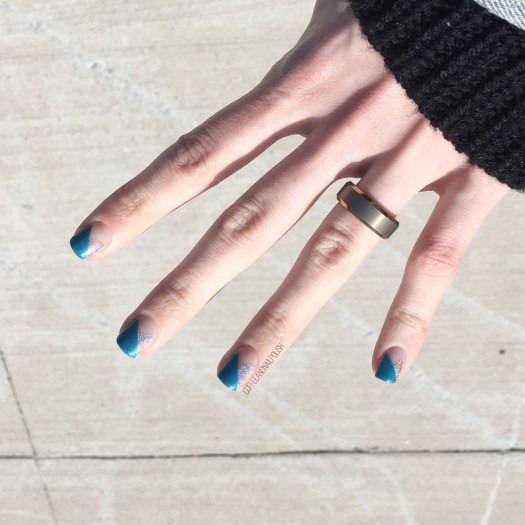
Turned Up Turquoise is a neon shade that dries to a very matte finish. For my swatches, I applied 2 coats over my base. The coverage was perfect but like any matte shade, it gets a little goopy the older it gets because matte polishes do dry faster than regular (in my experience) & my bottle is going on 5 years old.

Usually I apply a glossy top coat to my matte shades & then finish with a coat of matte top coat, but I really wanted to show off the true finish of this shade. As you can see, it dries down pretty well on its own, although it doesn’t hide the rough state of my current nails. If I was wearing this for a while, I would definitely top coat it & then either add my matte top coat or leave it glossy.

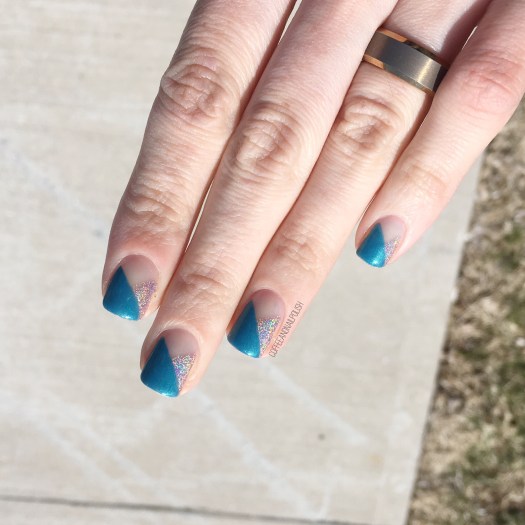
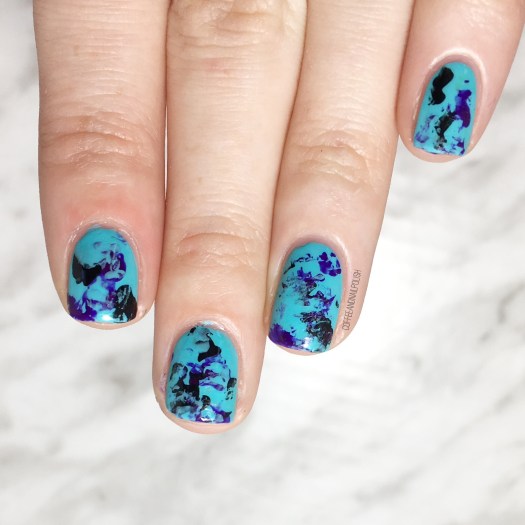
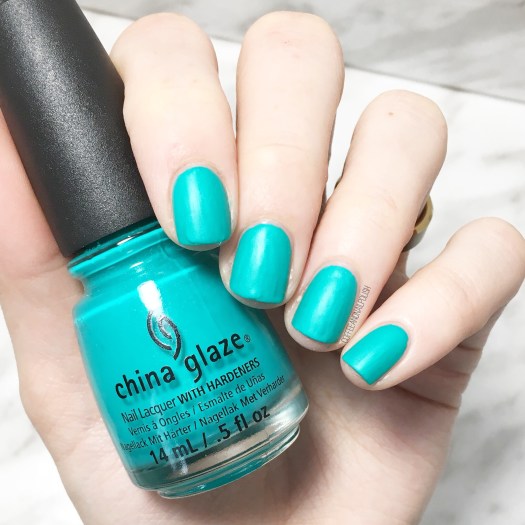
& speaking of glossy, I had to add some top coat to show off how gorgeous Turned Up Turquoise looks with Essie Speed Setter added.

As you can see, glossy top coat really adds to the shine of this shade. It also shows off the shimmer that gets kind of hidden when it’s matte. But honestly–I love this polish either way! It’s so pretty while left matte & it’s gorgeous when glossy.

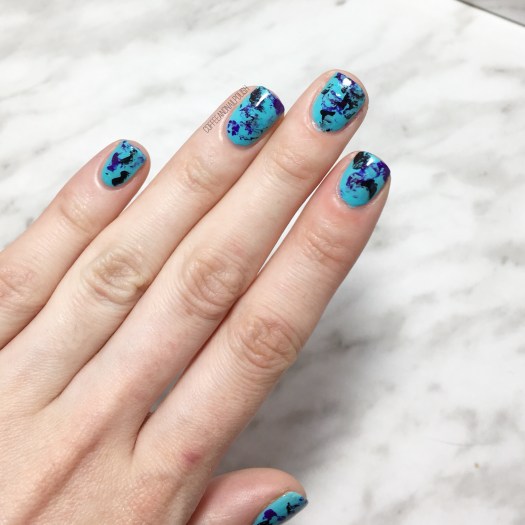
My only complaint about this shade? It’s just so hard to photograph the true colour! It’s slightly more green-ish than you see in my photos, but from browsing the Internet I don’t think anyone can capture the shade truly. I think that just comes with it being a neon, as neon polishes can be difficult to photograph.

So what do you think of this shade? Do you have it in your polish collection? Which do you prefer — glossy or left matte? Let me know your thoughts down in the comments below!

Spring-ish Chevron Moons

Good morning lovelies & happy Saturday! Today I’ve got a brand new design to share with you because I was finally able to do some real nail art. I know… I’ve been lacking in the nail art blogging work. Work & winter have been killing my nails so I’ve got some serious shorties to contend with & no real motivation to do my nails other than a single colour.

But I’ve started using Nail Envy (again…) so hopefully that will bring my nails to life again! & I’ll actually feel like creating some lovely nail art looks again.

For this manicure, the polishes I used were:

  • Base Coat: OPI Nail Envy
  • Top Coat: Essie Speed Setter
  • Essie High Class Affair
  • Essie Peach Daiquiri
  • Essie Cashmere Bathrobe
  • Essie Where’s My Chauffeur
  • The Base Coat Nail Vinyls Stacked Chevrons Vinyls.
  • NailStuff.ca small 7mm liner brush

Ooooh this look reminds me why I love chevron moons so much. Also, I wasn’t sure how I was going to feel about this colour combination — I wanted to try & do something that channeled Spring but also worked with all the snow we currently have — & I’m actually just so in love with how these colours compliment each other.

It makes me so sad that they chipped like an hour into work. Like, why is it always the nail art looks I love? I mean, it gives me an excuse to paint my nails again, but then I also need to get the energy to do them again, & that’s the true struggle.

Does anyone else struggle with nail art slumps? How do you cope? Let me know down in the comments below!

Pink Purple Blue Holo Gradient

Good morning everyone & happy Wednesday! Today I’m showing off some holo nails with this pinky purple blue holo gradient. Sometimes you just need to do something a little fun on your nails to jazz up your Wednesday!

This gradient was a spur of the moment decision & because of that I couldn’t find my usual sponges so I decided to try using a make up applicator. It didn’t turn out exactly like I wanted (or how I’ve seen other nail artists do it) but that’s okay because the holo kind of hides that fact! ✨Another reason everything is better with holo.

The polishes I used for this manicure:

  • Essie Grow Stronger
  • Essie Speed Setter Top Coat
  • Wrenn Polish Mesmerizing
  • Color Club Eternal Beauty
  • OPI Give Me Space
  • Small Sponge make-up applicator

Look. At. That. Holo. Also please ignore the cat hair on my finger haha. Even though my sponging if the gradient was kind of a fail, the holo really hides that fact which I love. Next time I would probably try this colour combo the old fashioned way, but for a quick spur of the moment design, I still think these turned out great. Plus it was super easy, & when you’re tired & doing your nails at 11:30 at night, sometimes that’s the only thing that really matters.

what do you think of this gradient. What is your favourite holo polish? Let me know down below in the comments!

💕