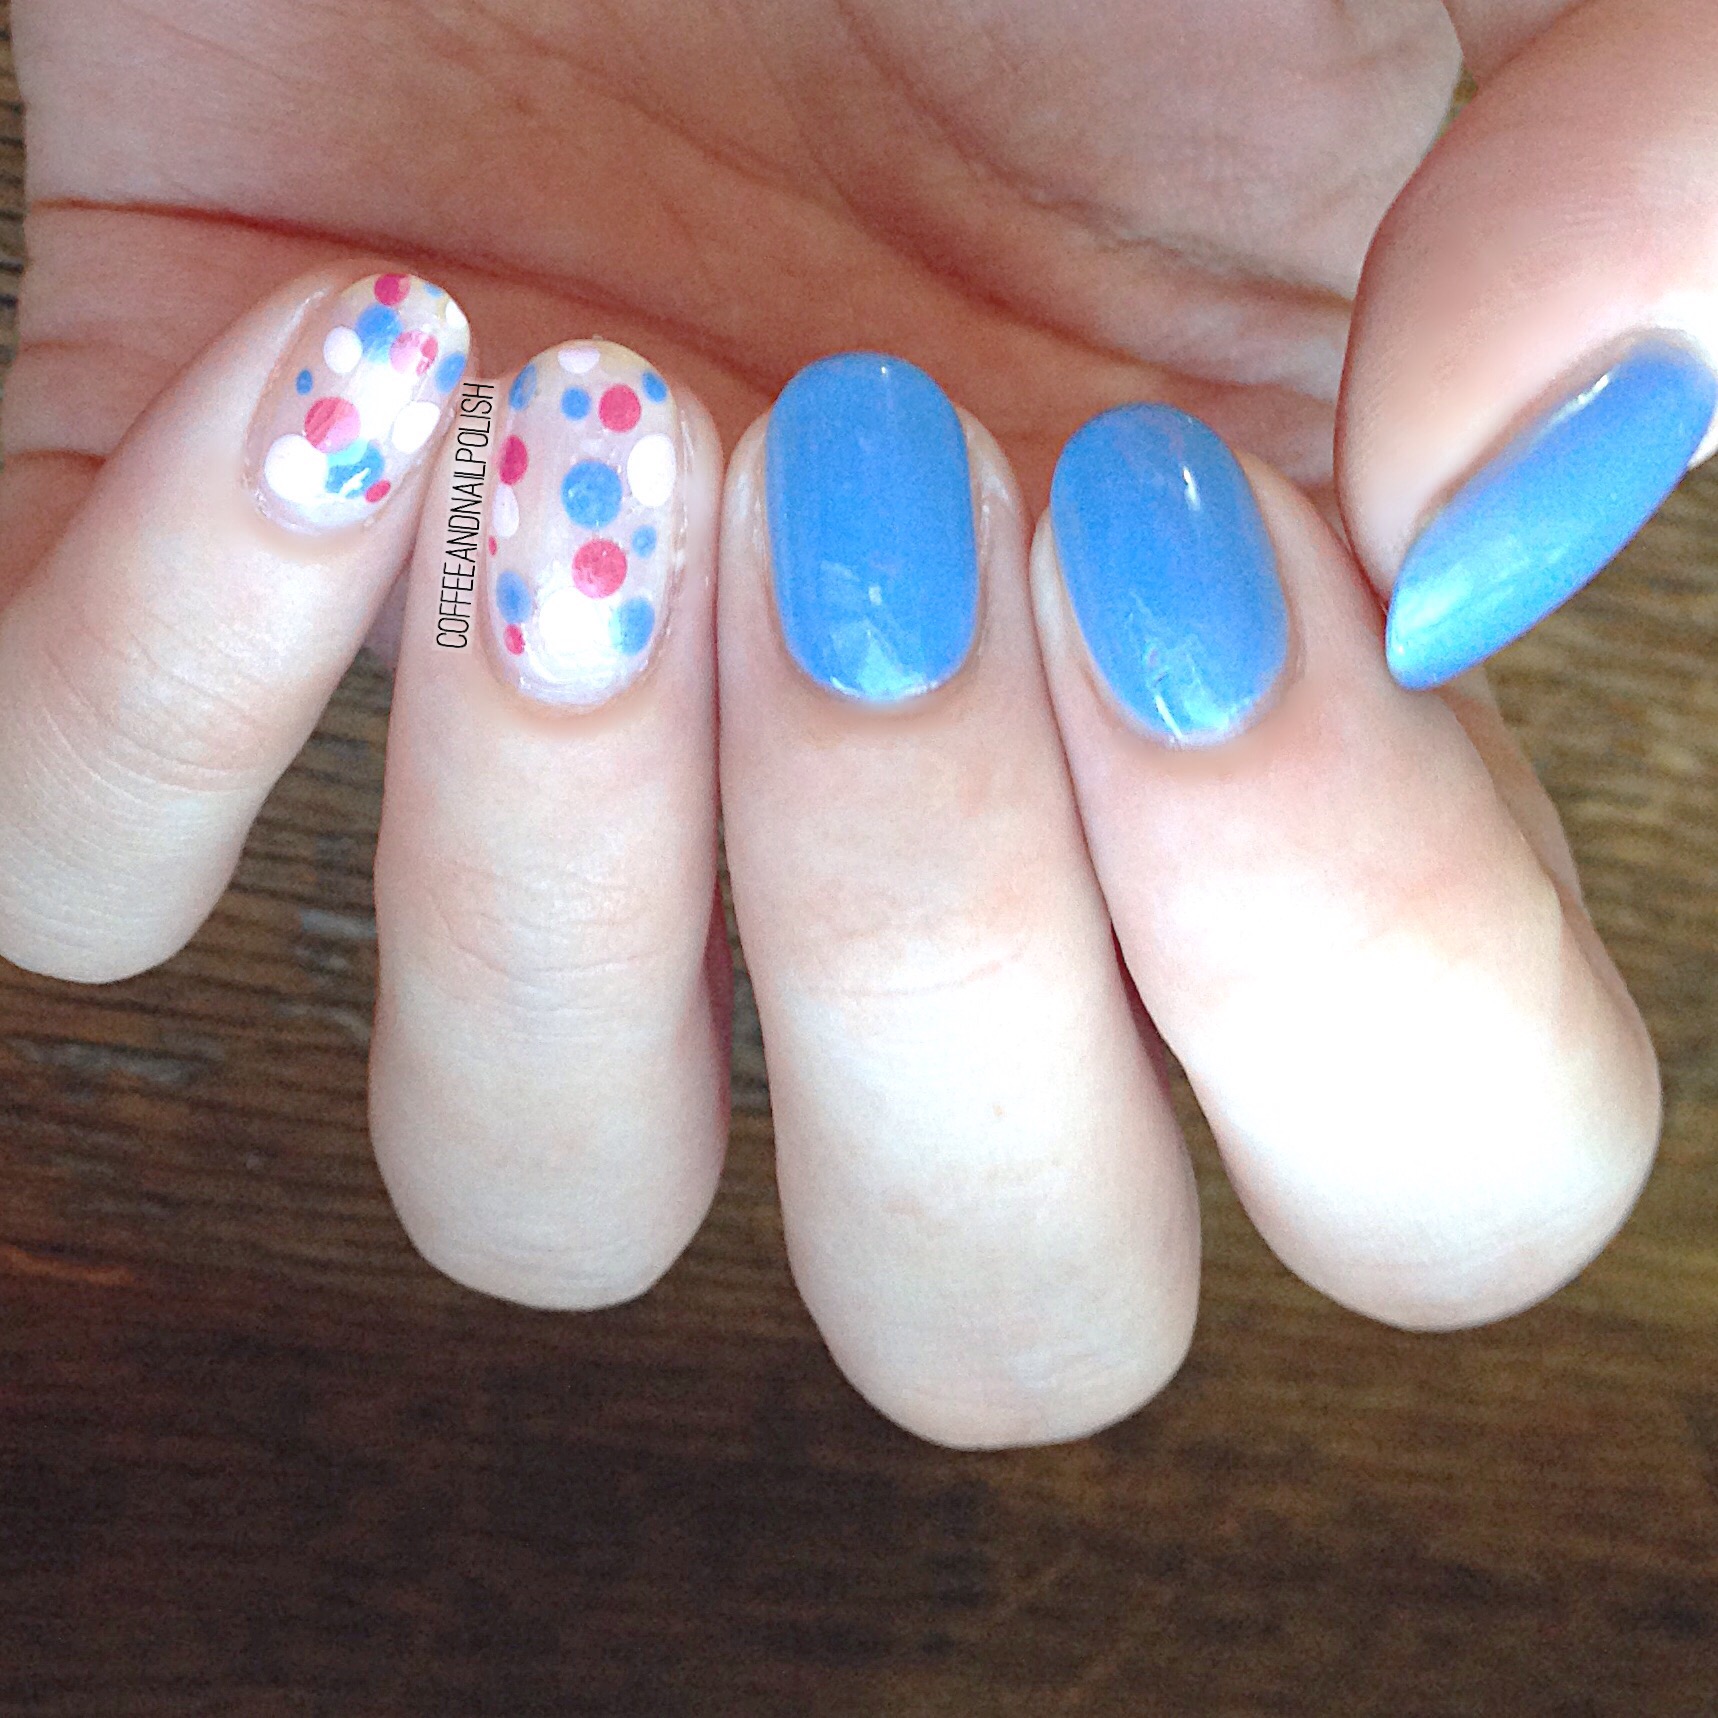
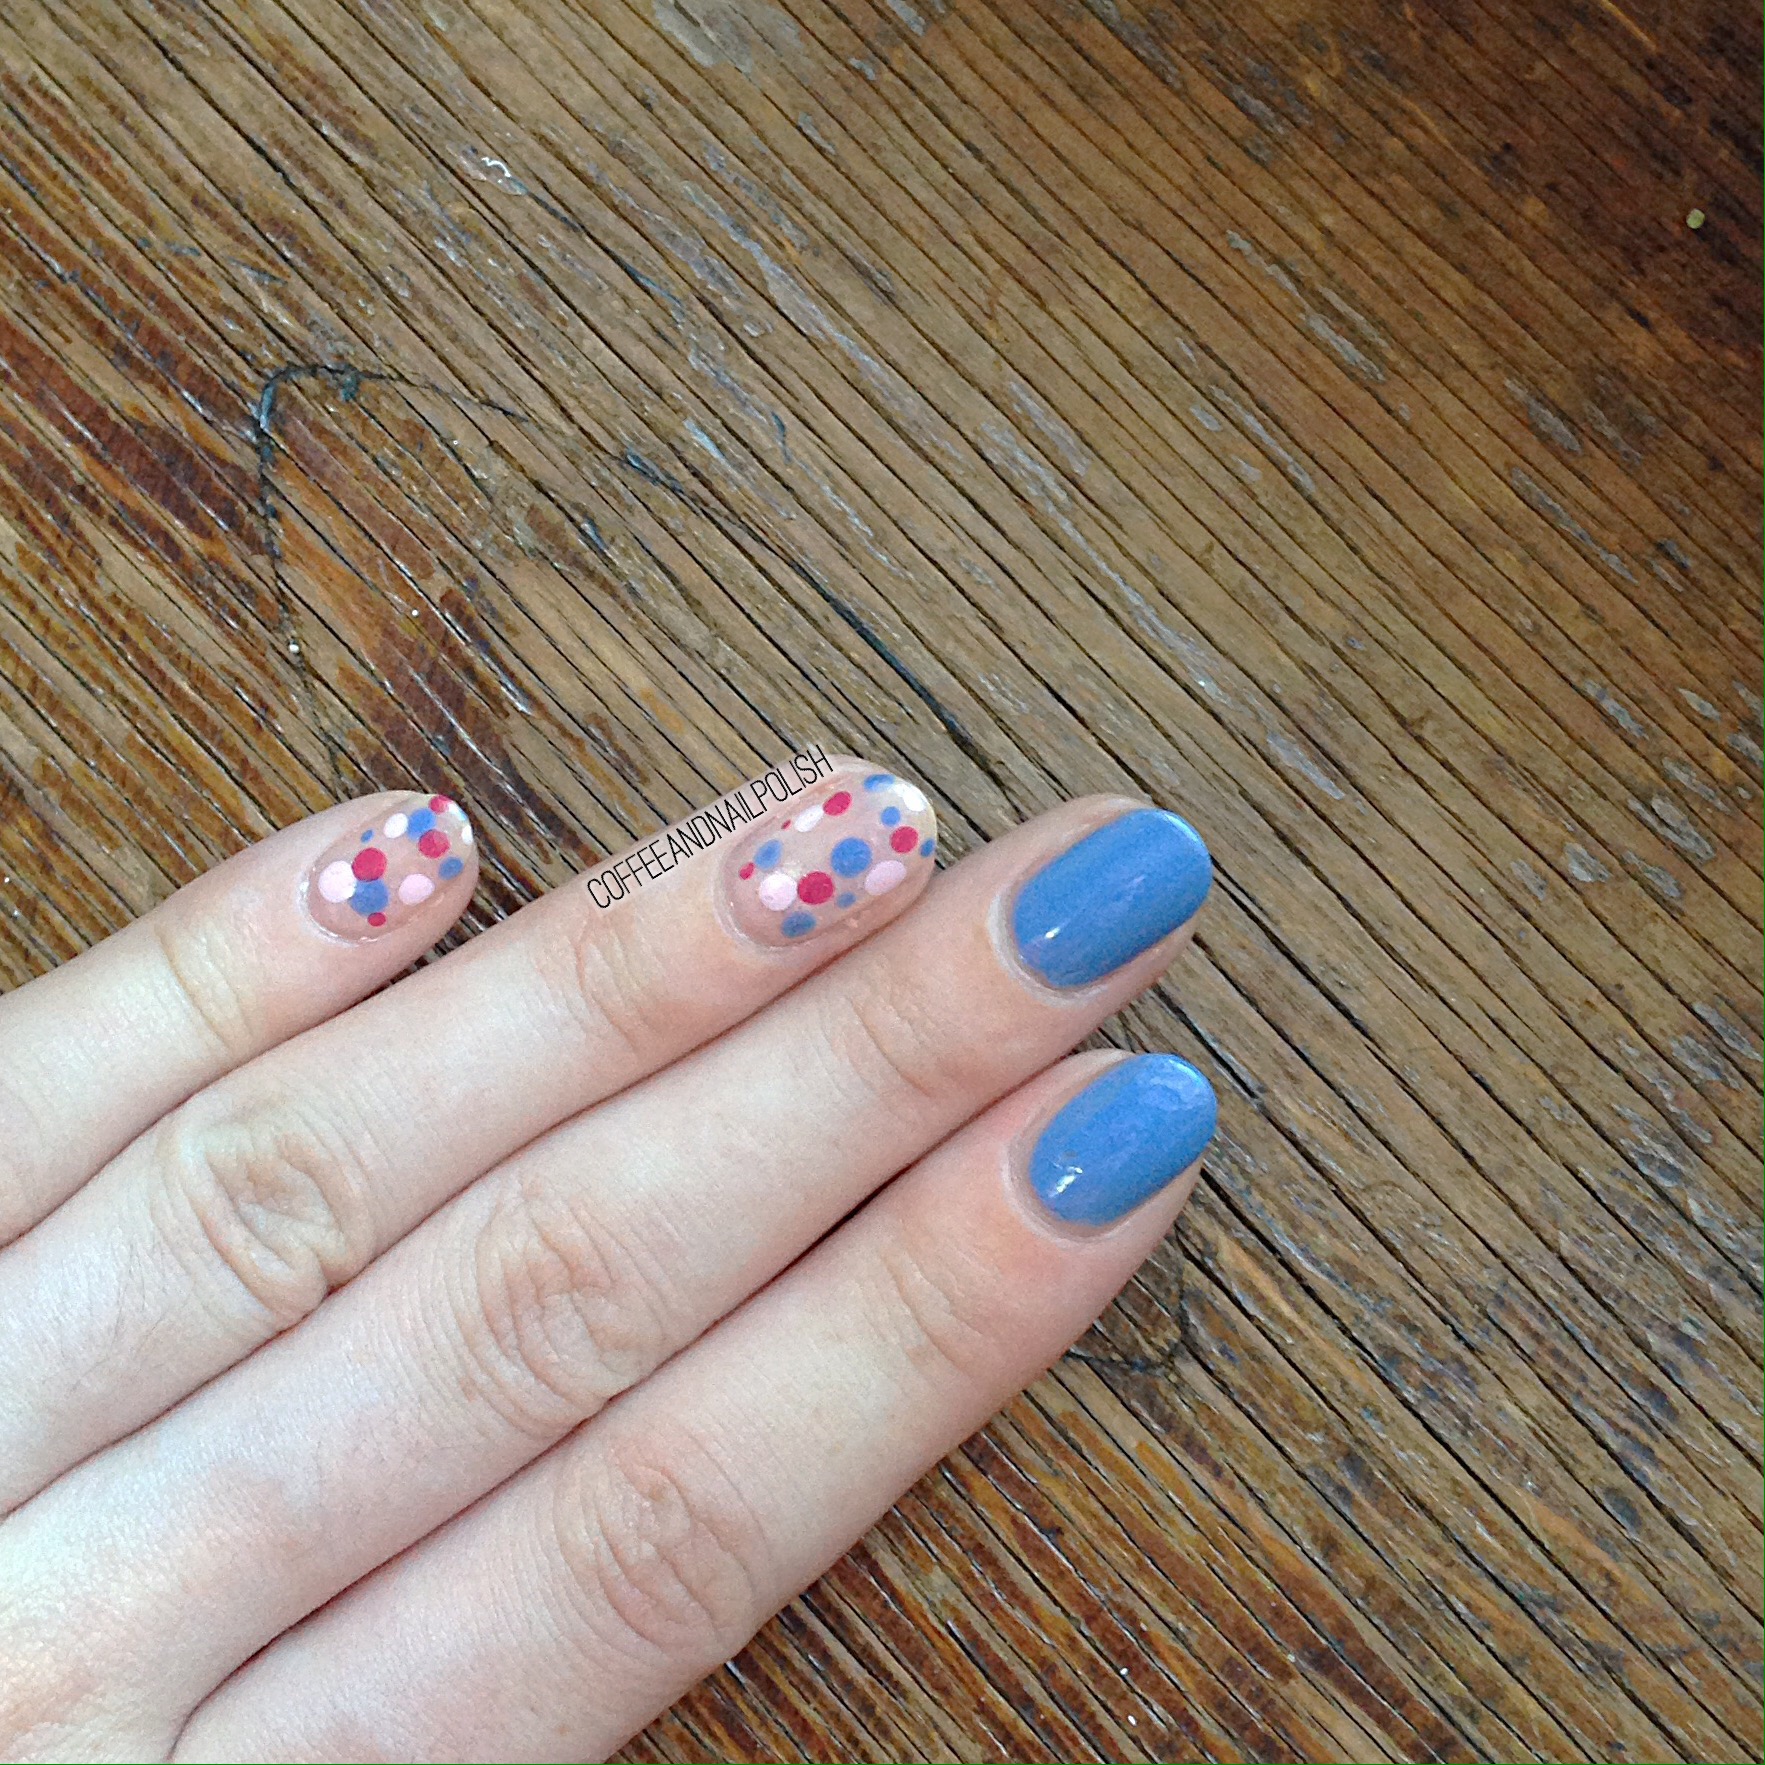
Pink and Blue dotticure. 

I was browsing Instagram yesterday, and while admiring @traceyloveslacquer‘s monthly favourites I could helped but obsess over her dotticures (because they’re gorgeous). So obviously I needed to do my own dotticure because it’s been like a week. 😂 Seriously though, dotticures are just so easy and fun. 
The colours for this mani were inspired by baby-to-be (pink and blue) who has officially overstayed their welcome. But I really think these colours would work for a variety of occasions… even a not so typical Valentine’s Day design if you didn’t want to go strictly pink. 

The polishes used for this mani were:

  • China Glaze Secret Peru-wink-le
  • Wet N Wild 2% Milk
  • Essence Cosmetics Dreaming of Love
  • Sally Hansen Xtreme Wear Tickled Pink 
  • Essie Gel Setter 

Such a simple design, but I love how it looks! And the great thing about a dotticure is it pretty much works for every occasion and colour combination. 

Born Pretty Store Clear Jelly stamper review 

Happy Sunday!

Today I have a review of some products that were kindly sent to me by Born Pretty Store for review. 

You’ve probably seen that Crystal nail art stamper a are everywhere! I’ve been considering getting one for a while, and when Born Pretty offered to send me one for review I jumped at the chance. I’ve made attempts at stamping before, but I’ve never been very good. 

The stamper (item #24059) itself is a good size, and the pad is clear and nice and squishy. It’s also completely clear, which means that you can see through so that you can know exactly where you are placing your design. 

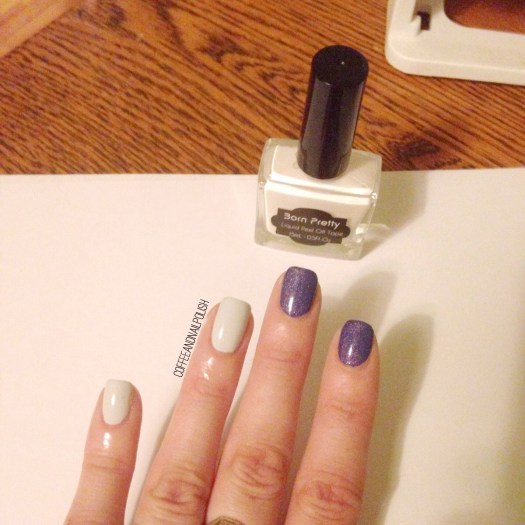
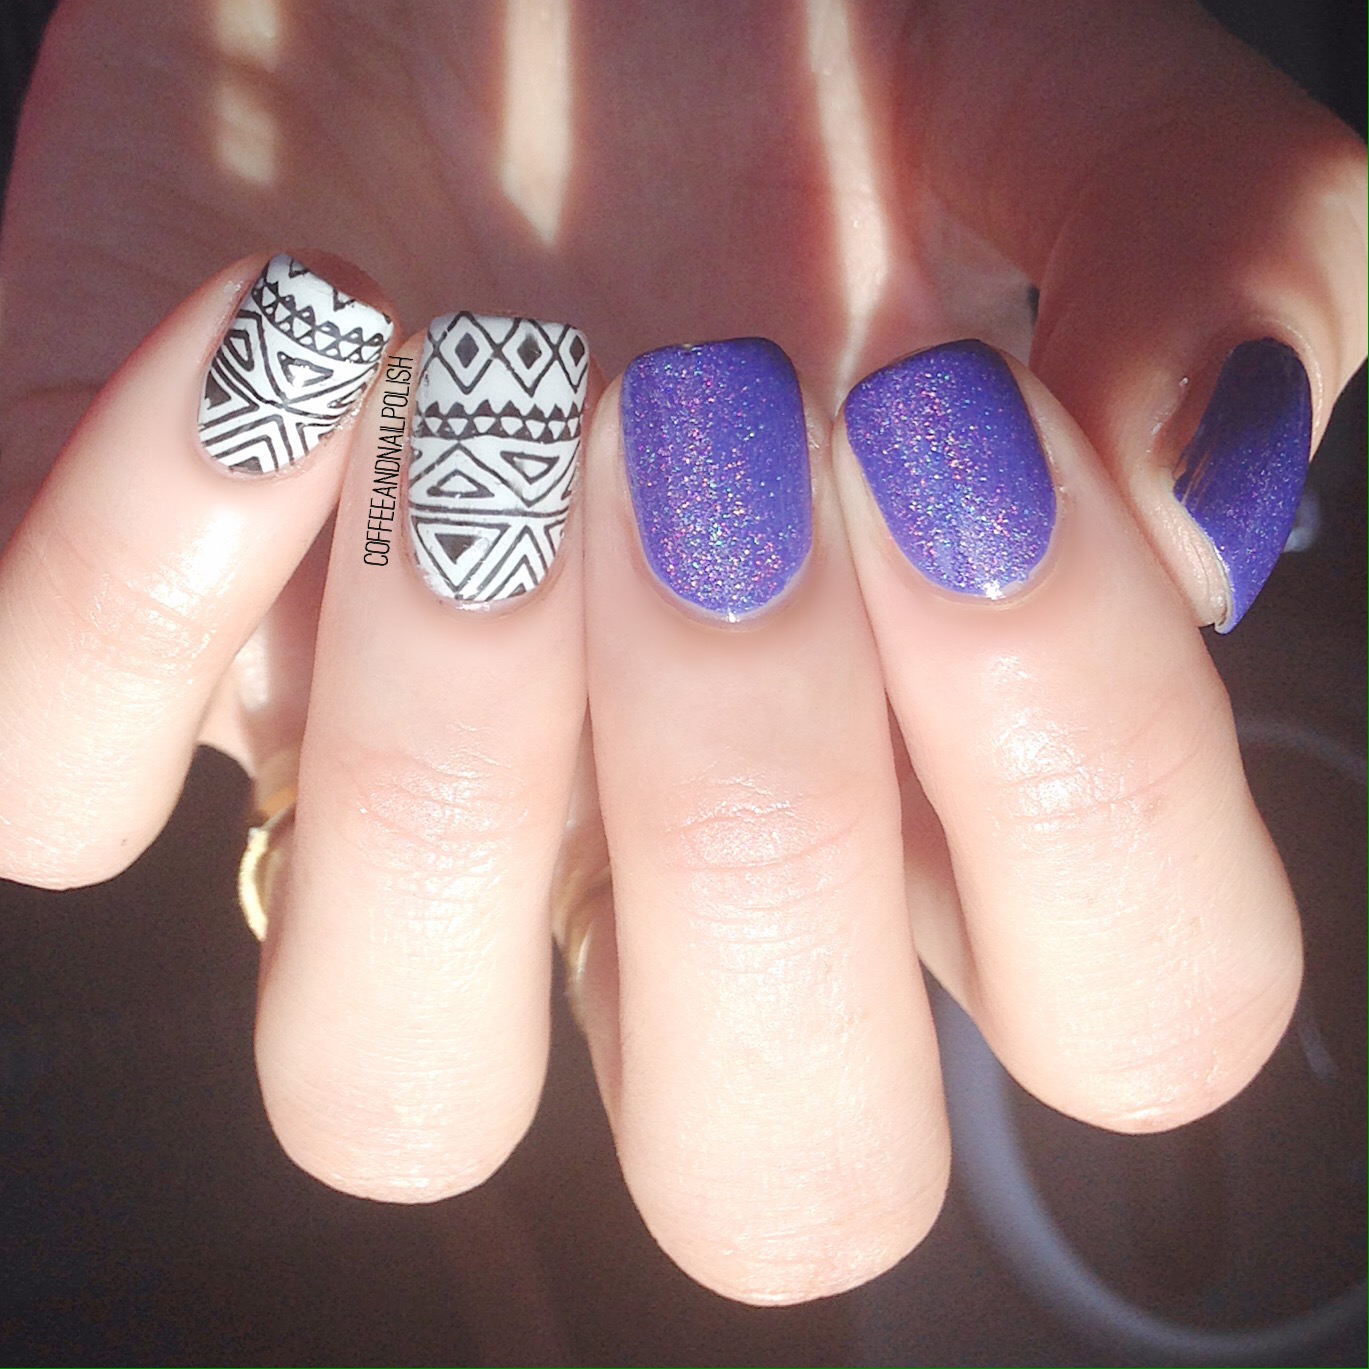
I started off by painting my nails with my base colours. I used a purple My Beauty Spot polish with Nubar Treasure layered overtop and OPI I Canolli Wear OPI. Next, I used liquid peel off tape (also from Born Pretty!) and applied it around my cuticles to limit clean up. I also discovered it’s much easier to do one hand at a time as sometimes the peel off tape sticks together and comes off. 
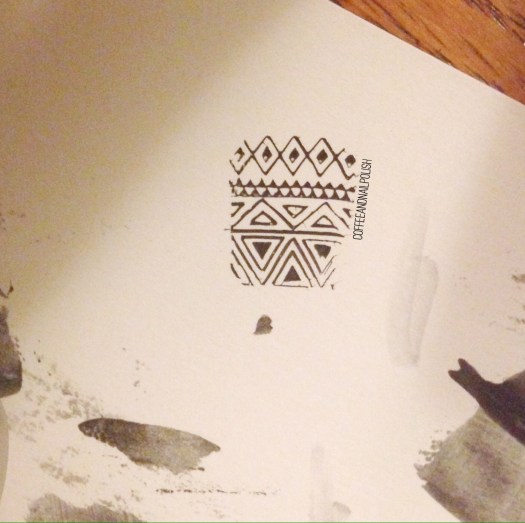
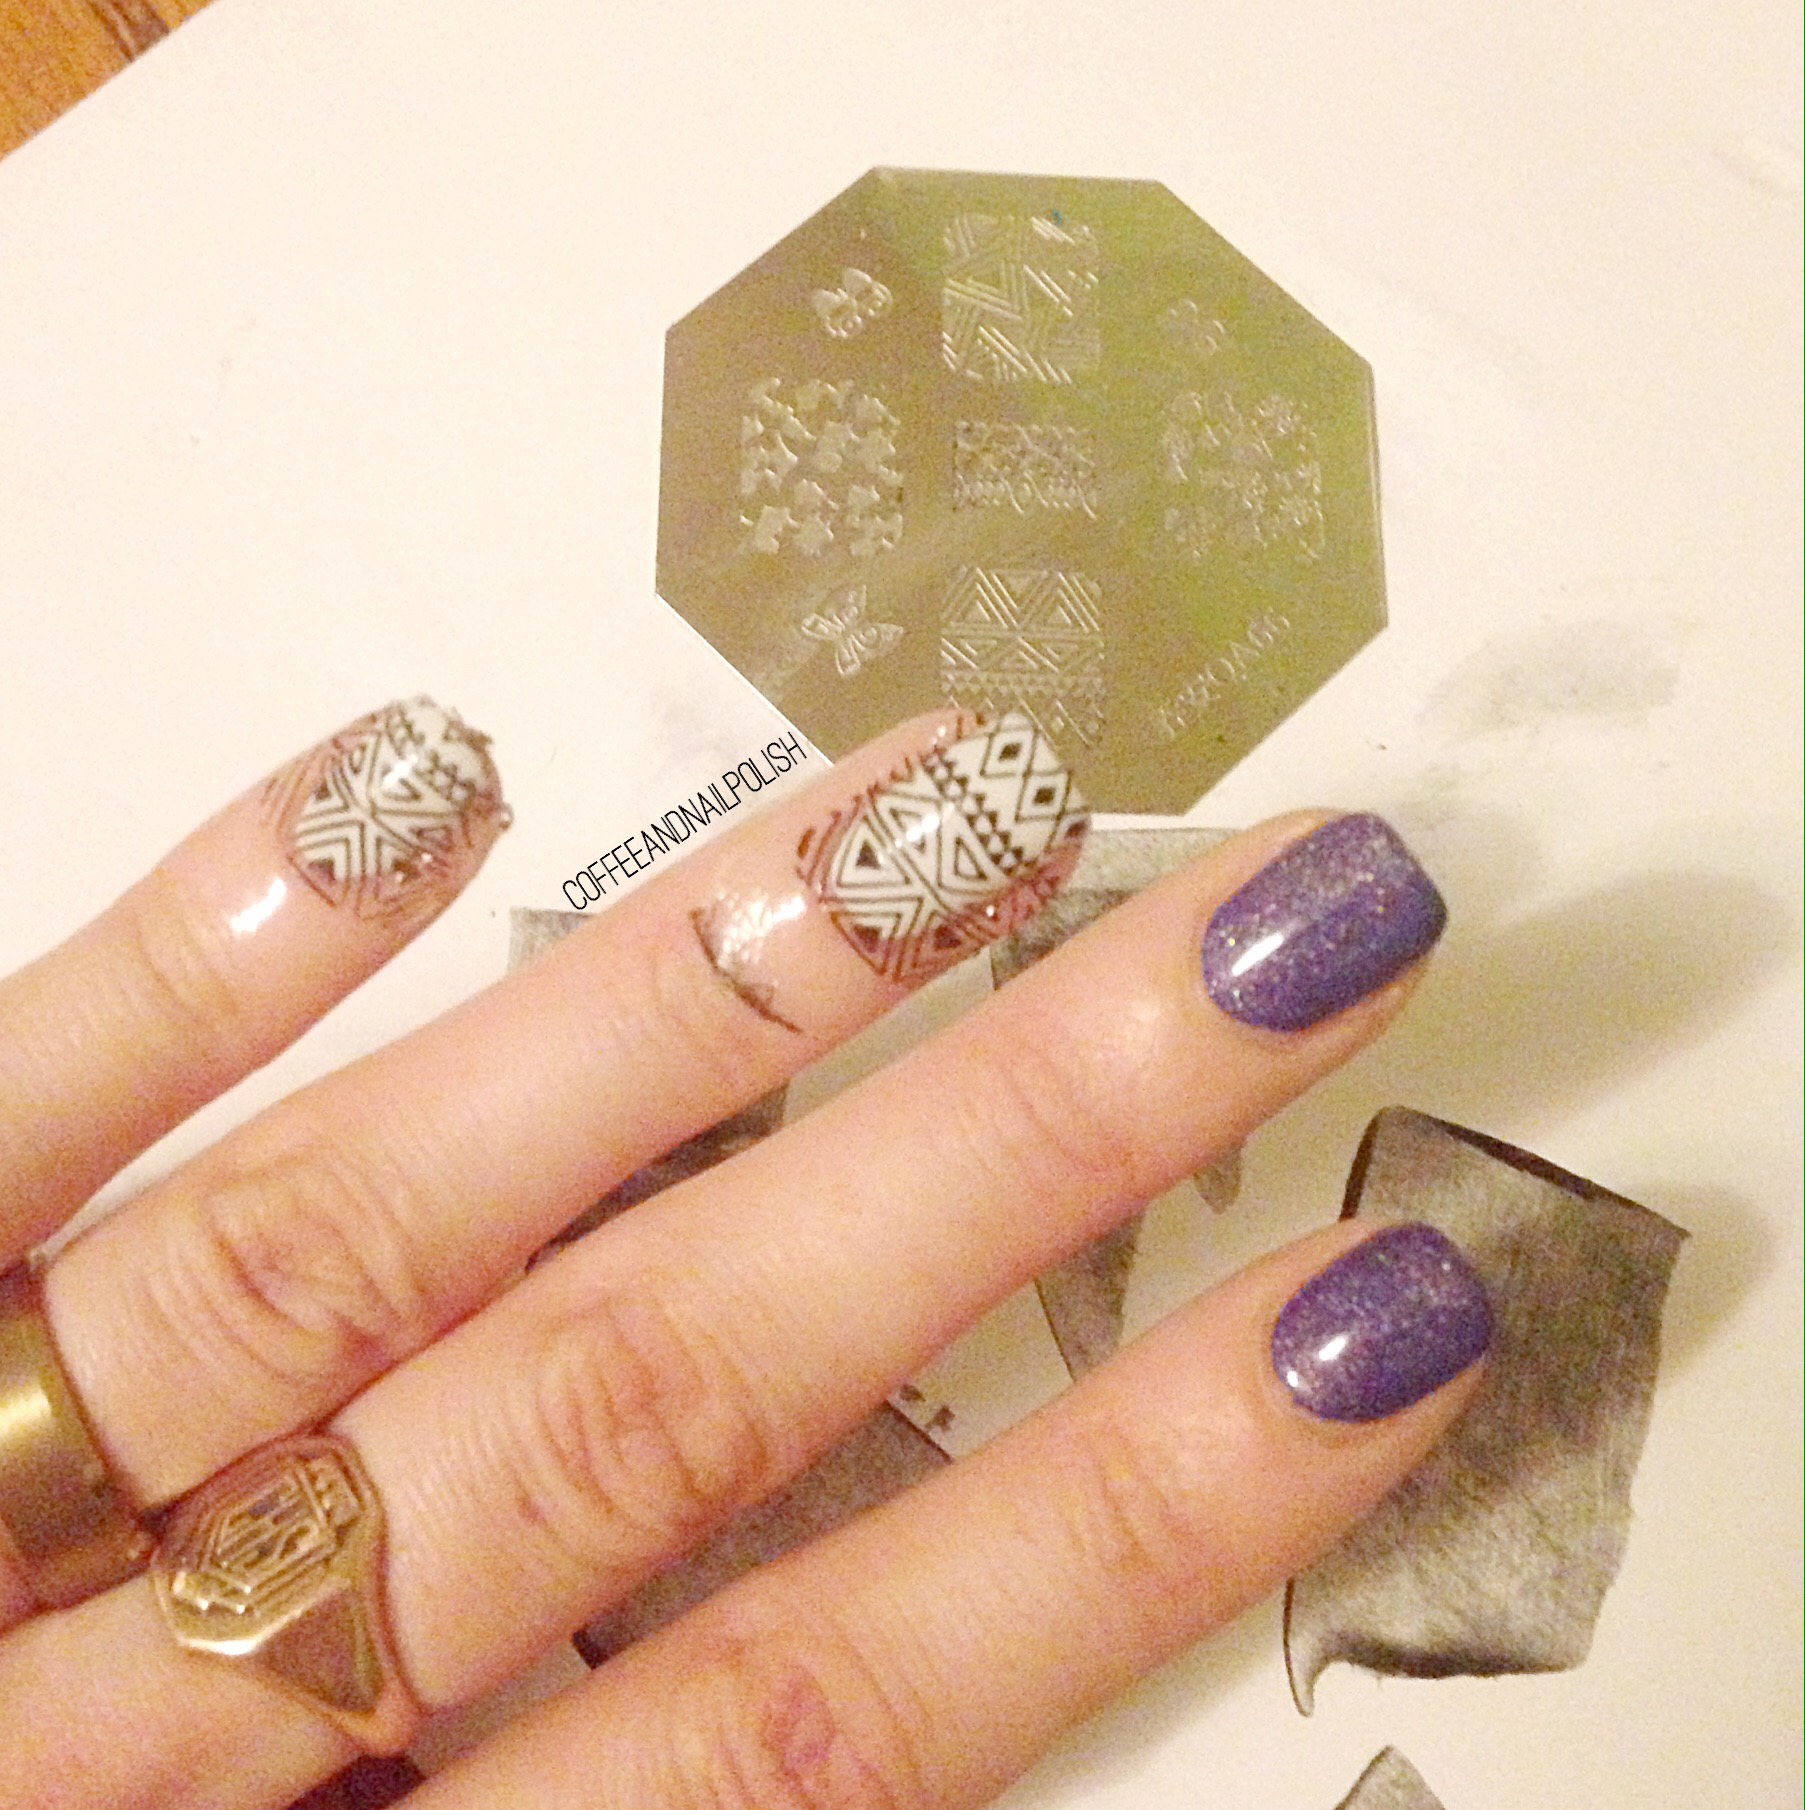
Before applying the design to my nails, I tested it on a peice of paper to see how it would turn out. I used OPI Who You Callin’ Bossy as I don’t own any stamping polish. 
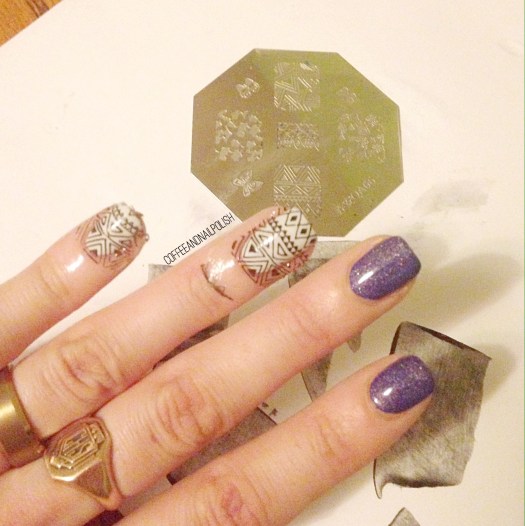
Going one hand at a time, I applied the design to each nail. I am not someone who has an easy time with keeping things straight when stamping, but with this clear stamper it was so easy to know exactly where my design was going! Once I applied the design, I peeled off my peel off tape and applied to top coat to seal in my design. I finished off by cleaning up the rest of my cuticle area using a small brush dipped in acetone. 

And the finished product! 

I’m so impressed with this clear jelly stamper, I can’t recommend it enough! If you’ve been considering starting to stamp I would definitely suggest checking out the selection on Born Pretty Store! You can use my discount code COFFK31 to save 10% on your purchase! 

Negative Space Chevron floral 

I always have a few favourite things I always lean towards when it comes to doing my nails. Right now its blue nail polish, nail vinyls, chevrons, negative space & floral. I’ve been reaching for all of those quite frequently, so why not incorporate all of those things into one manicure?!

For this manicure, I used:

  • China Glaze I Sea the Point
  • Essie Go Ginza
  • Essie Peach Daiquiri
  • China Glaze Hang Ten Toes
  • China Glaze Feel the Breeze
  • Chevron Nail vinyls from My Nails Did Vinyls
  • Small rhinestones from Icing
  • Essie Gel Setter
  • Small nail art brush, & large size dotting tool for floral details.


Words cannot begin to describe how much I love how this mani turned out! I love how the floral looks over my negative space chevrons & how all the colours compliment each other. I’ve been having so much fun playing with all of my nail vinyls, & I can’t wait to collect more designs so I can try out all sorts of different looks!

What looks are you loving right now? Let me know in the comments below!


More Fun With Nail Vinyls!

Hello lovelies! Today I have a simple but fun manicure I did using nail stencils from My Nails Did Vinyls. 

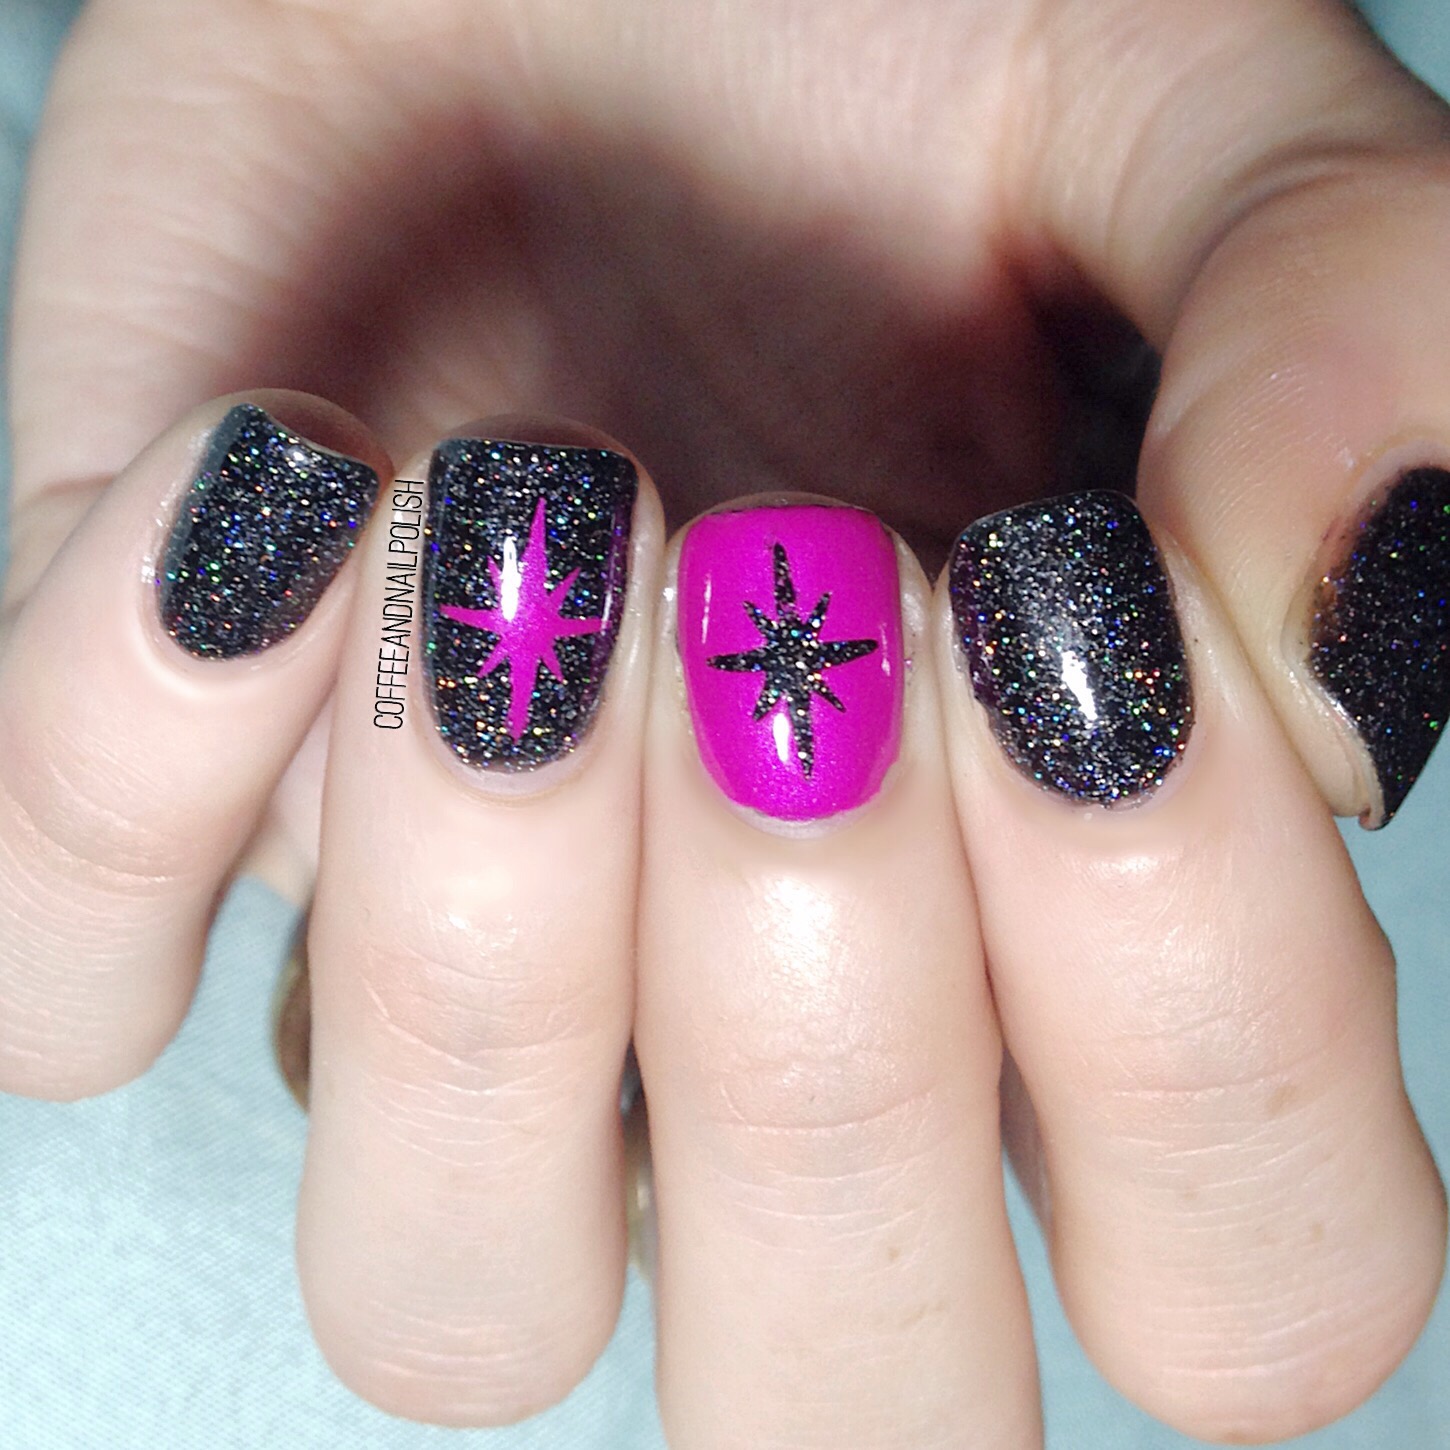
I purchased these stencils back before Christmas from her holiday collection, then forgot to use them! Whoops. But I’ve been in such a nail vinyl kick, I wanted to figure out a way to use them in a manicure so I decided to pair them with this beautiful holo polish from ACO by Ardene called Grunge Goddess. 

The polishes I used for this manicure were:

Oh man, I just love this combo together. The combo of the black holo and neon fushia kind of reminds me of Star Sapphire.

 I rarely ever wear black polish all on its own anymore–not since High School–but I’m ALL about this black holo! And it just pairs so well with China Glaze Purple Panic. It’s the kind of manicure I could see myself wearing for a girls night out. 


What do you think of this mani and colour combo? Let me know in the comments below!  

X-pattern Accent Nails 

Hellos loves! Hope you’re having a lovely weekend. 

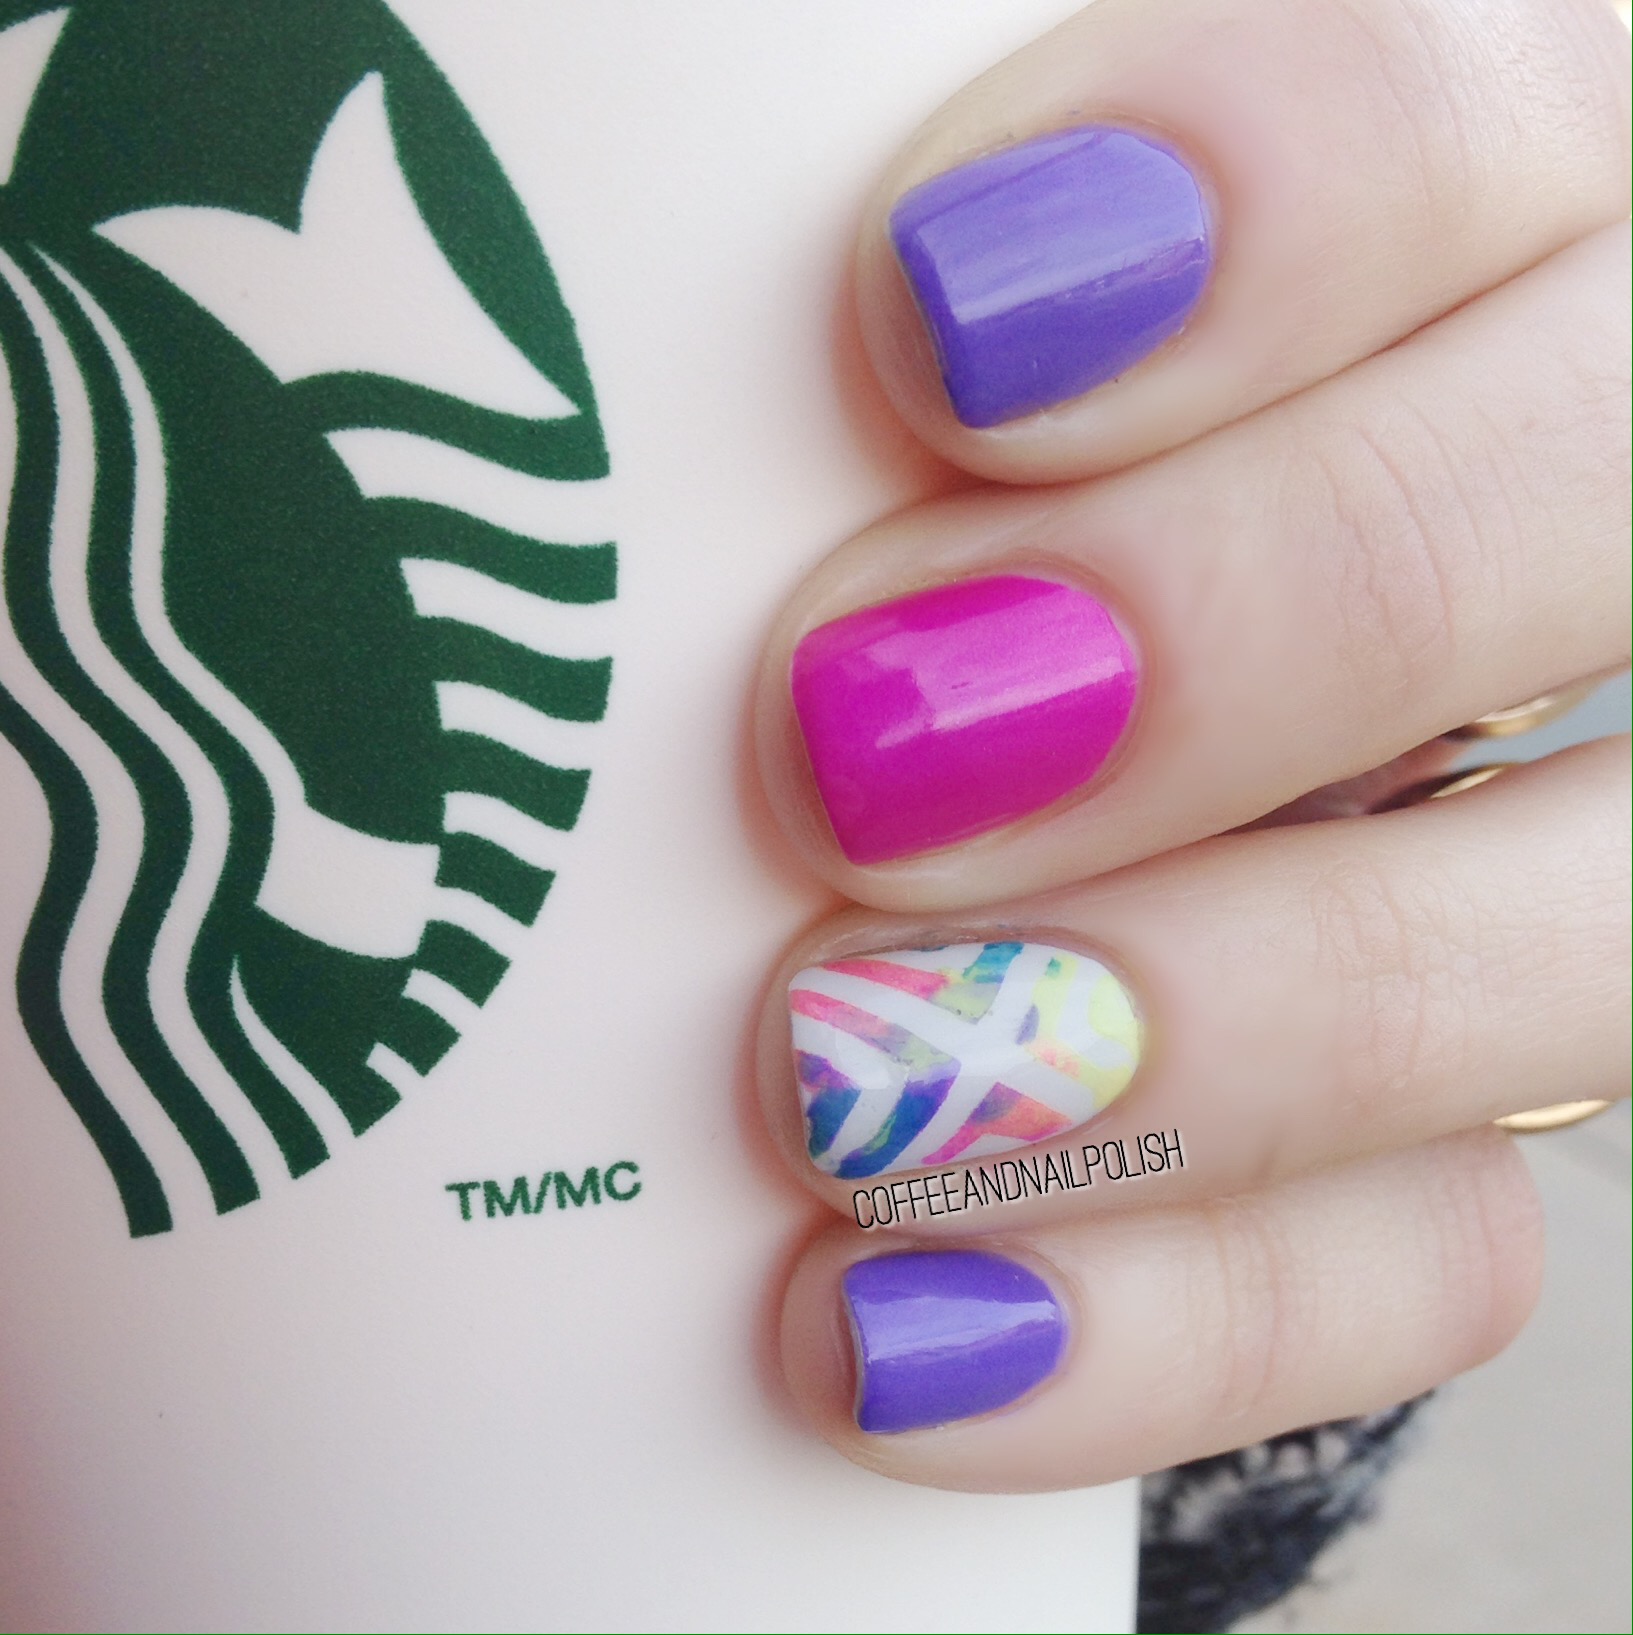
Sharing some more bright and colourful nails with you today! I’m all about the neon right now! It’s all my craving on my nails. It’s also giving me a chance to pull out more my MyNailsDid Nail Vinyls!  I’m back to being a wee bit nail vinyls obsessed… Again. Once we move I need to make a big order!


The polishes I used for this mani were:

  • Color Club Pucci-licious
  • China Glaze Purple Panic
  • OPI I Canolli Wear OPI
  • Essence Lets Get Lost
  • OPI Life Gave Me Lemons
  •  Essie Gel Setter 
  • MyNailsDid X-pattern vinyls. 

Are you a fan of nails vinyls? Which ones are you obsessed with right now? Obviously chevrons have my heart, but you have no idea how much I want to get my hands on some of those kitty nail vinyls that I keep seeing around! They’re so amazing!