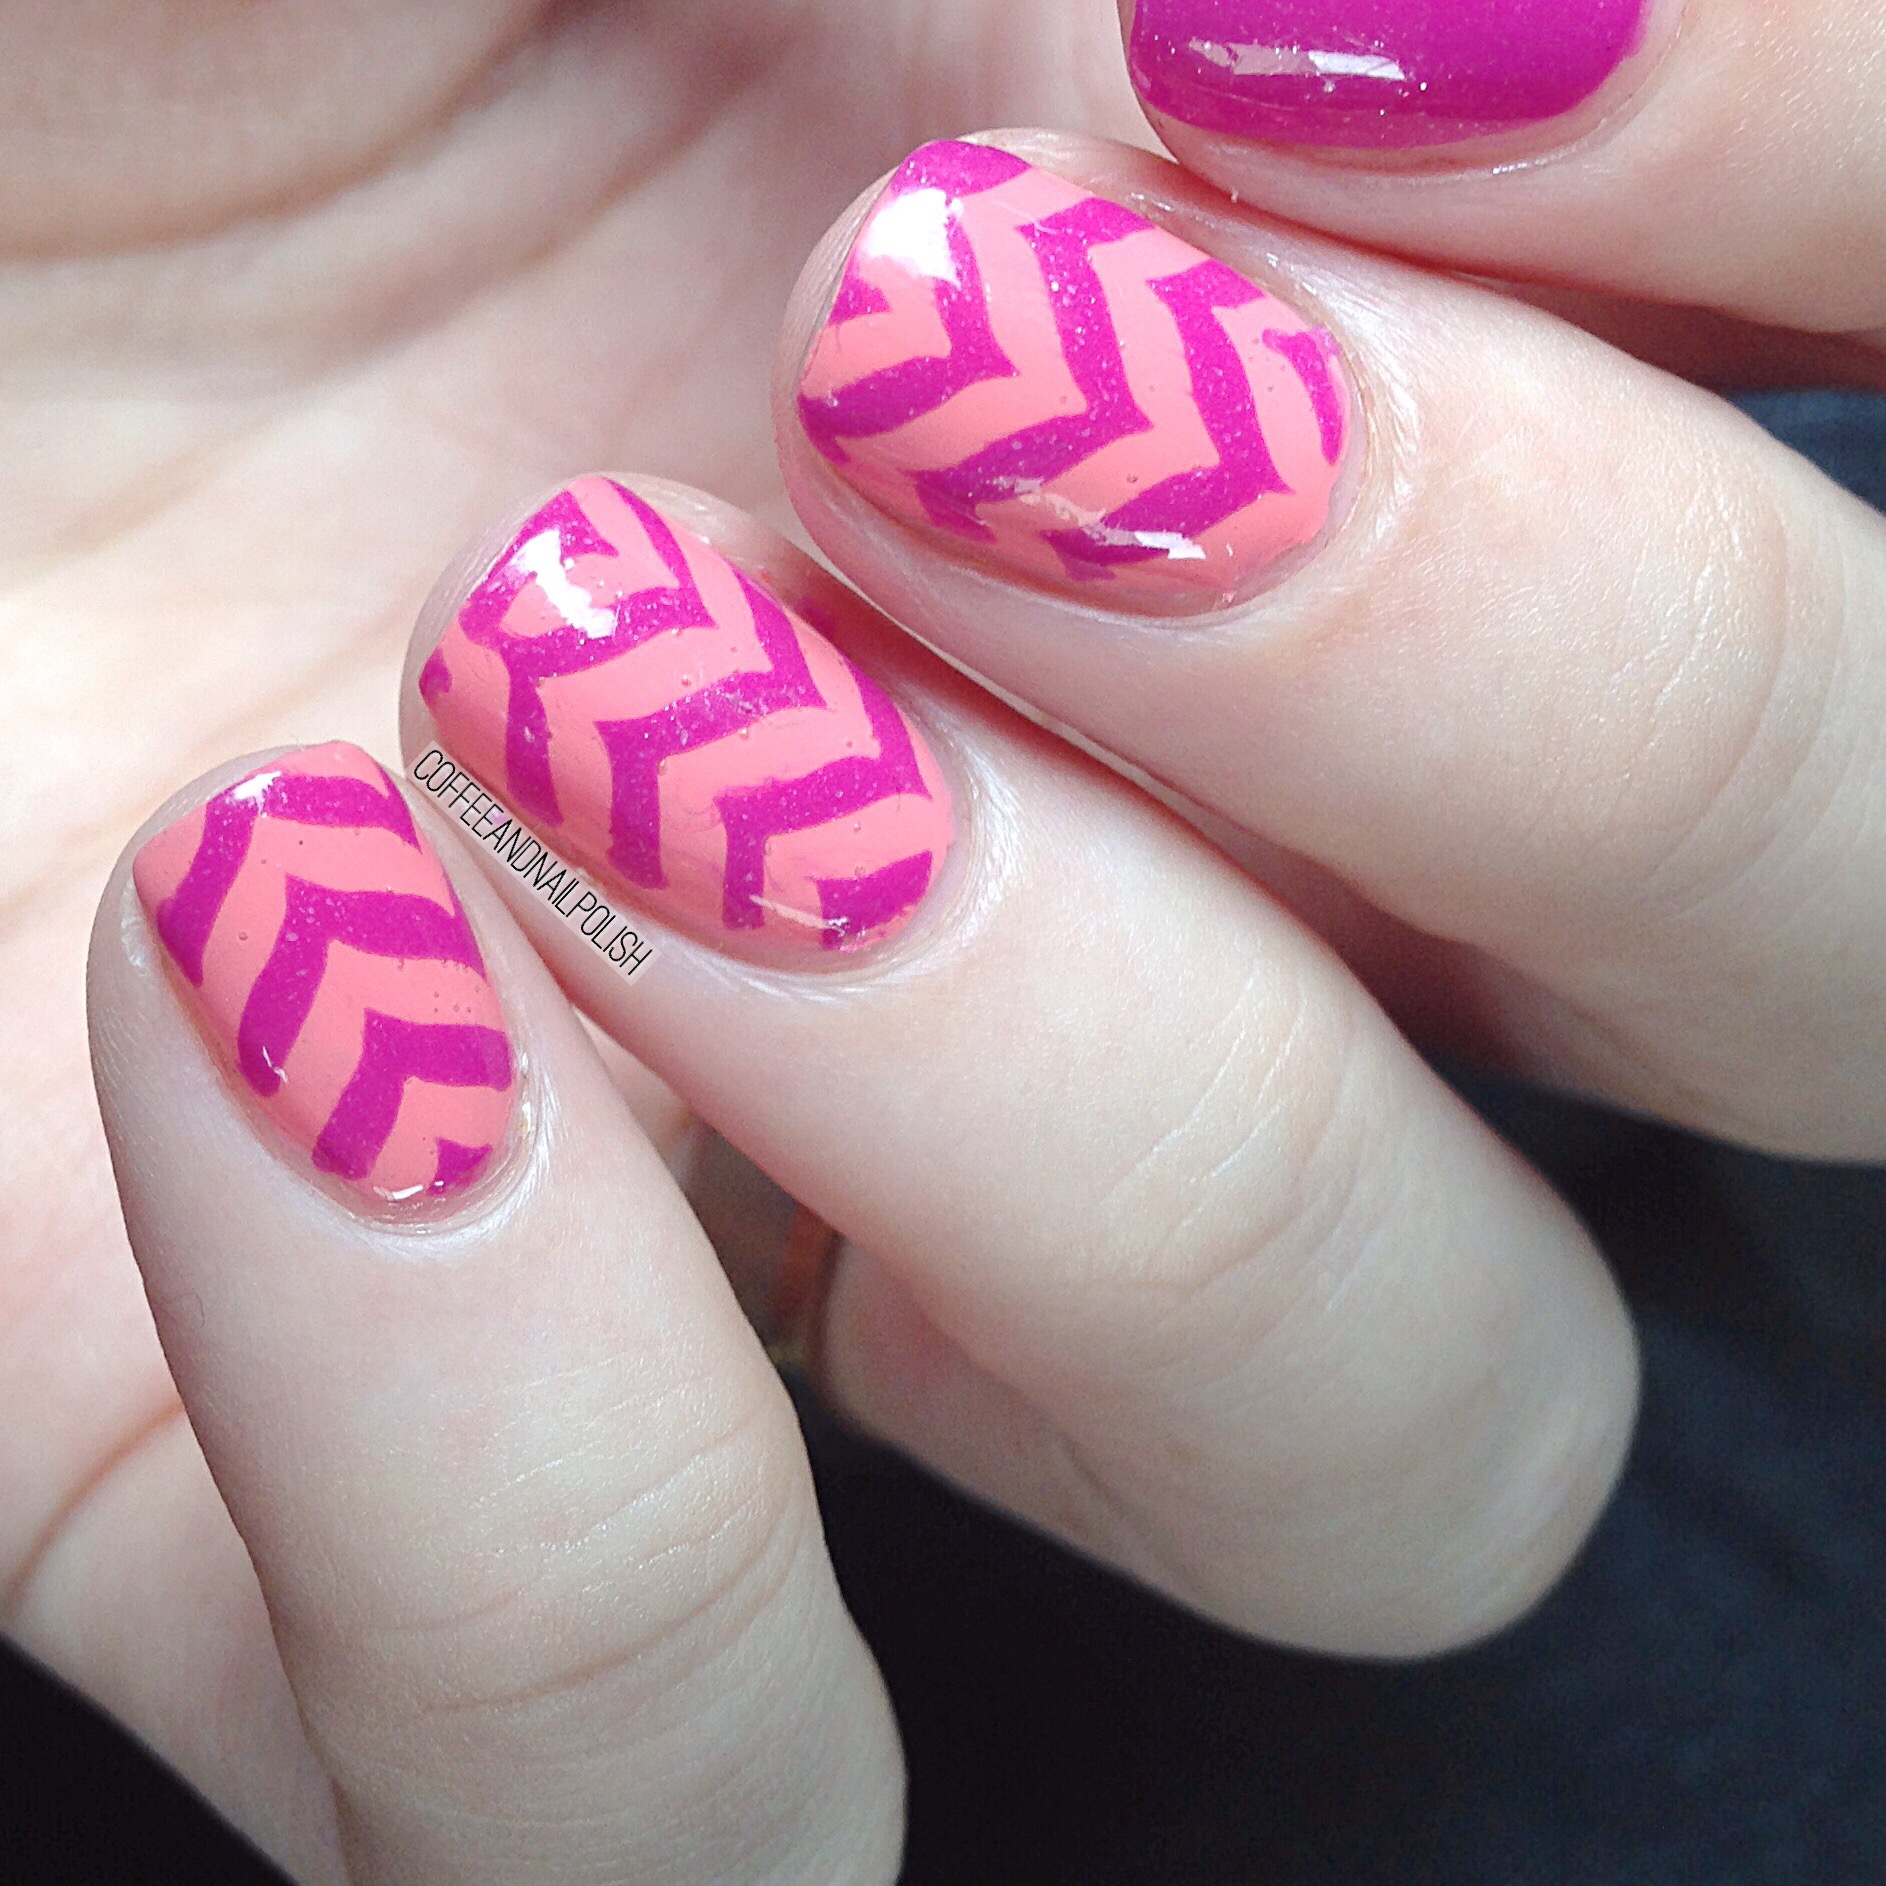
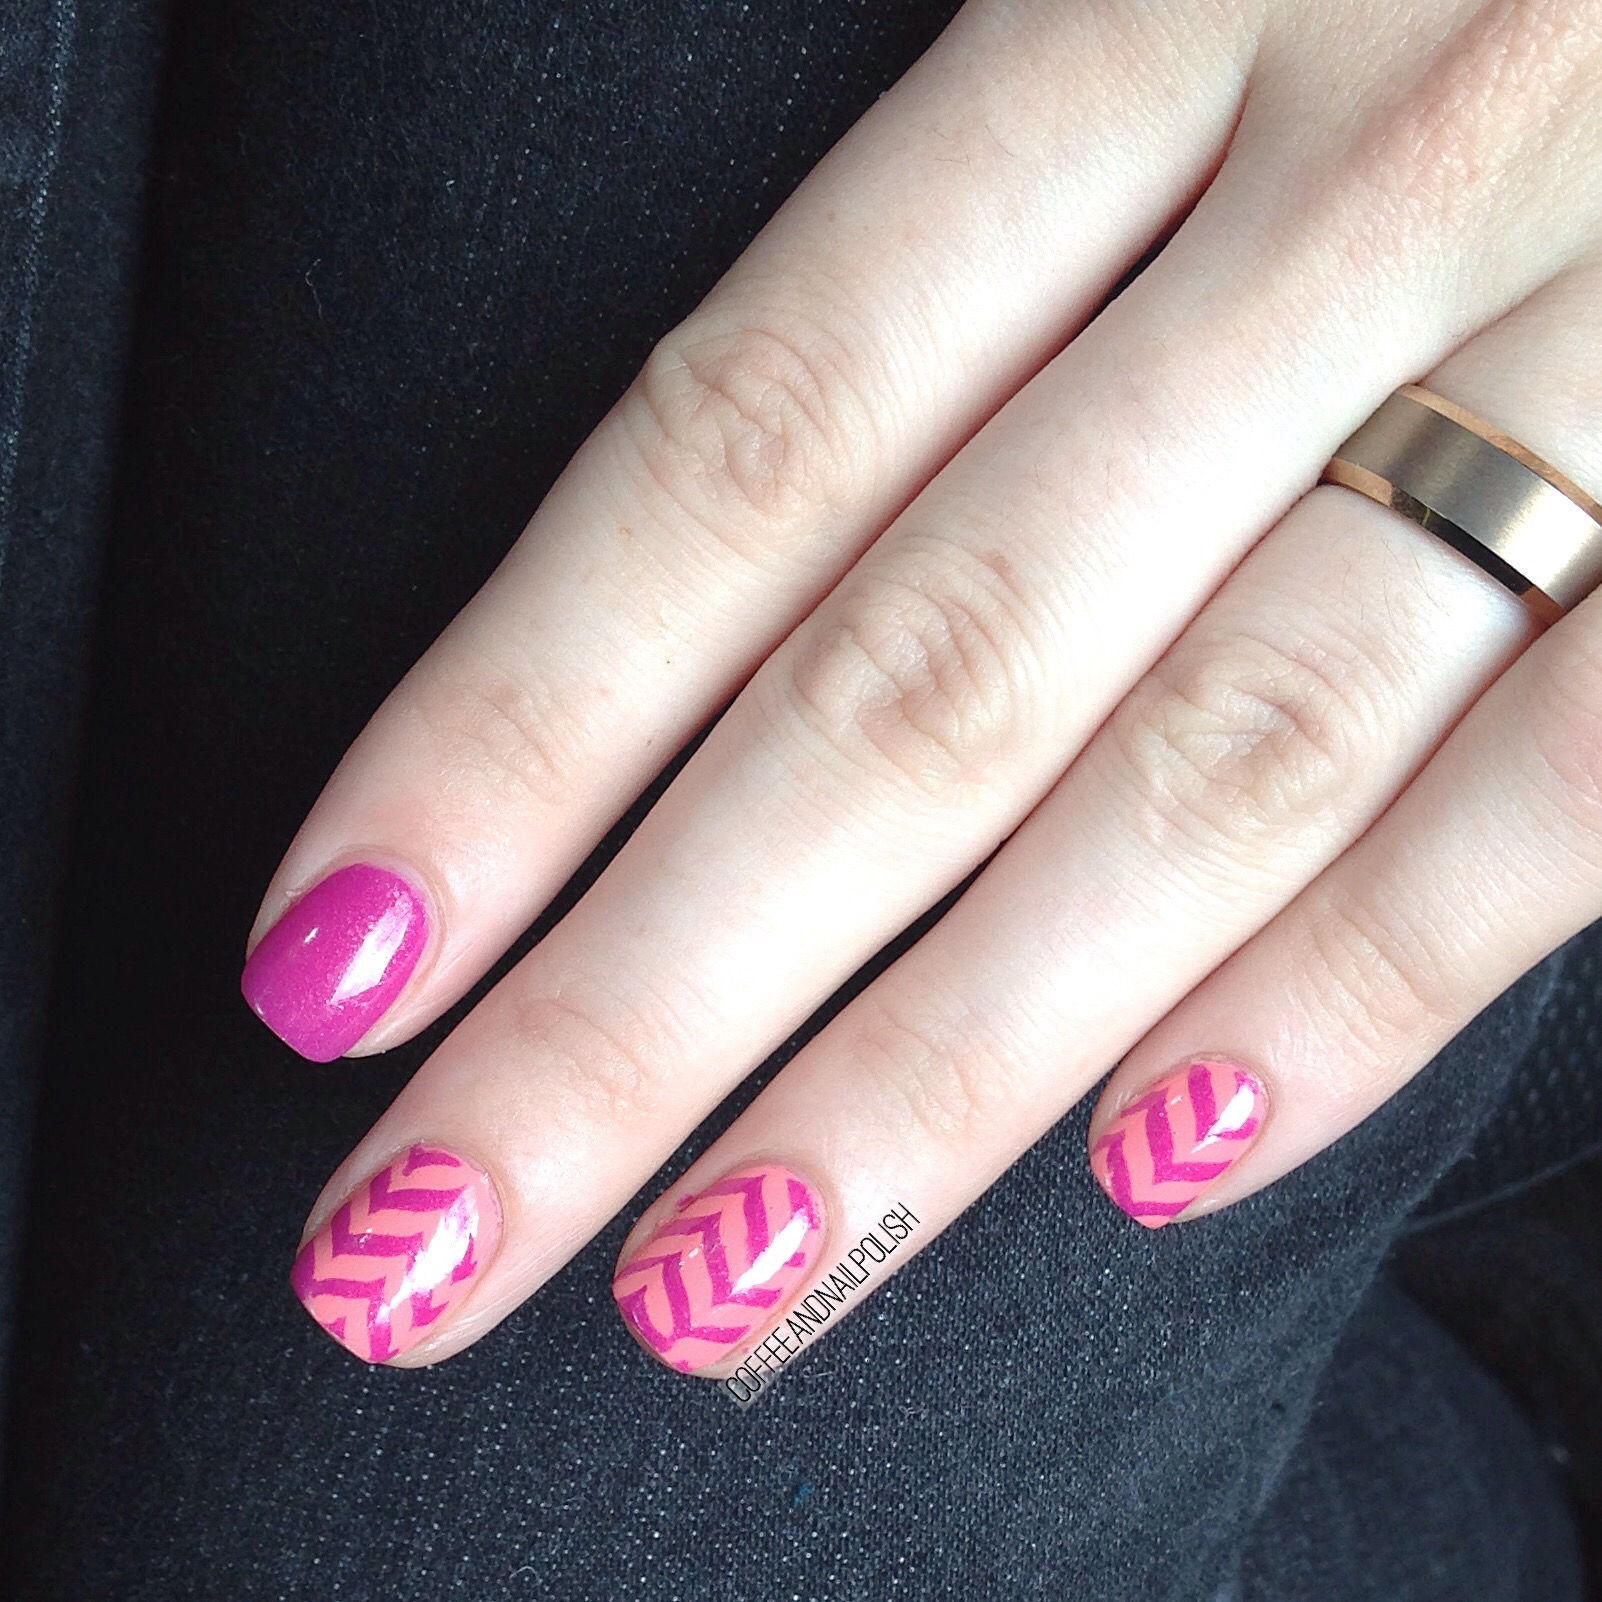
Pretty in Pink Drag Marble nails. 

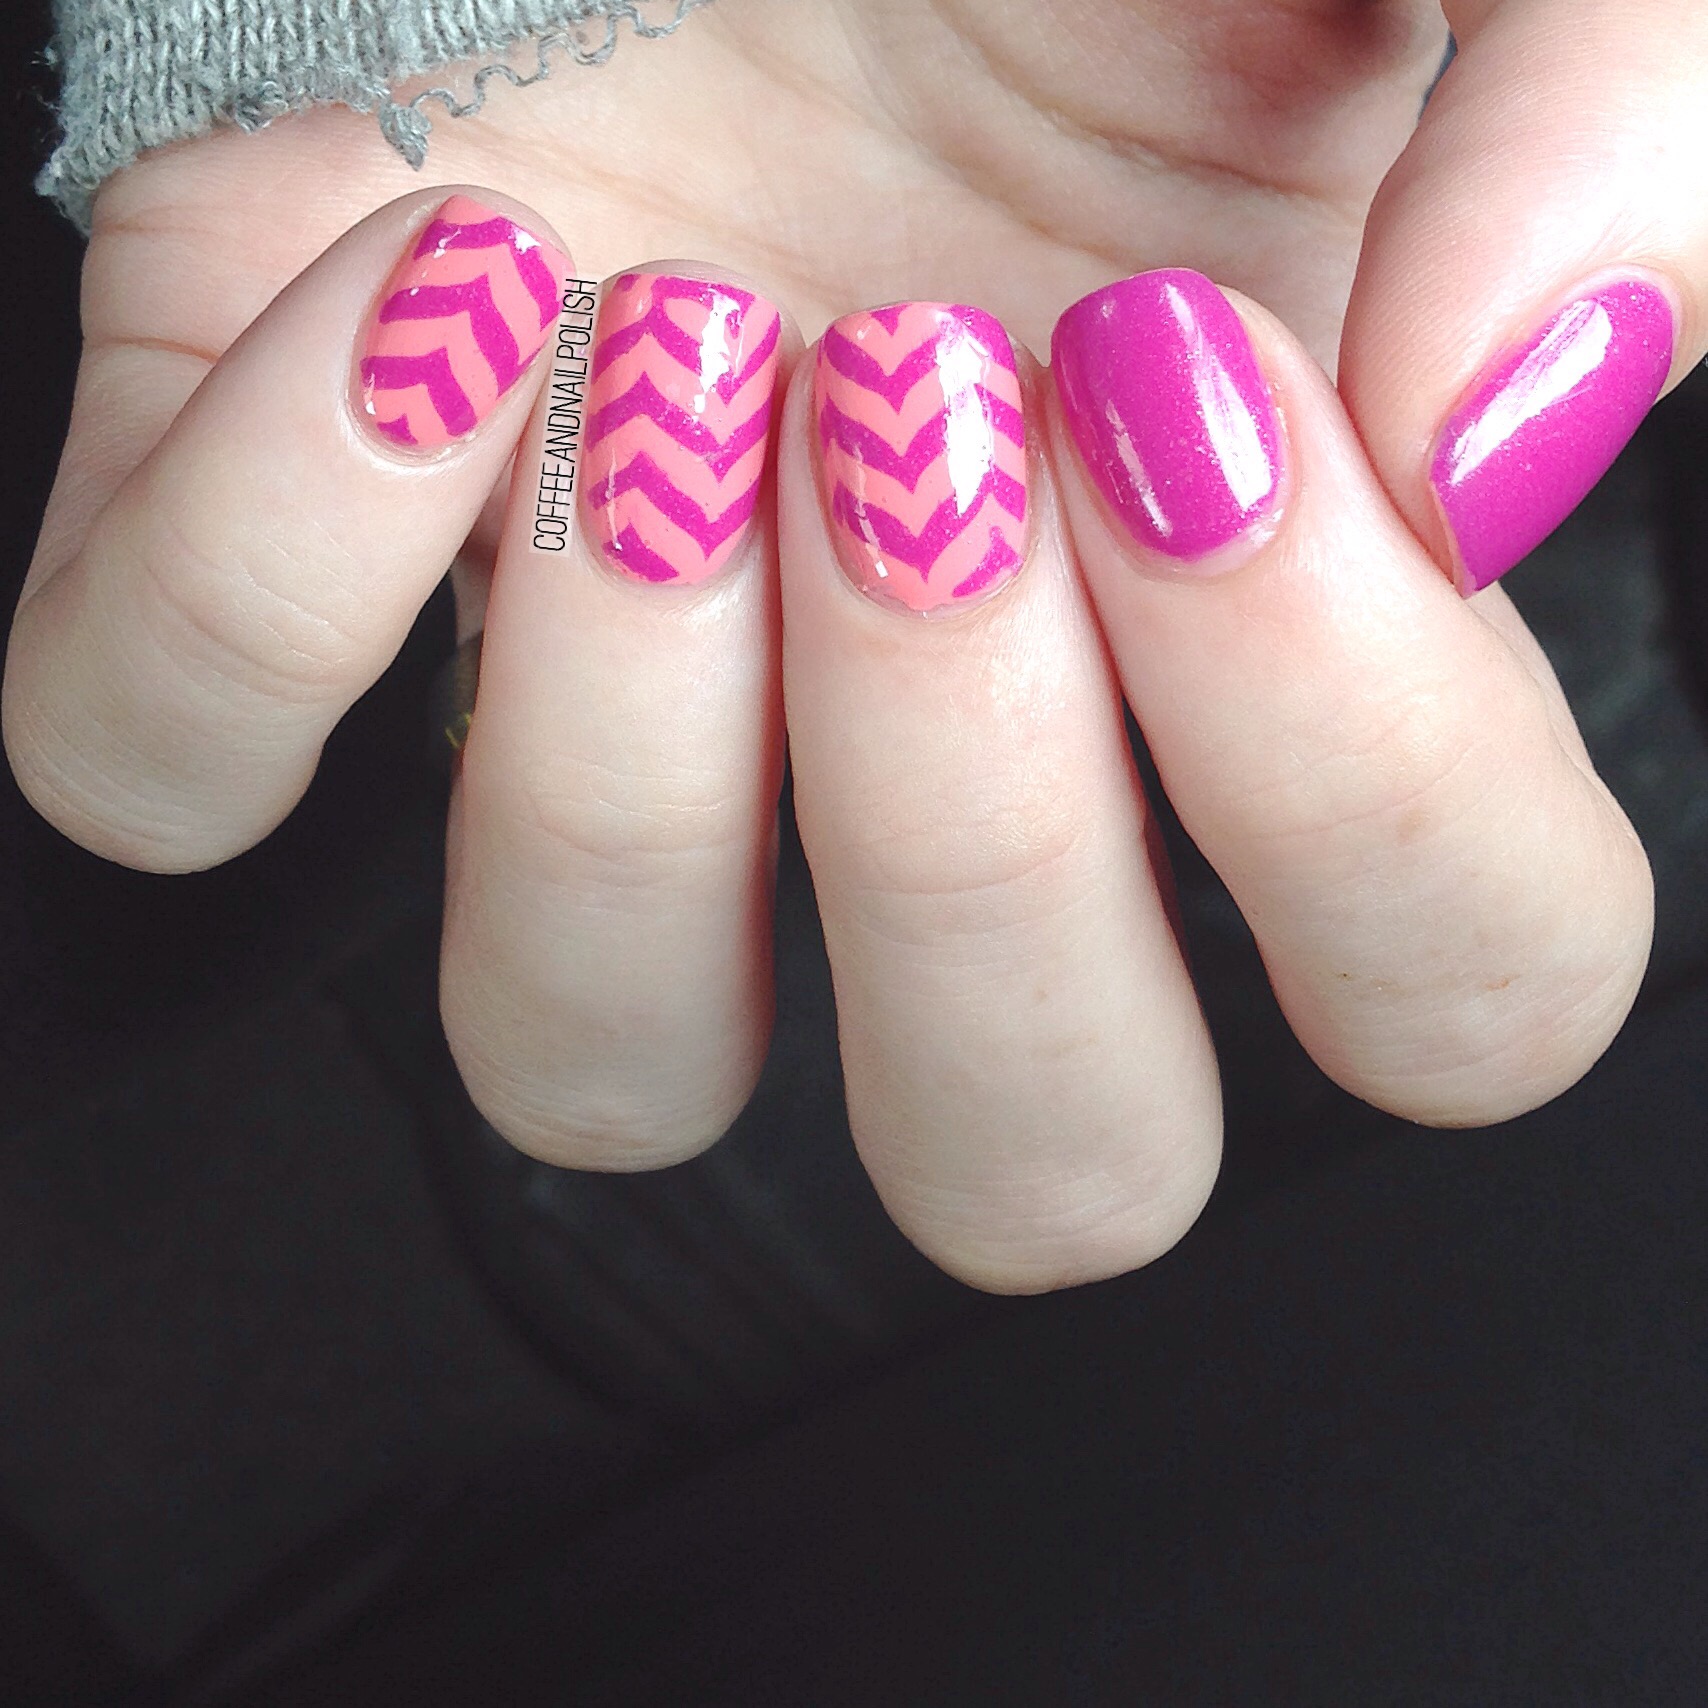
It may be the second week of Spring, but it certainly does not feel like it here on the East Coast. Oh how I long for warm sunshine-y days & pretty sun dresses. So in the meantime, I guess I’ll just have to make due with channeling Spring on my nails! For today’s mani, I decided to continue my trend of pulling forgotten shades from the stash by choosing a few favourites from years past.

For this manicure, I used:

  • Essie Lounge Lover
  • Essie The Girls Are Out
  • Cutex Quick Dry Top Coat
  • Drag Marble Stencils from The Base Coat.


I just love love love how these colours compliment each other! The Girls Are Out has always been one of those colours I forget how much I love until I pull it out again. I picked it up a couple years ago for $3 at the Dollarama, and instantly fell in love.  The flecks of glitter are so pretty, & pairing it with Lounge Lover’s soft pinky coral really brightens up the whole mani! These two colours with the drag marble pattern really remind me of a beach ball, or something equally Summer-y.

Spring fashion may feel like forever away, but my nails are definitely ready with these vibrant chevrons! I’m currently away on a mini family vacation to Northern New Brunswick where there is currently 4 feet of snow, so I definitely need some brightness in my life. 

What do you think of this mani–what are your favourite shades to pair together to brighten up your days? Let me know in the comments below.

More Spring Floral

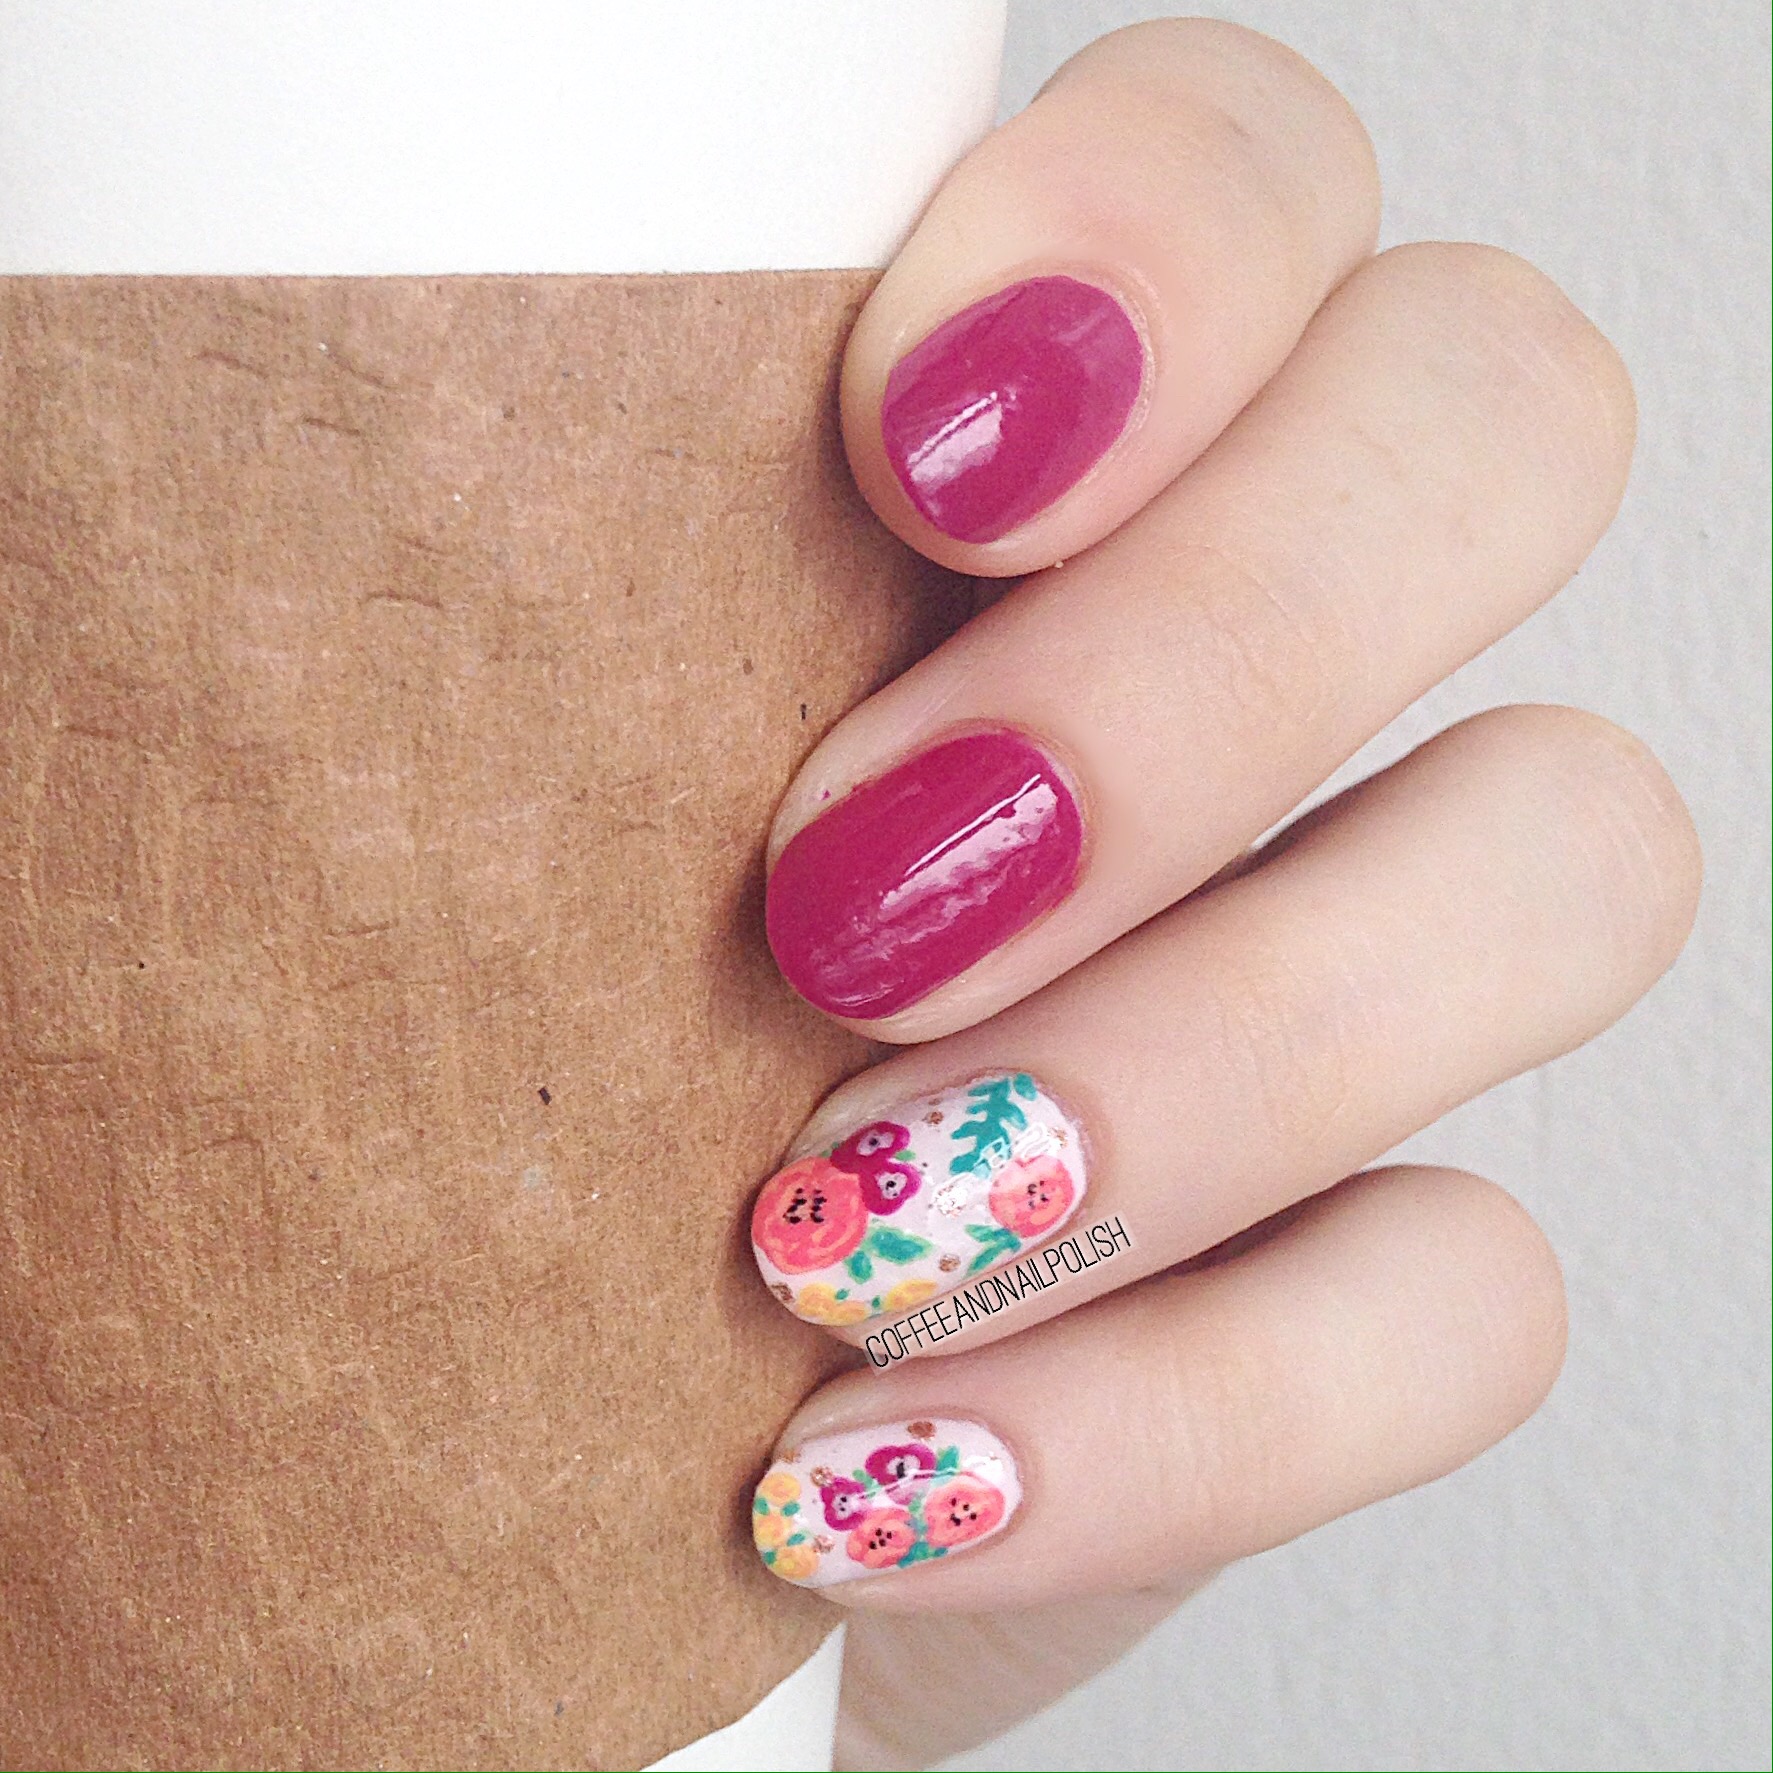
Is there anything that says Spring more than floral? Since today marks the first day of Spring, I thought I should try and summon some warmer temps with a pretty floral design on my nails. I may not be able to pull out my sun dresses quite yet, but I can make my nails feel like it didn’t just snow last night. Haha. 

For this design, I used all Sally Hansen polishes including the ones I received from the Spring 2017 collection. 

The polishes I used for this design were:

  • Sally Hansen Miracle Gel Montley Hue
  • Sally Hansen Miracle Gel Pretty Peony 
  • Sally Hansen Miracle Gel Bourbon Belle
  • Sally Hansen Miracle Gel Terra-Coppa
  • Sally Hansen Miracle Gel Pretty Piggy
  • Sally Hansen X-treme Wear Mellow Yellow
  • Sally Hansen X-treme Wear Tickled Pink
  • Sally Hansen X-treme Wear Kiwi Bikini
  • Sally Hansen I ❤ Nail Art pen in Green
  • Sally Hansen I ❤ Nail Art pen in Black. 
  • Sally Hansen Miracle Gel top coat. 

I’m so in love with how this design turned out I don’t even want to think about having to take it off! My floral has definitely improved over the years, and I’m feeling really good about how wicked these look. 🌼🌿🌸 Just so girly, and romantic. And the perfect way to welcome Spring (and encourage Mother Nature to make it feel more like Spring!)

What do you think of this floral? Let me know in the comments below! 
St Patrick’s Day nails with #thenailartsquad

Happy St Patrick’s Day! 🍀

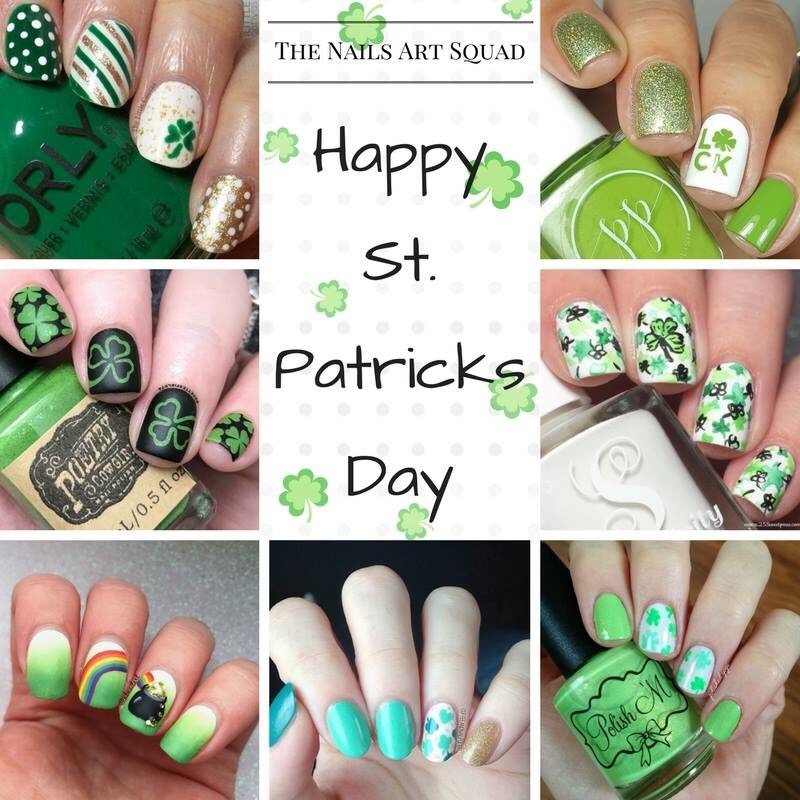
Today I’ve joined with the rest of the girls in #thenailartsquad for some St Patrick’s Day themed nails in honour of today. 

The fellow #thenailartsquad members that I joined for this collab are (clockwise from the top):

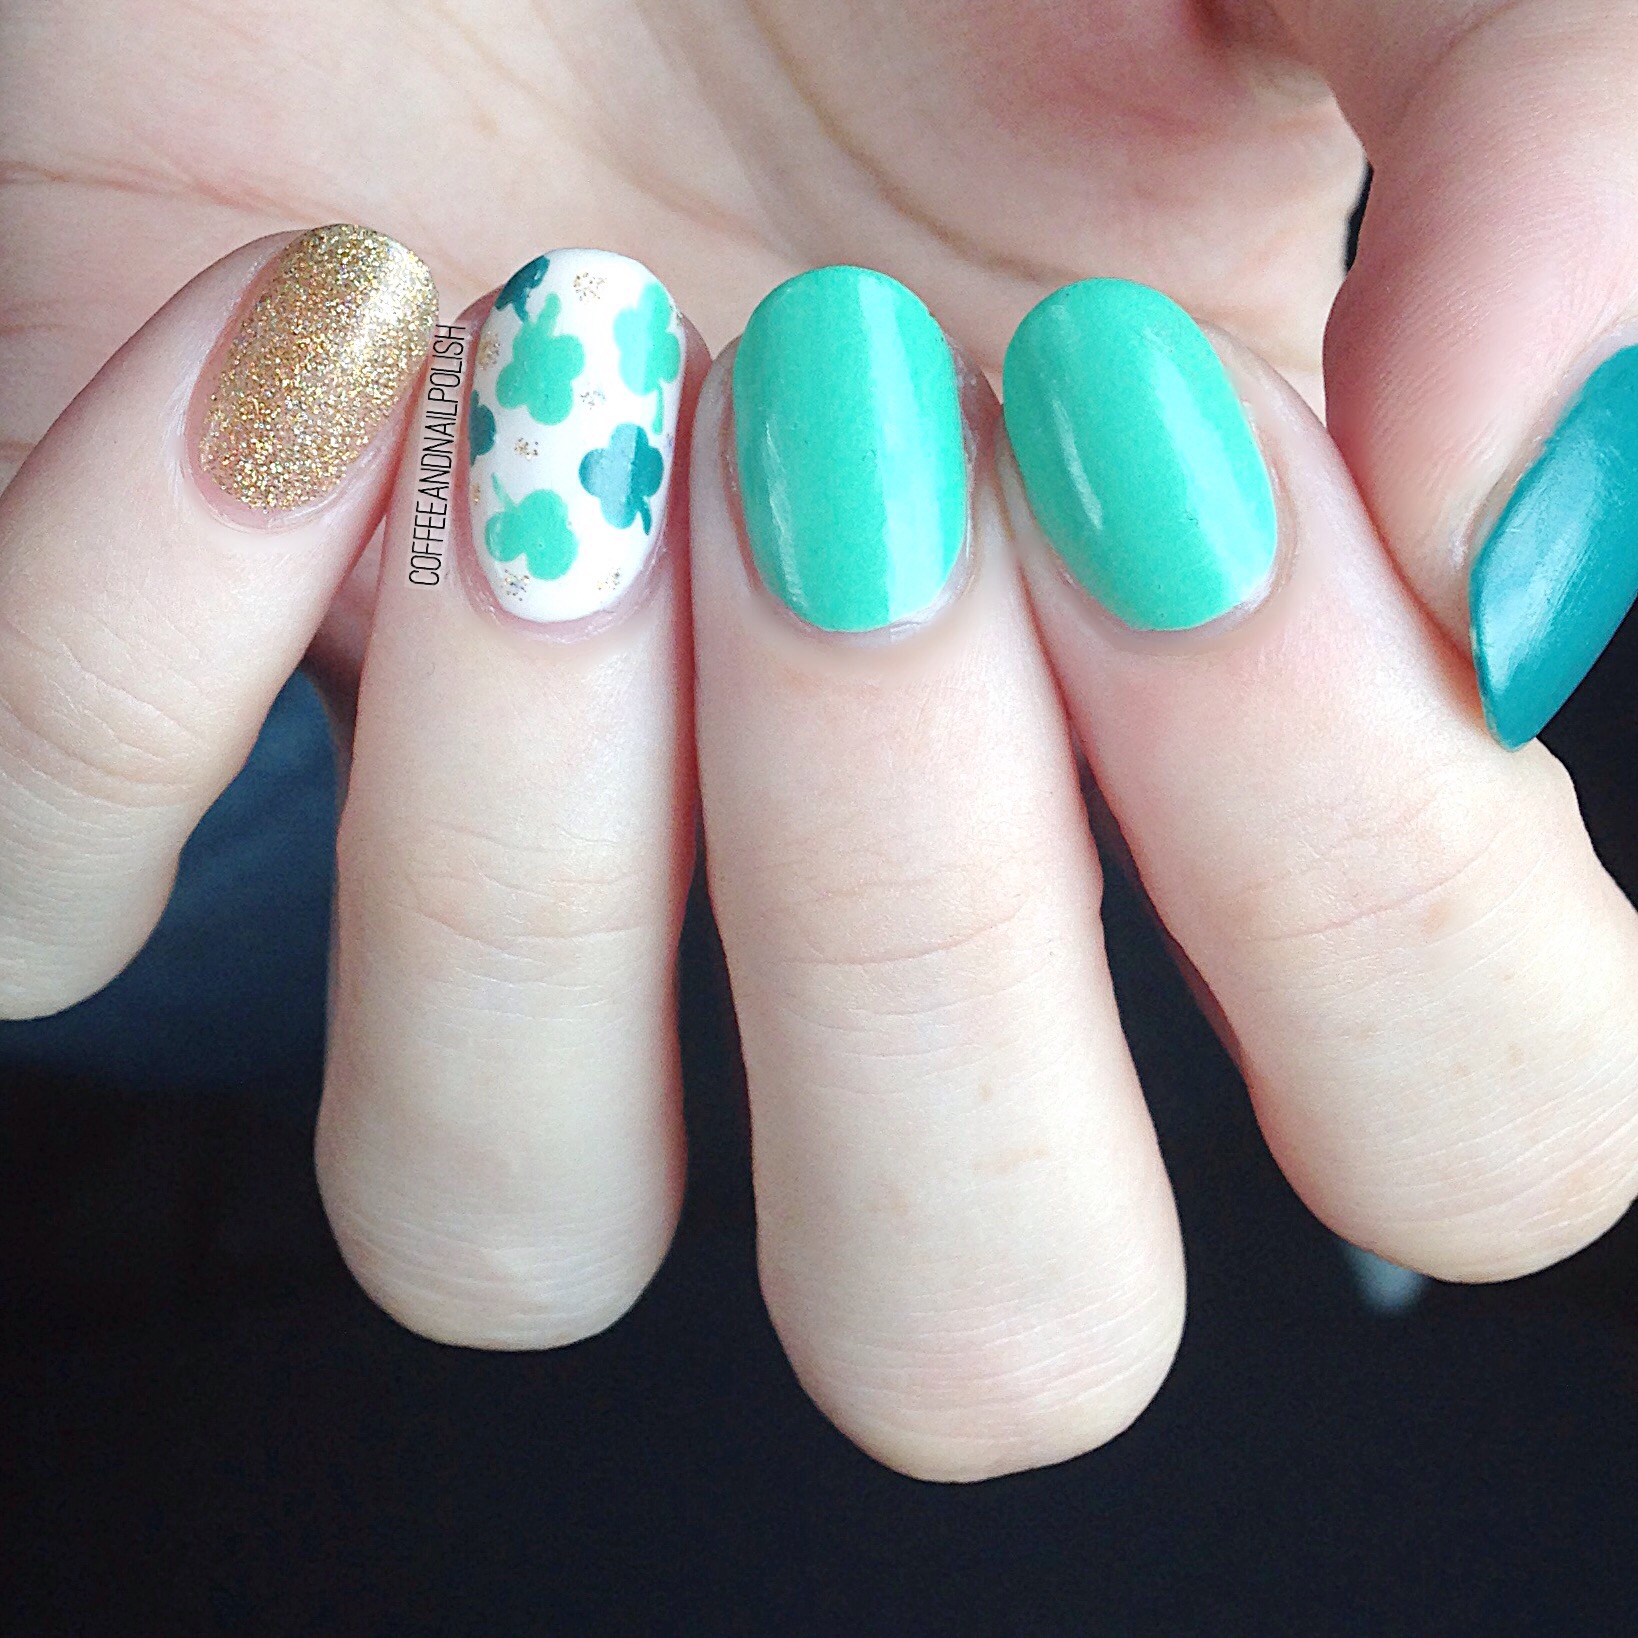
For my nails, I freehanded clovers on my accent nail using a fitting tool and small nail art brush. Thankfully, baby was sleeping so I had the chance for some real nail art! I was very excited. 

The polishes I used for this manicure were:

  • Essie First Timer (light green)
  • YSL  vert d’orient (dark green)
  • Icing Icing on Top (off white) 
  • ORLY Bling (holo gold) 
  • Butter London Rock Hard top coat. 
  • Dotting tool (Bundle Monster) and small nail art brush (Born Pretty Store). 

There are few occasions where I pull out green polish, but I always look forward to St Patrick’s Day for some festive green nails. I’m also really happy with my little clovers–I wasn’t quite sure I could pull them off freehand, but I think they turned out pretty cute! 

Hope everyone is having a festive day whether it’s with green beer, or–like me–a very green stir fry! 

Pink and Blue dotticure. 

I was browsing Instagram yesterday, and while admiring @traceyloveslacquer‘s monthly favourites I could helped but obsess over her dotticures (because they’re gorgeous). So obviously I needed to do my own dotticure because it’s been like a week. 😂 Seriously though, dotticures are just so easy and fun. 
The colours for this mani were inspired by baby-to-be (pink and blue) who has officially overstayed their welcome. But I really think these colours would work for a variety of occasions… even a not so typical Valentine’s Day design if you didn’t want to go strictly pink. 

The polishes used for this mani were:

  • China Glaze Secret Peru-wink-le
  • Wet N Wild 2% Milk
  • Essence Cosmetics Dreaming of Love
  • Sally Hansen Xtreme Wear Tickled Pink 
  • Essie Gel Setter 

Such a simple design, but I love how it looks! And the great thing about a dotticure is it pretty much works for every occasion and colour combination. 

Born Pretty Store Clear Jelly stamper review 

Happy Sunday!

Today I have a review of some products that were kindly sent to me by Born Pretty Store for review. 

You’ve probably seen that Crystal nail art stamper a are everywhere! I’ve been considering getting one for a while, and when Born Pretty offered to send me one for review I jumped at the chance. I’ve made attempts at stamping before, but I’ve never been very good. 

The stamper (item #24059) itself is a good size, and the pad is clear and nice and squishy. It’s also completely clear, which means that you can see through so that you can know exactly where you are placing your design. 

I started off by painting my nails with my base colours. I used a purple My Beauty Spot polish with Nubar Treasure layered overtop and OPI I Canolli Wear OPI. Next, I used liquid peel off tape (also from Born Pretty!) and applied it around my cuticles to limit clean up. I also discovered it’s much easier to do one hand at a time as sometimes the peel off tape sticks together and comes off. 

Before applying the design to my nails, I tested it on a peice of paper to see how it would turn out. I used OPI Who You Callin’ Bossy as I don’t own any stamping polish. 

Going one hand at a time, I applied the design to each nail. I am not someone who has an easy time with keeping things straight when stamping, but with this clear stamper it was so easy to know exactly where my design was going! Once I applied the design, I peeled off my peel off tape and applied to top coat to seal in my design. I finished off by cleaning up the rest of my cuticle area using a small brush dipped in acetone. 

And the finished product! 

I’m so impressed with this clear jelly stamper, I can’t recommend it enough! If you’ve been considering starting to stamp I would definitely suggest checking out the selection on Born Pretty Store! You can use my discount code COFFK31 to save 10% on your purchase!