Halloween Inspired Dotticure Accent Nails 🎃

Hello lovelies & happy Friday!

Can you believe it’s October?! How did that happen?

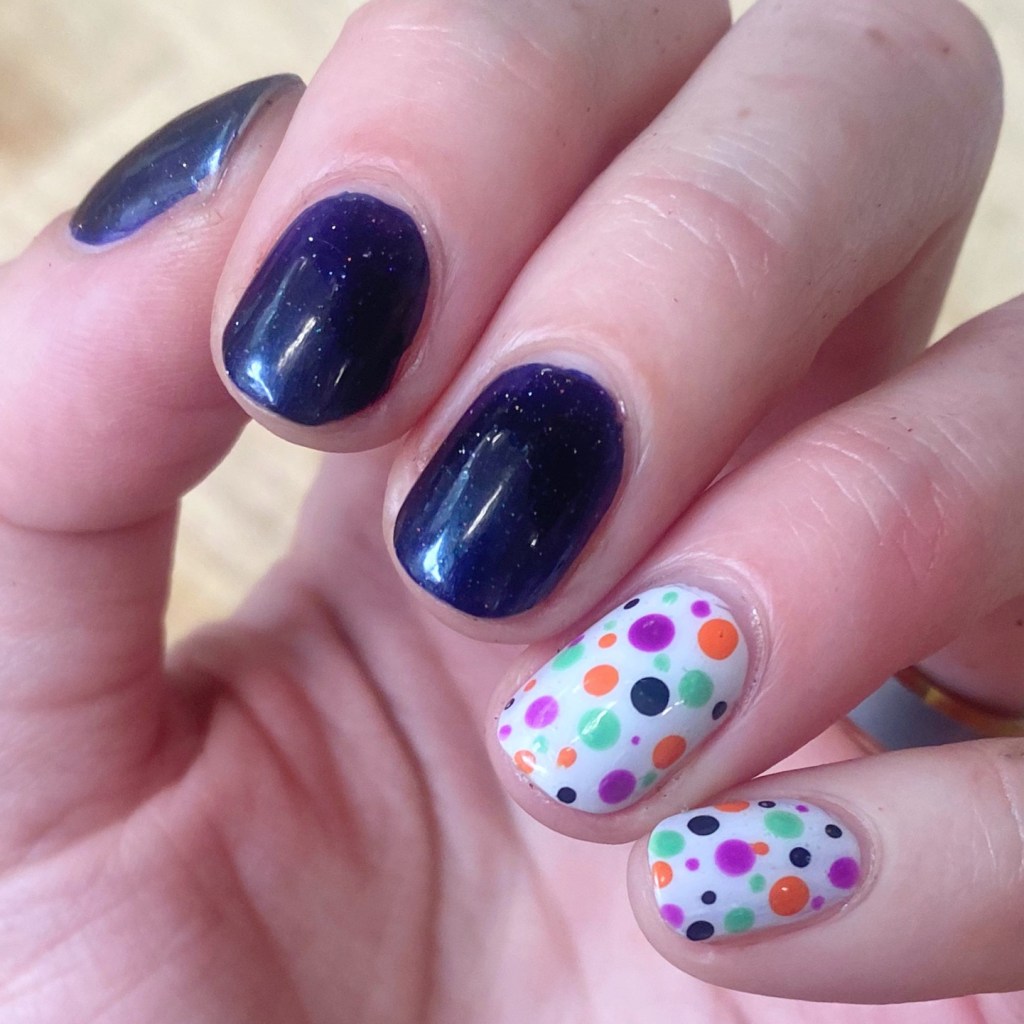
I’m already getting excited for Halloween designs, but haven’t quite narrowed down what I want to do. I thought I’d start off with a fun easy look.

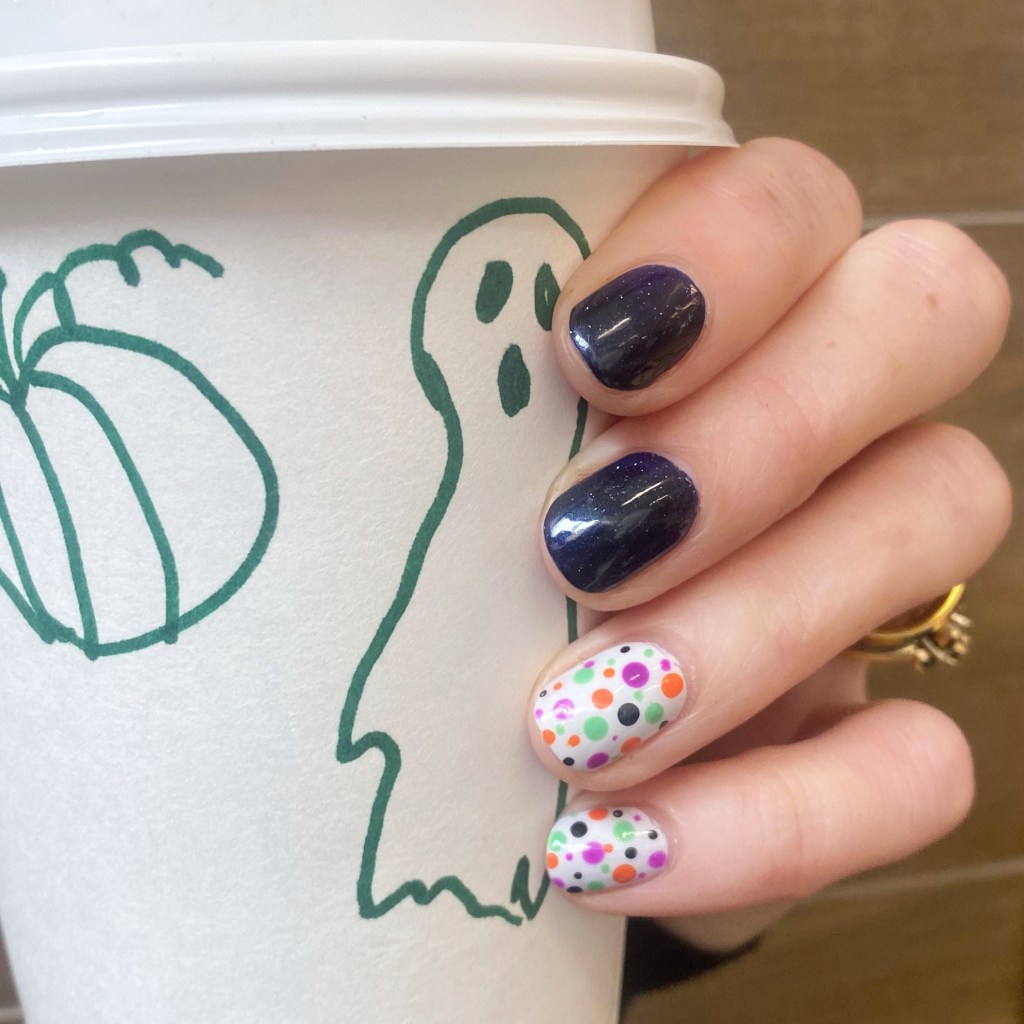
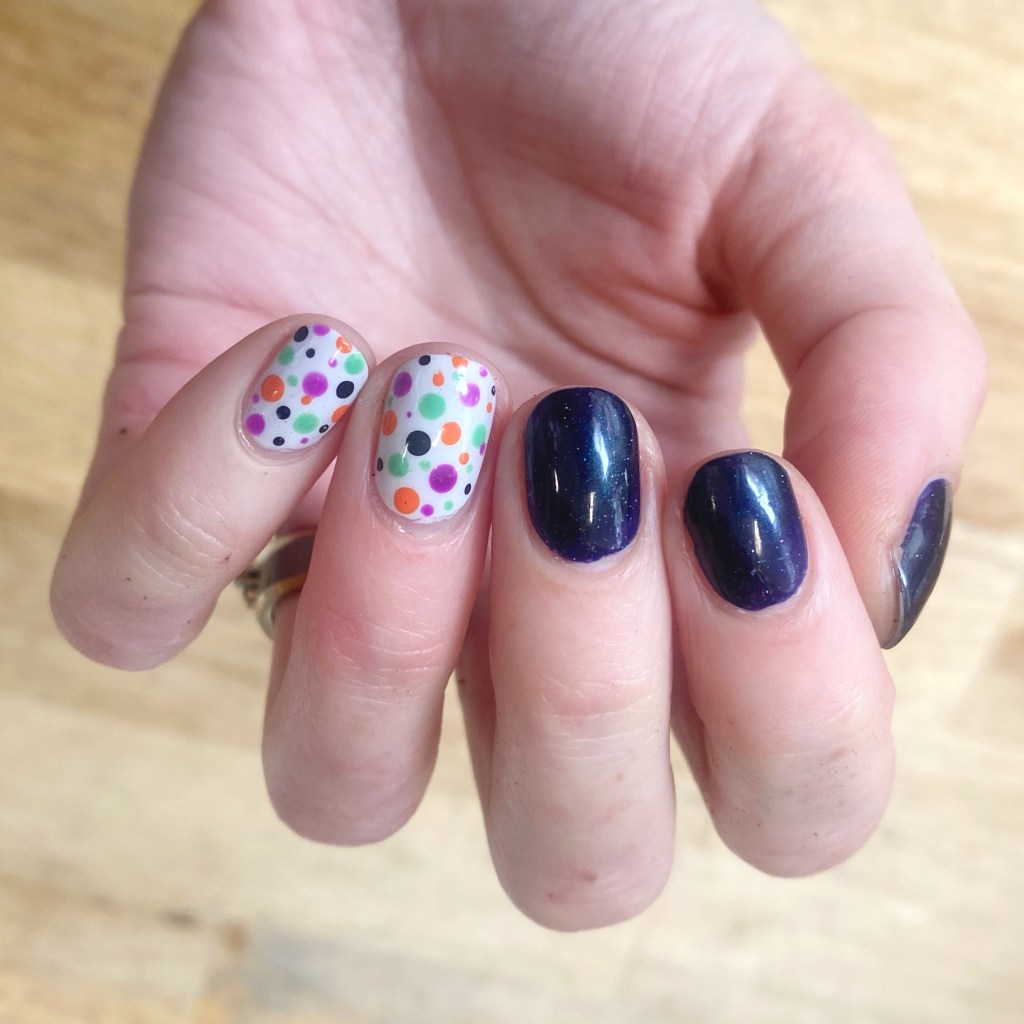
You can never go wrong with a dotticure accent look, & I had the idea of doing one with all the colours associated with Halloween.
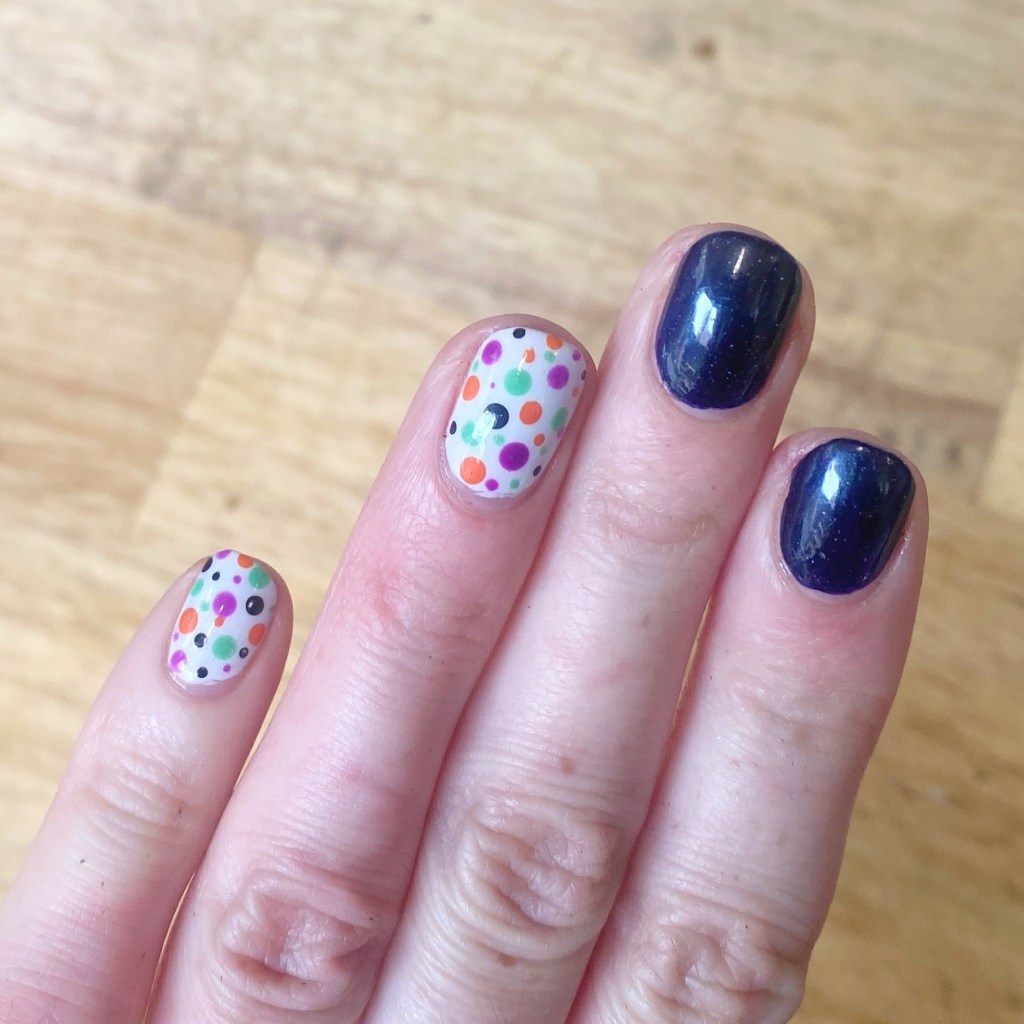
The polishes I used for this manicure are: 

  • Base Coat: Sally Hansen Maximum Growth Base Coat 
  • Top Coat: Sinful Colors Power Paint Top Coat + Sally Hansen Insta-Dri Top Coat
  • China Glaze Up All Night topped with Private Side Eyes
  • OPI I Cannoli Wear OPI
  • Sally Hansen Miracle Gel Feelin’ Grape
  • Sally Hansen InstaDri Pump-kid
  • China Glaze Shore Snuff
  • NailStuff Essentials Raven
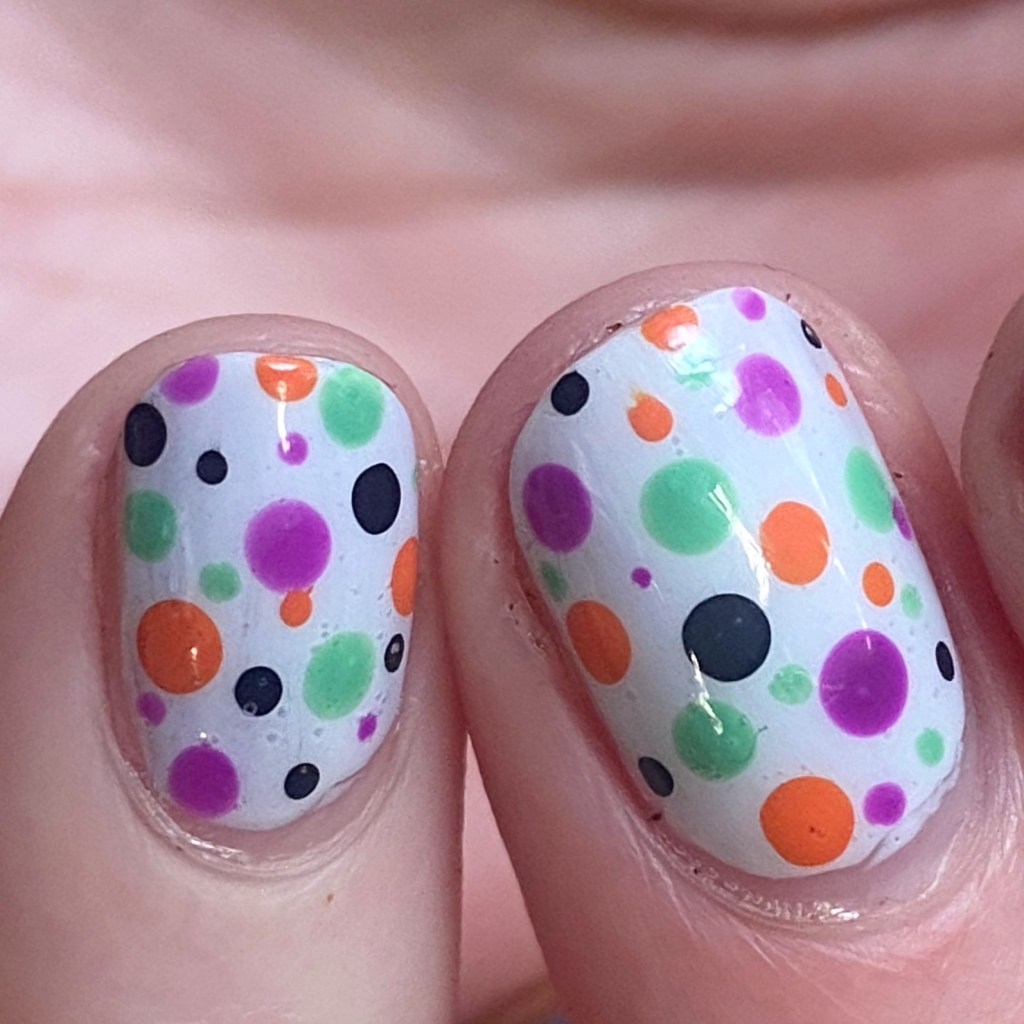
  • Small Dotting Tool (also NailStuff)

Close up of my dots. I think they’re super fun, & the colours really compliment each other. They’re a great pop of colour.
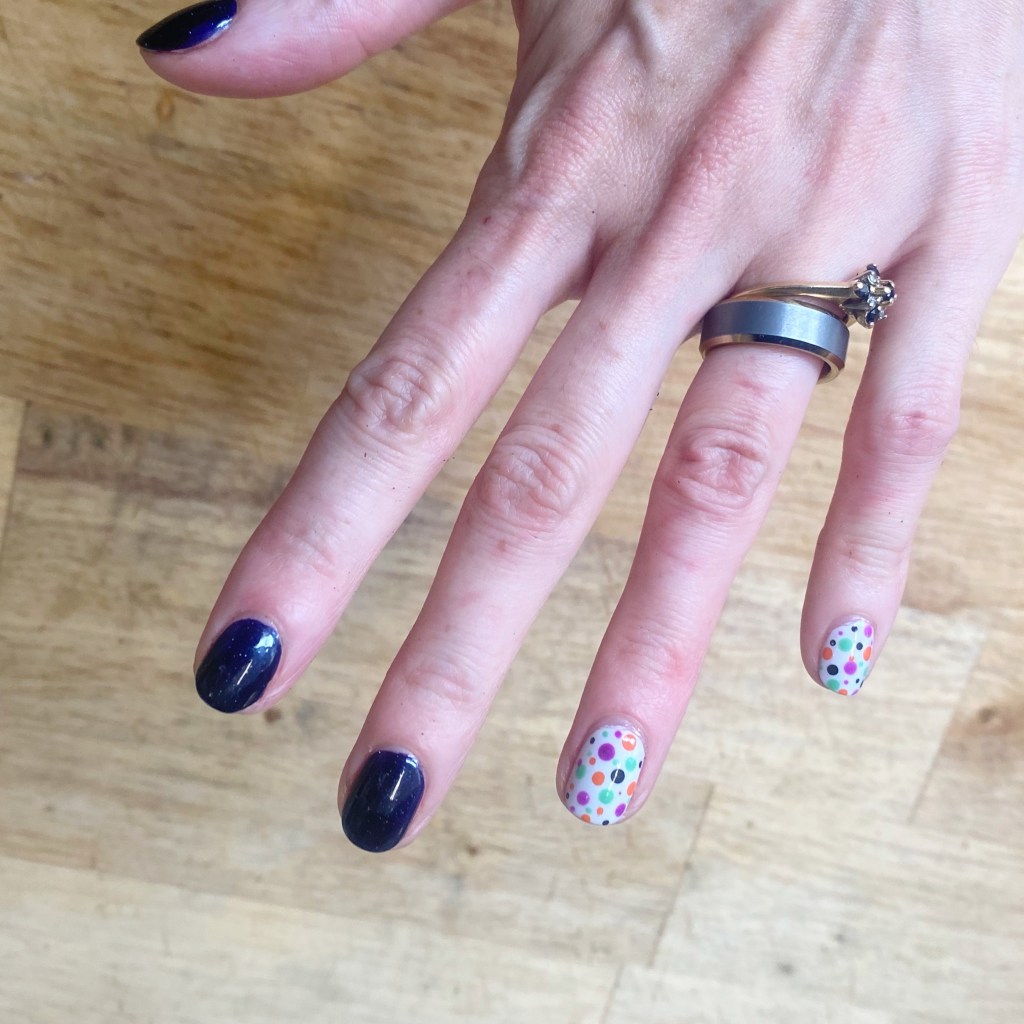
A simple look for the beginning of October. I will admit, though, I’m very excited to start on some Halloween looks… I just don’t know where to start!

Enjoy your weekend loves!

♥︎
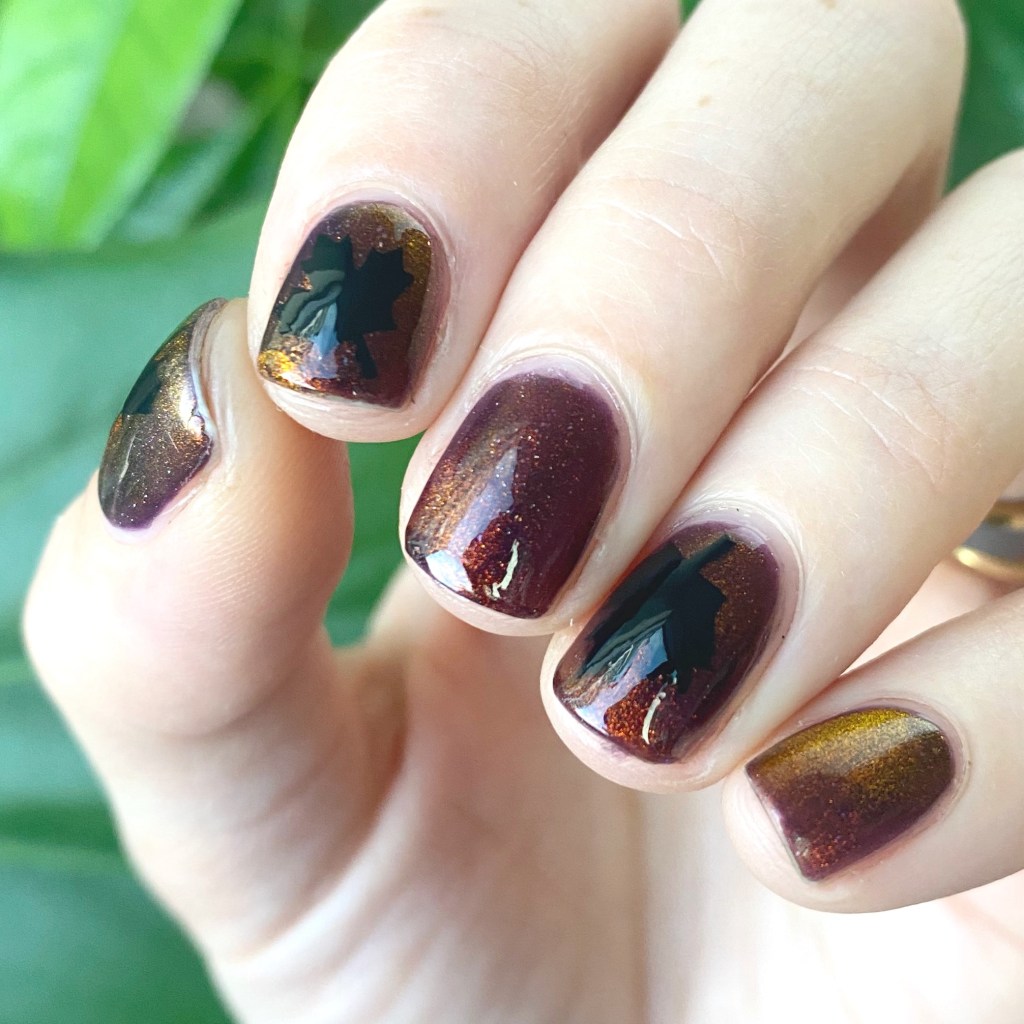
Magnetic Autumn Leaves 🍂

Hello loves & happy Friday! The weekend is (almost) upon us.

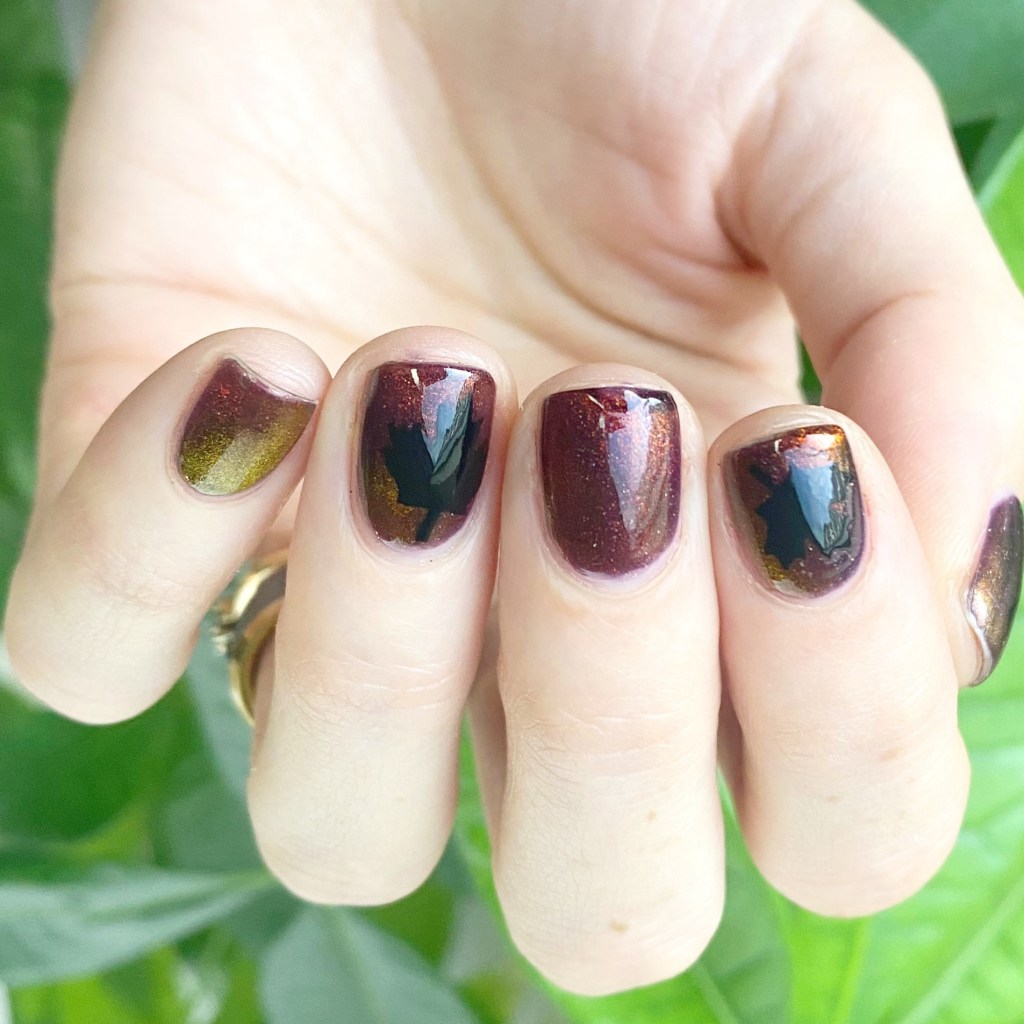
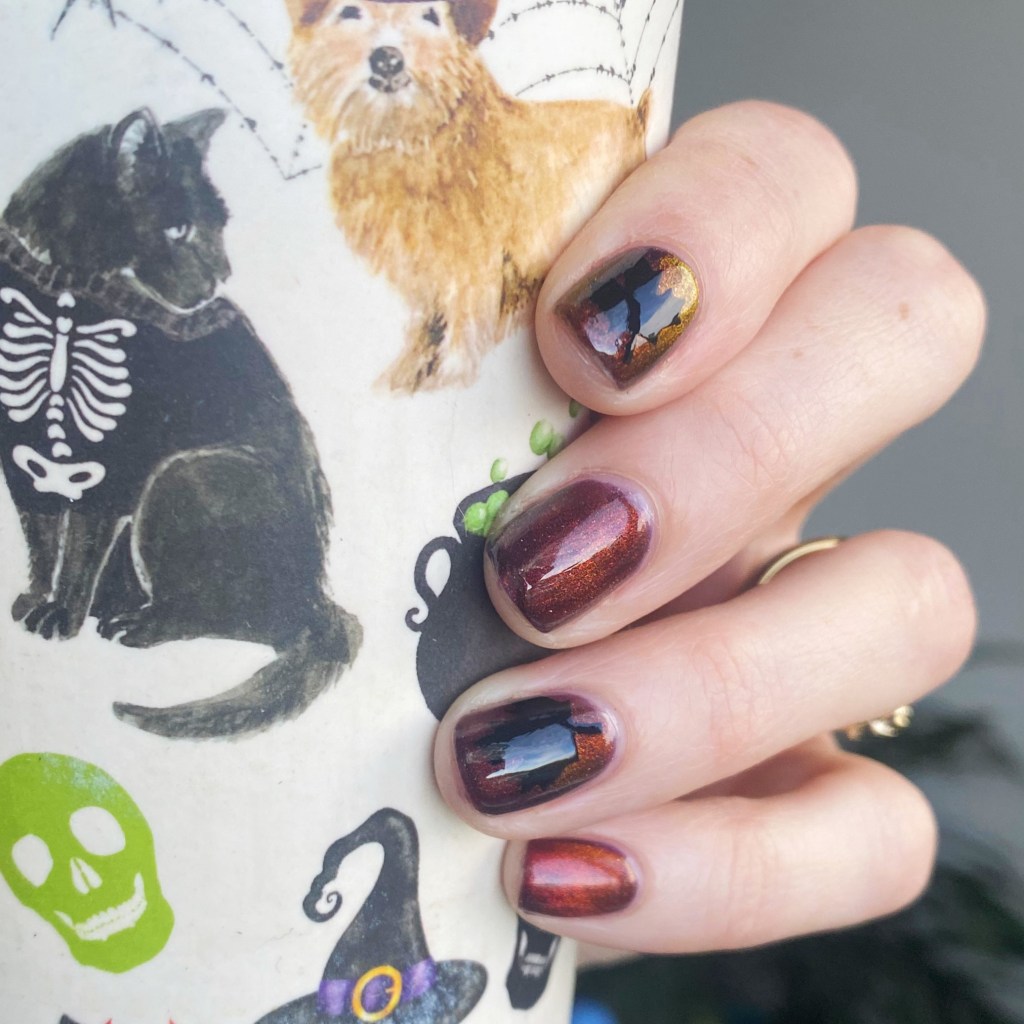
Today I’m sharing a fun, & easy, Autumn look using magnetic nail polish & nail vinyls. Sometimes, I don’t want a crazy nail art look, but I still want something eye catching. This look was exactly what I was looking for.

The polishes I used for this manicure are: 

  • Base Coat: Sally Hansen Maximum Growth Base Coat
  • Top Coat: Sinful Colors Power Paint Top Coat + Sally Hansen Insta-Dri Top Coat
  • China Glaze Private Side Eyes *PR
  • Starrily Magma *PR
  • NailStuff Essentials Raven *PR
  • Starrily Magnet
  • What’s Up Beauty Canada Flag Vinyls

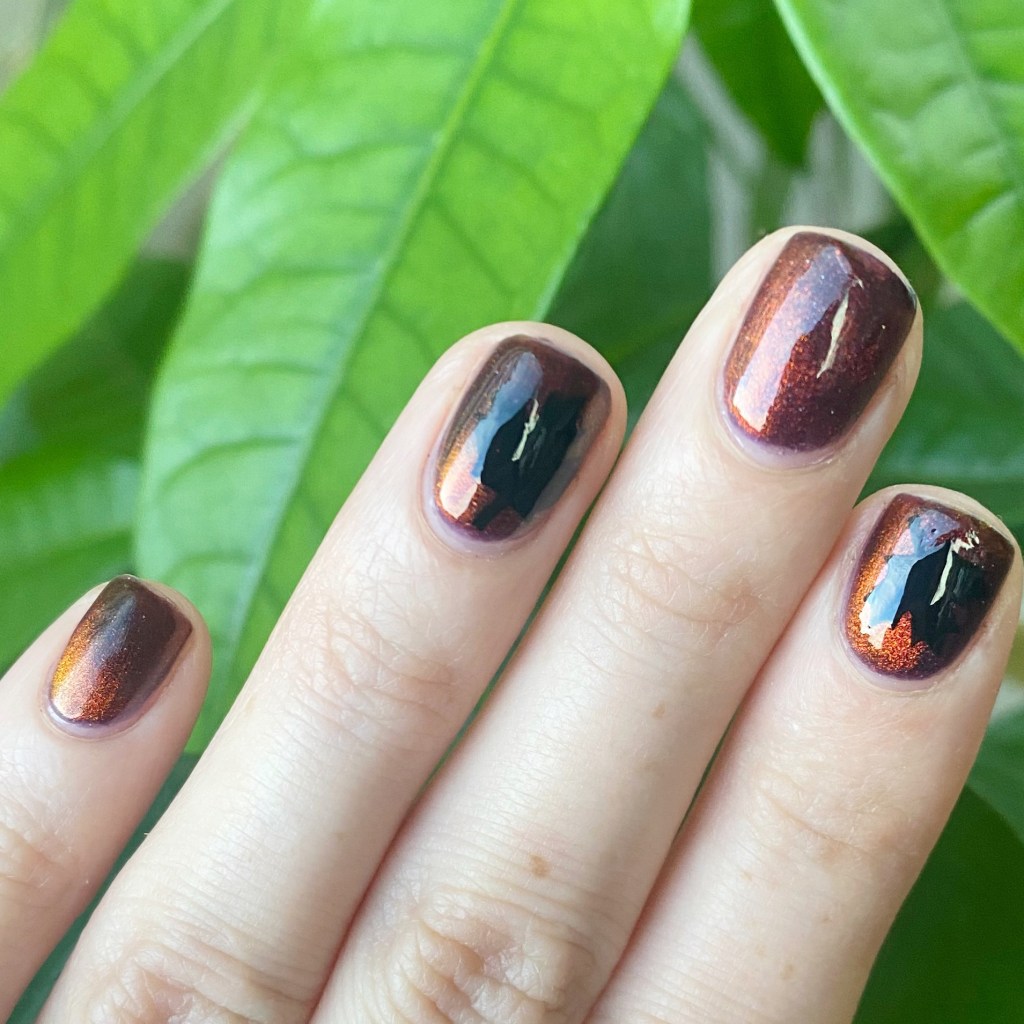
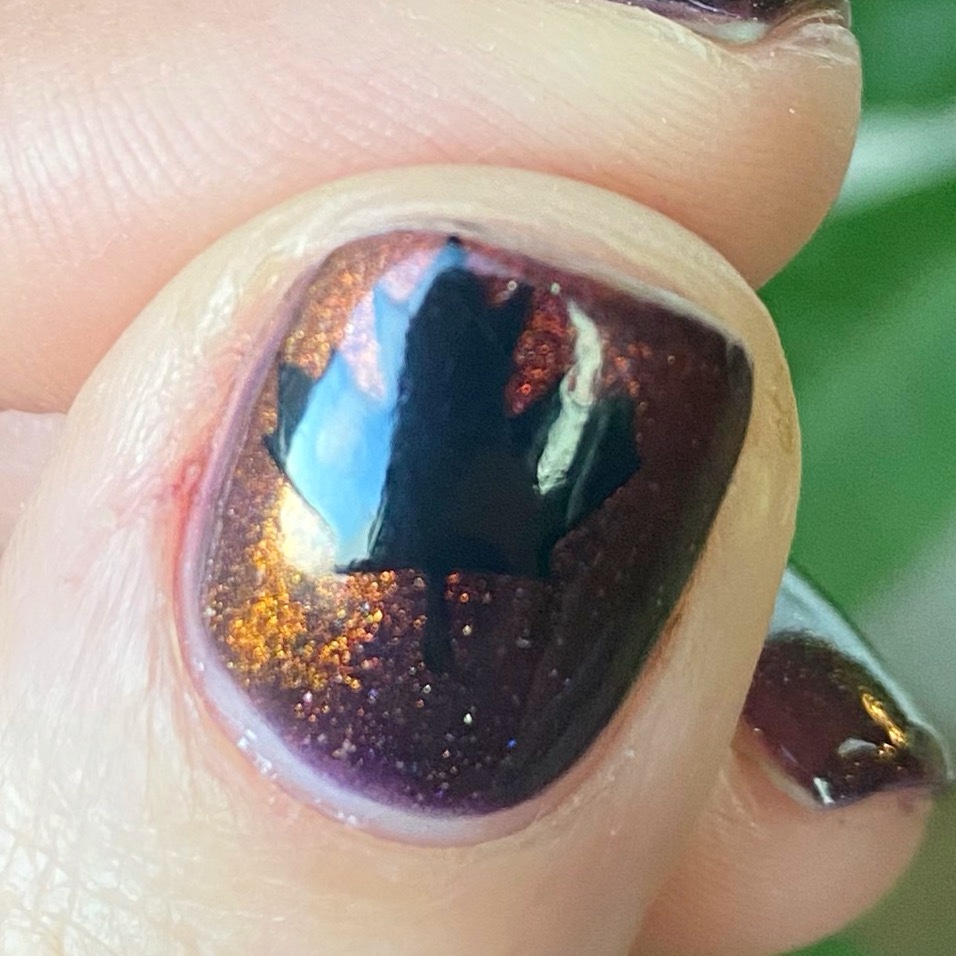
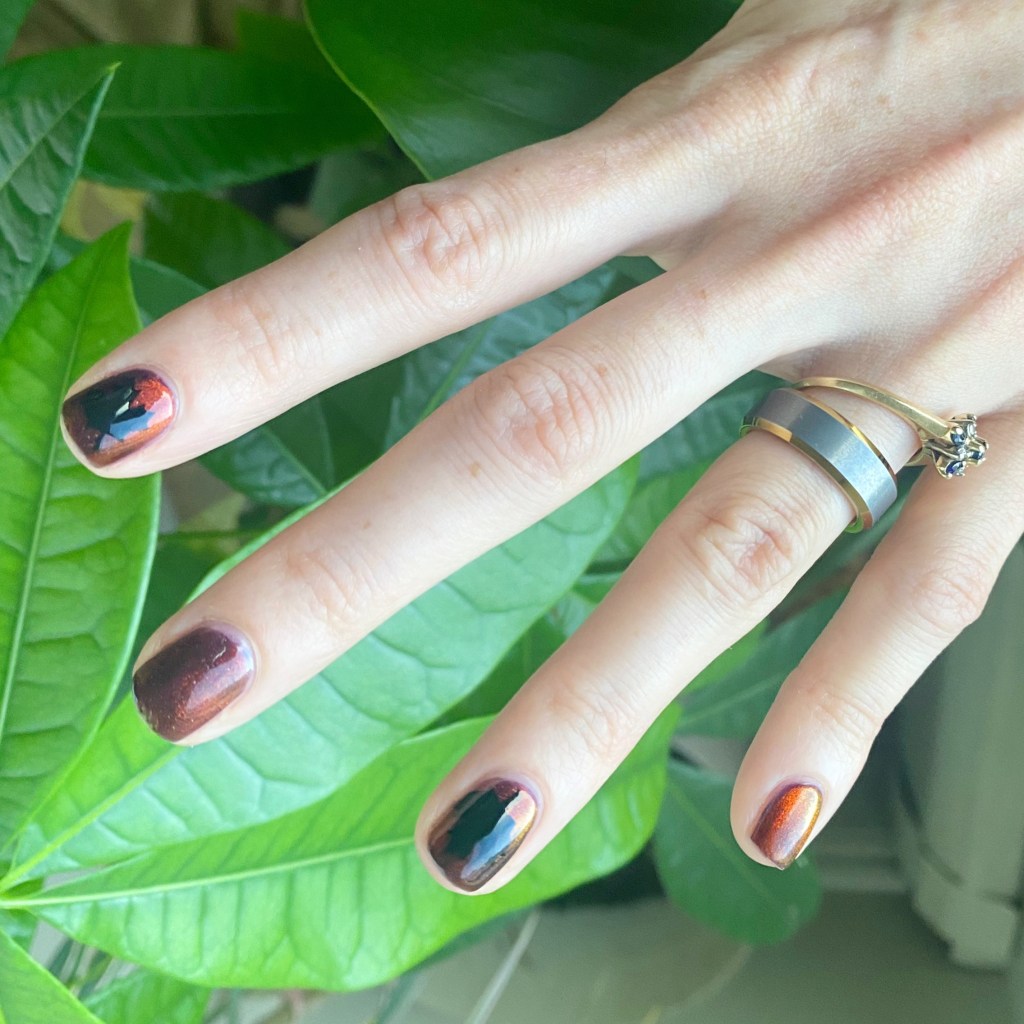
I liked adding Magma over Private Side Eyes because the scattered holo show through in some light which is fun. It’s subtle, but it’s definitely there. The leaves are also definitely a subtle addition, but that was what I was going for — I wanted them to be a surprise you notice depending on how you move your nail.

It also inspired me to try the opposite way — using a black base colour, & then using the magnetic for the leaves. I’ll definitely be trying that one next.

What do you think of my magnetic maple leaf nails? Do you like the subtle effect this design has?

It’s been too long since I pulled out nail vinyls, so I think I need to do it more often — & maybe even buy myself some new ones for Halloween/Christmas! I don’t think I’ve purchased any in at least 5 years which is kind of crazy. So obviously I need to go shopping!

Happy Friday!

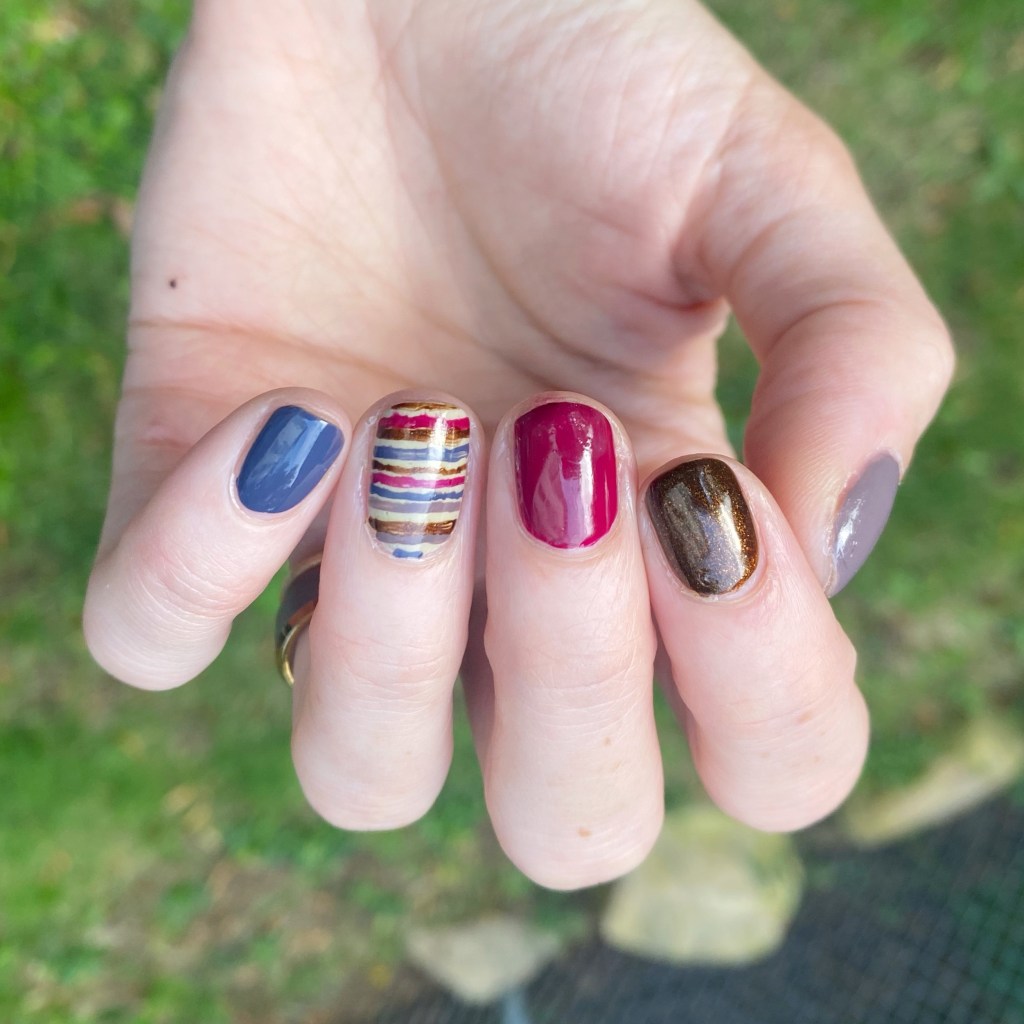
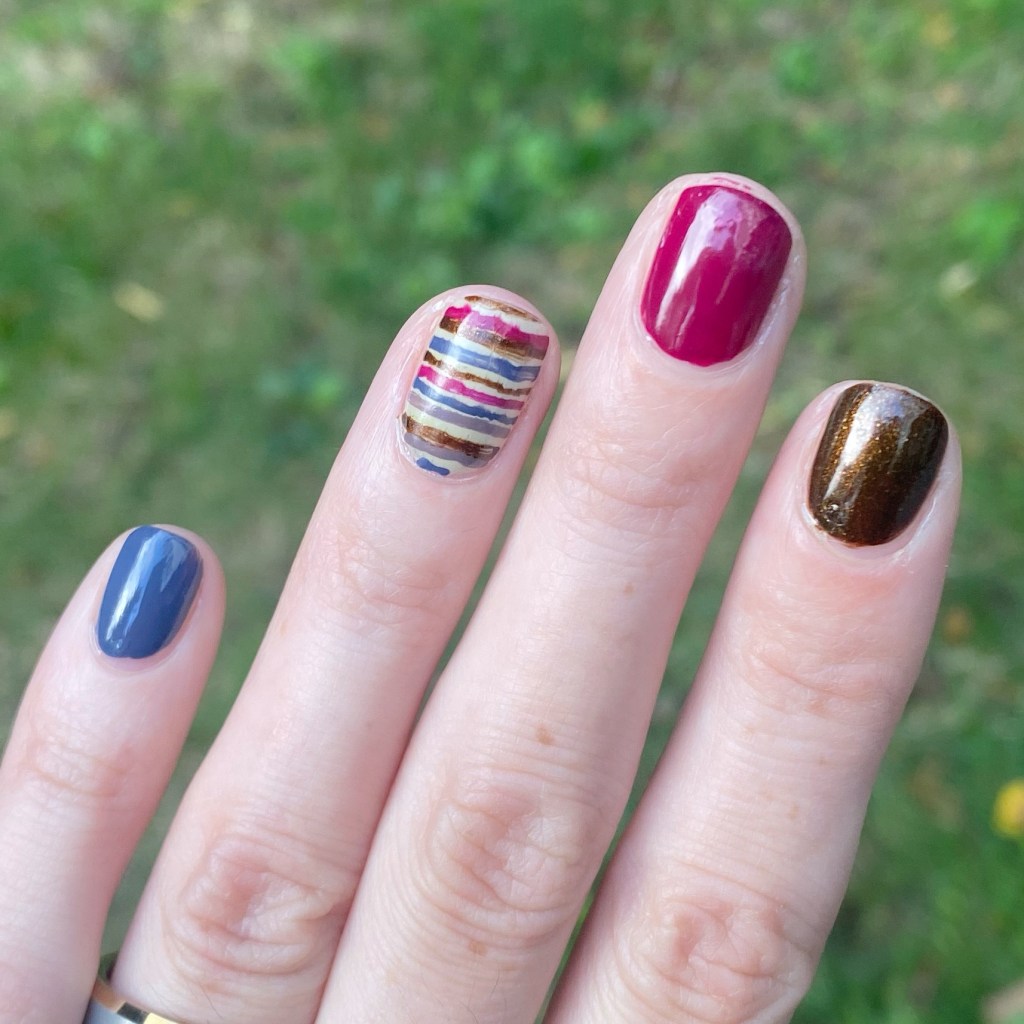
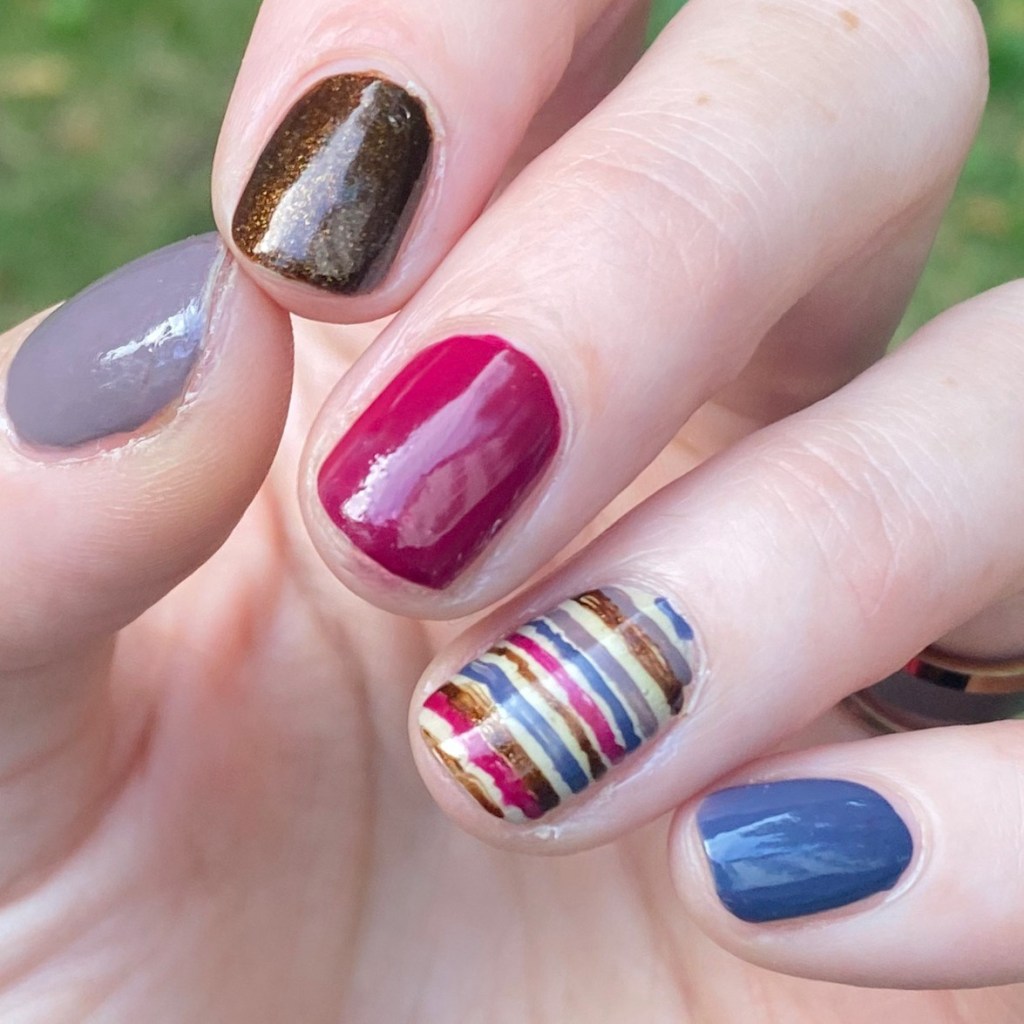
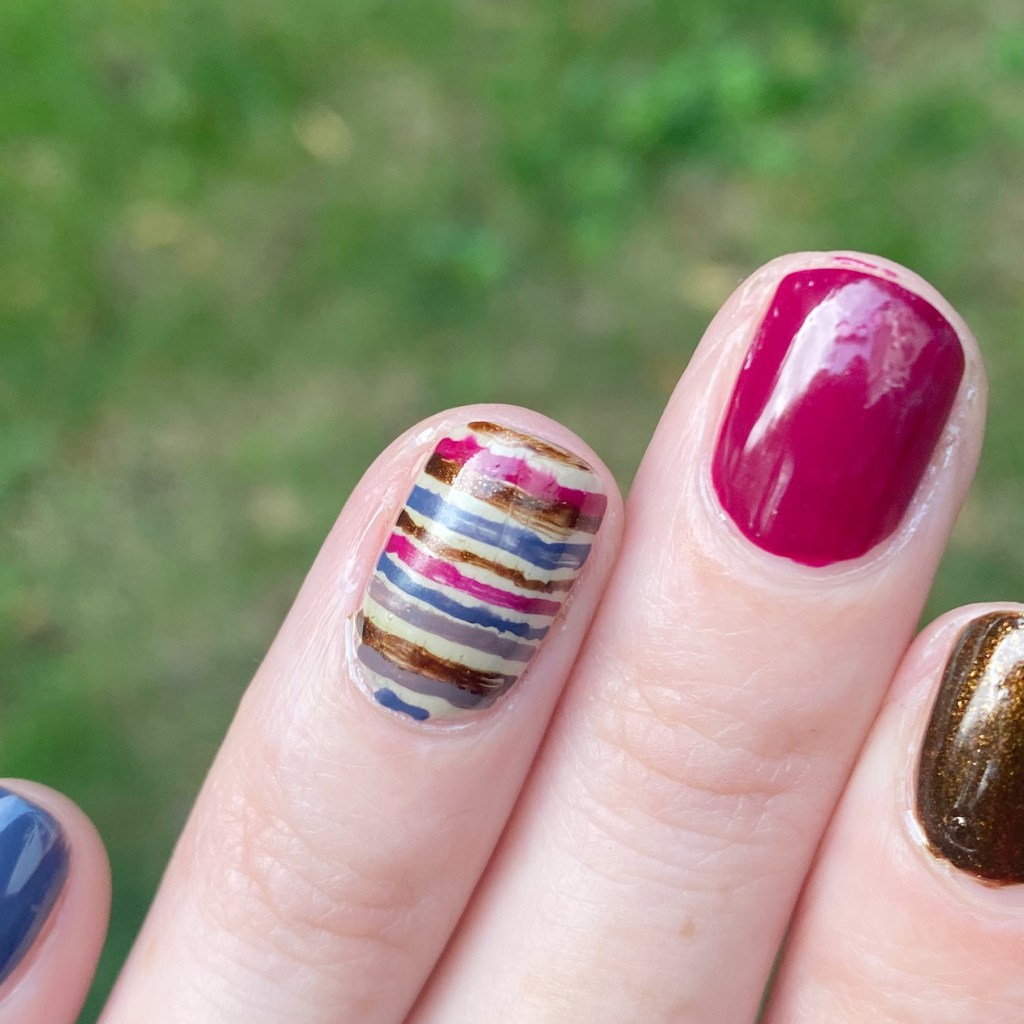
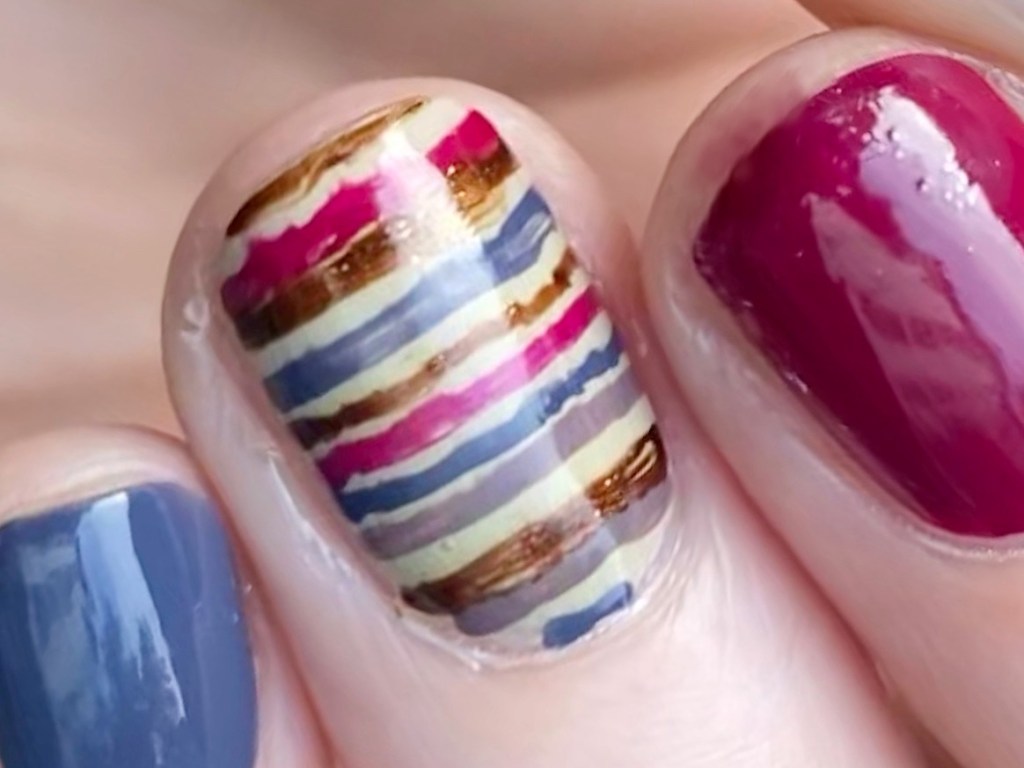
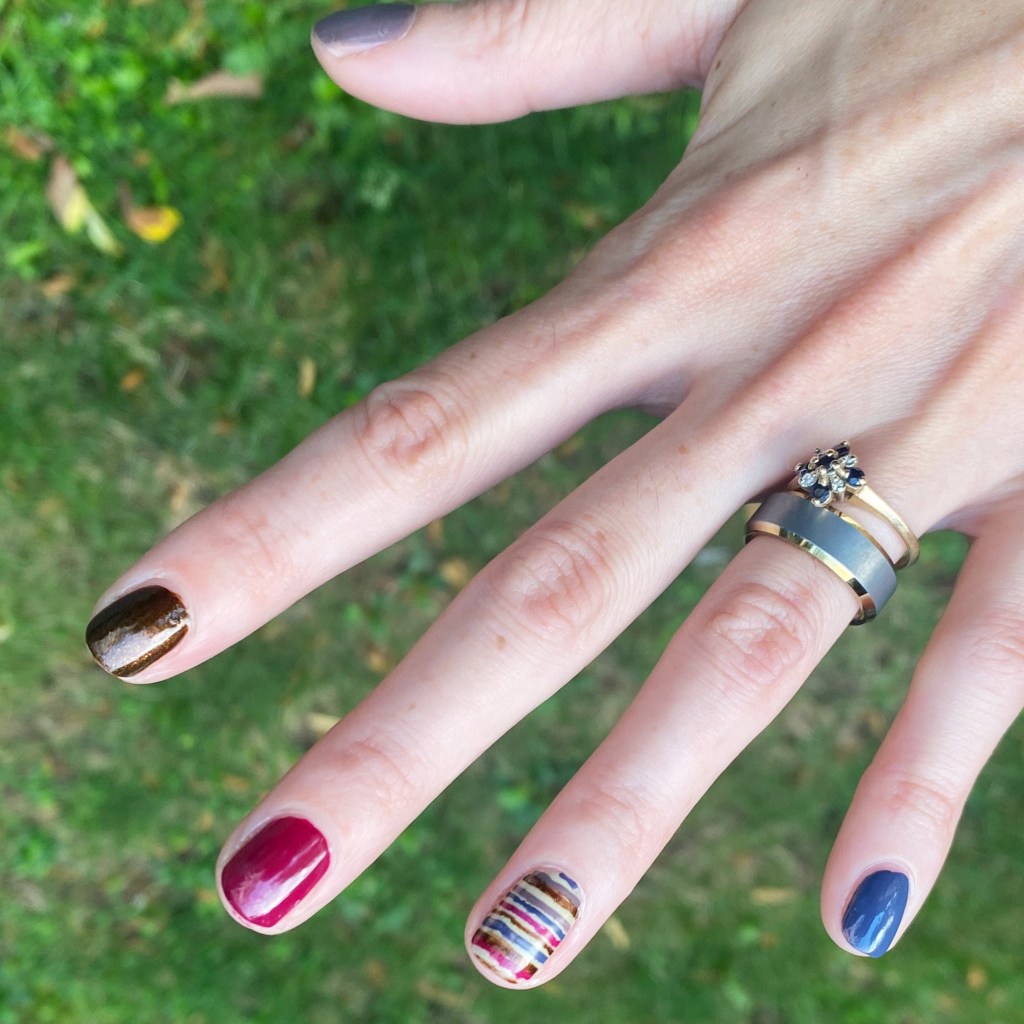
Messy Skittle Stripe Accent Nail

Hey beauties & happy Friday! It’s crazy, & rainy, & a lot right now. But Autumn is in the air, the kids are back to school, all the coffee shops are releasing their Autumn menu — we’re featuring a spicy iced chai latte right now with pumpkin cold foam at my cafe — & I’m about ready to break out my faux Doc Martens & over the knee socks.

I’m also just loving Autumn shades on my nails. I decided I really wanted to do a skittle design, but with a little twist. & I love this combination of colours! I feel like it turned out really, really fun… even with some seriously rustic stripes.

The polishes I used for this manicure are: 

  • Base Coat: Essie Hard To Resist Strengthner
  • Top Coat: Sinful Colors Power Paint Top Coat + Essie Speed Setter
  • Essie Expressie Feel The Hype
  • Essie Cacti On The Prize
  • Morgan Taylor Looking For A Wing Man
  • ORLY Buried Alive
  • Color Club Grey (No Name)
  • NailStuff 7mm Mermaid Tail Liner Brush

So when I did these nails at first, I was a bit uncertain about how they looked. But that happens sometimes, & I’m definitely in love with how they look now. & I think all the different colours look beautiful & complimentary.

What do you think about this messy strip look? It’s definitely a little rustic, but like I said… I ended up really liking the whole look.

I’d love to know what you think about this design. Let me know all your thoughts down in the comments below!

Happy Friday ♥︎

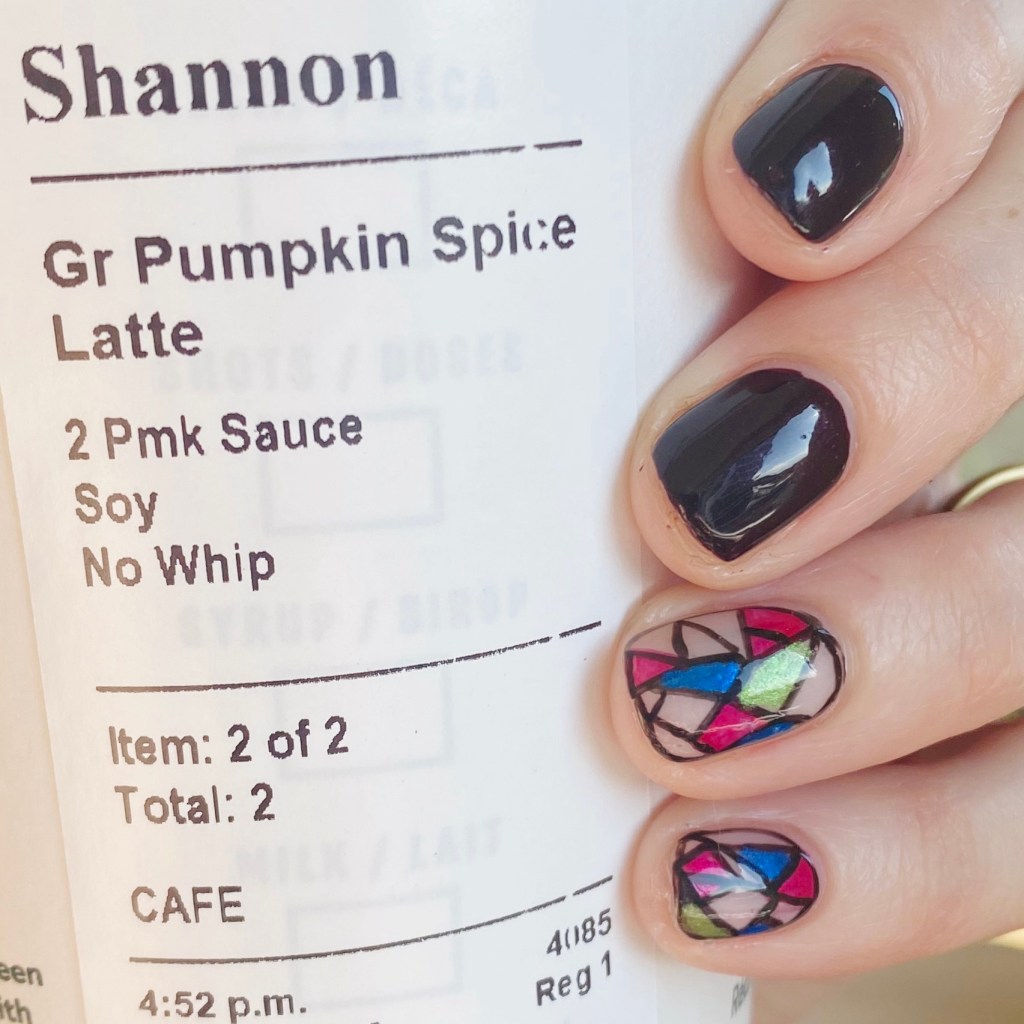
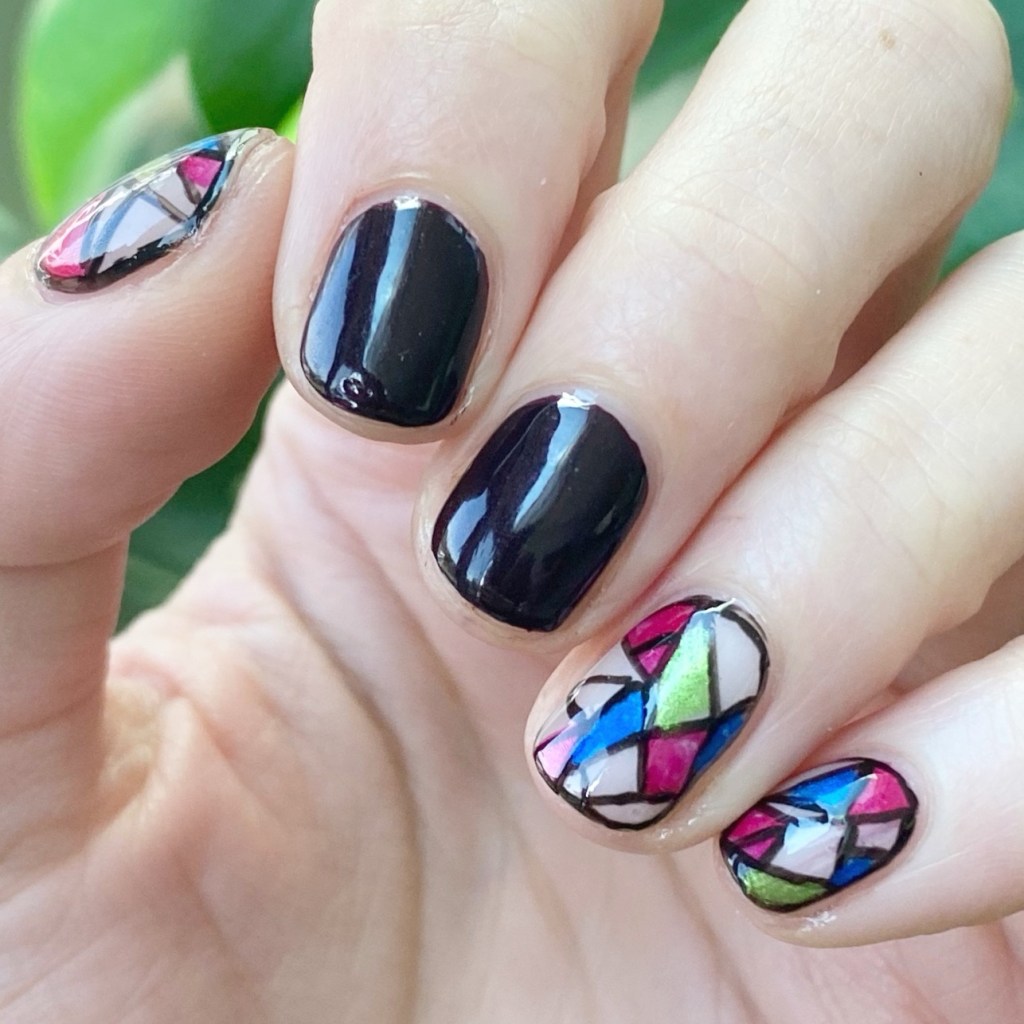
Vivid Stained Glass Accent Nails 💎

Hello lovelies & happy Thursday! I hope everyone has had a peaceful week so far. I know we’ve had some super sad celebrity deaths this week (RIP Dolly & Tim Curry). This year has just been brutal when it comes to icons of my childhood.

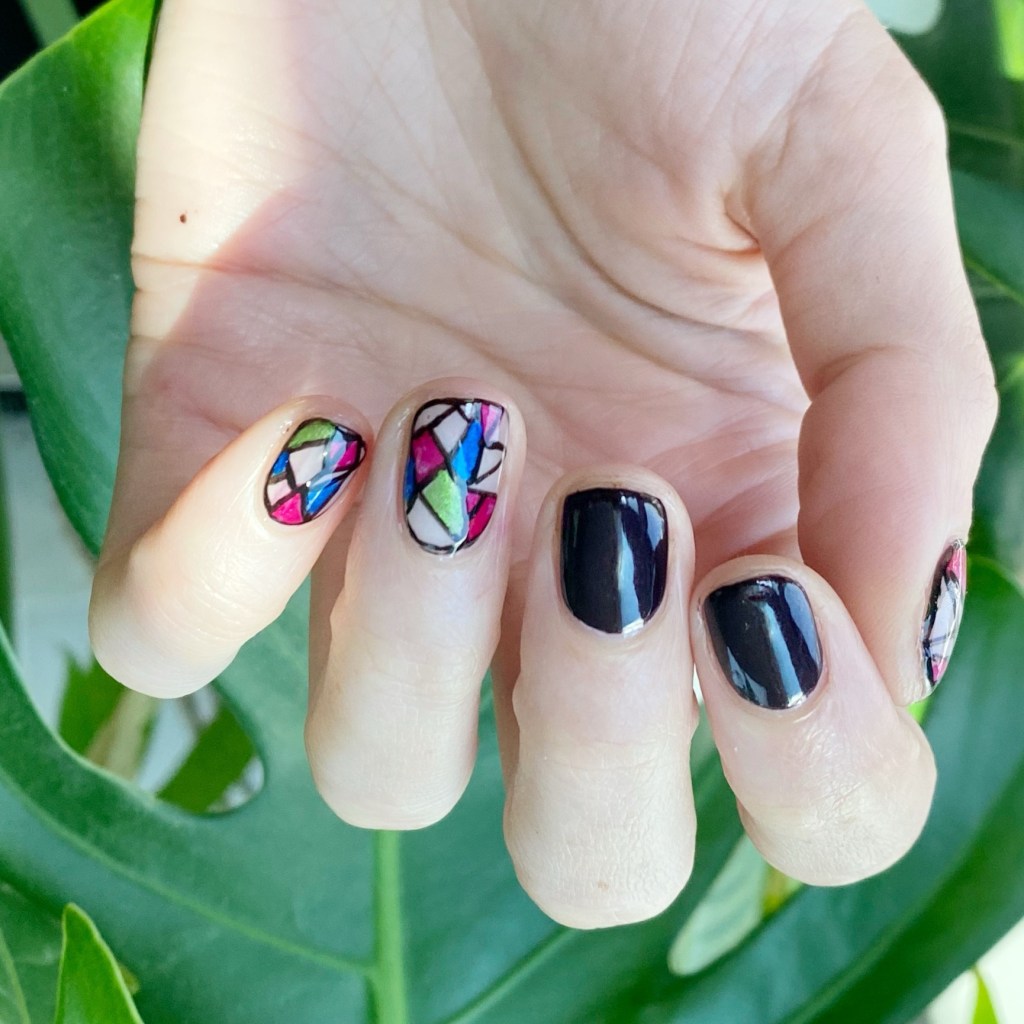
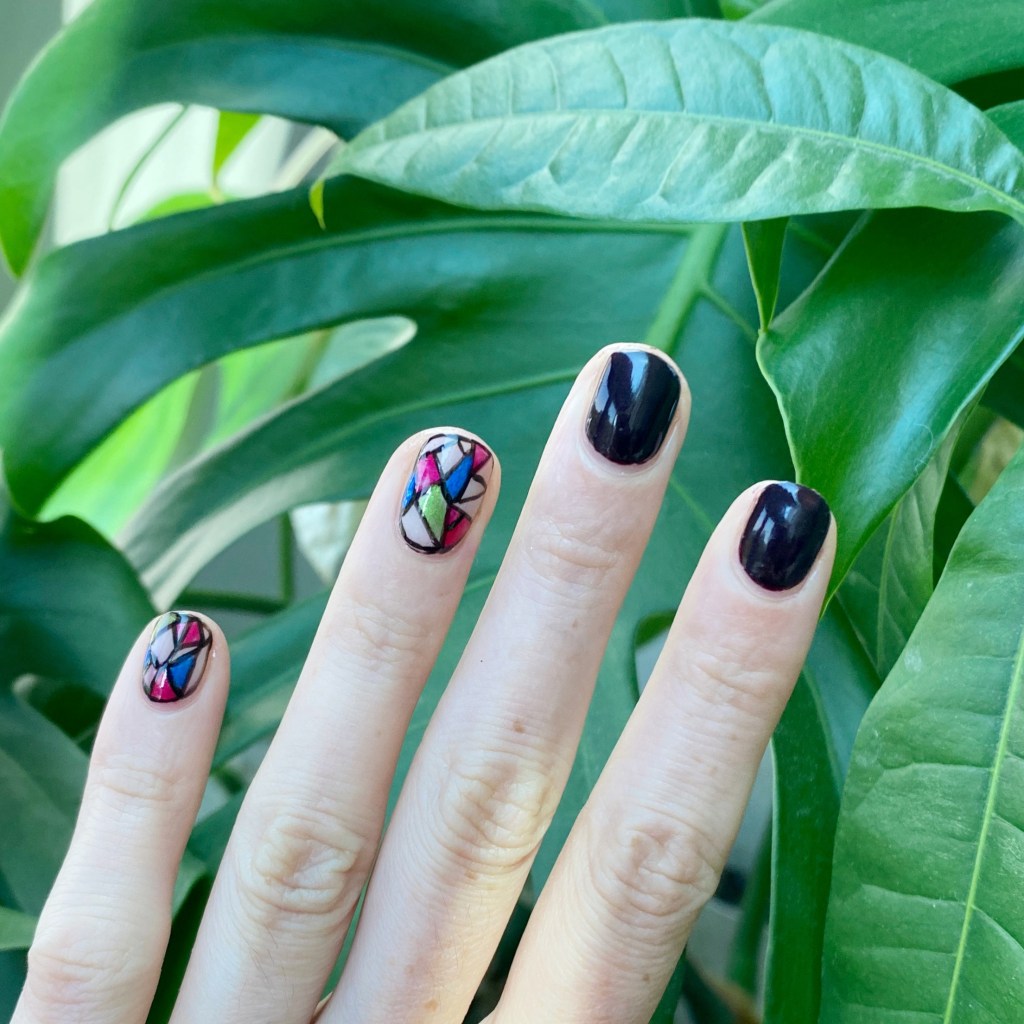
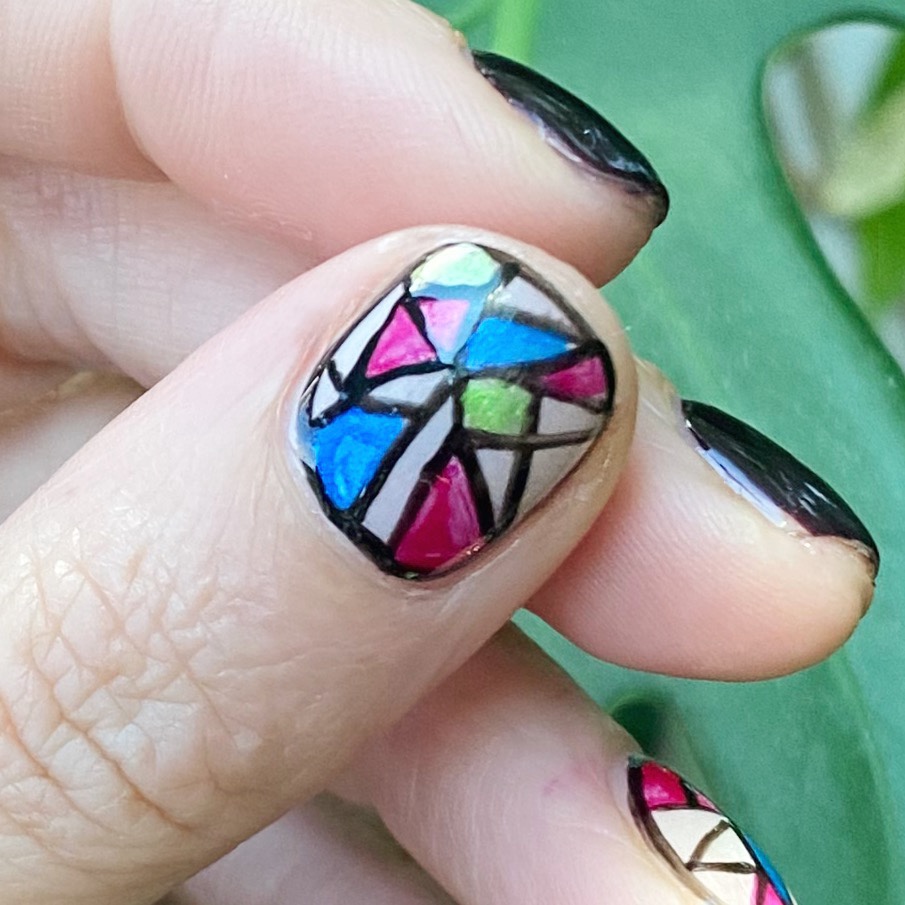
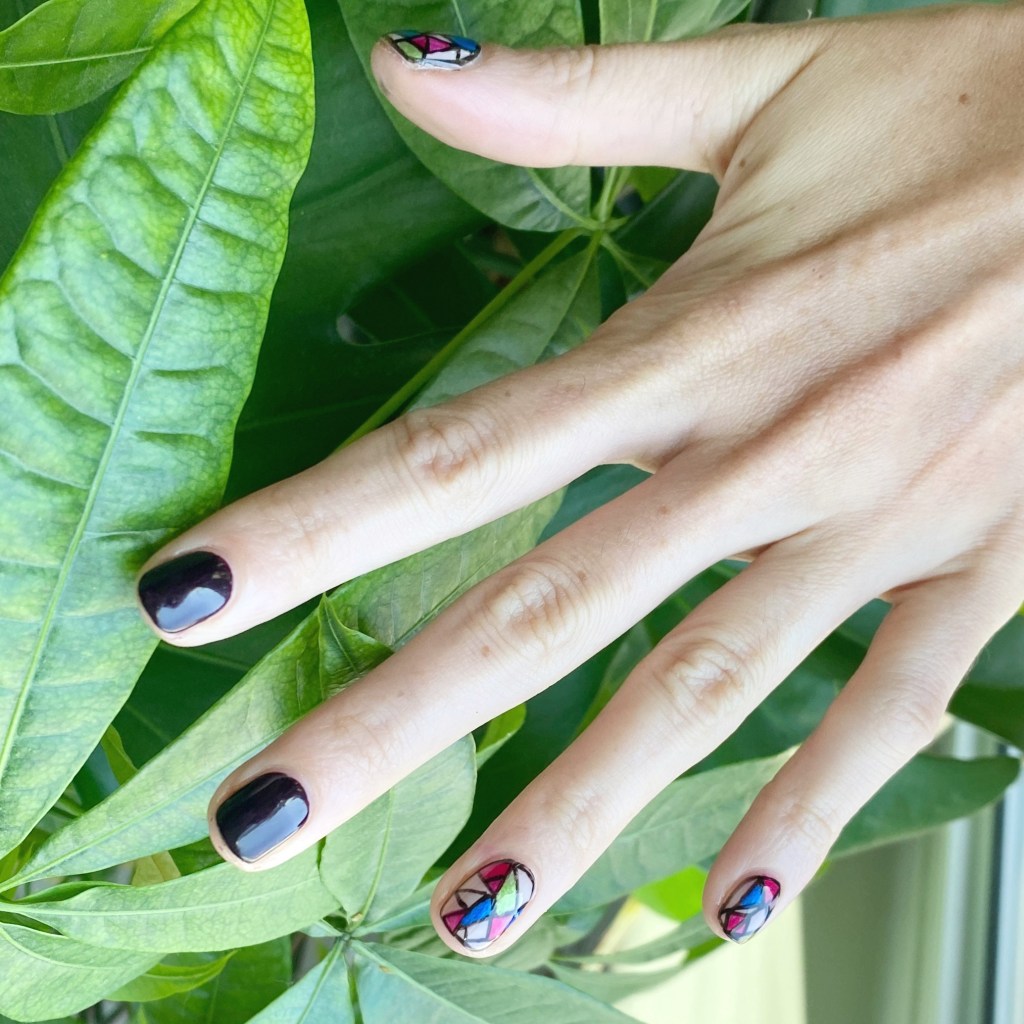
But I’m not here for sad vibes, & I’m always hoping to perk up someone’s day with some pretty nails so let’s get into it! I’ve really been trying to do some new things lately… or old things I haven’t done in a hot minute. Stained glass nails are definitely in the latter category, & I’m excited to share my latest version because I feel like these are the closest to real, true stained glass.

The polishes I used for this manicure are: 

  • Base Coat: Essie Hard To Resist Strengthner
  • Top Coat: Sinful Colors Power Paint Top Coat + Essie Speed Setter
  • OPI Black Cherry Chutney
  • OPI Cyber Cherry On Top
  • OPI Y2Slay
  • OPI My Gecko Does Tricks
  • Essie Ballet Slippers
  • Sally Hansen InstaDri Ghouls Night Out
  • NailStuff.ca 11mm Mermaid Tail Liner Brush

I really love these metallic shimmer nail polishes give the effect of glass, like in a stained glass window. After I started, I realized I should have tried to do some kind of design like a heart, or a flower, but I guess I’ll have to say that for next time.

But these colours look so, so beautiful together. They’re bright & colourful, which plays off well with the darkness of OPI Black Cherry Chutney. A fun look to wear at this end of Summer season. Also staring at these made me excited for more nail art looks to come — especially as we enter my favourite time of the year — the ‘Ber months! It’s the best time of year for fun nail art looks, so I’m already saving a million ideas to give a try.

What do you think about my stained glass nails? Would you look at these & know exactly what the inspiration was? Let me know all your thoughts in the comments below, & what nail art trend or design you’re excited to try for Fall (I’m definitely pumped to do anything pumpkin themed. They’re one of my favourite things to paint!)

Navy Freehand Snowflake Accent Nails ❄️

Hello lovelies & happy Monday! & happy Holiday week. Sending lots of beautiful wishes to everyone preparing for Christmas, or celebrating Hanukkah, or whatever brings you joy this time of year. The crunch is on right now to finish up this year, so I apologize for my sporadic posting schedule.

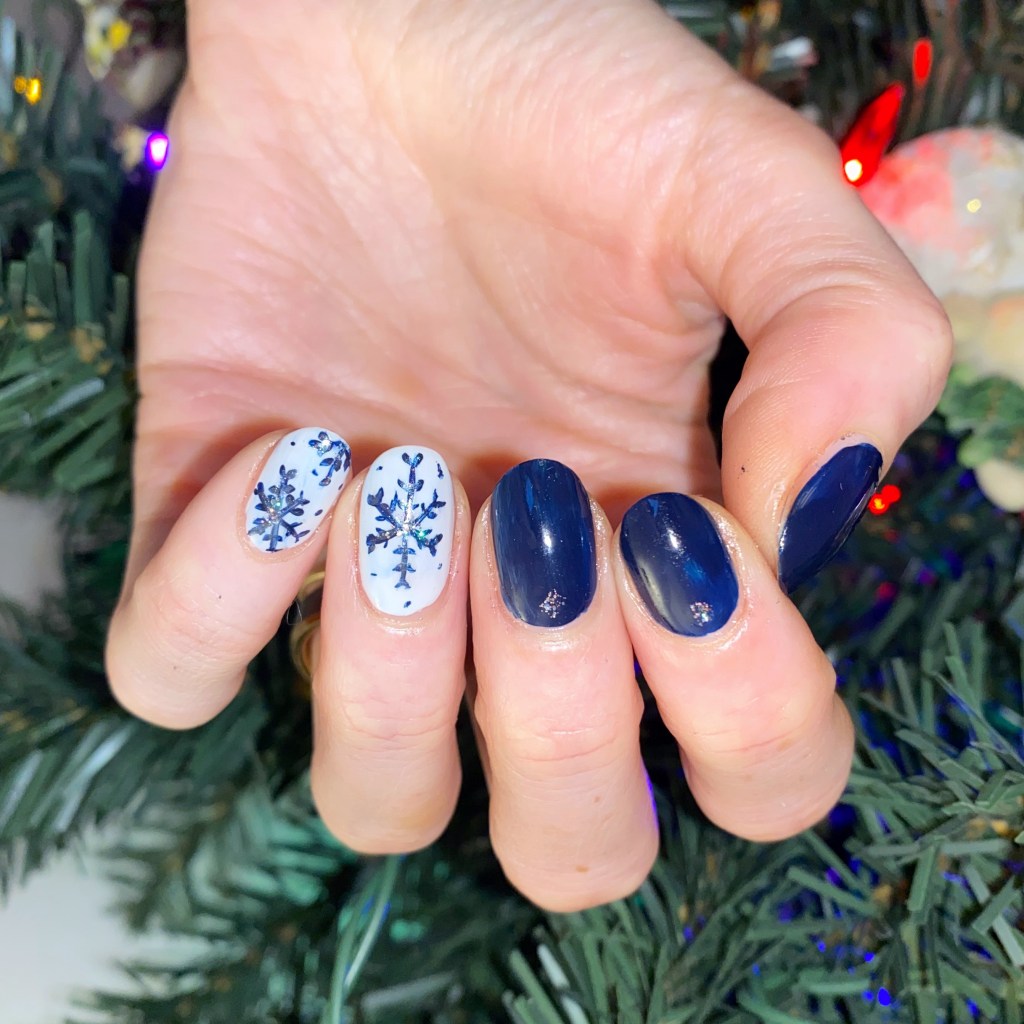
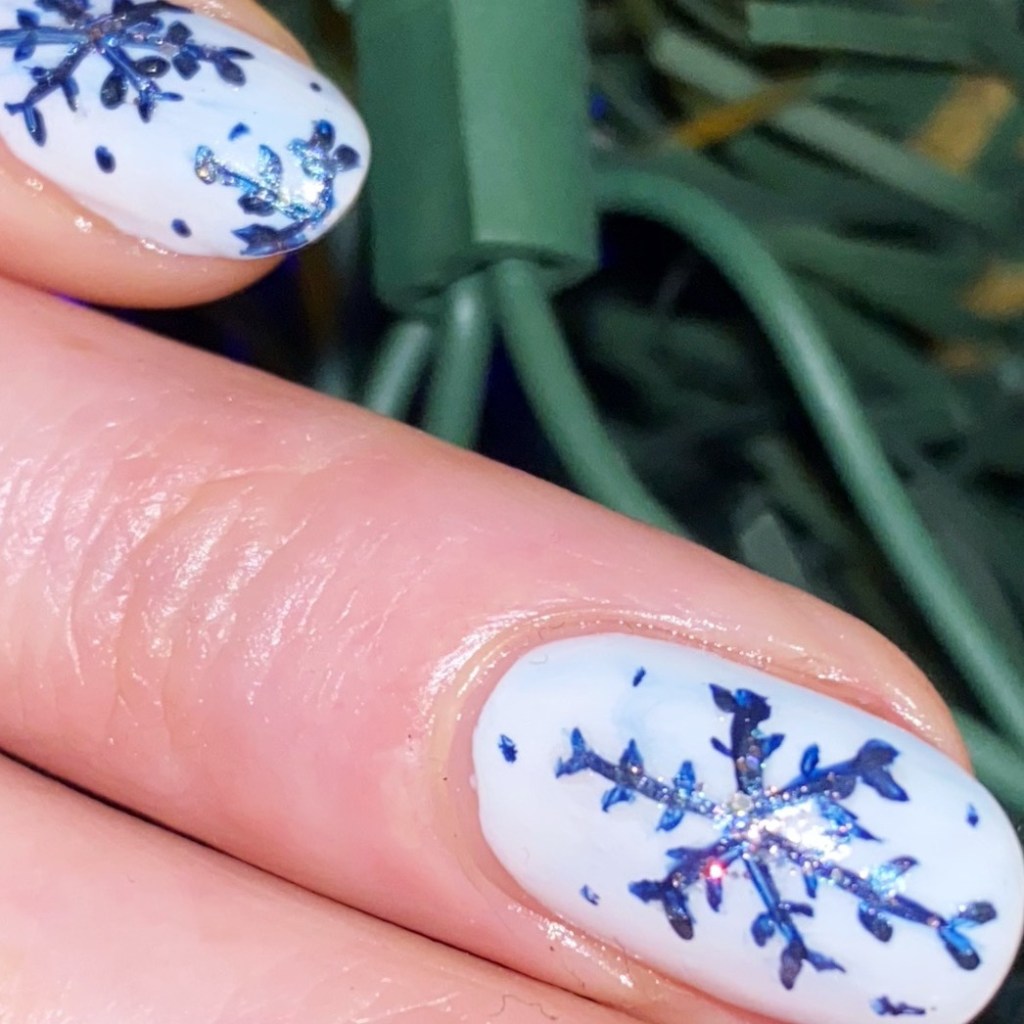
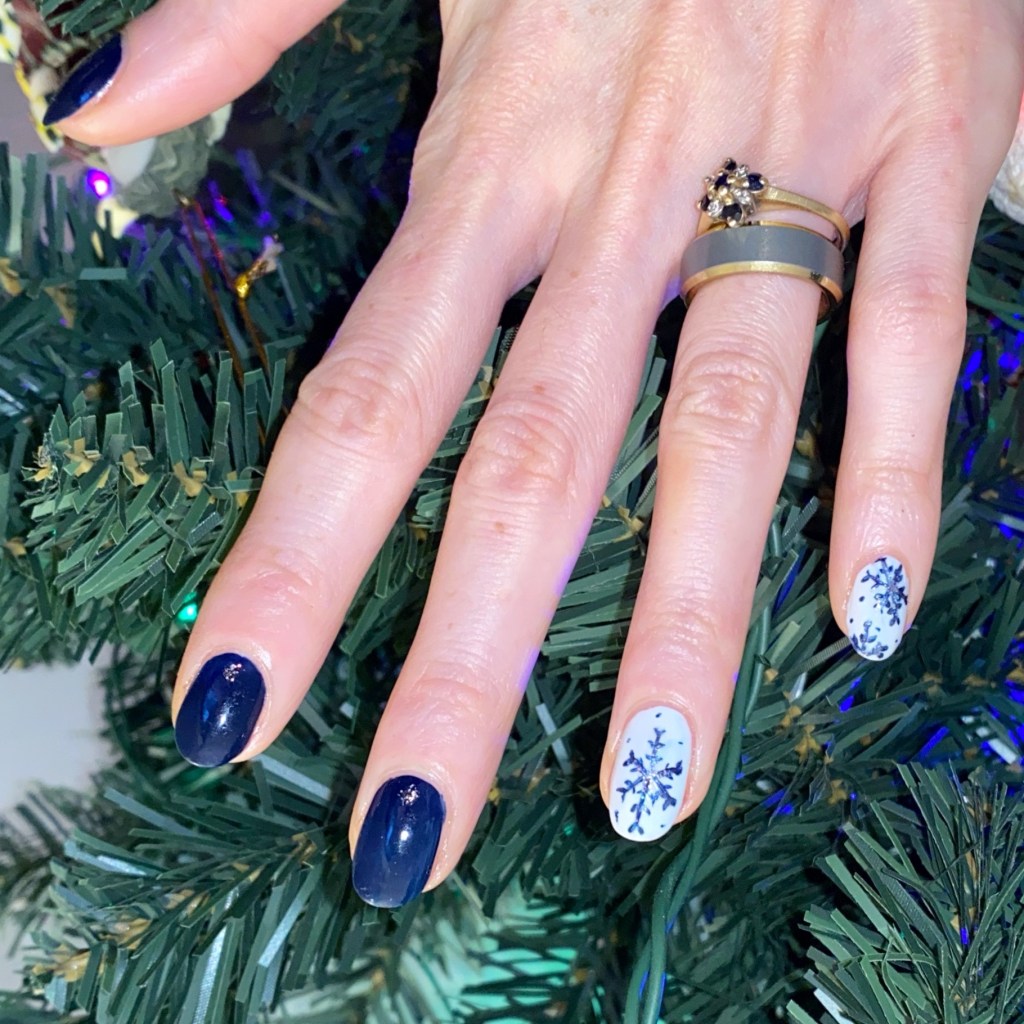
Today I’m sharing a freehand nail art Winter look I recently did. It’s not December/Christmas until I paint some freehand snowflakes, & I’m very proud of this design!

The polishes I used for this manicure are: 

  • Base Coat: Sally Hansen Miracle Cure
  • Top Coat: Essie Speed Setter
  • Sally Hansen Complete Salon Manicure Dark Hue-mor
  • Sally Hansen Miracle Gel It’s a Moo Point
  • Sally Hansen Xtreme Wear Strobe Light
  • NailStuff.ca 4mm Micro Detail Brush

I always get scared to freehand something delicate like this, because in case you didn’t know — I can be kind of a perfectionist. But I’m trying to work on that, & challenge myself, & I’m really proud of my snowflakes. They’re dainty, & cute, with just the right amount of glitter.

These are just such fun winter-y Holiday nails. I love how they turned out. Also I’ve been really, really feeling blue lately which is funny, because it’s not the most Christmas heavy colour. But I think for a design like this it’s perfect. & I got lots of compliments when I wore these nails to work, which always makes my whole day when someone notices them.

What do you think about these blue snowflake nails? Do you think it’s a fun, pretty design for the holidays? Are you all ready for the holidays? Let me know what you think down in the comments below.

& good luck to all my fellow last minute shoppers out there! I’ll be right out in the crowds finishing up my shopping, just like you.

♥︎