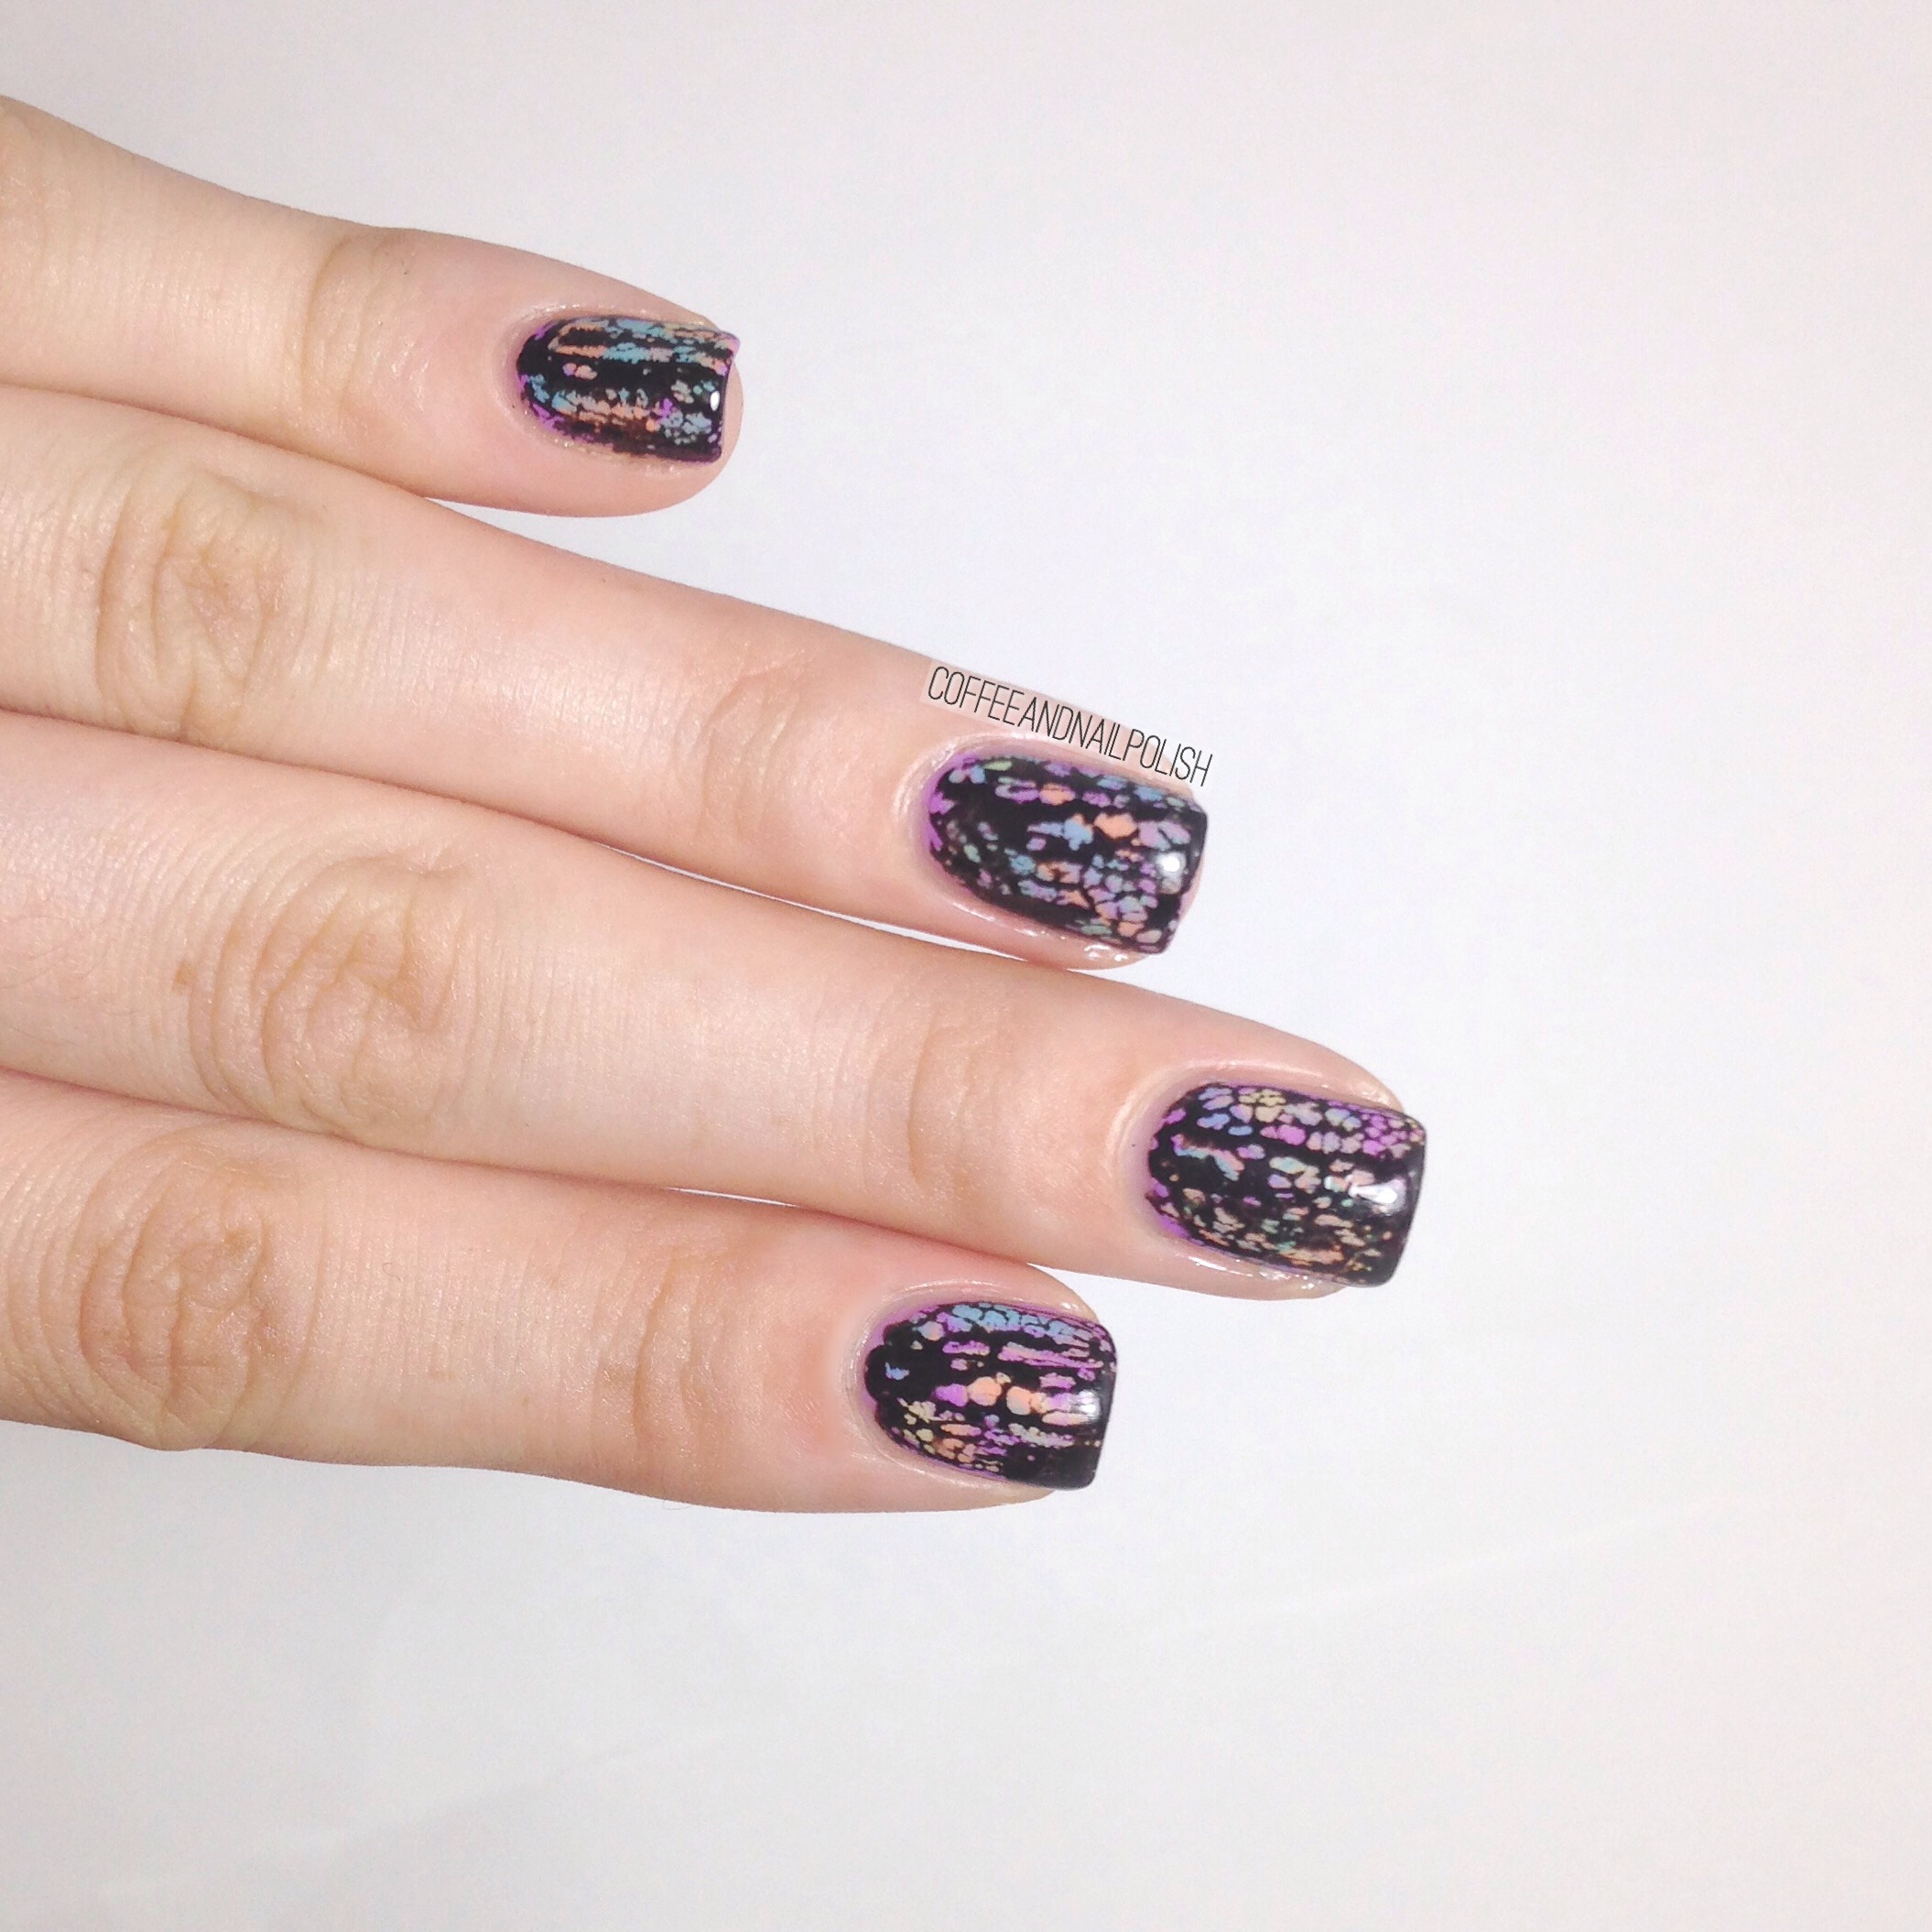
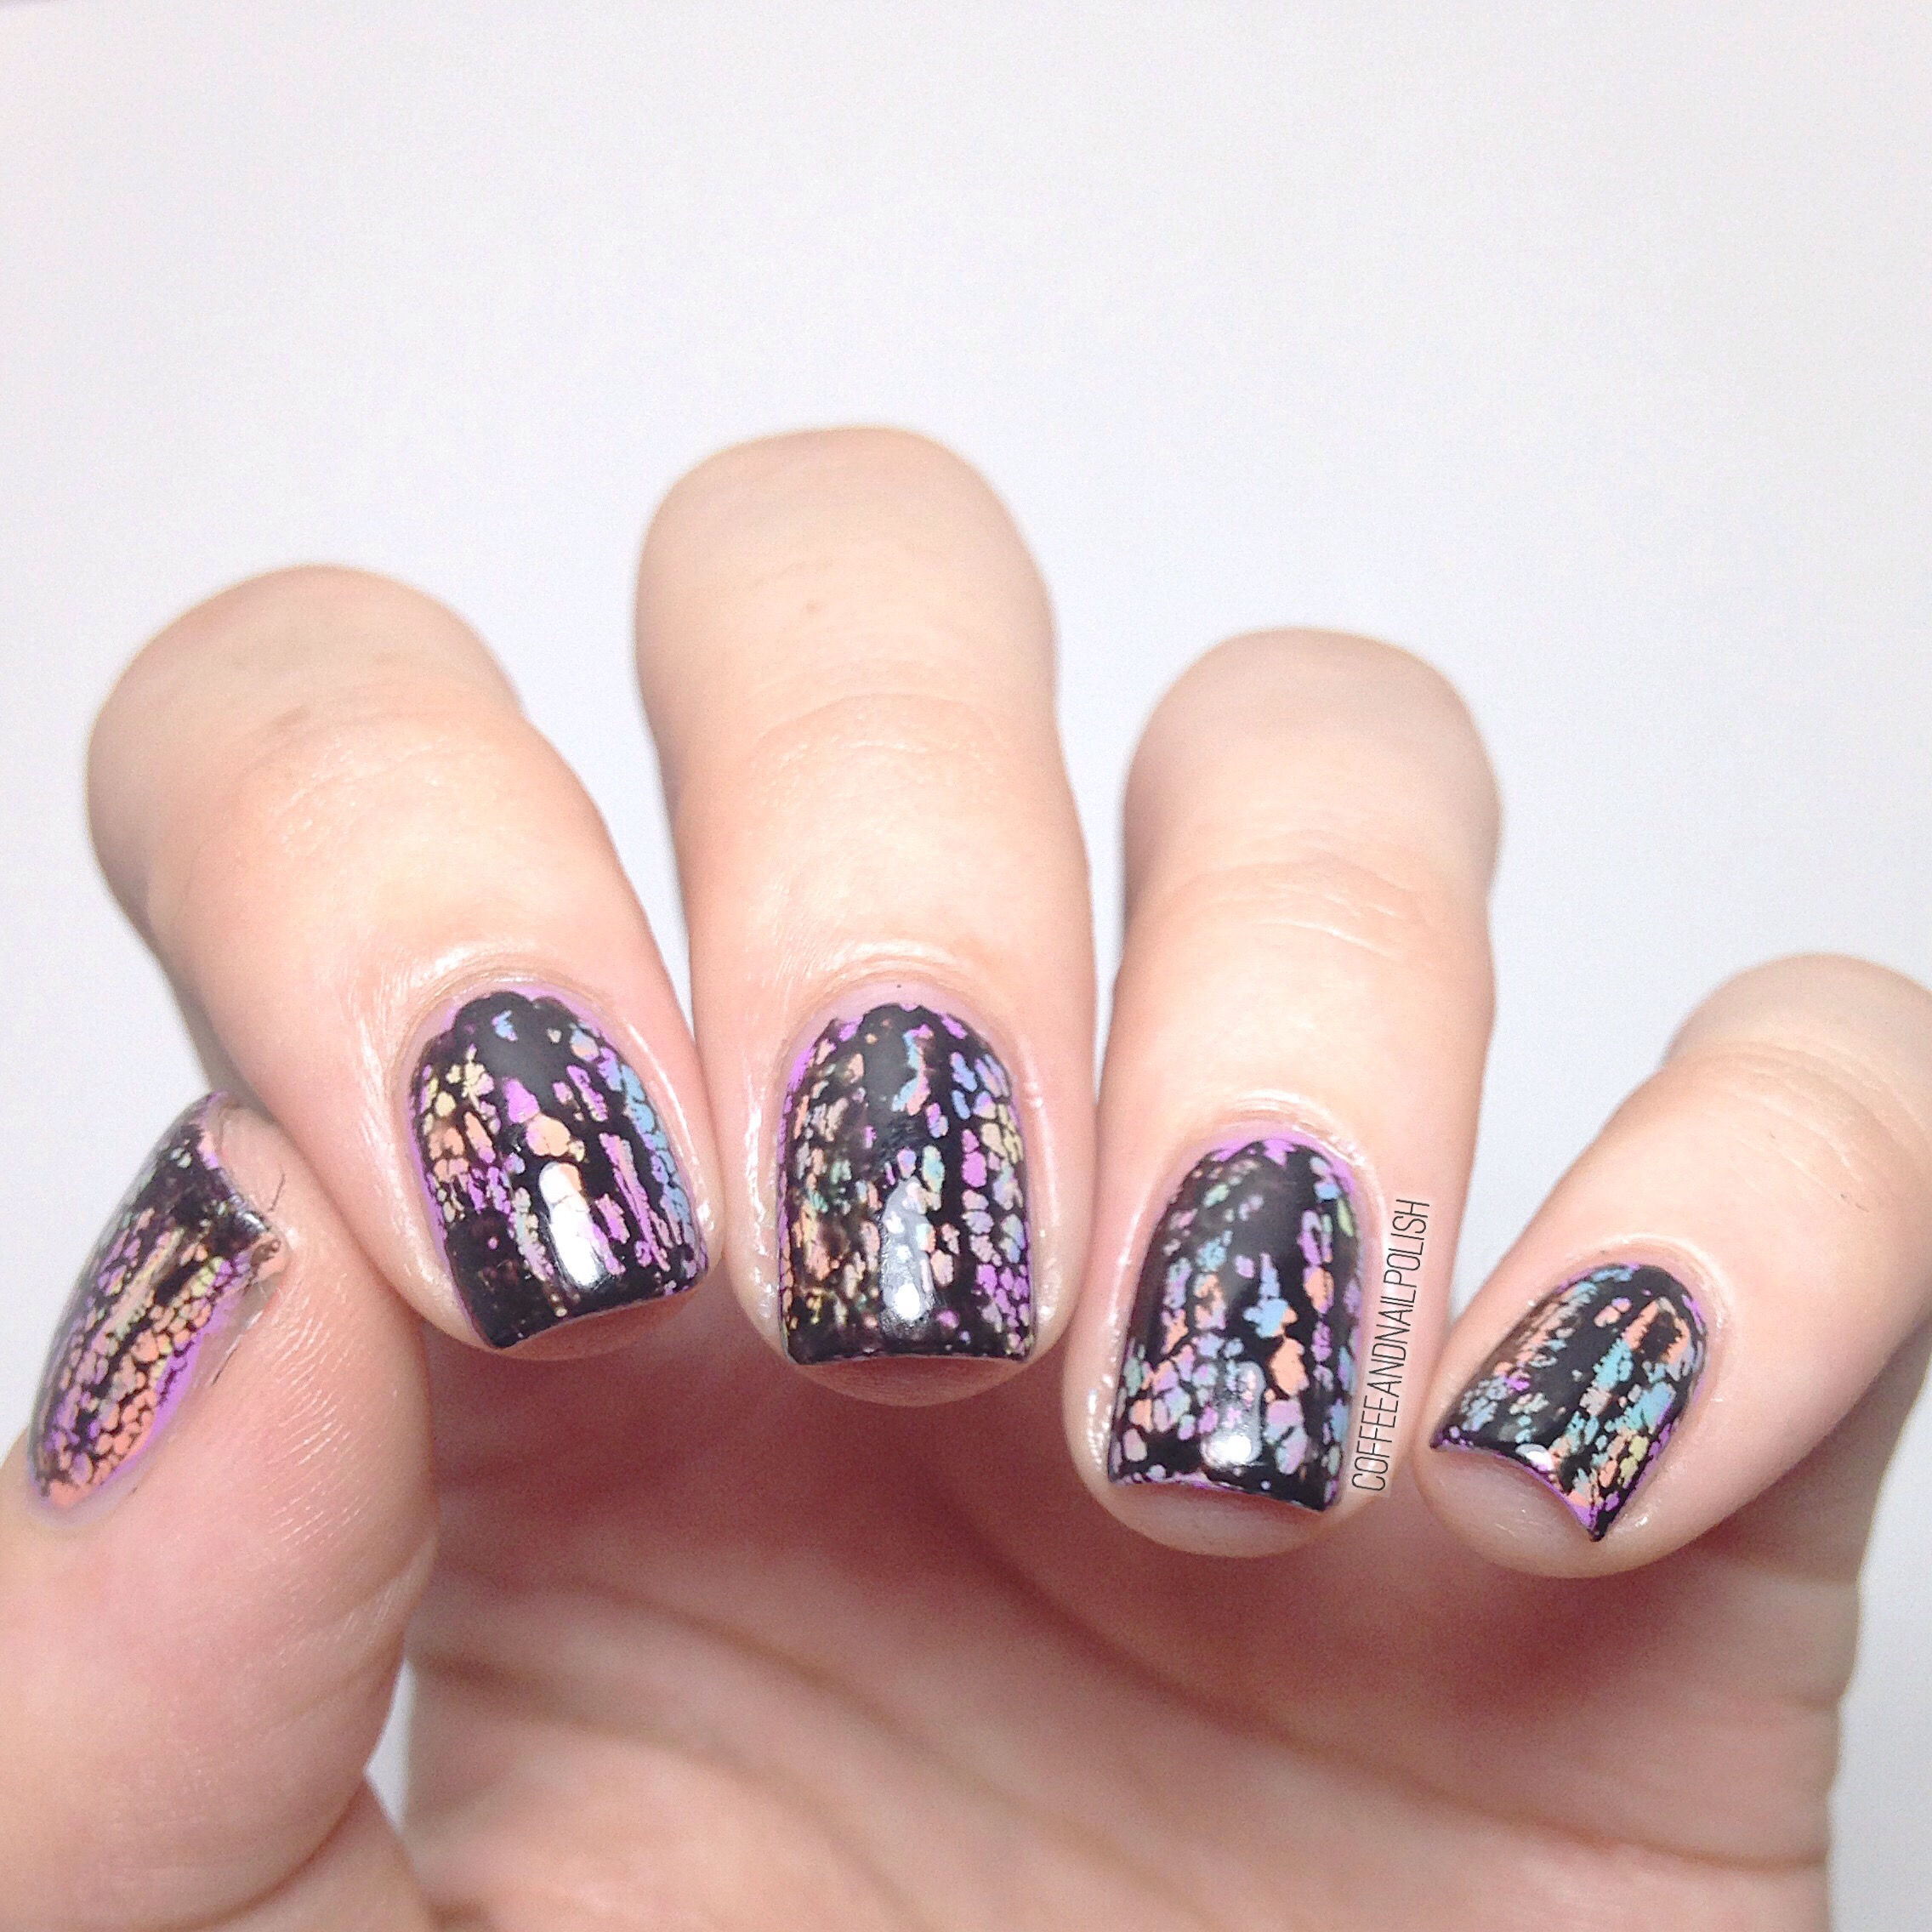
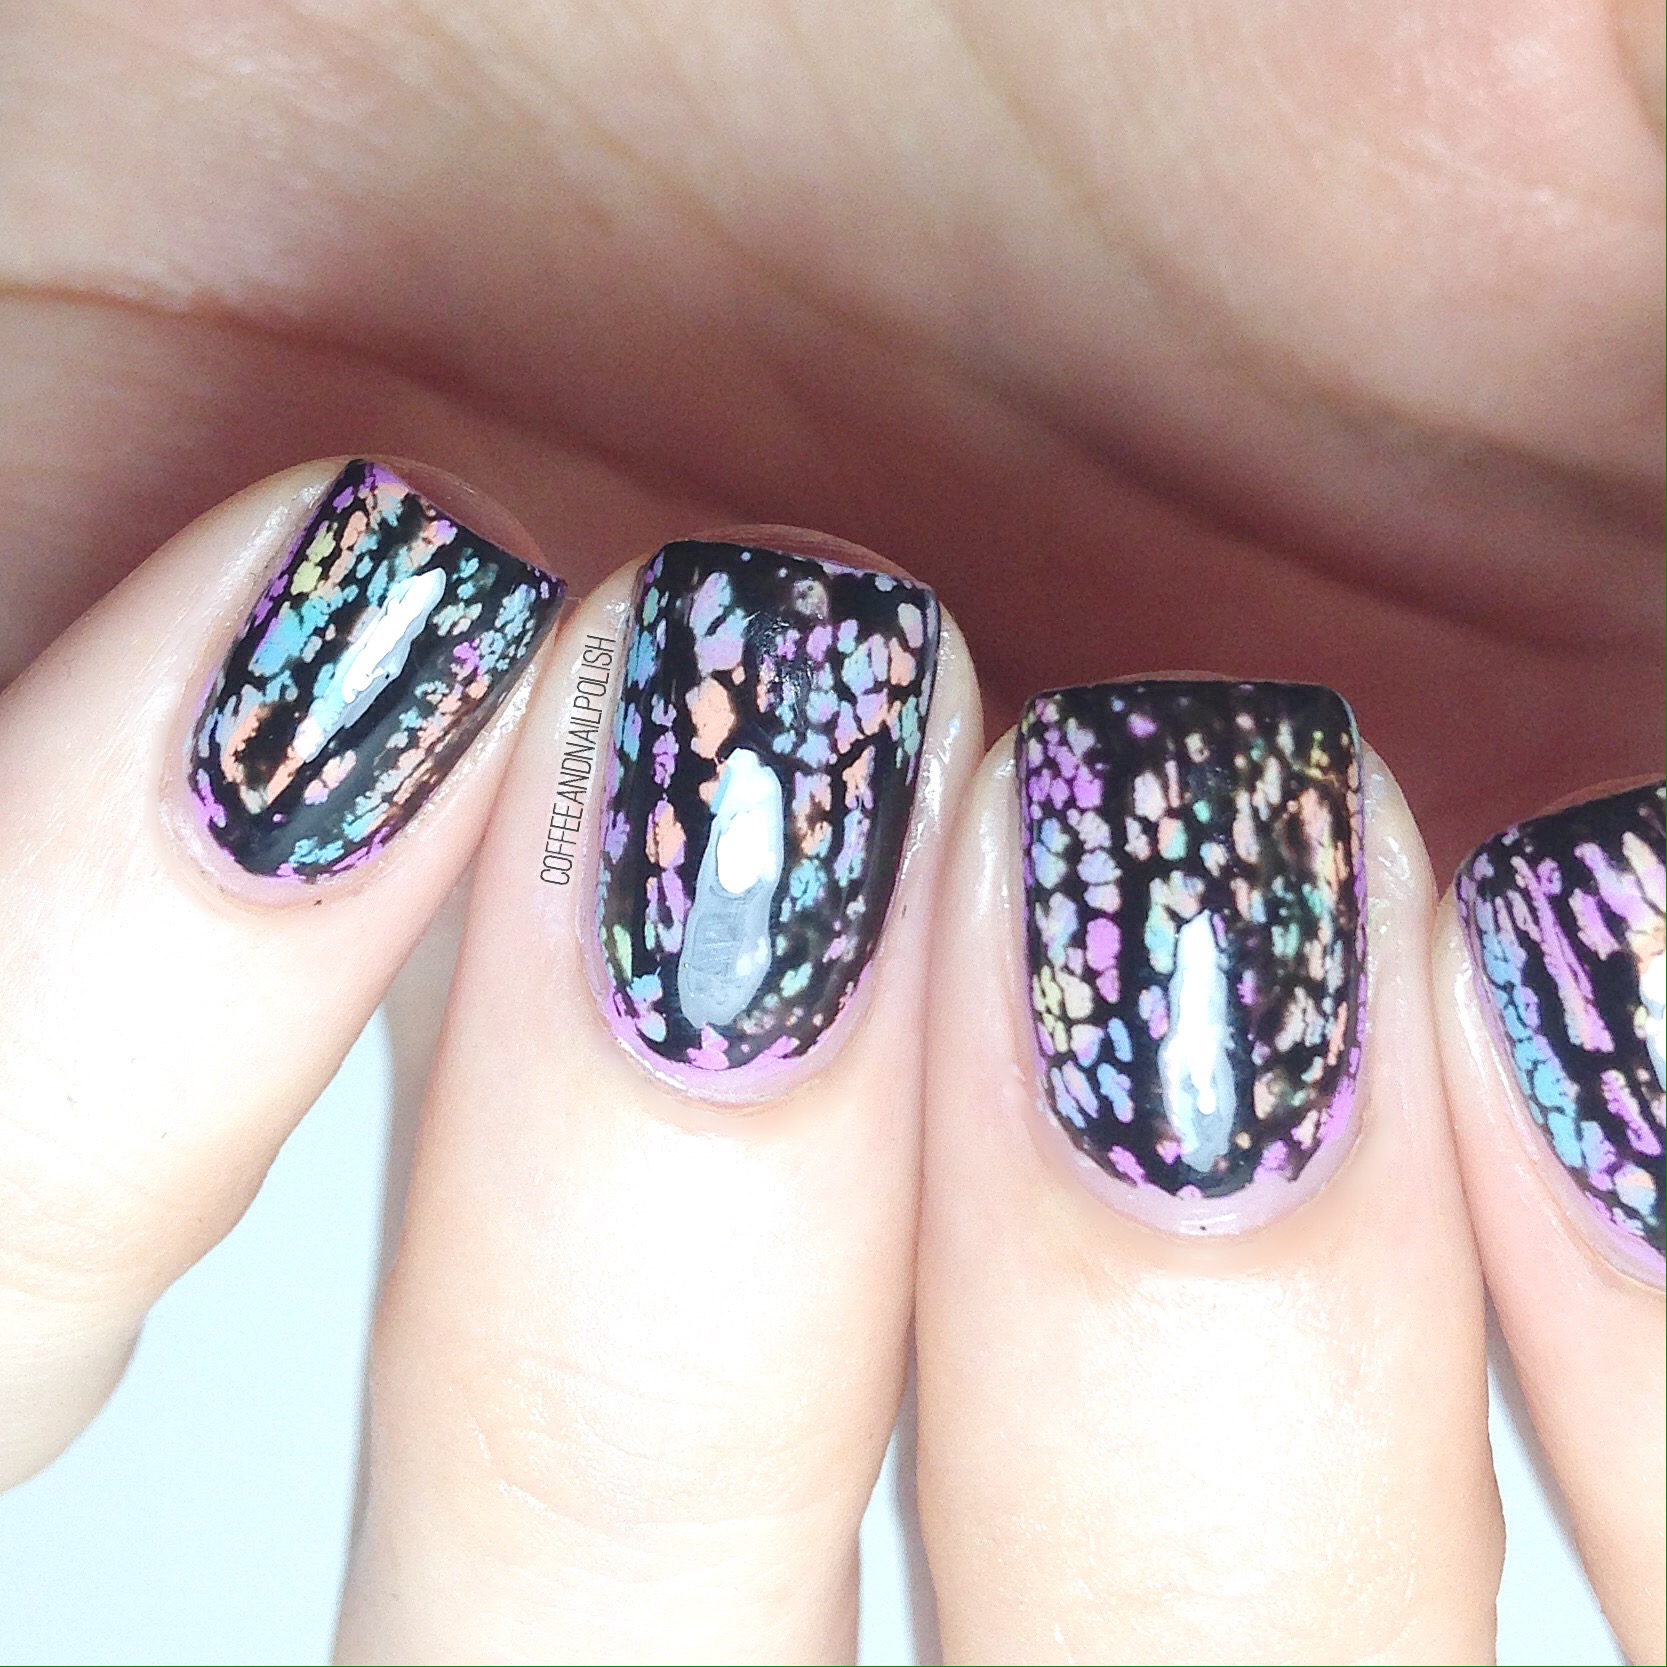
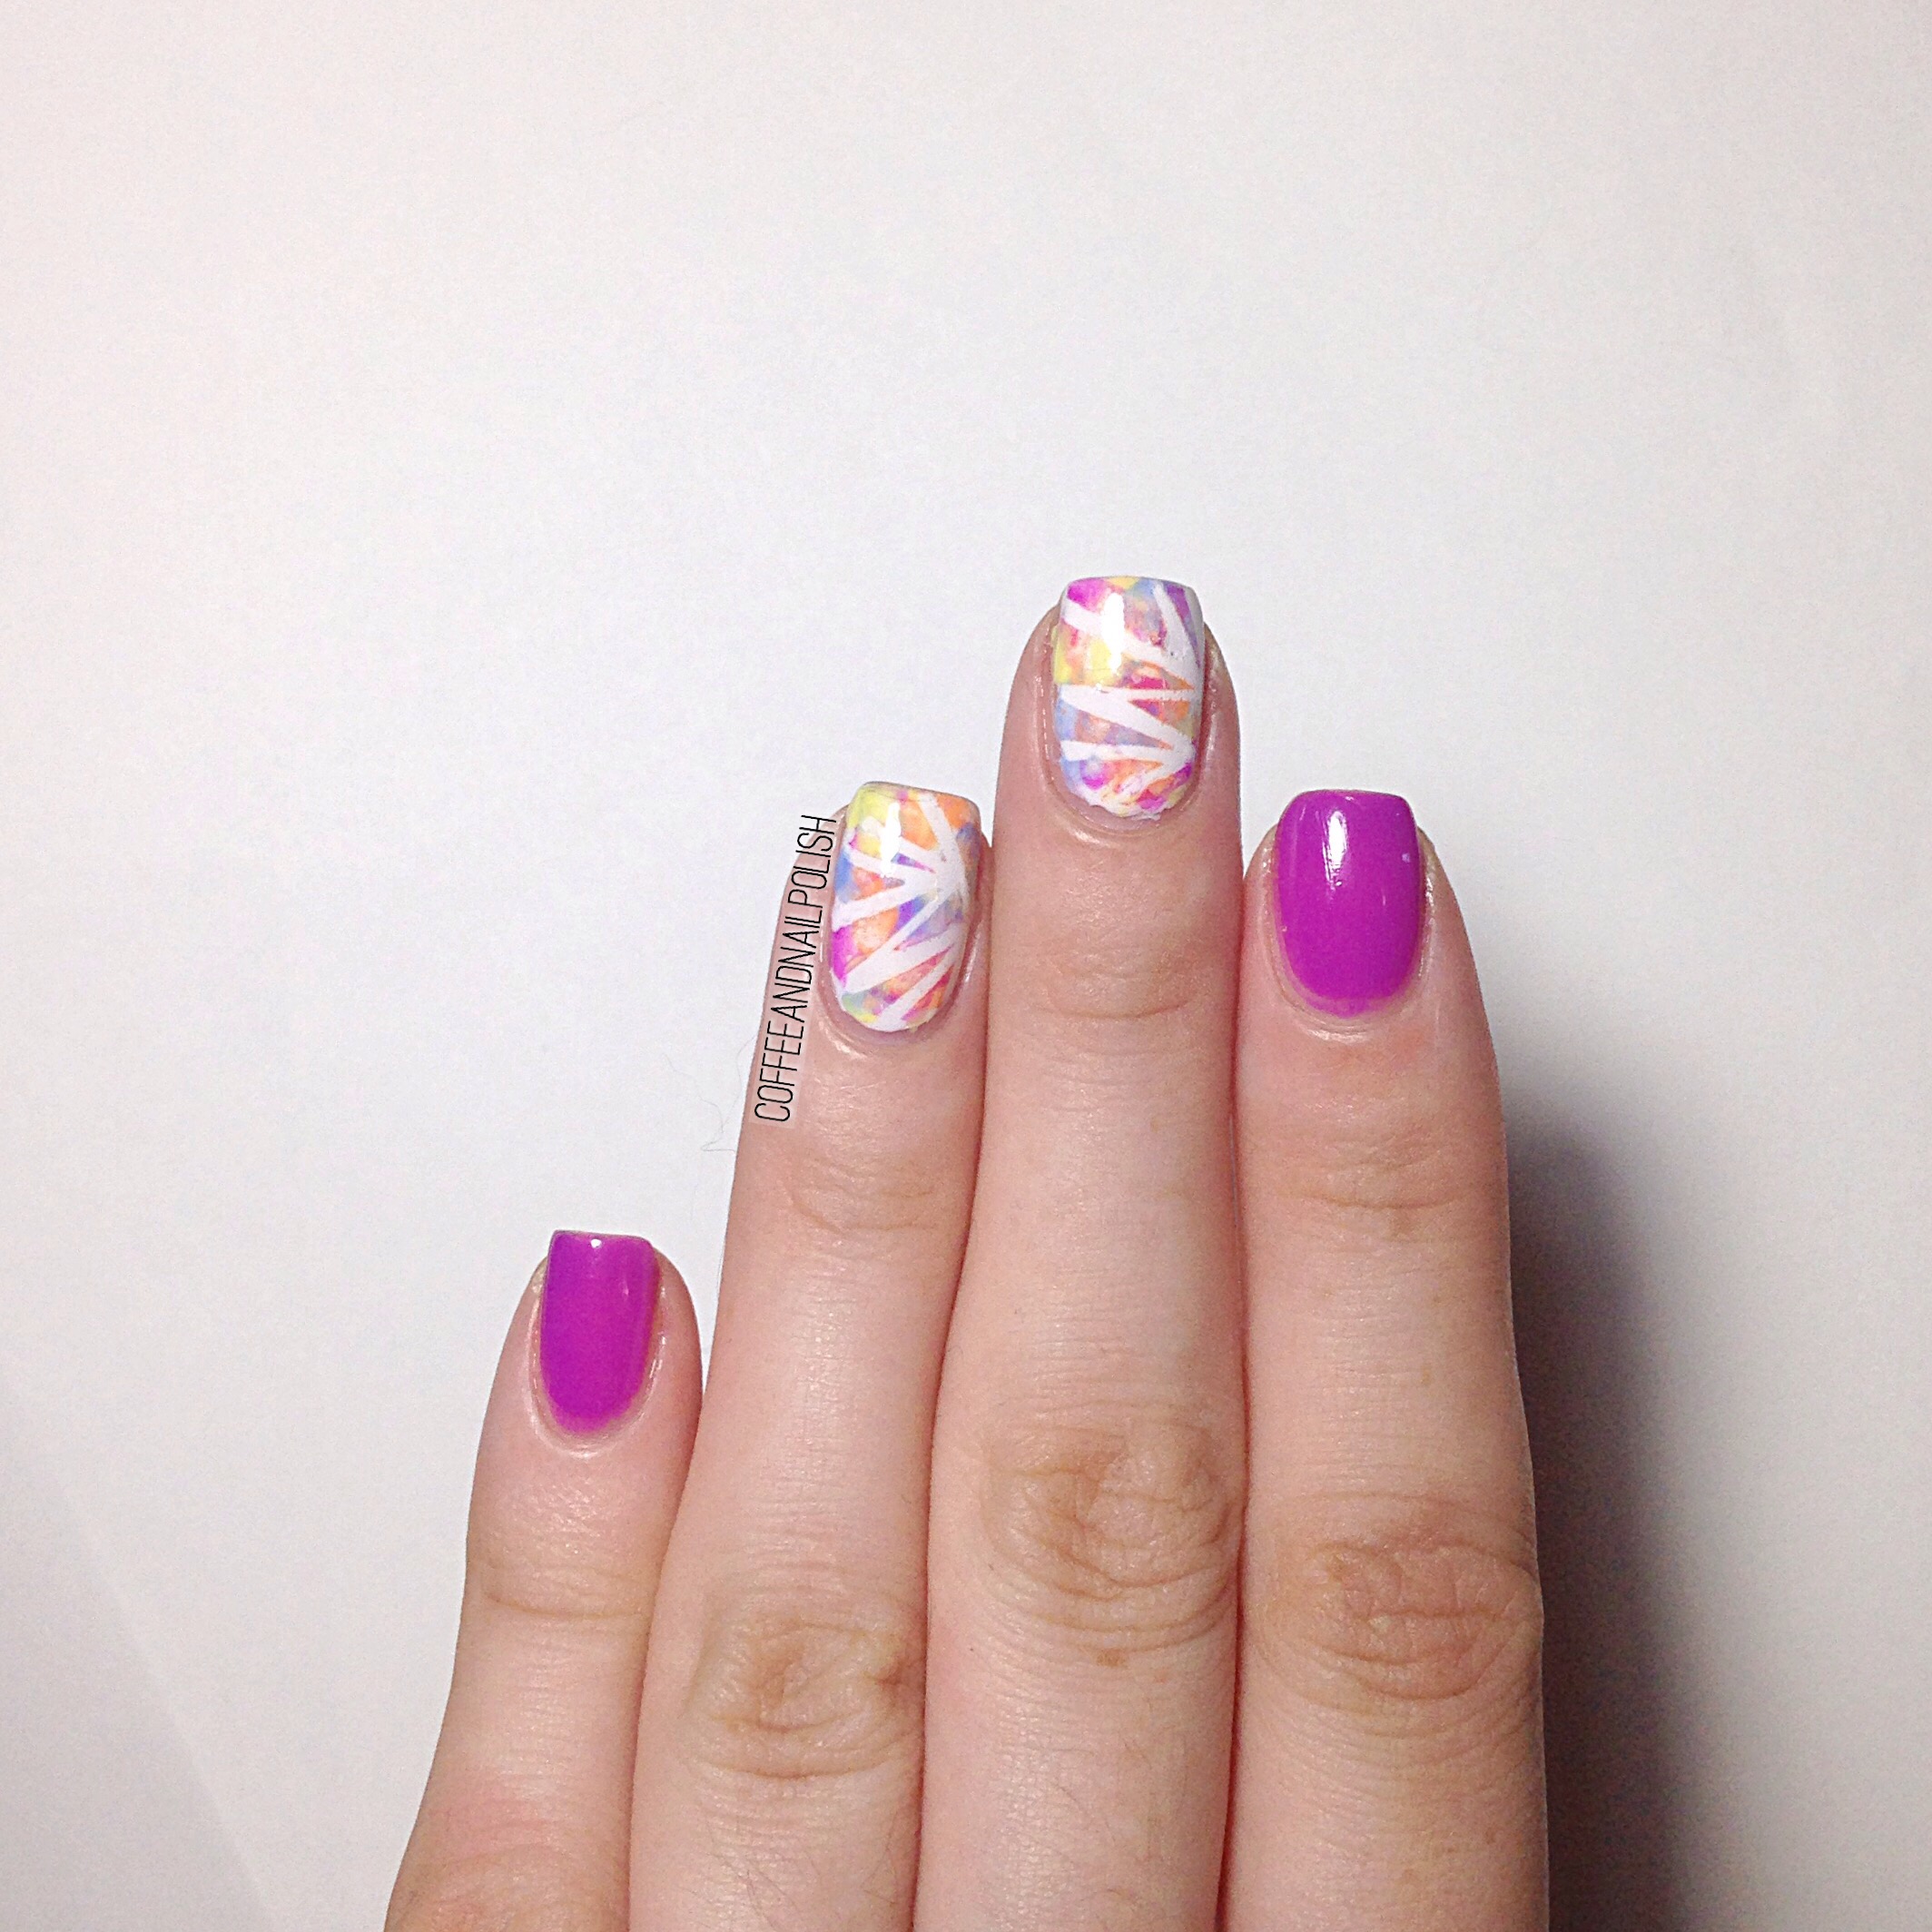
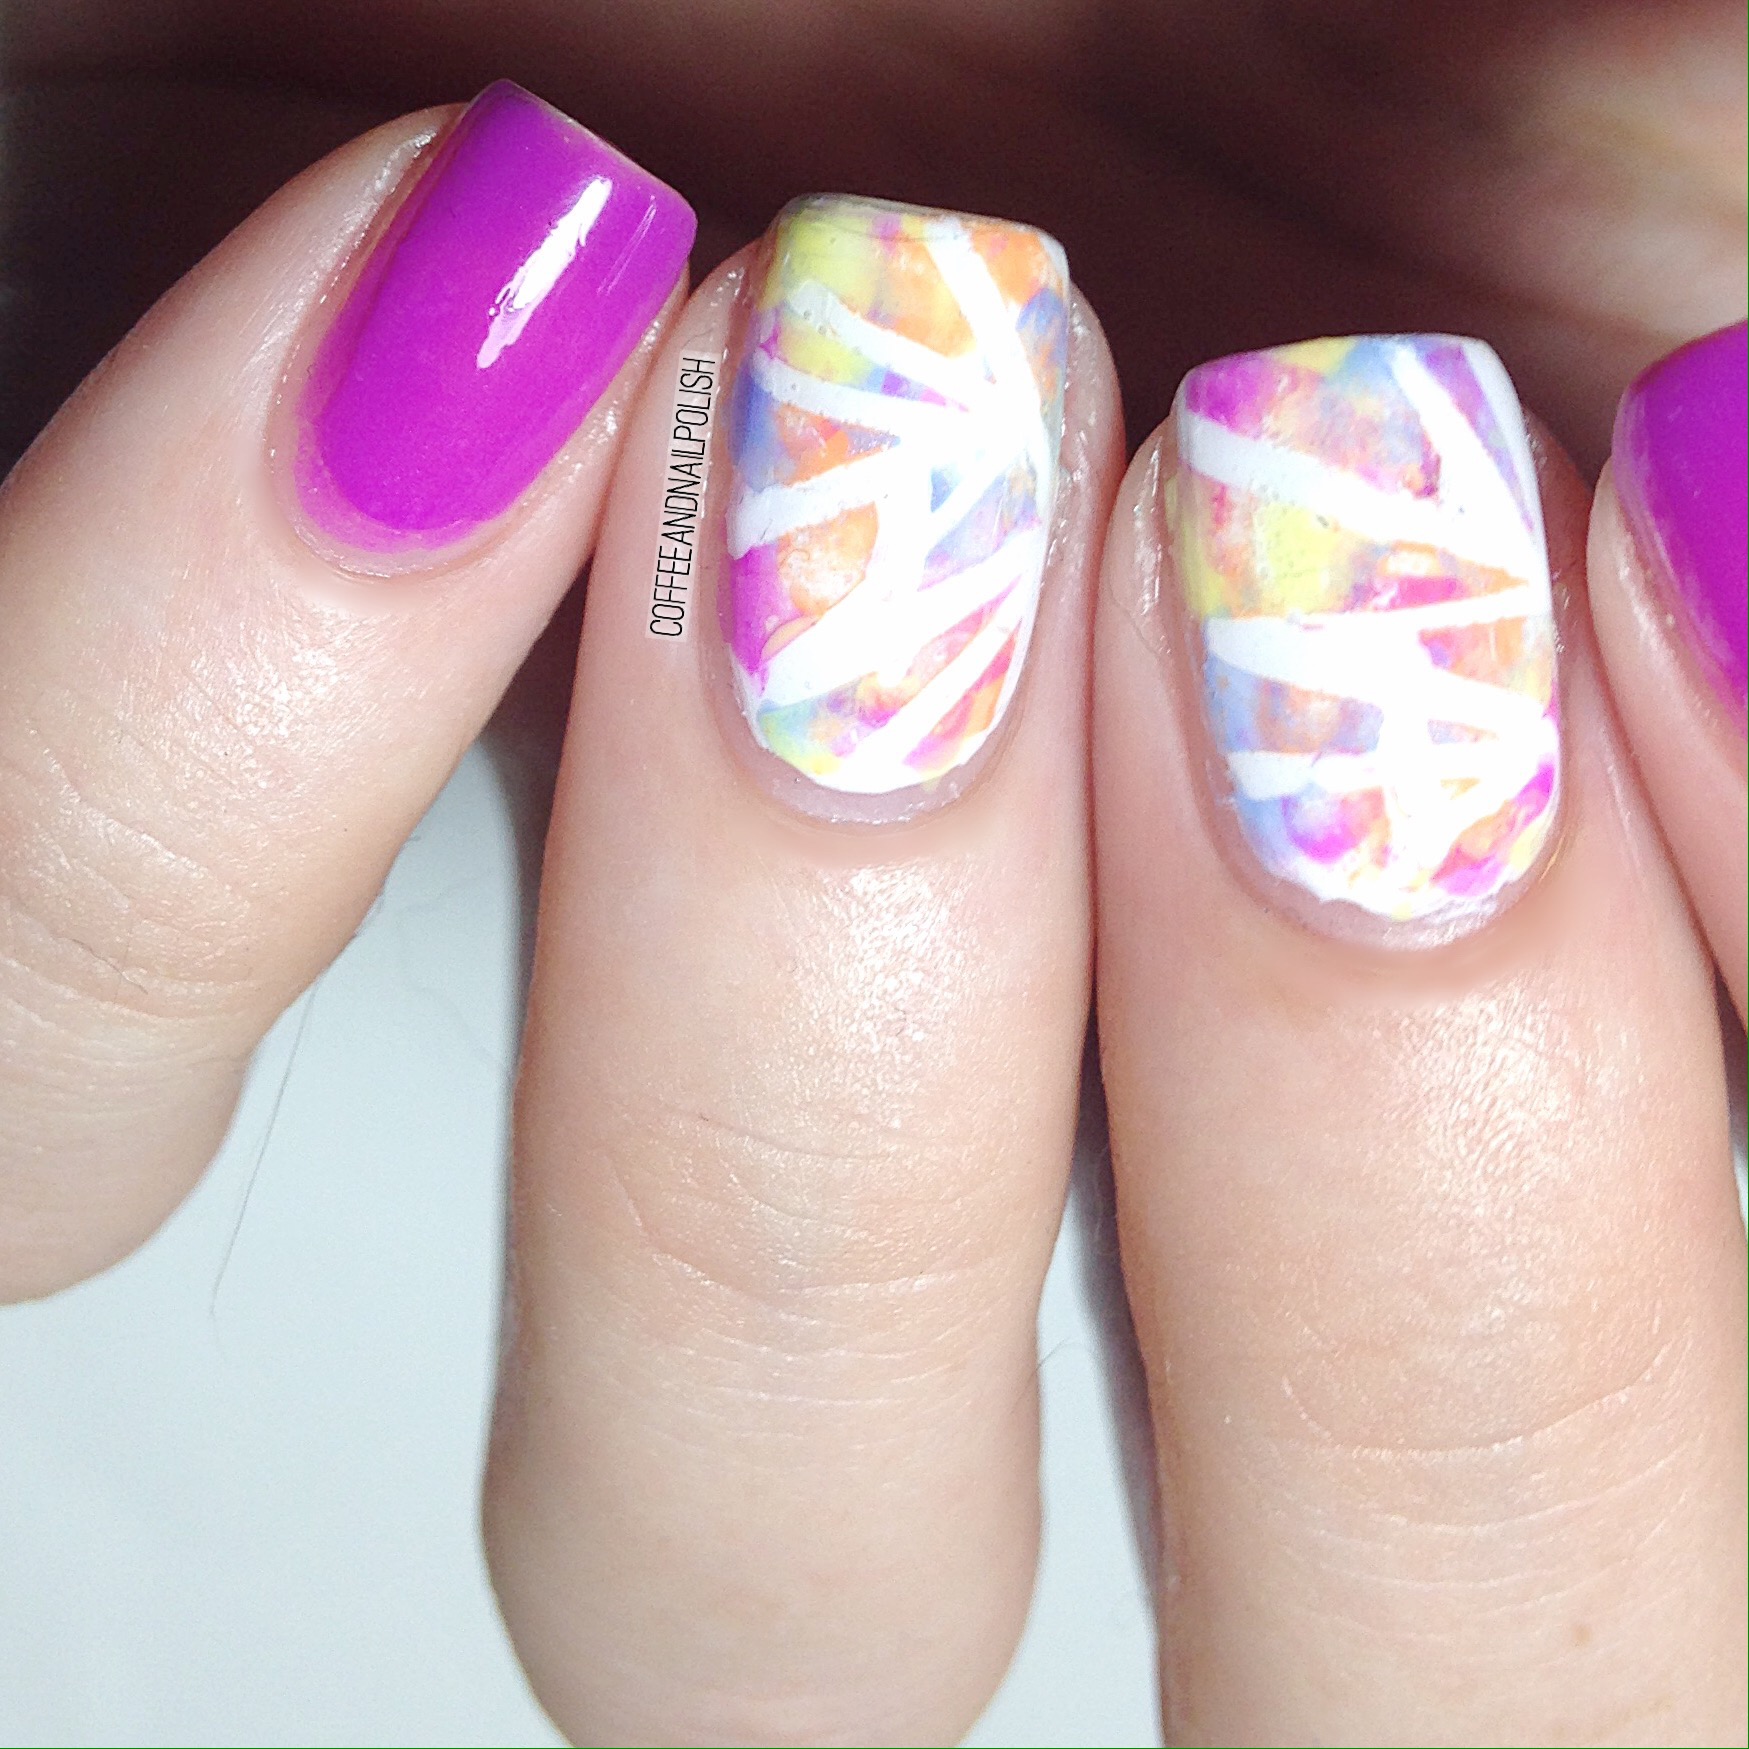
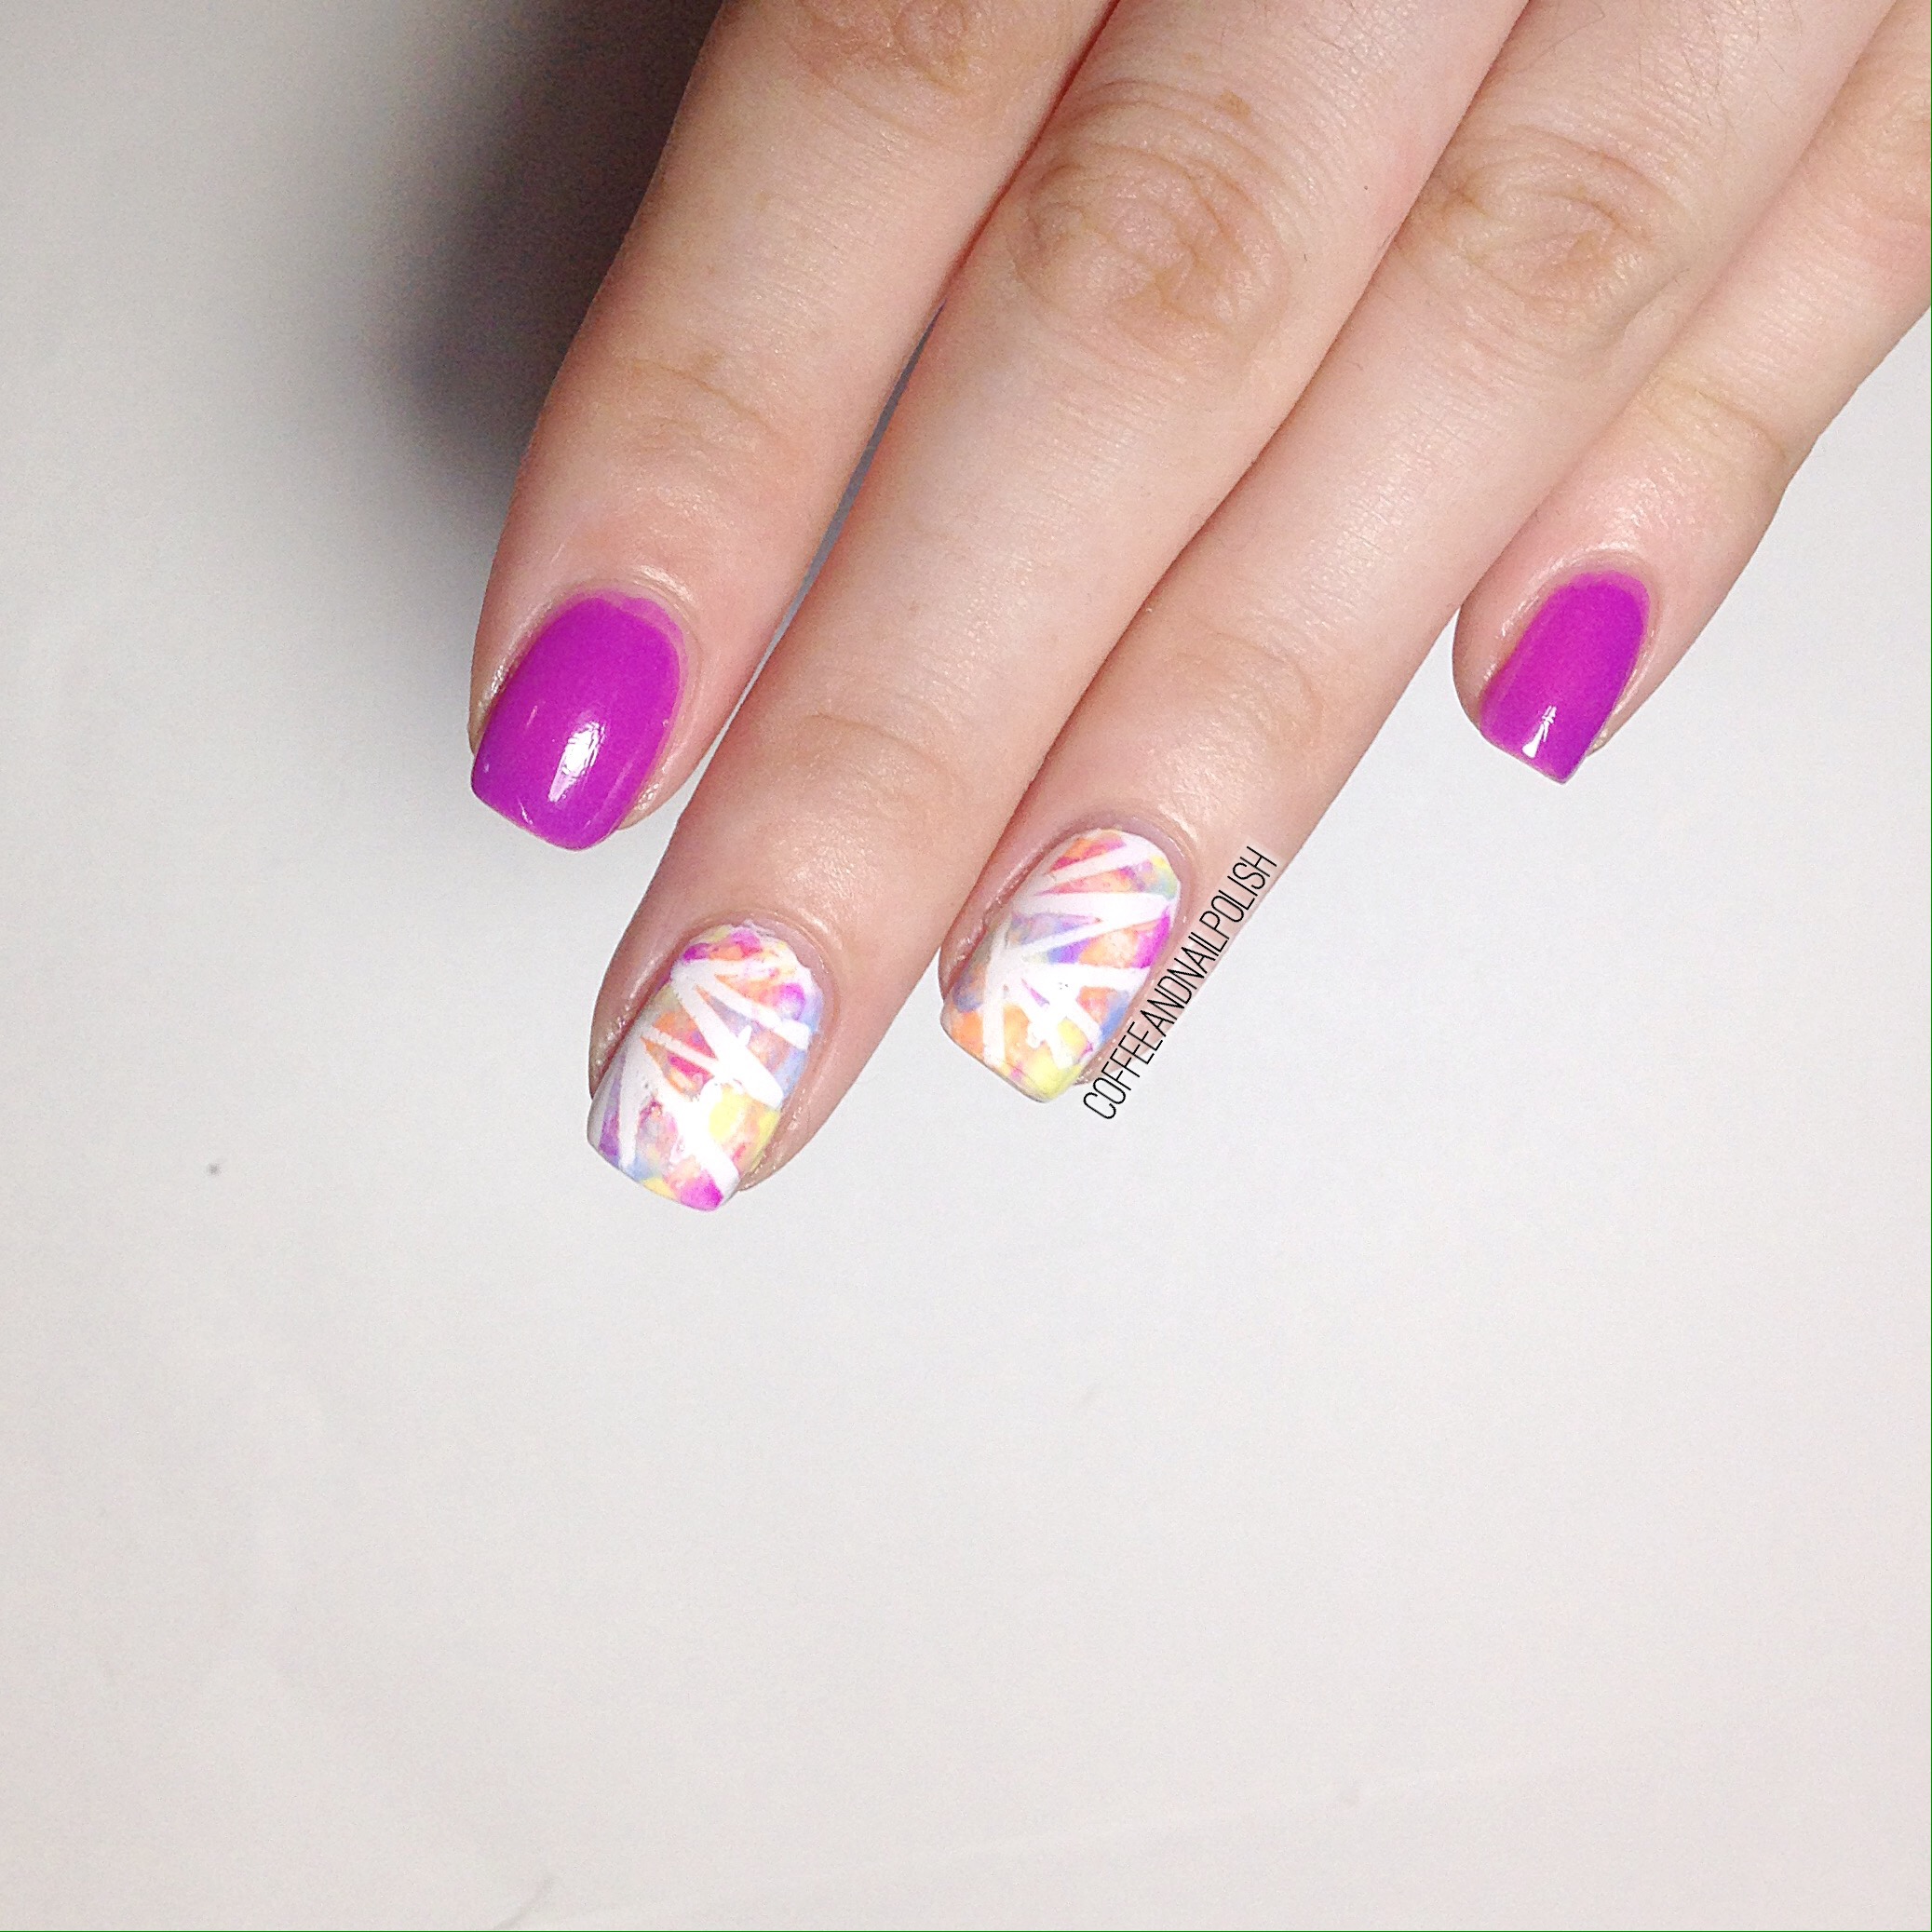
Water colour shattered glass nails. 


I recently won a few contests on Instagram, & one of them was the Spring collection of decals from Kayla Ray Vinyls, as well as 6 sets of stencils that I got to pick. One of the stencils I picked was the Shattered Glass stencils. 

The polishes I used for this manicure were:

  • Base Coat: Perfect Formula Pink Gel Coat
  • Top Coat: Cutex Quick Dry Top Coat 
  • ORLY Color Blast Valley Girl
  • Hard Candy Coconut
  • China Glaze Sun Upon My Skin
  • LA Colors Gloomy
  • OPI Where Did Suzi’s Man-go?
  • Kayleigh Ray Loves Shattered Glass Vinyls

I was really impressed with these vinyls. They were so easy to use, & even though I was creating this water colour effect, there was very little bleeding under the vinyl. This was my first time using clear vinyls, & I can understand the appeal of them. & the end result turned out so neat! This was one of my favourite techniques last Spring/Summer, & I can see it making a comeback. I had kind of forgotten how good this technique looked! 

What do you think of this design? What is your favourite vinyl design? Let me know in the comments below! 

Drip Marble decals inspired by @SimplyNailogical 


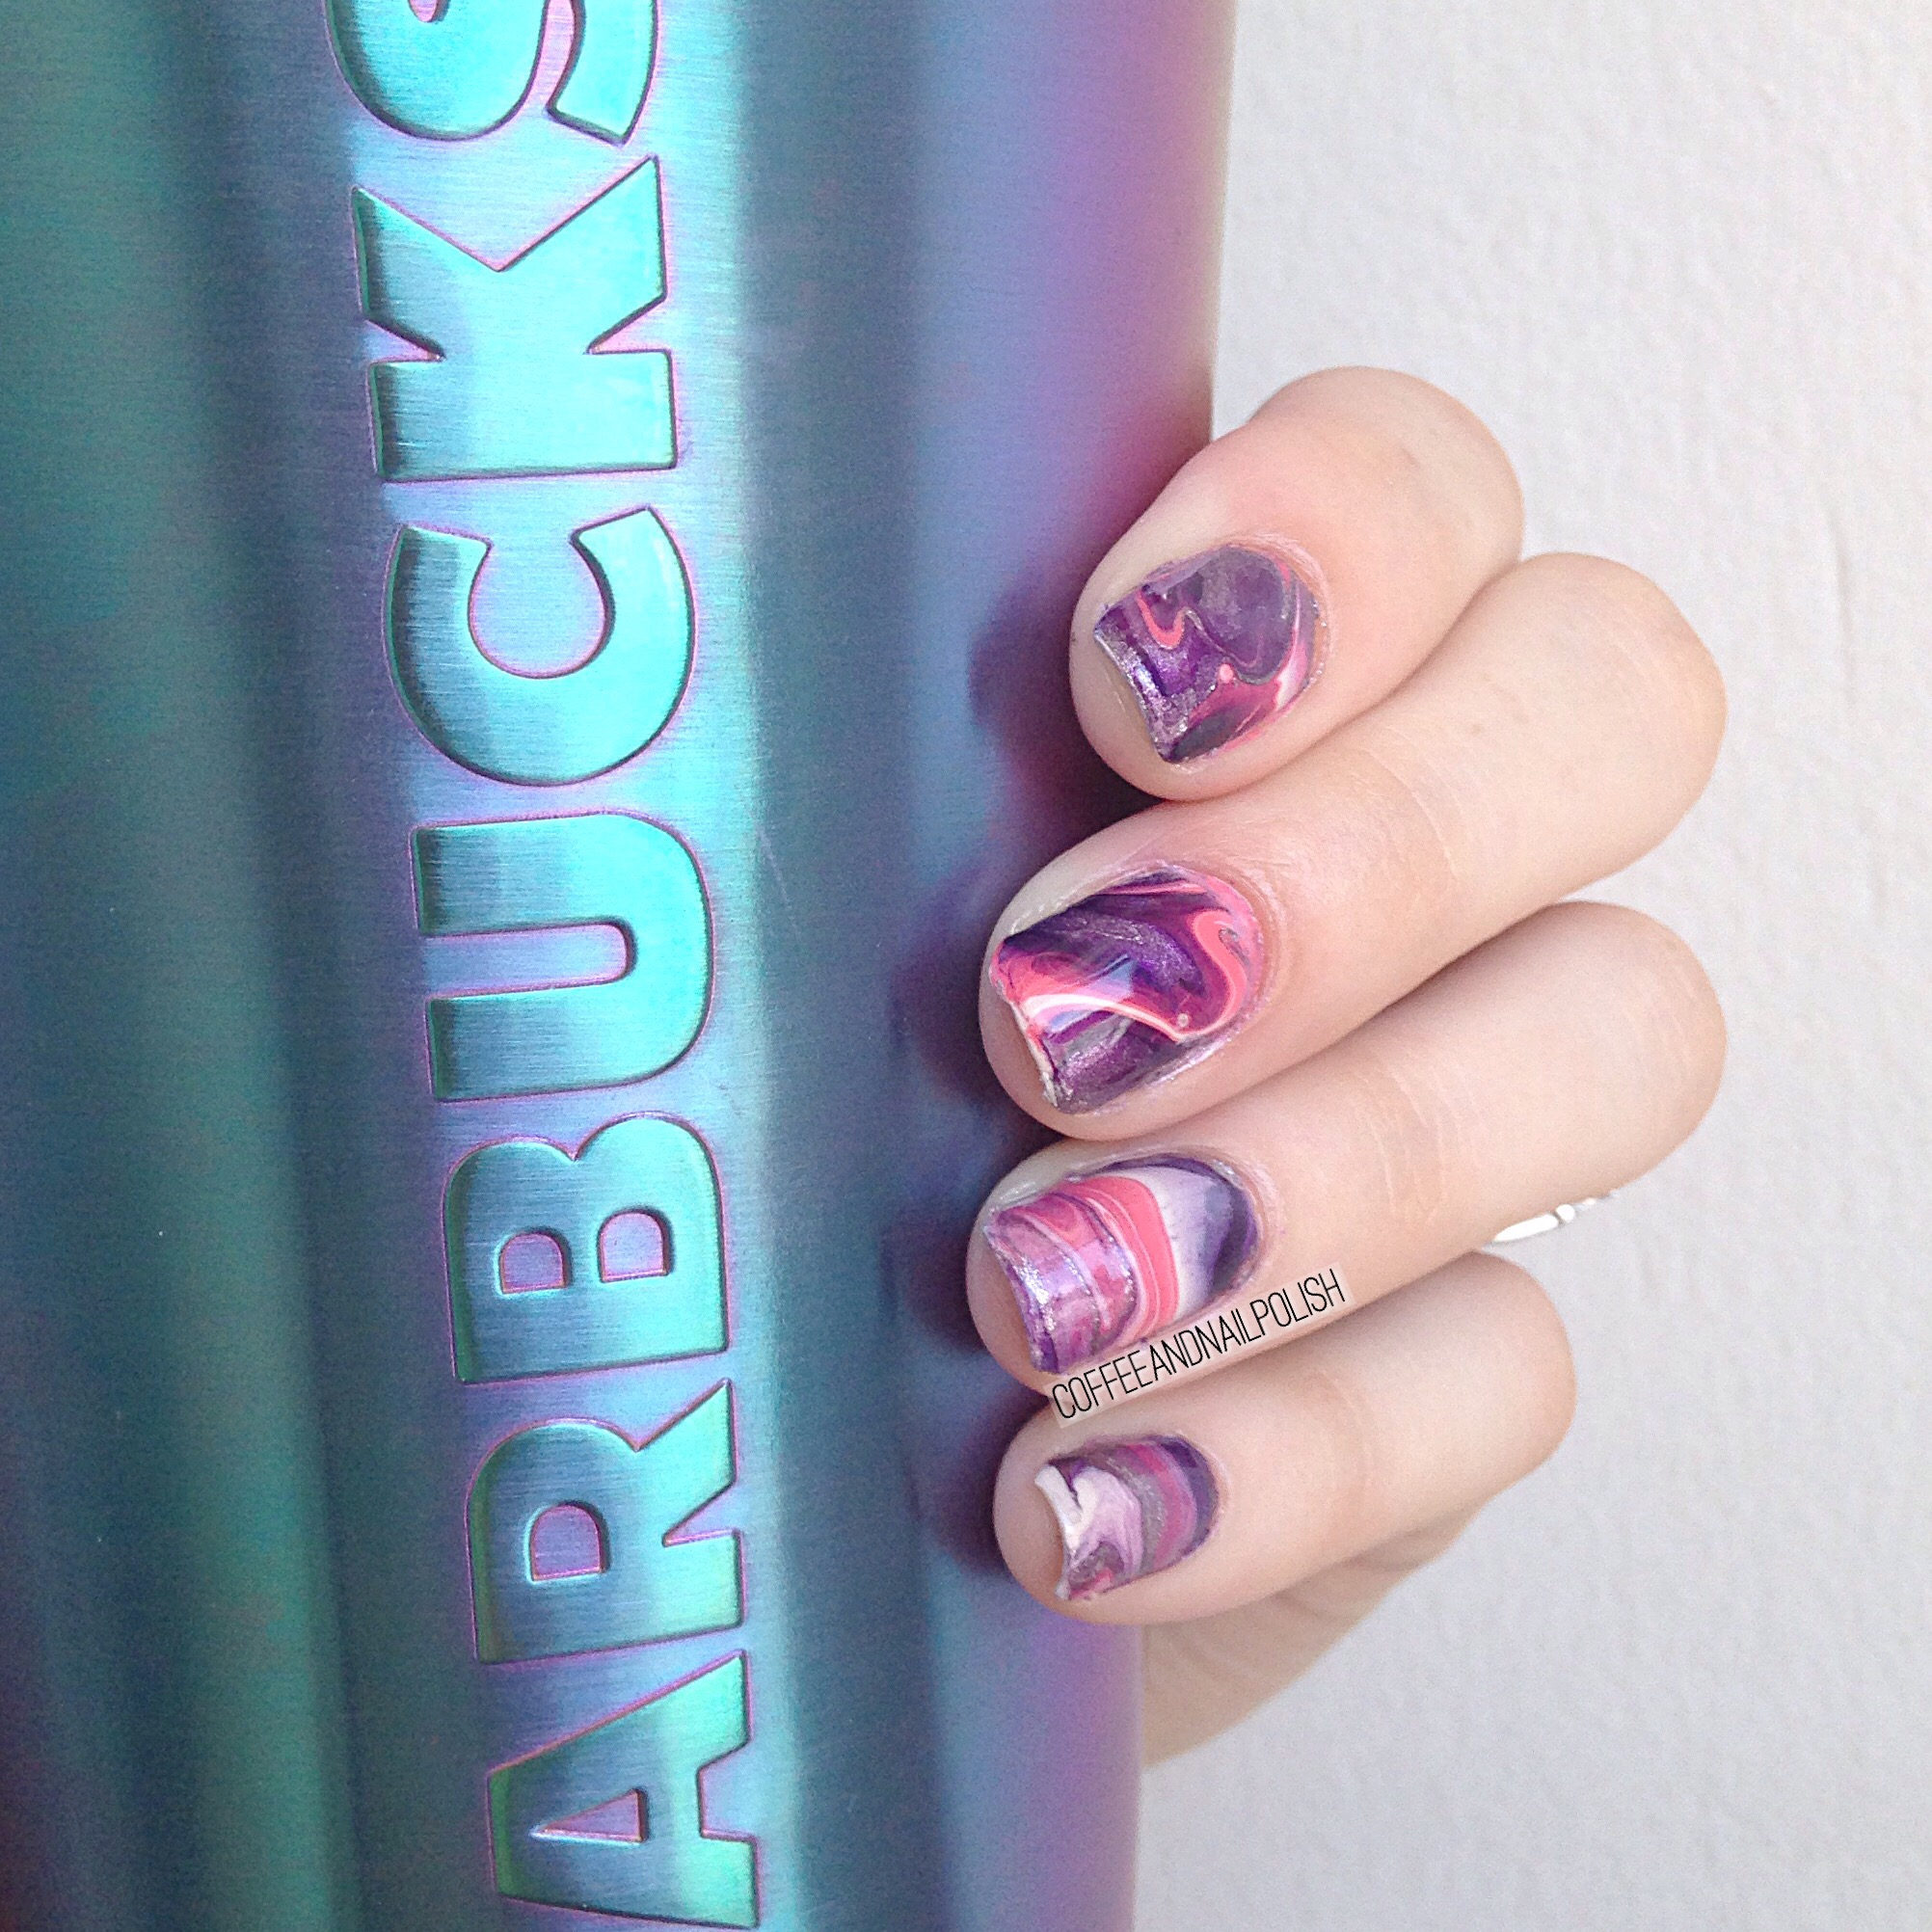
I’ve tried water marbling, & it was… not my thing. I’ve tried drag marbling, & it’s usually hit or miss. But I really love marbled nails, so naturally when I picked up a silicone craft mat I knew I needed to try drip marbling recently done by @simplynailogical.


For this mani I used:

  • ORLY Decades of Dysfunction 
  • Sally Hansen Pretty Piggy
  • Nicole by OPI We Got Beiber Fever
  • Finger Paints Wanna Gogh Dance?
  • ACO by Ardene Base Coat
  • Cutex Quick Dry Top Coat

To create my decals, I started off by dropping my polished of choice onto the mat, starting with my lightest colour (ORLY Decades of Dysfunction) as my base, then continued with my darker colours, & finished with my metallic shade (Finger Paints Wanna Gogh Dance?). Once all my colours were down, I moved my mat around to create my marbled effect. Once I was happy with one decal, I’d let it sit & dry for a few minutes before starting on the next one. When I was happy with the amount of decals I’d made, I left them to Dry for a few hours (around 2 hours).

I’m not going to lie, trying to apply these wasn’t the easiest. I started off by painting my accent nails with a base colour (again I used ORLY Decades of Dysfunction) and let dry. I then peeled off my decal & figured out which part I wanted on my nail, trimming it down to a more manageable size. When I was ready, I applied a coat of my ACO by Ardene base coat & immediately stuck my decal onto the nail. Using a brush dipped in acetone, I cleaned up around the cuticle. This was probably the least fun part–I wish I had better nail art scissors to trim off the access instead! When the decal was fully cleaned up & my cuticles were clean I sealed everything in with top coat to finish. I also surrounded my cuticles in oil to help after all that remover. No one likes wrecked cuticles.

And how does the final result look?

Continue reading “Drip Marble decals inspired by @SimplyNailogical “

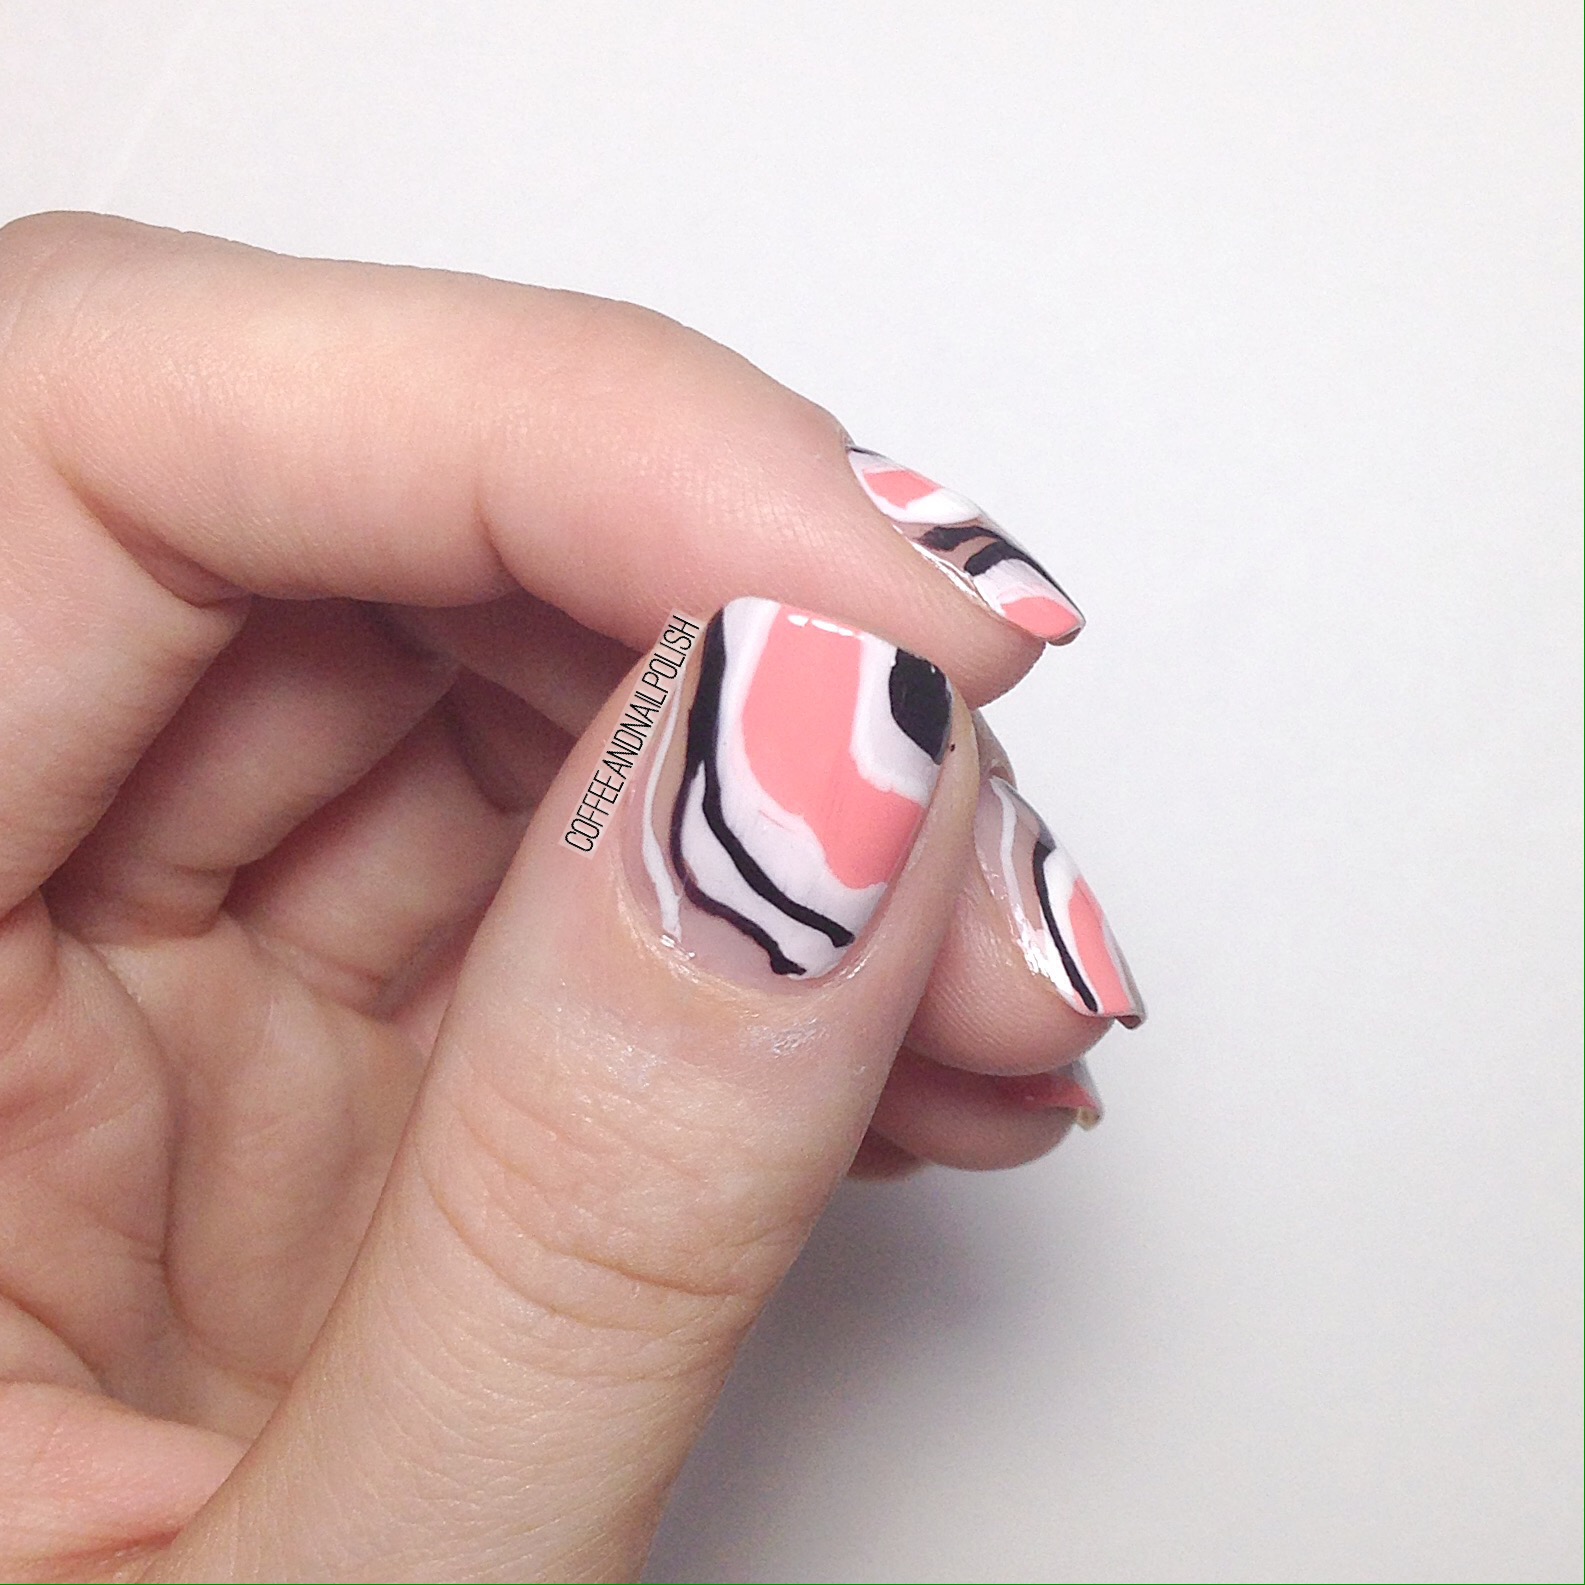
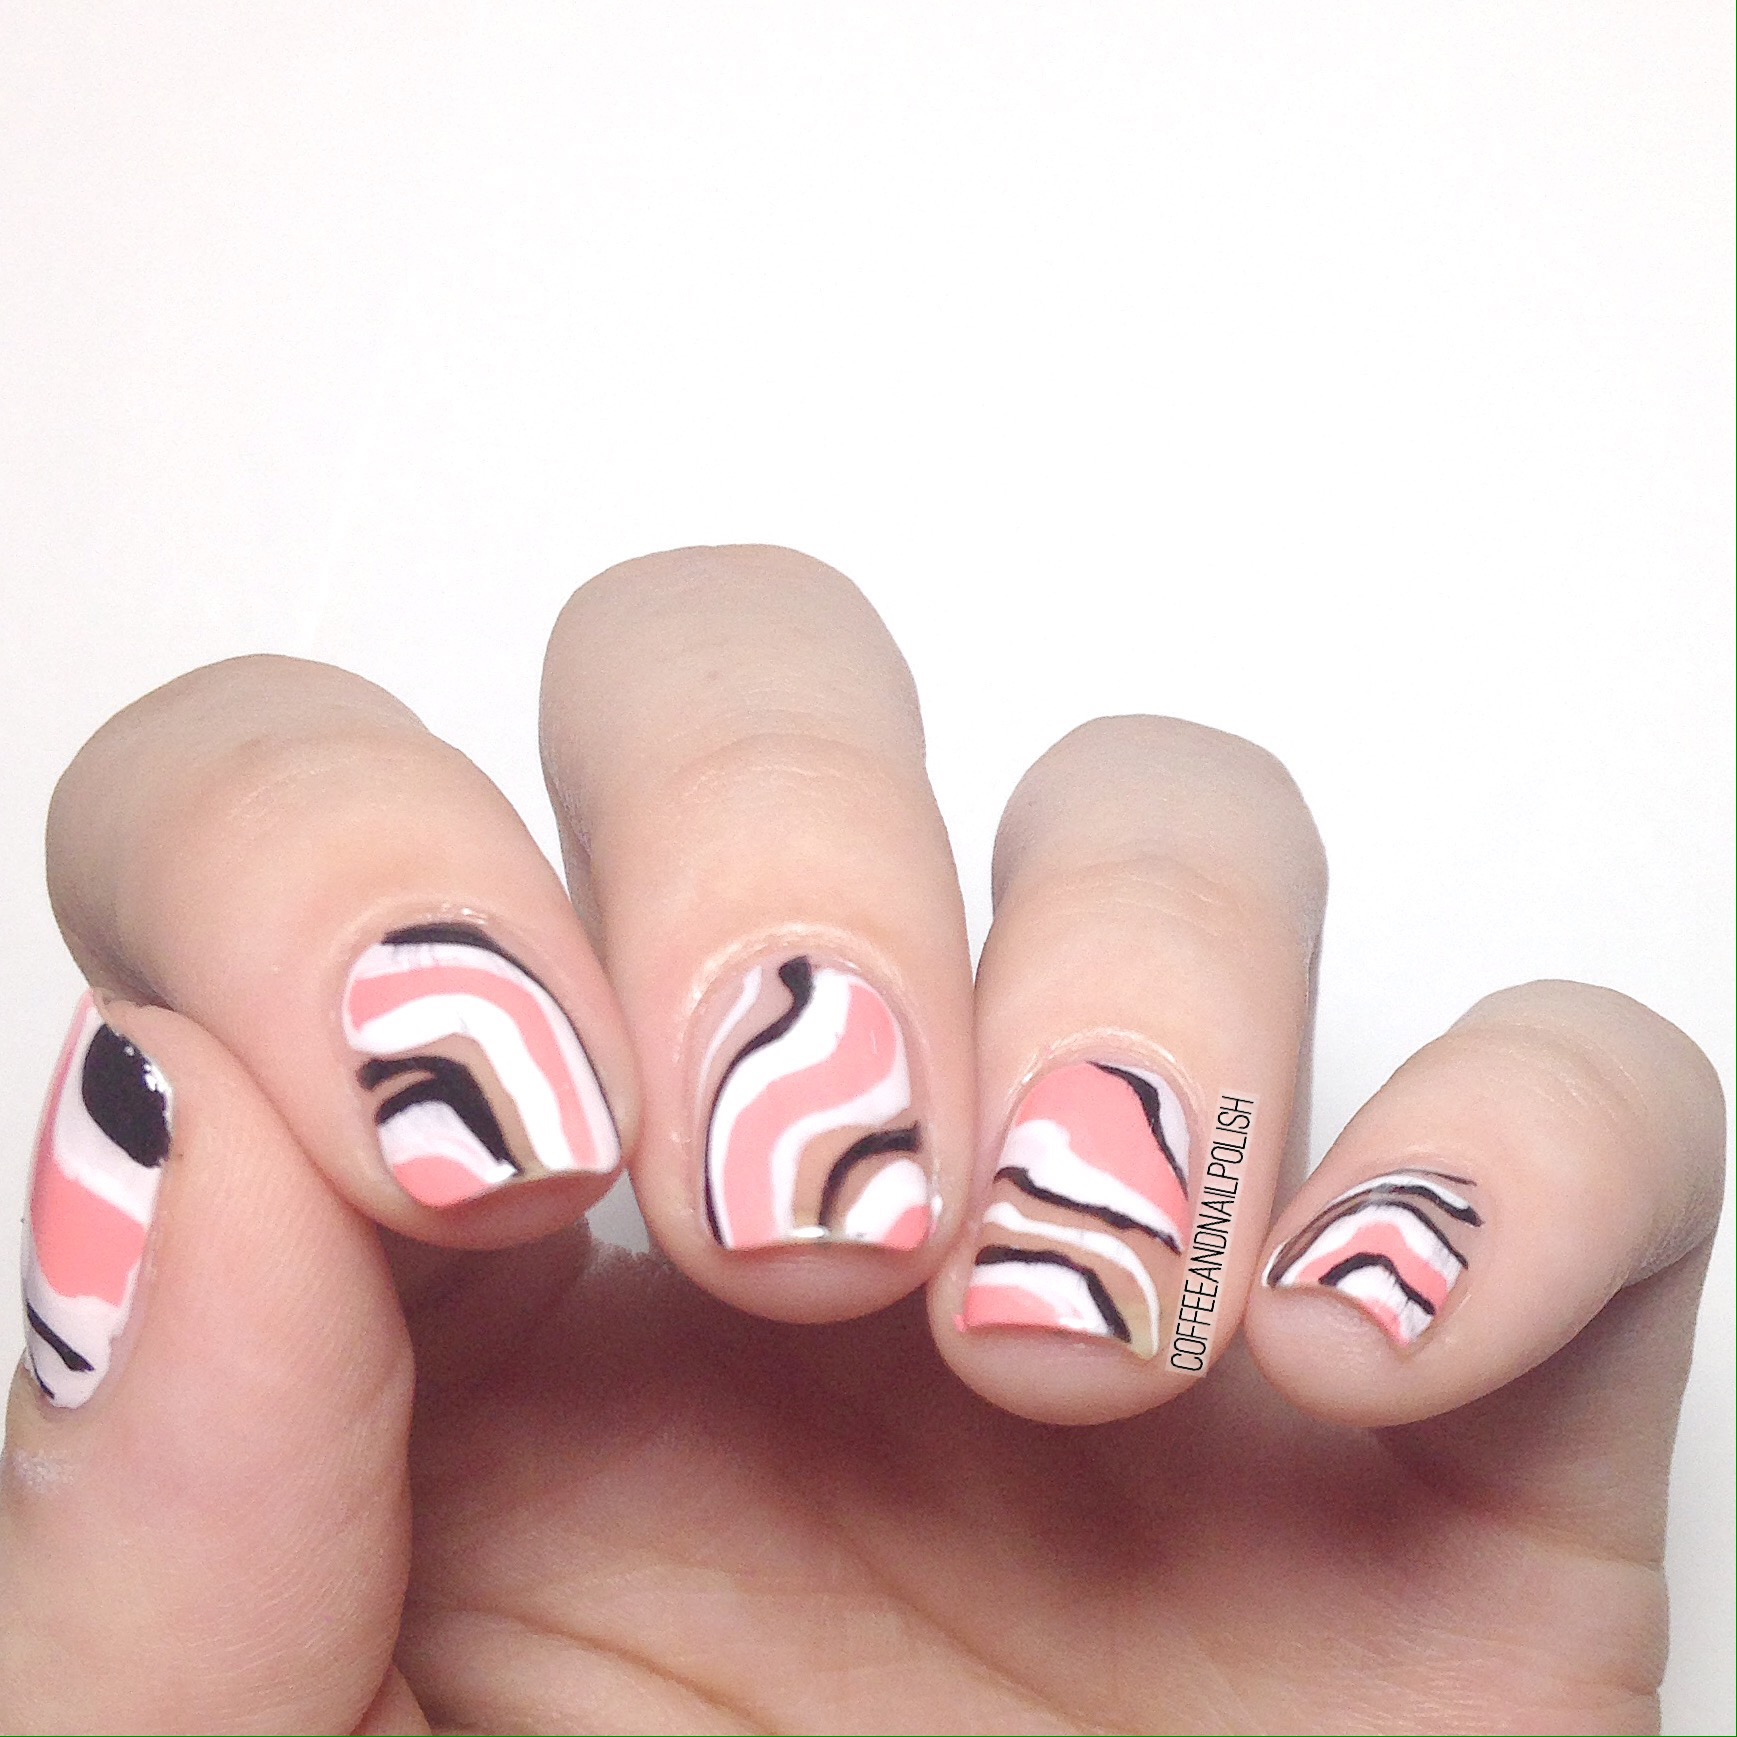
Negative Space Abstract Stripes. 


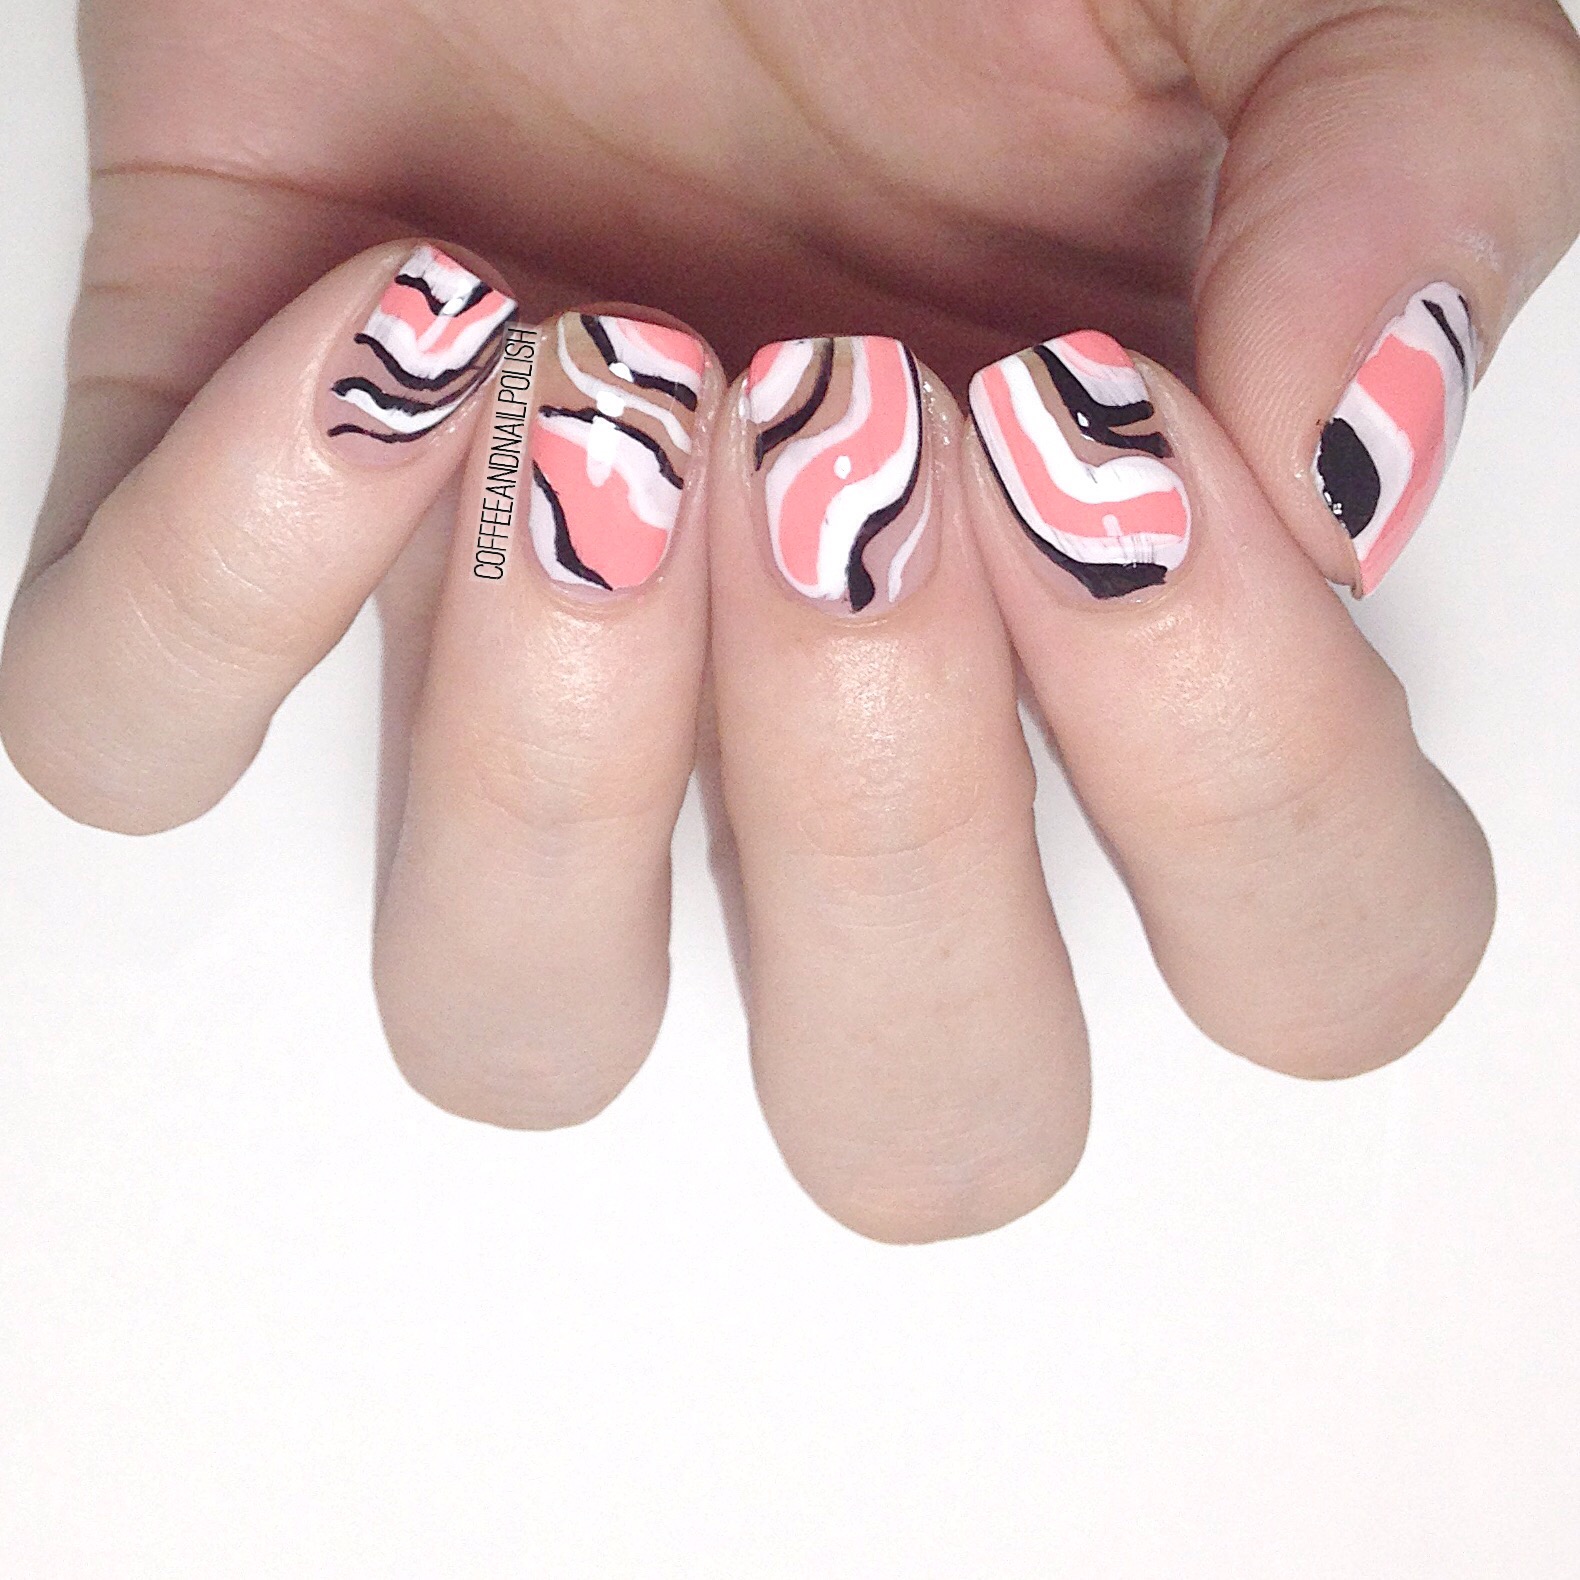
If there are two kinds of manicures I love, it’s negative space & abstract stripes. I had this crazy idea to try & combine the two together, & the end result might just be one of my favourite things ever! These also fit in really well with the geode nail art trend happening on Instagram. 

& the best part about this design? Regardless of your line skill, it’s pretty much impossible to screw up because you want them to look abstract & imperfect. 

For this design, I used: 

  • Sally Hansen Miracle Gel Pretty Peony
  • Essie Lounge Lover
  • Kiss Products Nail Art Striper in White
  • Kiss Products Nail Art Striper in Black
  • Cutex Quick Dry Top Coat

To me, it looks like a cross between a water marble & geode nails, & I couldn’t be more smitten with them. All I can think is what other colours can I do this with! I think purples would look especially amazing, and obviously holo. For the prettiest result, I find chosing two complimentary shades, one darker & one lighter, plus your black & white for detailing, turns out best. 


If I had to chose a favourite nail, it’s a tie between my ring finger, pinky & thumb. I can’t pick just one!
What do you think about this mani–do you love it as much as I do?! Let me know in the comments below what you think! 

March Favourites! 


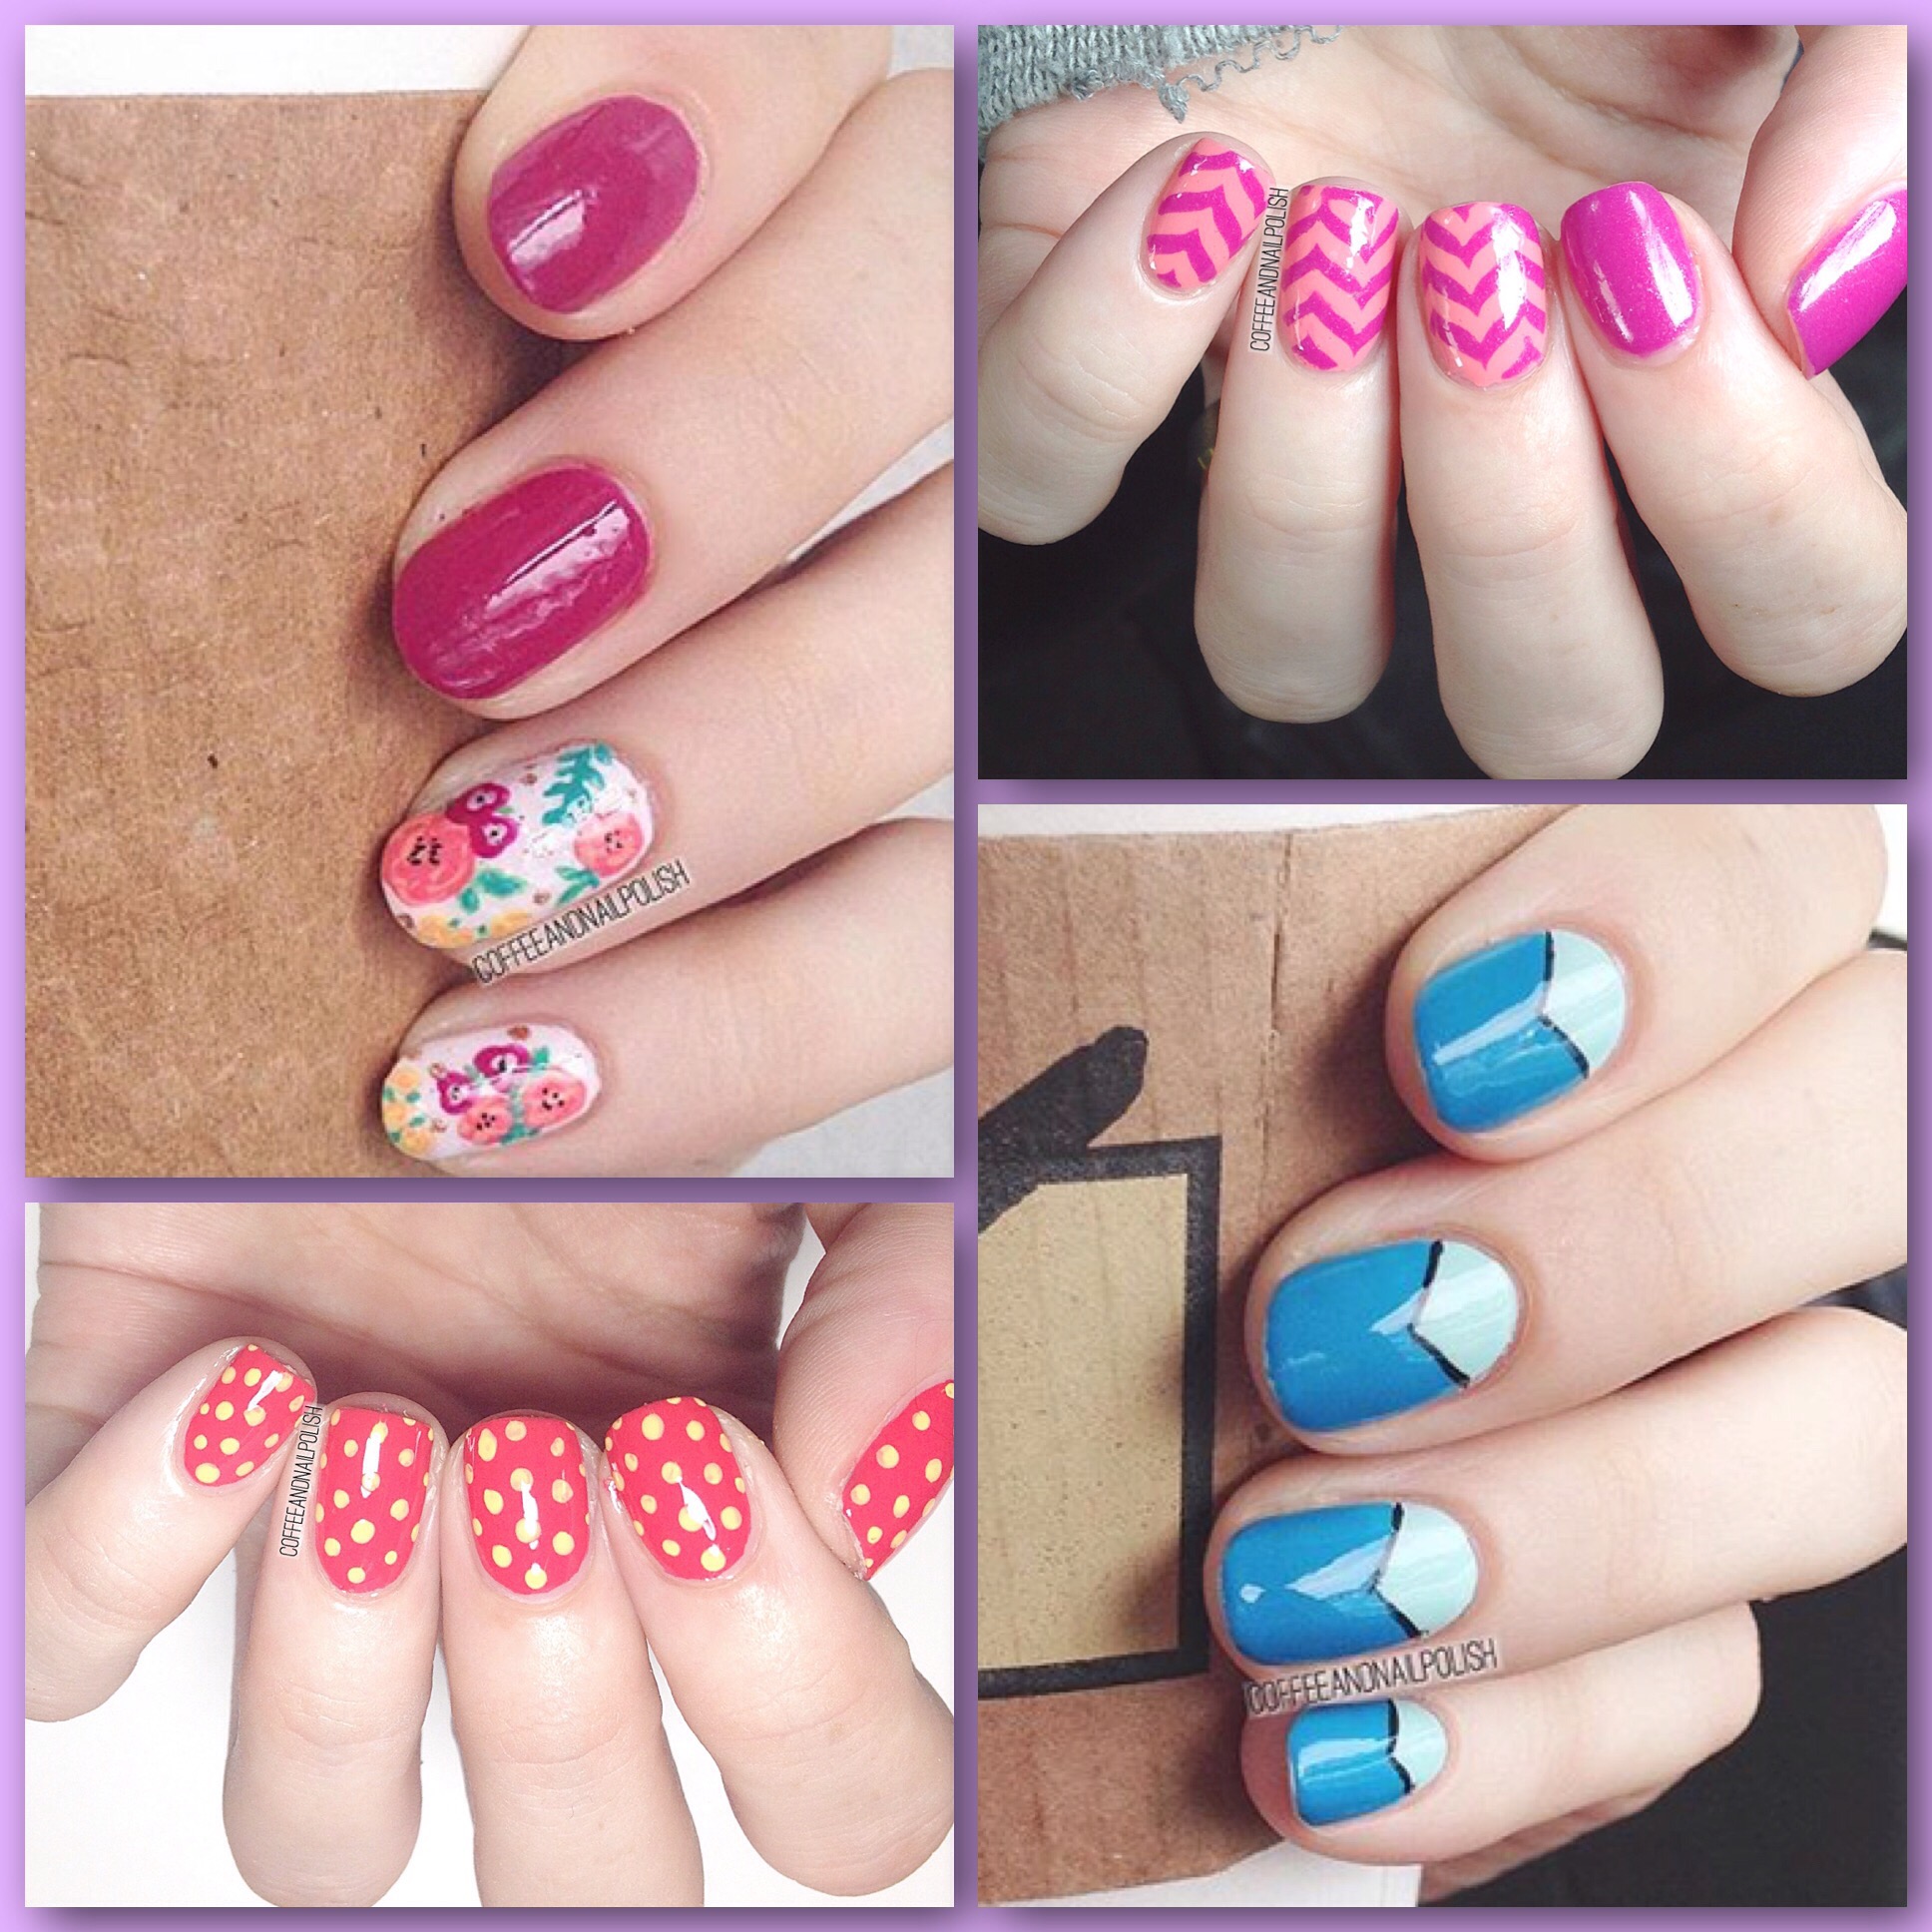
This is my first time in a while I’ve done a manicure round up! It’s been way too long. March saw my return to nail art, which has been really nice. I just don’t feel like myself when I don’t get to do my nails. March also saw my craving for Spring become real, which meant lots of Spring colours! 
From top left, here are my March manicures favourites

It’s so hard to chose my absolute favourite of all my designs this month (&always), but I really really love my Pink Drag Marble chevrons & my Spring Floral! 

Did you have a favourite design this month? Let me know in the comments below! 

Squishy Marble Nails

Now that we have baby on a bit of a schedule, I have a bit more time for nail painting! My goal is to try & use polishes I don’t reach for often, & colours that aren’t my typical shades. 

On top of that, I just want all the Spring colours. I decided to pull out a few polishes from deep in the back of my stash that I haven’t worn in ages for a fun squishy marble manicure. 

The polishes I used for this manicure were:

  • Sally Hansen X-treme Wear Pacific Blue
  • Nicole by OPI I’ll Have the Salmon
  • OPI  That’s Hula-rious
  • China Glaze Meet Me at the Mirage
  • Cutex Quick Dry Top Coat 

First off, trying out a brand new top coat so I hope to have a good review on that coming up soon! Secondly–how pretty is this mani?! I wasn’t so sure about pairing these colours together at first, but they ended up looking really awesome together! I’m not sure how others test mani shades, but I literally just brush my colours beside each other on paper until I find the ones that look best beside each other. I definitely need to download some of those nifty nail guides for designing manicures so I can plan more easily! 

What do you think of this manicure? What colours are your favourite to pair together? Let me know in the comments below!