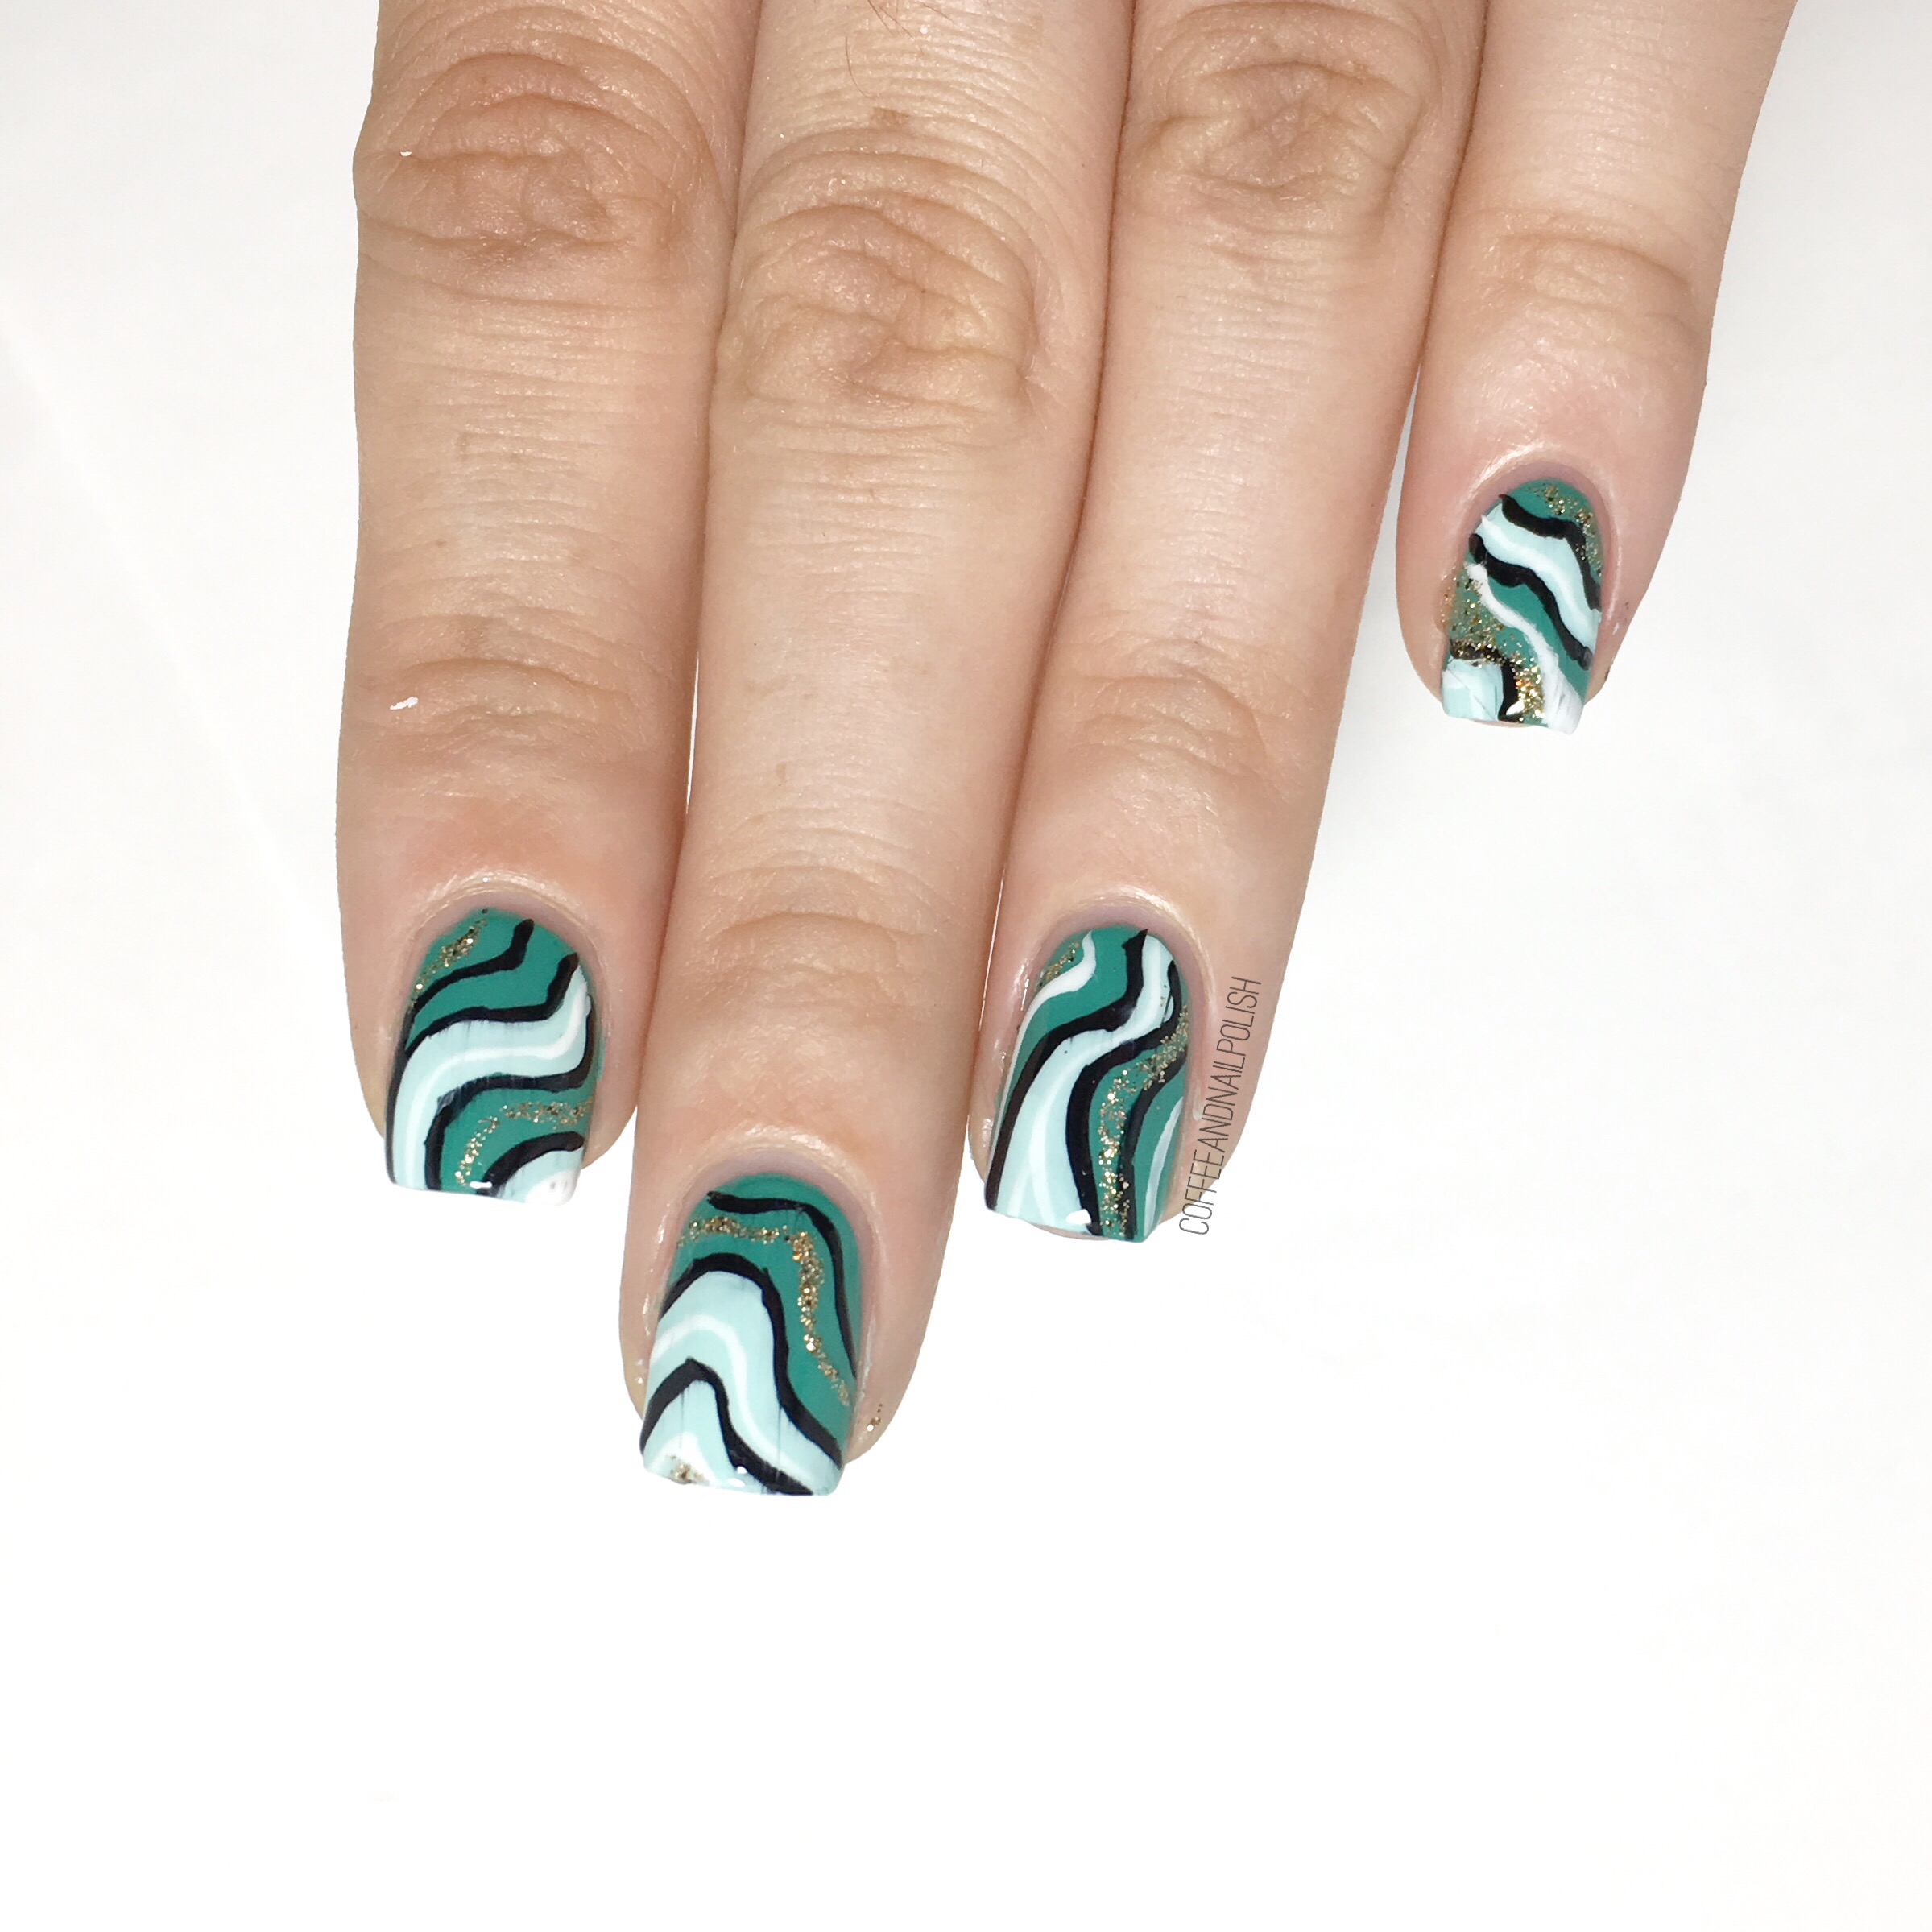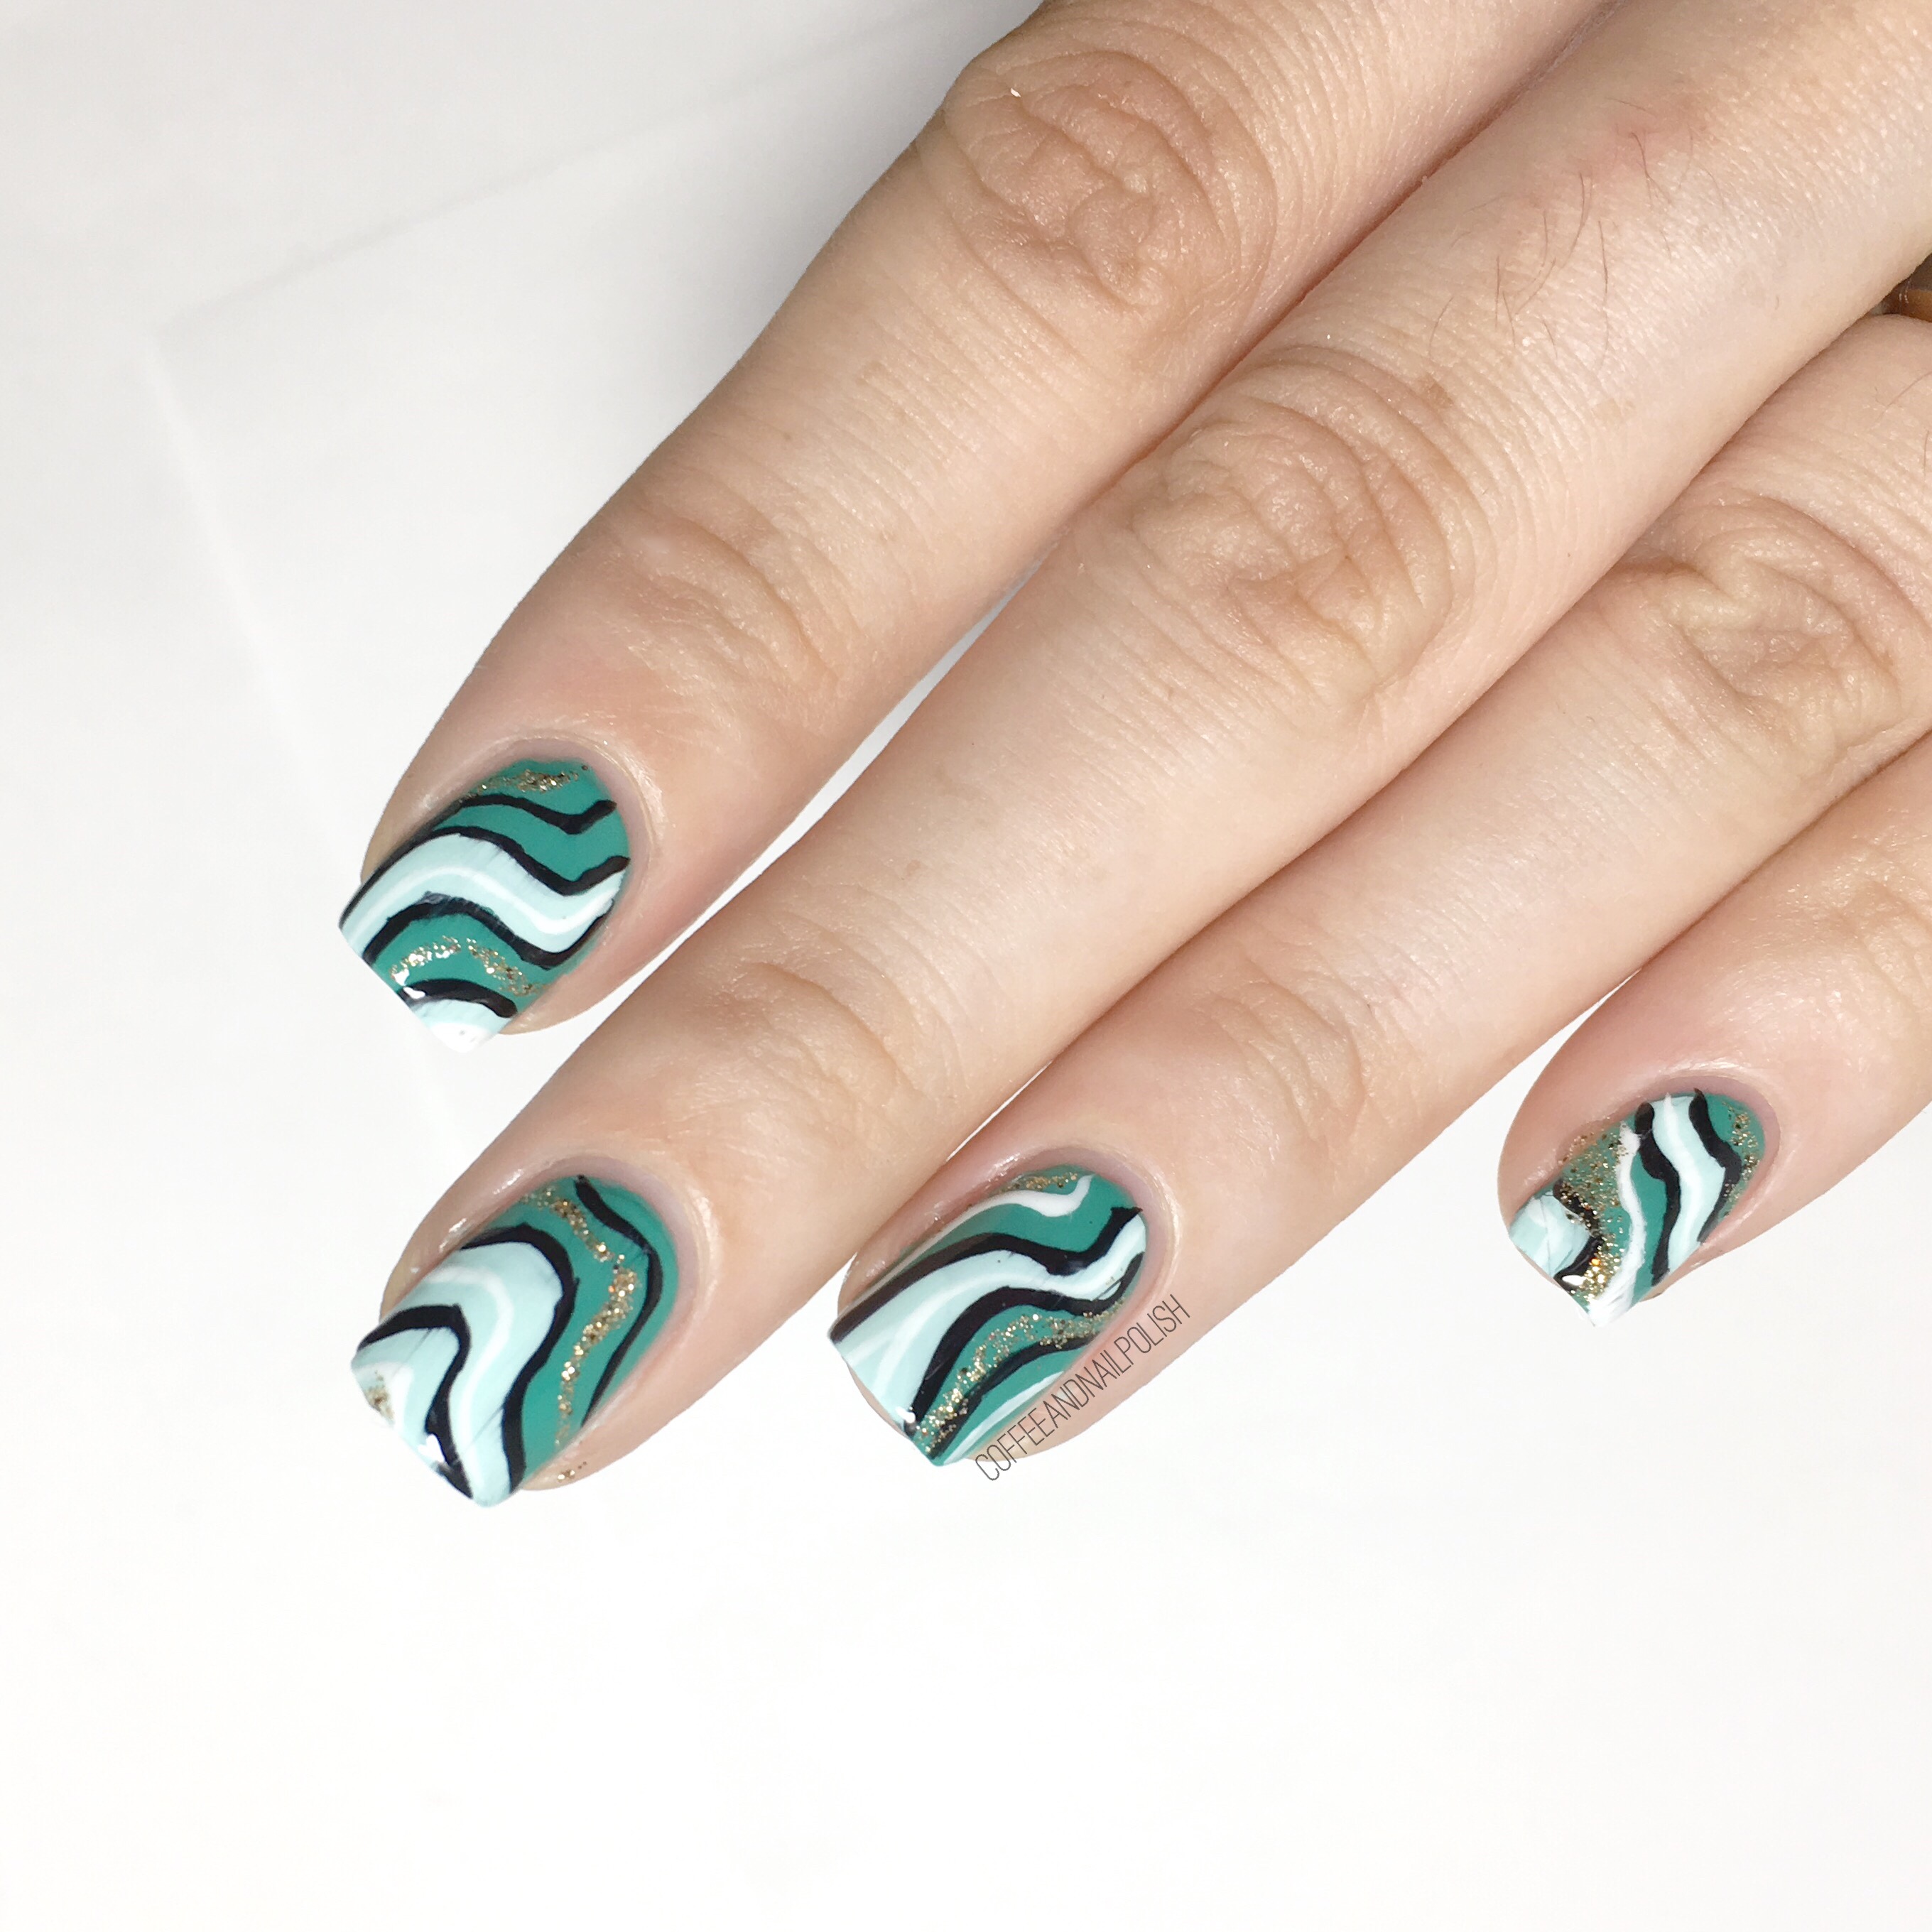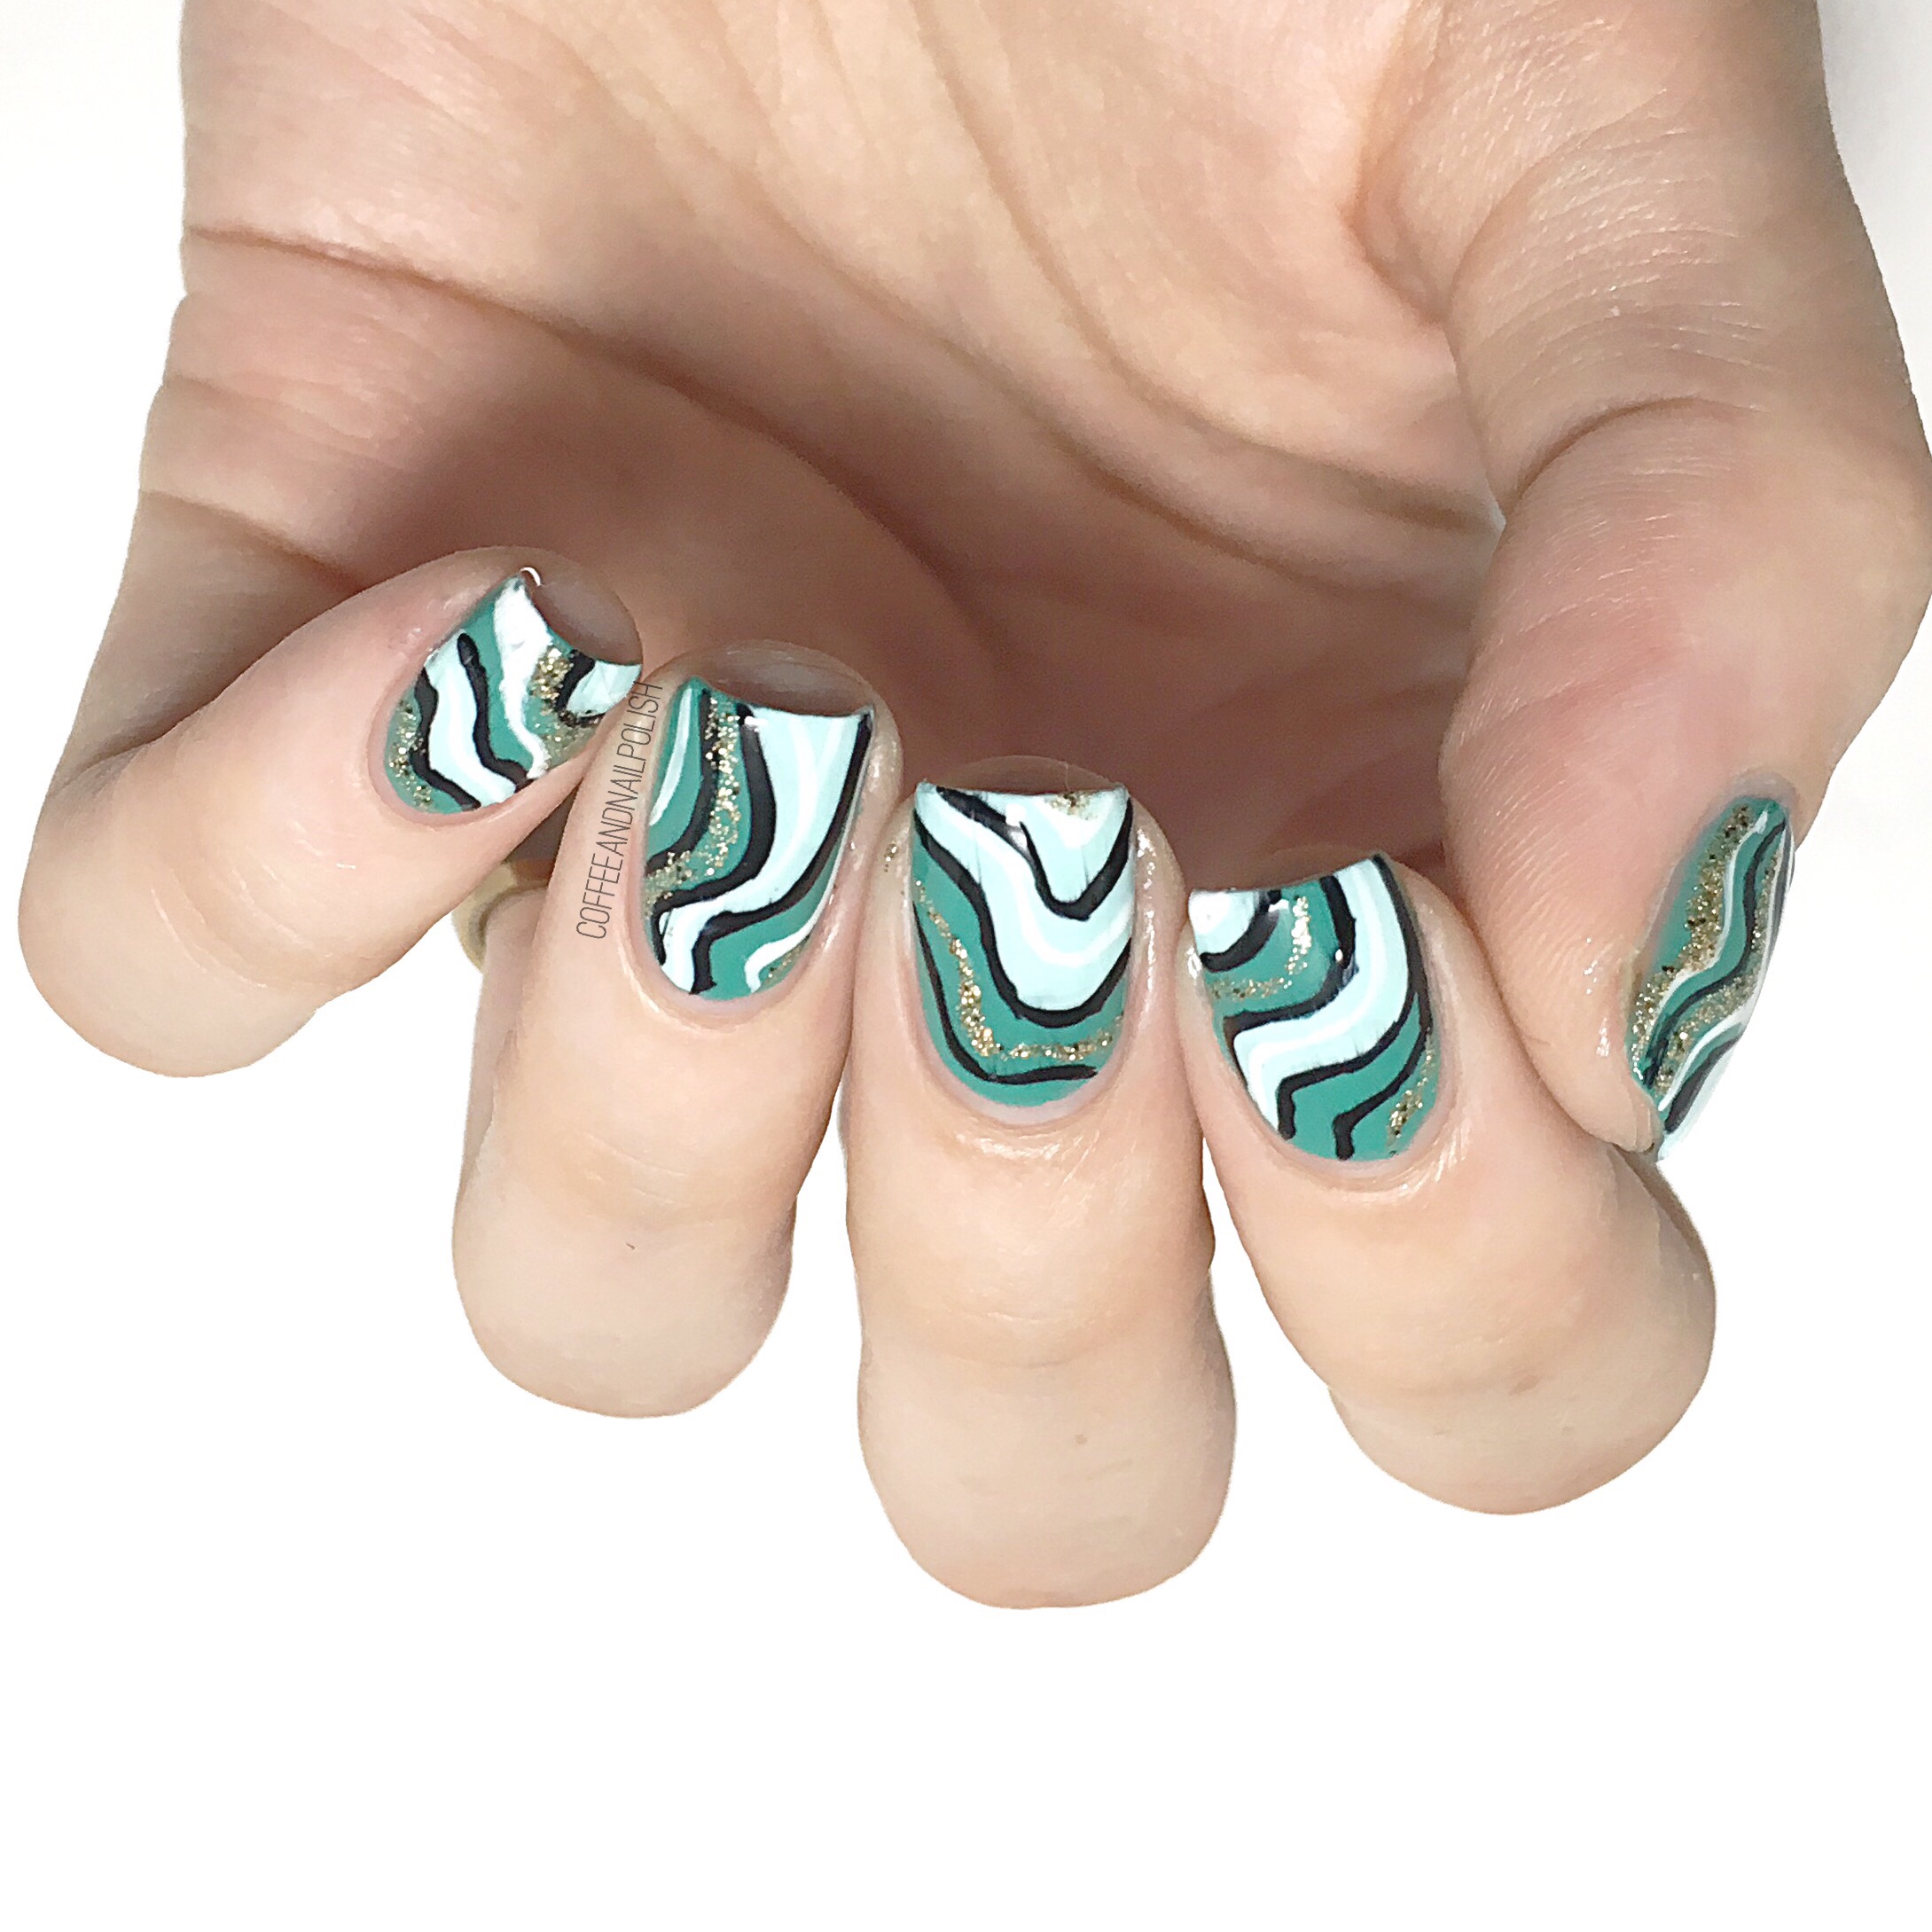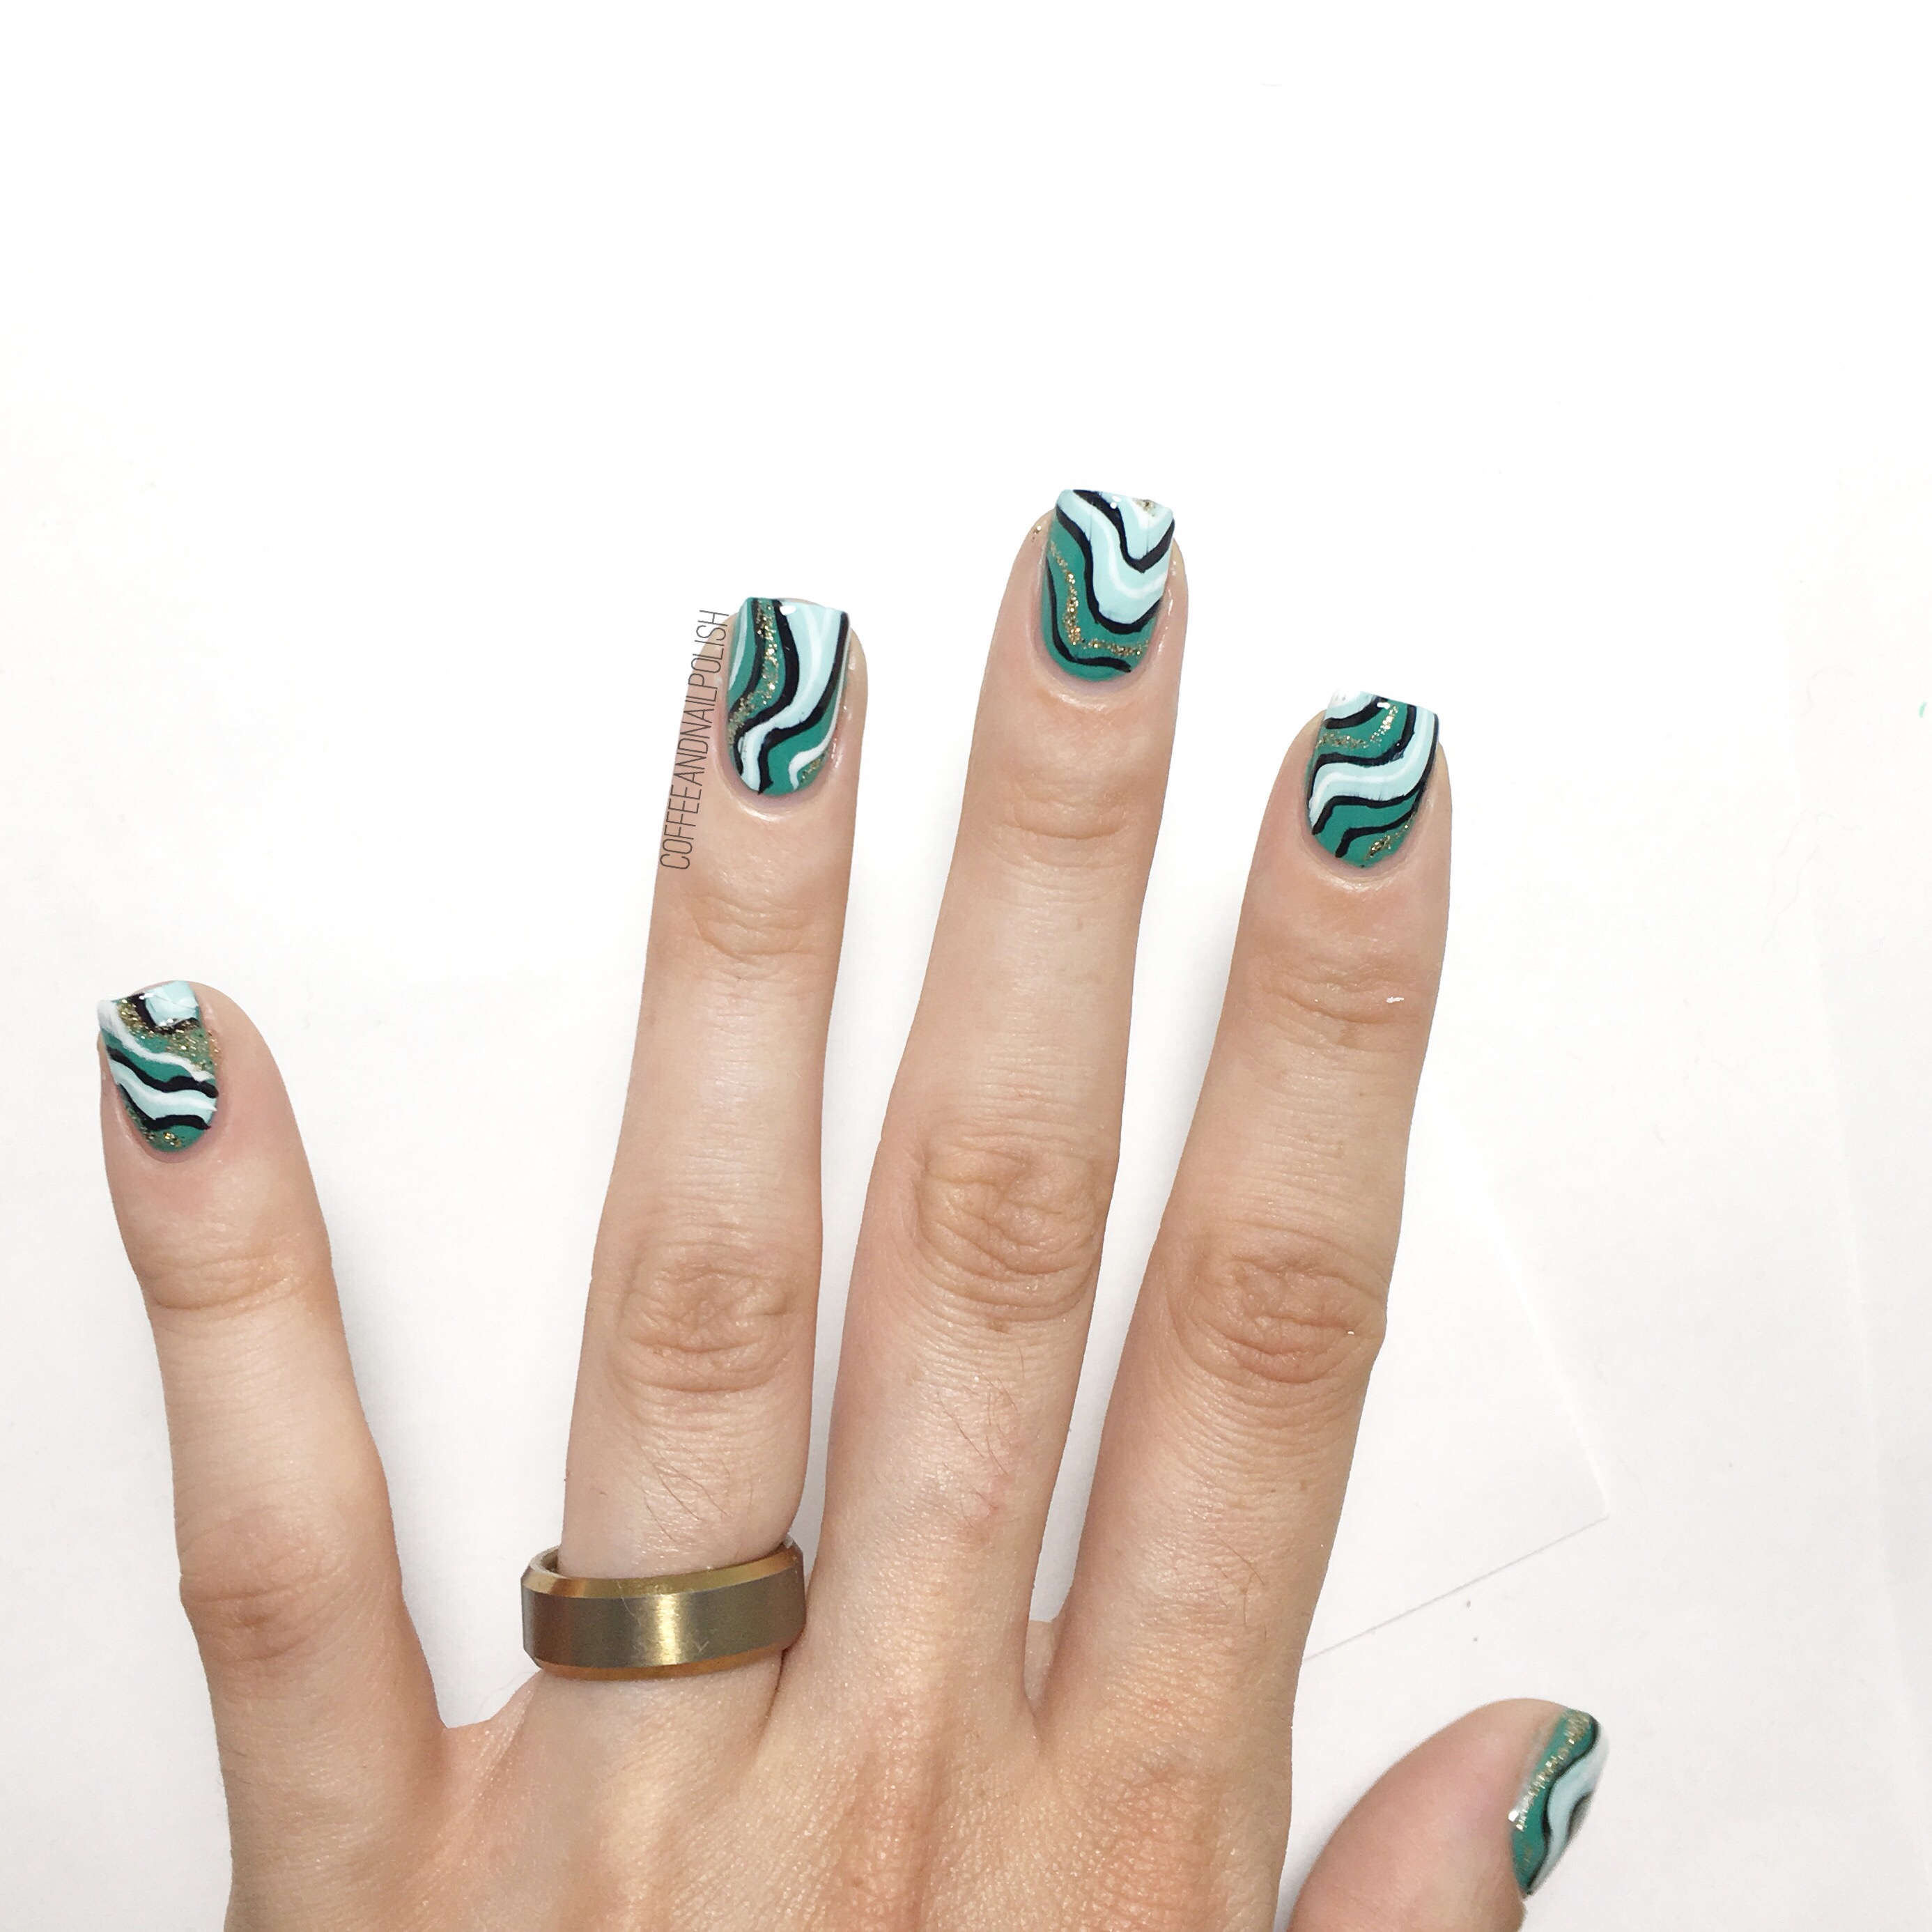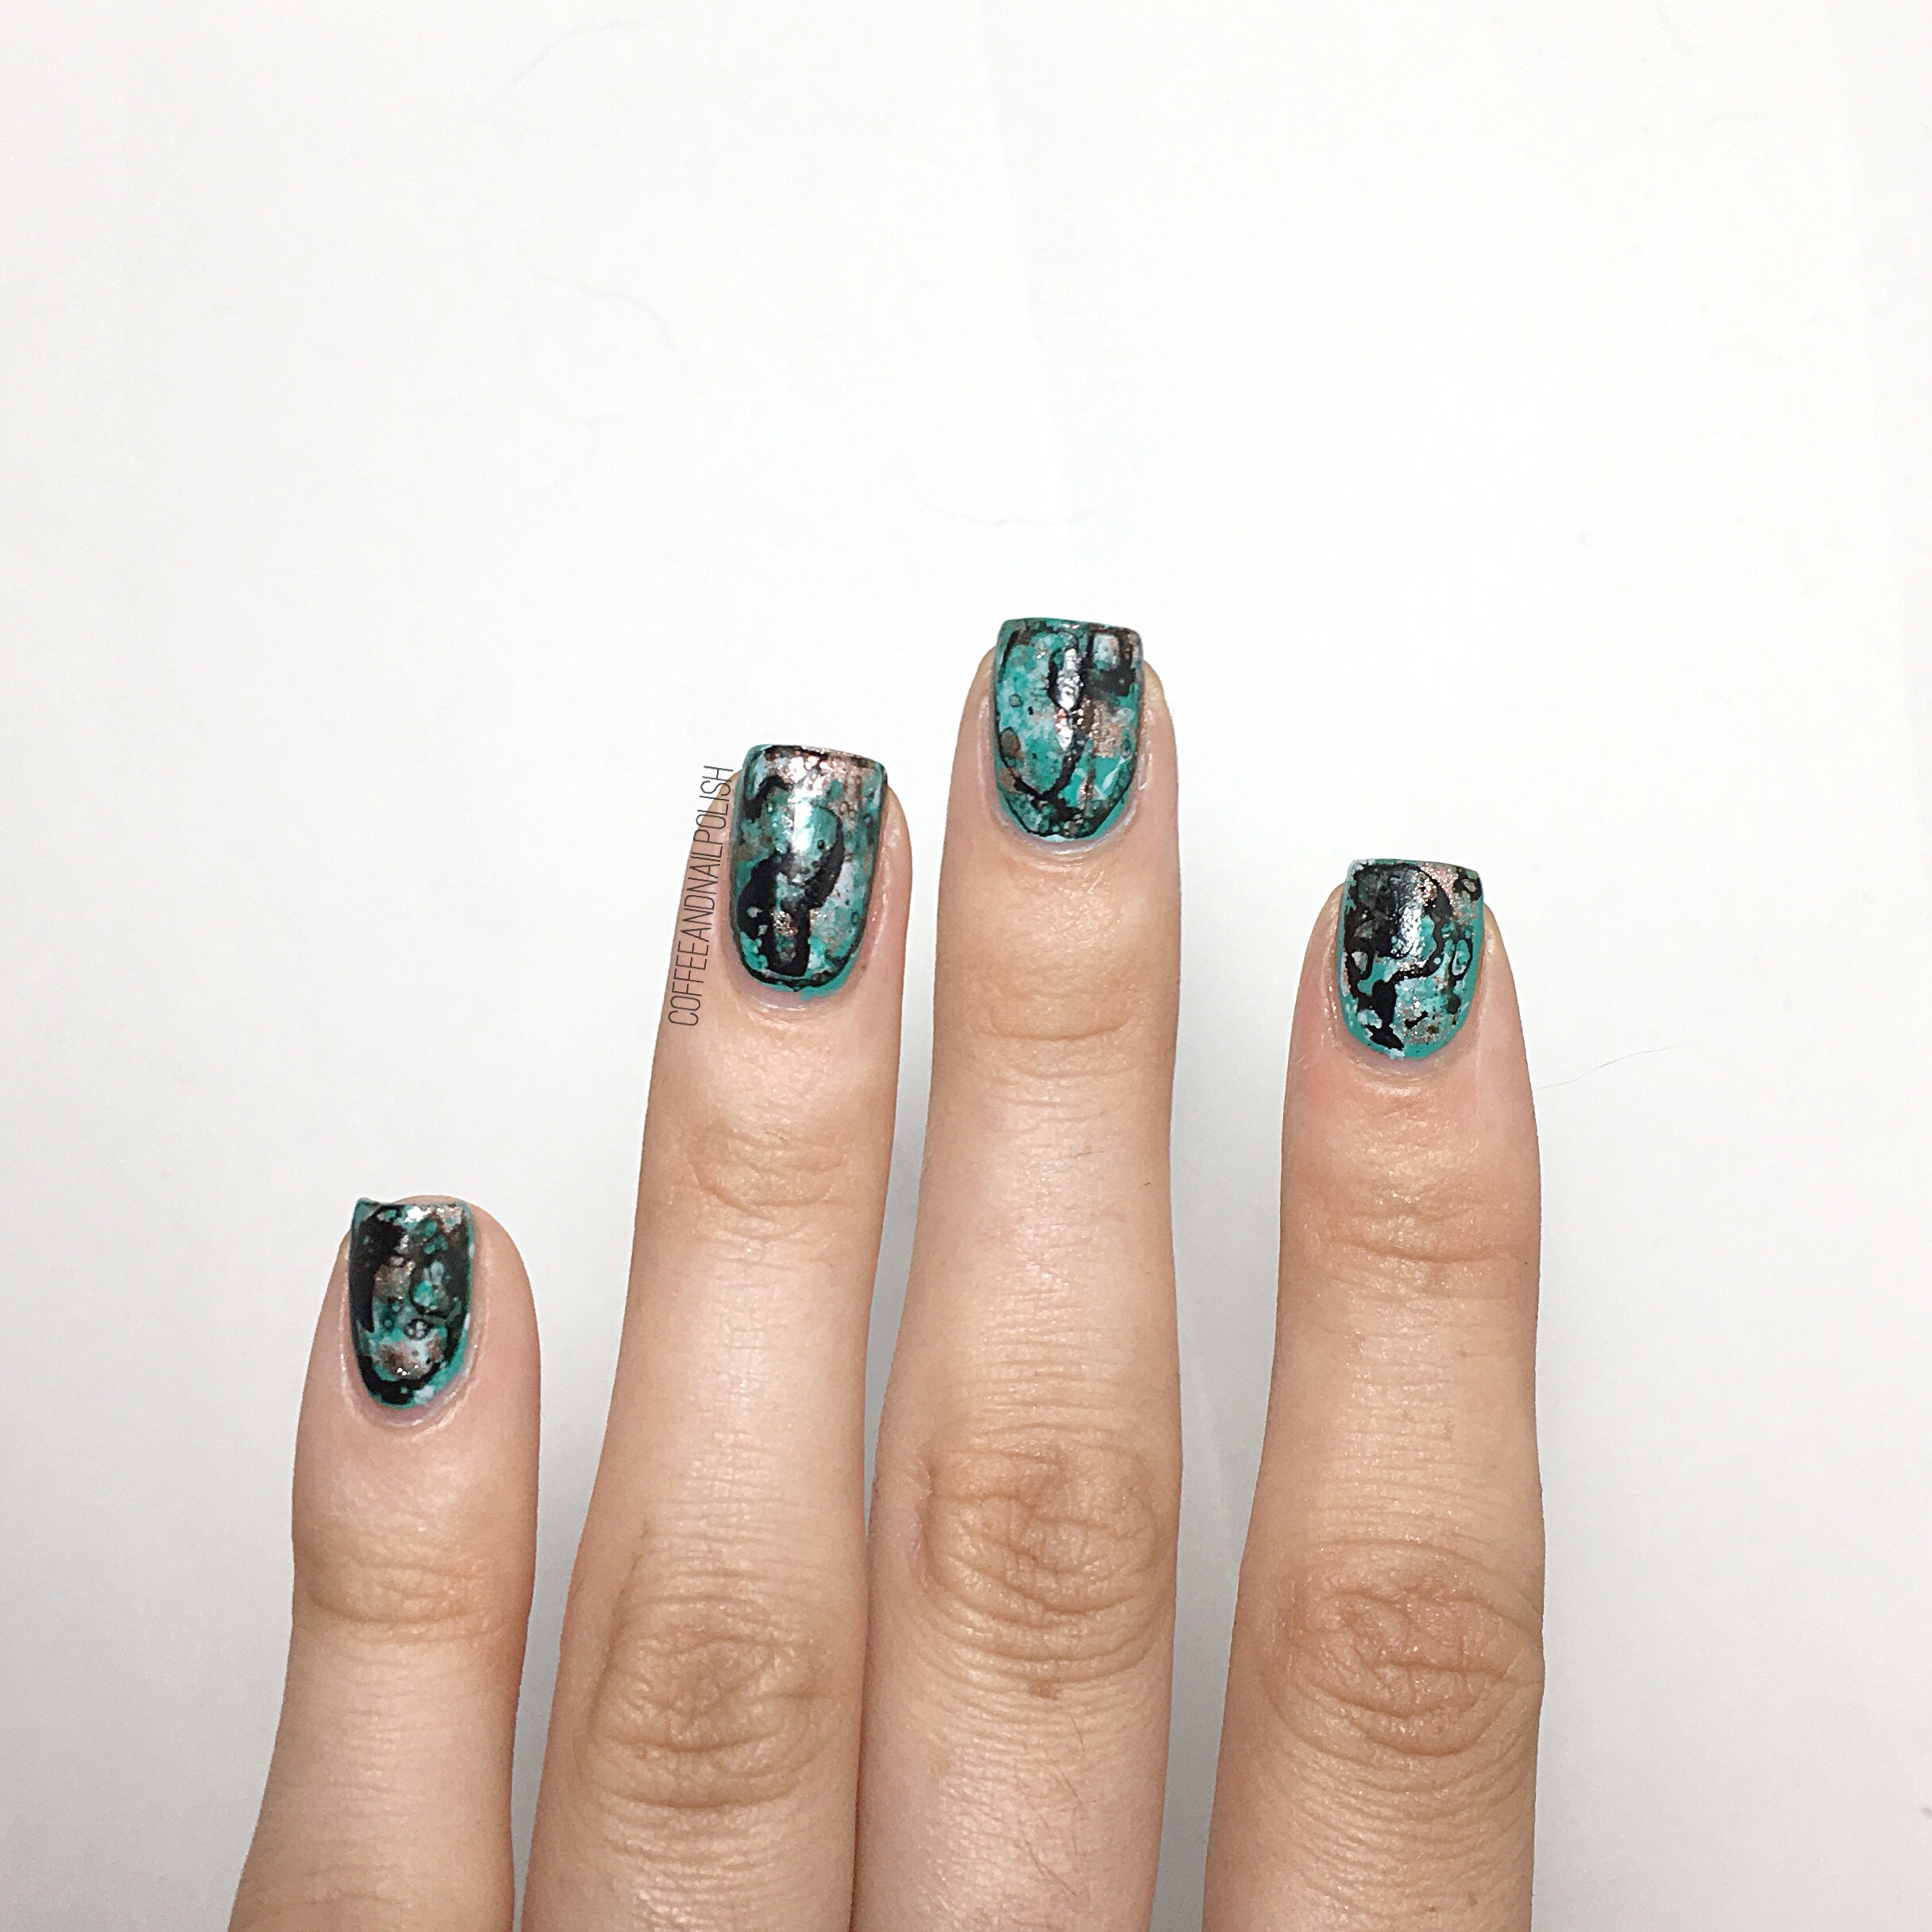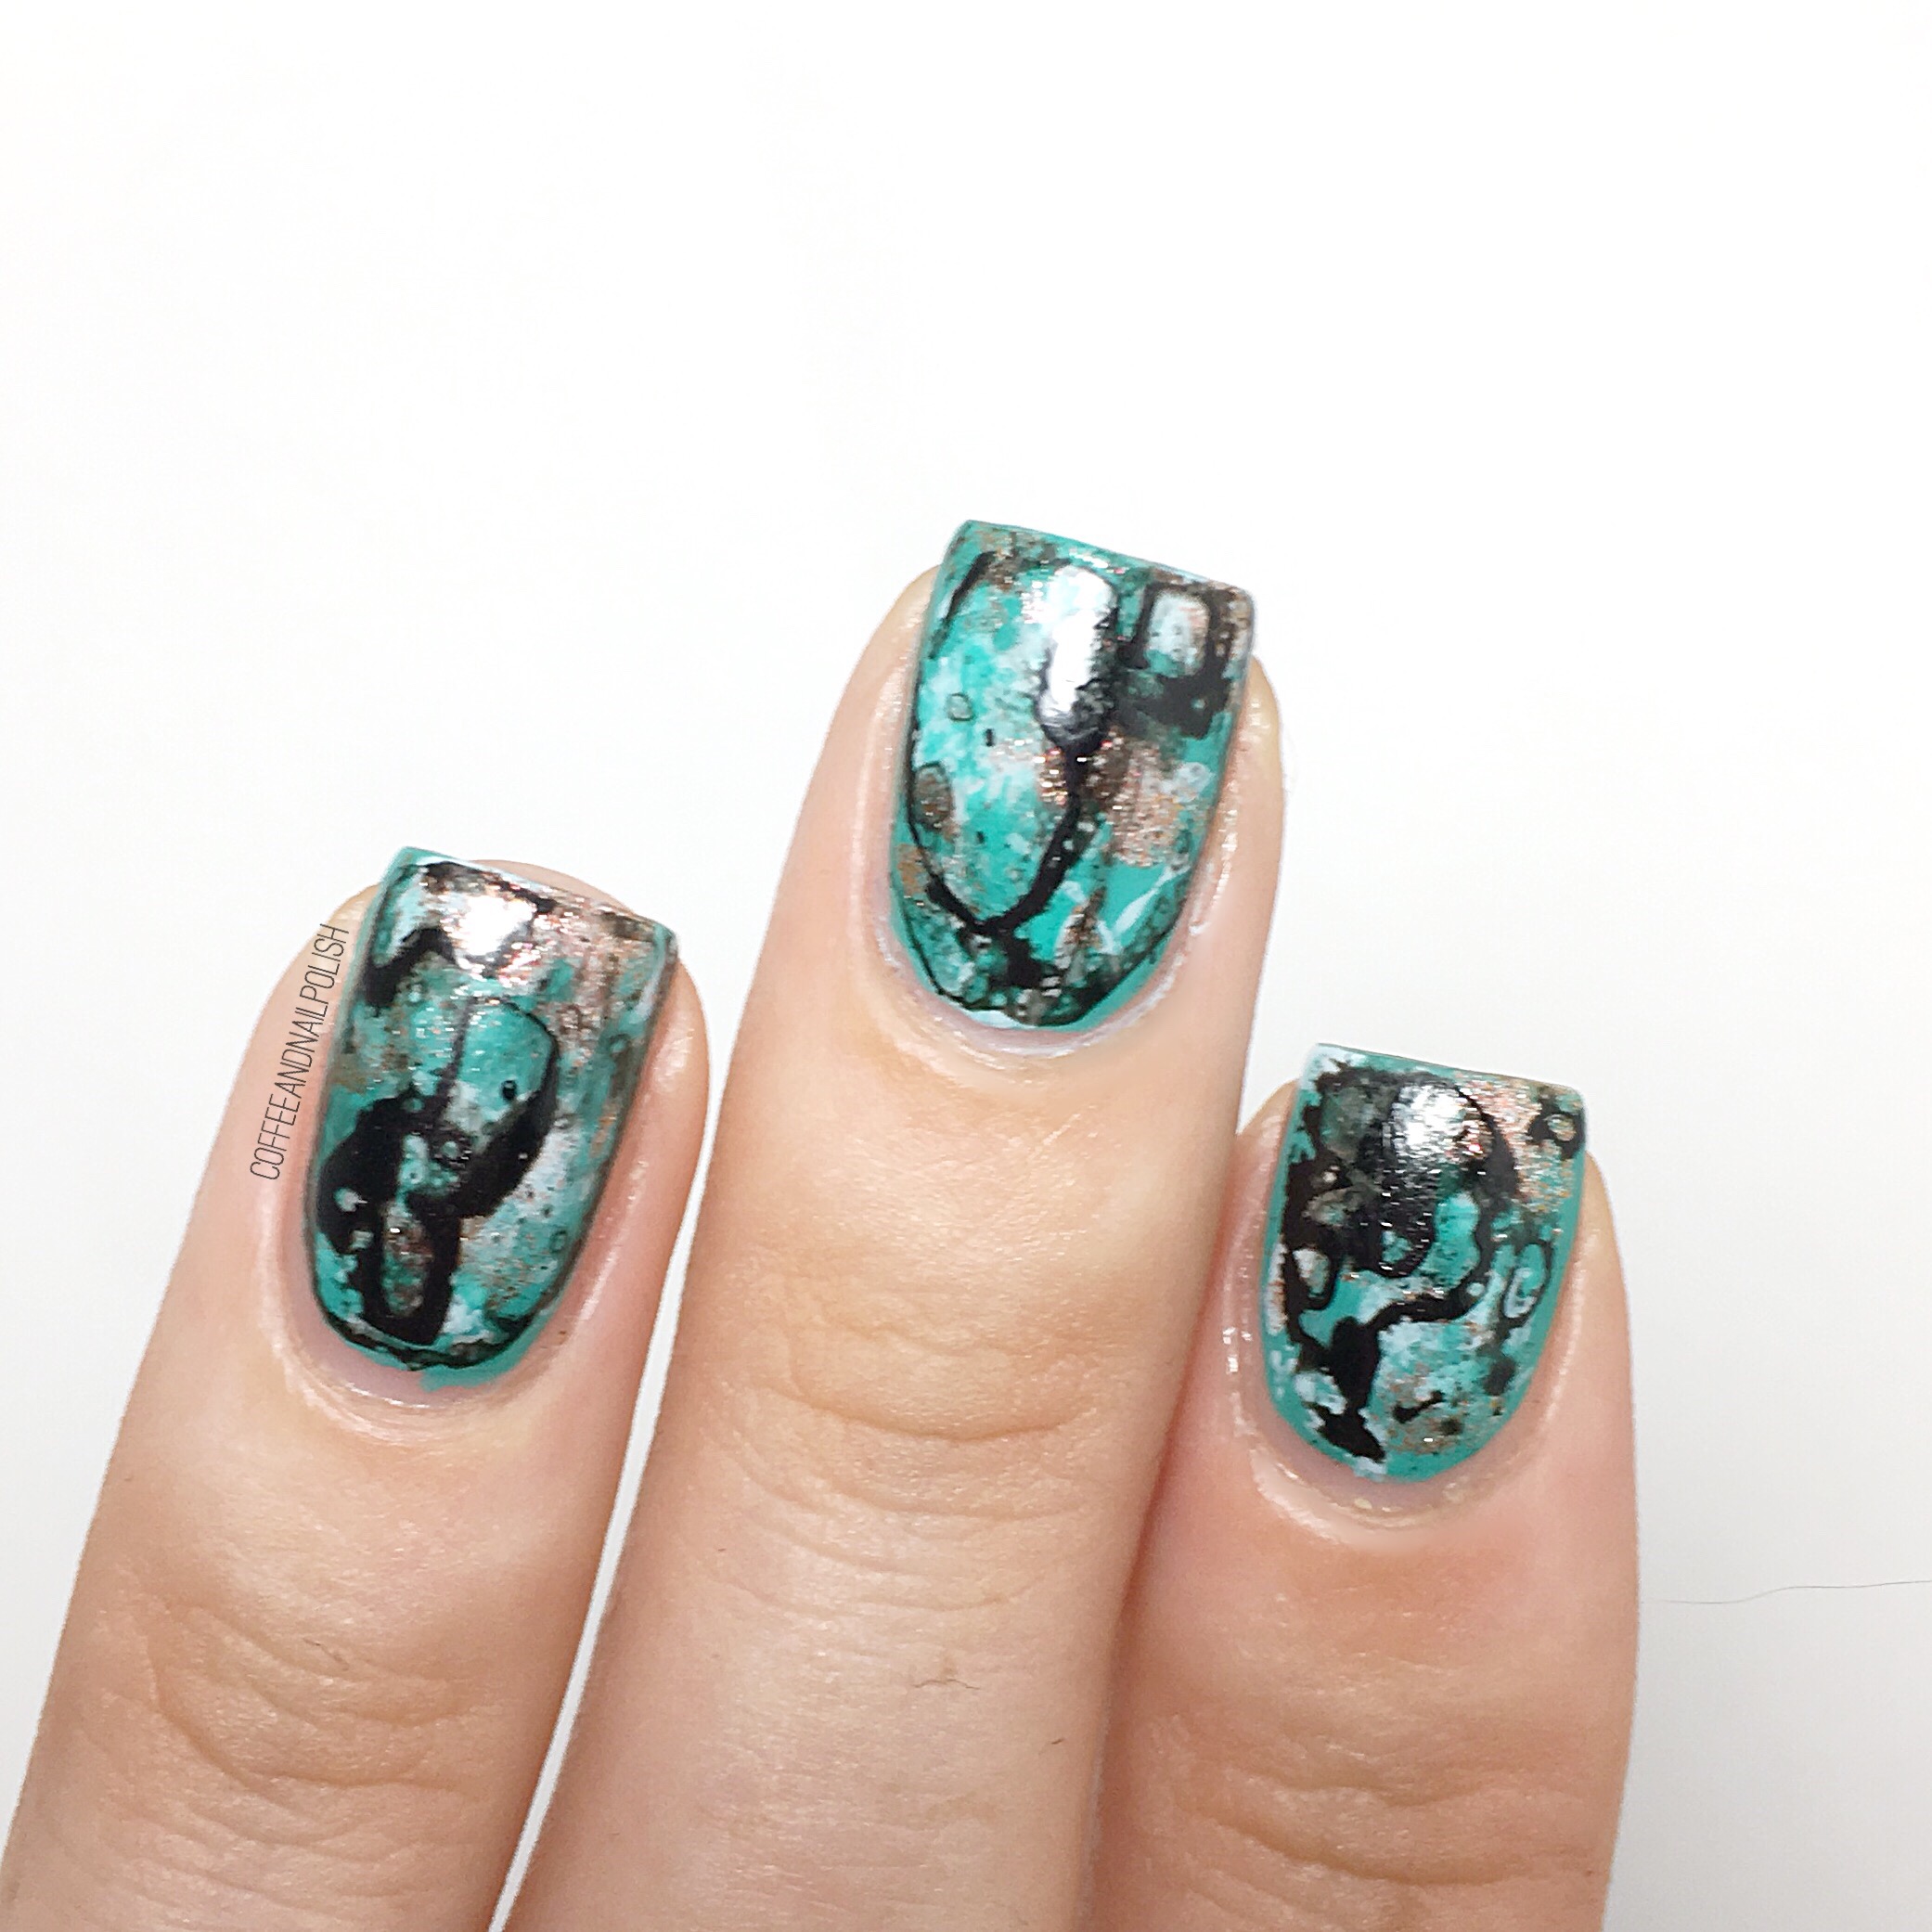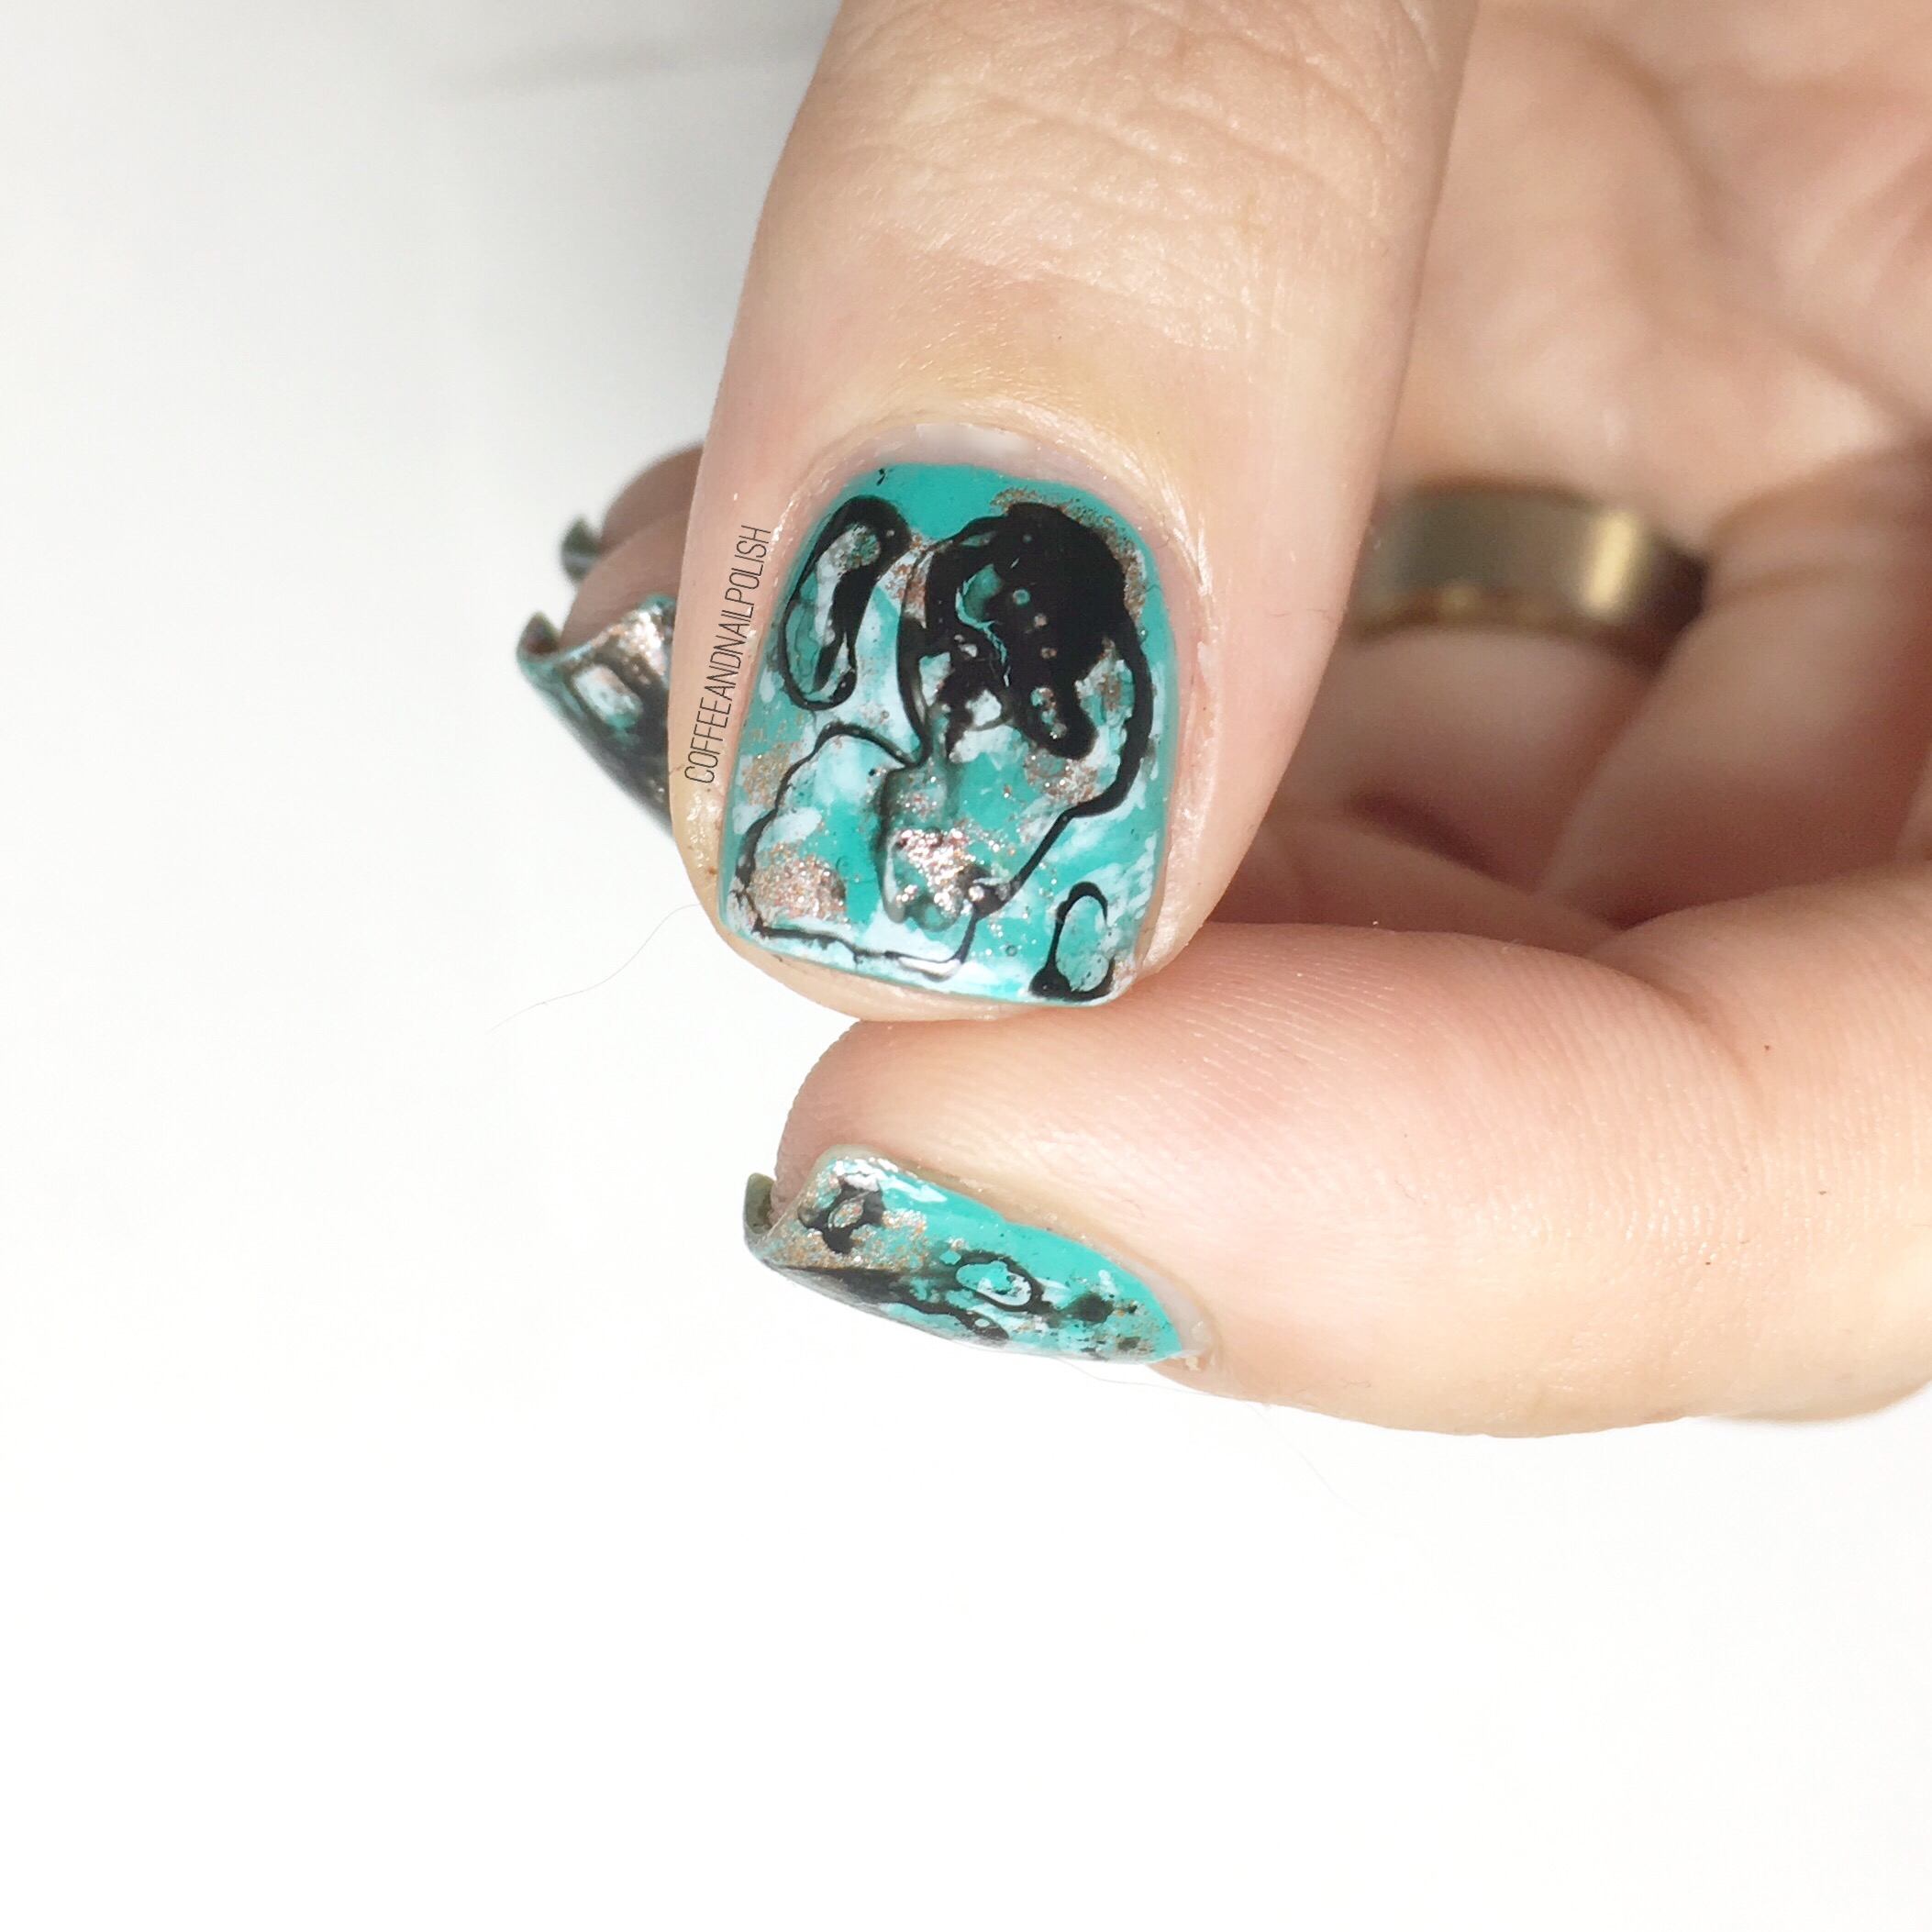
Turquoise Marble Stone Nails


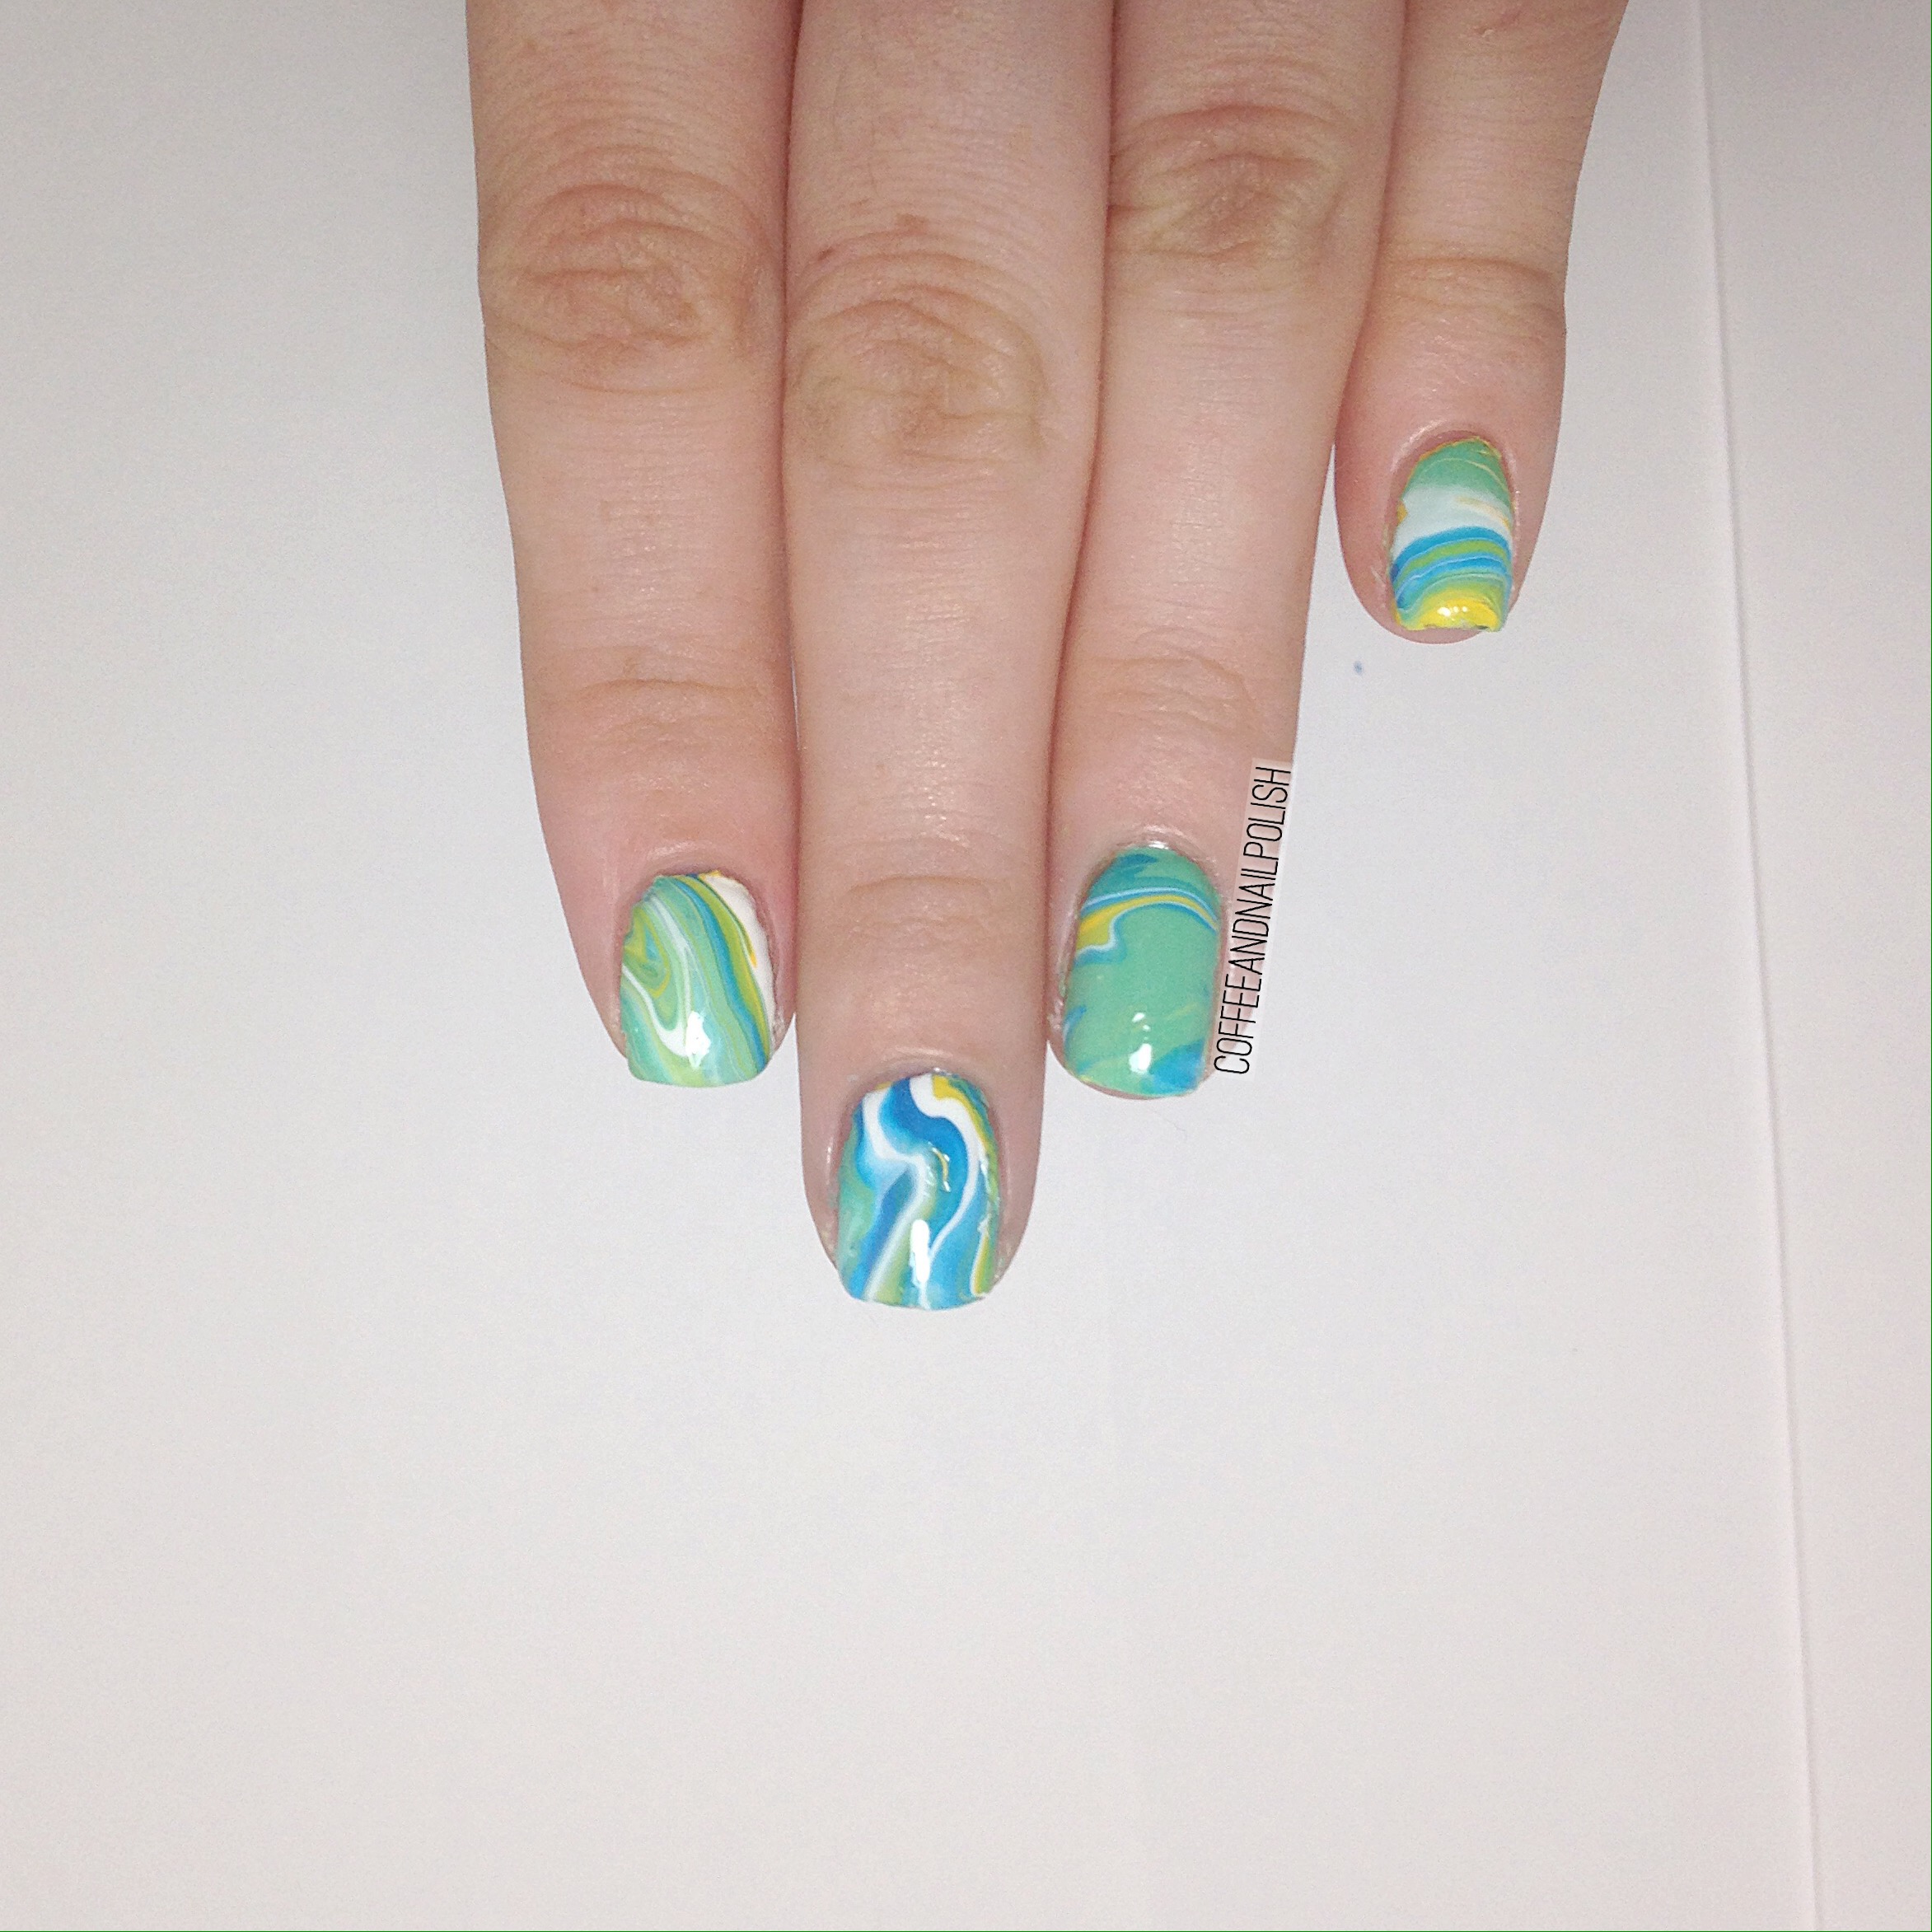
Happy Friday! Today I’m sharing a gemstone/Turquoise stone design. I attempted a similar design three-ish years ago so it felt like a good chance to revisit this design! This is is also the first post using my brand new iPhone 6s. I just can’t get my over the picture quality–it’s awesome! 


For this manicure, I used:

  • Base Coat: Perfect Formula Pink Gel Coat
  • Top Coat: Cutex Quick Dry Top Coat
  • My Beauty Spot unnamed Teal
  • Essie Mint Candy Apple
  • Sally Hansen X-treme Wear Golden-I 
  • Layla Bubbley Effect in Black 

For this design, I kind of made up the technique on the fly. I started off with my base of teal. I then took a piece of crinkled up plastic bag, and dabbed on Mint Candy Apple & Golden-I & finished off with some top coat to seal in the base. After I felt like my base was dry enough (about 5-10 minutes) I grabbed my bottle of Layla Bubbley effect & added splots of the polish on each nail. I then went & ran that nail under water to remove some of the polish which left the black bubbles on the nail. Depending on how it turned out, I would add more black again and repeat the process. When I was happy with each nail, I finished off the whole design by sealing in with top coat. 

This is a super simple design, & it ended up being relatively quick to do. & definitely less clean up than using the traditional water spotted technique that you see for creating stone nails. However, because Layla Bubbley is a special effect polish, I’m not sure how well it would work with normal polish (I’m guessing probably not very well.) However, I’m thinking it might work out with acrylic paint which I’ll have to add to my list of things to do! If you try it out, let me know how it works out! 

So what do you think of these turquoise stone nails? Would you wear these? Let me know your thoughts in the comments below! 

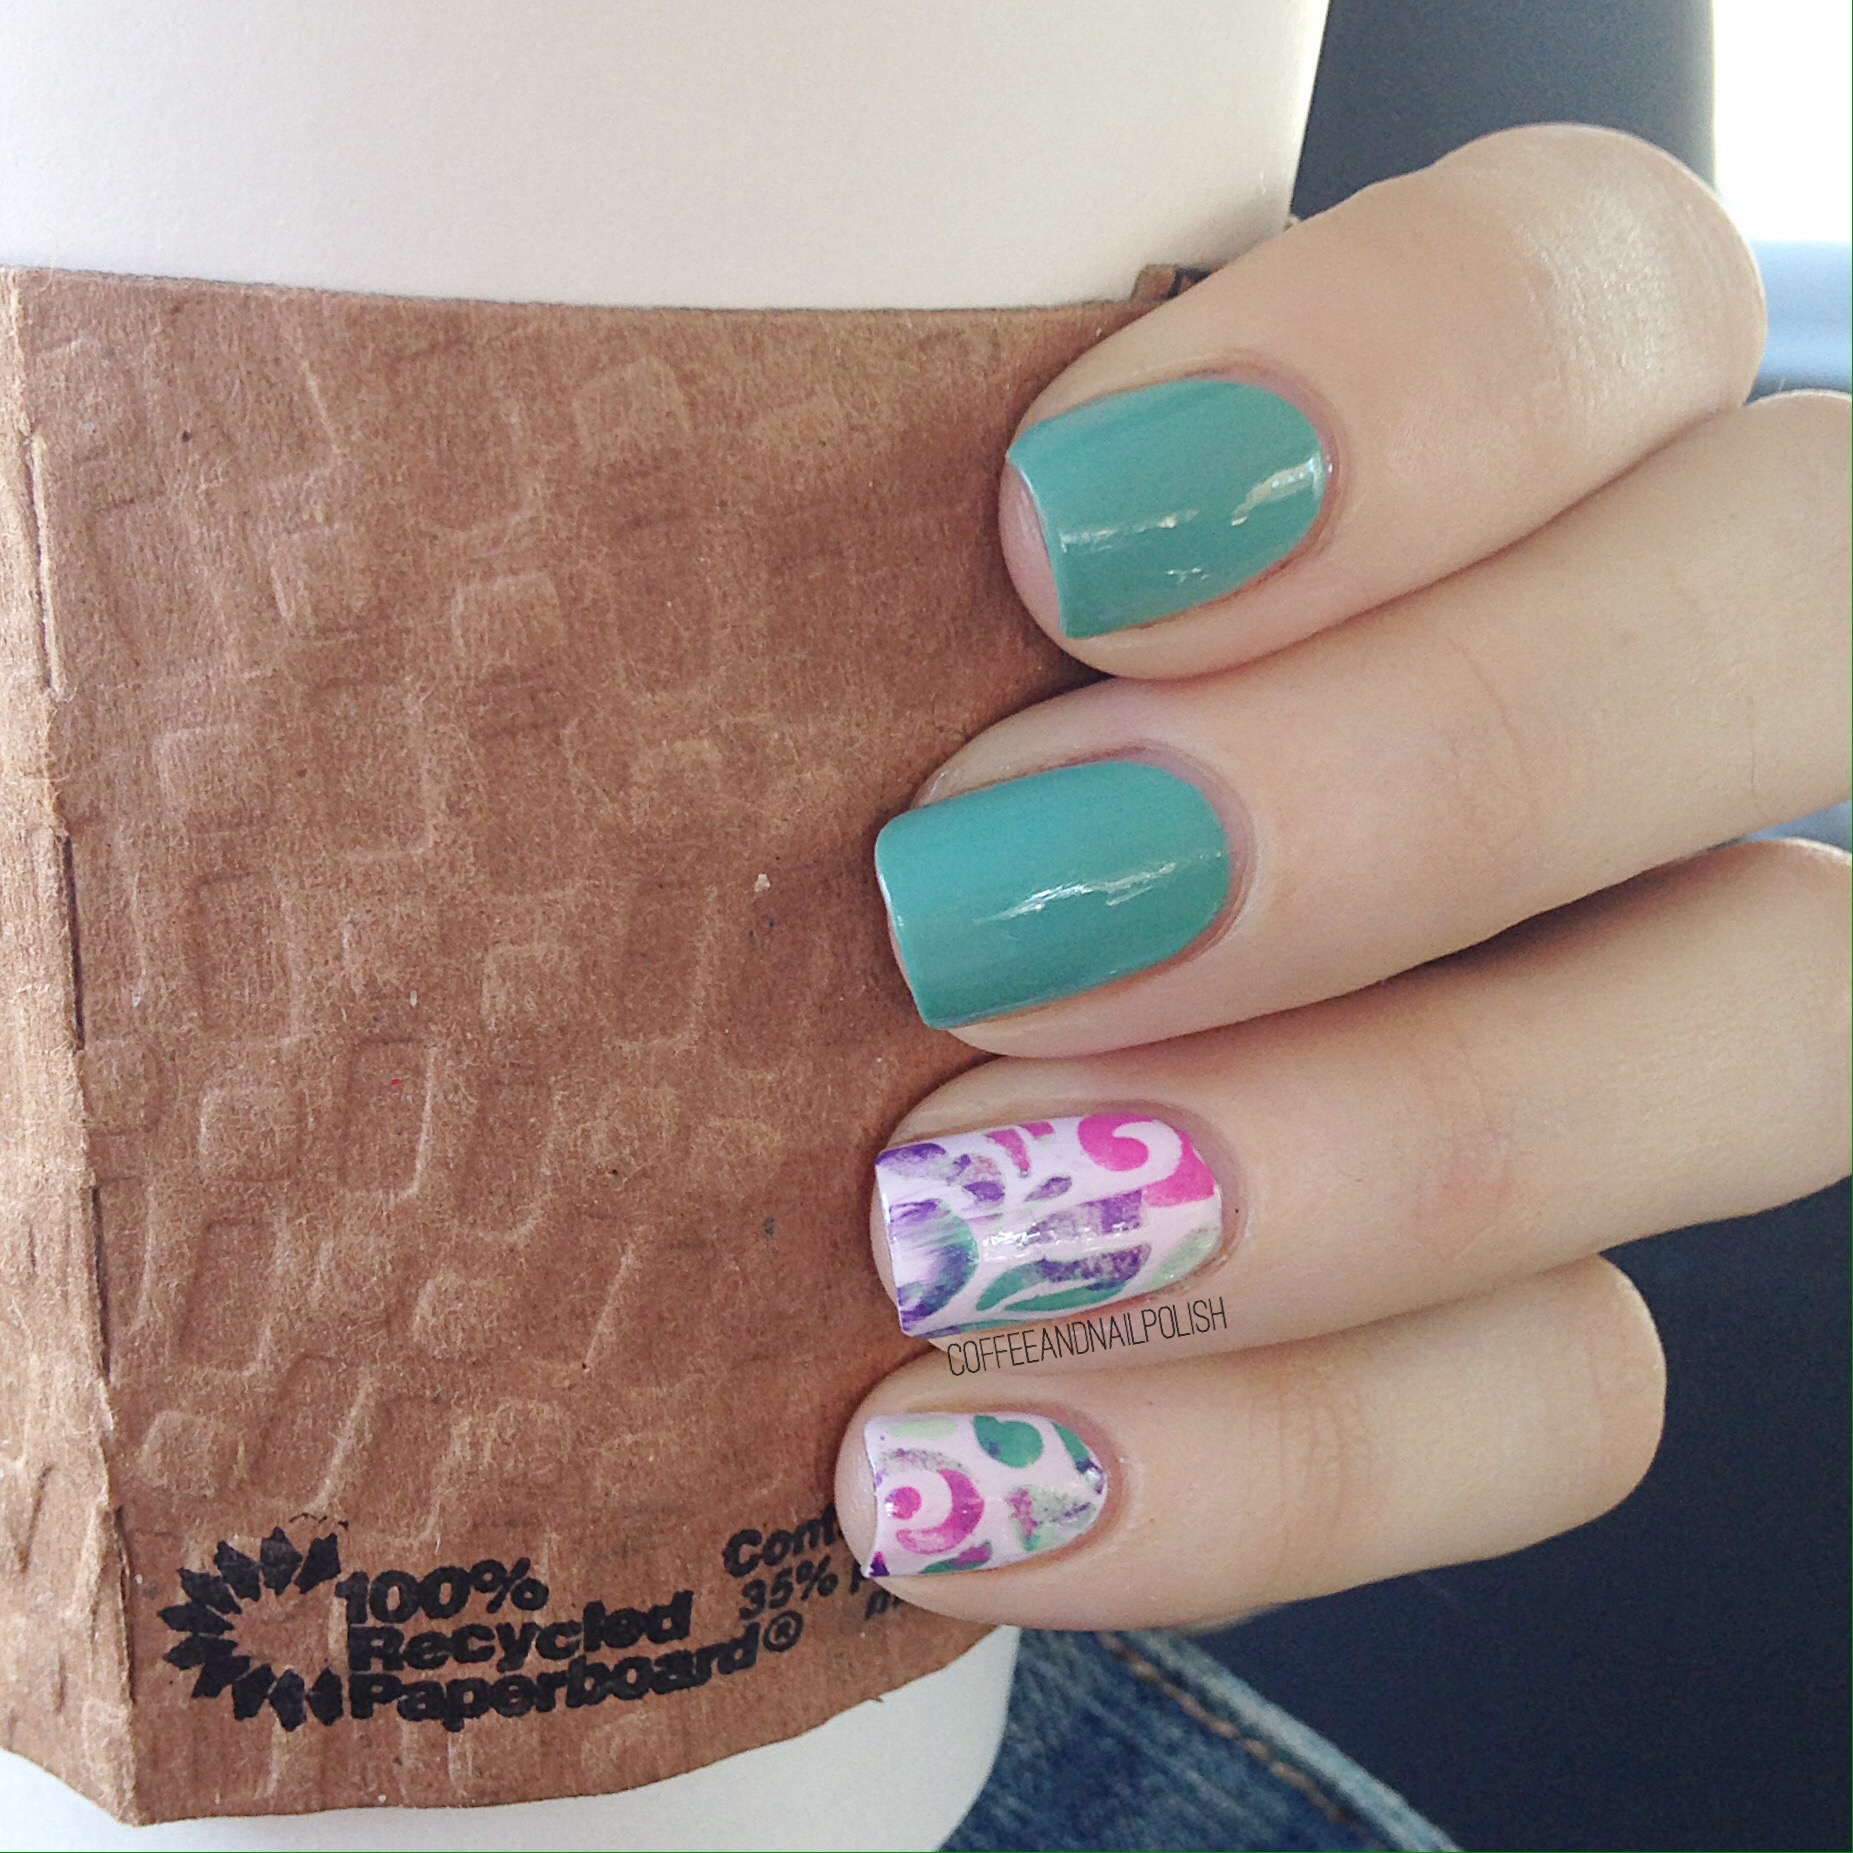
Psychedelic Patten Nails

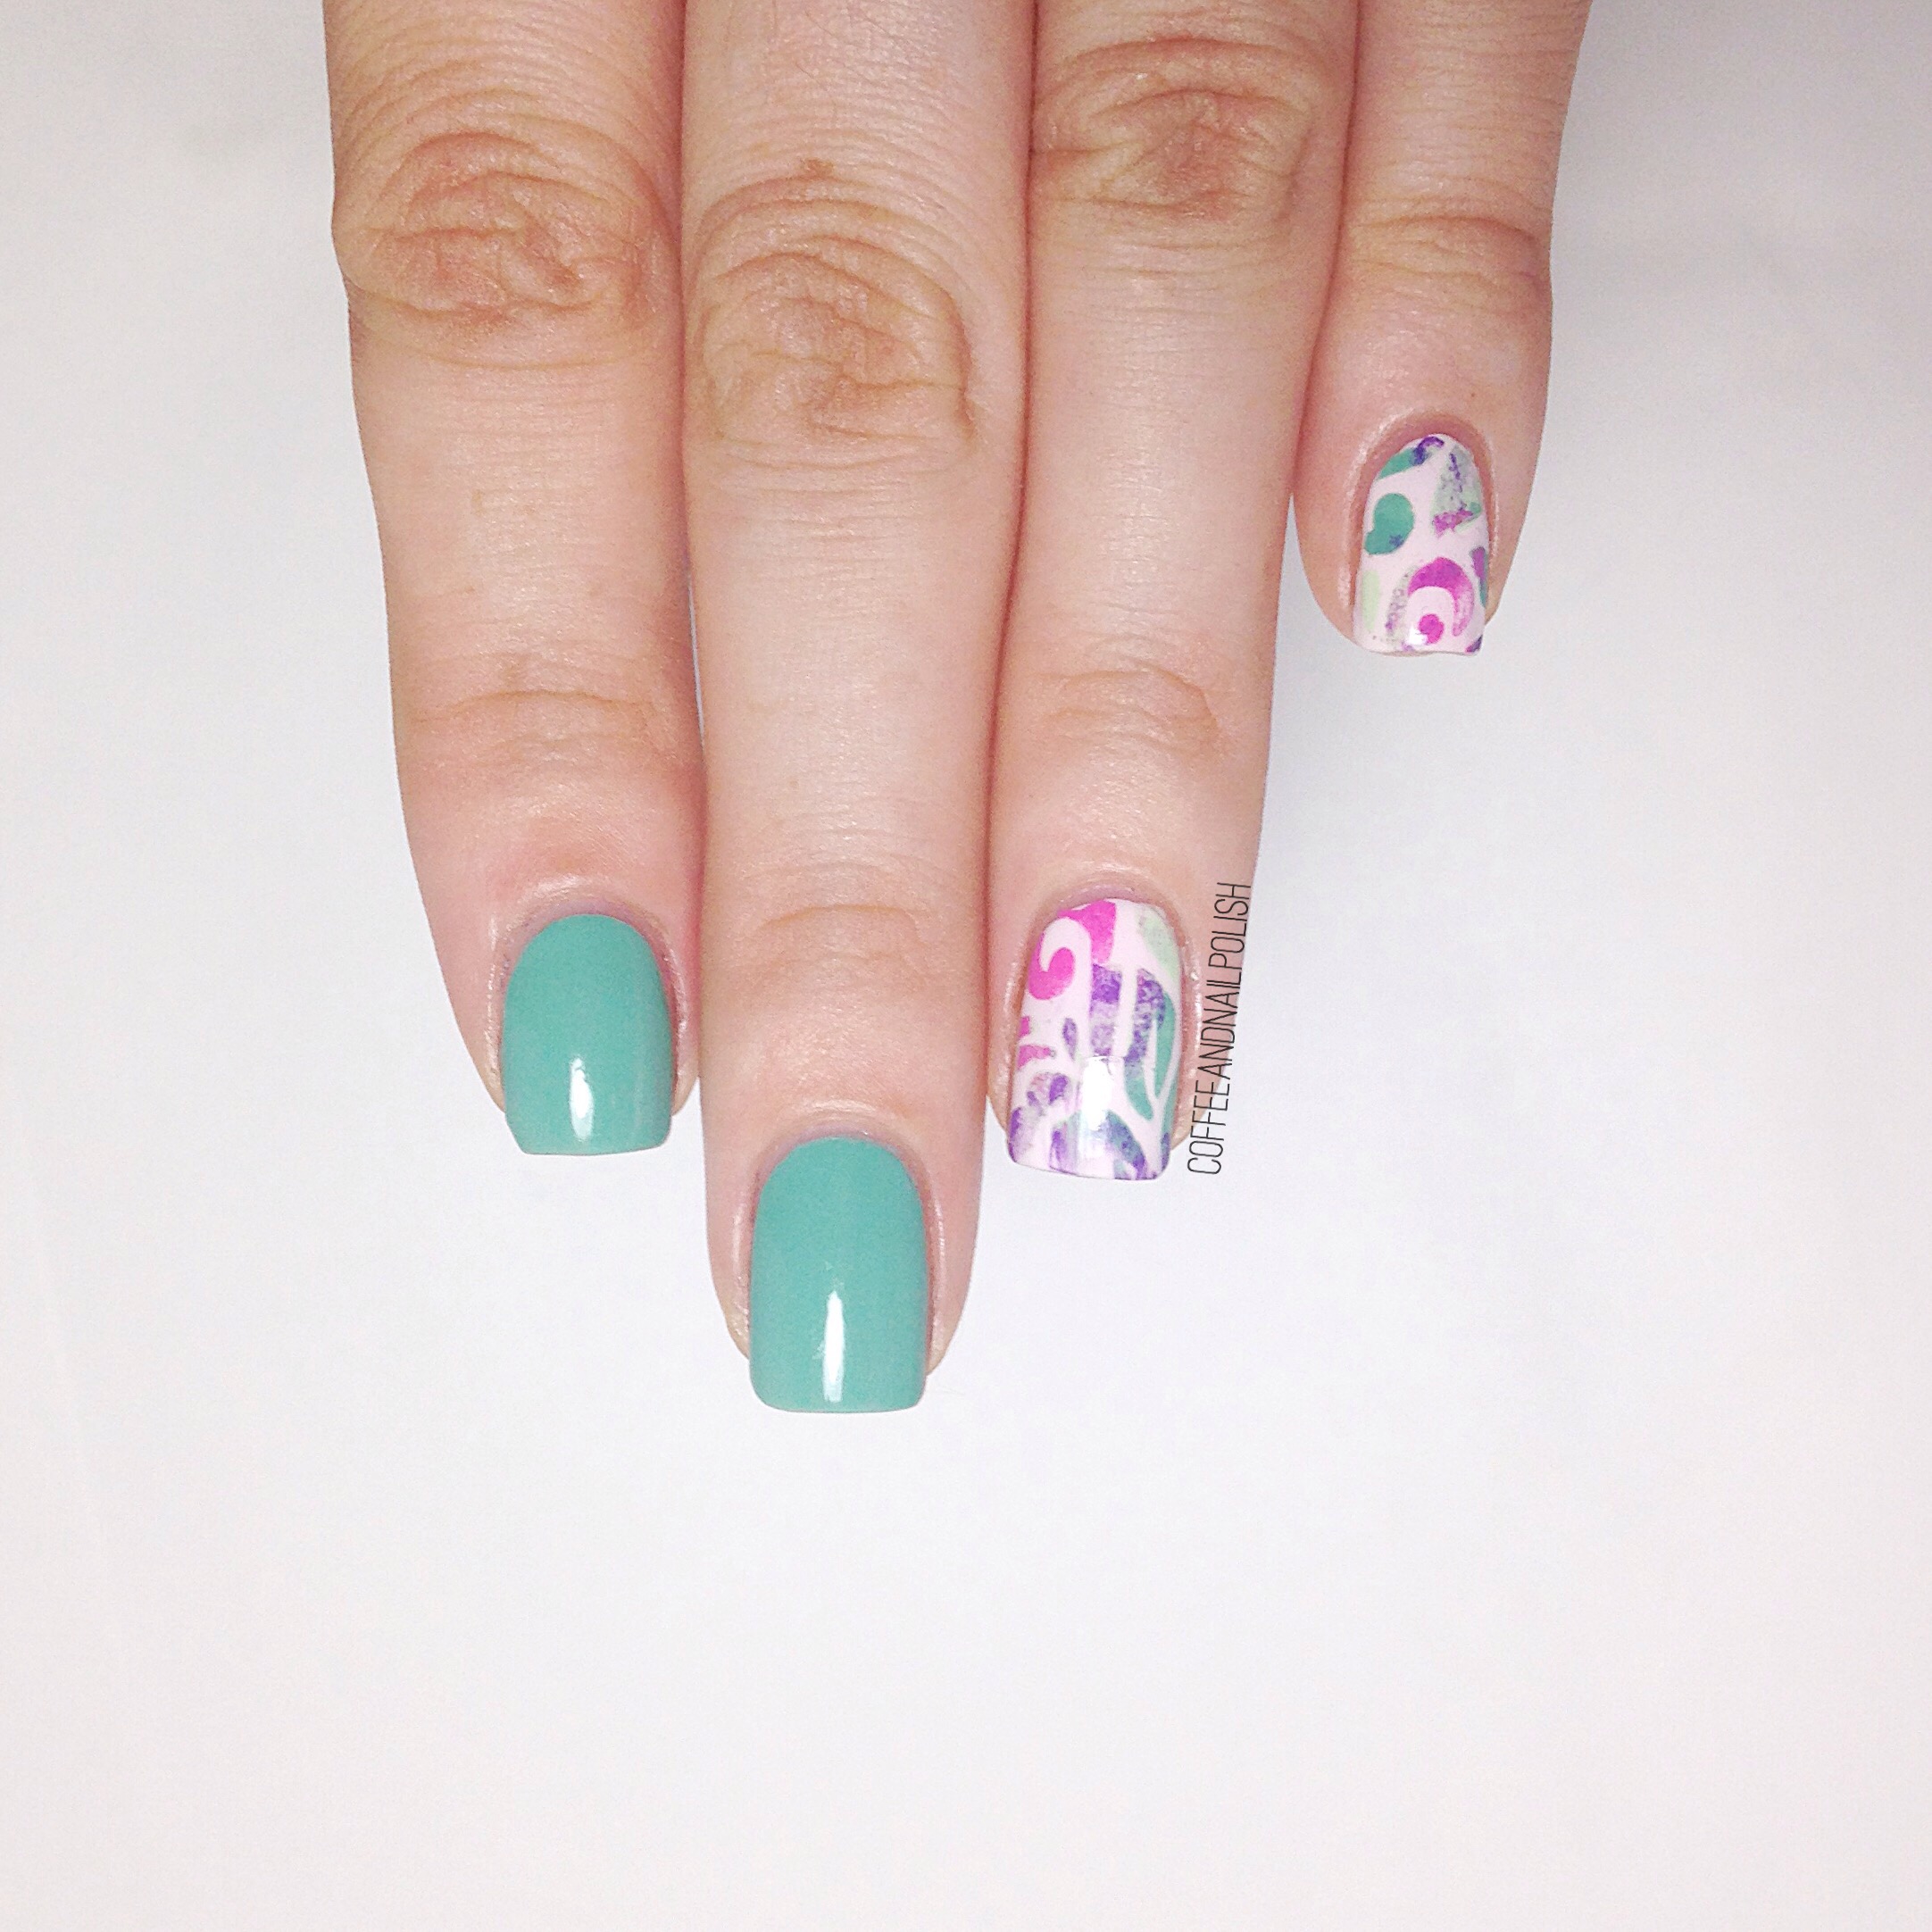
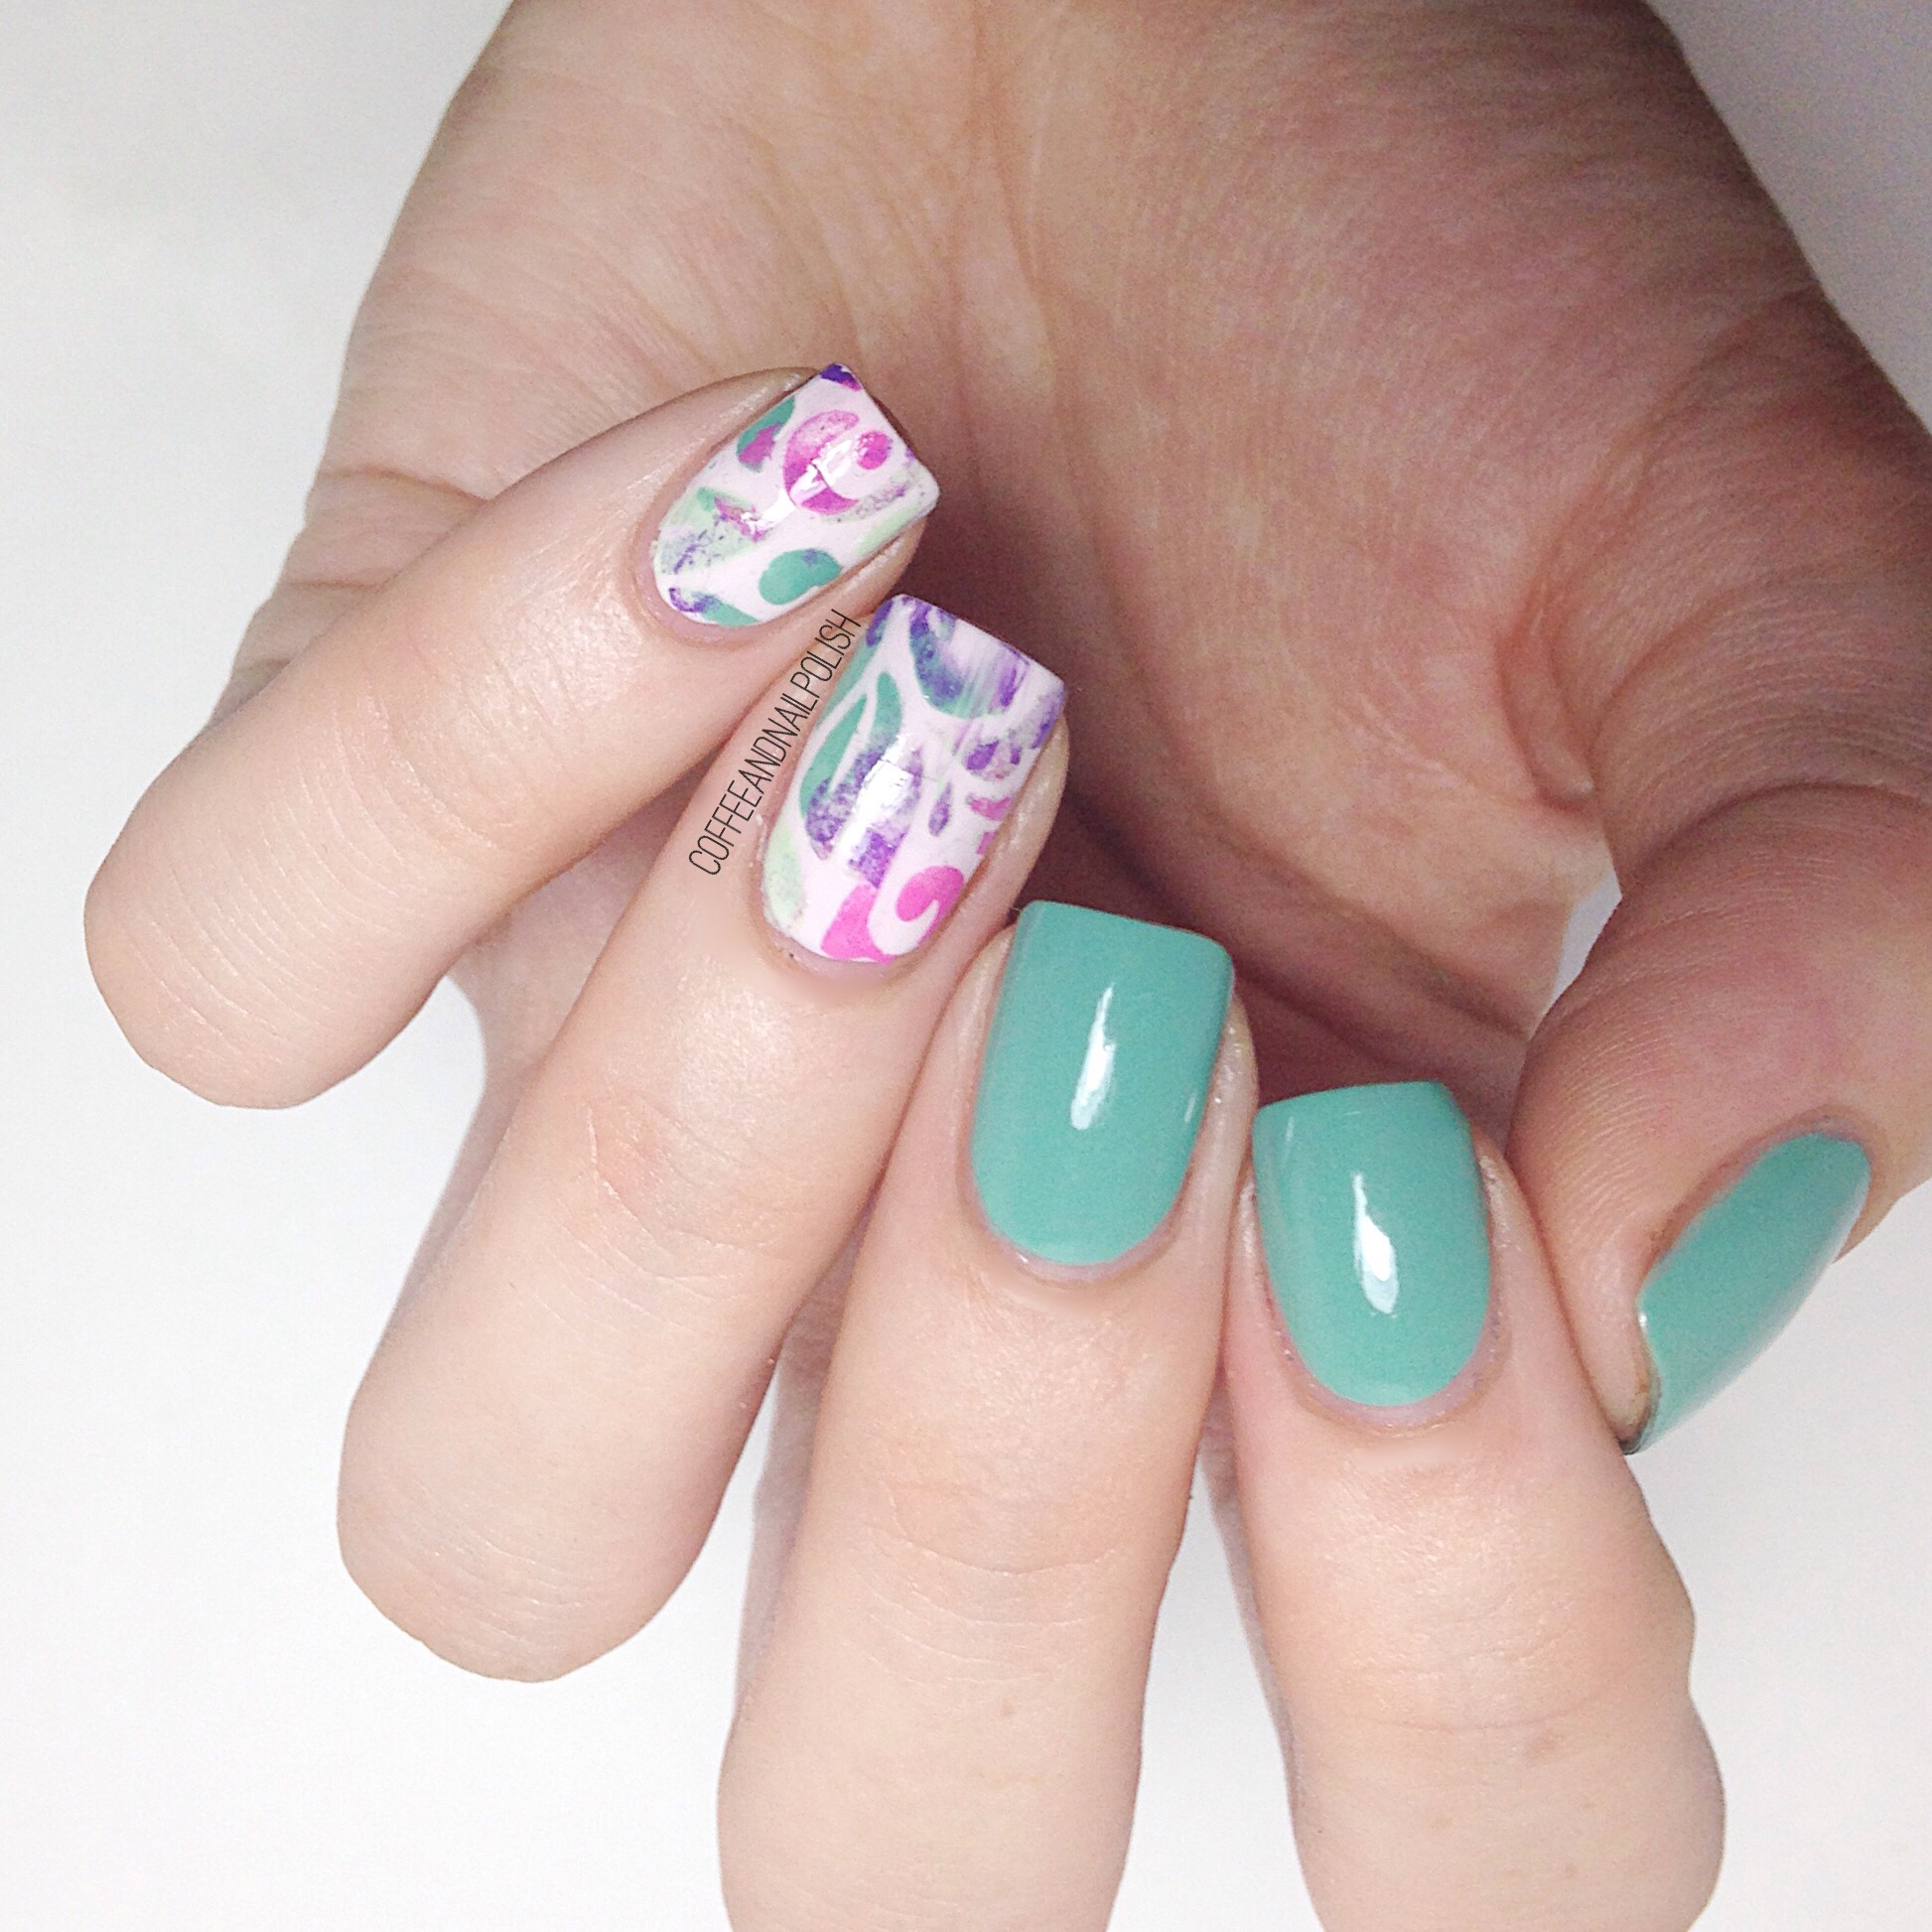
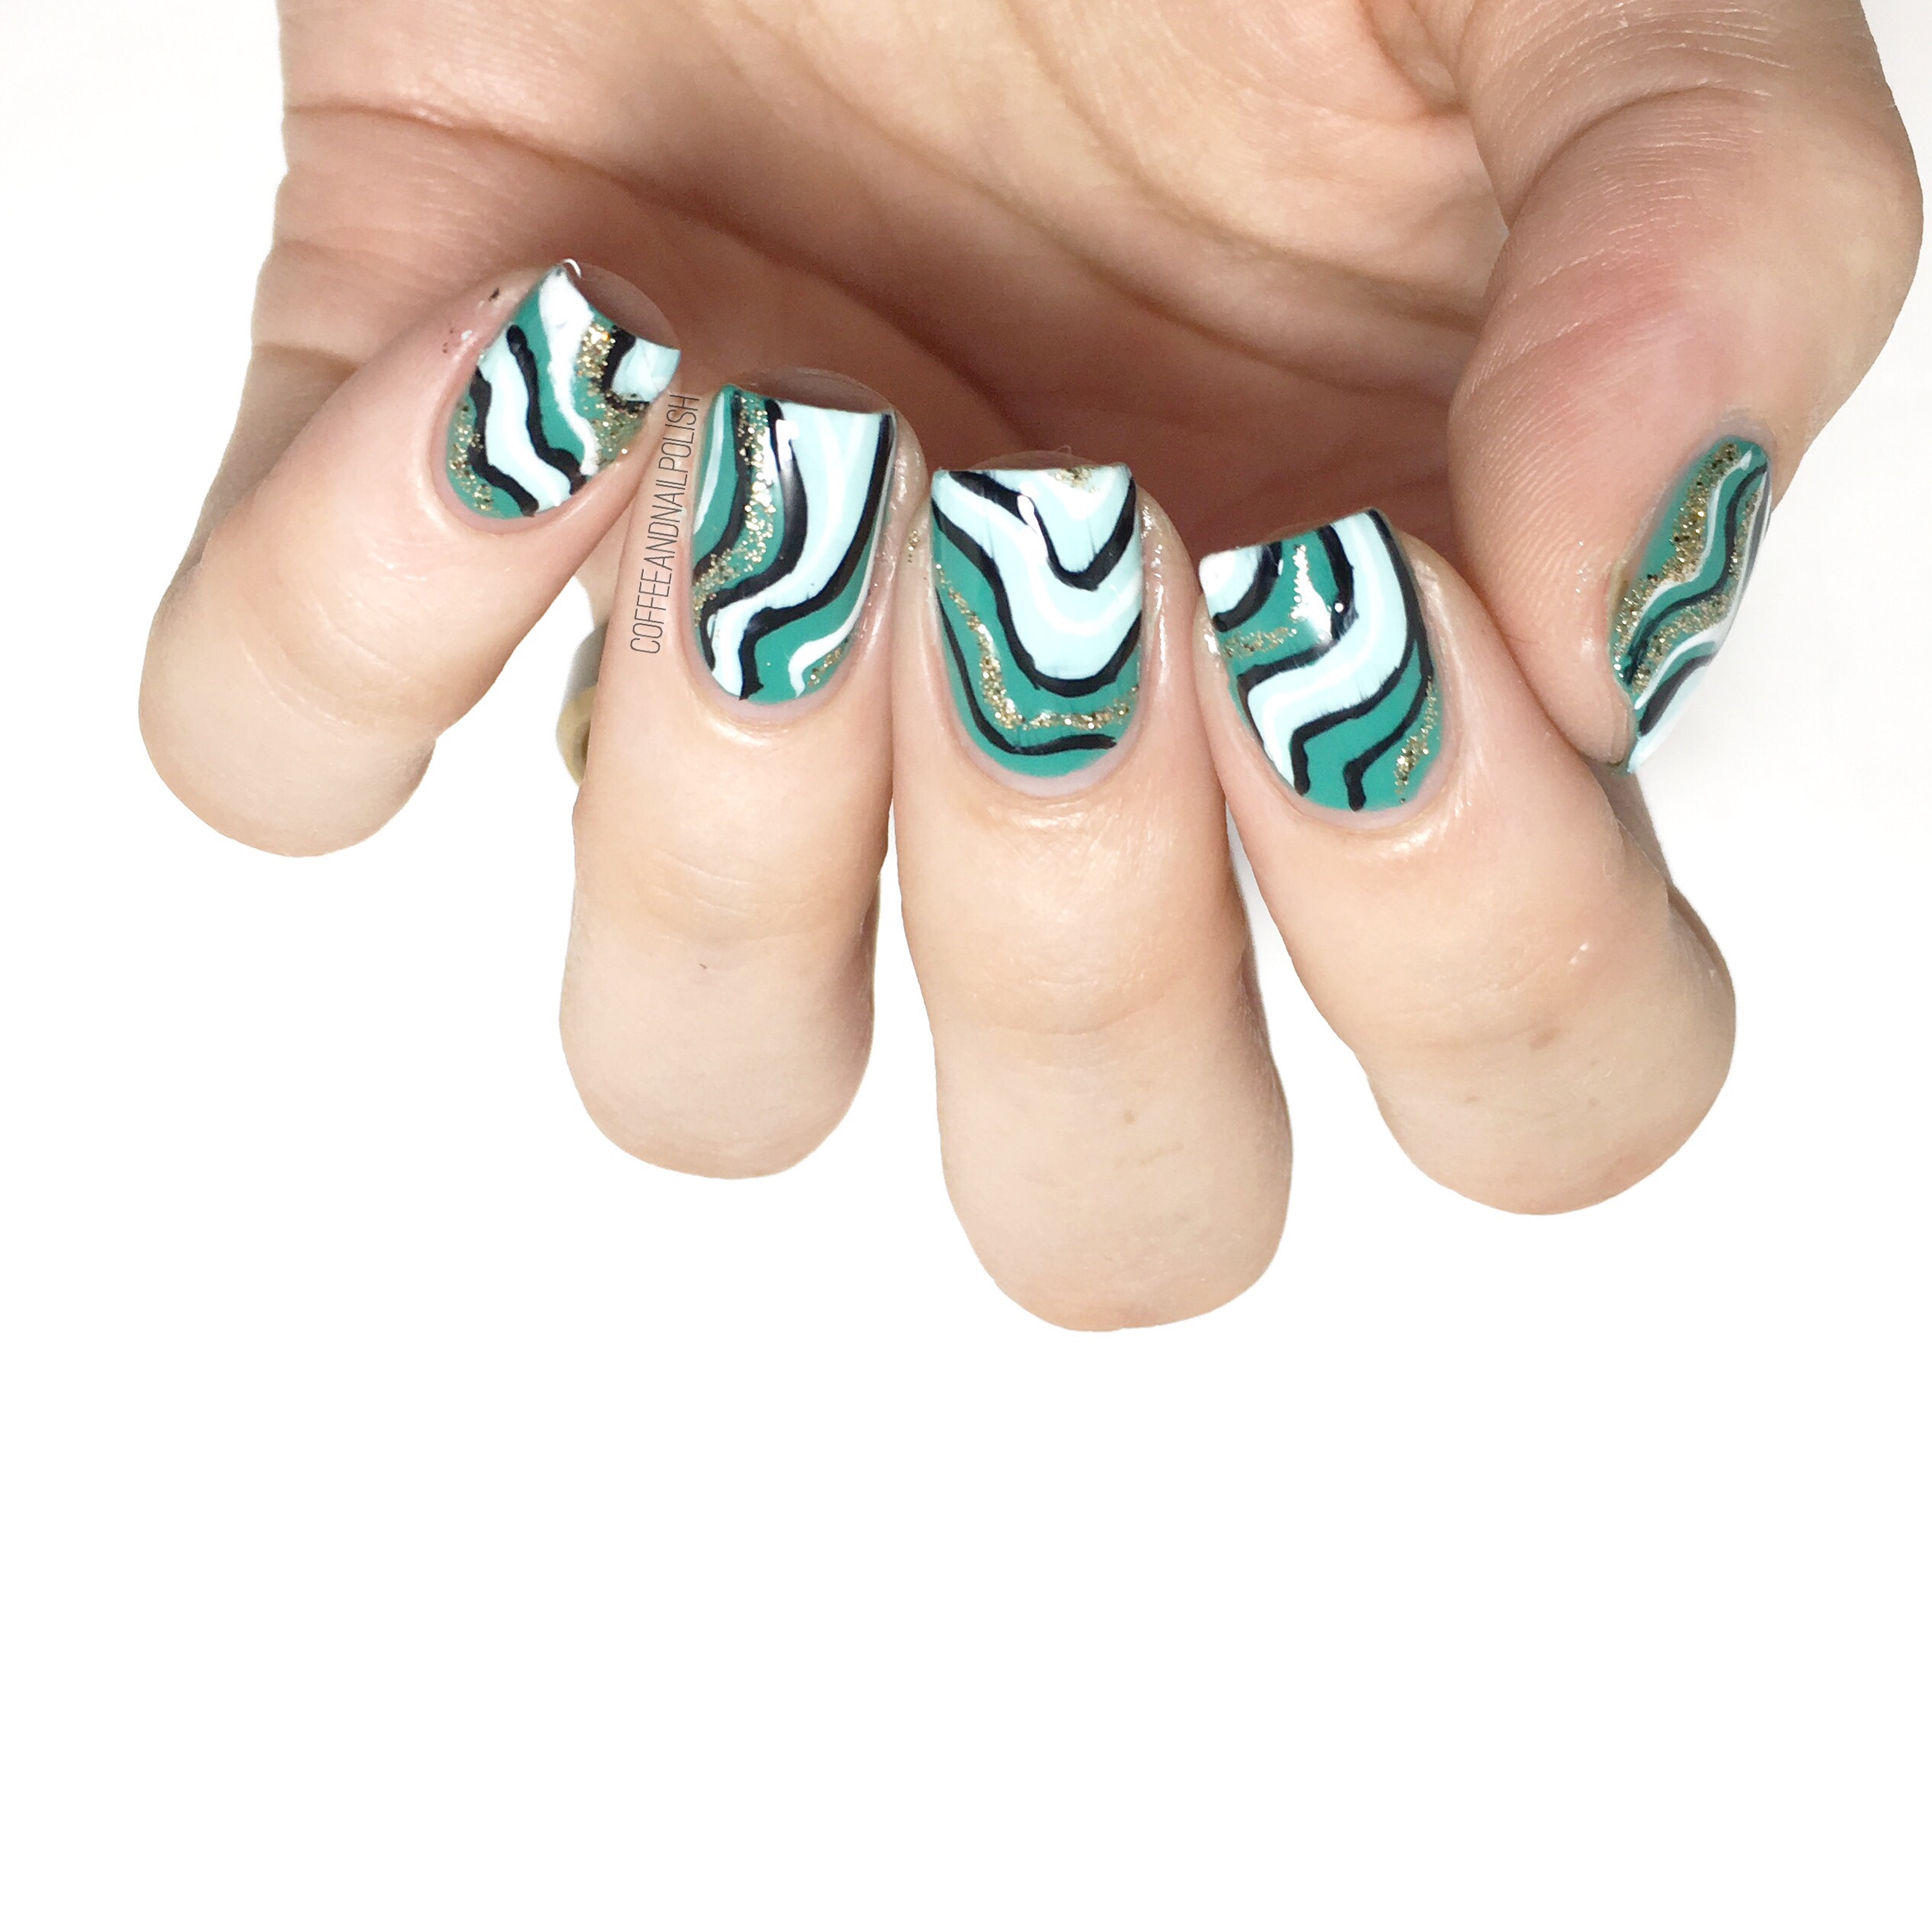
Happy Saturday! Today I have some patterned accent nails to show off using more vinyls from Xroma Polish & Vinyls. This time I picked  the Psychedelic Stencils & some pretty OPI shades to create my look. 

For this manicure I used:

  • Base Coat: Perfect Fotmula Pink Gel Coat
  • Top Coat: Cutex Quick Dry Top Coat 
  • OPI My Dogsled Does Tricks
  • OPI I Canolli Wear OPI
  • OPI Do You Have This Color In Stock-holm
  • OPI Two Timing The Zones
  • OPI That’s Hula-rious
  • Xroma Polish & Vinyls Psychedelic Stencils
  • Latex Free Make Up Sponge 

Aren’t these vinyls just something.? I love how fun & different they are. They were so easy to use & I think the colours blended so well together.  It created such a fun & unique look. I also really like the combination of colours–& they’re not blue so I’m sticking to my personal challenge for June! 

Patterned accent nails are some of my favourite quick designs using nail vinyls, & ive been all about the quick designs lately as my time has been limited for any Me-time. It’s been a struggle to have any blogging time at all, but I’m trying my best to keep thinking a going even if it means writing blog posts at 3am. 


What do you think of these patterned nails? Let me know in the comments below! 

Simple Geometric Nails Featuring Essie Watermelon 🍉

Do you remember what your first was? Nail polish I mean! Do you remember your first Essie, first China Glaze, & first OPI? What were the polishes that started the obsession? I was looking through my stash the other night, trying to find a colour to paint my nails, & picked up my bottle of Essie Watermelon which was the very first Essie I ever owned. I can’t ever remember the last time I put it on, so it seemed like a good day to pull it out. 

For this manicure, I used:

  • Base Coat: Perfect Formula Pink Gel Coat
  • Top Coat: Cutex Quick Dry Top Coat 
  • Essie Watermelon
  • Essie Strut Your Stuff
  • Essie Mint Candy Apple
  • Xroma Polish & Vinyls ‘X’ stencil (I used the inside part). 

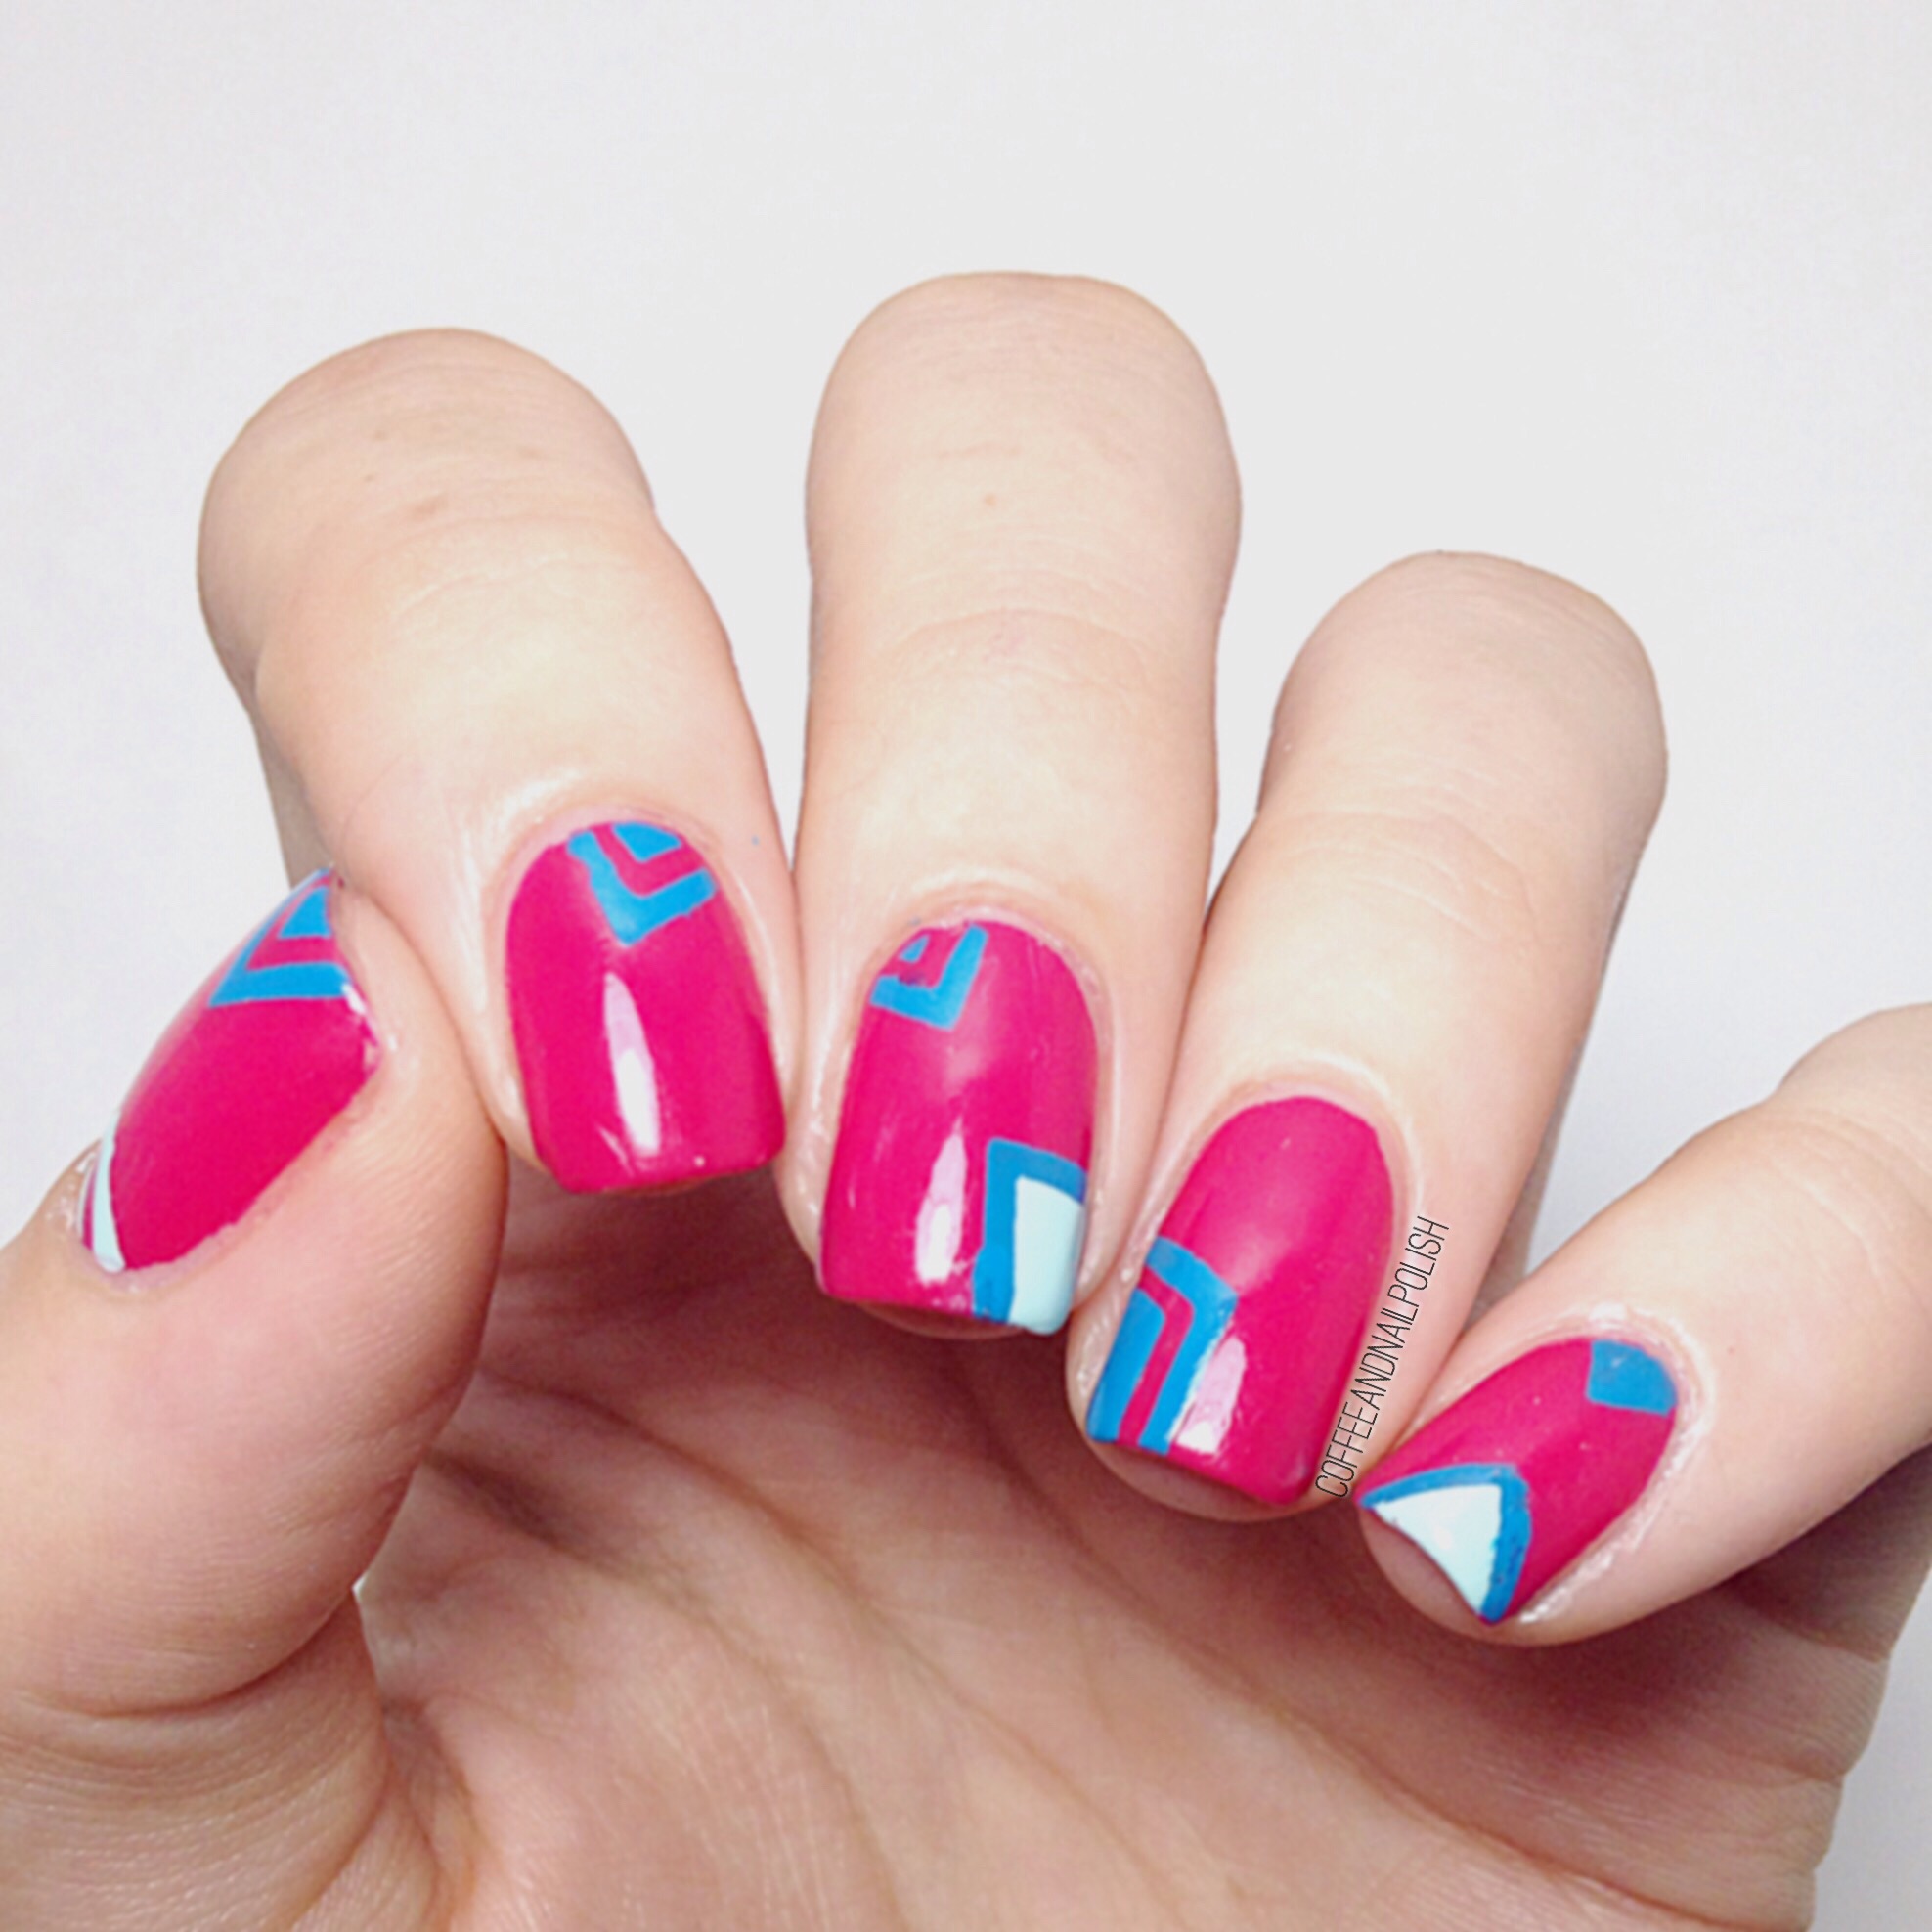
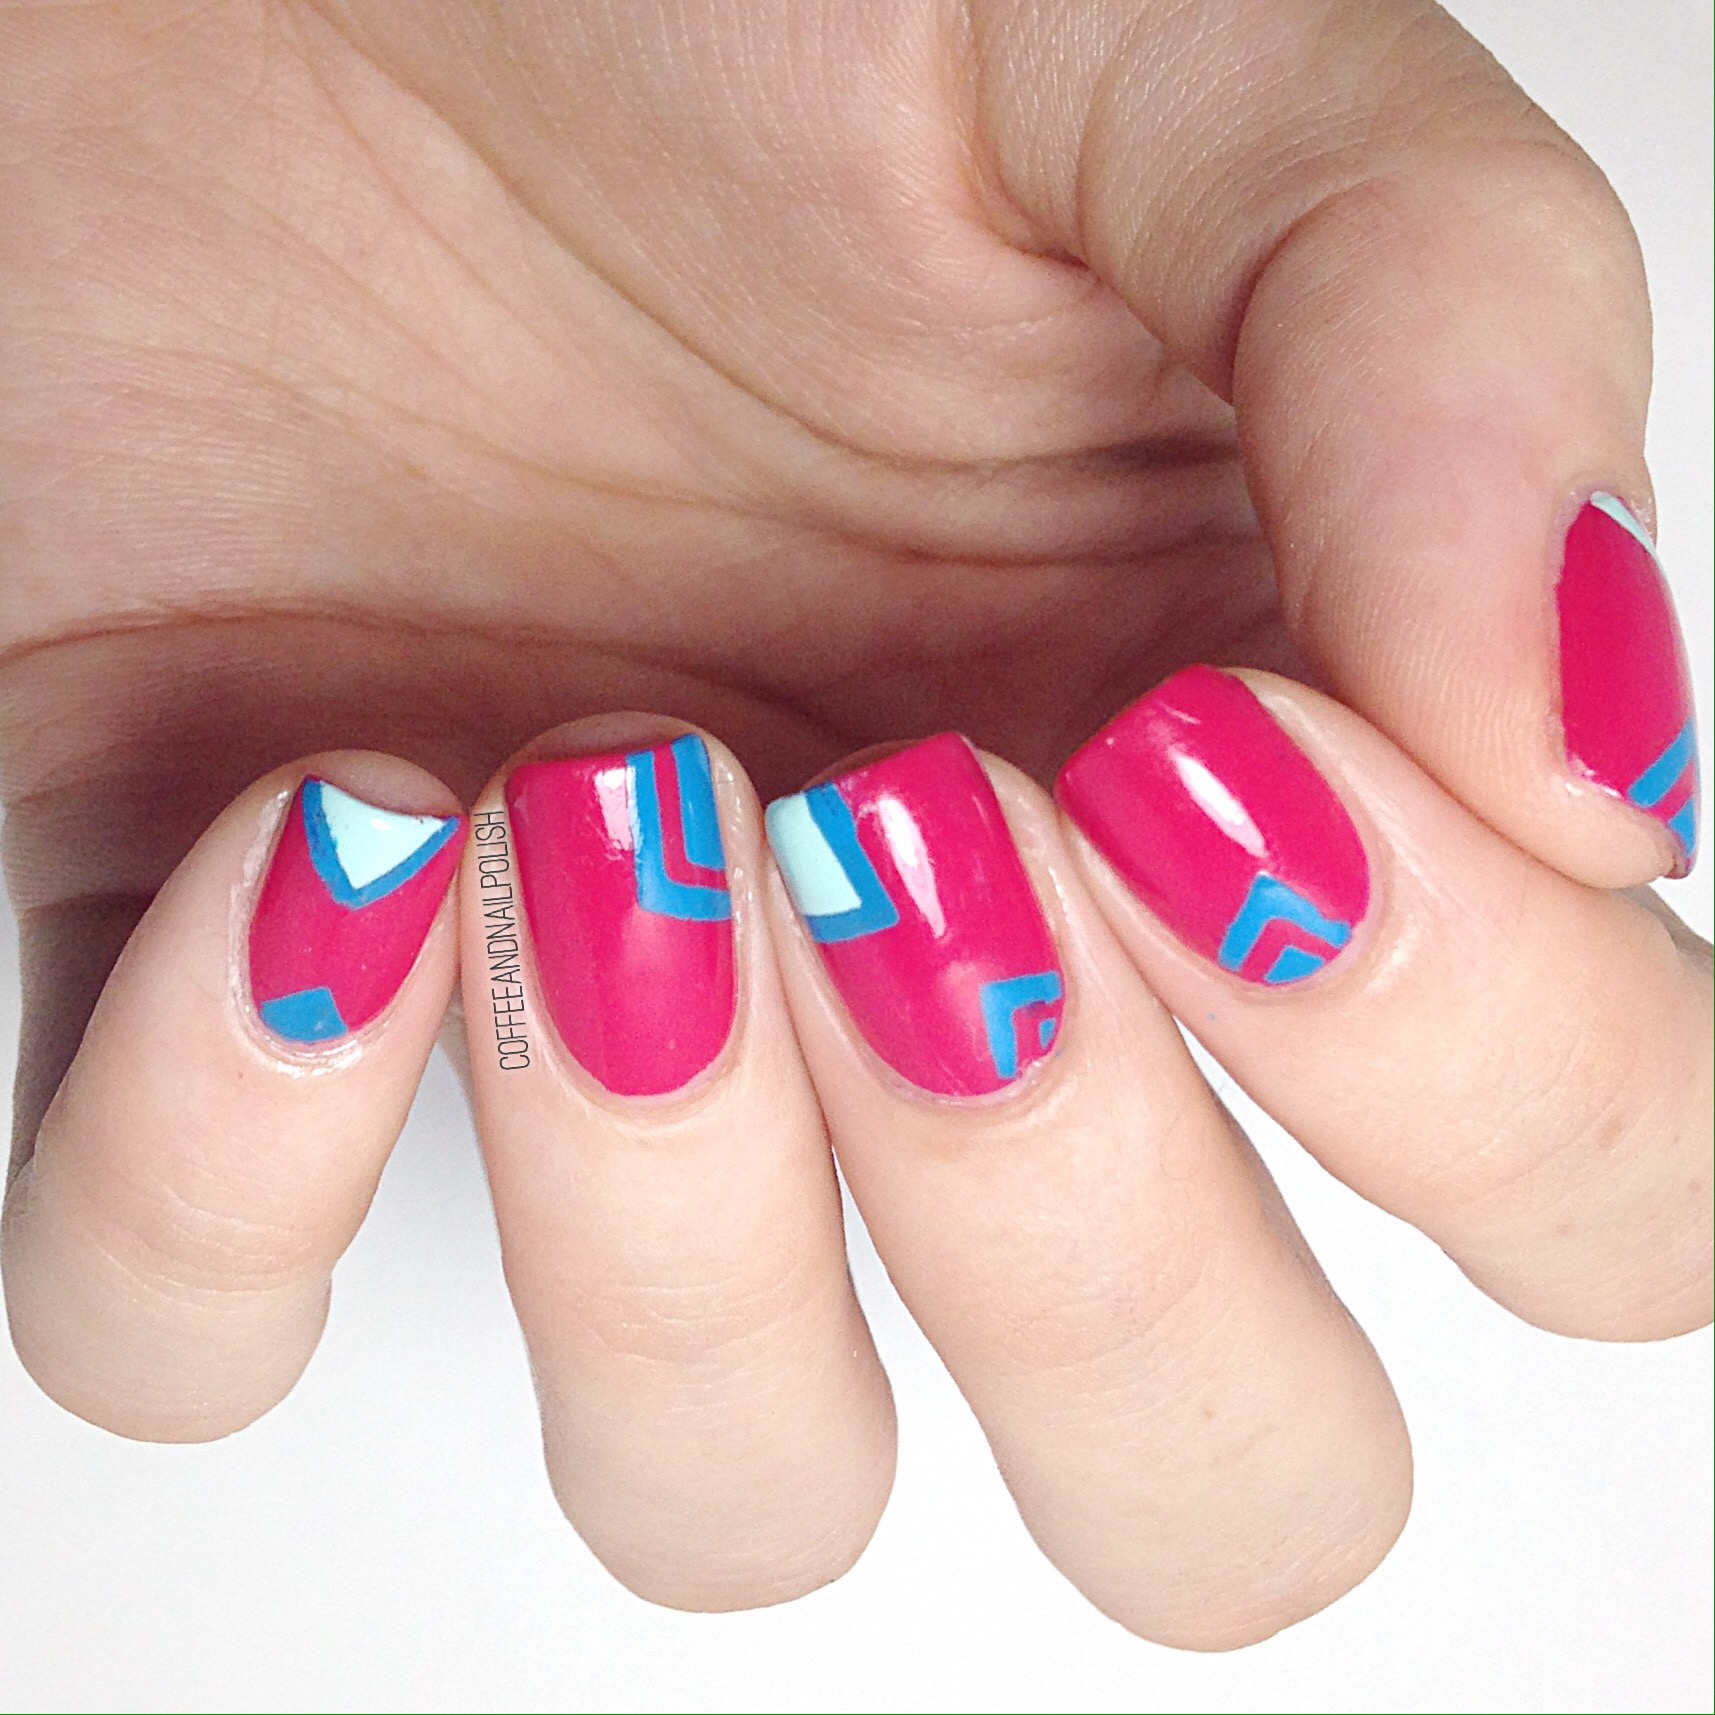
I love how these turned out! I wanted a simplistic design to compliment this juicy pink, without overpowering it. I though the blue tones of Strut Your Stuff & Mint Candy Apple complimented it well. 

I really enjoy how Summery these ended up being. I decided to use the inside angles from my X stencils from Xroma Polish & Vinyls because they were a sharper angle than my other Chevron Vinyls. They worked really well to create these little blocks of colours. 

Do you remember what your very first nail polish was? I don’t remember what my very first polish was, though I can guarantee it was probably white. I do remember what the polish that was the beginning of my nail polish addiction was though! Claire’s Evil Queen.

Let my know your first in the comments below. 

Spring Drip Marble decals


Have I mentioned enough how much I’m loving my silicone mat? I’ve been having a blast creating fun decals with it. I can’t believe it took me so long to get on the silicone mat trend. That’s me–always behind on the times! But now that I’ve caught up to modern times, I’m having a blast playing around & can’t get enough.

This drip marble is from a few weeks ago. I had decided to pull out a few more Spring-y colours for another drip marble. These are kind of similar to the Earth Day drip marble I created colour wise. I don’t often reach for green shades, but I’m starting to find myself craving them more. They’re great shades for Spring!

For this manicure, I used:

  • Base Coat: Perfect Formula Pink Gel Coat
  • Top Coat: Cutex Quick Dry Top Coat
  • Color Club Almost Famous
  • Essie Strut Your Stuff
  • Essie First Timer
  • OPI Angel With A Lead Foot
  • Silicone Craft Mat

I wanted some fresh colours (& an excuse to wear use my new bottle of Color Club Almost Famous!) I had originally planned to do a yellow to blue gradient with these colours, but decided at the last minute to make these decals instead. & application definitely gets easier with practice.

So what do you think of this manicure & colour combination? I think it looks so fresh! The colours just meld together so well, I’m completely obsessed! 💛

Feeling 90s With Neon Spotted Nails 

Too many rainy days have left me craving some neon nails, so I decided to grab some bright colours to cheer myself up. In the process I saw my bottle of Layla Bubbly in Black & thought it would look really neat over a neon-ish base colour. 

For this manicure I used:

  • Base Coat: Perfect Forumla Pink Gel Coat
  • Top Coat: Cutex Quick Dry Top Coat 
  • ORLY Scenic Route
  • Icing Breakfast at Tiffany’s 
  • China Glaze Sun Upon My Skin 
  • Icing Pink A Boo
  • Layla Cosmetics Bubbly Effect in Black

I’ve owned this bottle of Layla Bubbly effect for a while (I scored it on sale at Lawton’s in the clearence like 3 years ago) but this was the first time I really got it to work for me the way I imagine it’s supposed to work. I did wait until the next morning to add the black, so maybe that made the difference? Either way I’m super excited about how it turned out! Like crackle nails, it just offers an easy way to create nail art without excessive work (or mess). 

& incase you were interested in seeing what my base looked like before I added the Bubbly topper, here was the base. I tried to attempted @laqvid‘s wet dry brush design but I’m definitely going to need to give it more practice. 

What do you think of this design? Have you ever tried the Layla Bubbly Effect polishes before? Let me know the comments below!