Good morning lovelies & happy Tuesday! Hope everyone is having a lovely week so far. ♥️ I’ve been mostly stuck in bed or on the couch because I messed up my neck somehow, but at least that gives me a chance to work on some blog stuff!
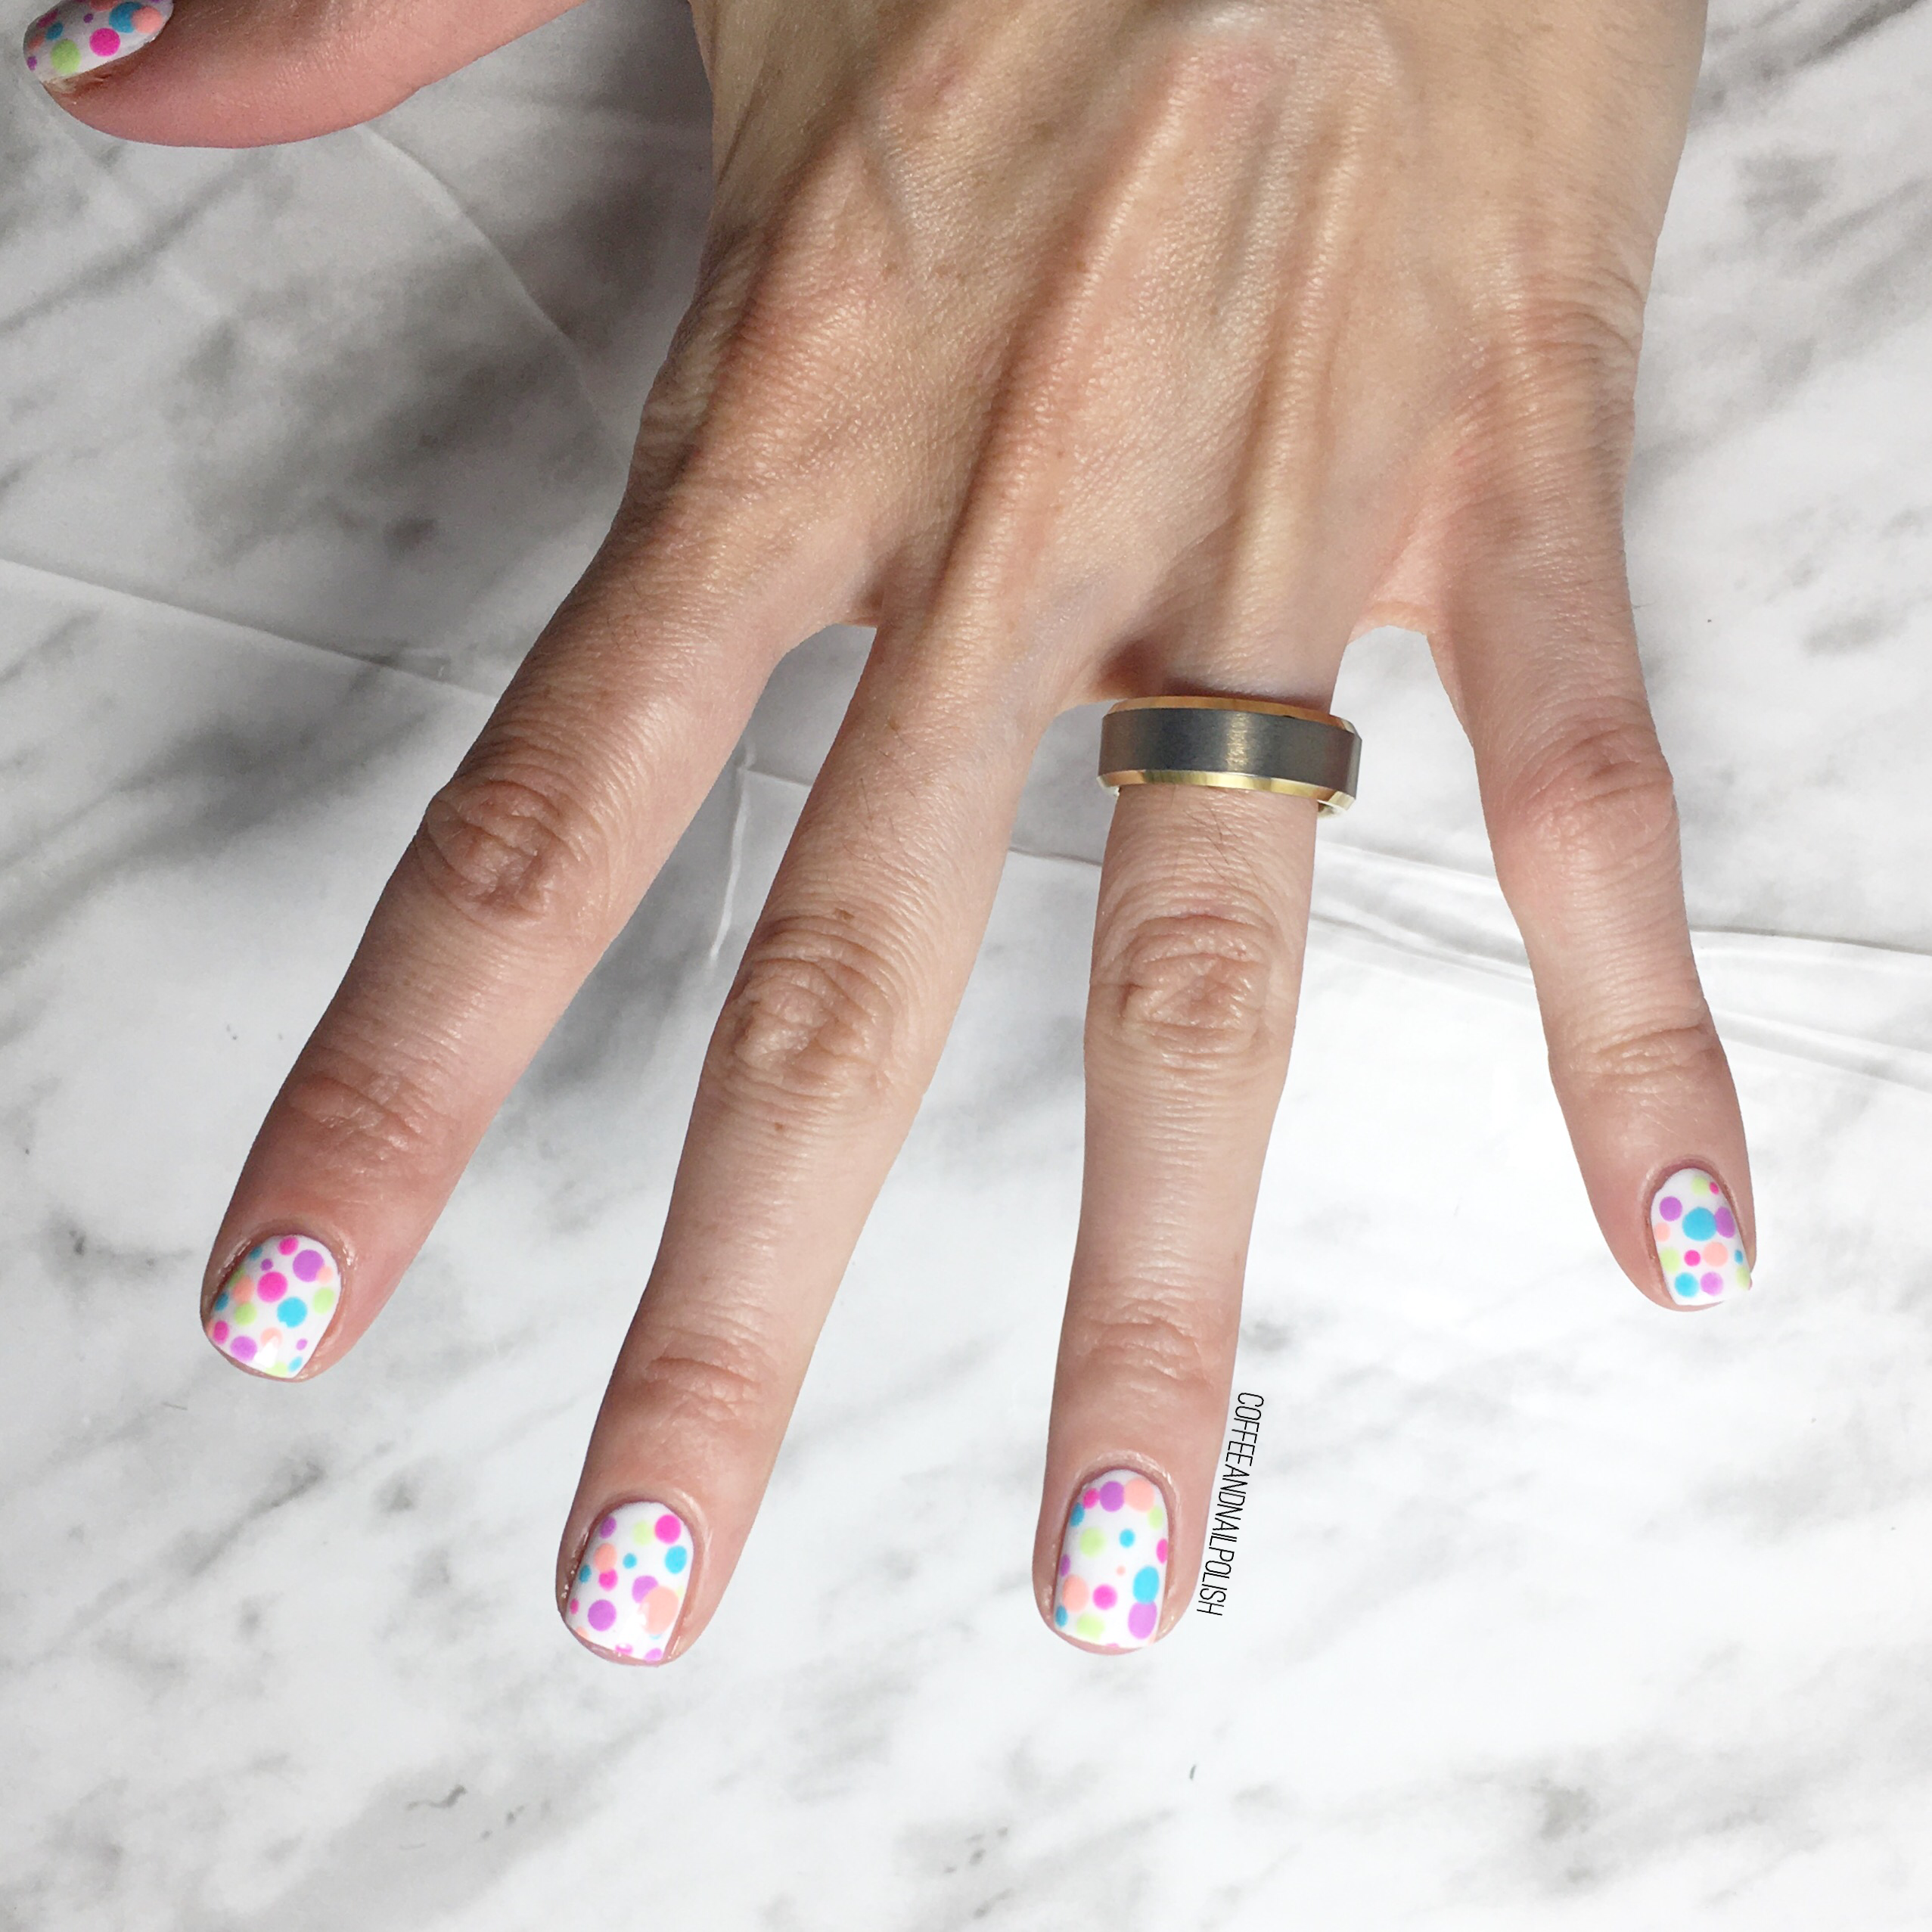
Now I know I said I wasn’t going to start thinking about Fall quite yet, but man… I had one sip of Pumpkin Spice latte & now it’s all I can think about! Haha. I kid, but I’ve definitely been finding myself drawn more to darker colours the last few times I’ve painted my nails. In fact, I’ve already switched my pedicure over! Today’s manicure was a combination of both; a little bit Autumn, with some lighter shades thrown in as well.
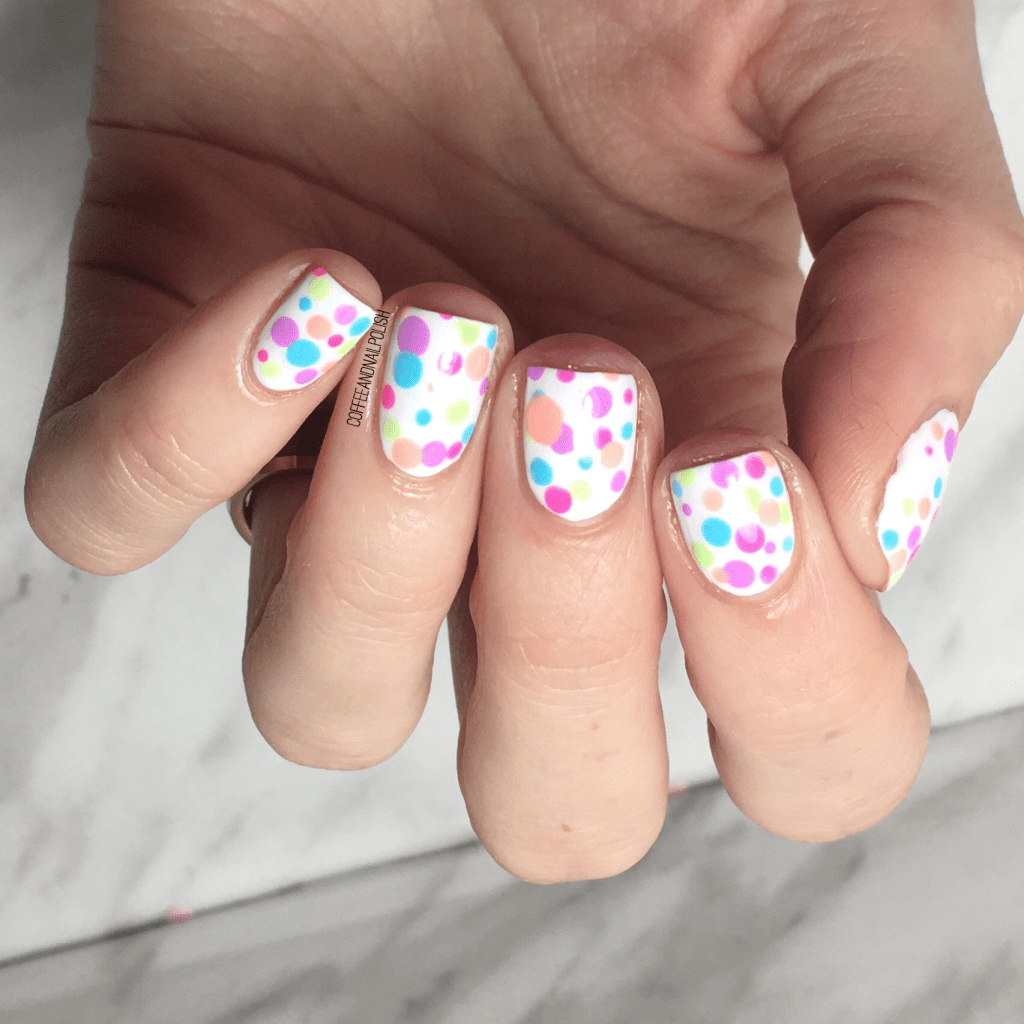
For this manicure, the polishes I used were:
- Base Coat: OPI Nail Envy
- Top Coat: Essie Gel Setter
- Sally Hansen CSM Pat On The Black
- Essie Kaf-tan
- Essie Bikini So Teeny
- Quo by ORLY Breathable Sheer Luck
- Dimension Nails Blue Morpho Butterfly
- NailStuff.ca 7mm detail brush(COFFEE10 to save 10%)

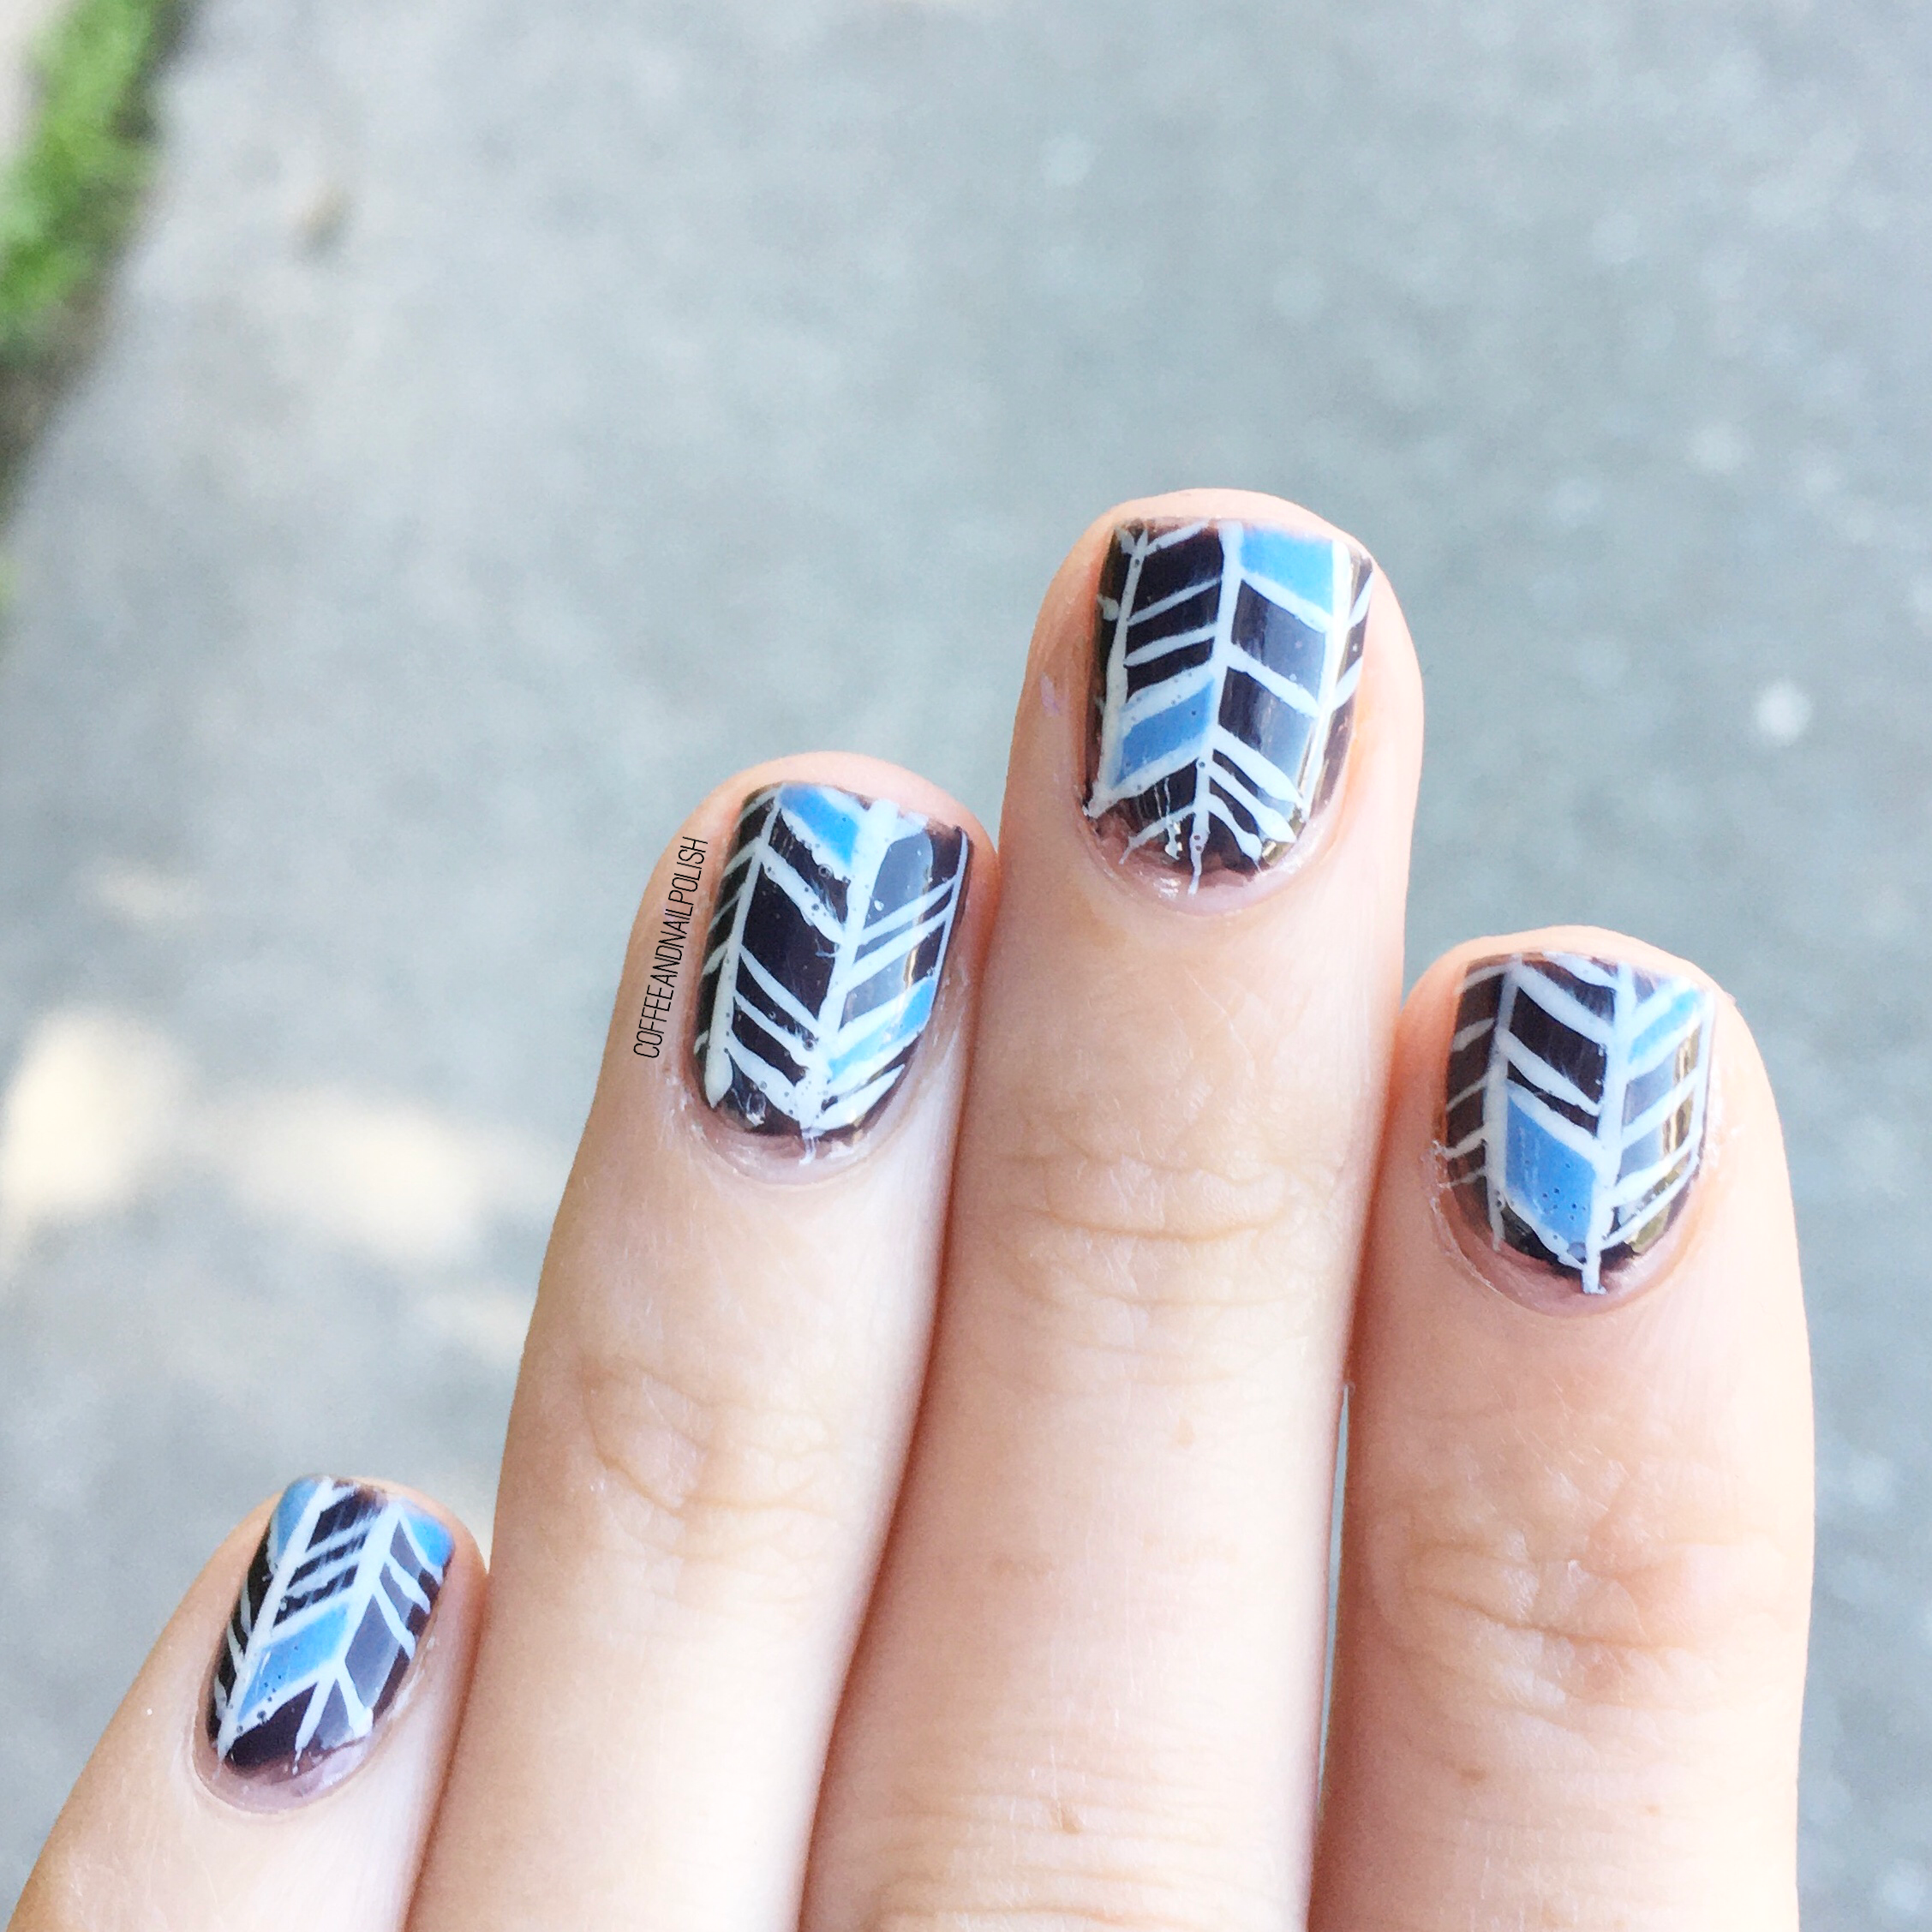
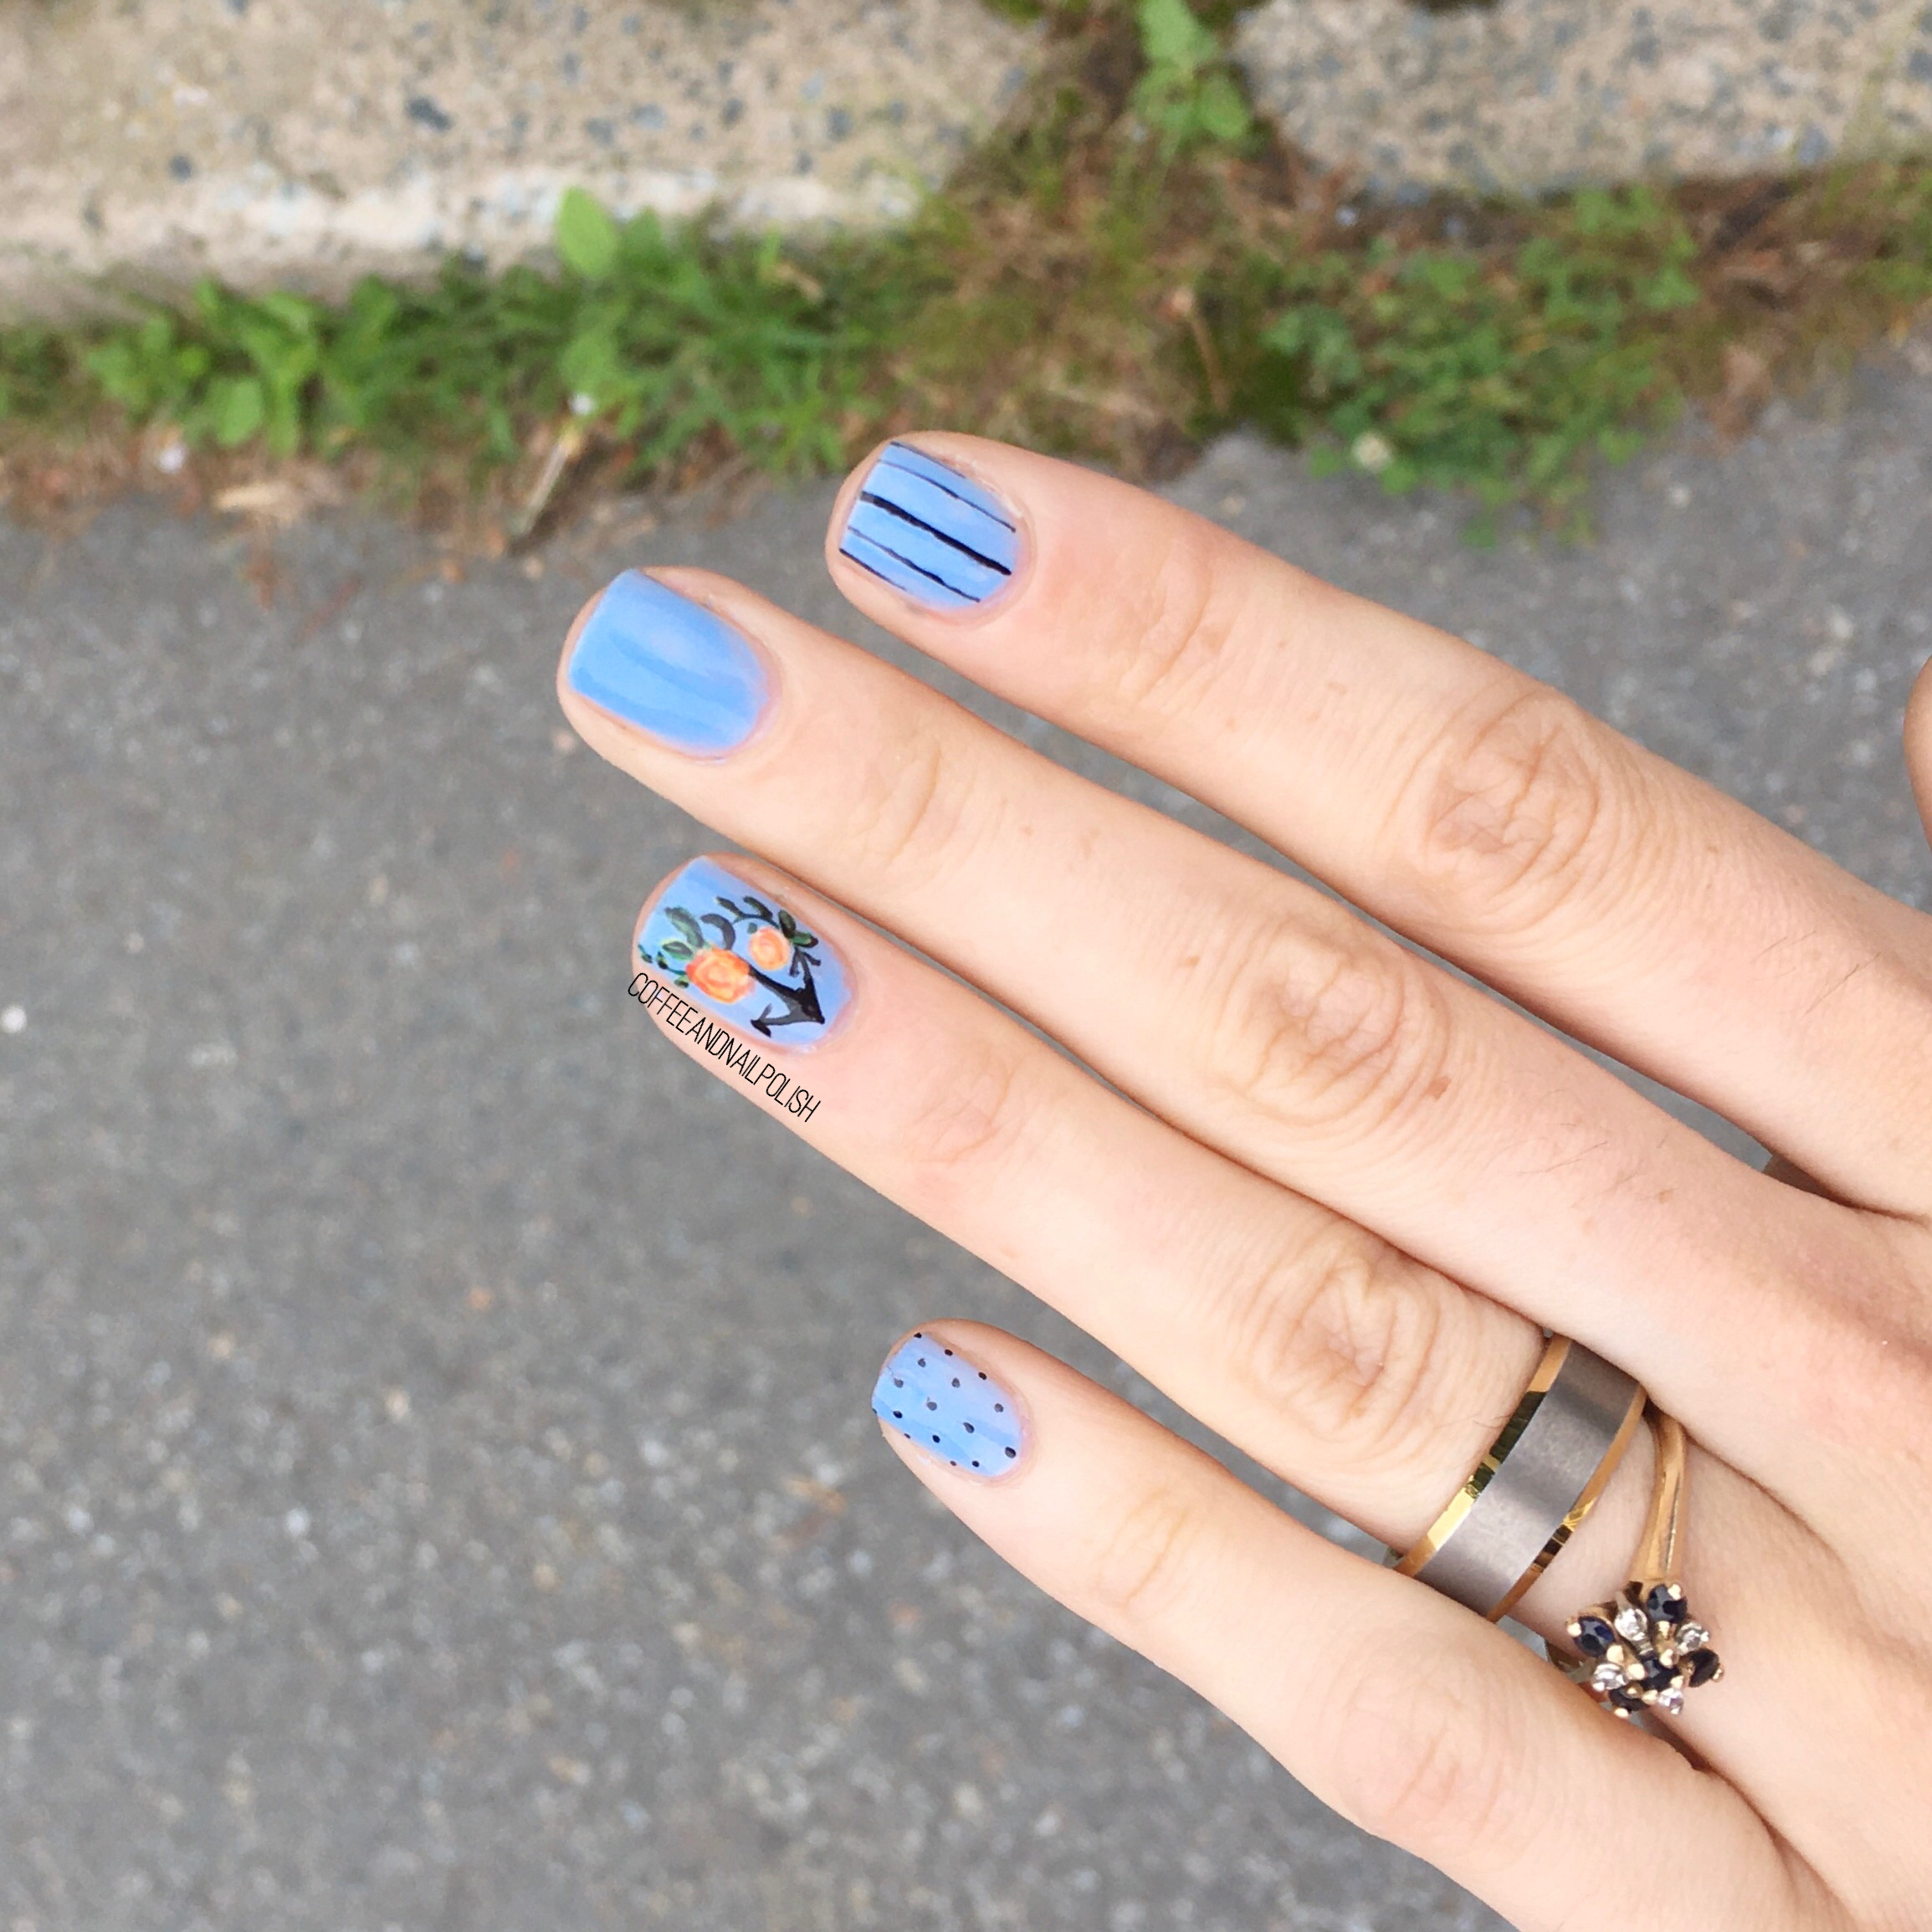
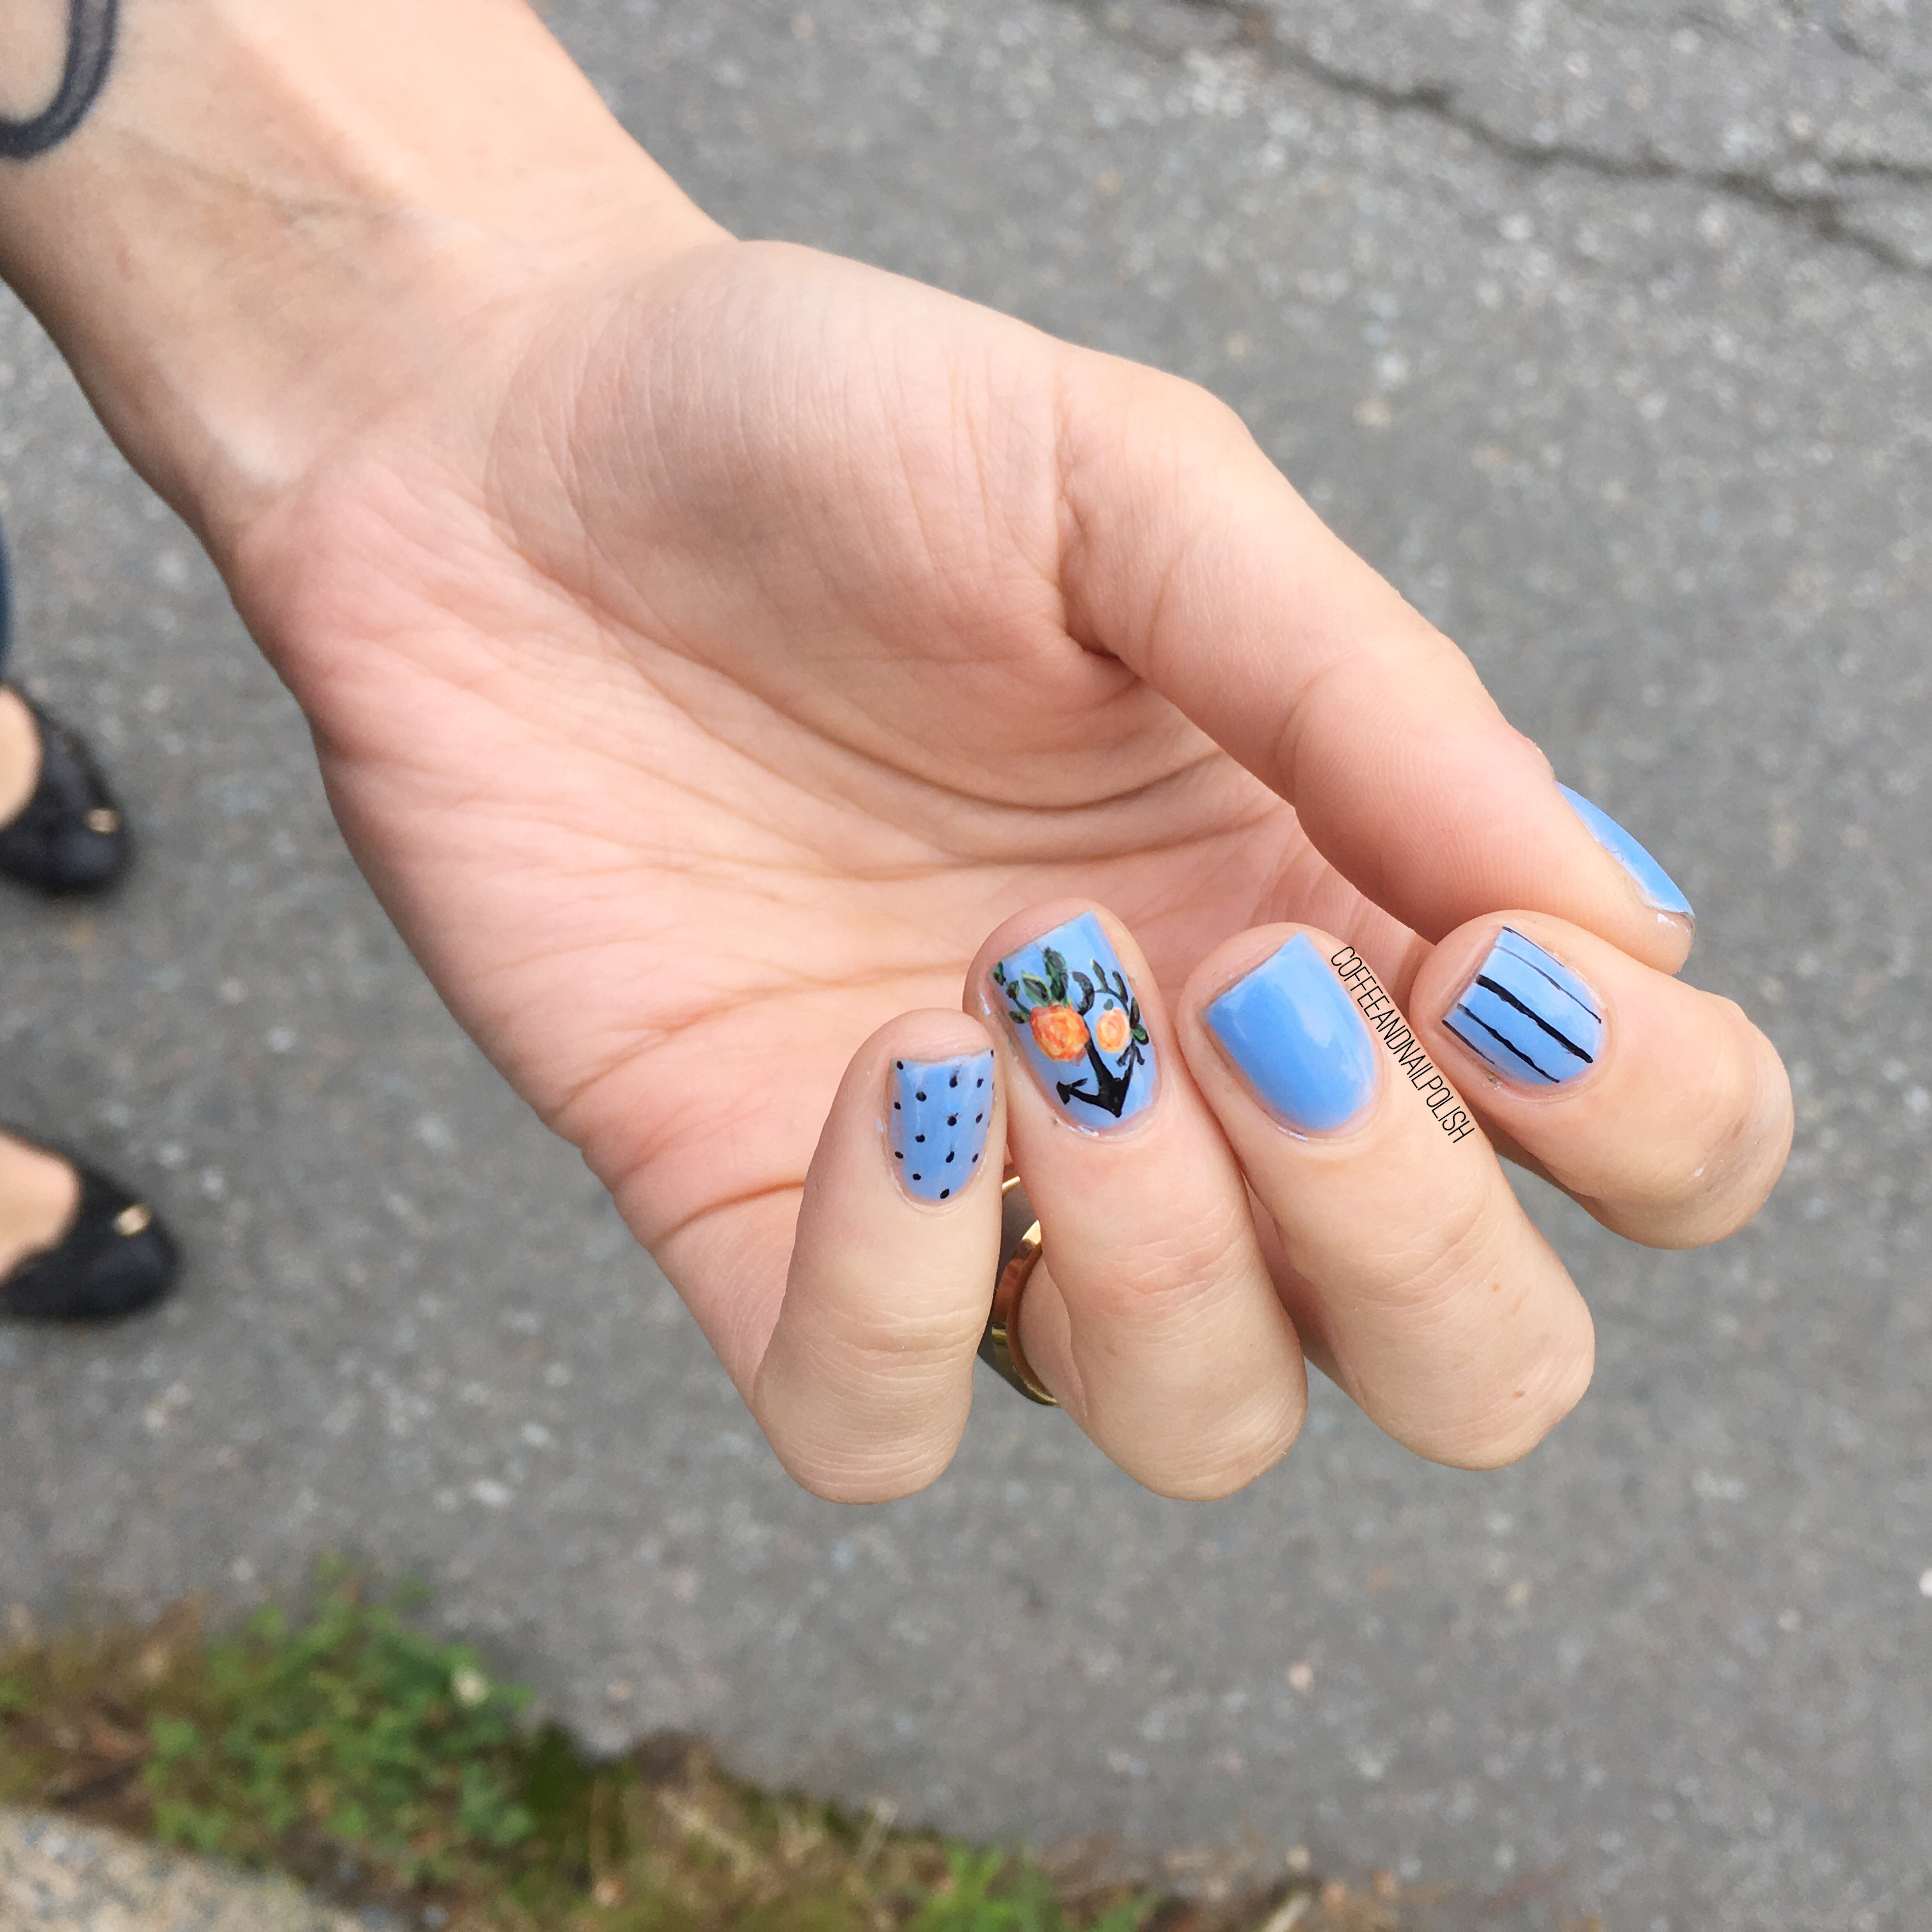
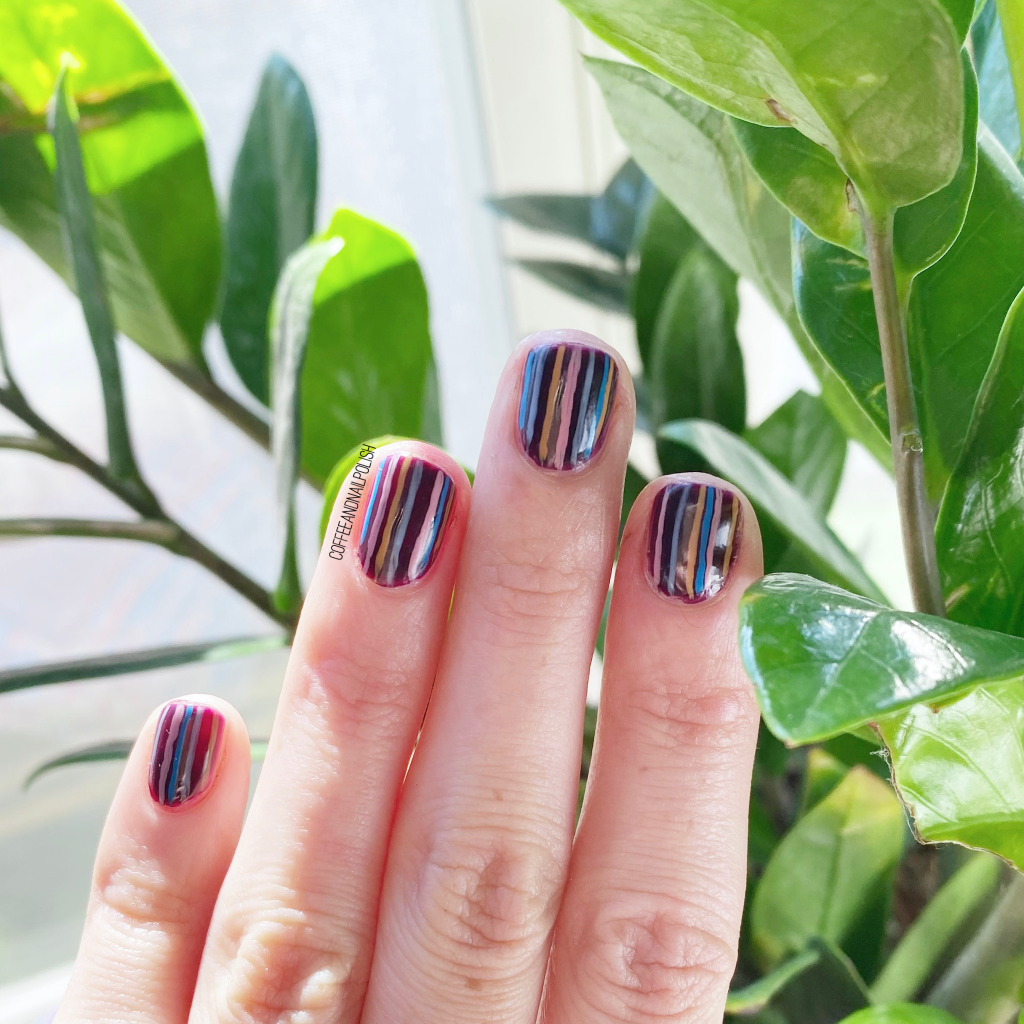
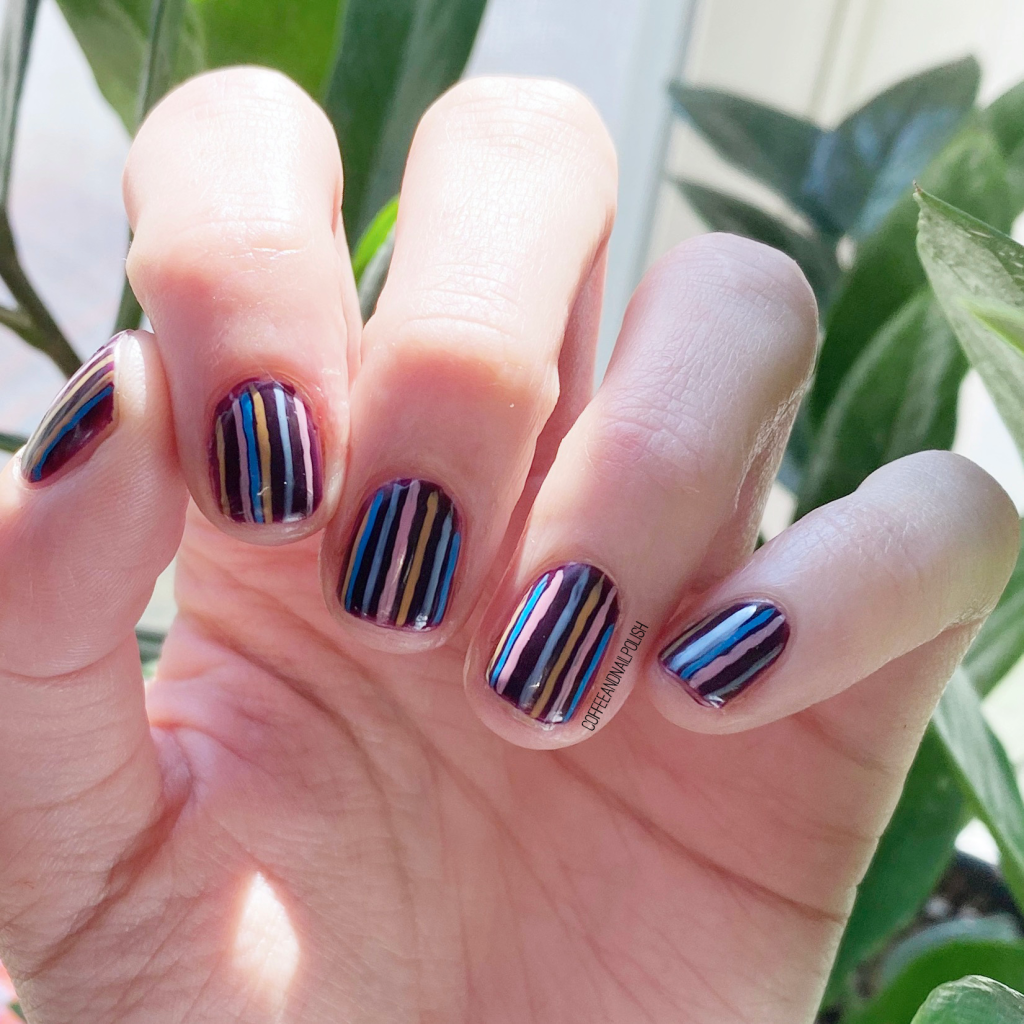
Stripes make your nails look longer, right?
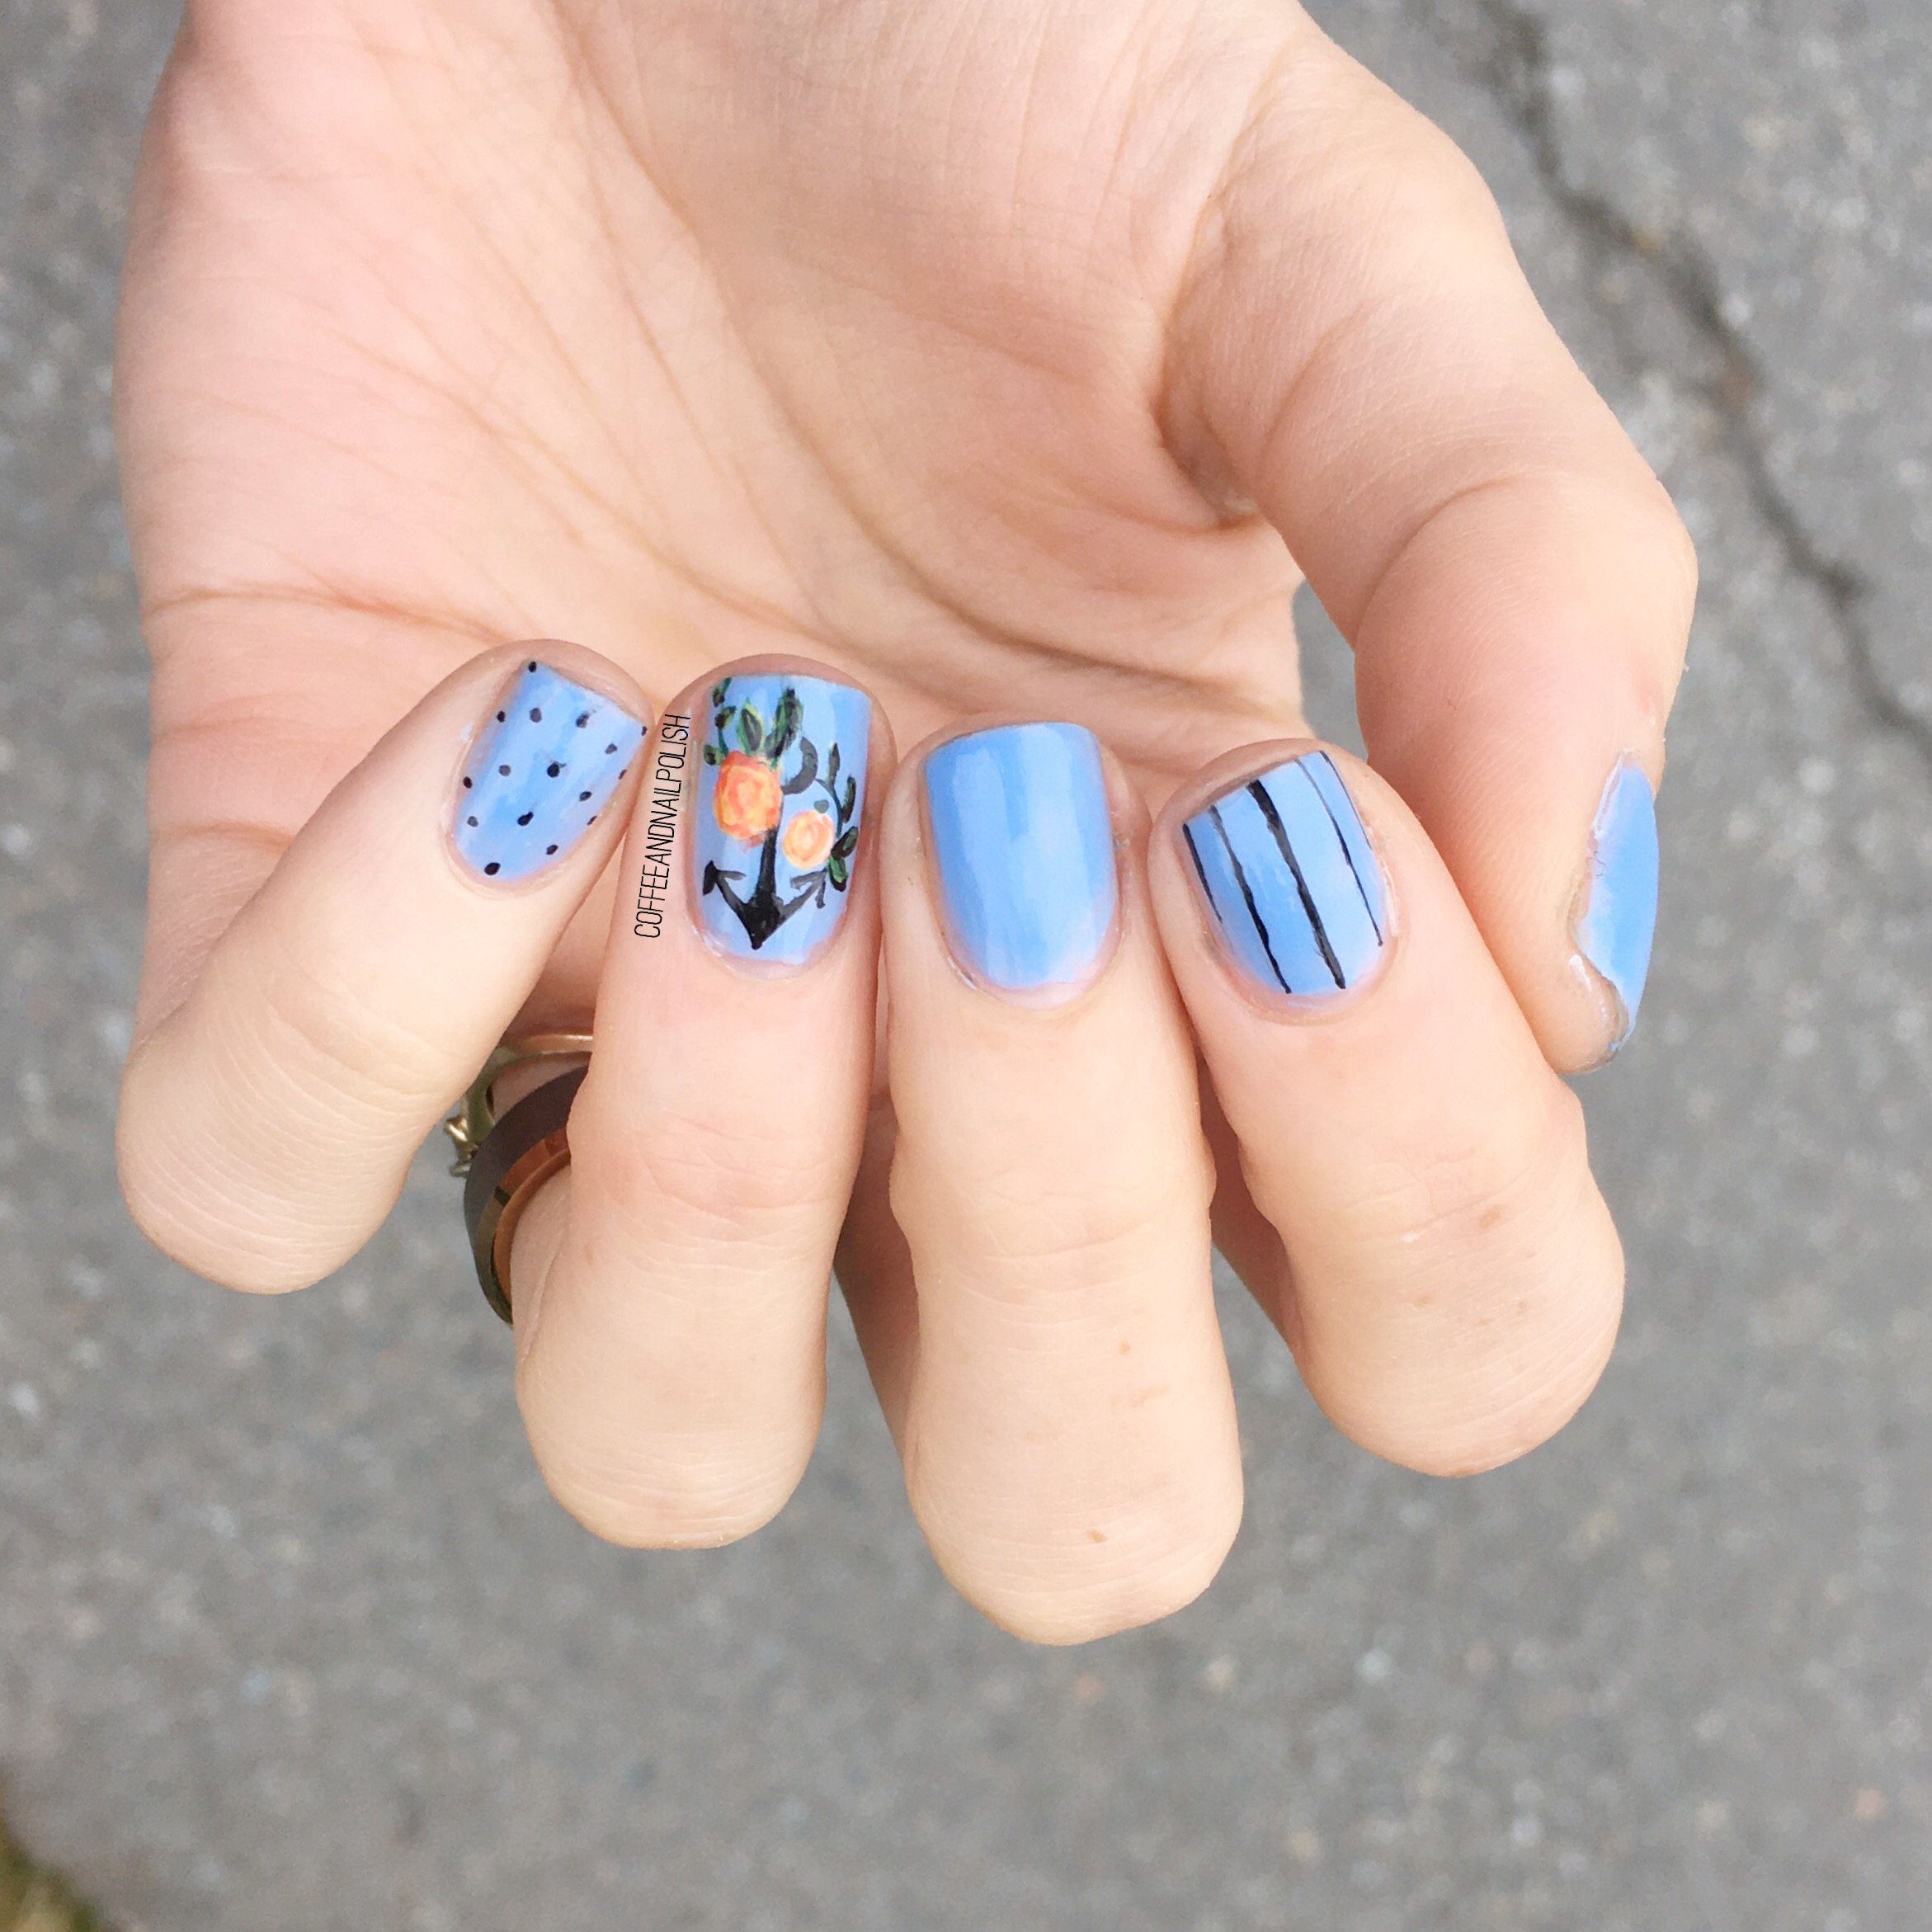
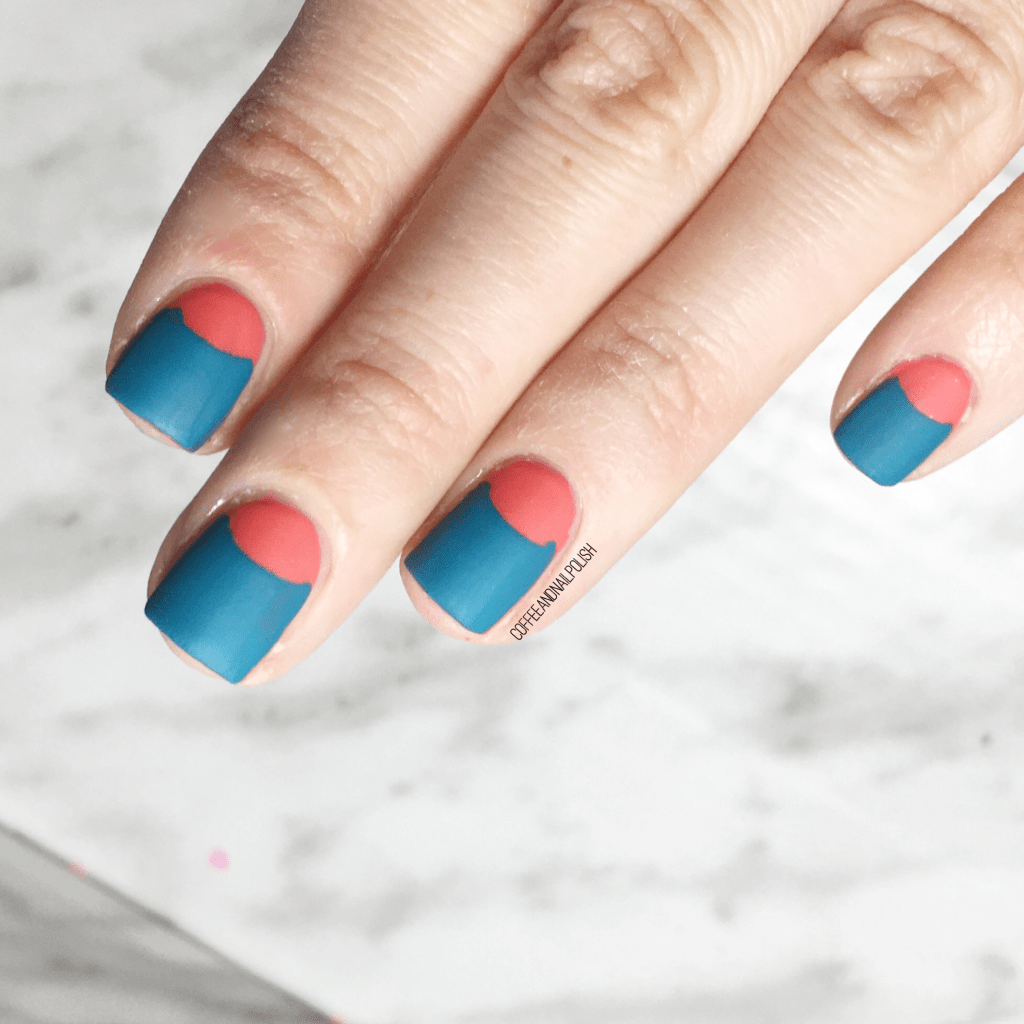
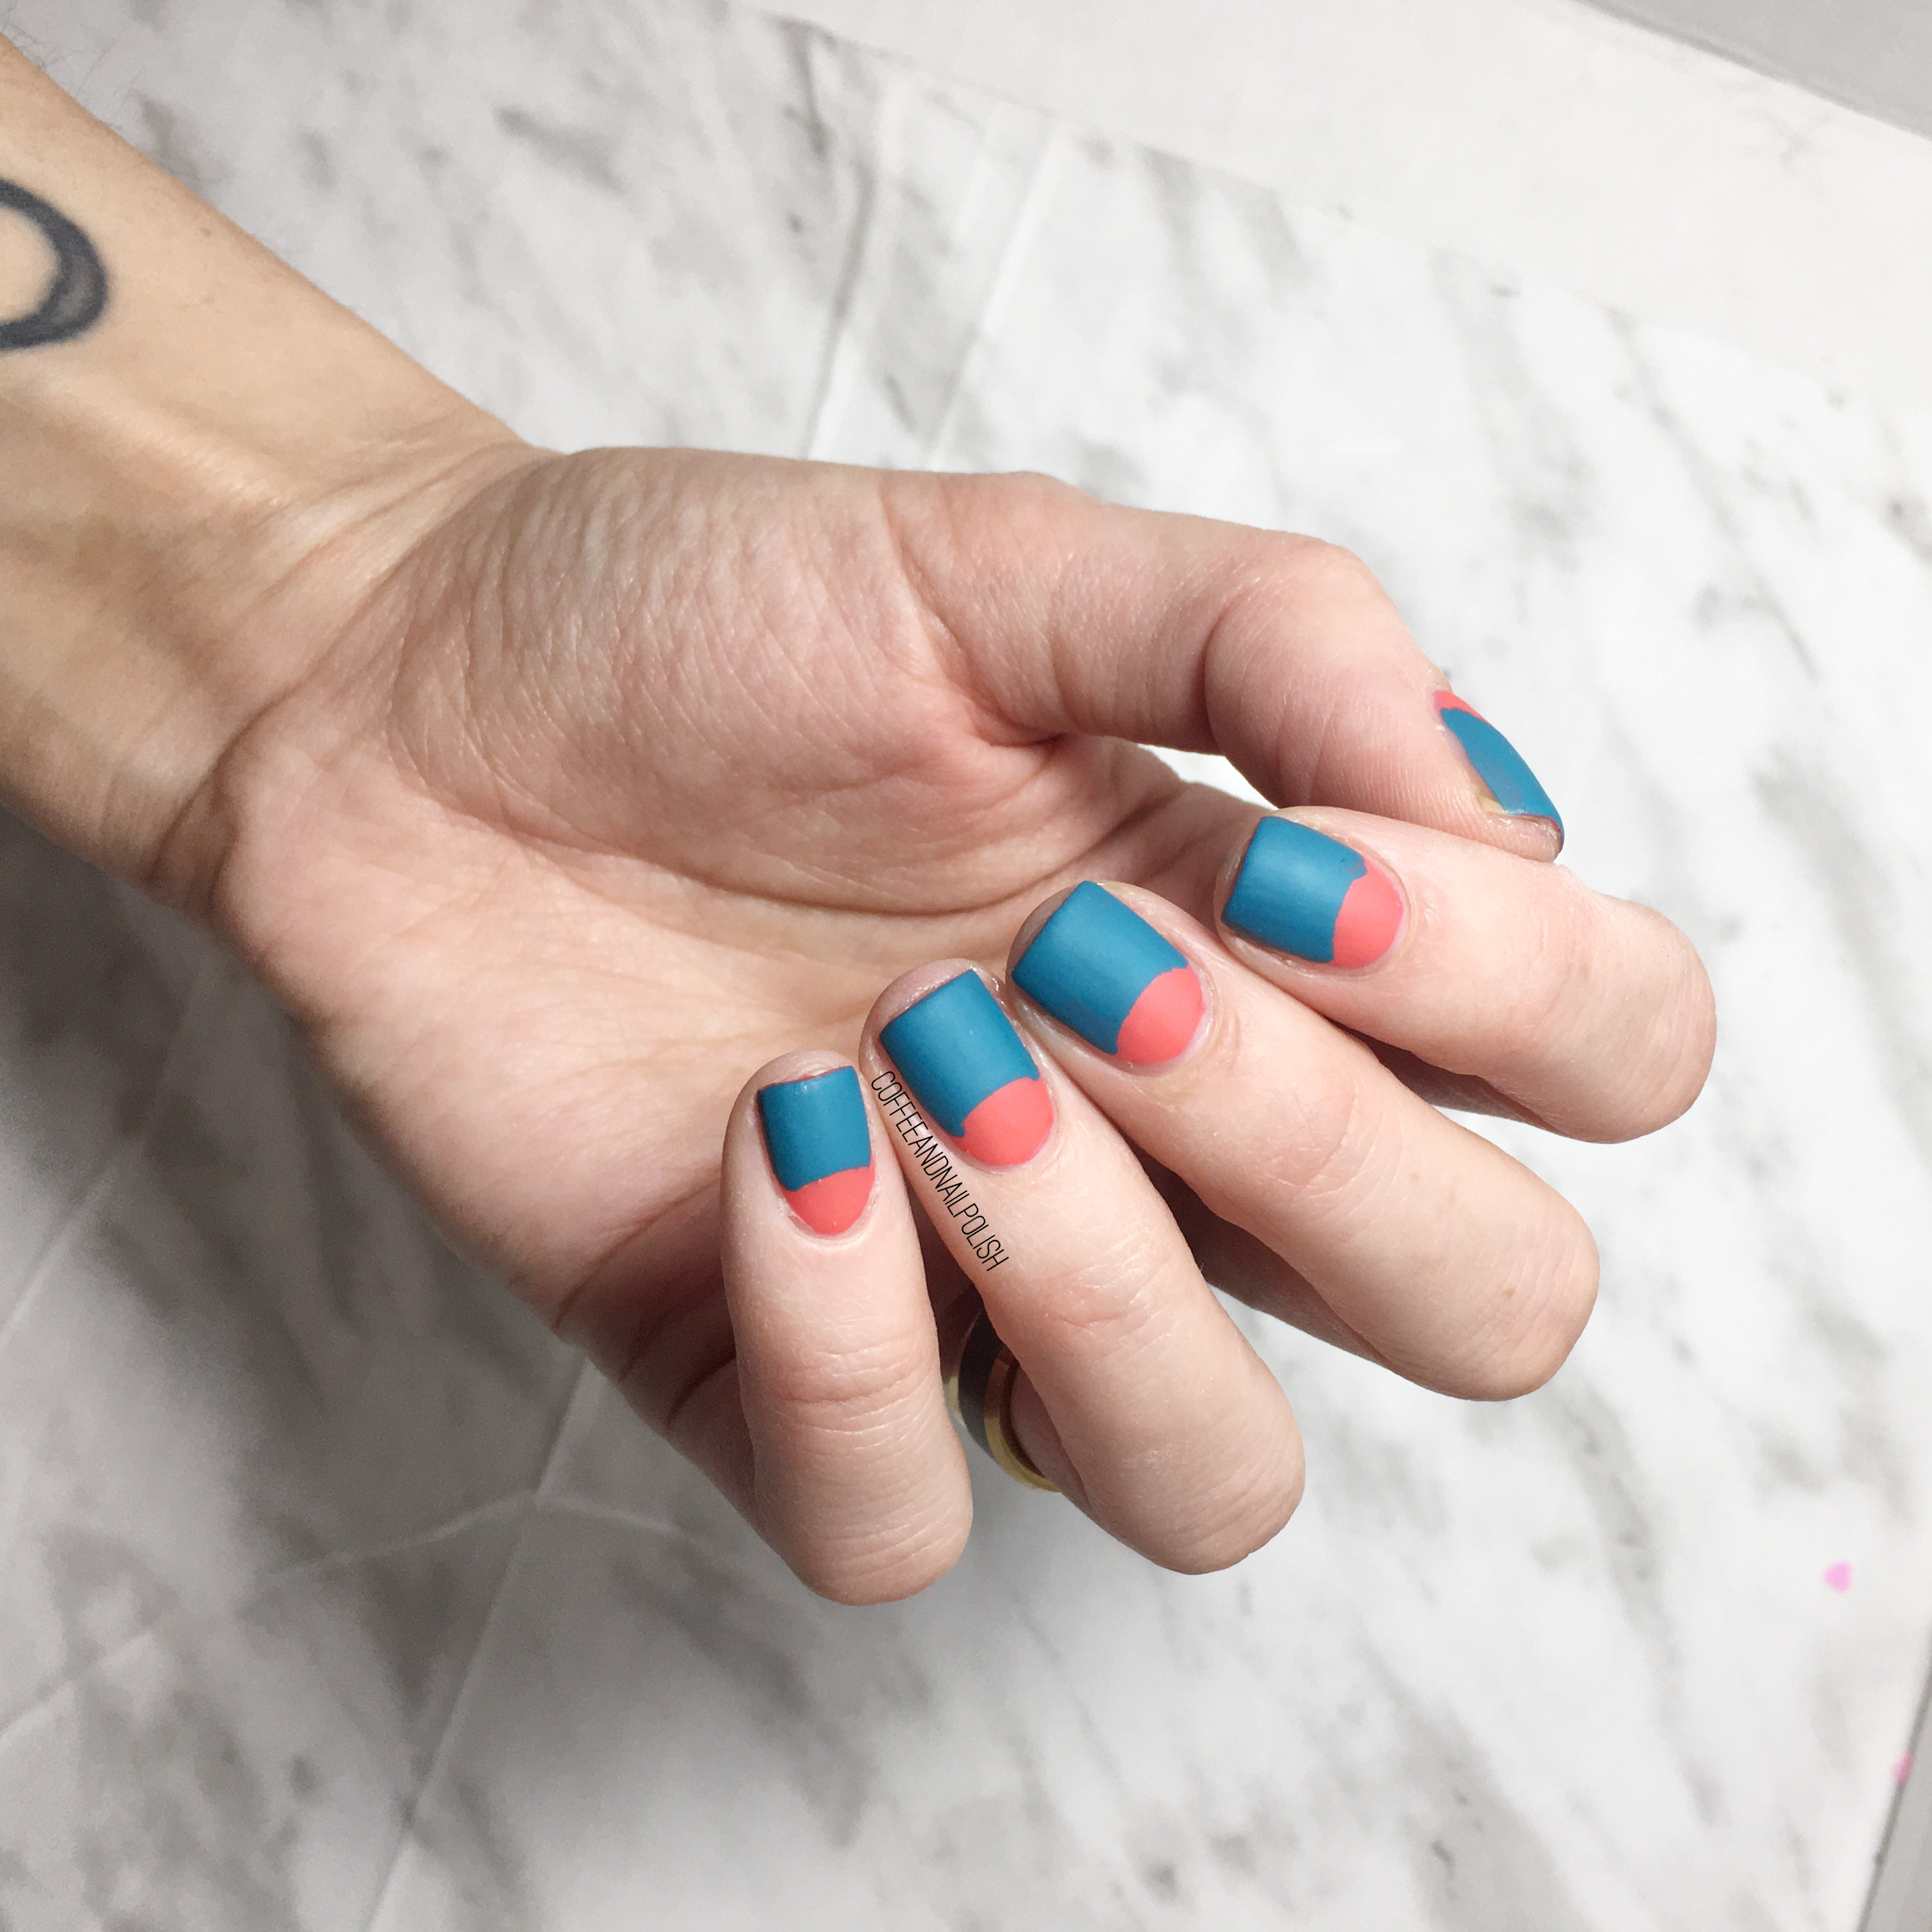
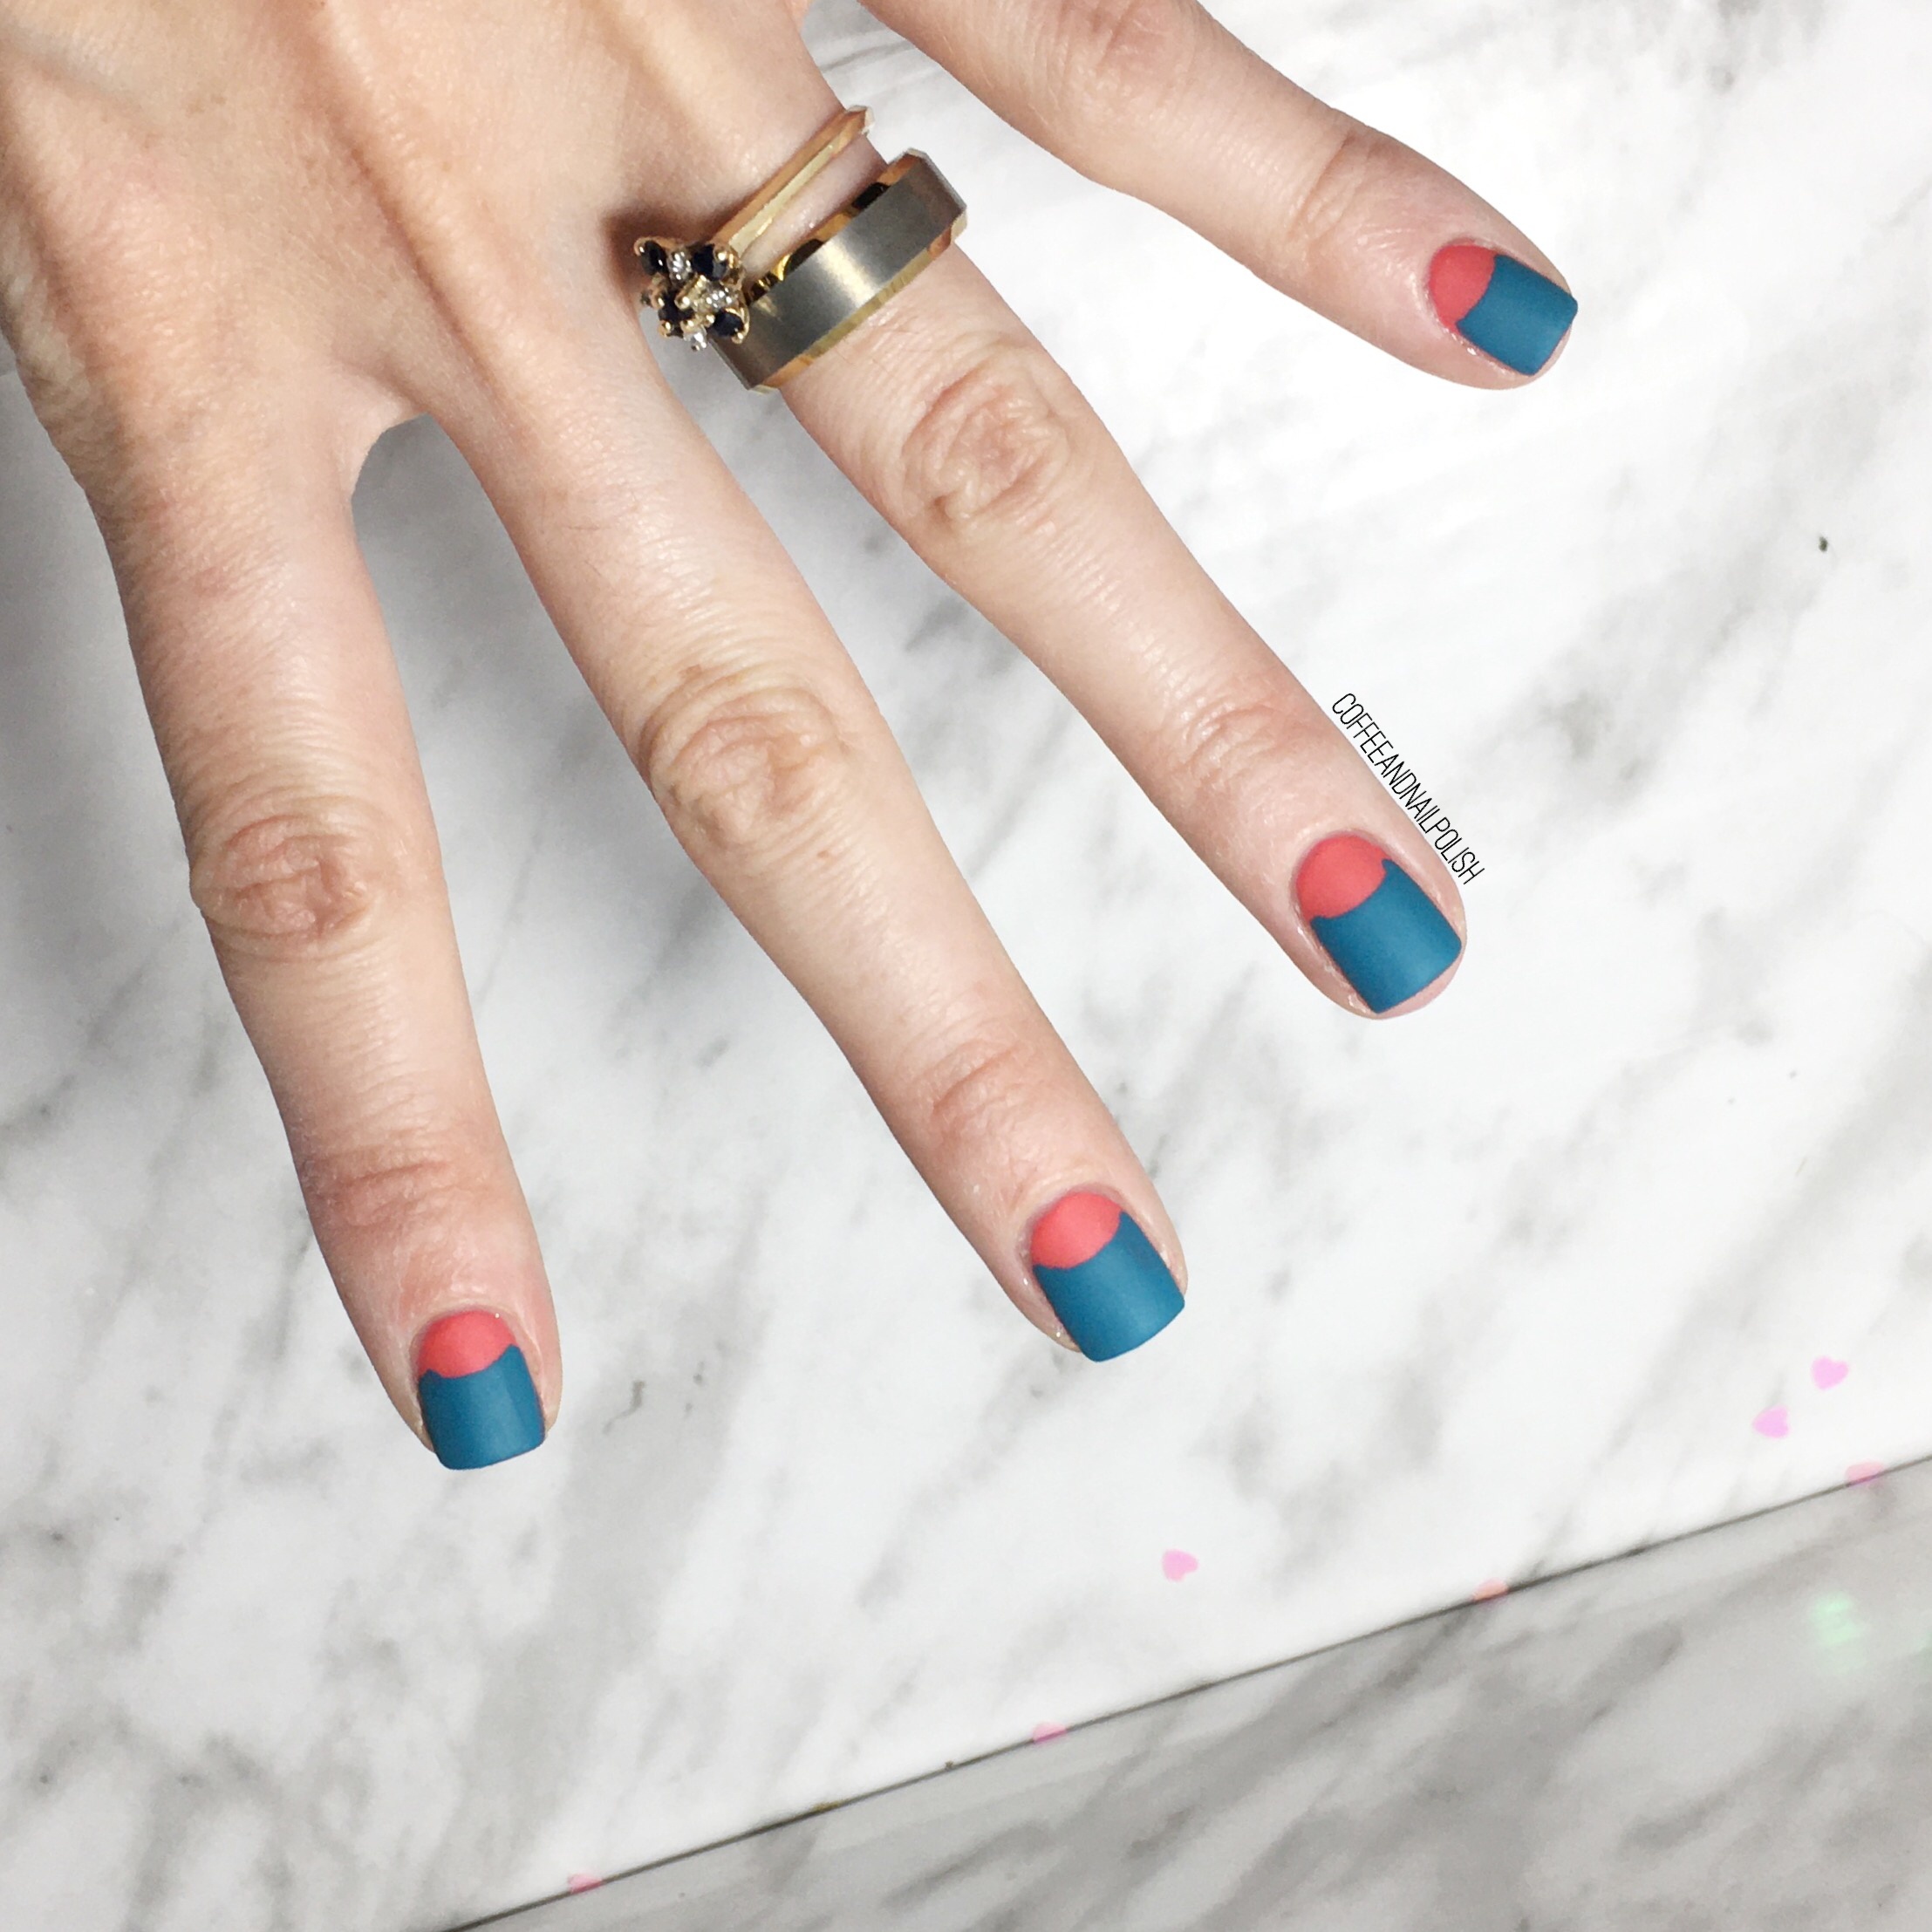
As you might have noticed from Sunday’s swatch post, I’ve rounded my nails off again. I’m really trying to get them to grow a bit better, & I find an almond/rounded look suits me better for healthier nail growth. So we’re back to rounded, & hopefully with some serious nail self care, we can grow them super long again! (Like circa 2017 long!)
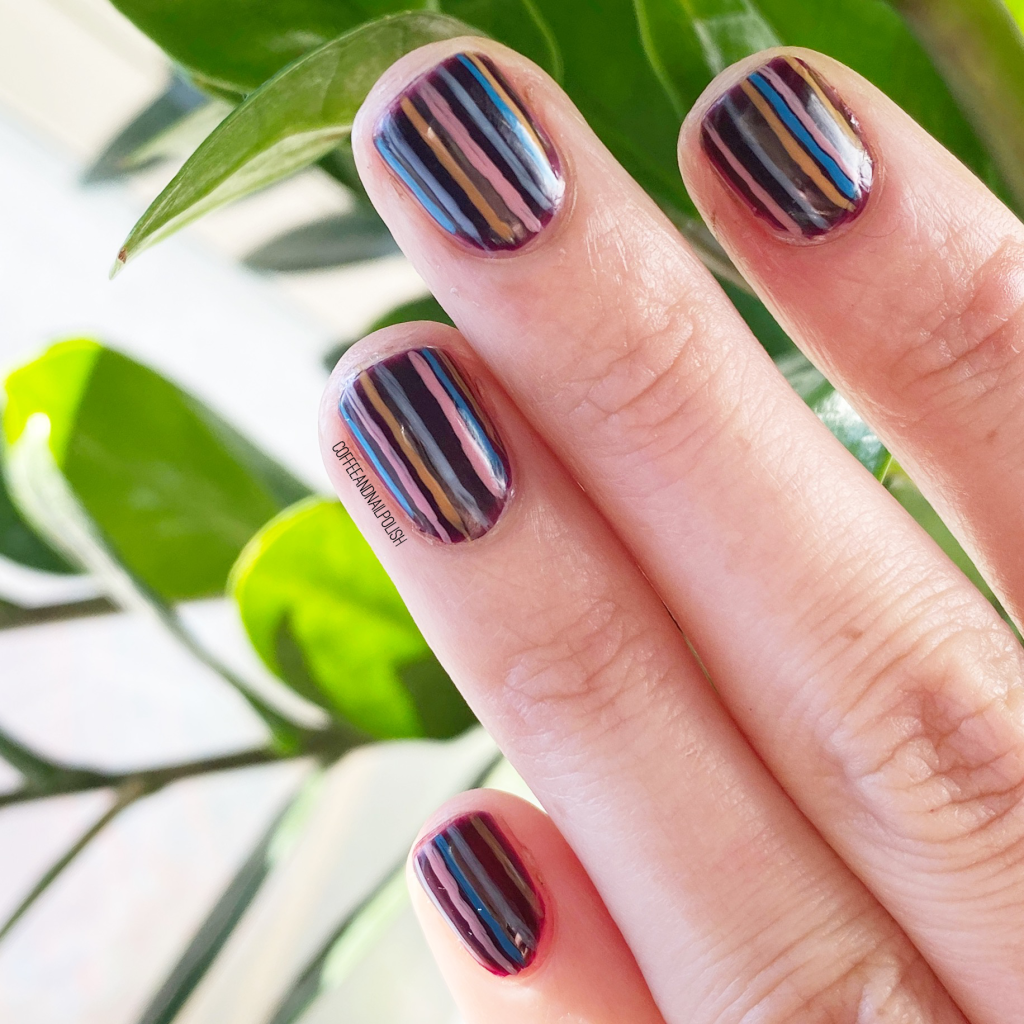
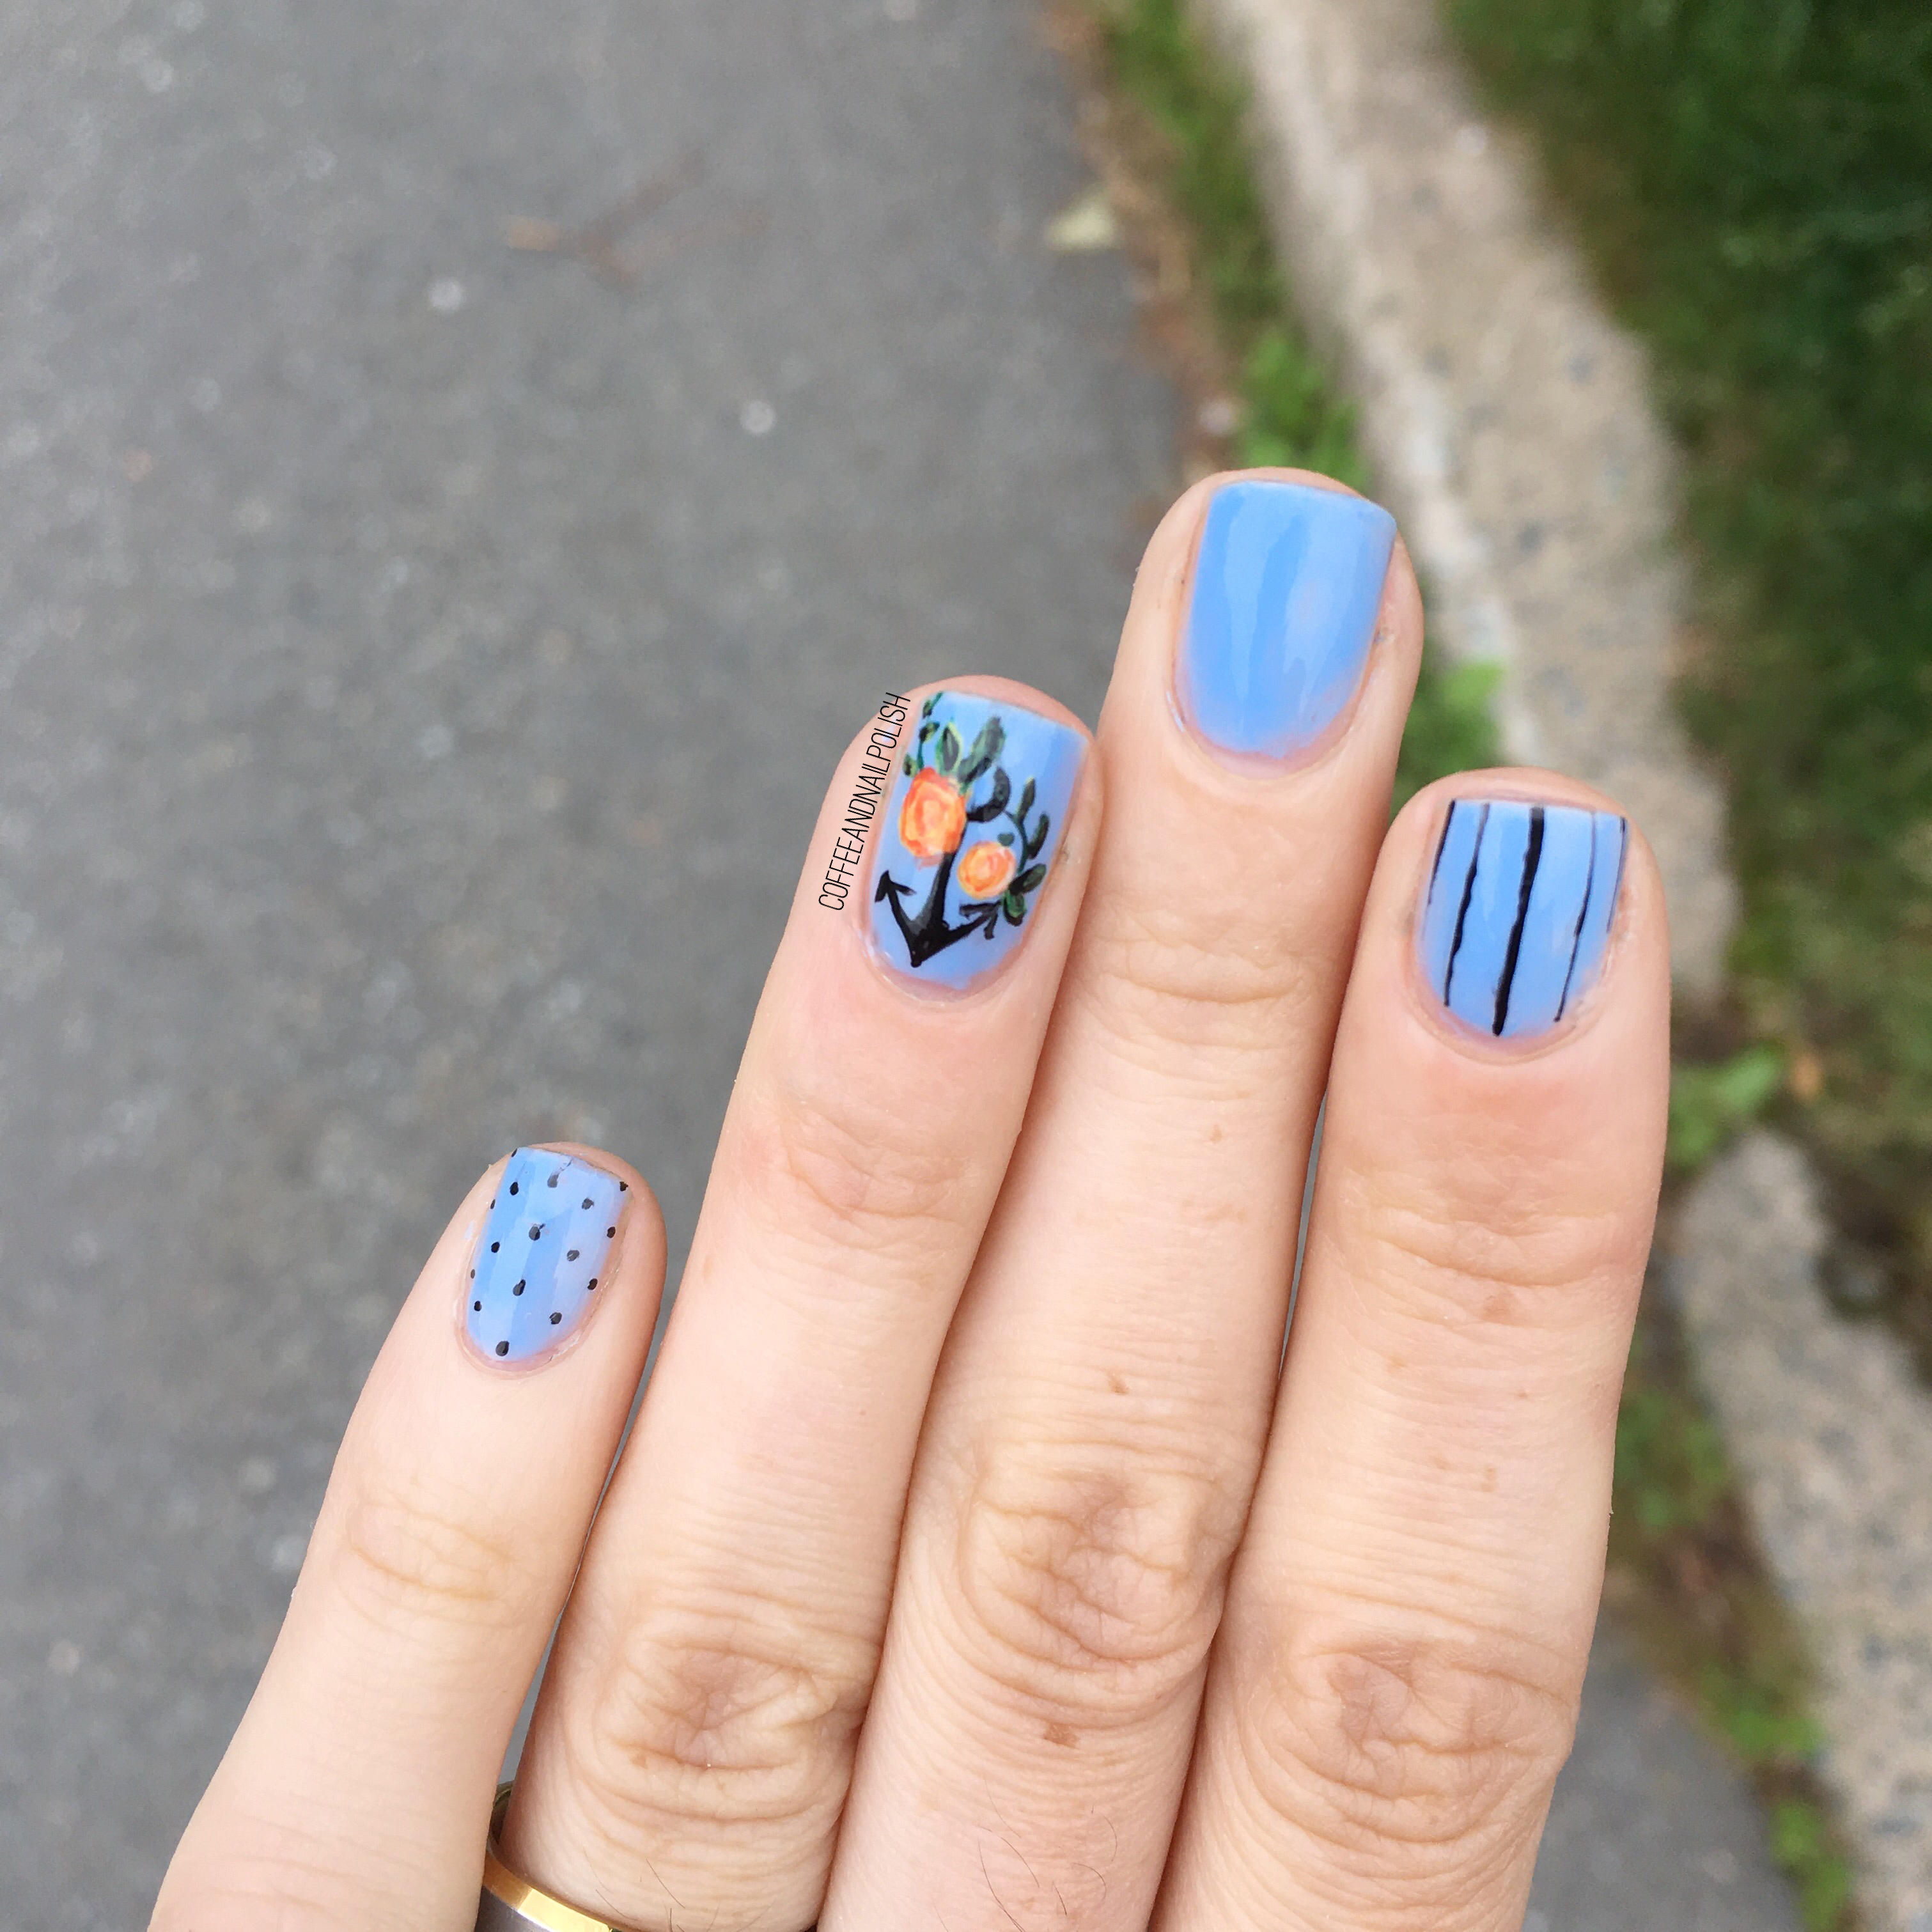
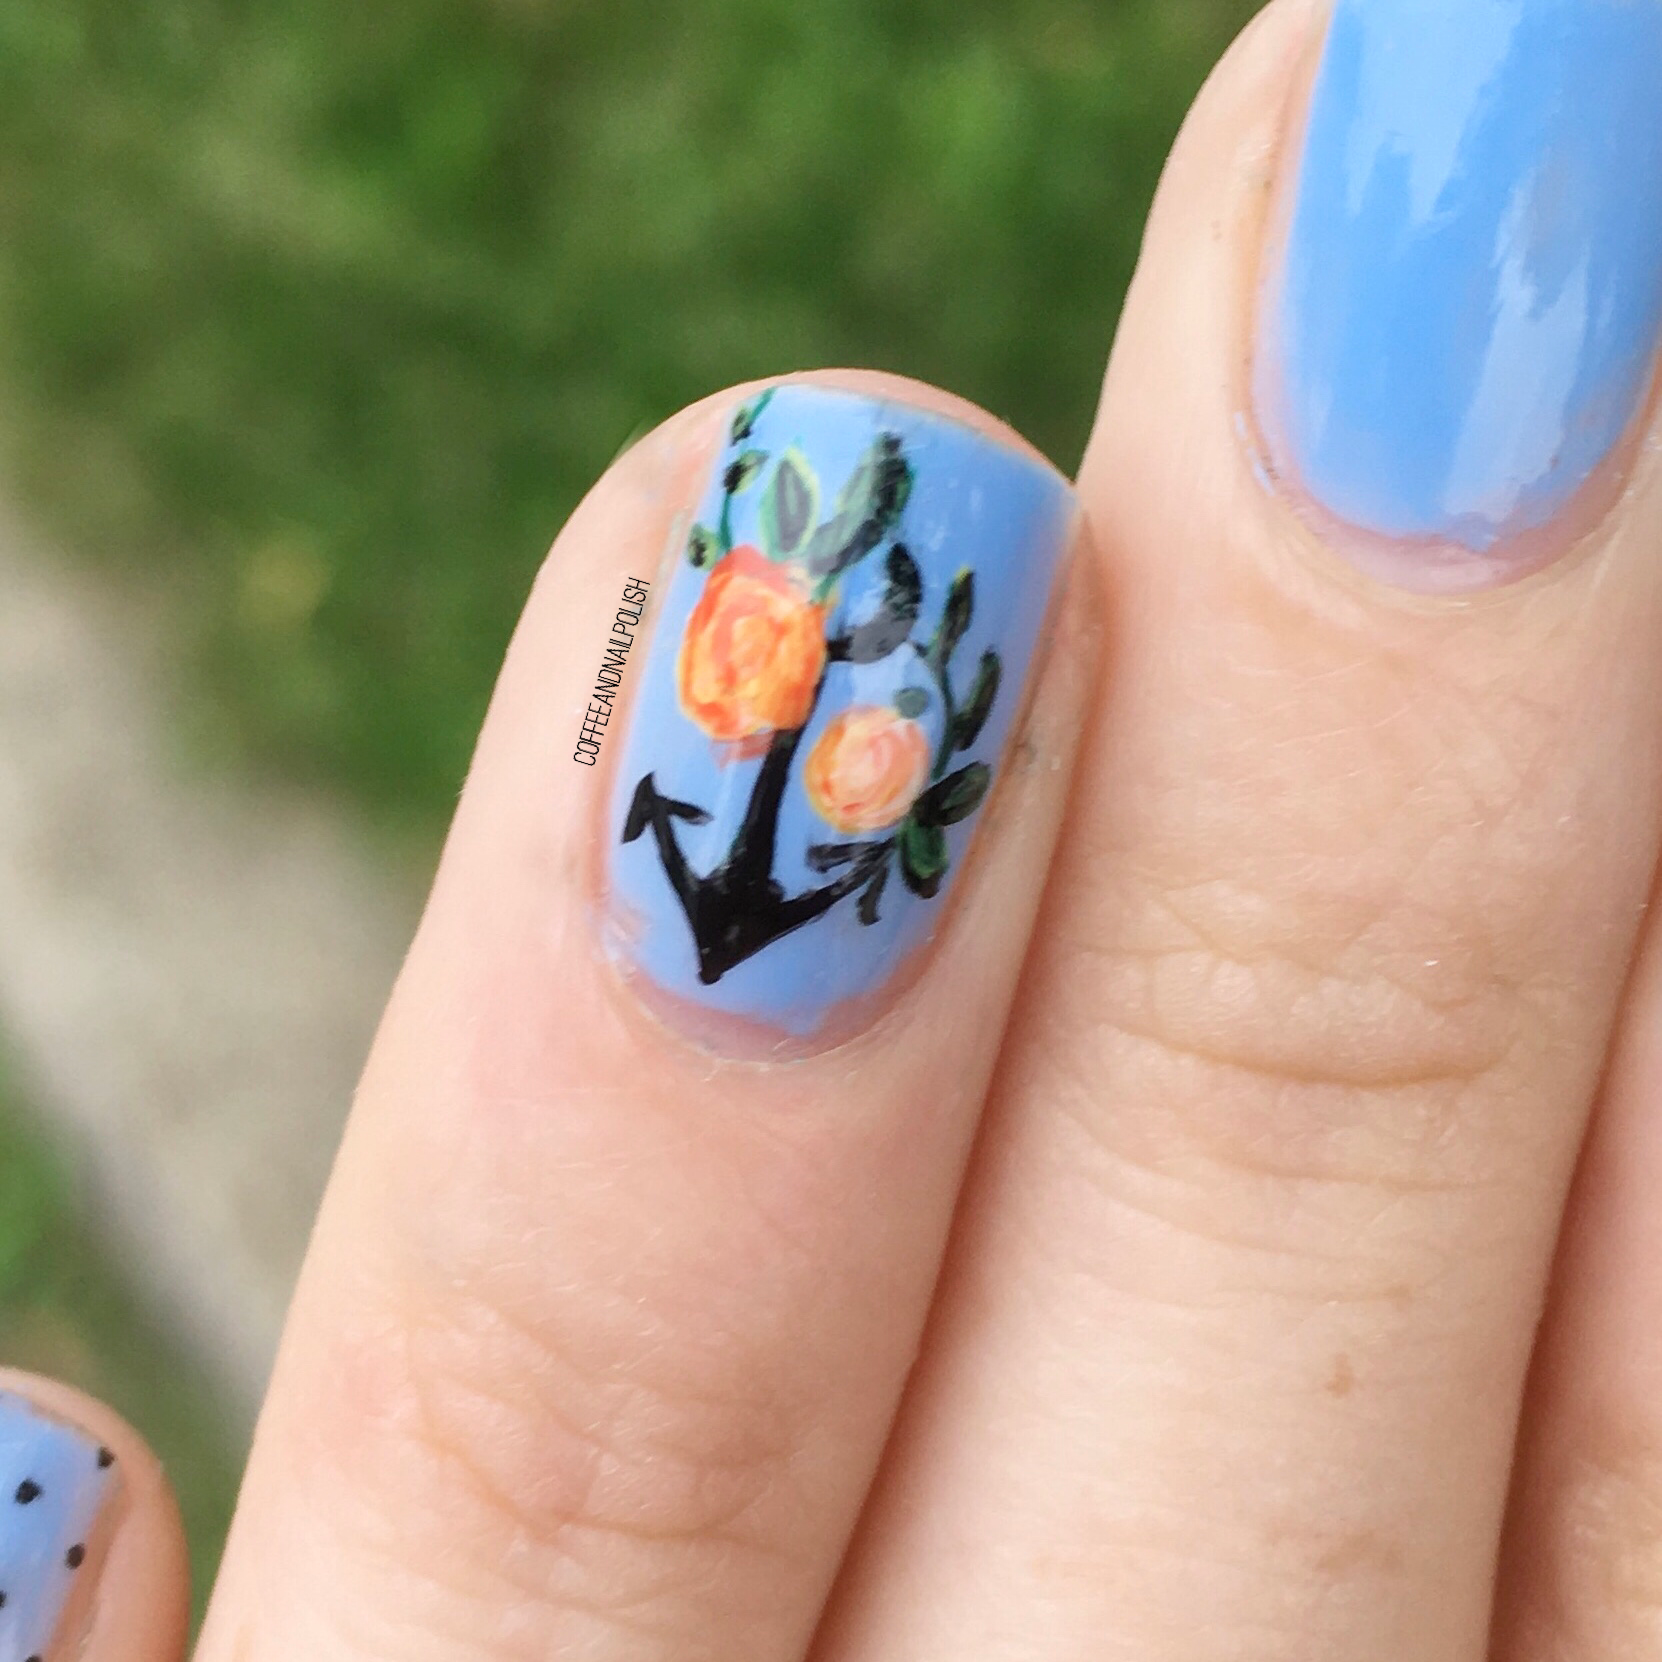
I really like the pop of colour on the dark base colour. Pat On The Black is such a perfectly dark burgundy shade, I love wearing it in the Fall. & when you add the stripes of lighter shades overtop, they really pop! It also lightens things up, so I’m not fully committing to Fall just yet. However, I’ll drink Pumpkin Spice if I want to… that I’m not budging on! Haha.
What do you think about this striped look? Do you prefer a square or rounded nail shape? Let me know down in the comments below!