Spooky Purple Shadow Spiderwebs 🕸️

Hello beauties & happy Friday!

I know, I know… I’m the worst. I’m having the worst time staying on task when it comes to posting, so I apologize. But I have a couple days off, so I’m really hoping I can keep on task enough to get some posts scheduled… at least for a couple days.

After all, it’s spooky season… my favourite season. & I want to share some fun designs with you!

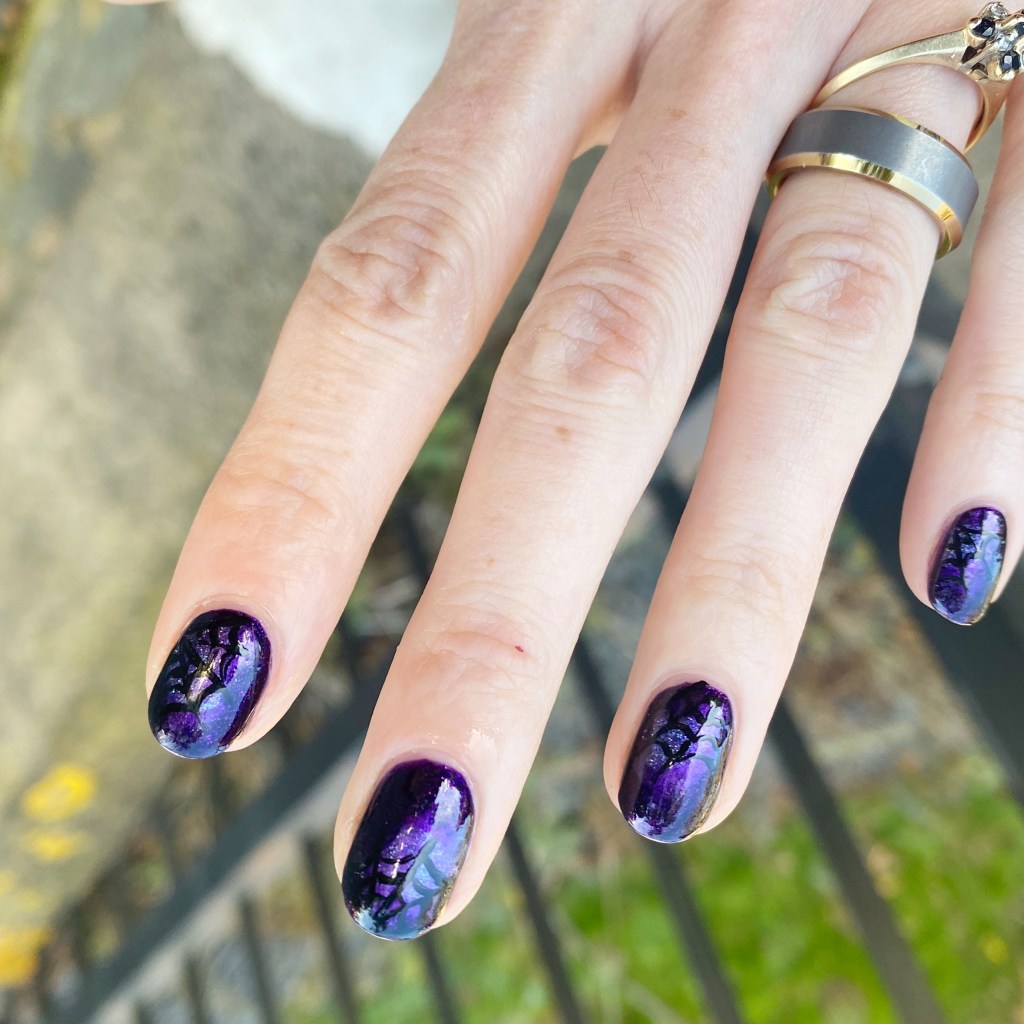
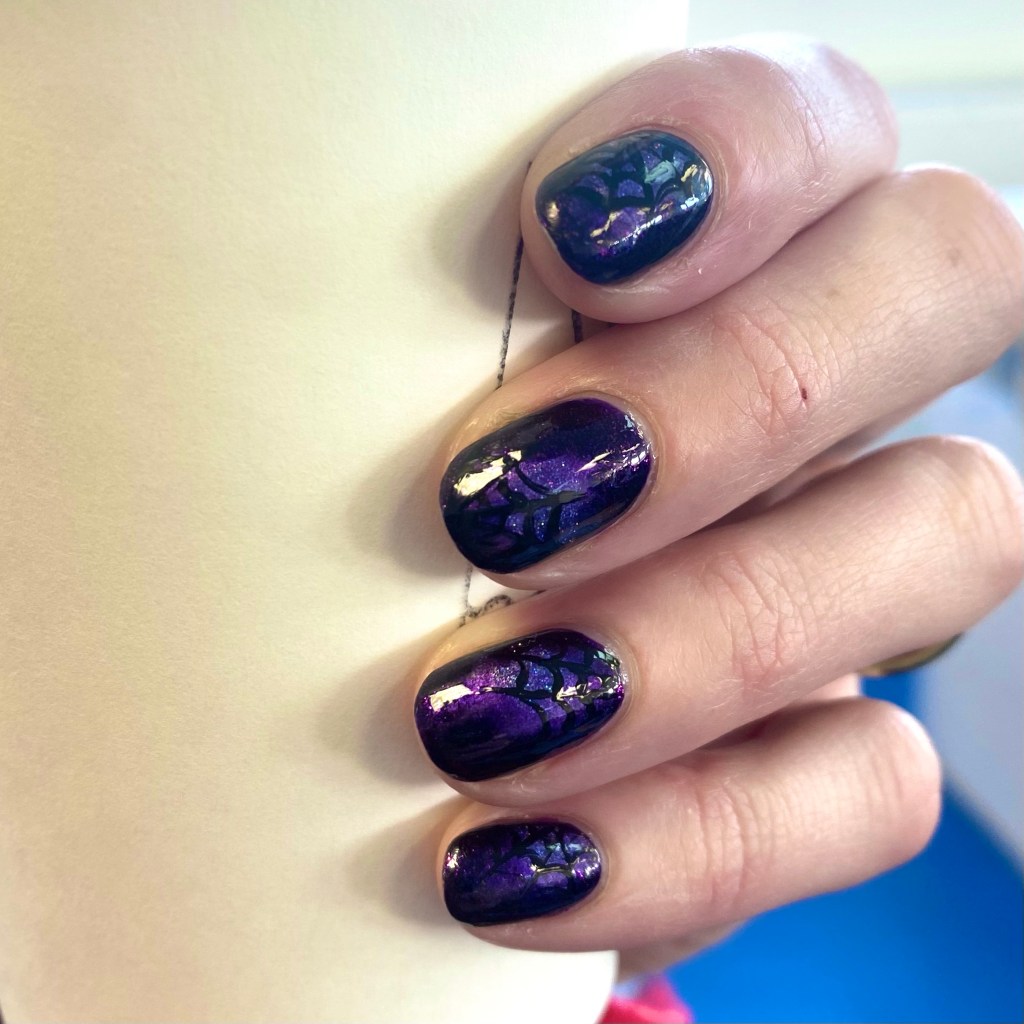
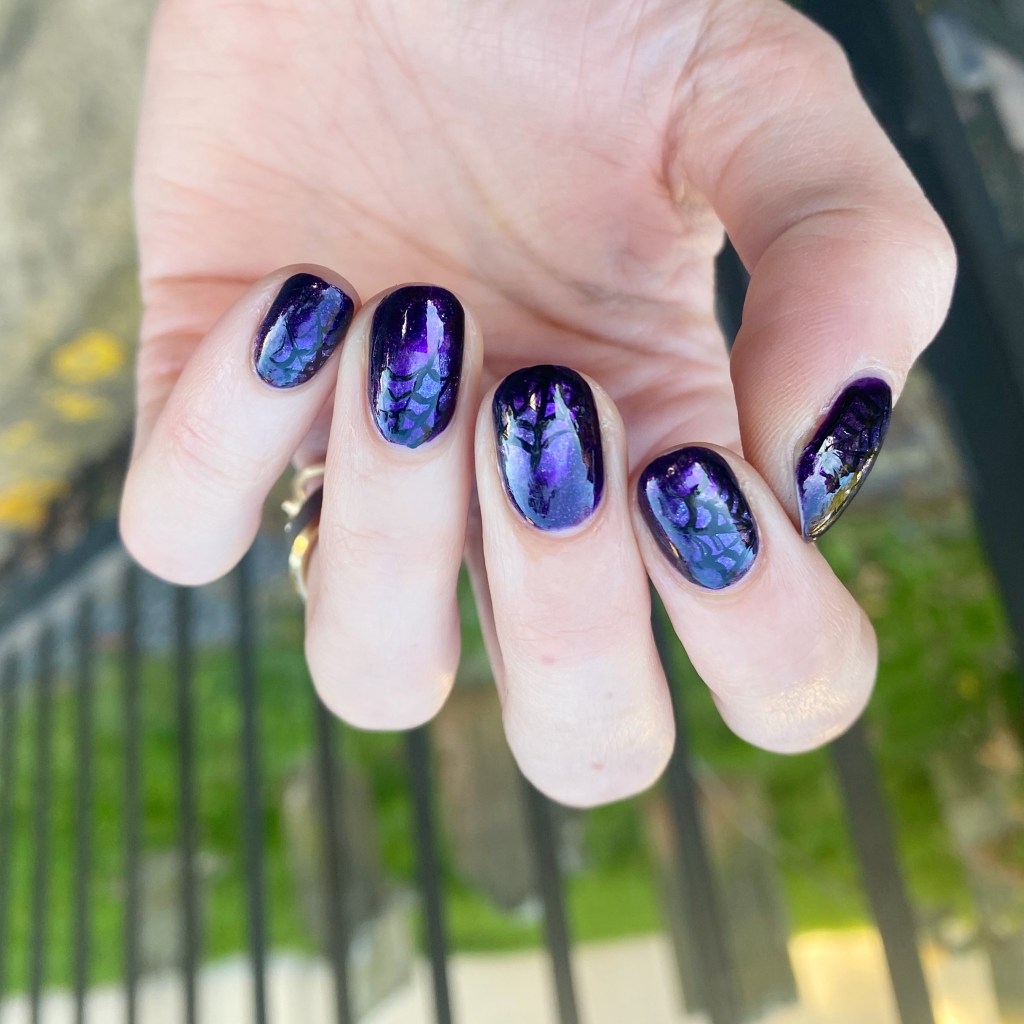
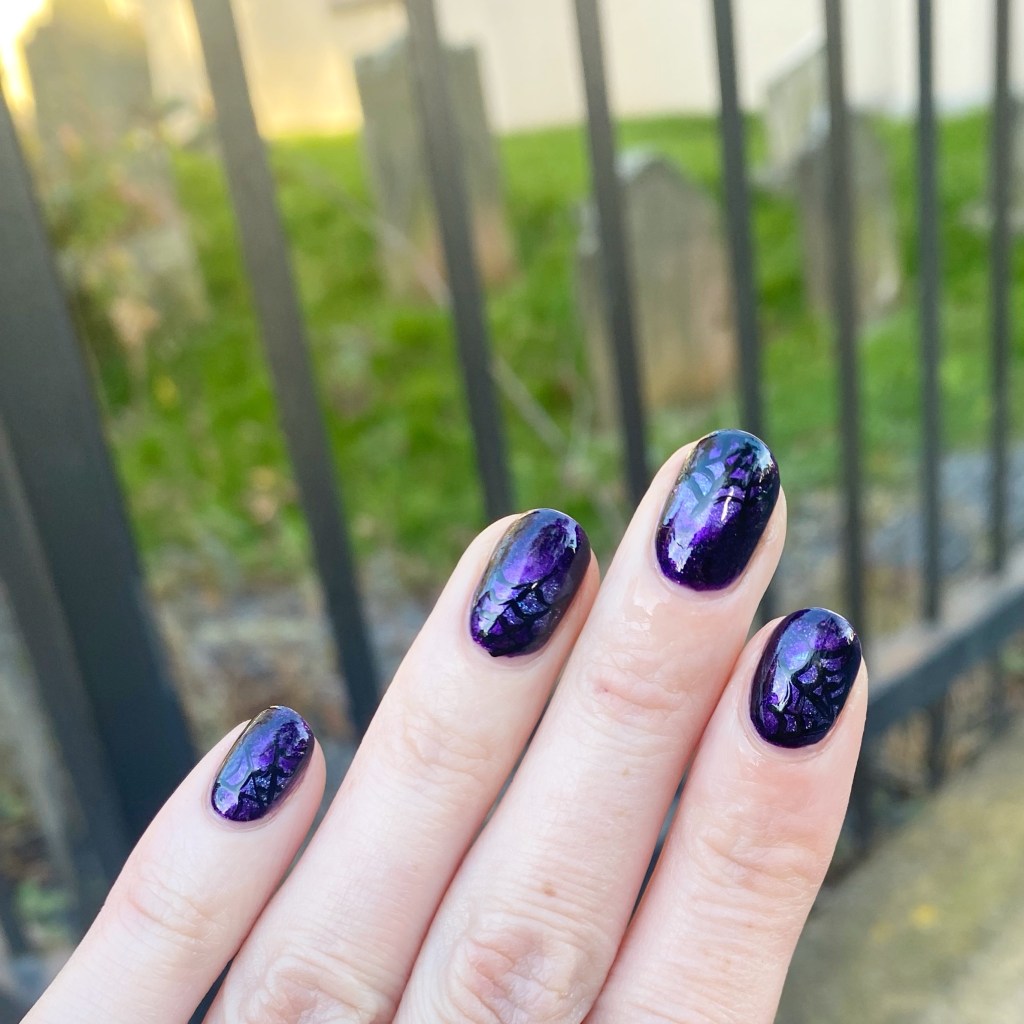
Today I want to share a spiderweb design I did recently, which I really feel like is a new take compared to designs I’ve done in the past. I’ve really wanted to do some aura nails, but I keep forgetting to buy make up sponges, so I attempted this design while free handing which didn’t exactly give me the aura effect, but I think they turned out so cool.
The polishes I used for this manicure are:

  • Base Coat: Sally Hansen Maximum Growth Base Coat
  • Top Coat: Sinful Colors Power Paint Top Coat + Sally Hansen Insta-Dri Top Coat
  • Sally Hansen Color Therapy Slicks & Stones
  • Sally Hansen InstaDri Purple Prism
  • Sally Hansen InstaDri Cosmic Blue
  • NailStuff Essentials Raven
  • NailStuff 7mm Mermaid Tail Liner Brush
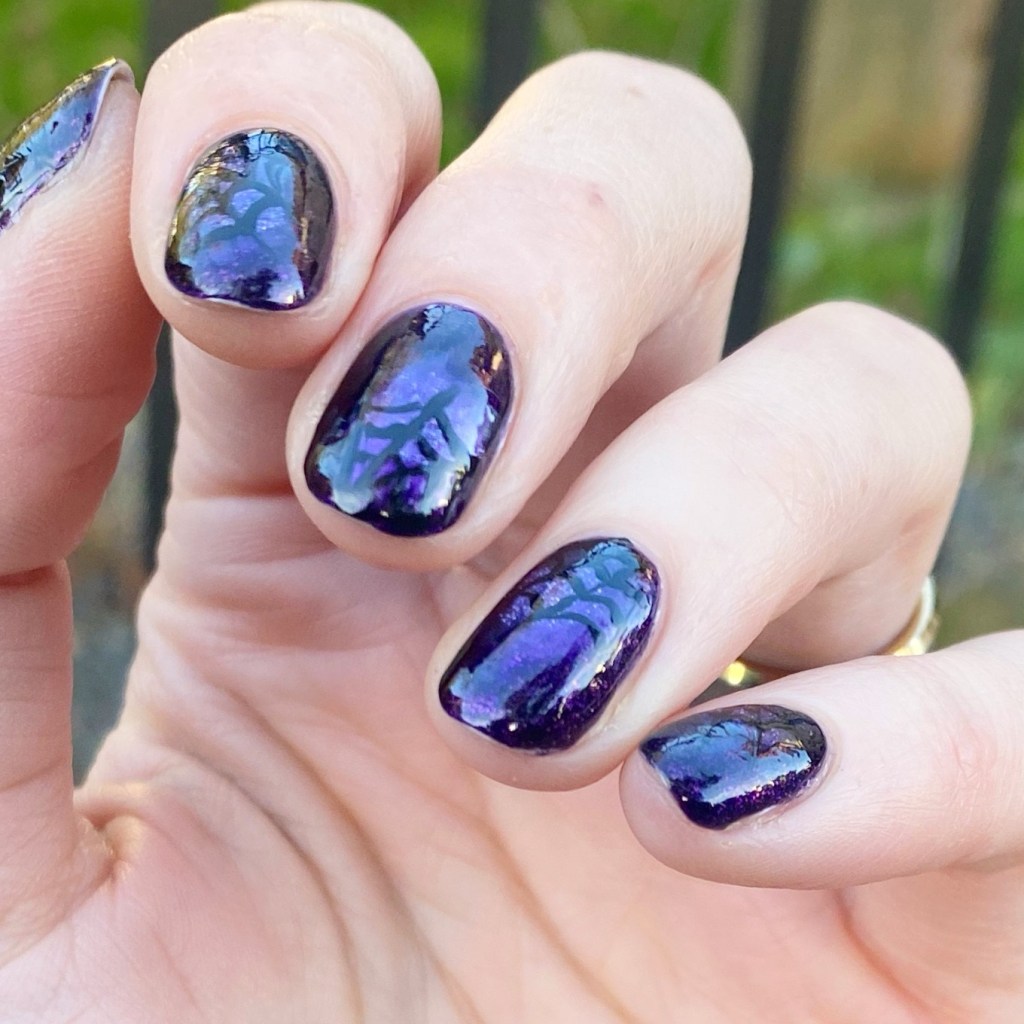
Okay.. I’m obsessed.

Yes, I saw that frequently with my nail art designs but like… come on, this one turned out so perfect. The aura is giving more galaxy, but I think that is awesome. It’s like the shadow of a spiderweb against the night sky, or something. But I love the way the spiderweb is almost hidden, & then BAM! It’s there.

& I love that the idea I had came to fruition, more or less. I’ve done quite a few spiderweb nail looks over the years, but this one is hands down my favourite. Spooky, & subtle — I just love them so much!

What do you think about this spiderweb look? Do you love this subtle shadow effect, as much as I do? Let me know all your thoughts down in the comments below! & as a bonus, let me know what your favourite Halloween/Spooky season nail art look to do is? I’m always curious what other people are doing this time of year.

Happy Friday!

♥︎

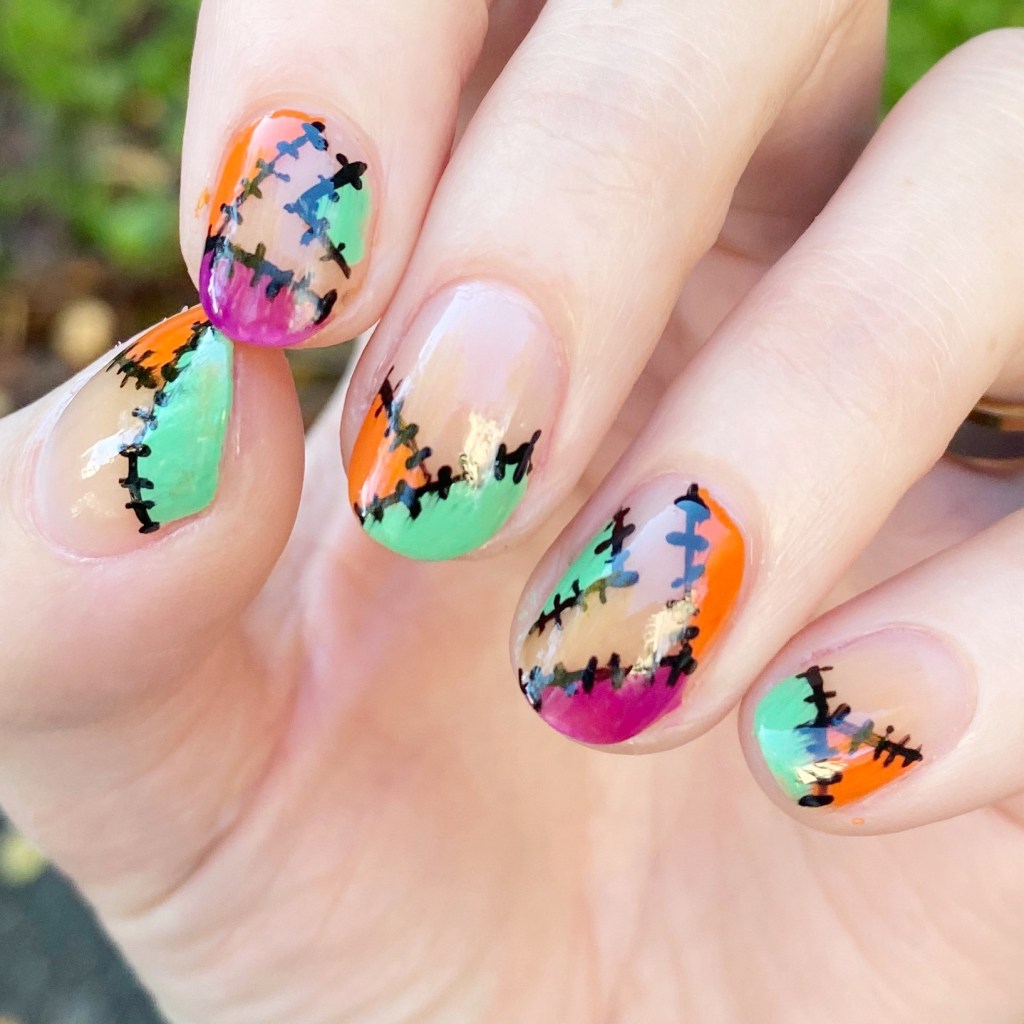
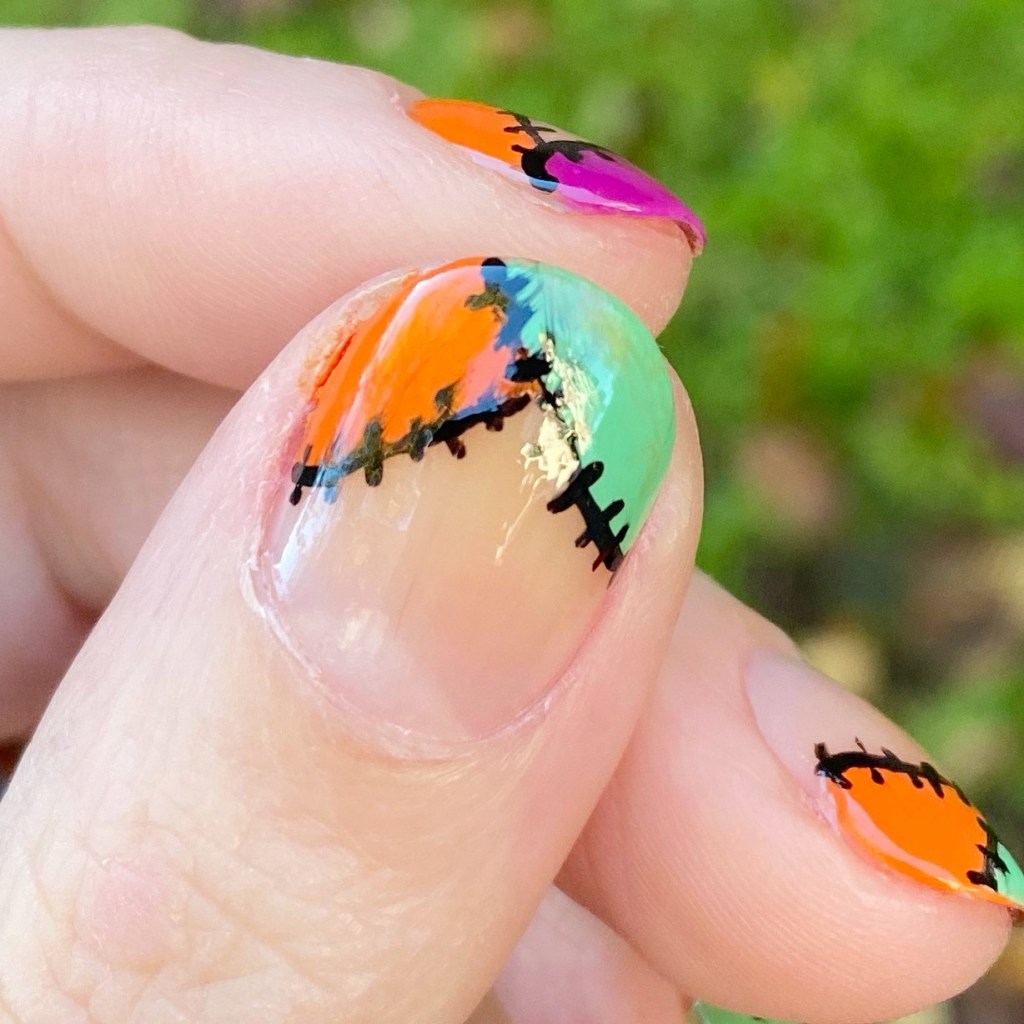
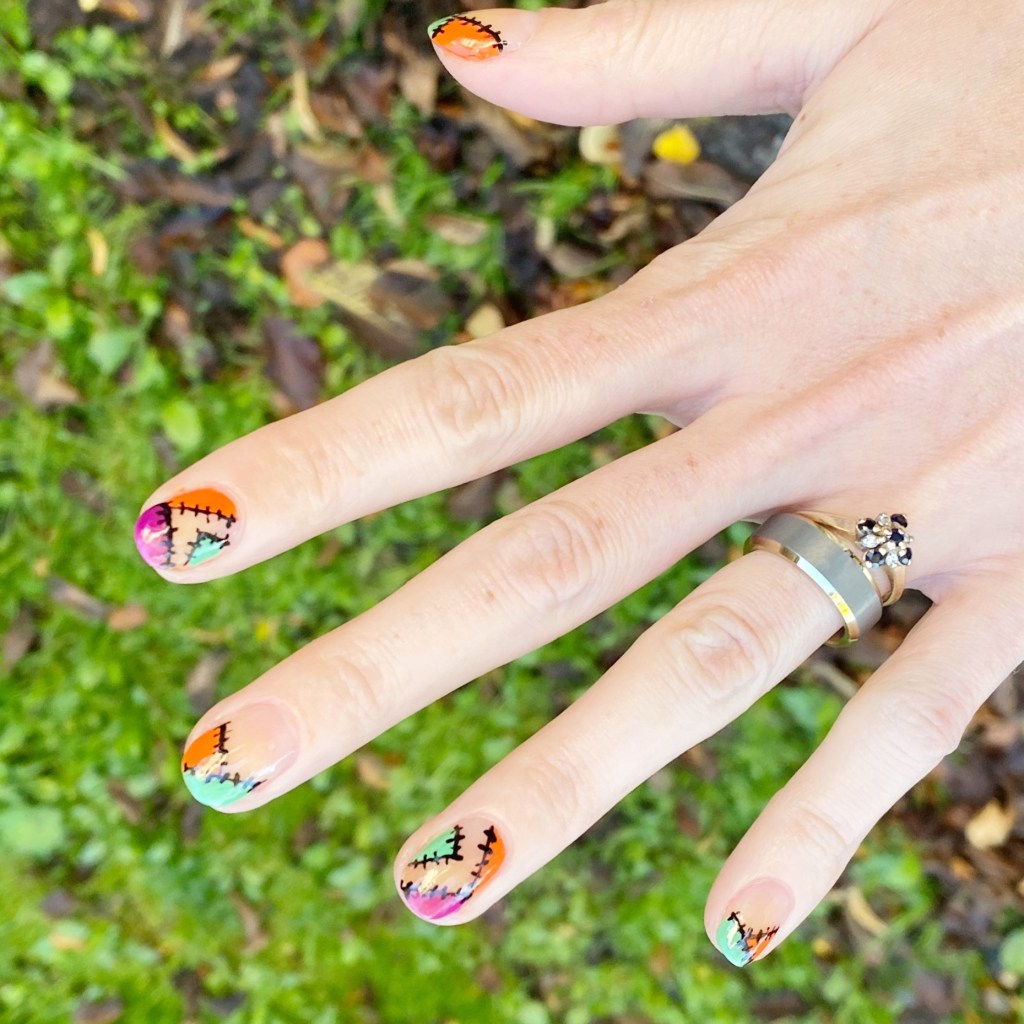
Fun Frankenstein Stitch Halloween Nails 🧟

Hello lovelies & happy Wednesday. A rainy, messy, not fun Wednesday at that. I know I’ve been super off on my posting schedule — I had such big plans for October manicures. But I’m still trying my best to truck along & share some fun nail art looks.

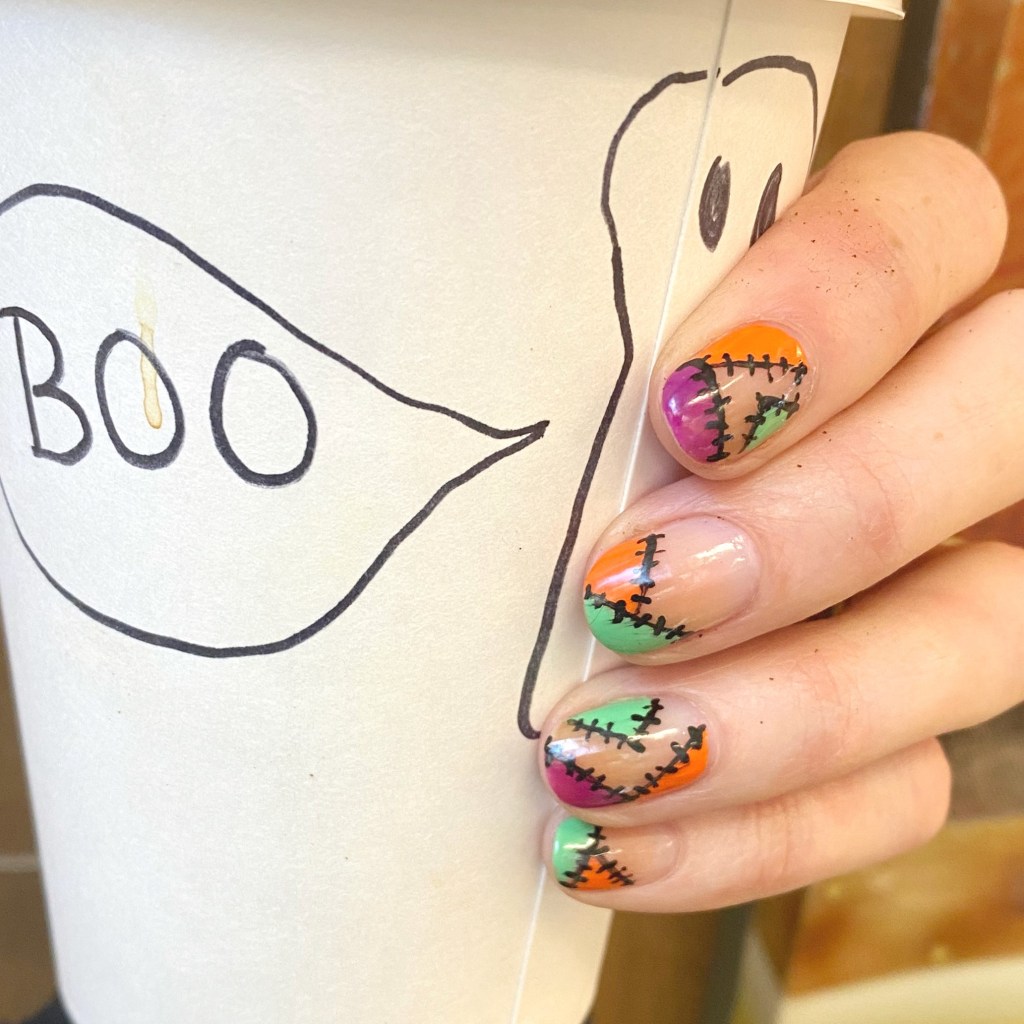
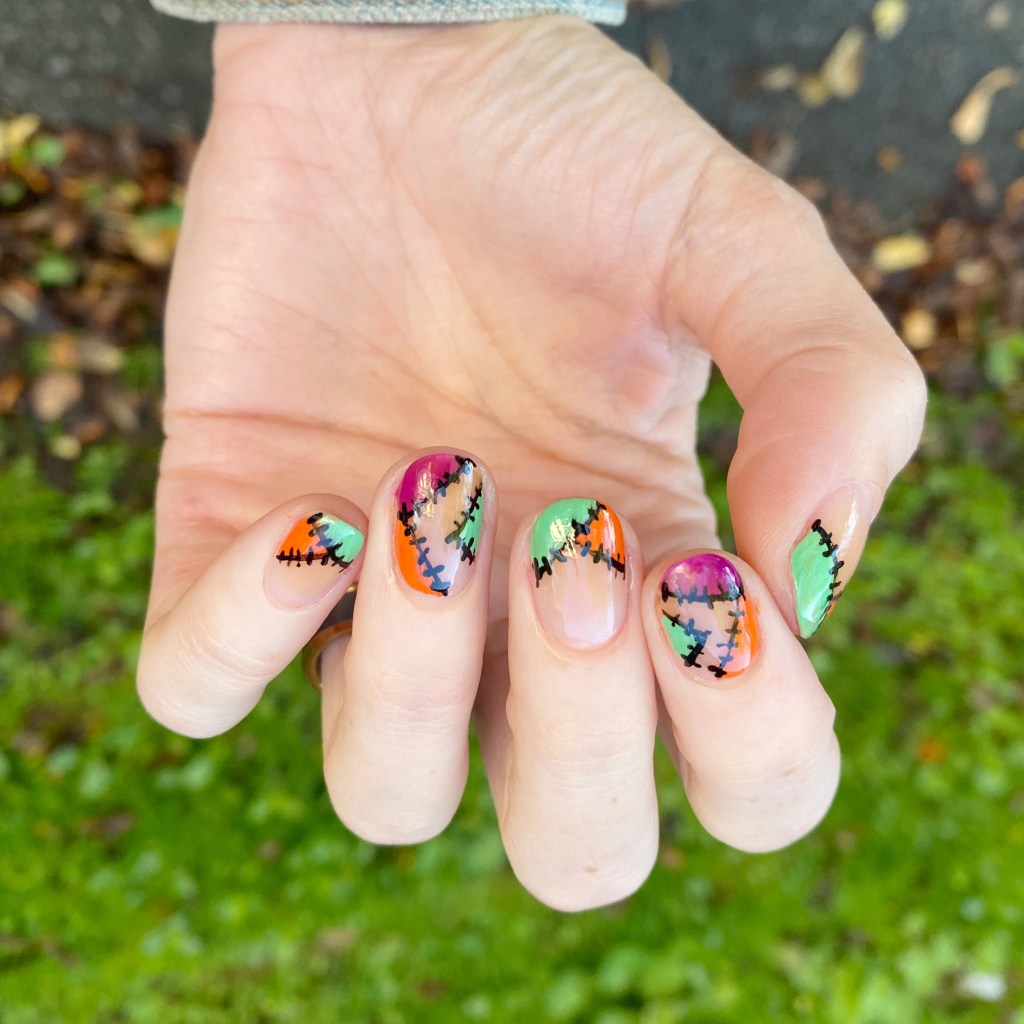
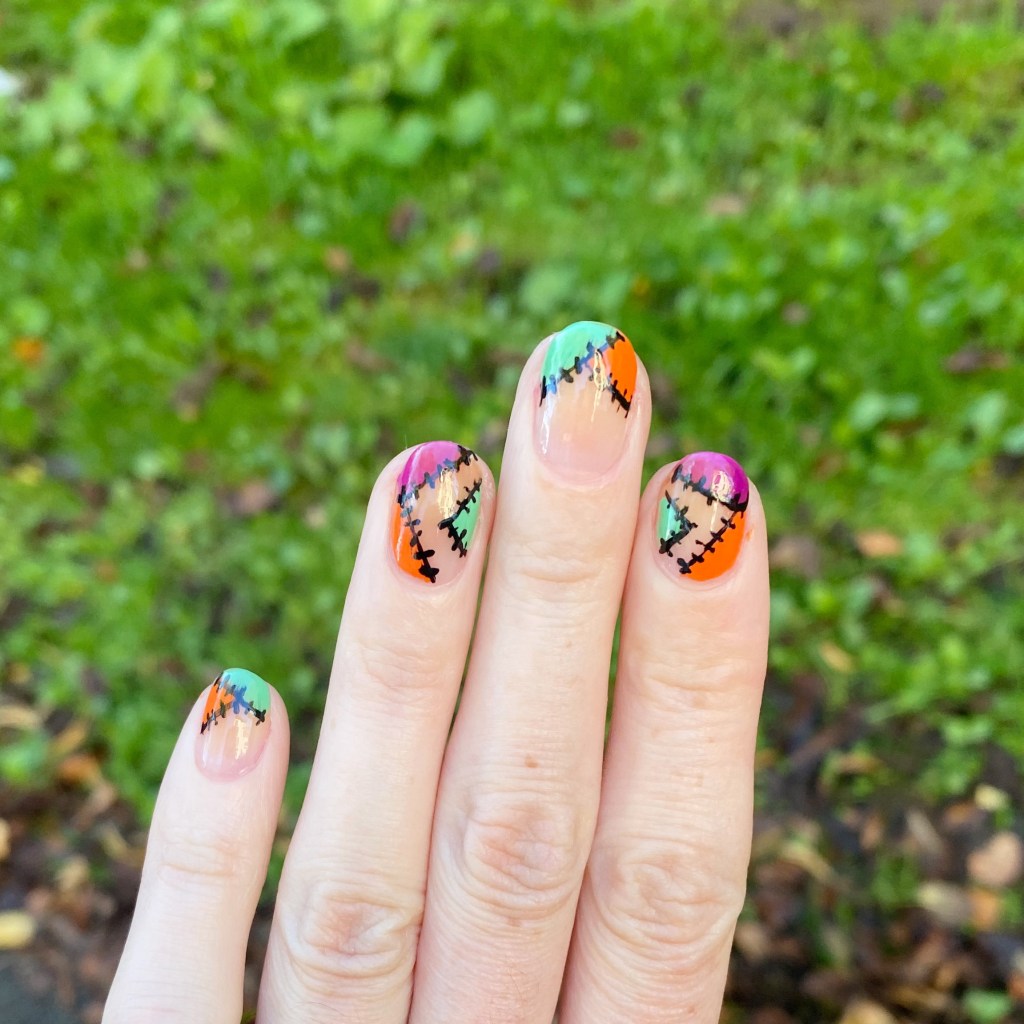
& what is more fun than Frankenstein inspired stitch nails?

Do I do a version of this look every year? Yes. Does it ever get old to me? Not at all.

The polishes I used for this manicure are: 

  • Base Coat: Sally Hansen Maximum Growth Base Coat 
  • Top Coat: Sinful Colors Power Paint Top Coat + Sally Hansen Insta-Dri Top Coat
  • Sally Hansen Miracle Gel Feelin’ Grape
  • Sally Hansen InstaDri Pump-kid
  • China Glaze Shore Snuff
  • NailStuff Essentials Raven
  • NailStuff 7mm Mermaid Tail Liner Brush
I love how colourful these colours are! This is the same colour scheme I used for my Halloween Inspired Dotticure — maybe because they were still sitting on my bedside table — but they work perfectly for this Halloween stitch look. Also, we all know I love a somewhat negative space design, & this is the perfect design for that.

& you wouldn’t believe how many compliments I got on this look! I wore them to work, & so many people commented on how cool they were. That made me so happy!

What do you think of this colour block/halloween stitch/Frankenstein inspired look. I’m not entirely sure which way is best to describe them, but I really really love them!

Happy Wednesday loves!

♥︎

SWATCH SUNDAY — Sally Hansen Color Therapy Slicks & Stones

Good morning lovelies & happy Sunday! & happy Canadian Thanksgiving to all my fellow Canadians!

I’ve been so busy with work I feel like I haven’t had a chance to really go check out the Fall nail polish collections near me. Winners is calling me. But in the meantime, I’ve been trying to pull from my own nail polish stash, & wear seasonal appropriate shades that I already own.

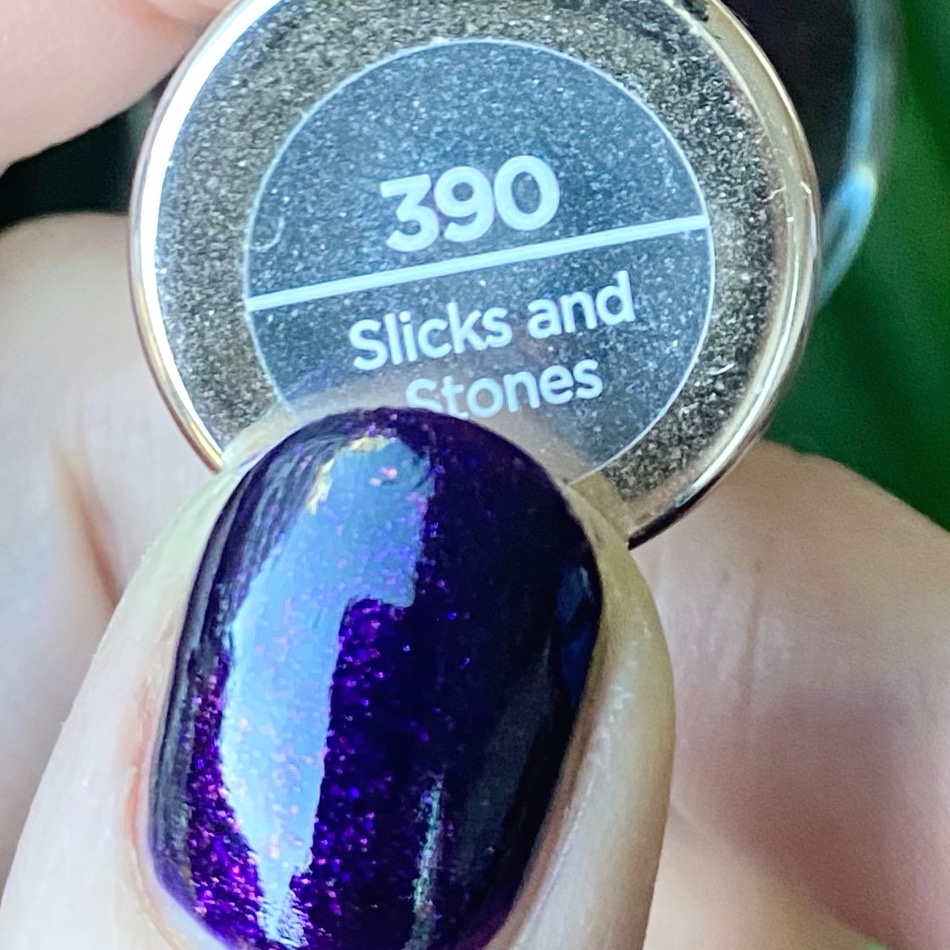
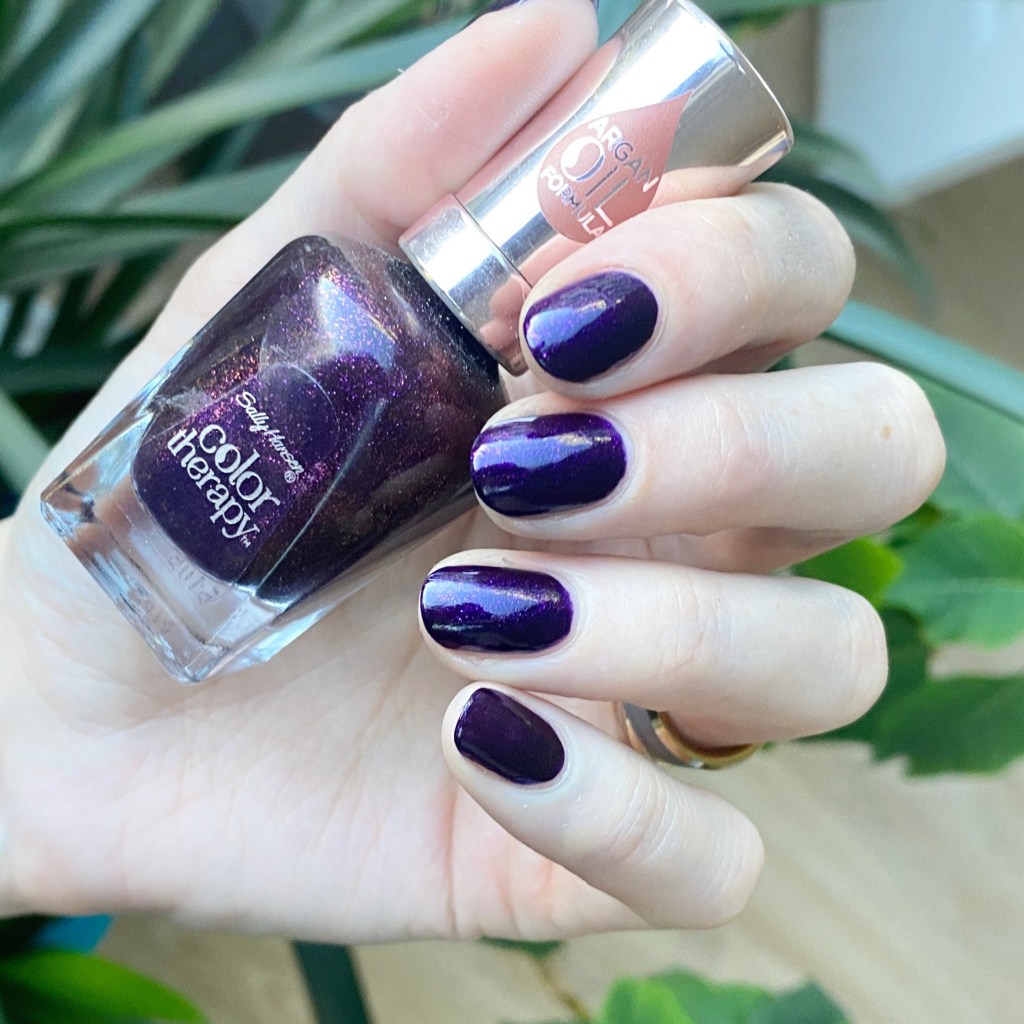
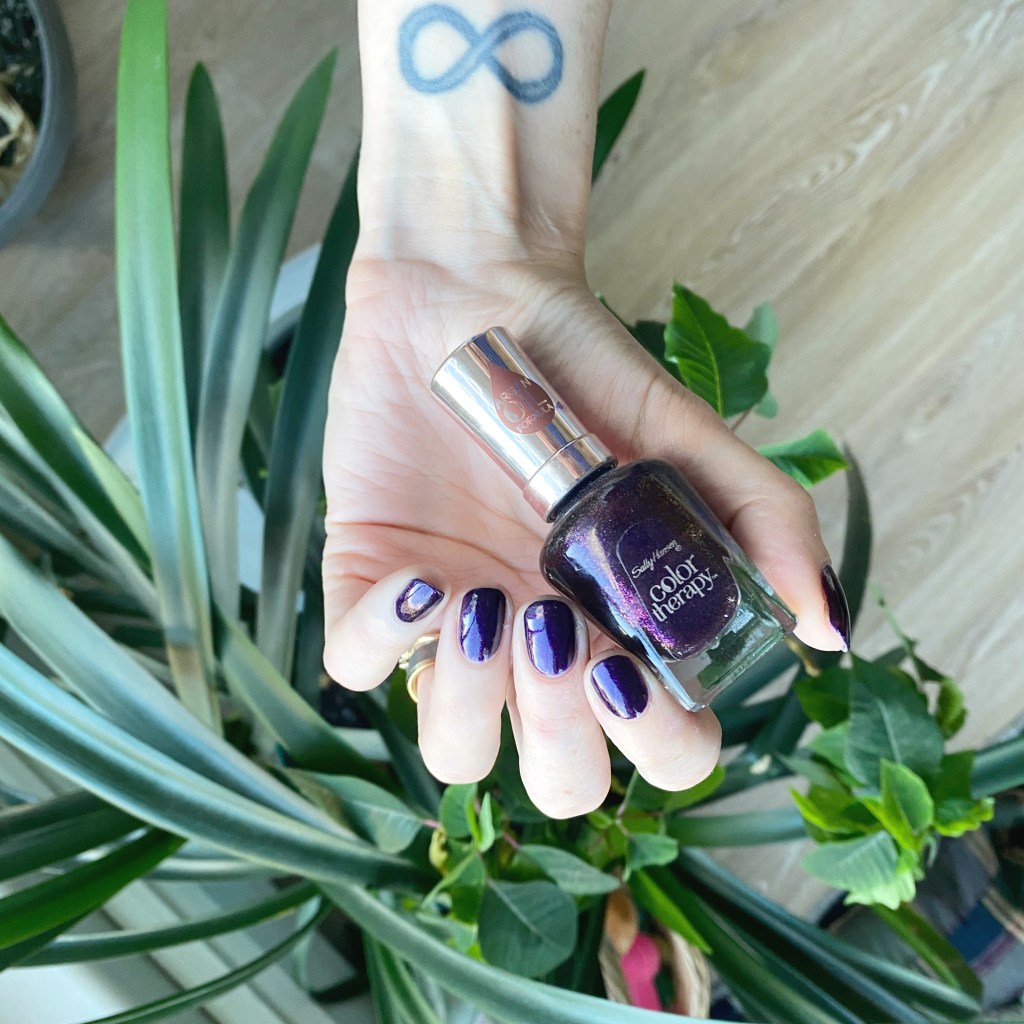
Case in point: this beautiful purple shade from Sally Hansen’s Color Therapy line — which I think I purchased back when the line was originally released circa 2016. This is Slicks & Stones.

2 coats + top coat.

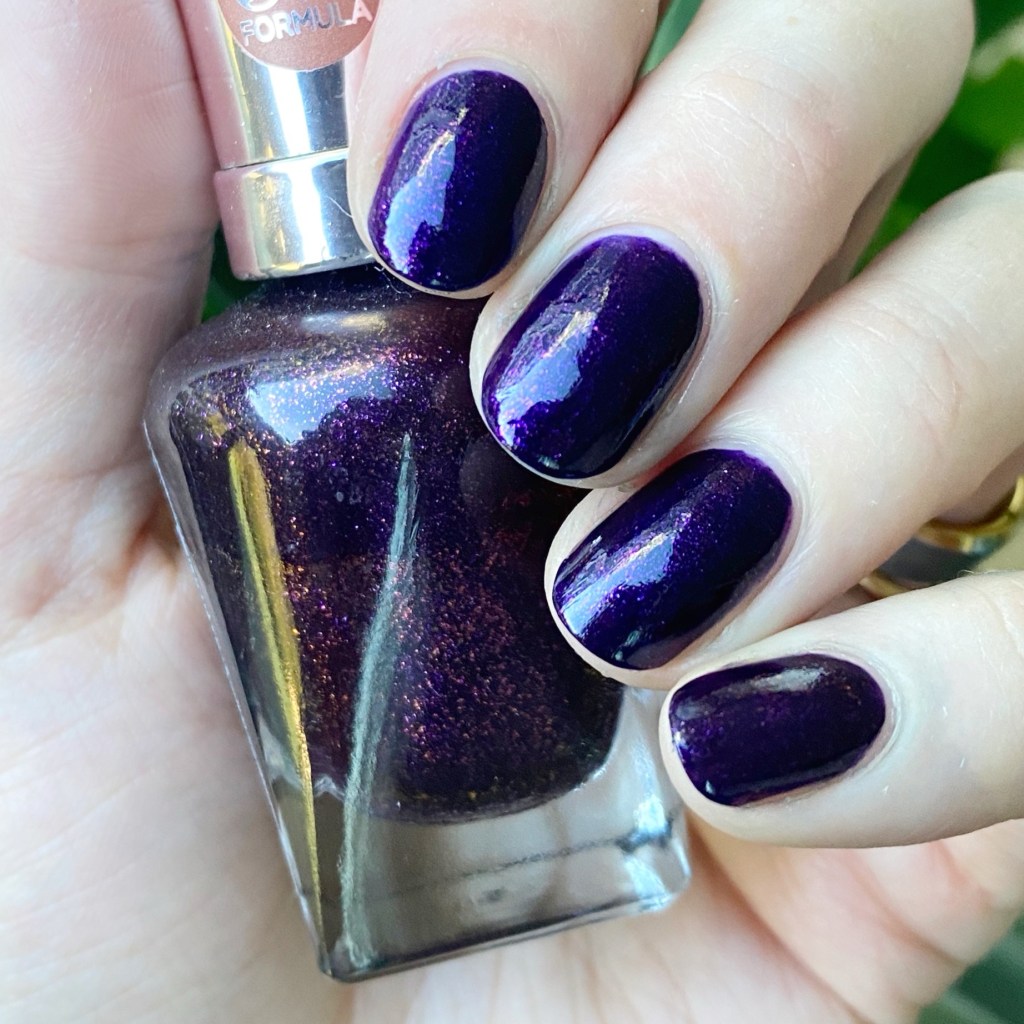
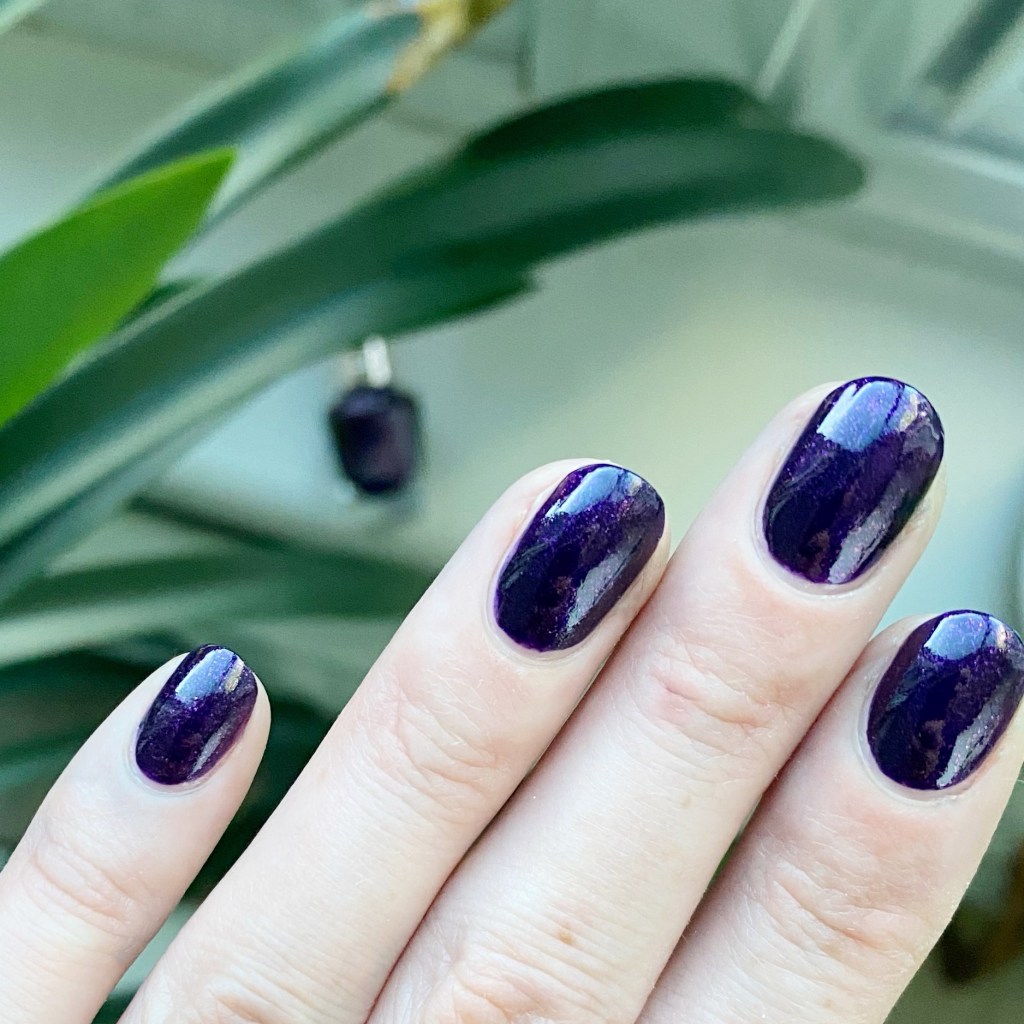
First thing I noticed is the colour appears much darker on my nails than in the bottle. I feel like the beautiful metallic shimmer didn’t transfer as much to my nails as it looks in the bottle — but that could be down to me not shaking the bottle enough… maybe? Either way, I love the colour of this point. It’s deep, & dark, & purple. An absolute banger shade for these cooler October nights!

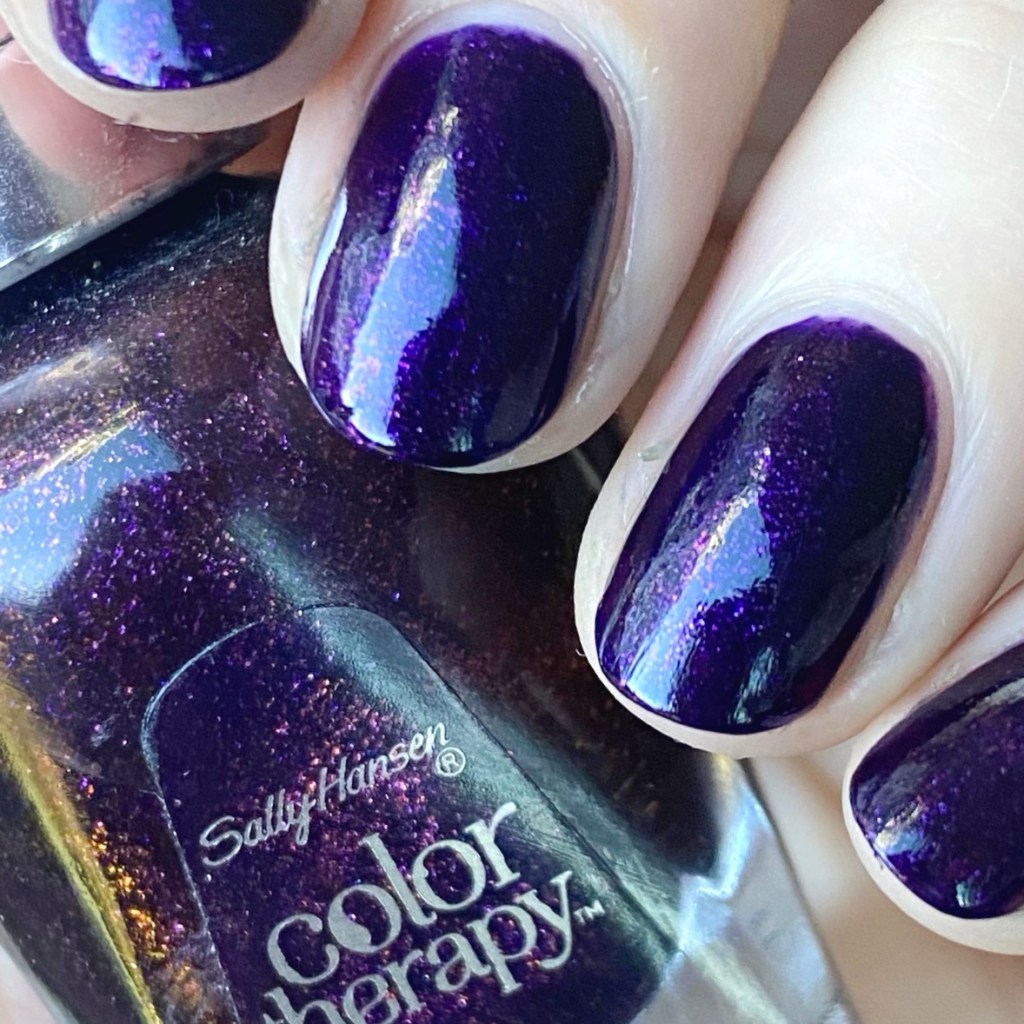
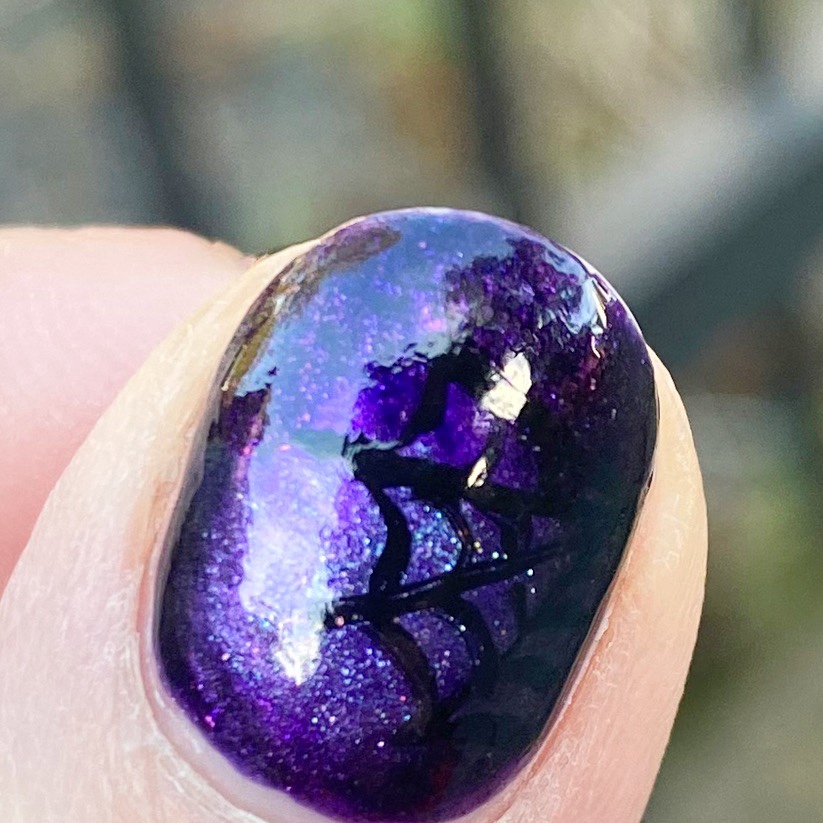
Close up. Again, you can see the difference between the shade on the nails & the much larger metallic glitter in the bottle. It’s a shame it doesn’t look exactly like the bottle, but the colour is so gorgeous & a little bit witchy.

So I’m a bit confused if this line is still available to purchase — I did find some listings on Amazon & it’s listed on the Sally Hansen website, but I can’t remember the last time I found it out in the wild, so your guess is as good as mine!

What do you think of Sally Hansen Color Therapy Slicks & Stones? Do you love this beautiful purple as much as I do? Let me know all your thoughts down in the comments below because I’d love to know what you think!

Happy Sunday ♥︎

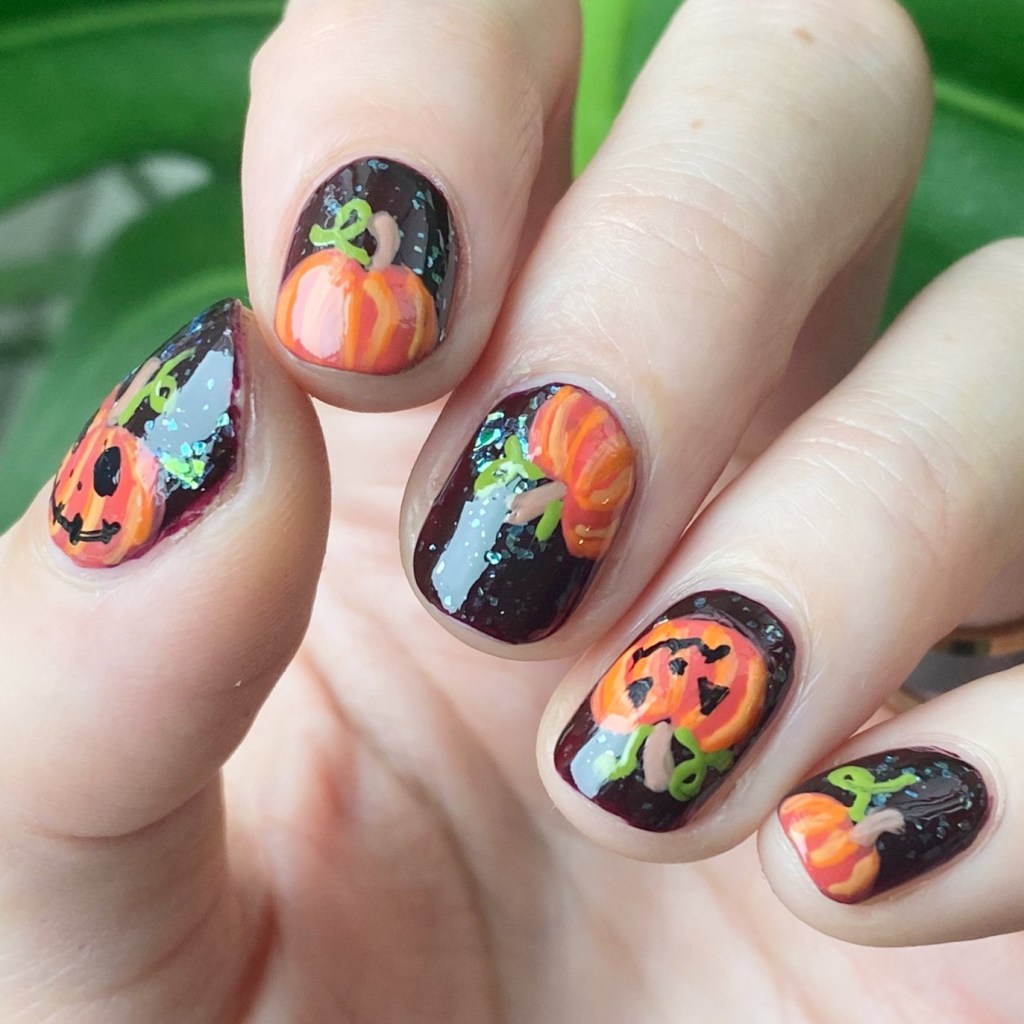
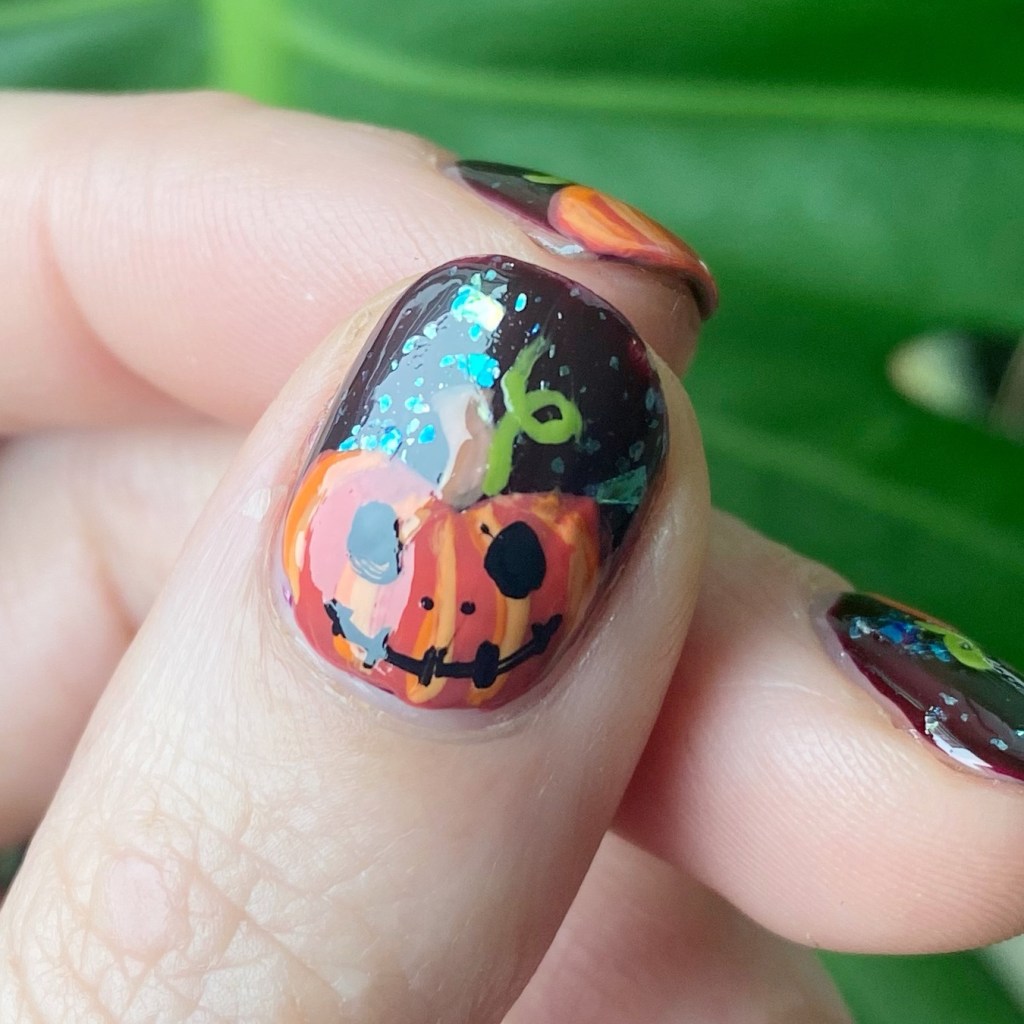
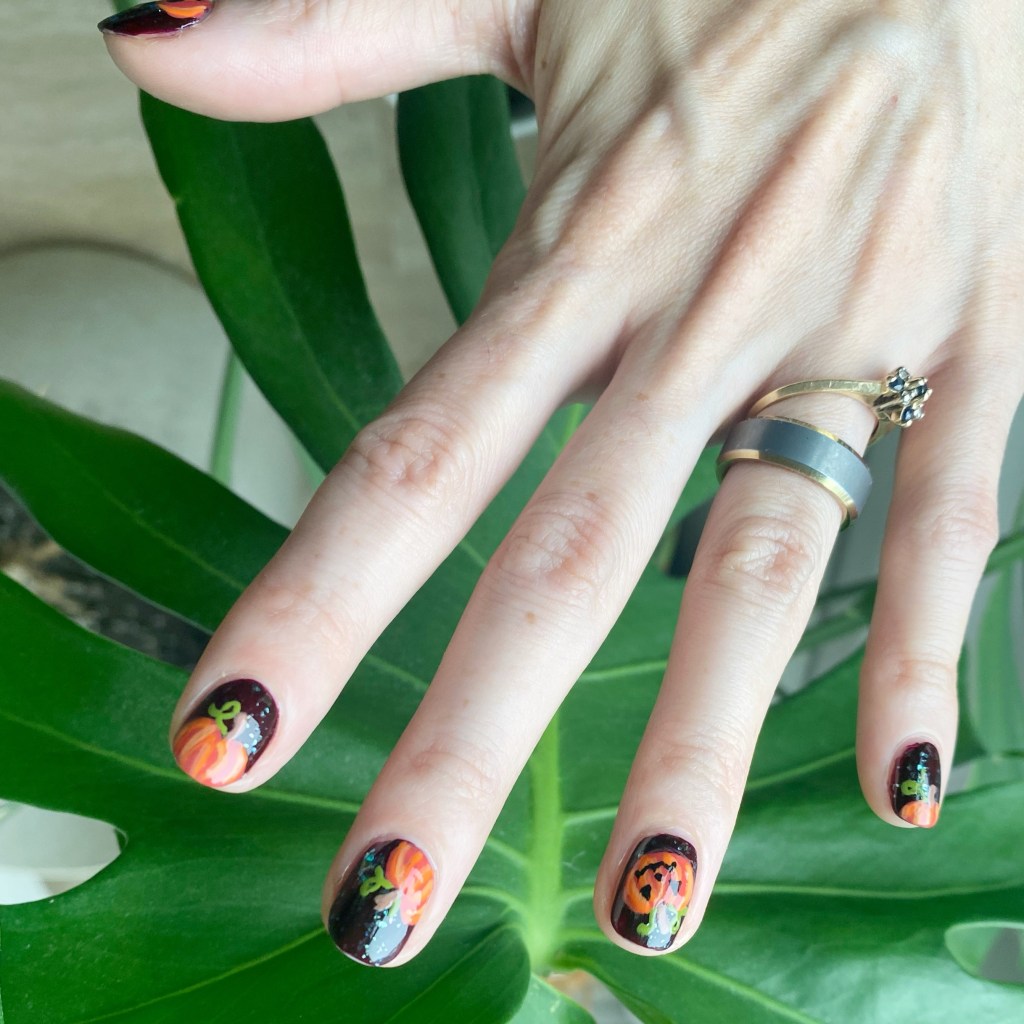
Hand-painted Jack O Lanterns 🎃✨

Hello lovelies & happy Tuesday.

I know my posting schedule is all over the place, but between life, family, sickness & work, I’m just trying to make sure this blog gets my attention — even if it’s not on the same schedule I have been posting! Especially this month, my favourite month. I have been busy busy busy on Pinterest saving a lot of Halloween nail art ideas, & then enviably spending a lot of time narrowing down which one I want to do first.

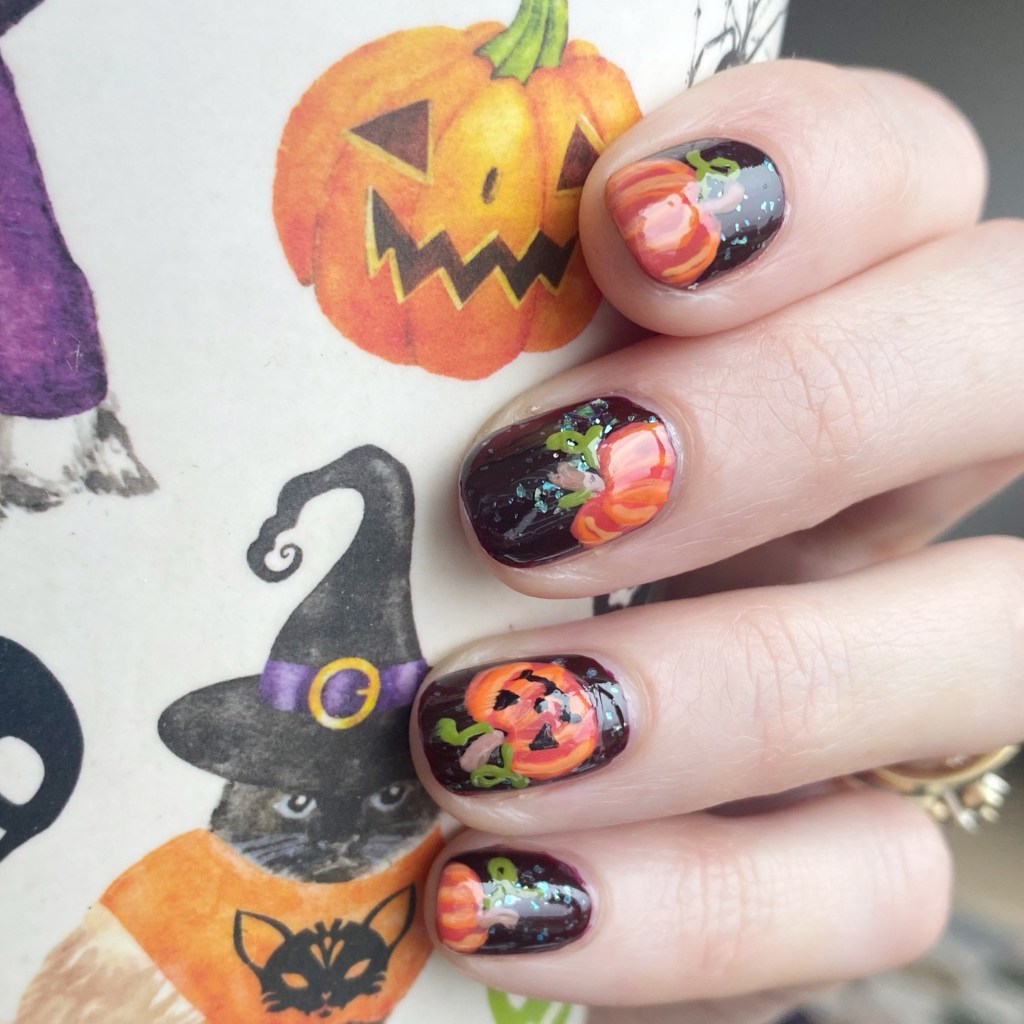
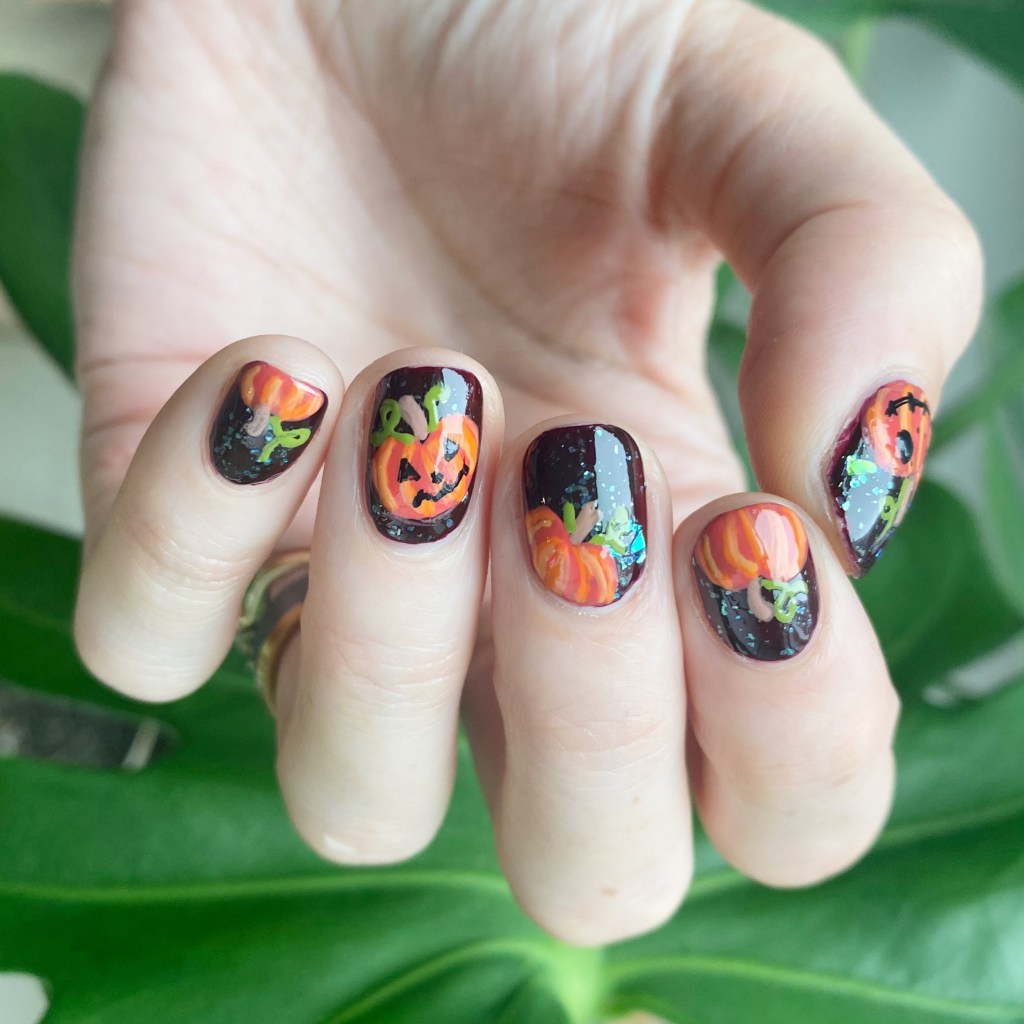
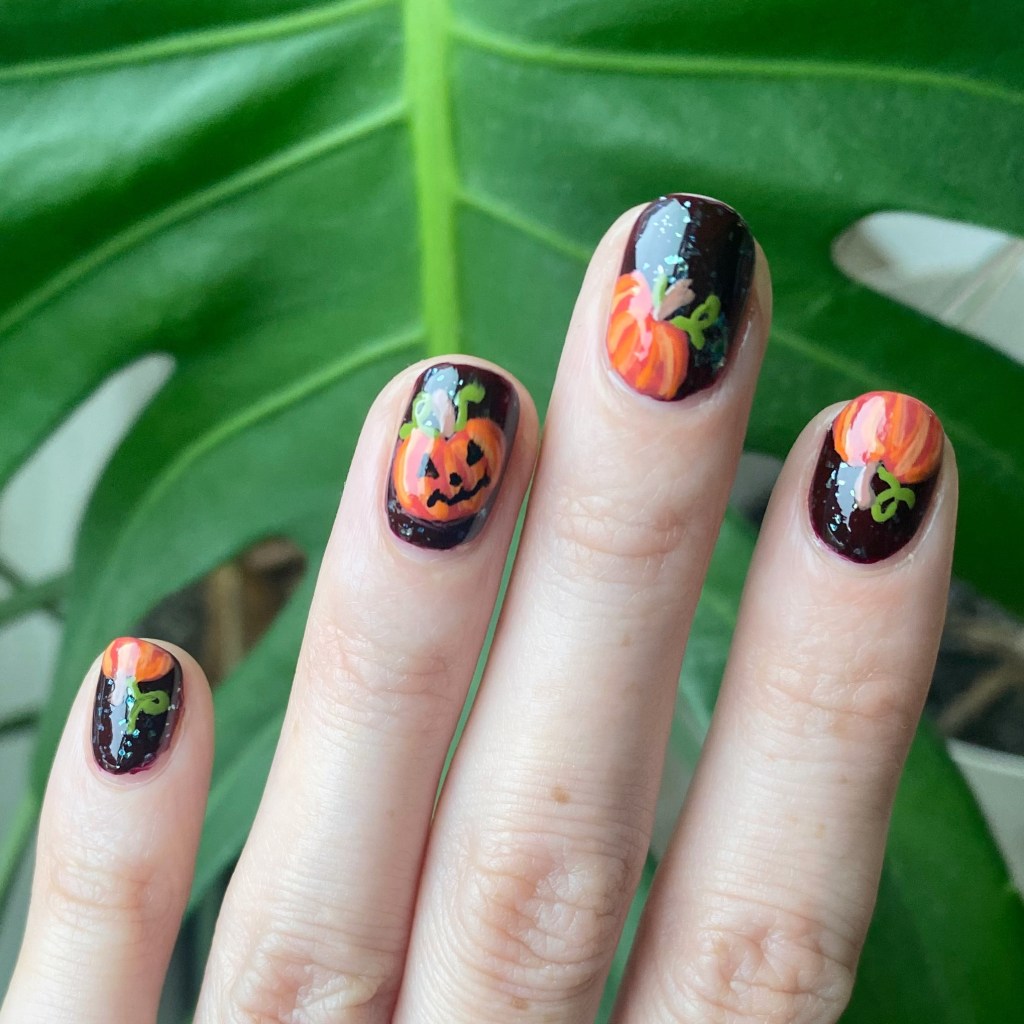
Naturally, I decided to start with pumpkins. I’m a basic bitch who loves her pumpkin spice, so it just felt very fitting.

The polishes I used for this manicure are: 

  • Base Coat: Sally Hansen Maximum Growth Base Coat 
  • Top Coat: Sinful Colors Power Paint Top Coat + Sally Hansen Insta-Dri Top Coat
  • OPI I Sing In Color
  • Essie Sparkle On Top
  • Essie Handmade With Love
  • Essie Fall for NYC
  • Essie Willow in the Wind
  • OPI Barefoot in Barcelona
  • Essie Cliffhanger
  • NailStuff Essentials Raven
  • NailStuff 7mm Liner Brush

I created my base with Sparkle on Top over I Sing In Color, & then sat back & tried to think what would look best over top. But pumpkins/jack-o-lanterns just felt like the obvious choice. I painted my pumpkins first, & then decided a few of them needed faces, so added them after the fact.

What do you think of these Halloween jack-o-lanterns? Do you like this handprinted design? I’d love to know what you think about this look & if you would wear this design on your nails!

To me, it’s the perfect look for spooky season!

♥︎

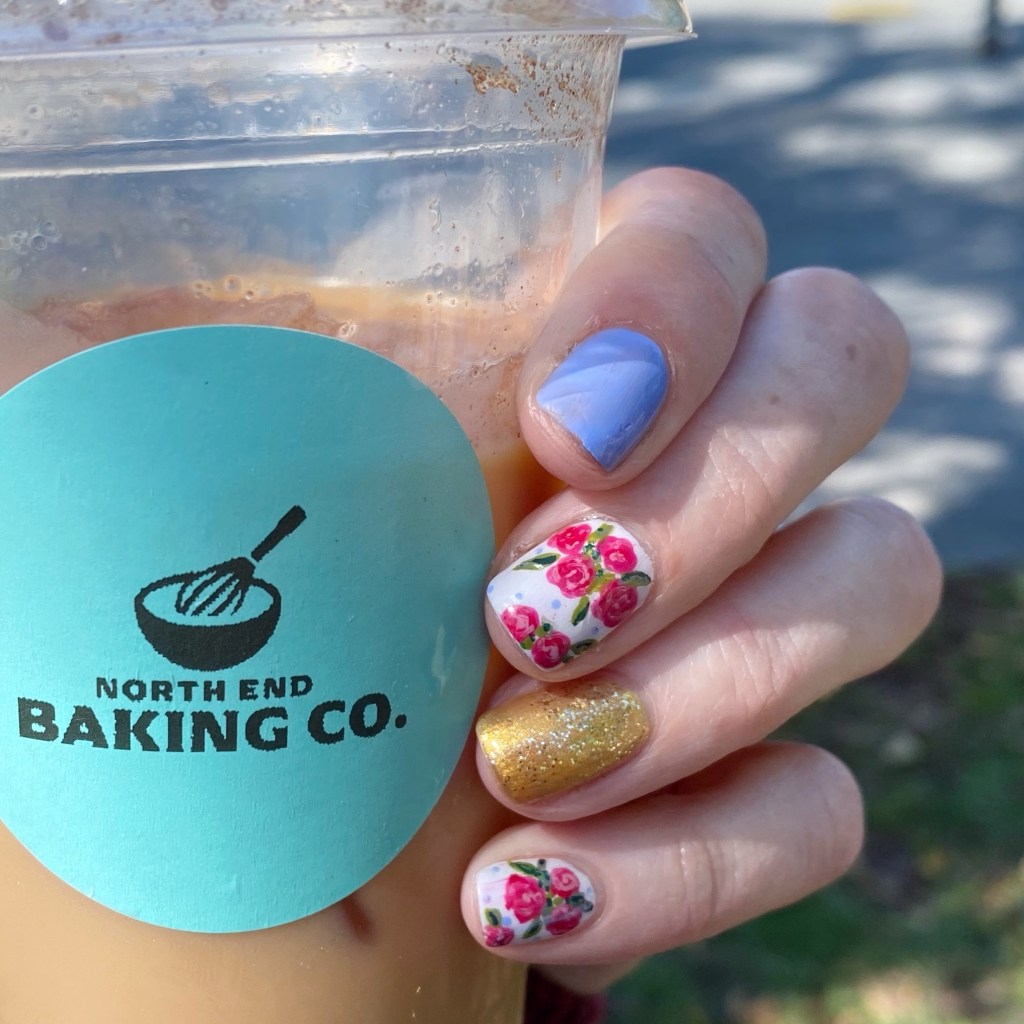
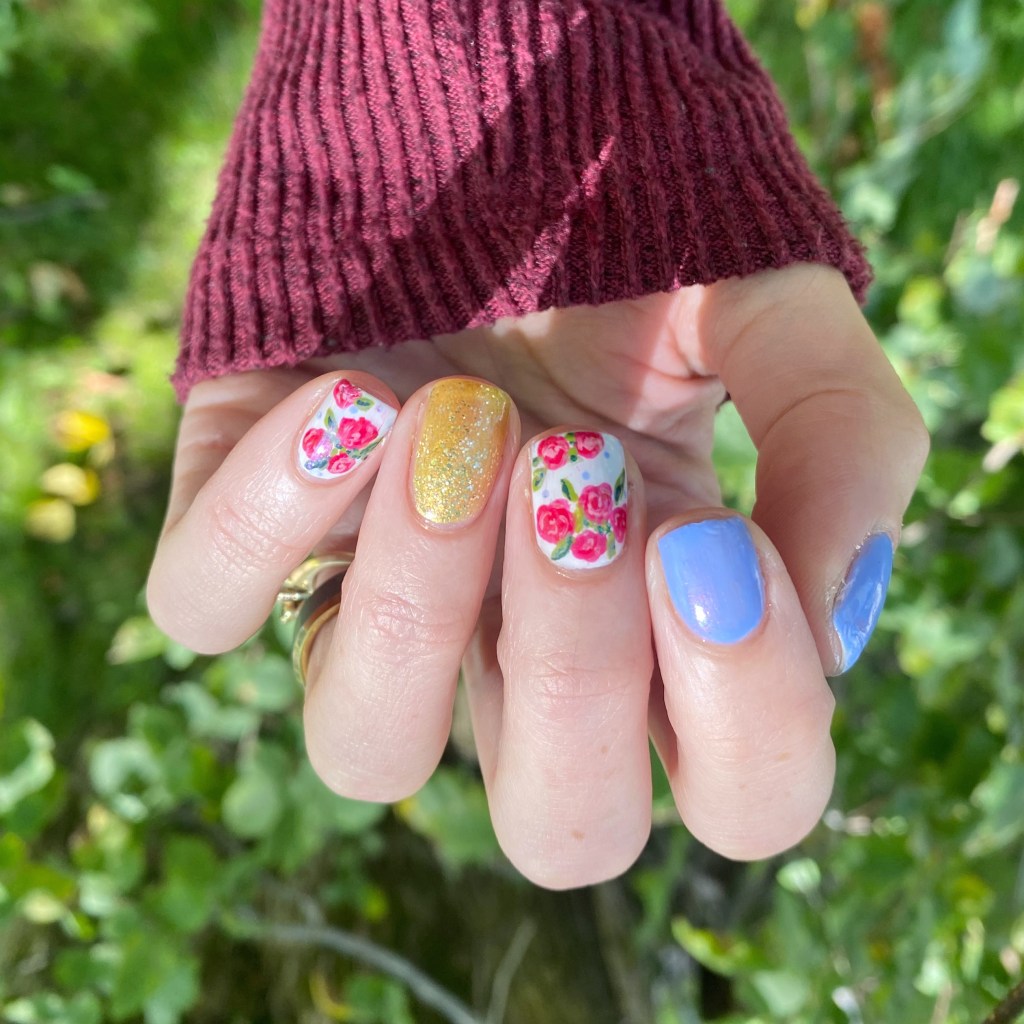
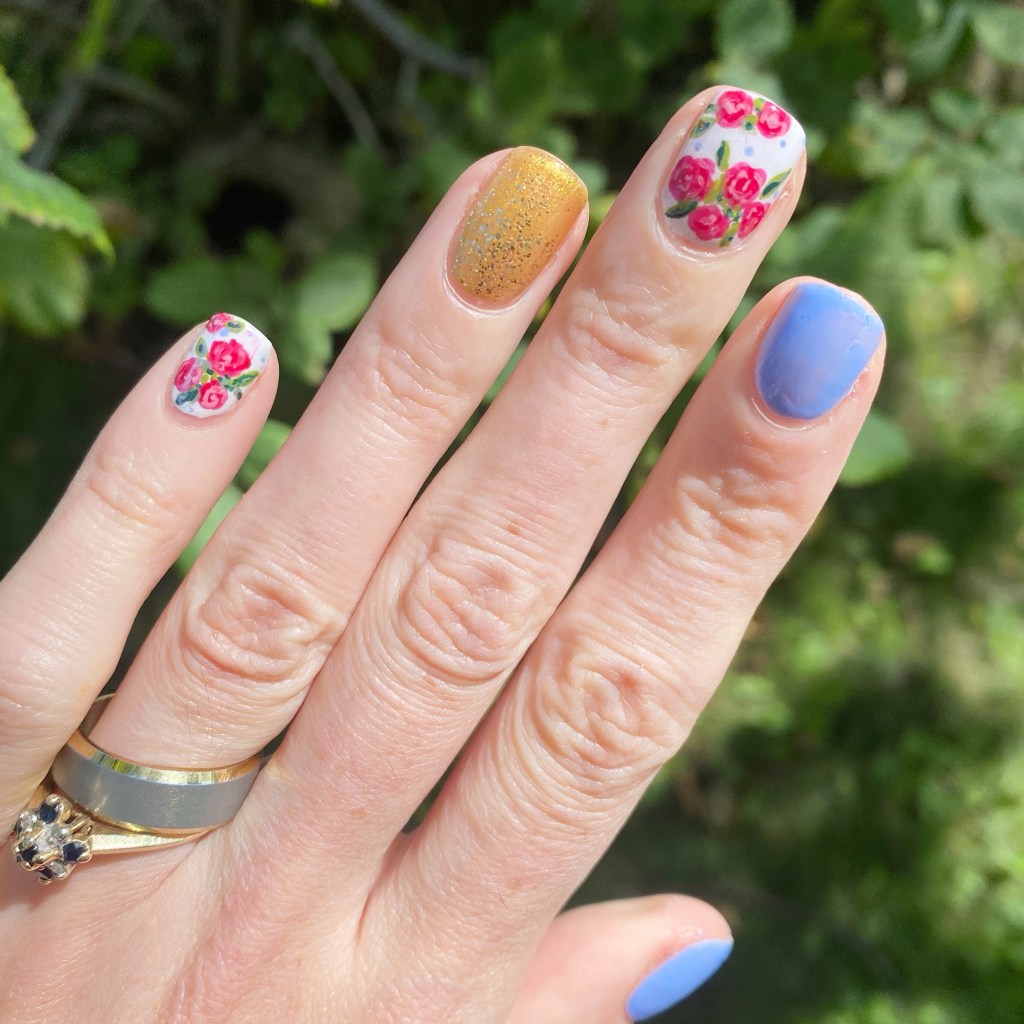
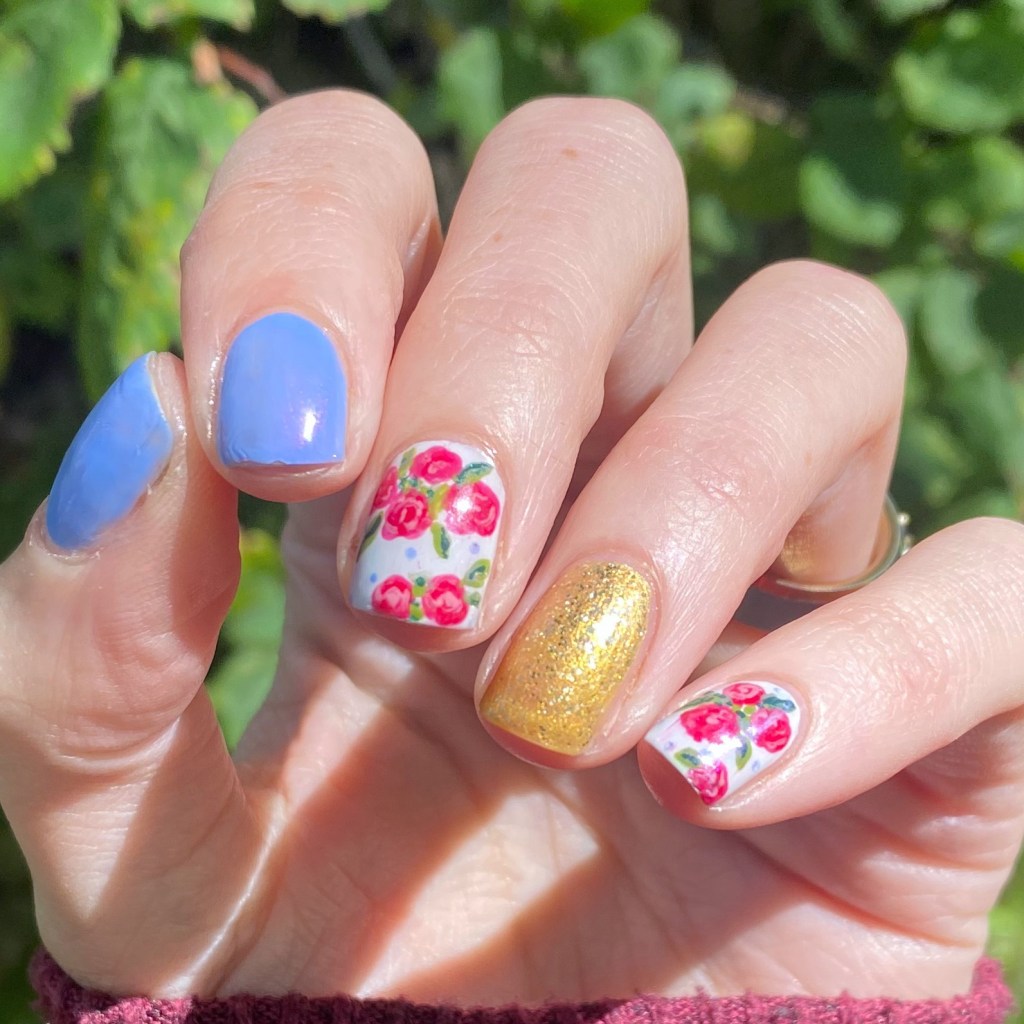
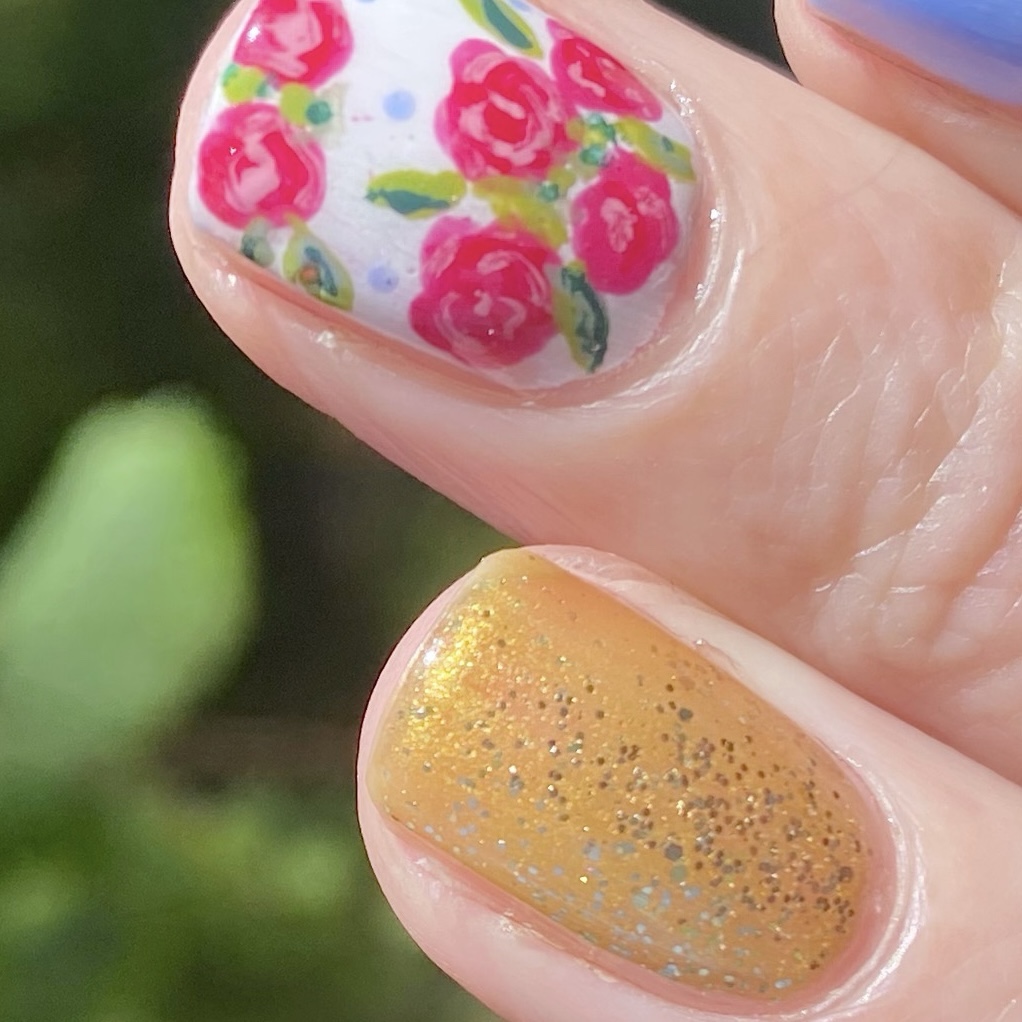
Recreating my Wedding Nails (on my shorties) 11 years later! ✨👰🏻‍♀️💅💍

Hello lovelies & Happy Saturday! I know I don’t often post on Saturday, but today was a special exception with a special nail design!

I really wanted to recreate my wedding nails in honour of my wedding anniversary, especially as I’m rocking some serious shorties right now. So in honour of the occasion, here’s a brand new version of a very special design.

The polishes I used for this manicure are: 

  • Base Coat: Essie Hard To Resist Strengthner
  • Top Coat: Sinful Colors Power Paint Top Coat + Essie Speed Setter
  • Essie You Do Blue!
  • OPI I Cannoli Wear OPI
  • China Glaze Champagne Bubbles
  • Sally Hansen Miracle Gel Good As Gold
  • Essie Brides No Grooms
  • Essie She’s Pampered
  • Essie Into the A-Bliss
  • Essie Willow in the Wind
  • Essie Sew Psyched
  • Essie Off Tropic
  • NailStuff dotting tool
  • NailStuff 7mm Liner Brush

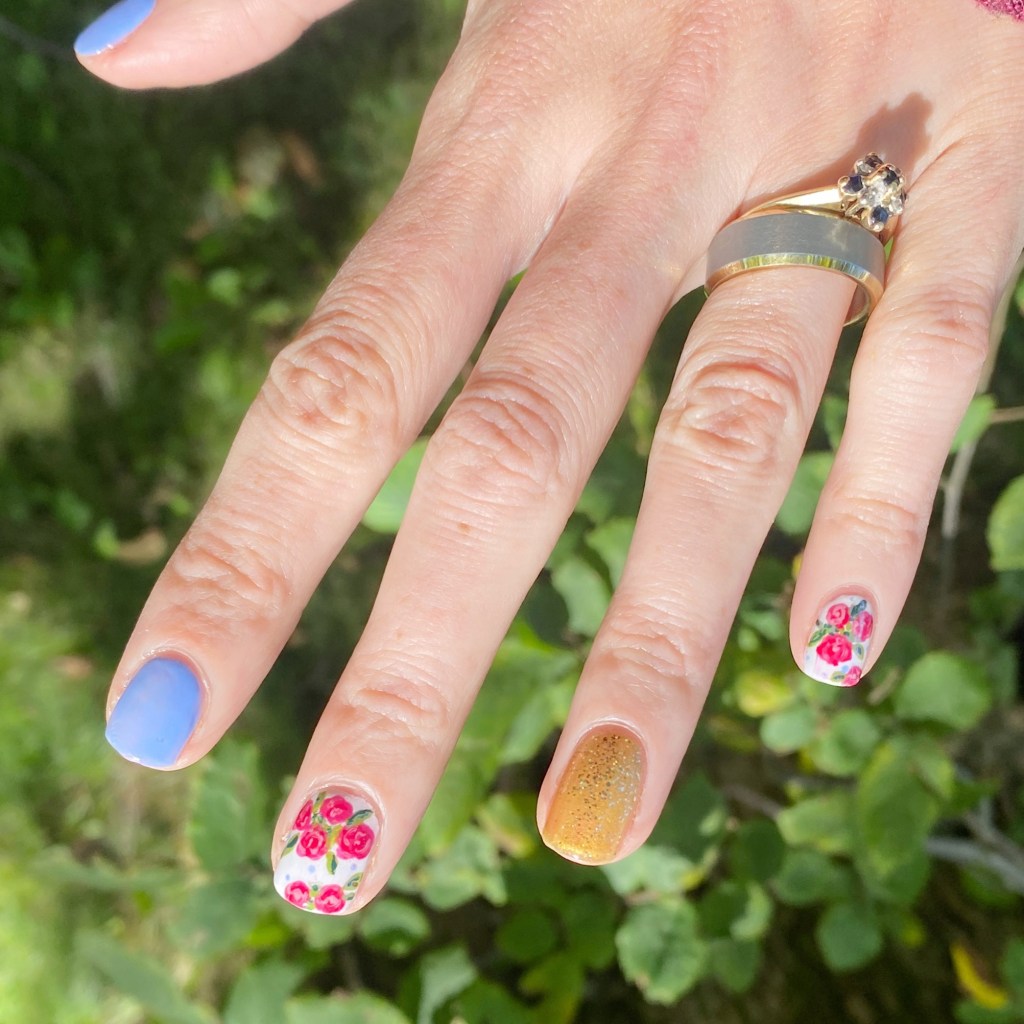
For those curious, here are my original nails I painted for my wedding day, & my recreation I did in 2018.

I was absolutely obsessed with my original nails that I painted back in 2015 for my wedding day — it was really important to me to create a beautiful design I would love for years, & years to come. & again, when I recreated them I equally loved the design!

But you know what? I think I love them the most on short nails! Long nails look beautiful no matter what, but trying to recreate the exact same look on nails 1/2 the size really makes them pop! The only thing from my recreation I’m not 100% sold on is the much more yellow gold, but it definitely gives it a more colourful vibe. (& the right amount of sparkle! ✨)

What do you think about this anniversary look? Do you love a floral look as much as I do? I’d love to know if this design holds up all these years later. I certainly adore them as much as I did all those years ago & wouldn’t change a thing about the nails I had on my wedding day.

Let me know all your thoughts down in the comments below!

🖤