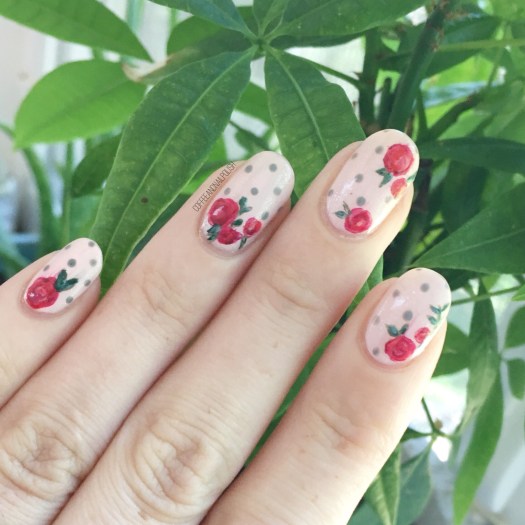
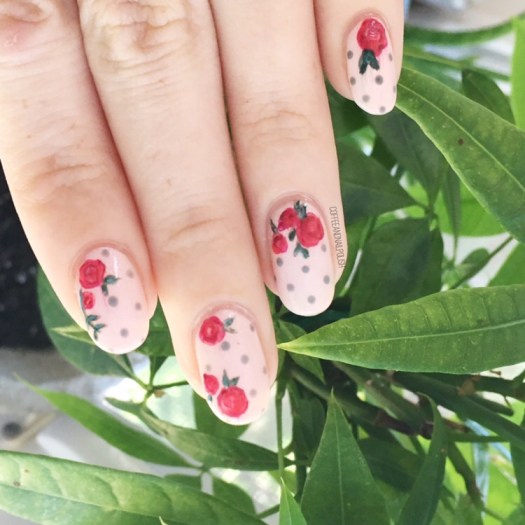
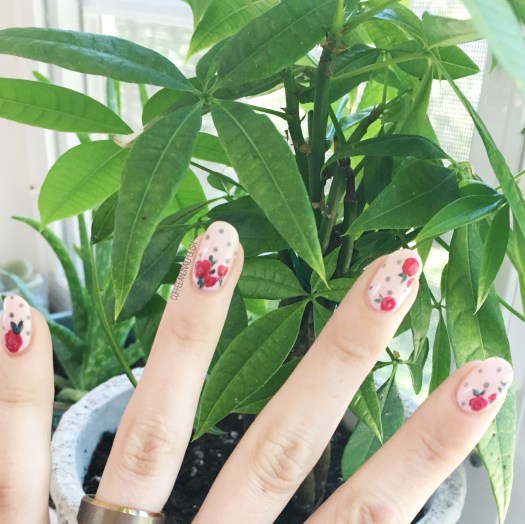
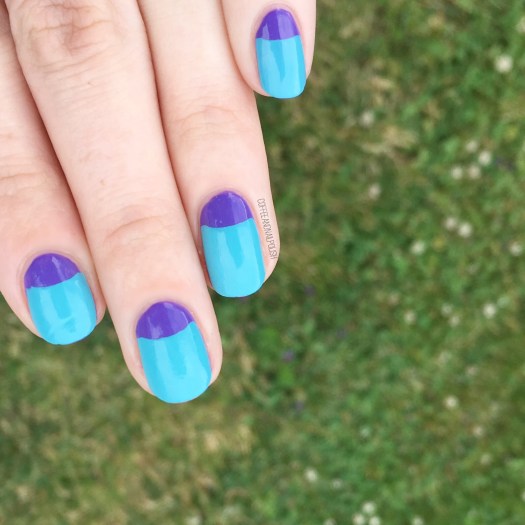
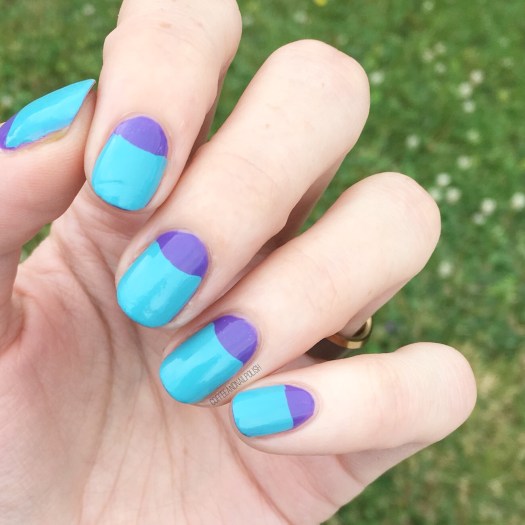
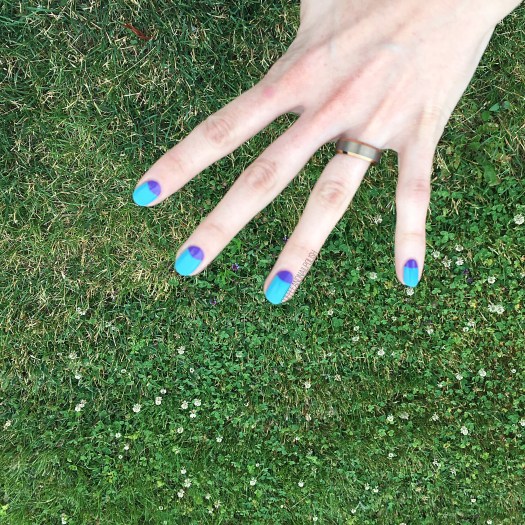
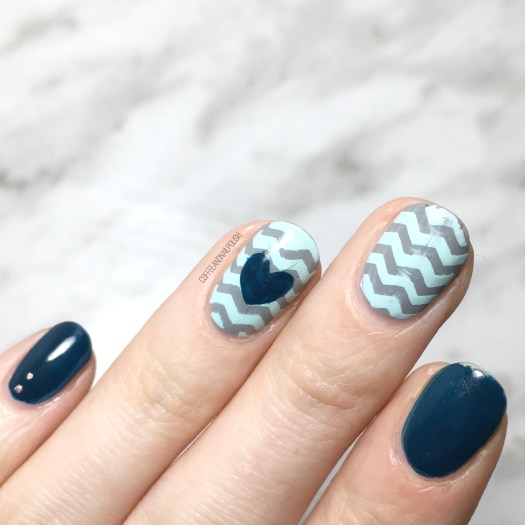
You know when you get a nail art look in your head & you want to try & make it work on your nails… there is nothing more satisfying than bringing it to life & it turning out better than you expected!
This look was one I wanted to try but I wasn’t sure what colours to go with. Thanks to some Pinterest stalking, I figured out exactly the colour combination I wanted! I wanted something that would fit my January mood, especially since I didn’t want my nails to look too Valentine-y.

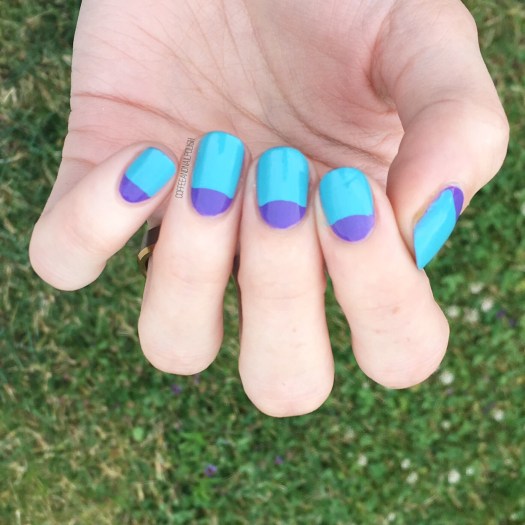
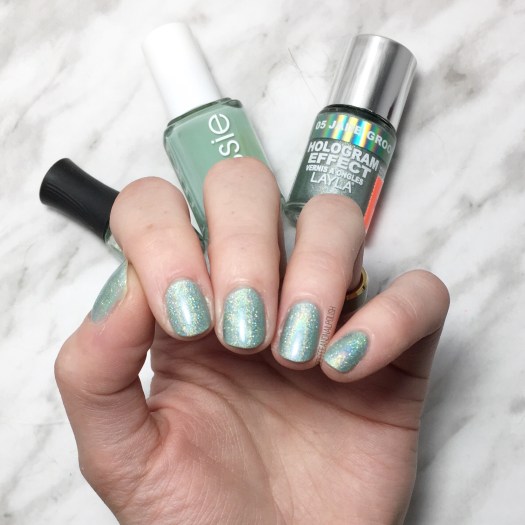
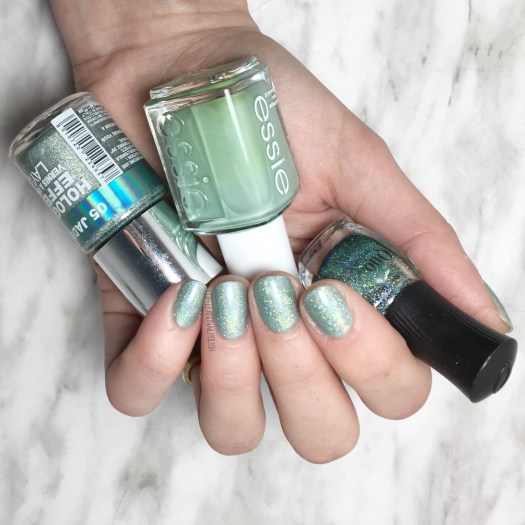
For this manicure, the polishes I used were:
- Base Coat: Essie Grow Stronger
- Top Coat: Essie Speed Setter
- Ardene Day Dreamer
- Essie Mint Candy Apple
- Quo by ORLY Diva
- Quo by ORLY Breathable Fairy Godmother
- The Base Coat Regular Chevron/Zig Zag Vinyls
- The Base Coat Heart Vinyls
- NailStuff.ca dotting tool set

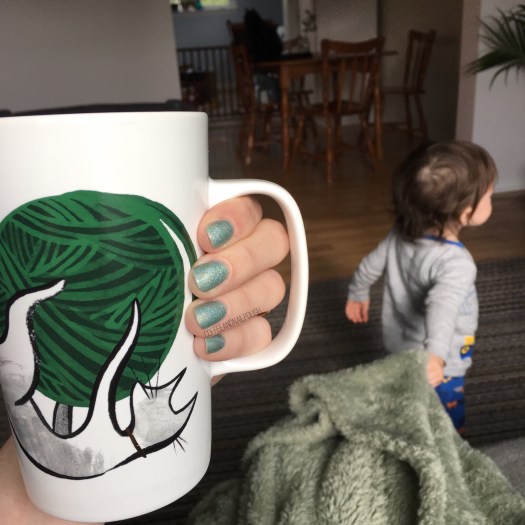
I seriously think these turned out so, so cute! It feels like absolute ages since I pulled out my Vinyls & I have to admit… I missed them. I also love this combination of dark teal, grey & mint. I never know what colours to wear on my nails this time of year, but darker shades are definitely calling my name more often!

What do you think of this look?
You could definitely adapt it & turn it into a Valentine’s Day look with some pink & red polishes. & it was surprisingly easy (if a little bit time consuming) to do. ♥️