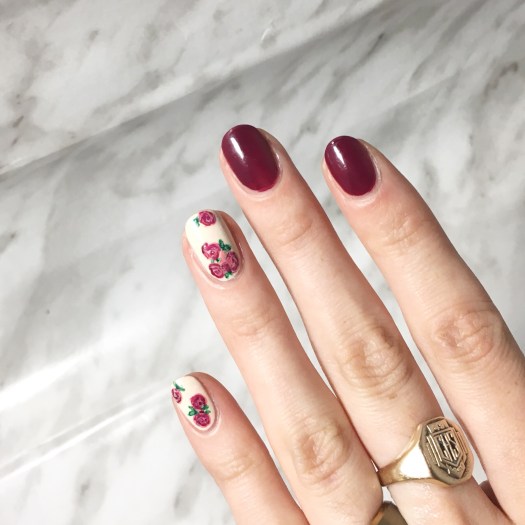
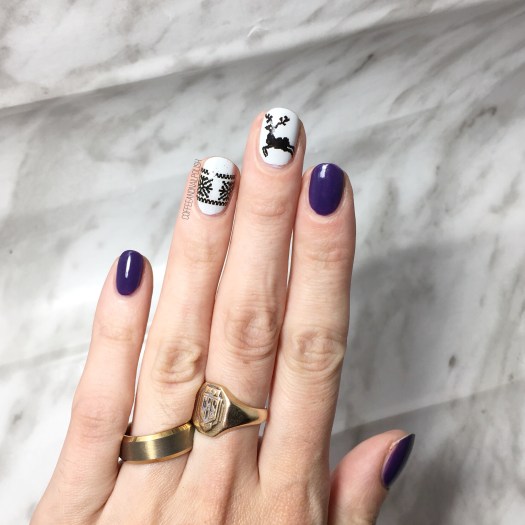
Happy Friday everyone! Starting off today with some more stamping. I’m still waiting on an order from Born Pretty Store to arrive (with some new stamping plates) so I guess in the mean time, it’s the same old ones again! This time I was feeling something a little tribal-esque so I decided to go with another one of my discontinued Born Pretty Store plates. I’m thinking I need to branch out & try some other awesome plates so if you have any suggestions of your favourites, leave them below!

The products used for this manicure are:
- Base Coat: Nailtek 2
- Top Coat: Seche Vive
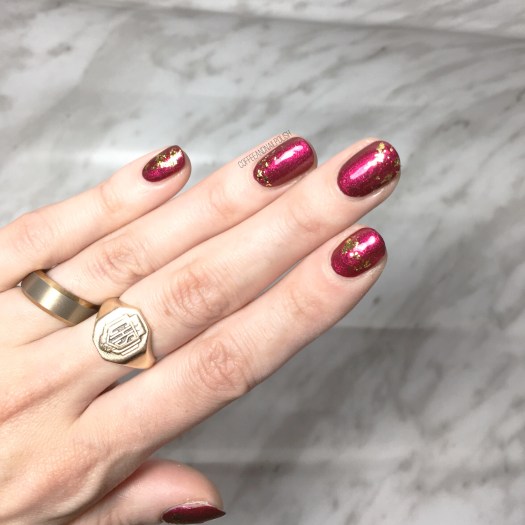
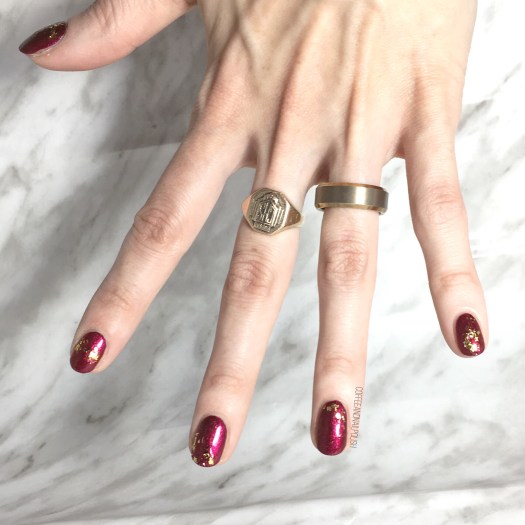
- Morgan Taylor Plum-thing Magical
- Morgan Taylor Just Tutu Much
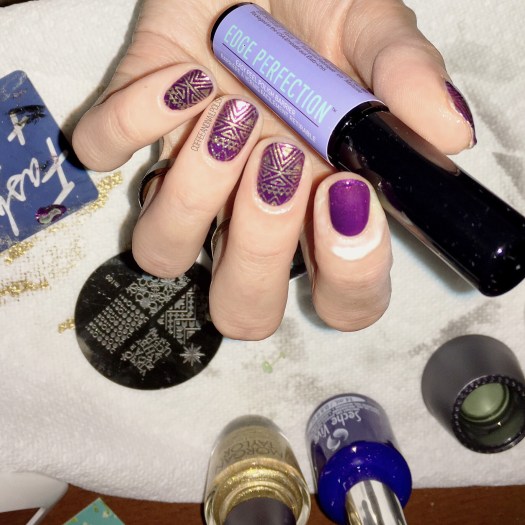
- Edge Perfection Cuticle Barrier
- Born Pretty Store Clear Jelly Stamper
- Born Pretty Store stamping plate (discontinued) — this one has similar patterns.
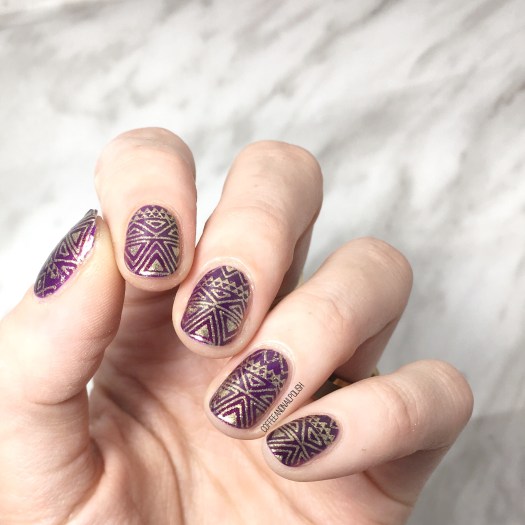
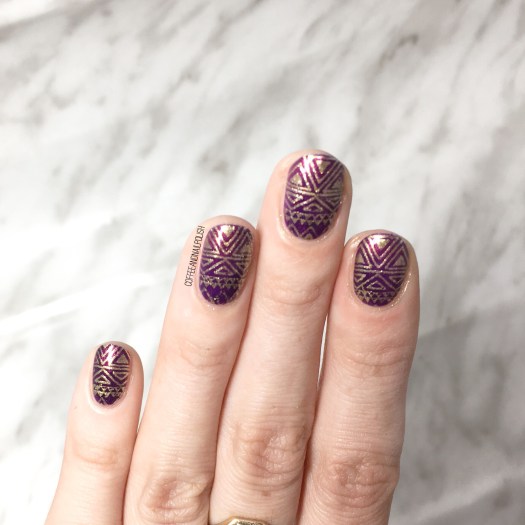
So first off, Morgan Taylor Just Tutu Much is so freaking good for stamping. I mentioned this in my swatch post of these shades, but I’m really impressed. It’s so nice when you find polishes that stamp so fantastically over dark shades. I love it! It makes me really excited to have my new plates arrive, so I have a whole new variety of images to share!

What do you think of this stamped design? Where do you buy your favourite stamping plates? Let me know in the comments below! 💜


 <<
<< <
<