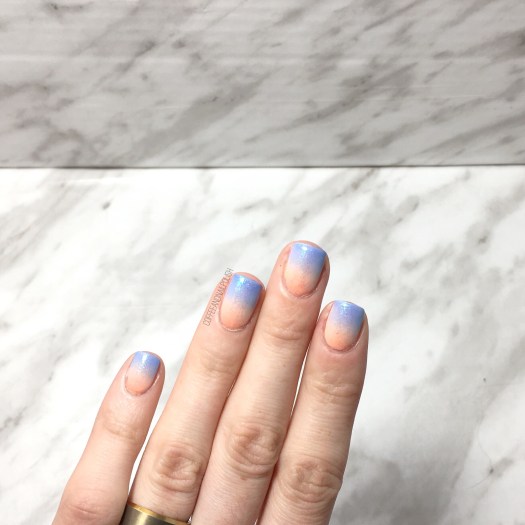
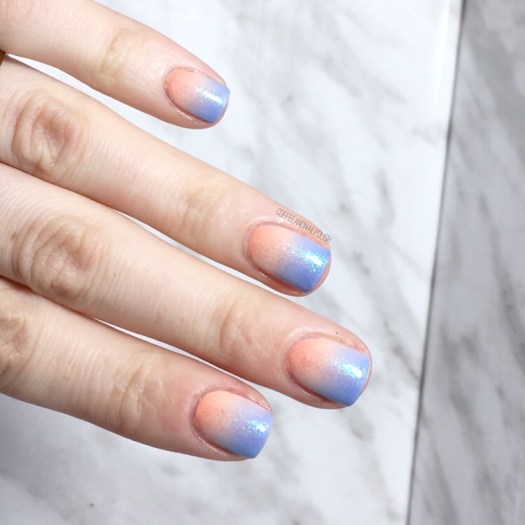
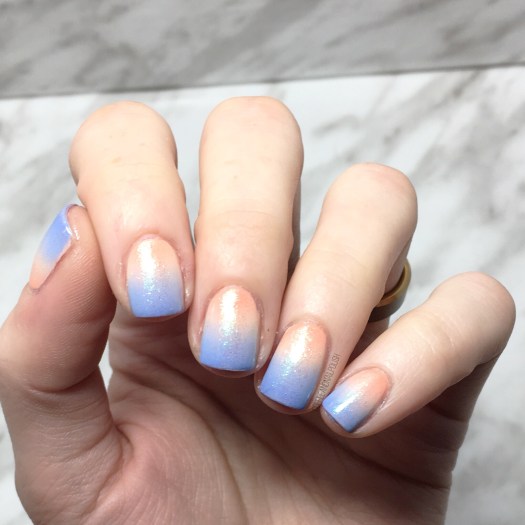
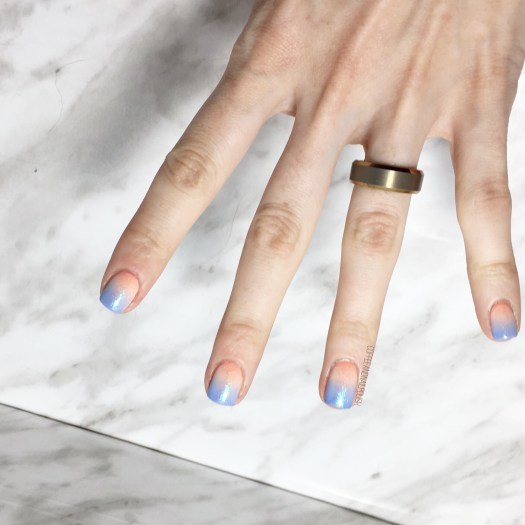
SWATCH SUNDAY — Color Club Crystal Baller

The buzz on the polished Canadians group I’m part of is all about the fact that Color Club Halo Hues collection has been popping up in Winners stores. For those who don’t know, Winners is the Canadian sister of Marshall’s & TJ Maxx & one of my favourite places for nail polish deals! So when I heard this amazing holo collection had been popping up in stores for only $6 a piece, obviously I had to check it out for myself. & Surprise! It was hanging out at my local Winners, & I want all of them.

Even though I wanted want all of them, I decided to limit myself to just one (to start, let’s be honest). Crystal Baller was the one who caught my eye the most, so I decided if I was starting a Color Club Halo Hues collection, that was the one I absolutely couldn’t miss out on. So what better polish to pick for this week’s Swatch Sunday than this gorgeous blue holo.

Continue reading “SWATCH SUNDAY — Color Club Crystal Baller”

Spring Stamping

Happy Friday lovelies! & happy March! Can you believe another month is down? I definitely can’t. Our countdown to Spring is officially at 18 days…. can you tell I’m really excited? Especially since the last couple days have been so beautiful & warm! I can’t wait. Which also means my nails have to match.

Give me all the Spring polish picks!

For this manicure, the polishes I used were:

  • Base Coat: Quo by ORLY Breathable Kiss Me, I’m Kind
  • Top Coat: Seche Vive
  • Essie In The Cab-Ana
  • Essie All the Wave
  • Born Pretty Store Stamping Plate BP-L026 (item #21812)
  • Born Pretty Store Clear Jelly Stamper
  • Edge Perfection Cuticle Barrier

I really love the blue on blue with the vine pattern. It reminds me of a Spring dress pattern! & you know how much I love my dresses & cant wait to wear them again. Hopefully maybe by Easter & the end of the month I’ll be able to wear a few. A girl can dream!

I’m so glad I bought this stamping plate from Born Pretty! There are so many beautiful patterns that are going to be perfect for Spring & Summer. Obviously I love freehanding Floral patterns, but something I just don’t have the time to do it so this gives me another option. Plus leaves have never been my strong suit–Roses I can do, but try & freehand a leaf & sometimes it just ends up looking like a green blob. If I’m feeling some greenery, this will definitely make me less frustrated, which I am so happy about.

What do you think of this Spring design? Are you as ready for Spring as I am? Let me know your thoughts in the comments below! 🌿🌱

Easy Nude & Gold Ruffian

Good morning lovelies! It’s currently 6:33am as I write this & I’m sitting here waiting for my bright & early flight to Ottawa–my first time on an airplane in 9 years & my first time being away from the little guy. I figured I would distract myself from reality by posting! I have quite a few manis saved up that I haven’t posted yet, so even though I won’t be doing my nails this week I’ll still have lots of content to share.

Today’s design is a design that I’ll be thinking about in my head for a while. I did them when I started out my job search & was trying to come up with interview/office appropriate designs. Sometimes you just want a little more than plain nude nails, but don’t want to push it too far.

For this manicure, the polishes I used were:

  • Base Coat: Quo by ORLY Breathable Kiss Me, I’m Kind
  • Top Coat: Seche Vive
  • Essie Topless & Barefoot
  • L’Oréal Feeling Kilty
  • Quo By ORLY Fallen Star
  • Paper Hole reinforcements

Oh man, I love ruffian designs but sometimes they can be tricky to get right. Using the paper hole reinforcements means you can create the look with barely any trouble. This was the first time I’ve tried it this way, & I’ll definitely be “cheating” & using them from now on. Just like my favourite half moons, it’s just so much easier. & I like easy.

What do you think of this design? Have you tried this technique for creating ruffian designs? Do you find freehand or nail vinyls/guides easier? share your thoughts in the comments below!

Now I’m off to Ottawa, so I will see you later! Have a great Monday!

Simple Vintage Roses

Happy Wednesday lovelies! I hope everyone is having an excellent week so far. Today marks the second post of my all floral week! & yes, I’m still obsessed. I went shopping yesterday for new work clothes (because I start training at my new job next week) & I kept having to tell myself to not buy all the florals, since I already have a closet full of floral patterned shirts. However, you can never have enough floral on your nails.

Today’s design is you classic vintage floral design. When I got my first ever dotting tool, I was obsessed with these simple kind of designs & nothing has changed in the last 6 years. They’re still one of my favourites, especially because they’re just so easy to do! Plus they always look so pretty & girlie on the nail.

For this manicure, the polishes I used were:

  • Base Coat: Quo by ORLY Kiss Me, I’m Kind
  • Top Coat: Seche Vive
  • Essence Nude Glam Iced Strawberry Cream
  • Essie Bachelorette Bash
  • Sally Hansen Xtreme Wear Tickled Pink
  • OPI Two Timing the Zones
  • Sally Hansen I ♥ Nail Art Pen in Green
  • Essie Off Tropic
  • Dotting Tool from Bundle Monster
  • Small Detail Brush from Bundle Monster

Who else remembers my very first ever floral posted on here? Almost 4 years & I’m never bored with these designs. I don’t think I could ever be bored by a floral design. According to the “floral nails” tag, I’ve done 46 designs so far. That’s a lot of flowers! Haha, you’d think that after 46 different floral designs I would be tired, but going through that tag just makes me want to do more. I think I’m addicted. But honestly, is there ever such a thing as too much floral? I just want Spring so badly.

img_9205

What do you think of this simple vintage floral? Have you ever/would you ever try this design yourself? Share you thoughts in the comments below, & let me know what you think!

Valentine’s Day Chevron Accent Nails

Another day, another fun Valentine’s Day appropriate design to share with you! The day is quickly approaching, so I’ve been trying to get creative while I have time. Last year with having a newborn (& spending extra days in the hospital) I wasn’t able to do anything Valentine’s Day related on my nails, so I’m definitely making up for it this year!

For this design, I decided to grab a few of the colours I picked from my “6 Polishes I’m Loving for Valentine’s Day” post on Sunday. To pair all these shades together, I decided on son stacked chevrons to show off all these pretty shades! This is definitely a design that is all about Valentine’s Day–it might be too flashy of a design to wear, for example, to the office (depending on where you work) but would be awesome for date night, or a Valentine’s Day themed party!

For this design, the polishes I used were:

  • Base Coat: Quo by ORLY Kiss Me, I’m Kind
  • Top Coat: Seche Vive
  • Christian Louboutin Beauty Rouge Louboutin
  • China Glaze Seduce Me
  • L’Oreal Jardin Des Roses
  • ACO by Ardene Ice Mist
  • Quo by ORLY Nail Art Striper in Gold
  • NailStuff.ca Heart Stud — Gold Mixed Decoration Nail wheel
  • UR SUGAR Stacked Chevron Nail Stencils item #AUB39877 — click to buy
  • Dotting Tool

I think these turned out so cute with the mix of colours together!  Next time I might use the stacked chevron vinyls upside down so it matches the V-shade of the heart. But I’m really happy with how these turned out, & the addition of the little heart stud just makes it even more perfect! ♥

Do you like these Valentine’s Day themed nails? Have you figured out what you’re doing on the day yet? My hubby & I usually stay in–because trying to make reservations is hell on Earth–& make heart shaped gluten free pizza or something else delicious. & of course, cupcakes! It’s become holiday tradition for me to make him cupcakes for special occasions.


Let me know your thoughts on this design in the comments below!