SWATCH SUNDAY: Finger PaintsĀ 

Happy Swatch Sunday lovelies! I was recently in my local Sally’s beauty & noticed they were having a Buy 2 Get 1 Sale on their Finger Paints polishes. I was late to discovering the Finger Paints love, but once I did I fell in love. So when I came across a deal like that, I knew I had to get a couple colours to add to my stash (even though I totally don’t need more nail polish). So I thought I would Swatch my new shades immediately, so they don’t sit in the back of my stash untried for the next year. 

Dimensional Design

Dimensional Design is from the Summer  Chromaticity collection. In the bottle it comes across as a green-ish chrome shade that shifts to a peacock blue in the bottle. For my swatch, I used two coats. Sadly, I couldn’t escape the streaks on application which kind of took away from the chrome like finish. The shift is also much less on the nail than in the bottle which was a bit sad. But overall, Dimensional Design is still a very pretty polish. 

Hues Blue

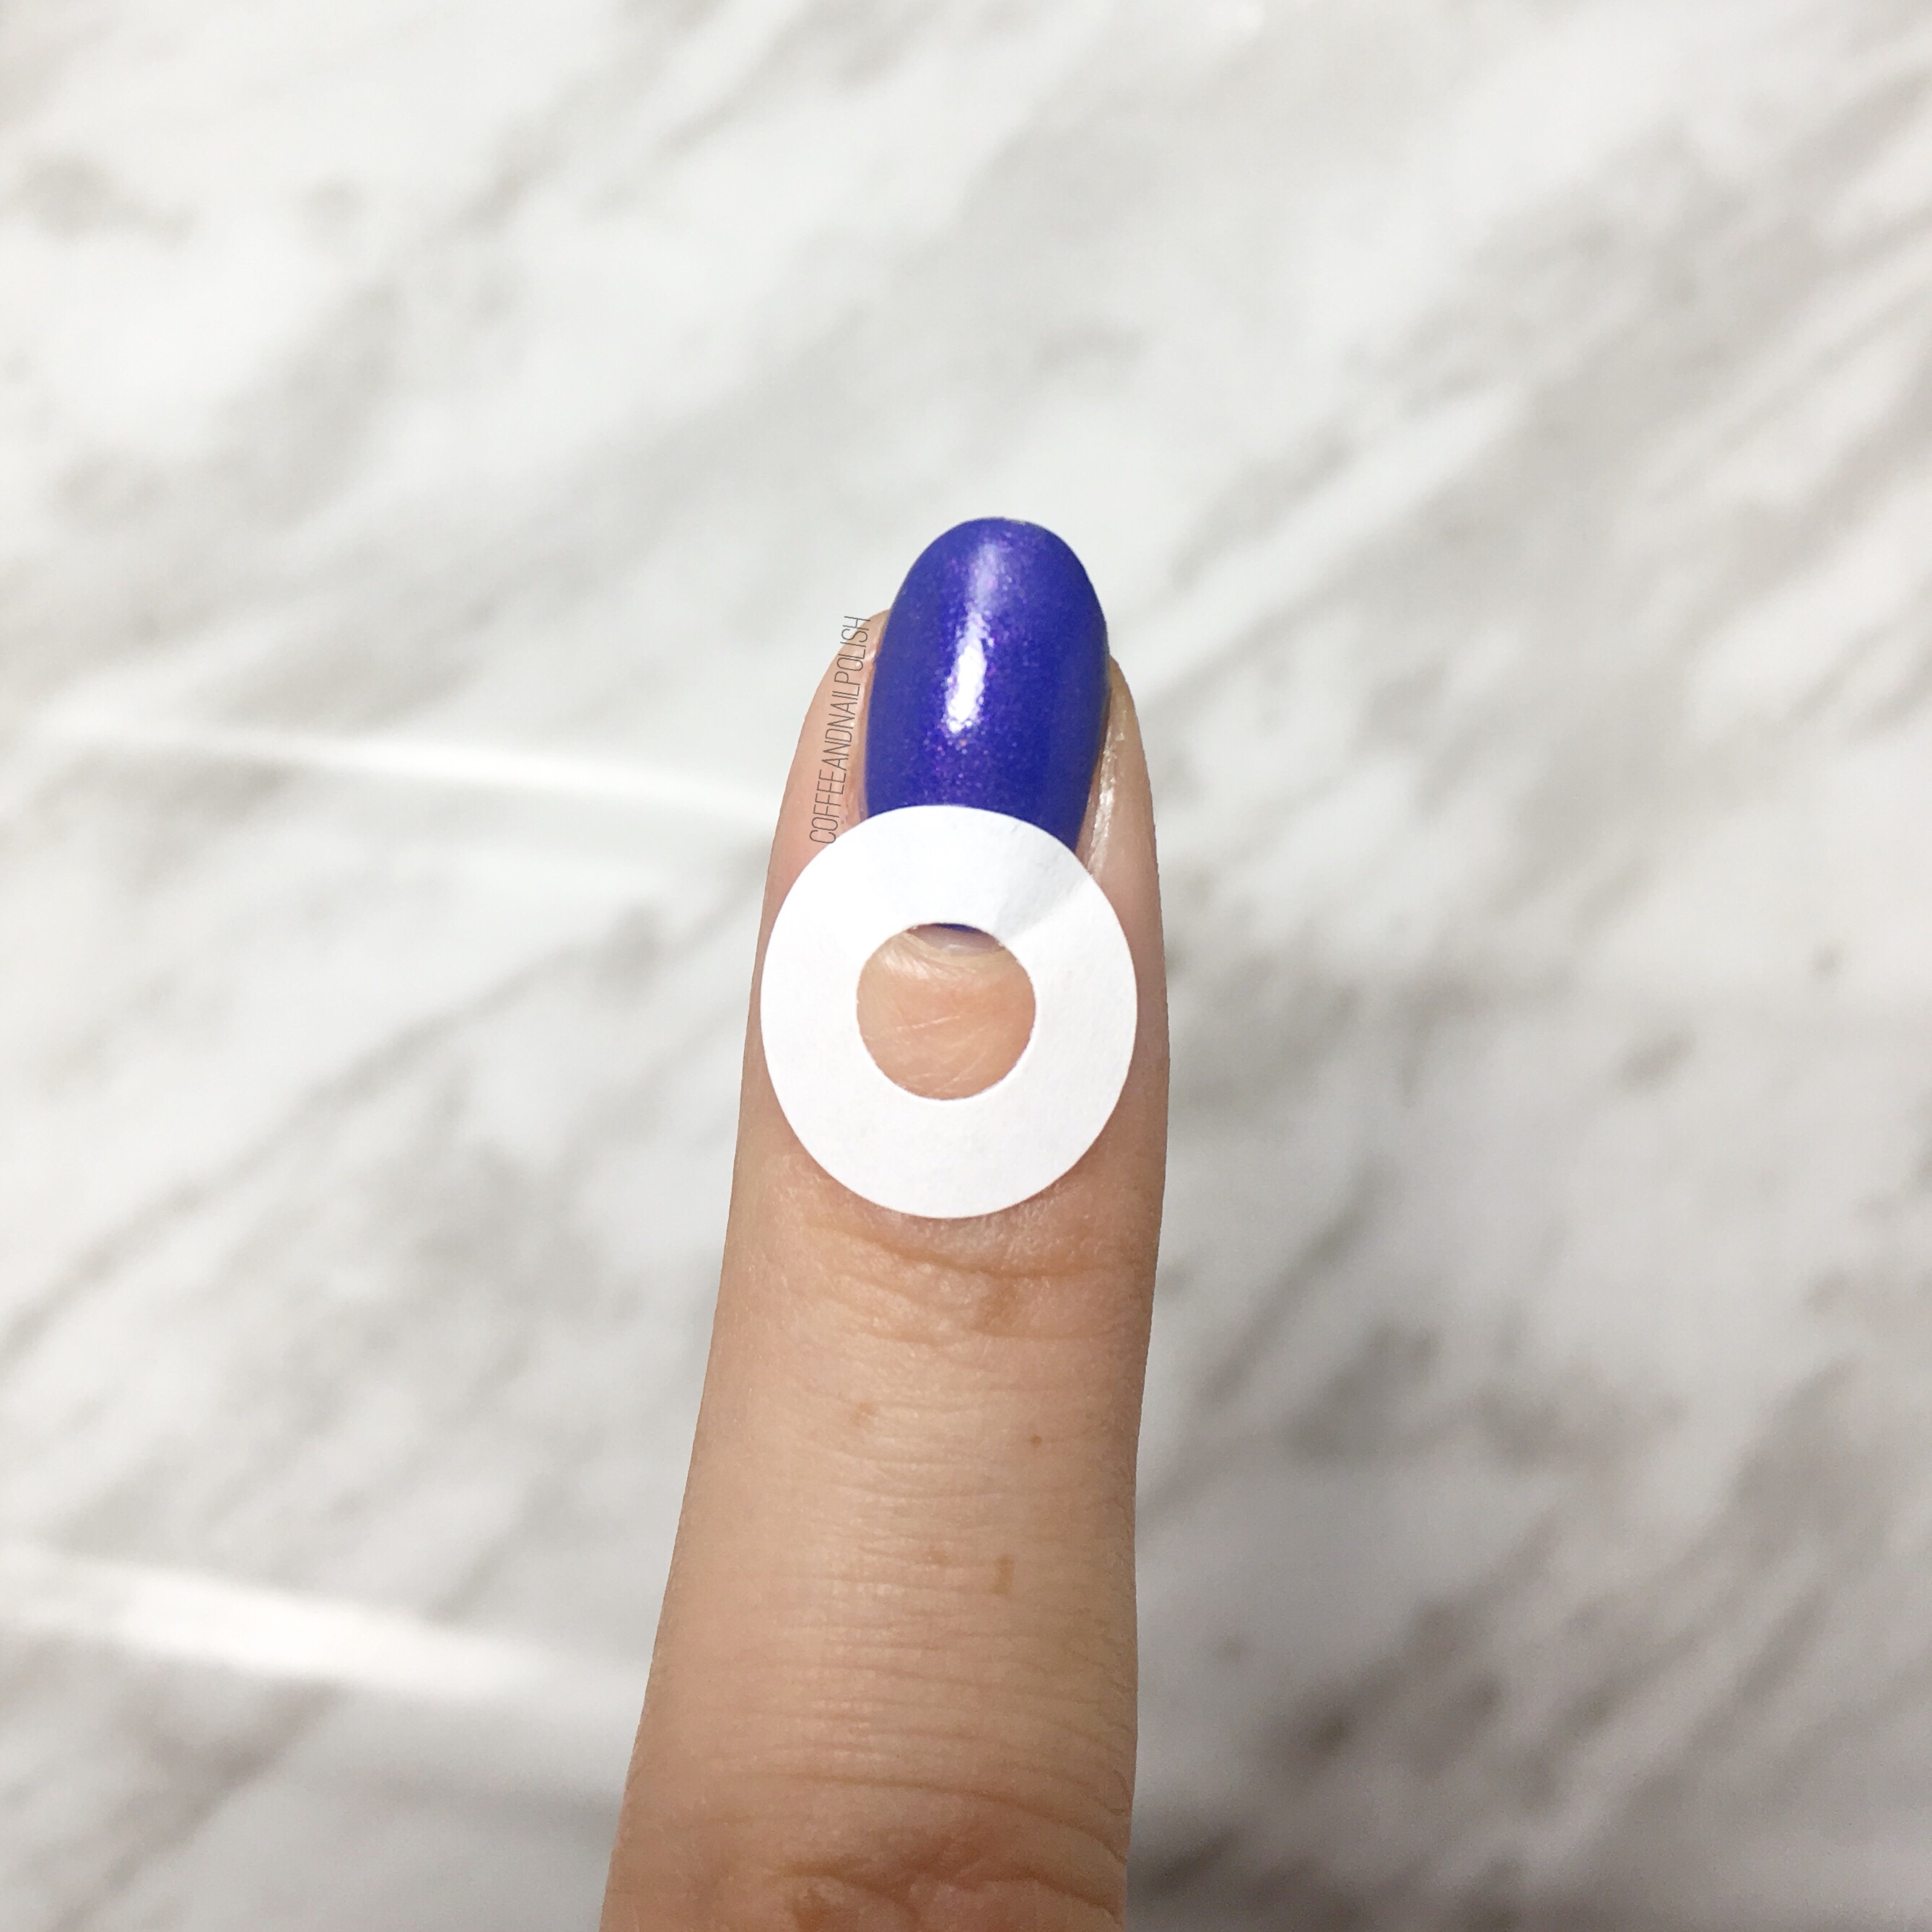
Hues Blue is part of the Finger Paints core line & this was the last bottle left at my local store & I totally understand why! This gorgeous blurple shade is packed full of pink & blue micro glitters & took two coats to build opacity (although you can see a hint of nail line), but you could also use it as a topper over some undies. & oh my is it pretty–I just can’t even deal with how pretty this shade is! It reminds me a lot of Finger Paints Gorgeous Graffiti which is another favourite from this brand. 

Piece De Resistance

Can we just talk about this deep red shimmer, also part of the core Finger Paints collection? It’s pretty isn’t it? You know how much I ā™„ļø a good red polish, & even better it only took ONE COAT for these swatches. One coat. I don’t think I own another red polish that takes only one coat & it makes me squeal. The polish has an awesome shine to it which really shows off the lighter shimmer. Such a perfect Fall shade. šŸšŸ‚


& that’s it for today! Which of the three shades is your favourite? Let me know your thoughts (or your personal favourite Finger Paints shade!) in the comments below. 

Purple Butterflies with #thenailartsquad


Today I have a very special manicure to brought to you by The Nail Art Squad. We got together to create beautiful purple butterfly designs in honour of Epidermolysis Bullosa. Epidermolysis Bullosa is a rare genetic disease that causes the blistering of skin, & has no known cure & in severe cases can be fatal. Children with Epidermolysis Bullosa are often called “butterfly children” which is why we chose butterflies to create (purple is the colour used for the awareness of the disease). This was a personal manicure for our group to take on as one of our members recently lost a friend to the disease. 

For my manicure, the products I used are:

  • Base Coat: OPI Natural Base Coat
  • Top Coat: Cutex Quick Dry Top Coat
  • Essie Go Ginza
  • Essie Play Date 
  • LA Colors Color Craze Orchid
  • Essence Black Is Back
  • Unknown stamping plate (which I bought as part of a set at Dollarama years ago.)

These nails were simple to do, but turned out so beautiful. I thought about freehanding butterfly wings, but didn’t think I could do them justice & because we were creating these nails for such a special reason I wanted them to be as perfect as possible. The stamping plate I used was found in a set at the Dollarama years ago, but as you can see the image stamped perfectly clear. 


I feel so honoured I could join in bringing awareness to such a special cause. šŸ’œ to see the other purple butterfly manicures, don’t forget to check out the hashtag #thenailartsquad on Instagram. 

31 Day Nail Art Challenge — Day 10: Gradient nails.

So you’ll recognize the base of my gradient from my swatch post of Rimmel Salon Pro in Reggae Splash.

I’ve just started doing gradients in the last little while. I got discouraged because I’ve never been the best at getting my colors to blend the way that I want. But I’ve been working on getting better at the technique, and my blend between colors seems to be getting more seamless.

gradient

gradient3

gradient2

The polishes used were:

  • Rimmel Salon Pro in Reggae Splash — my lighter peach base color.
  • Relvon Nail Enamel in Siren — the darker orange gradient.
  • Layla Soft Touch Collection in Golden Touch — gold polish layered on accent nails.
  • Sally Hansen Diamond Flash top coat.

Not only am I really impressed with how my gradient turned out, but the colors totally remind me of a sunset–especially with the added gold on my accent nails. I thought about adding the gold to all the nails, but the boyfriend told me I should just leave it as accent nails. (He may, or may not, have just said it so I would come to bed haha.)

These were the perfect burst of color on what was a dreadful, grey day. It may have been raining like heck outside, but I just had to look at my nails and I was instantly somewhere warm and sunny. It makes me even more excited for what will (hopefully) be a gorgeous summer, full of bright colorful manis! Plus I love wearing orange–it brings out my Olive under tones, and instantly makes me look SO tanned.

So what’s your technique for getting gradients just right? I’m always looking for tips and tricks, so I’d appreciate any wisdom the internet has to offer.


Rimmel Salon Pro by Kate Moss — Reggae Splash

Remember how I said I really love orange nail polish?

I present to you Rimmel Salon Pro Nail Polish in Reggae Splash.

splash3

This super soft peach polish is from their Kate Moss collection (or, so the internet tells me). I picked it up at my local Shoppers Drug Mart on a whim while on the look to fill my stash with more Summer-worthy colors. According to the description, it has a gel-like finish, with no top coat needed, and is resistant to chips for up to ten days.

splash

Continue reading “Rimmel Salon Pro by Kate Moss — Reggae Splash”

31 Day Nail Art Challenge — Day 9: Rainbow nails.

I’ll start by saying this nail art was inspired by my three year old nephew.

I was babysitting the other night, trying to decide what I was going to do for my rainbow nail art challenge. I thought about doing just rainbows, but as you might have noticed, I don’t always going typical with my challenge prompts. My little nephew was looking at my stash the other night–he is adorable when it comes to my nails. He always asks to look at my nails, and is very vocal when he doesn’t like them haha–and asked him what colors I should do on my nails. And he listed them off–blue, yellow, pink, red, green. He might have just been listing off the colors he knew, but never the less I did what he told me!

rainbow nails

The polishes used were:

  • OPI’s My Boyfriend Scales Walls — the white base.
  • Sally Hansen Xtreme Wear in Mellow Yellow— the yellow.
  • ACO by Ardene in Techno Green — the green
  • ACO by Ardene in Lagoon –the blue
  • ACO by Ardene in Sunkissed –the orange.
  • ACO by Ardene in Strawberry Blush — the red
  • ACO by Ardene in Ardene’s Secret — the pink.
  • Stripe Rite striping brush in Black — the black outline.
  • Sally Hansen Diamond Flash top coat.

I love these nails because it looks like a coloring book to me.

This manicure was not as difficult as you’d think. After applying my base coat, I started with a blank canvas of My Boyfriend Scales Walls, then added top coat. After that had dried, I started with my black striping polish, creating a different pattern on each nail (you could also do the same pattern on each nail, but I like to shake things up a bit.

mosaic

After my outline was created, I then went with a small nail art brush (from Icing), and colored in some of the shapes with my variety of chosen colors. I did have to go back with my black, and touch up some of the lines were the colors had bled a little bit. When that was all finished, I topped with my trusty top coat and tada! Rainbow coloring book nails!

I think my nephew would be proud.