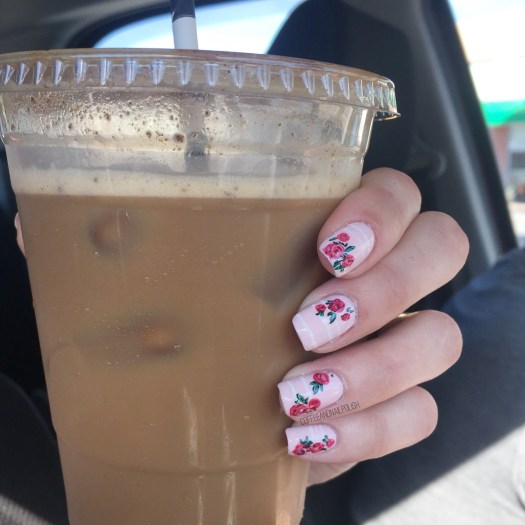
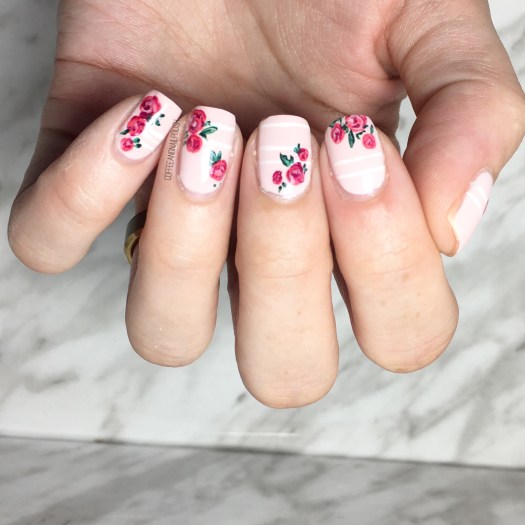
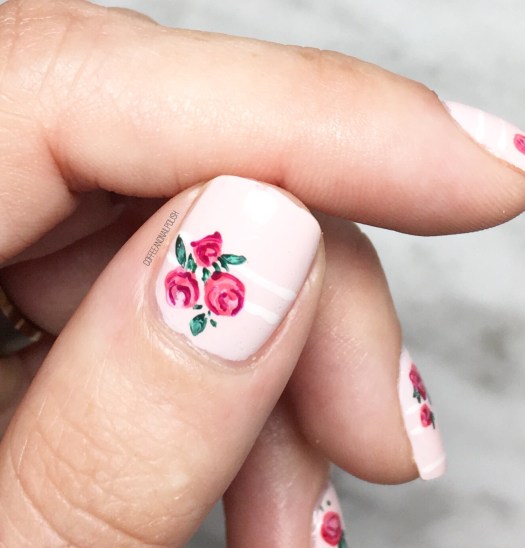
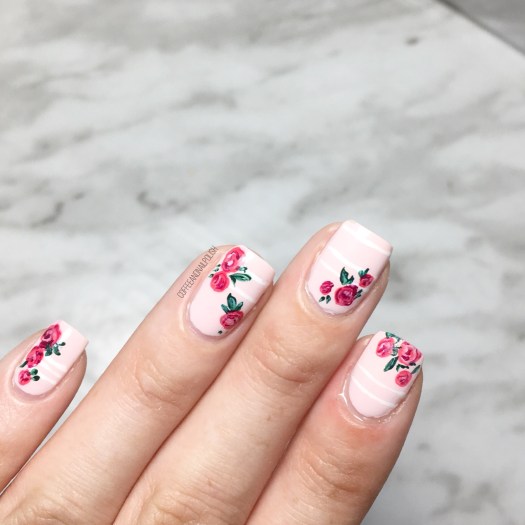
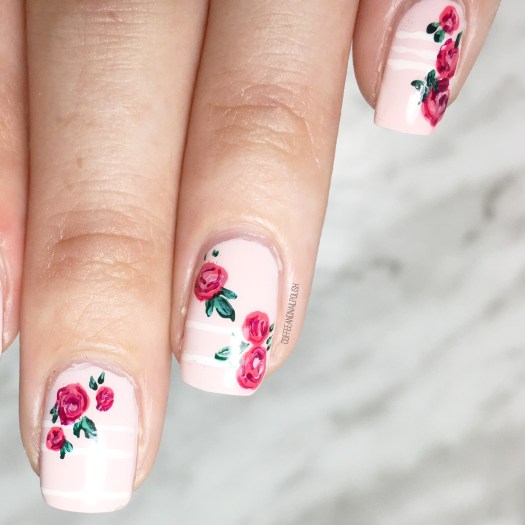
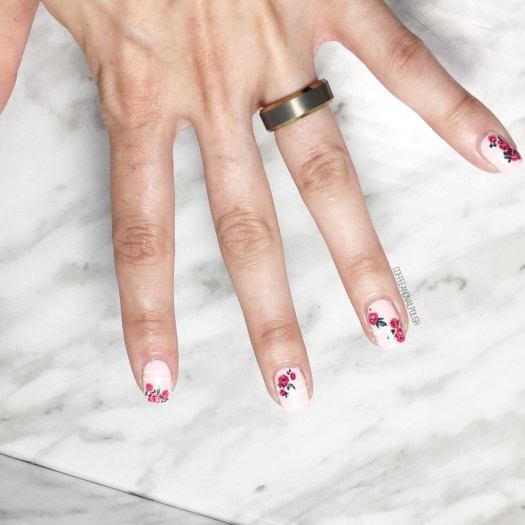
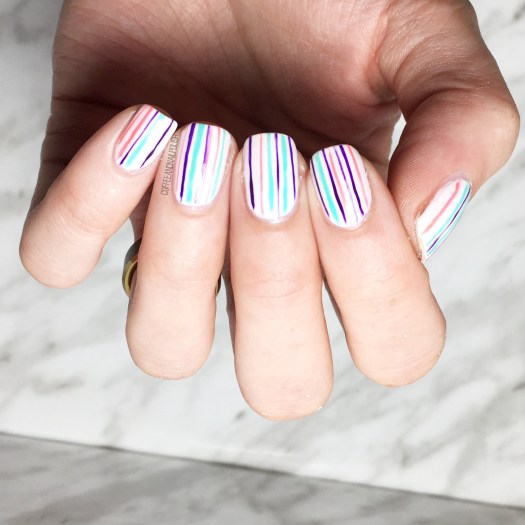
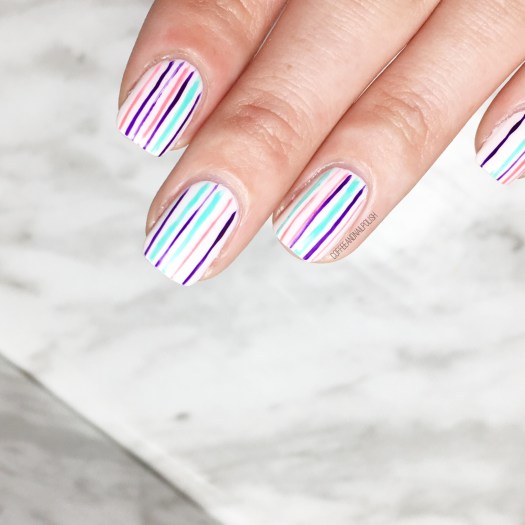
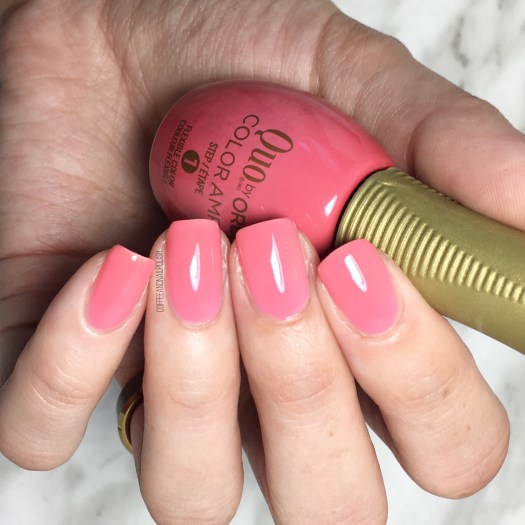
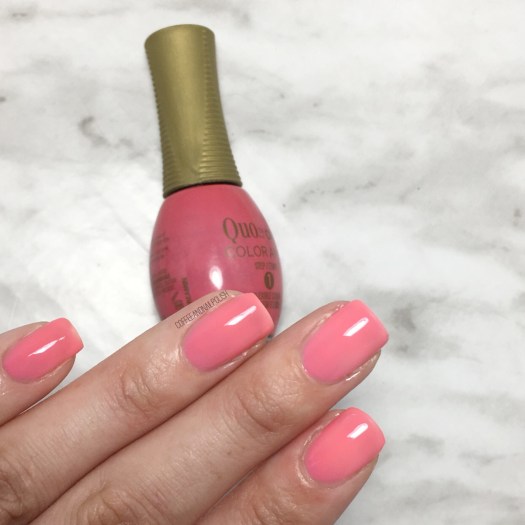
Good morning lovelies & happy Sunday. Today I’ve got a bright & girlie pink to share with you from deep in my stash: Quo by ORLY Color Amp’d in LA Dreamin’. This shade is from the Shoppers Drug Mart based Quo by ORLY range & I picked up this particular shade in the clearance last Summer for only $1!
For those who don’t know, these Color Amp’d shades are designed to wear like gel, lasting longer than your tradition polishes. They are designed to be paired with a Gel-like top coat that, when paired with the polish, will create that gel like bond on your nail.

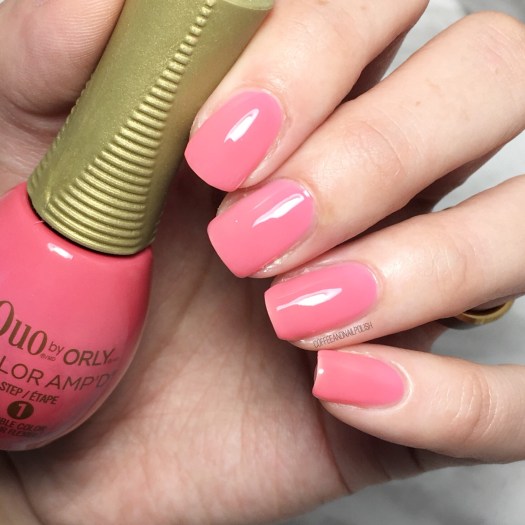
For my swatches, I used 3 coats of polish & finished with top coat. The polish itself is very, very thin so you need a lot of layers in order to build opacity. You could definitely use some white undies to keep layers to a minimum, but for my swatches I wanted to show the polish on its own.
Even with 3 coats, there is still some visible nail line showing (although not as well in my swatches). Even though I don’t usually like thin formula polishes like this that show off nail line, there is something about this pink shade that I don’t mind it as much. It also has this slightly neon quality to it that I really like with my skin tone for Summer because it brings out the natural olive undertones in my skin & makes me look more tan… which is ALWAYS a good thing.
 Who doesn’t love pink!? What colour do you feel like is your shade for Summer? I feel like with how much I’ve been wearing it lately, pink/coral is going to be the shade for me for Summer 2019!