Hello lovelies & happy Sunday! I hope everyone is having a lovely, relaxing, beautiful start to their week!
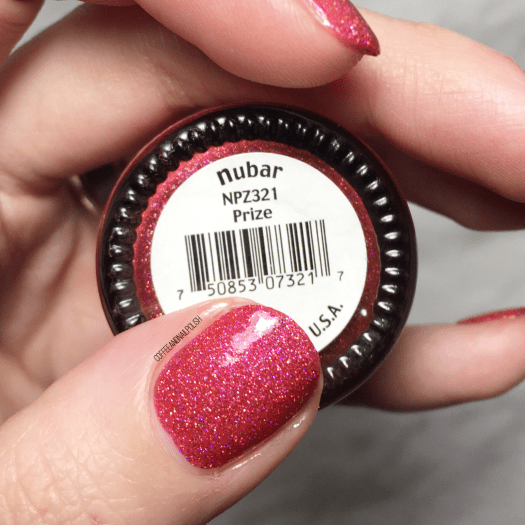
I’ve been trying to figure out what shade to share for this week’s Swatch Sunday. I’m definitely finding myself being drawn towards darker shades, but I took a poll on my insta-stories, & the winning vote was to keep things Summer-y. So I dug deep into my stash, & pulled out an oldie but a goodie: Nubar Prize.
Anyone else crave holo during the sunshine-y days of Summer? I definitely grab from my stash of holo more so in the Summer, especially July/August, because that’s when you see the sun most often.
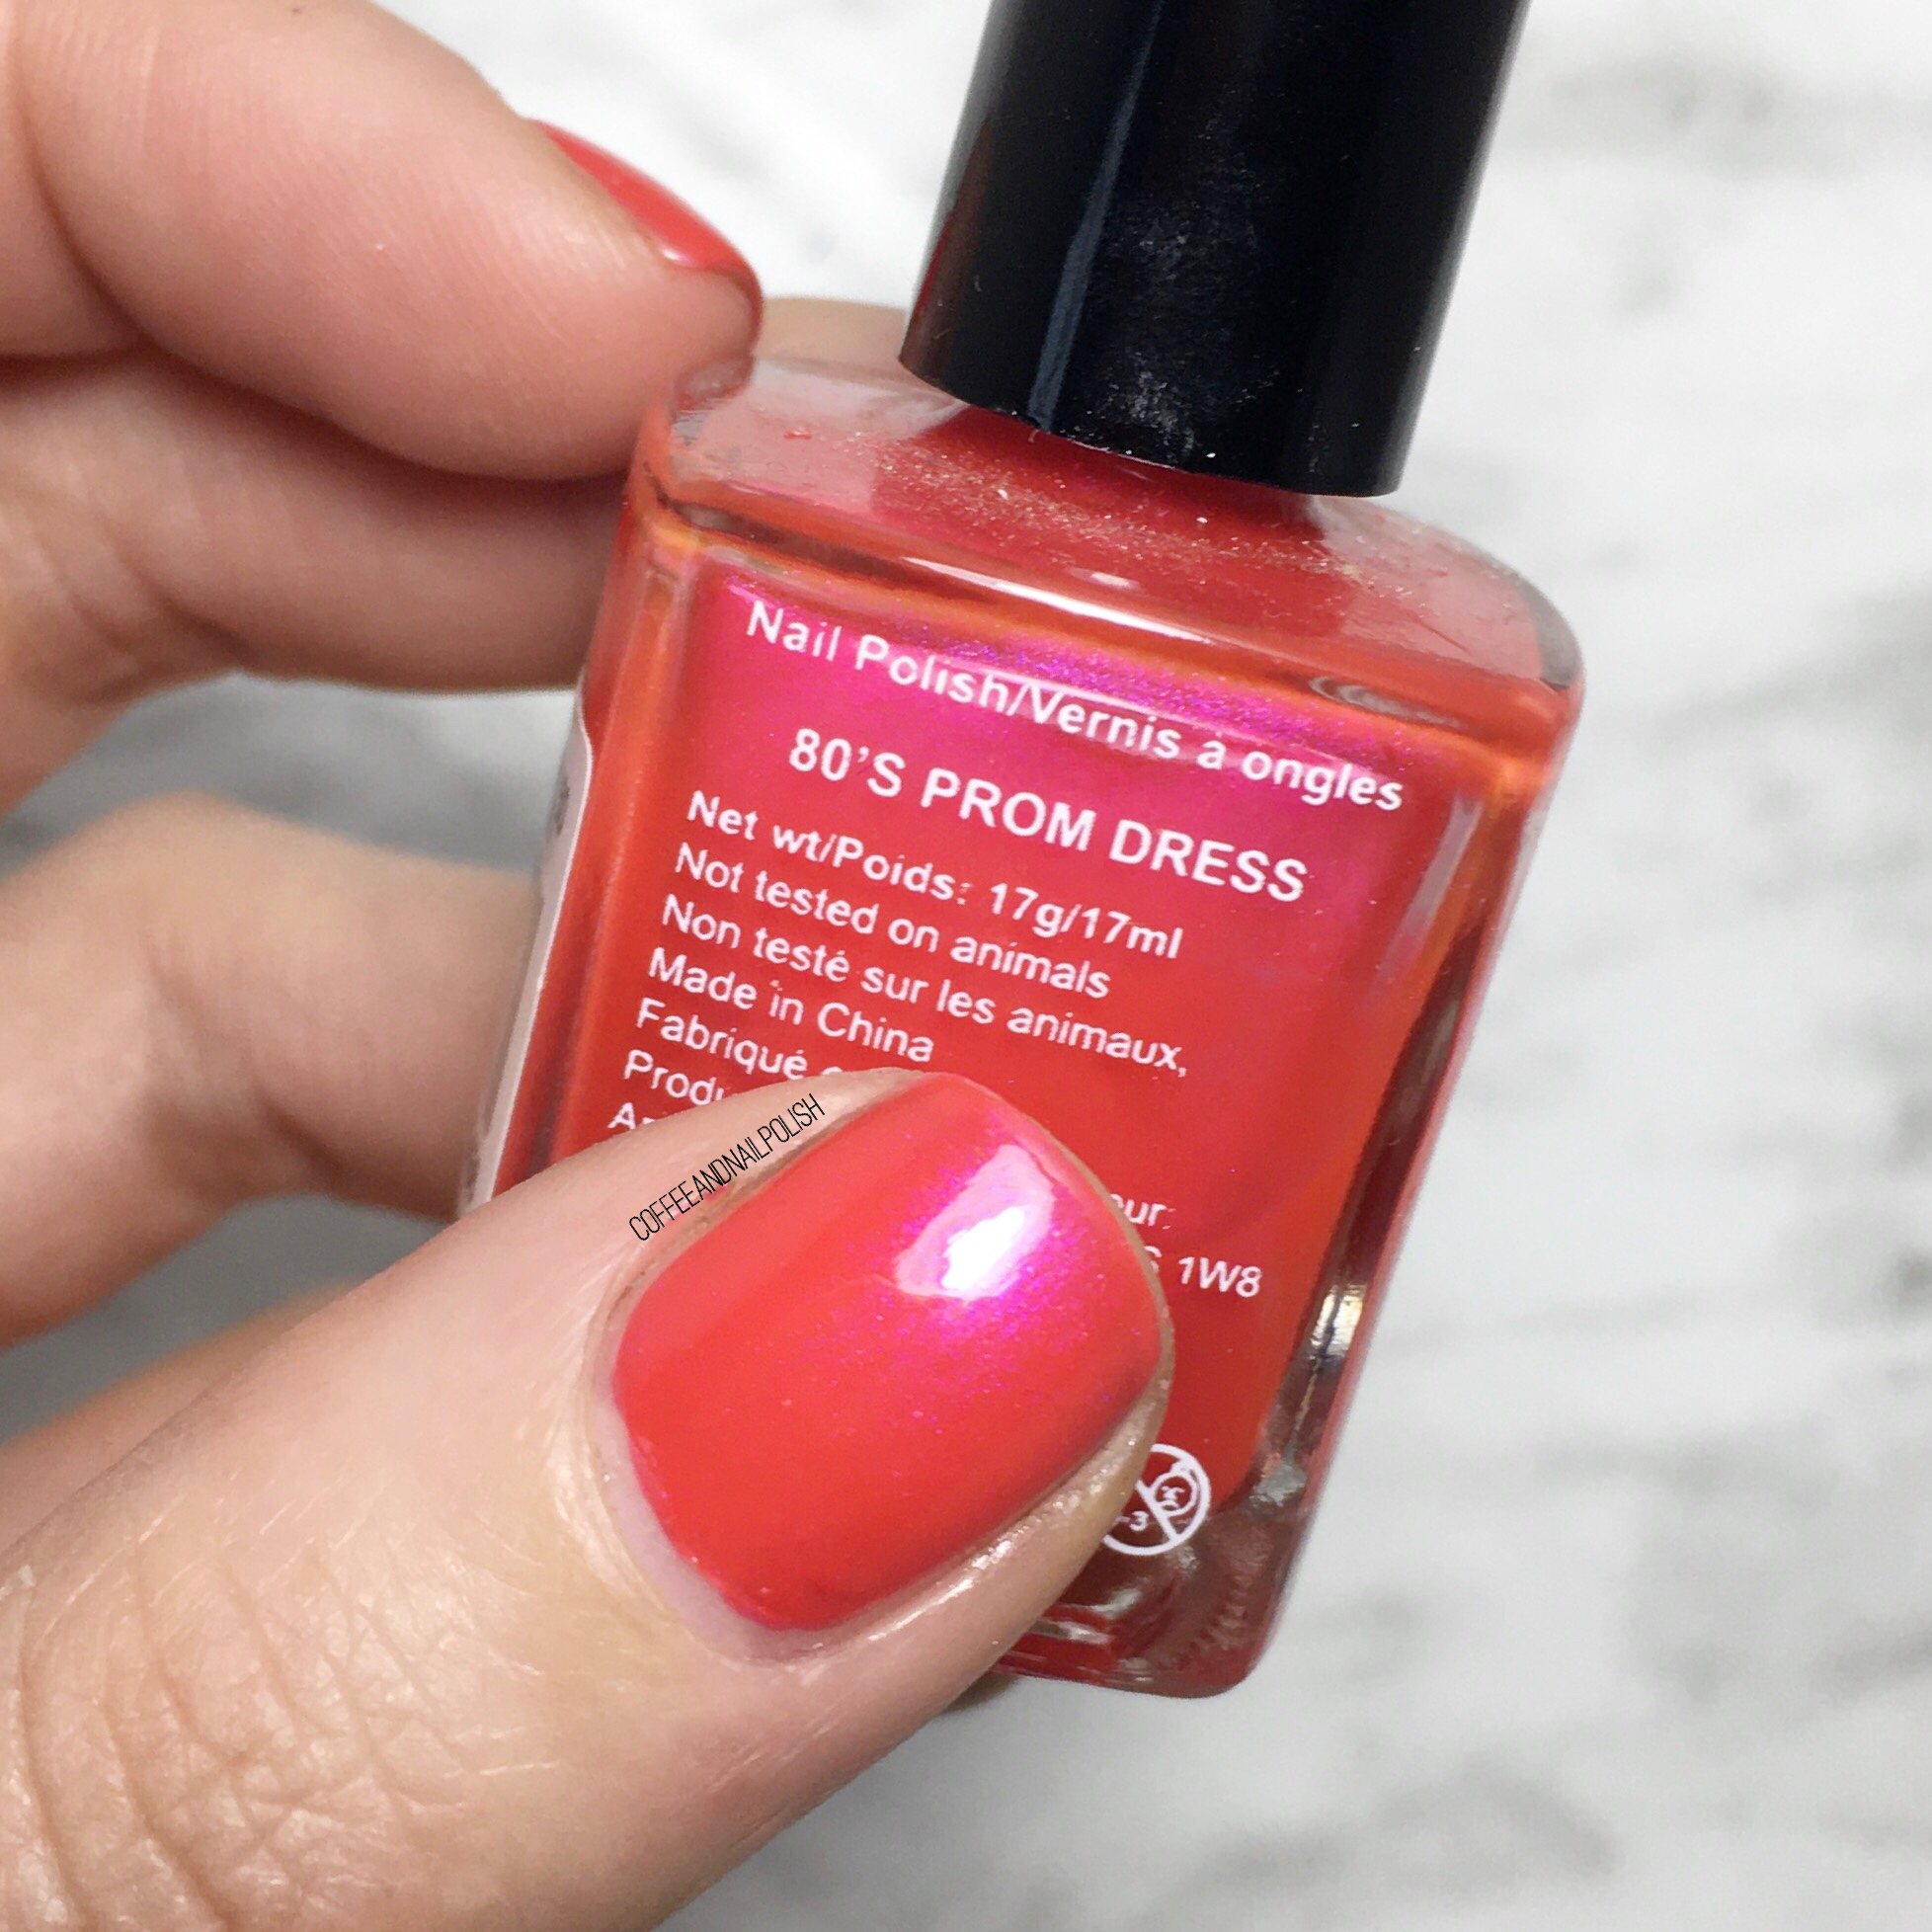
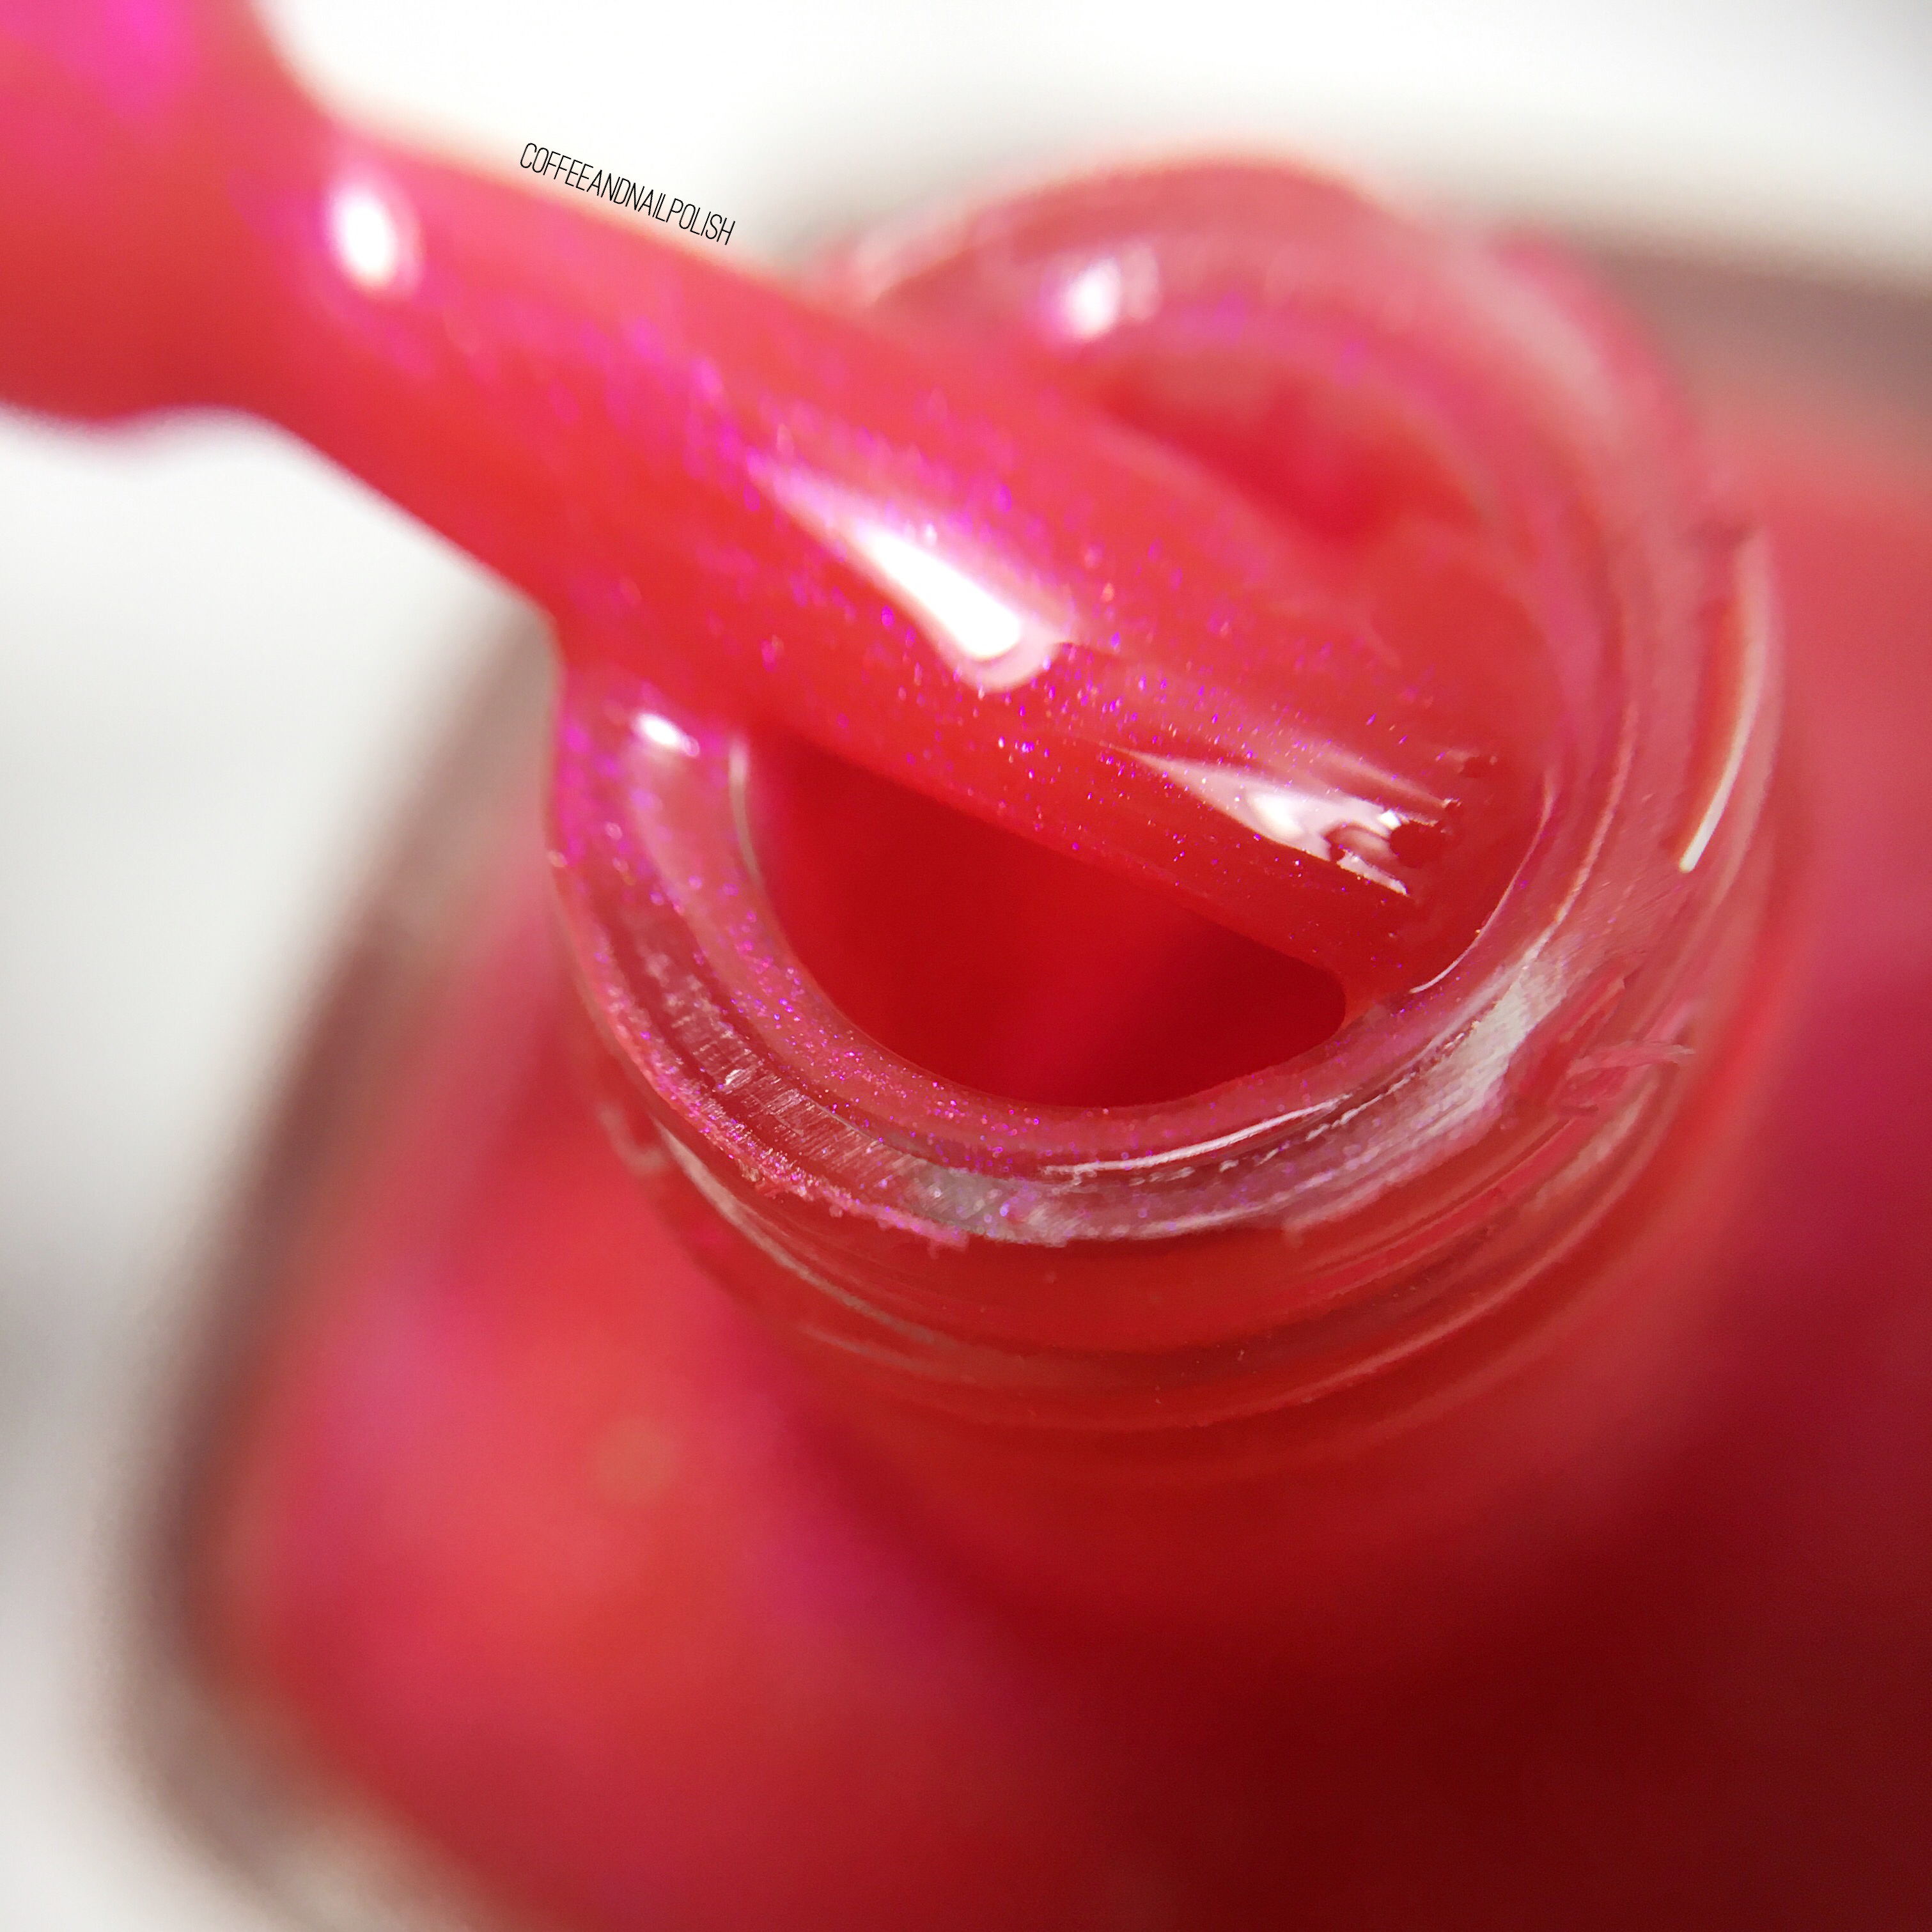
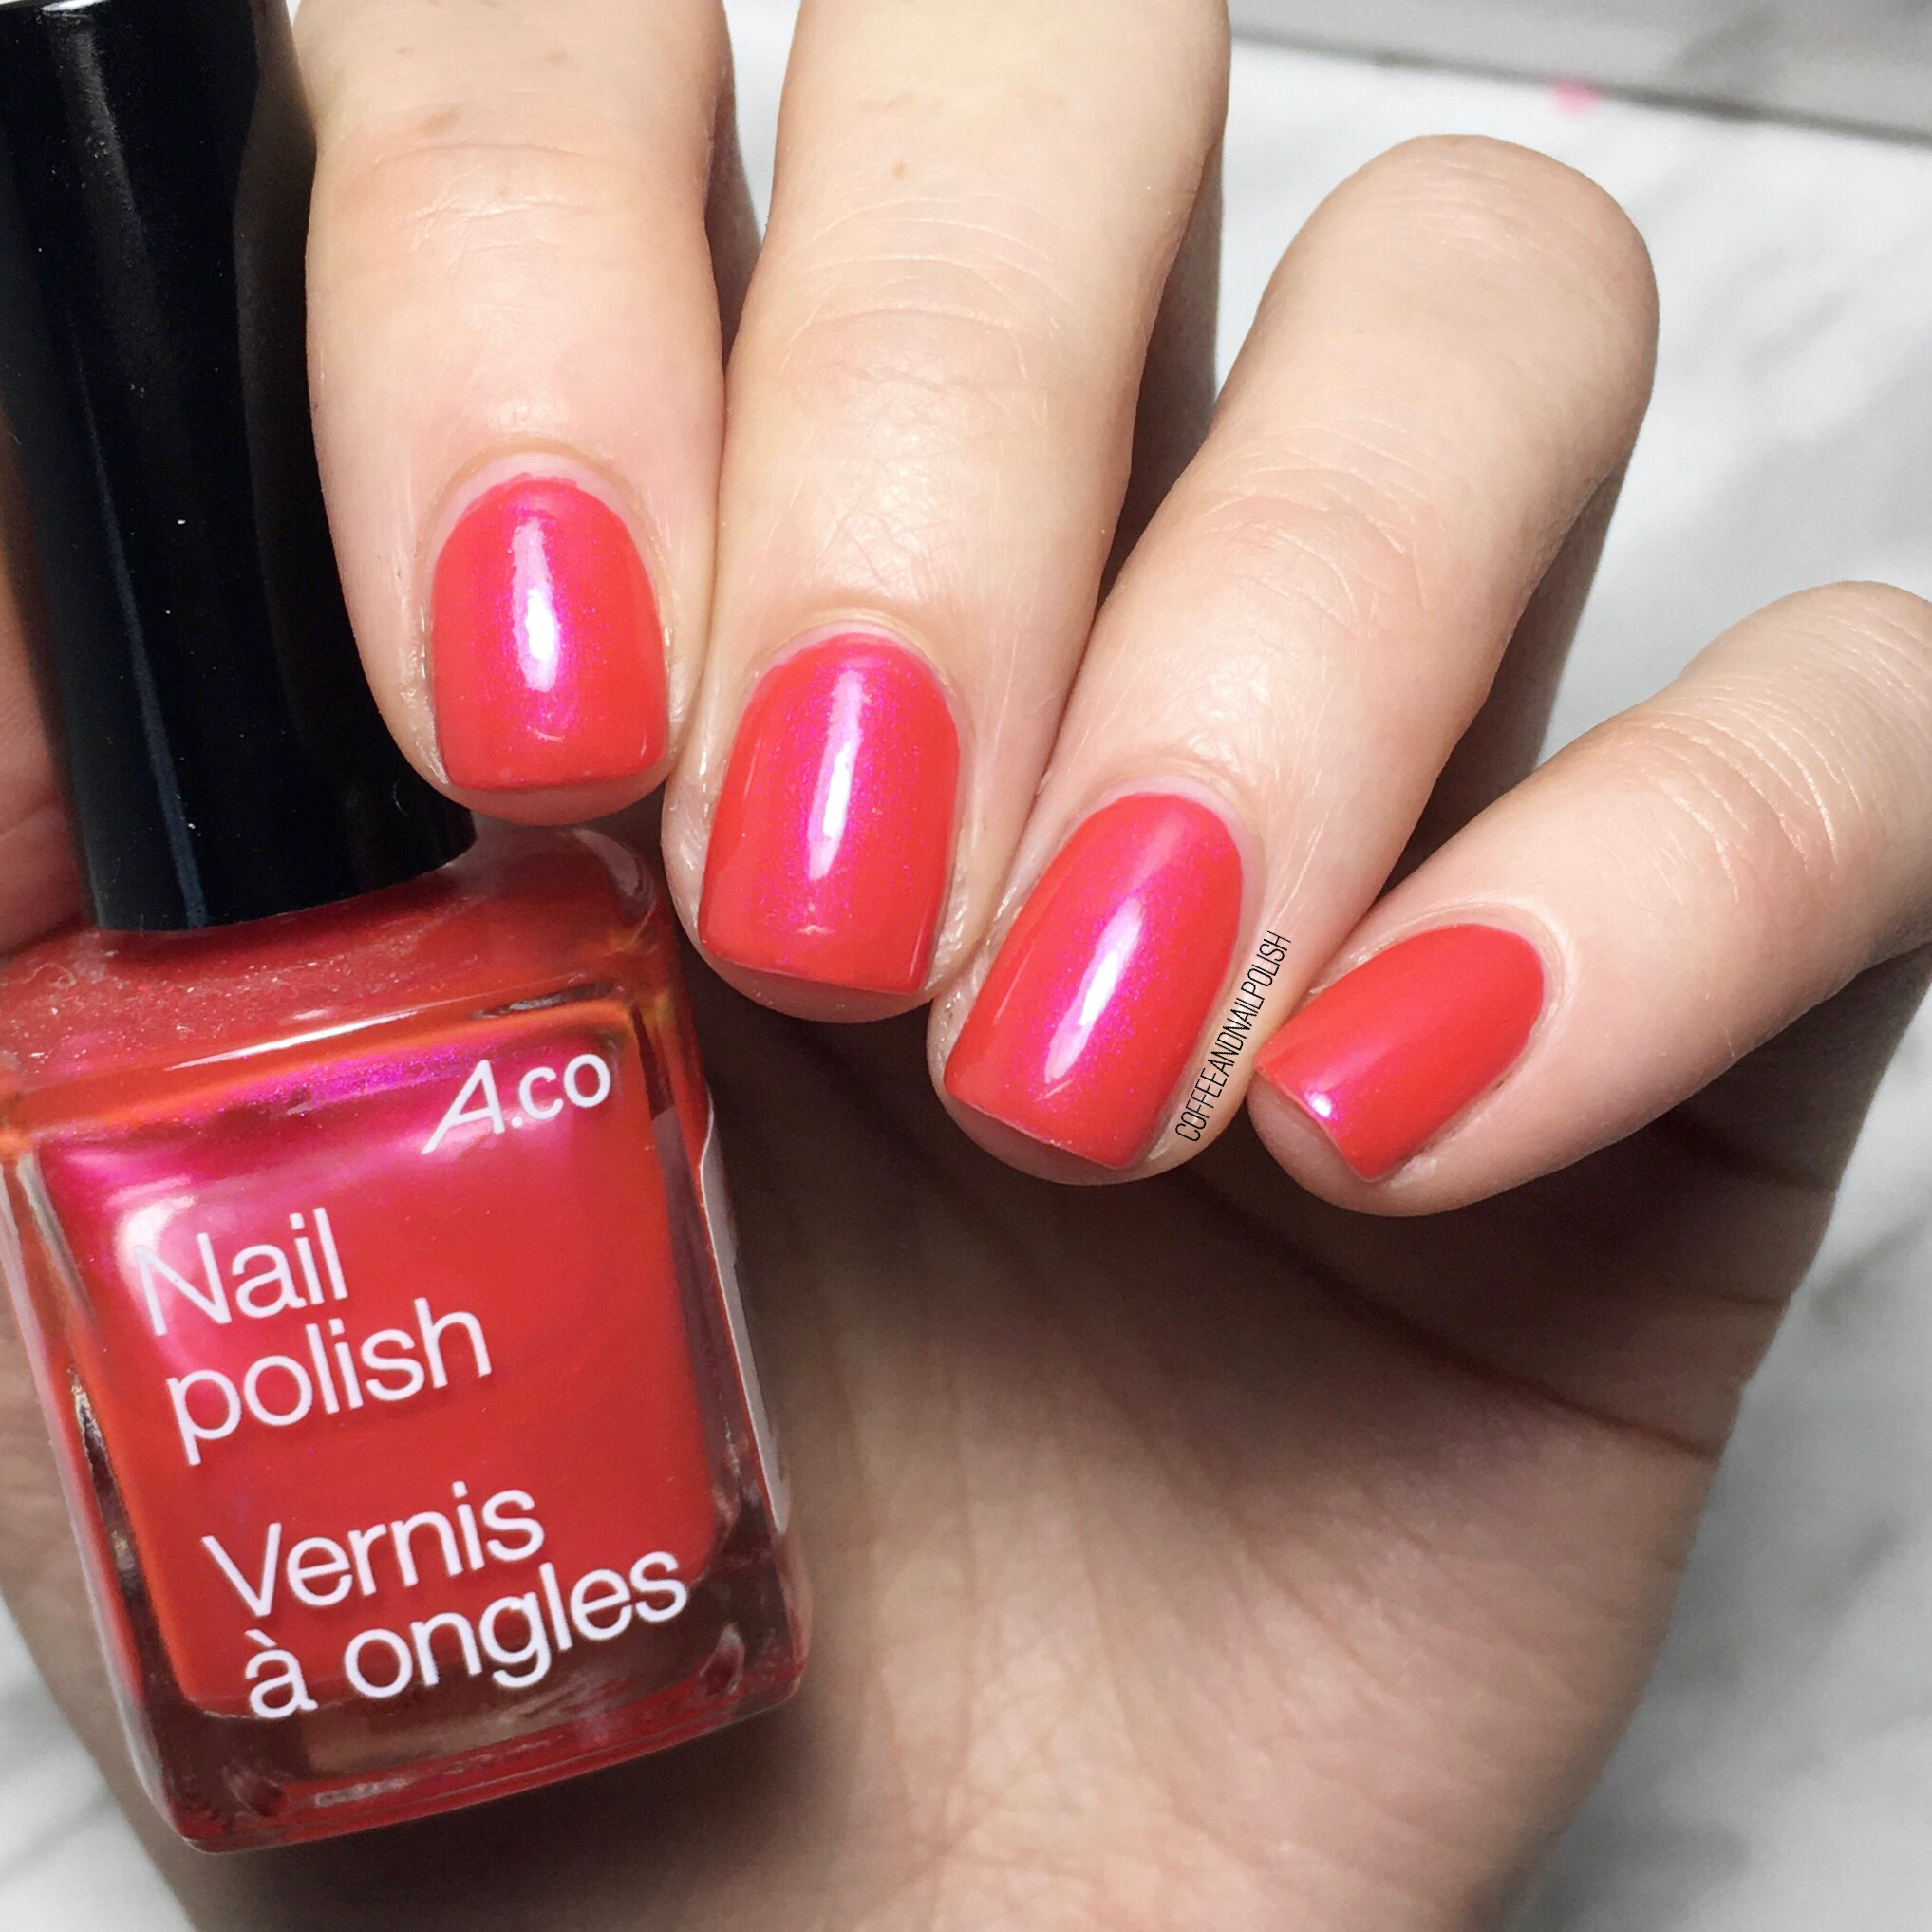
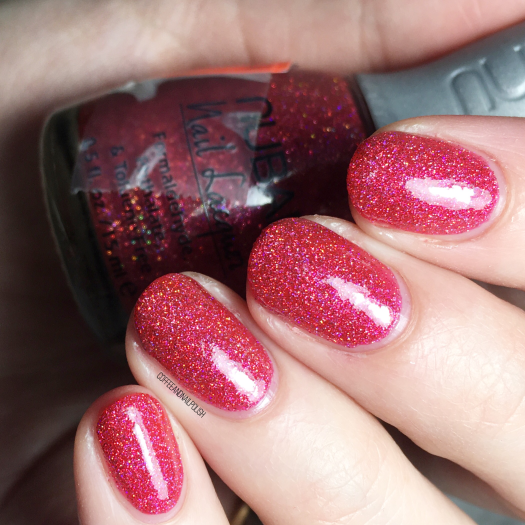
Nubar Prize is a pink jelly polish choked full of scattered holo glitter. Sadly, Nubar no longer exists or makes this shade, so this polish is definitely a special one to me. The base is so bright, & the holo sparkles from every angle.

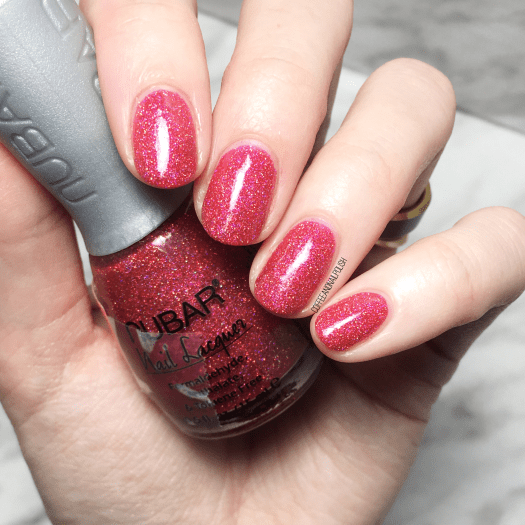
2 coats + top coat
Surprisingly, for a shade that is jelly like this, you can get fantastic opacity in 2 coats with no visibly nail line, or need for undies. & just look at all that glitter! There is no inch of the nail that doesn’t sparkle. It really makes me wish I had a back up bottle of this shade… or a good dupe! Let me know in the comments if you know any good dupes first this shade!
What do you think of Nubar Prize? Do you have a favourite holo shade? Let me know down in the comments below!