Neon Drag Marble

Good morning lovelies & happy Tuesday! Hope you’re having a lovely start to your week.

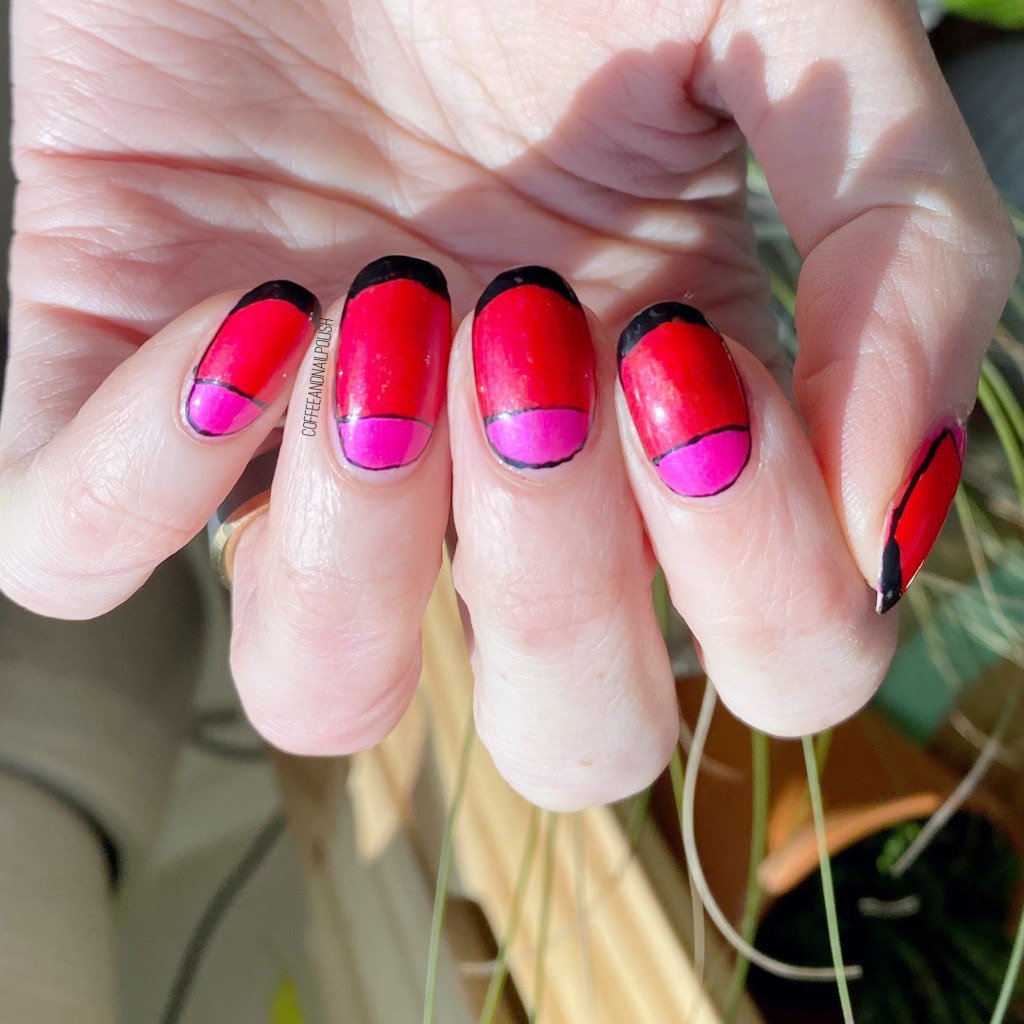
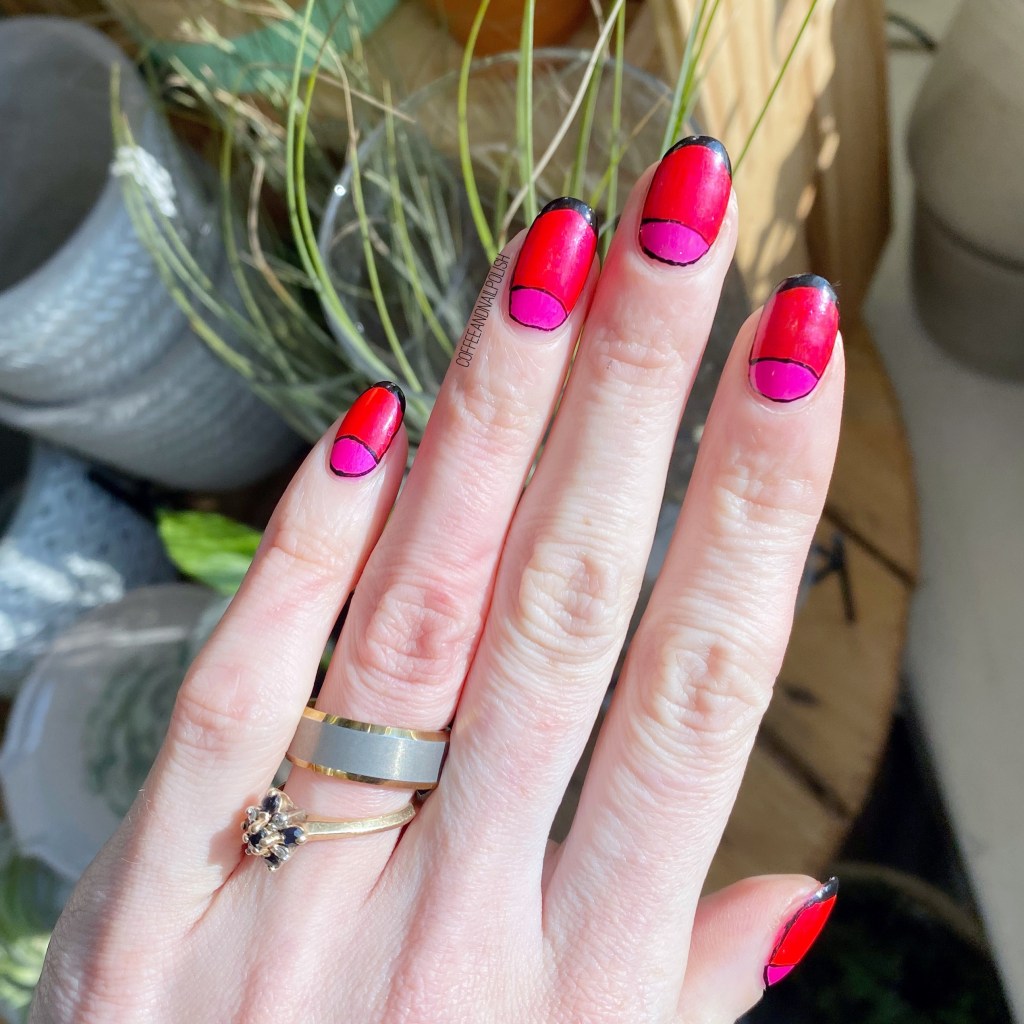
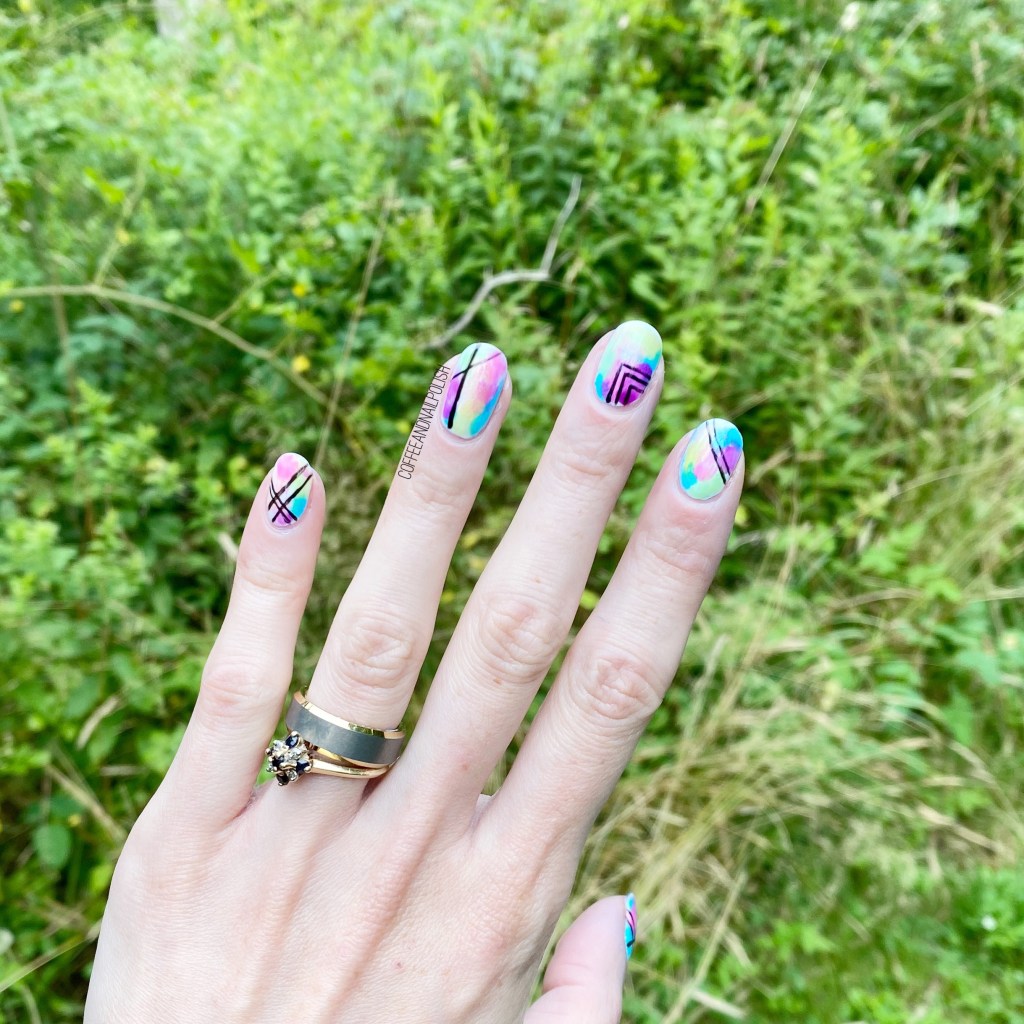
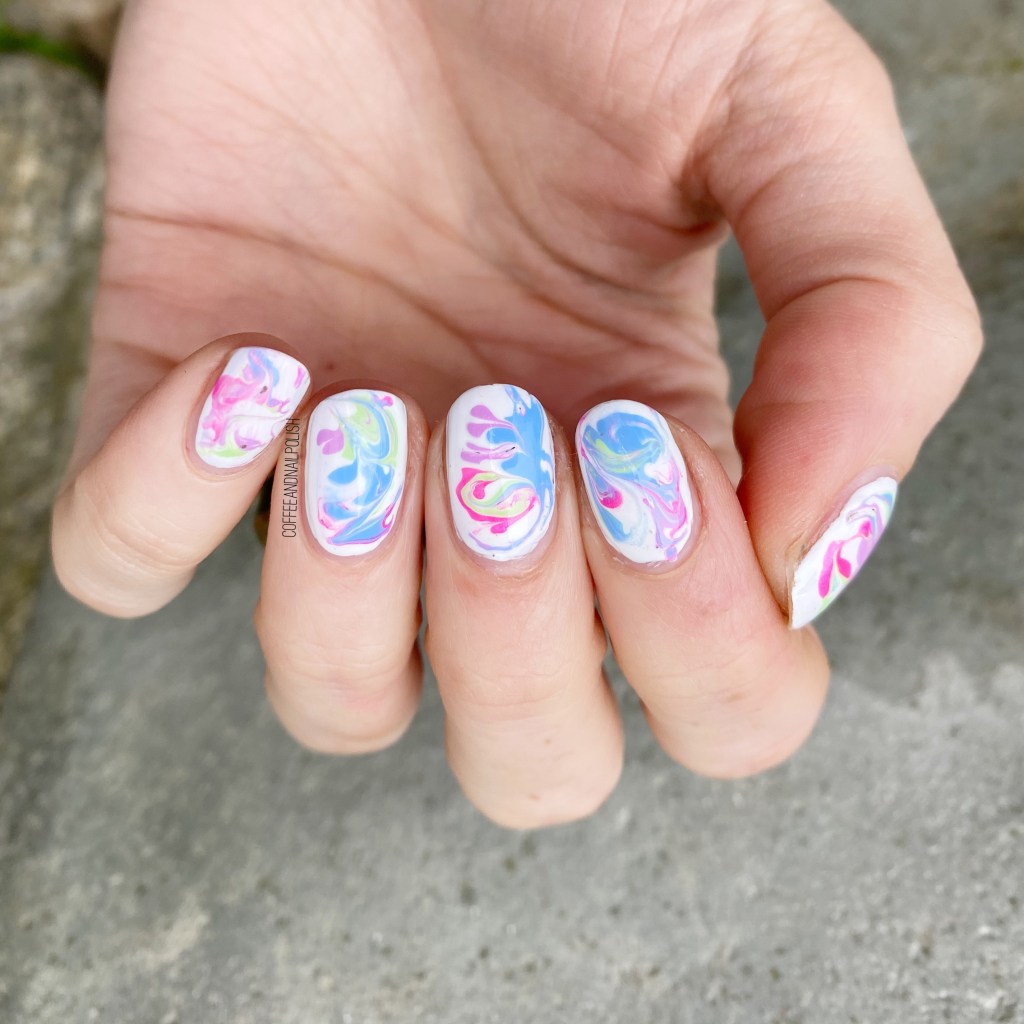
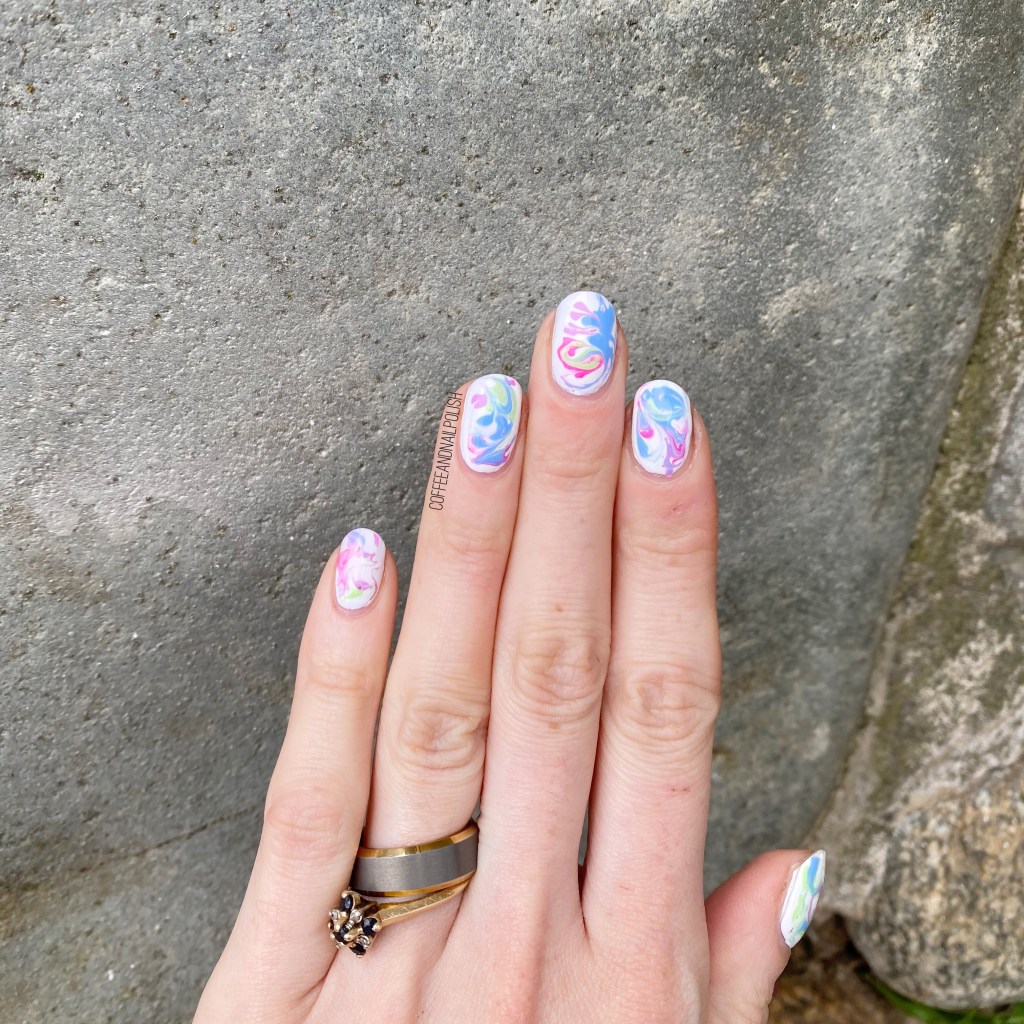
Today I’m showing off a fun drag marble design I wore recently. I haven’t really done a drag marble in a while, & I thought one featuring a few neon-ish shades would be beautiful.

The polishes I used for this manicure are:

  • Base Coat: Essie Hard To Resist Glow & Shine
  • Top Coat: Essie Speed Setter
  • Sally Hansen Miracle Gel Get Mod
  • Sally Hansen MG Floresc-pink
  • Sally Hansen MG Electri-Lime
  • Sally Hansen MG Violet Voltage
  • Sally Hansen MG Sugar Fix
  • NailStuff.ca Dotting Tool Trio

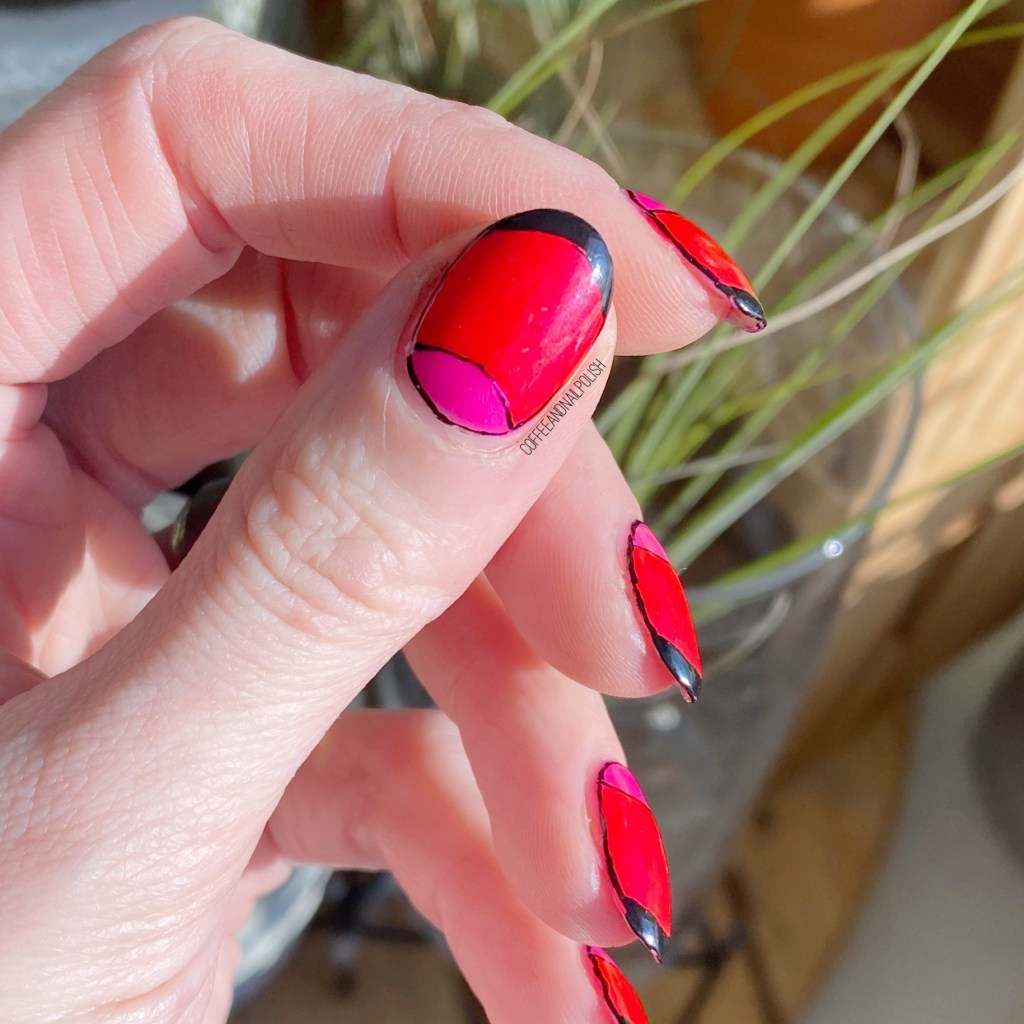
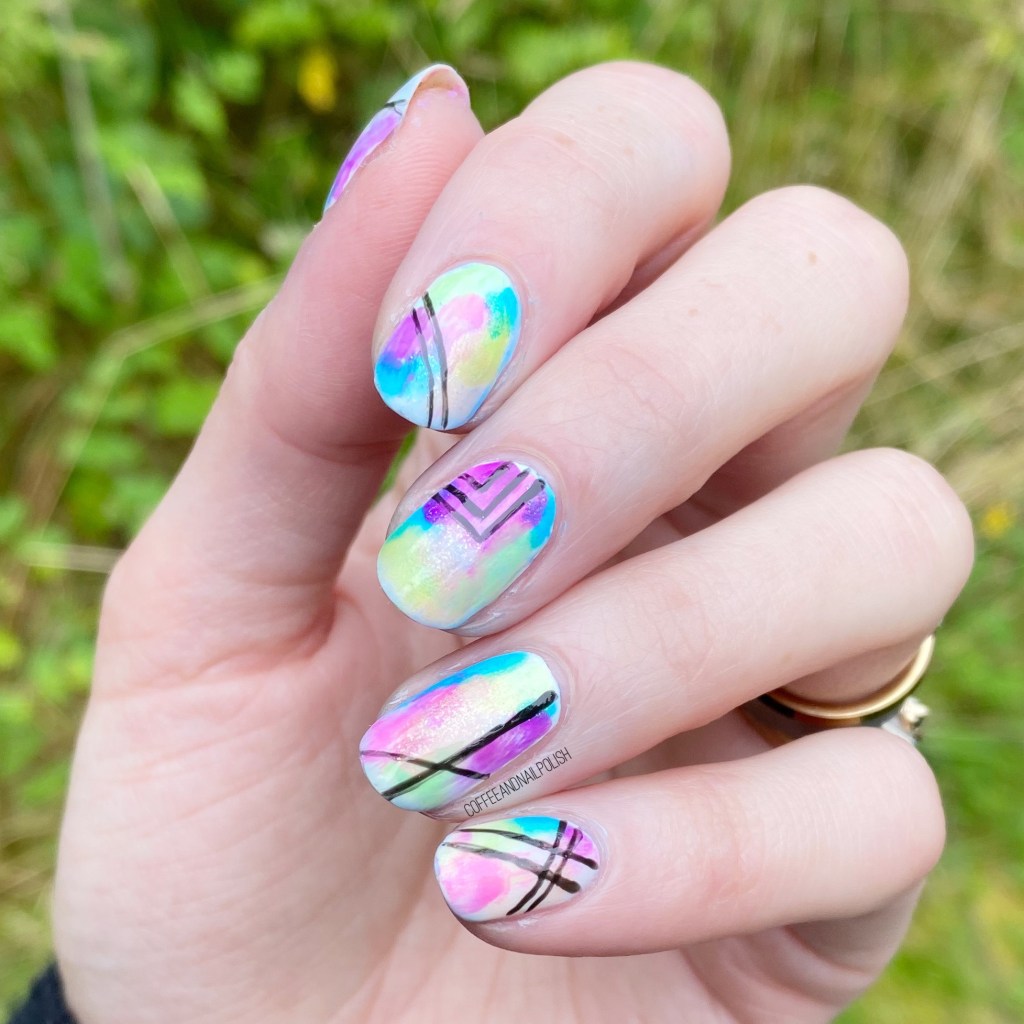
I’m kind of obsessed with how these turned out! They remind me a bit of jawbreakers, which marble nails can do. I like the neon colours popping against the white base. They turned out exactly how I imagined in my head & I’m so happy about it!

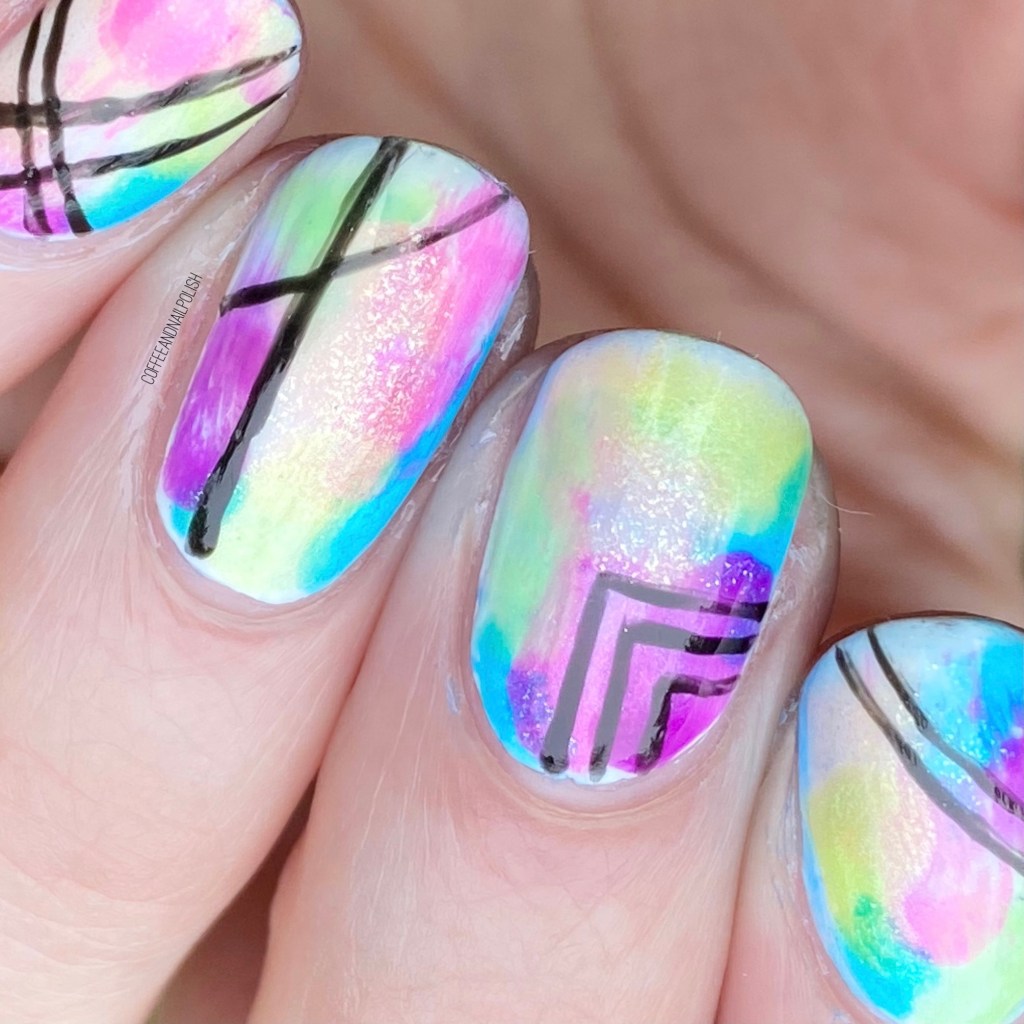
Drag marble nails are one of those looks which I always think are going to be so easy, but then surprise me with difficulty, haha. In this case, I had to swirl my four polishes in the while before things started to dry… & I had to work fast! But, you know, I think in the end it gave a really cool effect, & I got lots of compliments on the finished look which always makes my day.

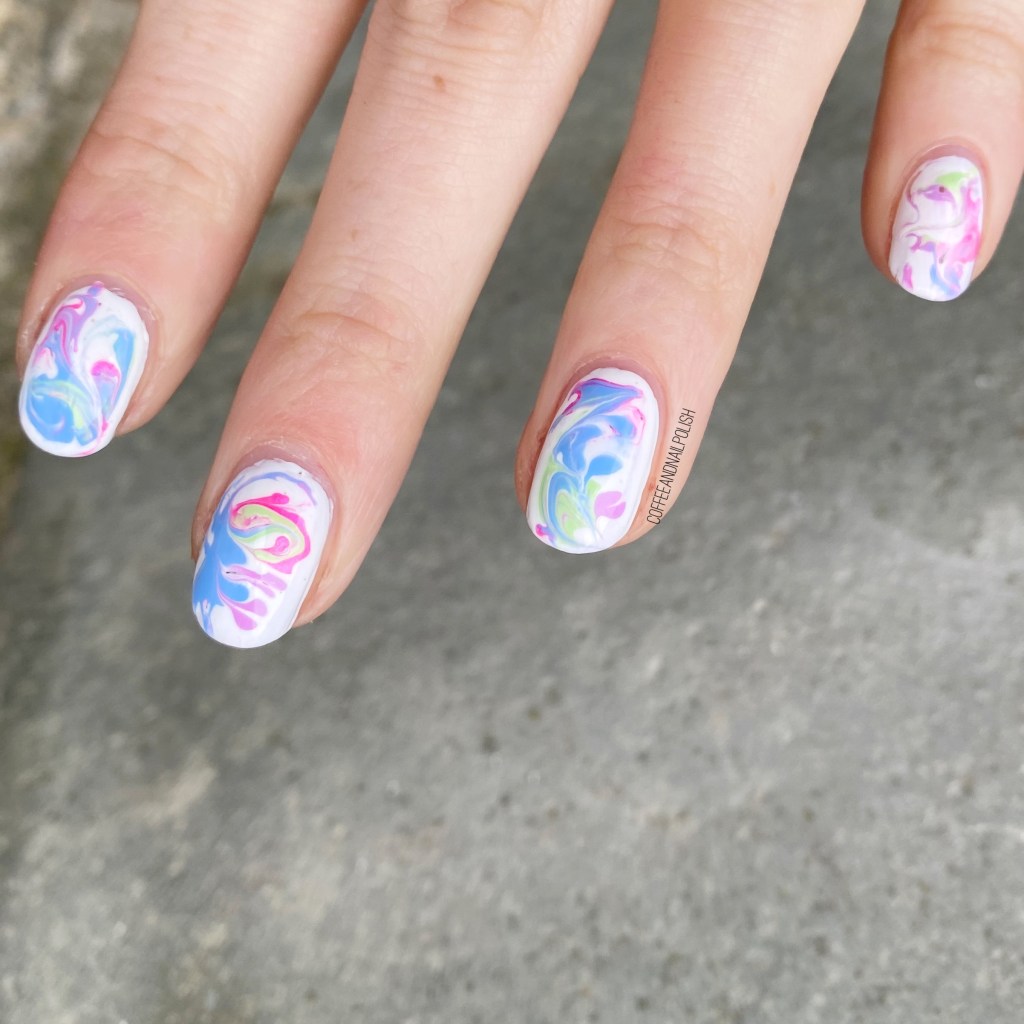
If I had to pick a favourite nail? Probably my middle nail. I think my swirling turned out best on that nail for sure.

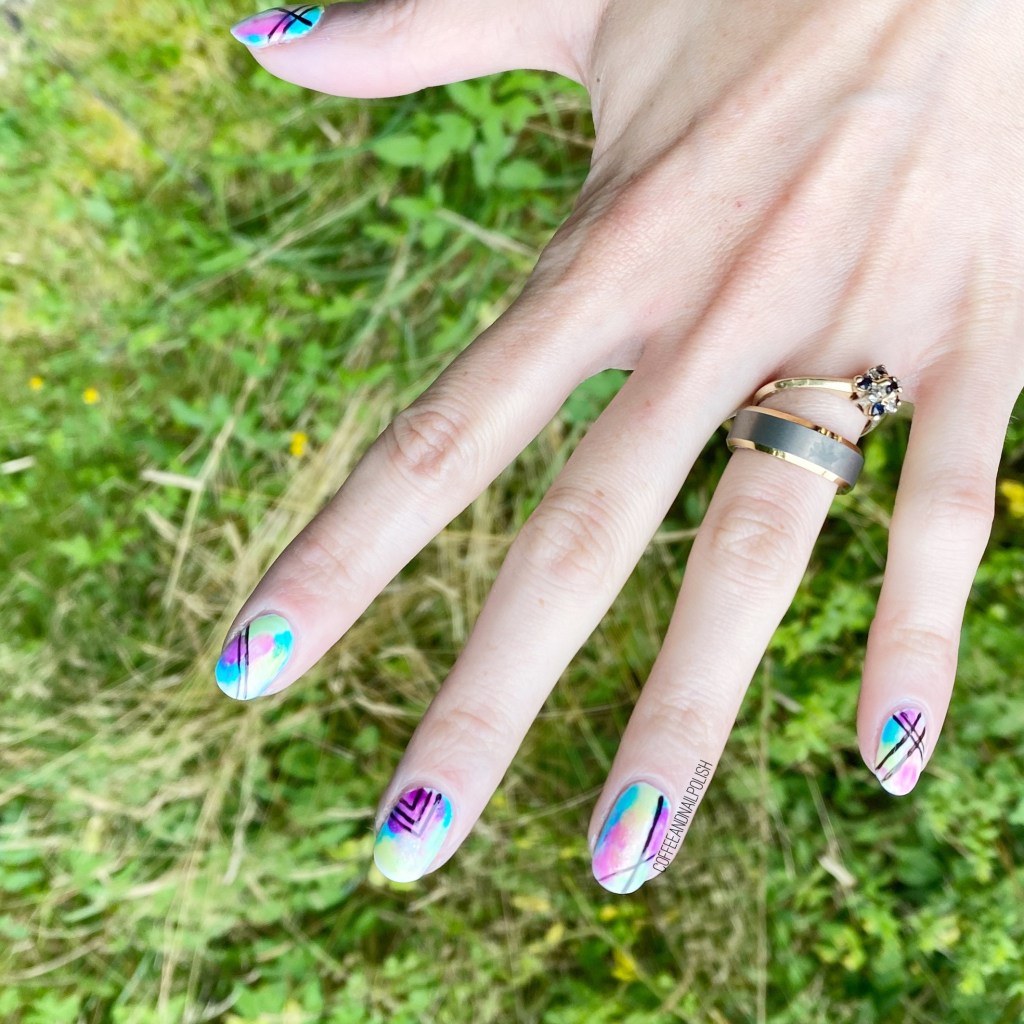
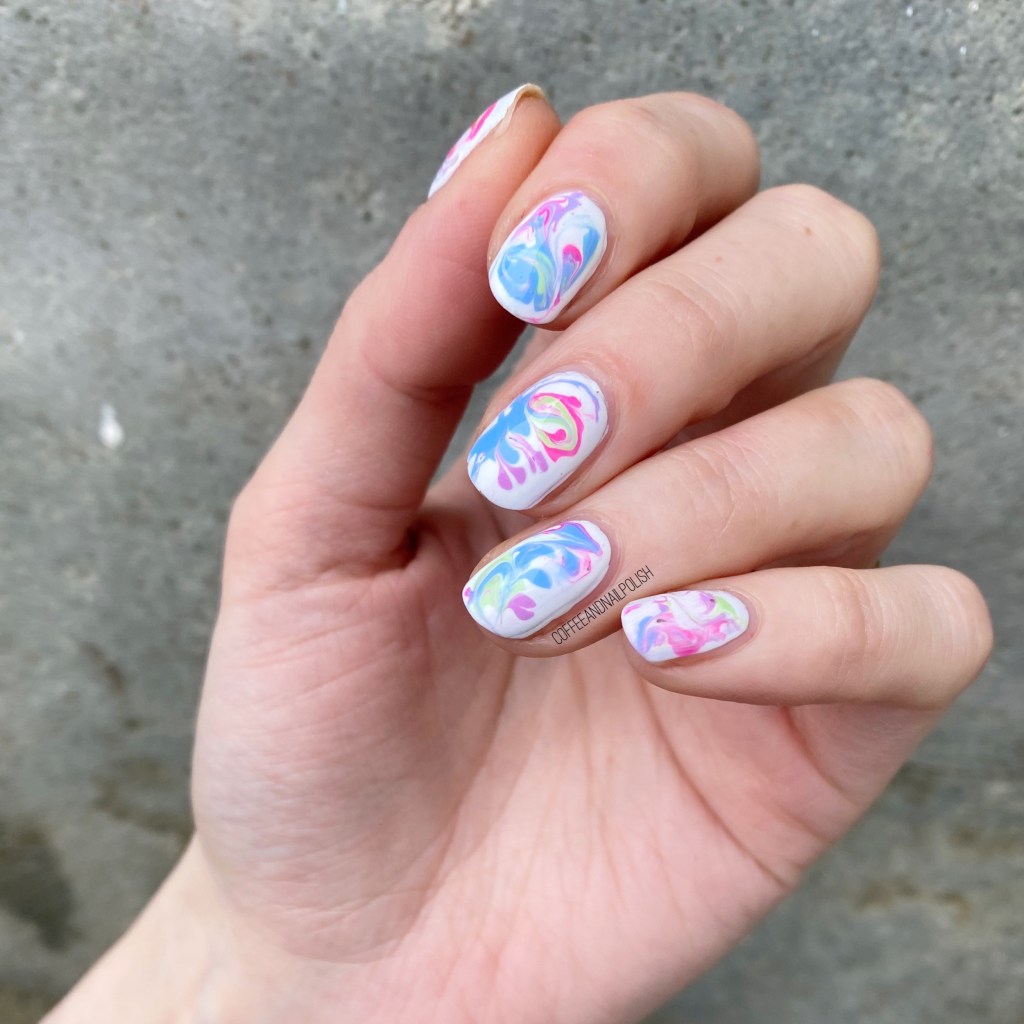
What do you think about this drag marble look? Are you a fan of the neons against the white base?

Let me know all your thoughts in the comments below, & what colour combination you would do for a drag marble look!

SWATCH SUNDAY — Essence Lilac Vibes (Neon Pastels)

Hello lovelies & happy Sunday! & happy Easter. I hope everyone is having a lovely holiday (if you celebrate). Today I’m celebrating another week, & another Swatch Sunday post!

This week, I pulled out this Essence beauty: Lilac Vibes. I found this shade at my local Shoppers Drug Mart last Summer, & I have been meaning to share it ever since! But I thought since Spring is in full swing, it would be a great colour pick for this week’s Swatch Sunday post.

2 coats, no top coat

The formula on this shade is super creamy, & easy to apply. I possibly could have gotten away with one coat, but I applied a second to hide a few patchy spots on the nail. It dries to a beautiful shine, as pictured, without any top coat needed — although if I’m wearing long term, I always had top coat to help my polish last.

The colour is really pretty, & vibrant. It’s not quite pink, not quite purple. But the soft shade is enough you could get away with it for a variety of occasions. It also reminds me a bit of one of my favourite ORLY shades: Scenic Route — although Violet Vibes seems to lean a bit more on the blue side.

As mentioned, I picked this shade up at my local Shoppers Drug Mart last Summer. It wasn’t part of the core Essence display, but one of those little separate displays for limited edition shades. Like all Essence polishes sold at Shoppers, it was $2.99 CAD, which is a very good price.

It’s no longer listed as available on the Shoppers Drug Mart beauty site, but I did find the shade also listed on the Essence website as available so I’m not 100% sure if it is a core shade or not, but it does look like it is still available for purchase — although I do believe that is the US site, so shipping would not be available for Canada.

What do you think about this Essence shade? Are you a fan of Essence nail polish? Let me know what you think about this fun shade down in the comments below, & what your favourite Essence shade is!

Glam Nails Challenge March — Geometric

Hello lovelies & happy Wednesday! It’s officially half way through the week, & honestly it feels like it’s speeding by. Maybe because this week has had hints of Spring, not just Winter storm after winter storm.

Today I have a fun & funky nail art look to share for Glam Nails Challenge March. Today’s prompt is Geometric, & it’s definitely been a while since my last geometric design, so I was definitely excited to get creative! I used to love coming up with designs like this, so it was fun to get a little old school with my nail art.

The polishes I used for this manicure are: 

  • Base Coat: Sally Hansen Good. Kind. Pure Hardener 
  • Top Coat: Seche Vive
  • OPI Where Did Suzi’s Man-go
  • Dimensions Nails Blue Morpho Butterfly
  • Quo Beauty Flash Dry Loud & Proud
  • Sally Hansen Xtreme Wear Lacey Lilac
  • Starrily Vantablack
  • NailStuff.ca 7mm detail brush

How much fun are these? I love them because the colours aren’t necessarily ones that I would normally pair together, but they’re so much fun! It’s definitely a more striking look than I’ve been wearing lately, & just felt so much fun on my nails. Plus the black looks really good as the outline.

Honestly, when I was doing these I really wasn’t sure if I was going to like them, which happens sometimes, but when they were all finished, they made me so happy. Does that ever happen to anyone else? You’re in the middle of your mani & you’re like “I’m not sure I’m going to like these…” but then when you’re finished, you’re just so in love. Maybe I’m the only one.

What do you think of this geometric look for Glam Nails Challenge March? Would you wear this design? Are you fan of bold nail art looks like this? Let me know down in the comments below!

Colour Block Outlined Half Moons

Hello lovelies & happy Thursday!

Today I have another fun look to share with you. I was feeling some nails a bit out of my comfort zone, & these turned out exactly how I pictured in my head. I wanted some neon half moons, but I decided to take them to the next level with some black outlining, & the end result is AWESOME!

& the timing was perfect, because these nails ended up getting the spotlight they deserved during a special photoshoot at work this past weekend.

The polishes I used for this manicure are: 

  • Base Coat: Essie Millionails
  • Top Coat: Seche Vive
  • Orly Oh Cabana Boy
  • Orly Fireball
  • Starrily Vantablack
  • NailStuff.ca 4mm Micro Detail Brush
  • Paper Hole Reinforcement stickers

Oh man, I just love these.

I feel between the neon brightness & the graphic black lines, these are very unlike my usual manicure style, but that’s probably why I like them so much! They definitely took a few extra minutes (& more patience than I realized I had) but the end result is so worth it.

Plus they’re so pretty! & bright. I feel like with all the bitterly cold days we’ve been having, I’ve been craving neons & bright colours more than I usually do. But… also, this colour combination could also totally work for Valentine’s Day too.

What do you think about this look? Are you a fan of the outlined nail look? Do you like these two bright neons together?

Let me know down in the comments below!

Neon Dry Brush

•pr•

Hello lovelies & happy Friday. It’s almost the weekend! & today I’m keeping the Summer time vibes up with a neon dry brush design featuring the new Sally Hansen neons I recently shared!

As much as I want Fall designs, it’s kind of hard to think of Fall of when it feels like 38 degree outside. So I guess I’ll keep the Summertime vibes going just a wee bit longer — at least until the cooler temperatures forecasted this weekend.

The polishes I used for this manicure are:

  • Base Coat: Essie First Base
  • Top Coat: Essie Gel Setter
  • Sally Hansen Miracle Gel Get Mod
  • Sally Hansen Miracle Gel Sun-Shine On
  • Sally Hansen Miracle Gel Squeeze the Day
  • Sally Hansen Miracle Gel FlorescPink
  • Sally Hansen Miracle Gel Feeling Grape
  • Sally Hansen Miracle Gel Chill Out
  • Sally Hansen Miracle Gel Electri-Lime
  • Sally Hansen Miracle Gel Blacky-O
  • NailStuff.ca 16mm Striper Brush

Seriously, how much fun are these?

The Miracle Gel neons are perfect for this kind of design because of the thinner formulas—especially to get them to smudge when applying your top coat. You get that blended effect, which I adore. & obviously I had to add some graphic lines over my base to complete the whole look—it just adds something to the manicure overall; gives it a little extra POP!

What are we thinking about this neon look — yey or nay? Let me know down in the comments below.

& stay tuned because I have a ton of Fall/Autumn worthy shades (just ordered the China Glaze Autumn Spice collection yesterday!) coming soon.