Hello lovelies & happy Sunday!
I hope everyone has had a gorgeous week. Does anyone else feel like this Summer is absolutely barreling towards the end. It’s almost the end of July. & the other day, I saw Back To School items in Walmart!
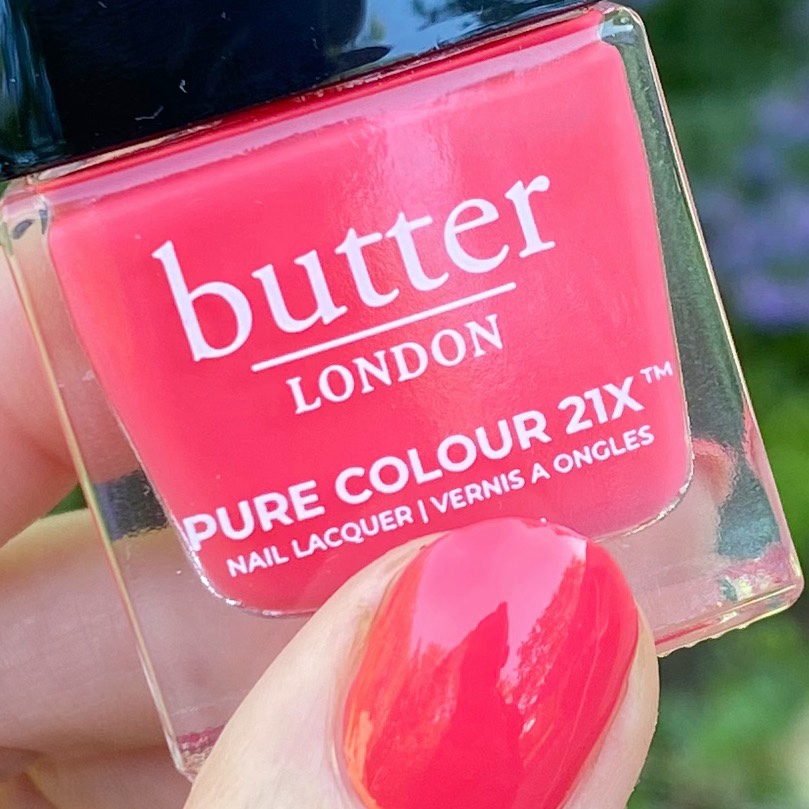
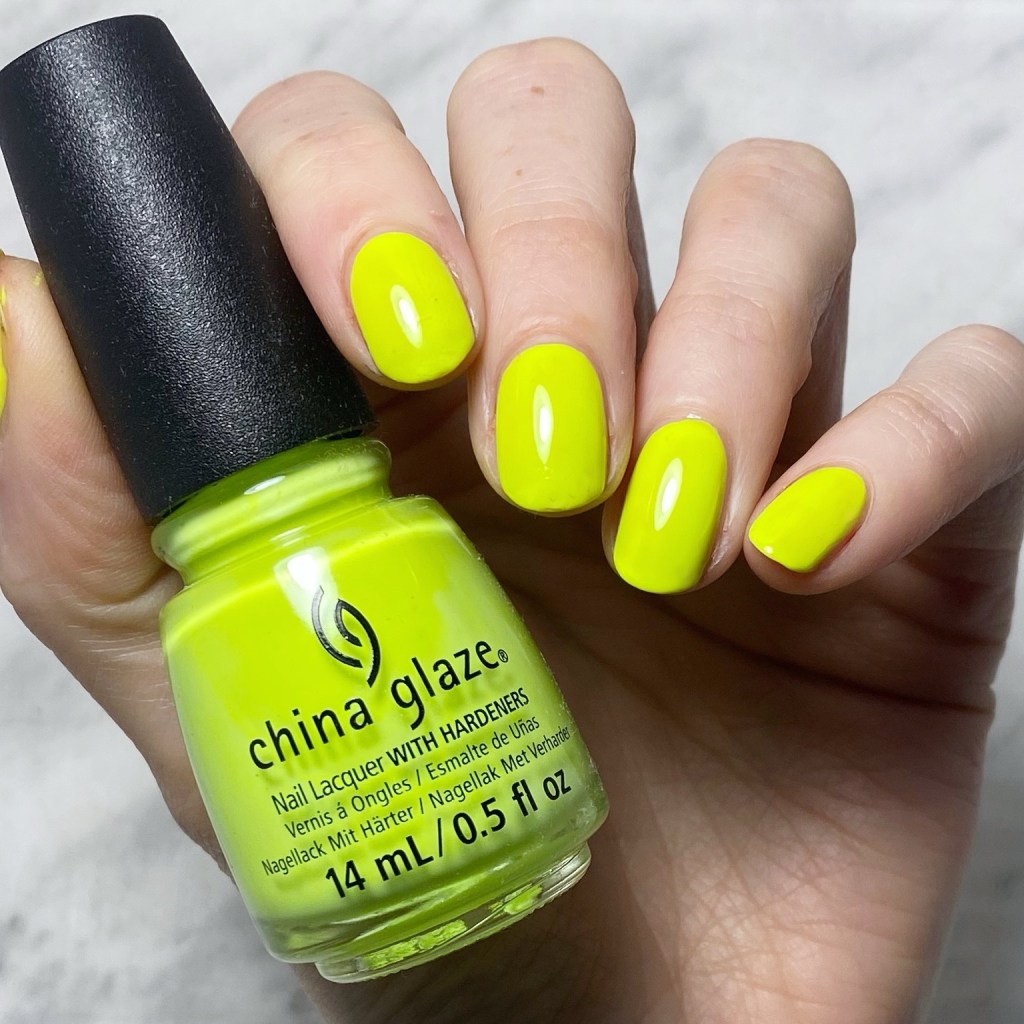
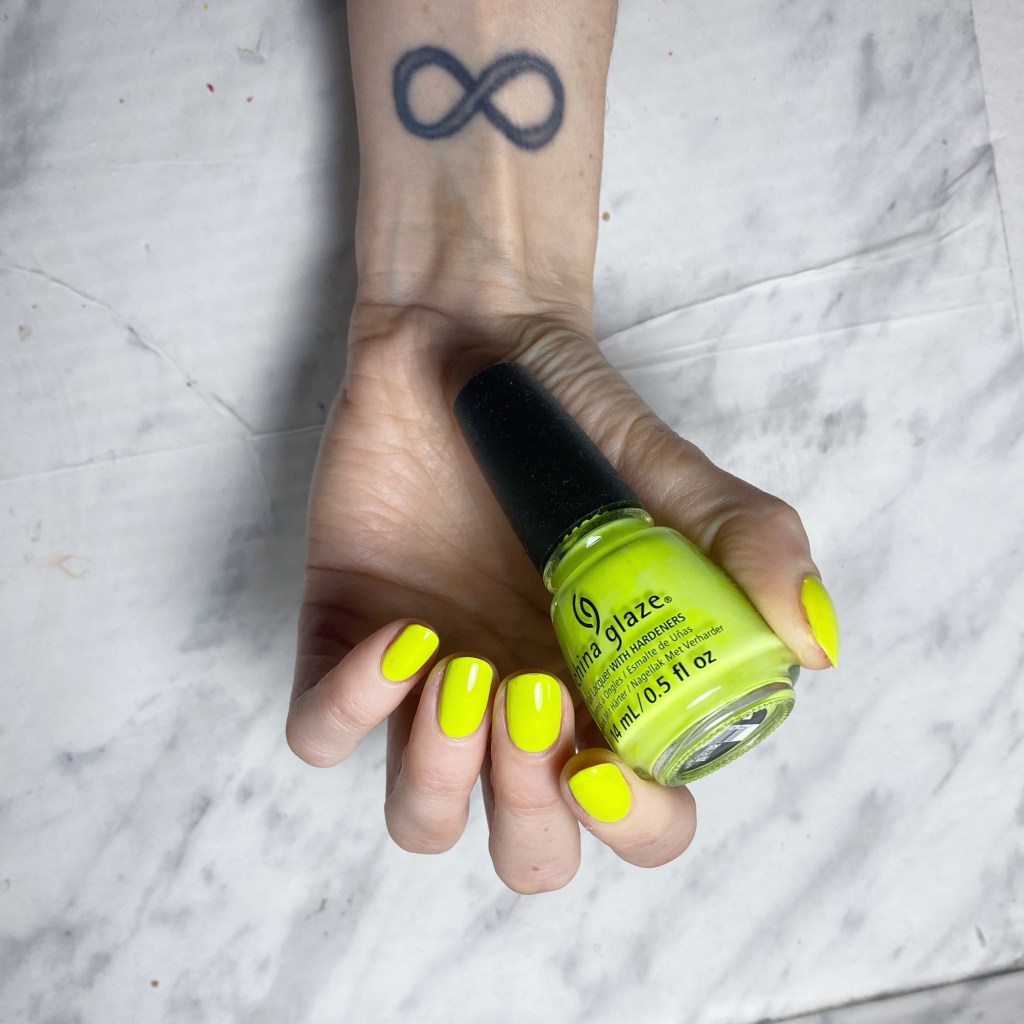
Today I’m going full Summer vibes, though, with a shade originally released as part of China Glaze 2015 Electric Nights Summer collection. This is Glow With The Flow.
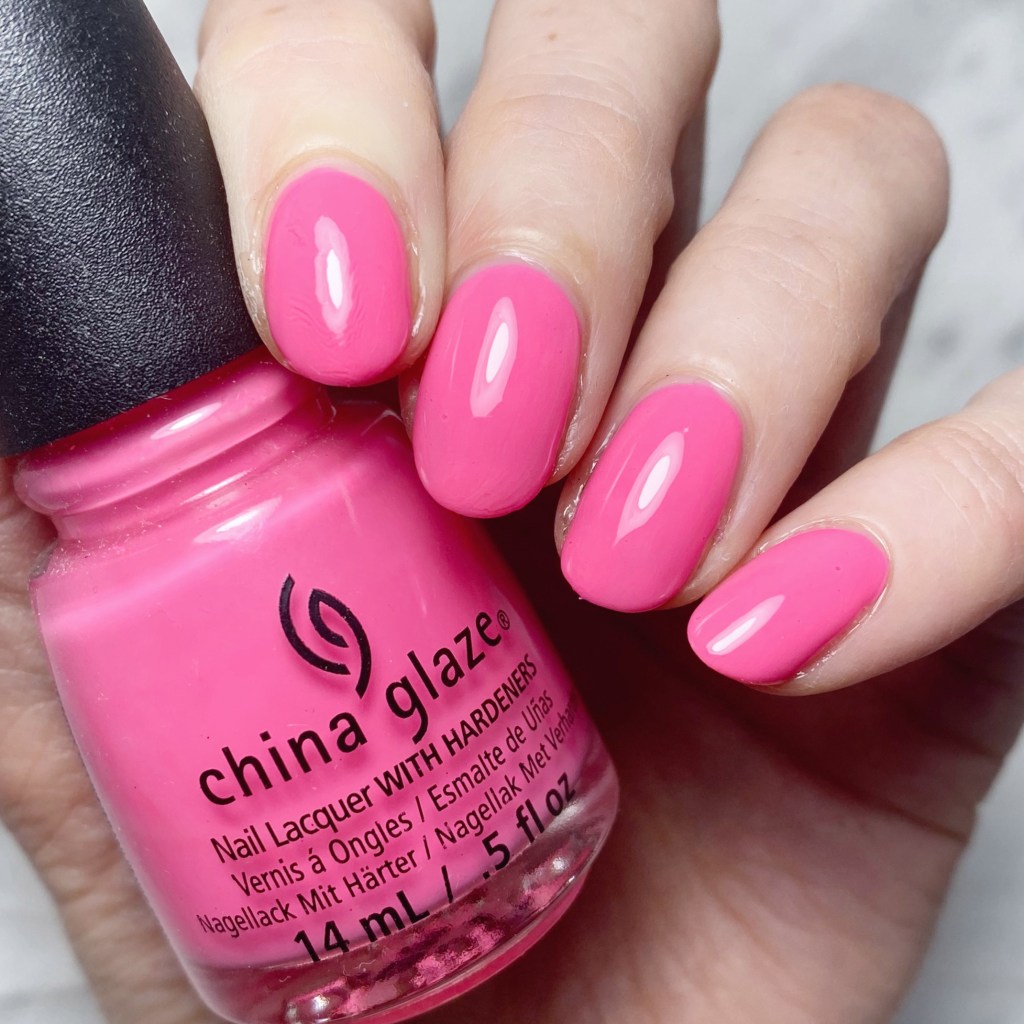

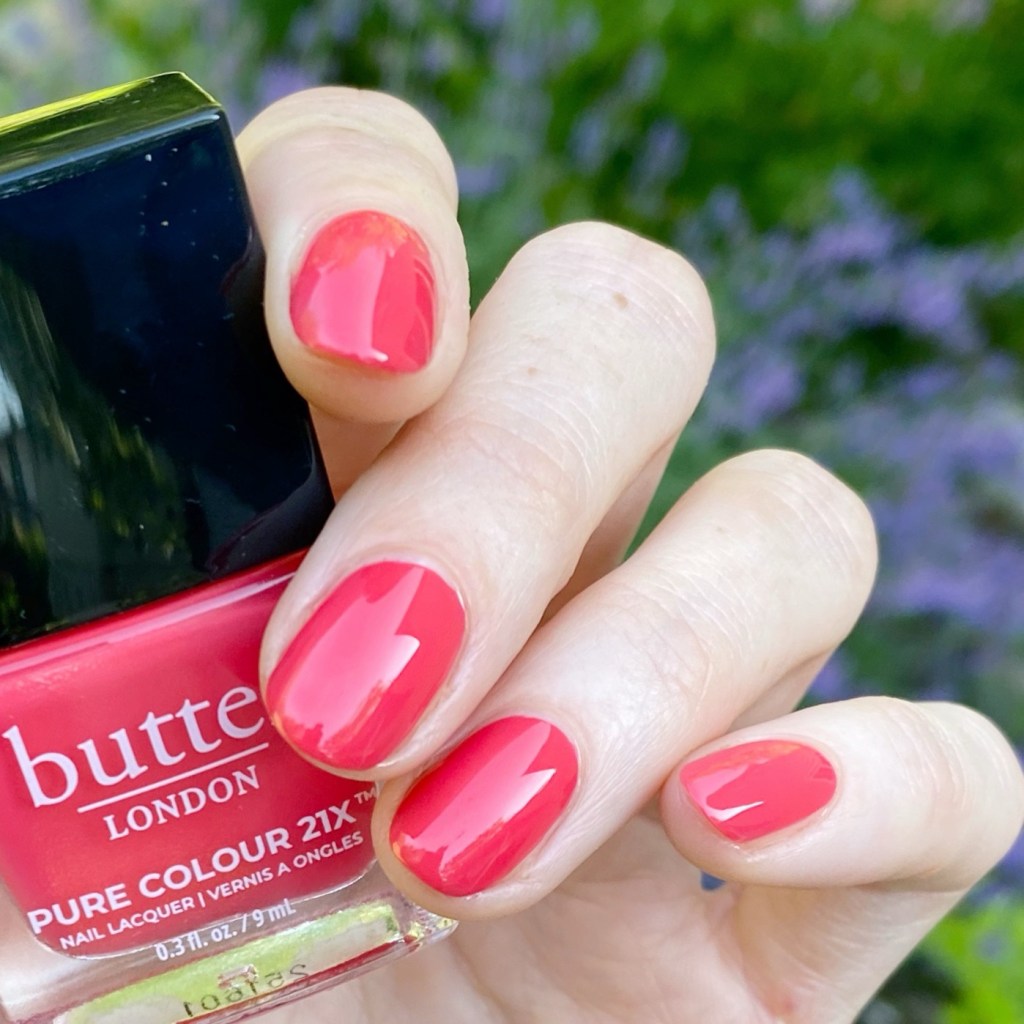
2 coats + top coat.
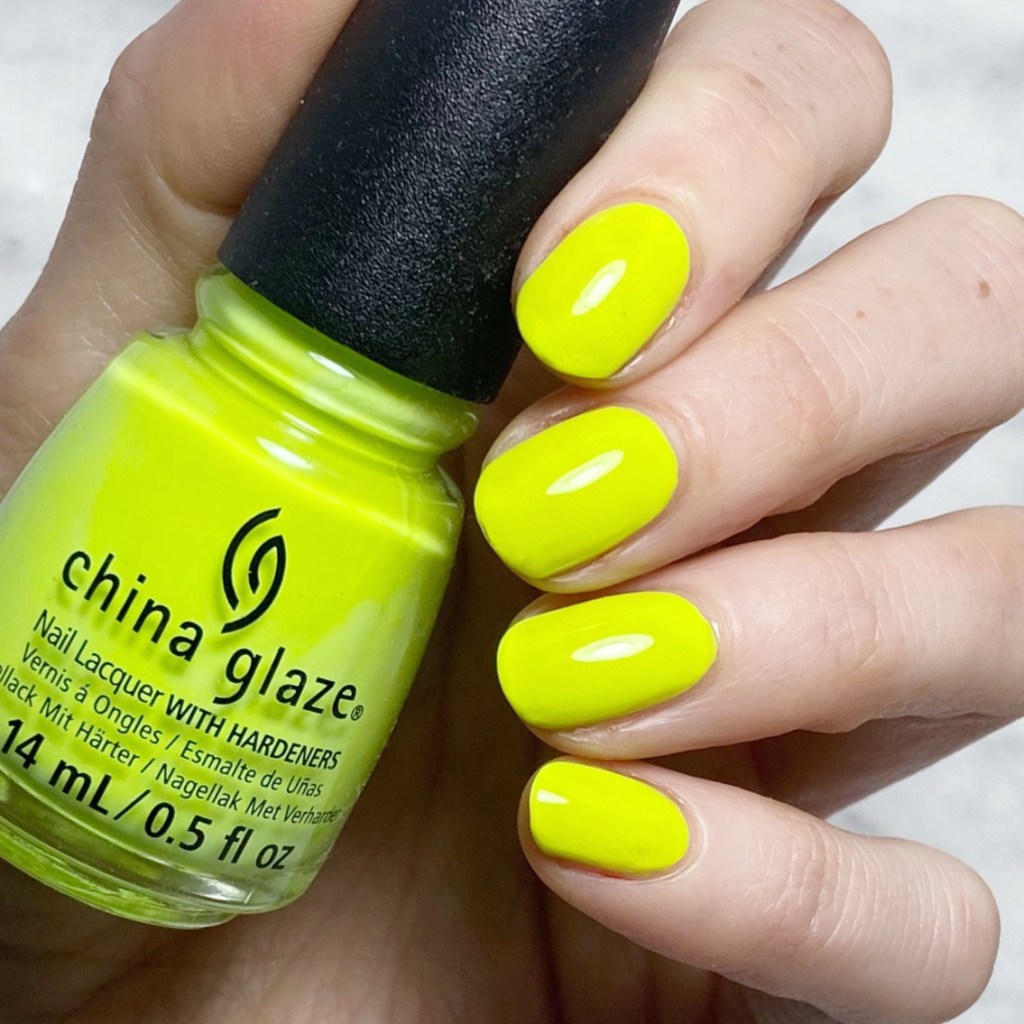
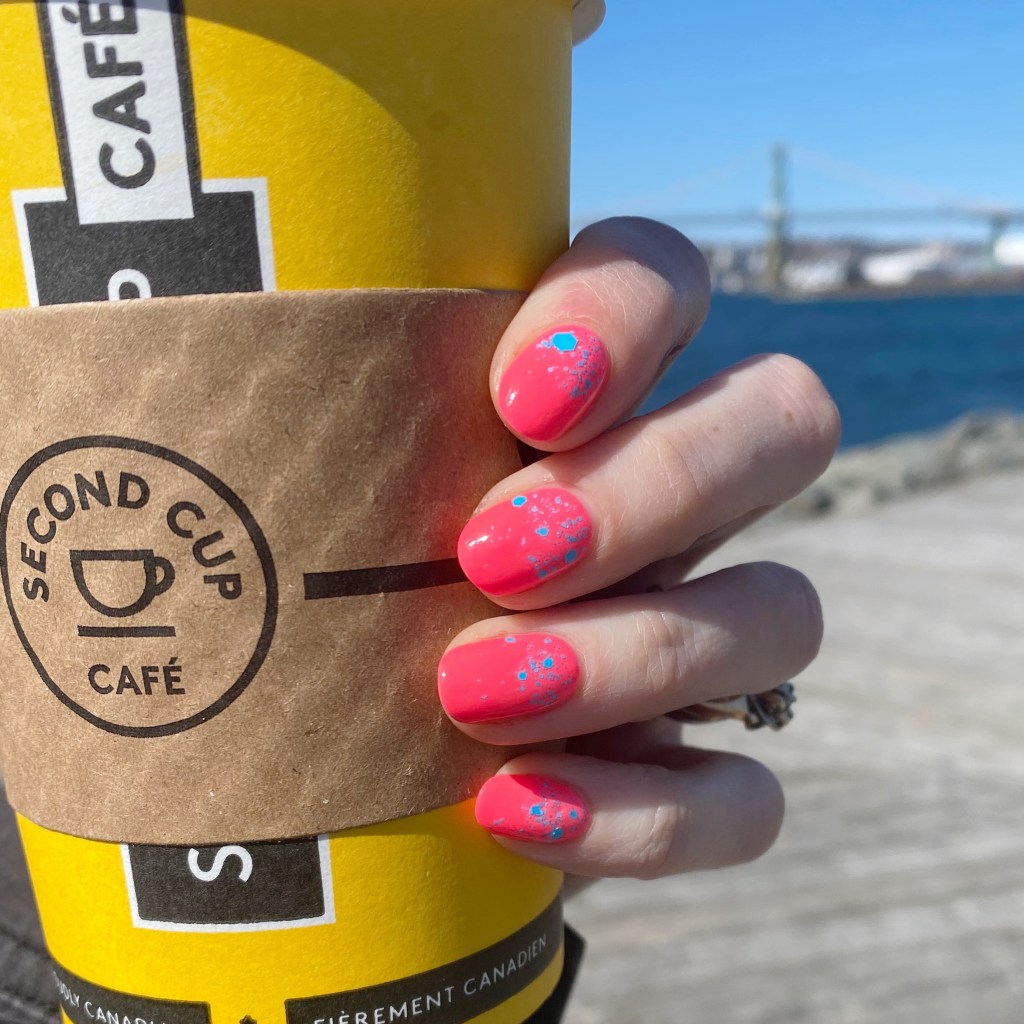
The first thing you notice about Glow With The Flow is it has a surprisingly easy to work with formula, especially for a neon-y cream pink. Sometimes I find with neons, they can be streaky or hard to apply. But this one truly applied like a dream. I also did thicker coats, instead of thinner ones, but I still didn’t have any issues with dragging. & it settles to such a beautiful smooth finish, especially with the addition of a coat of top coat.

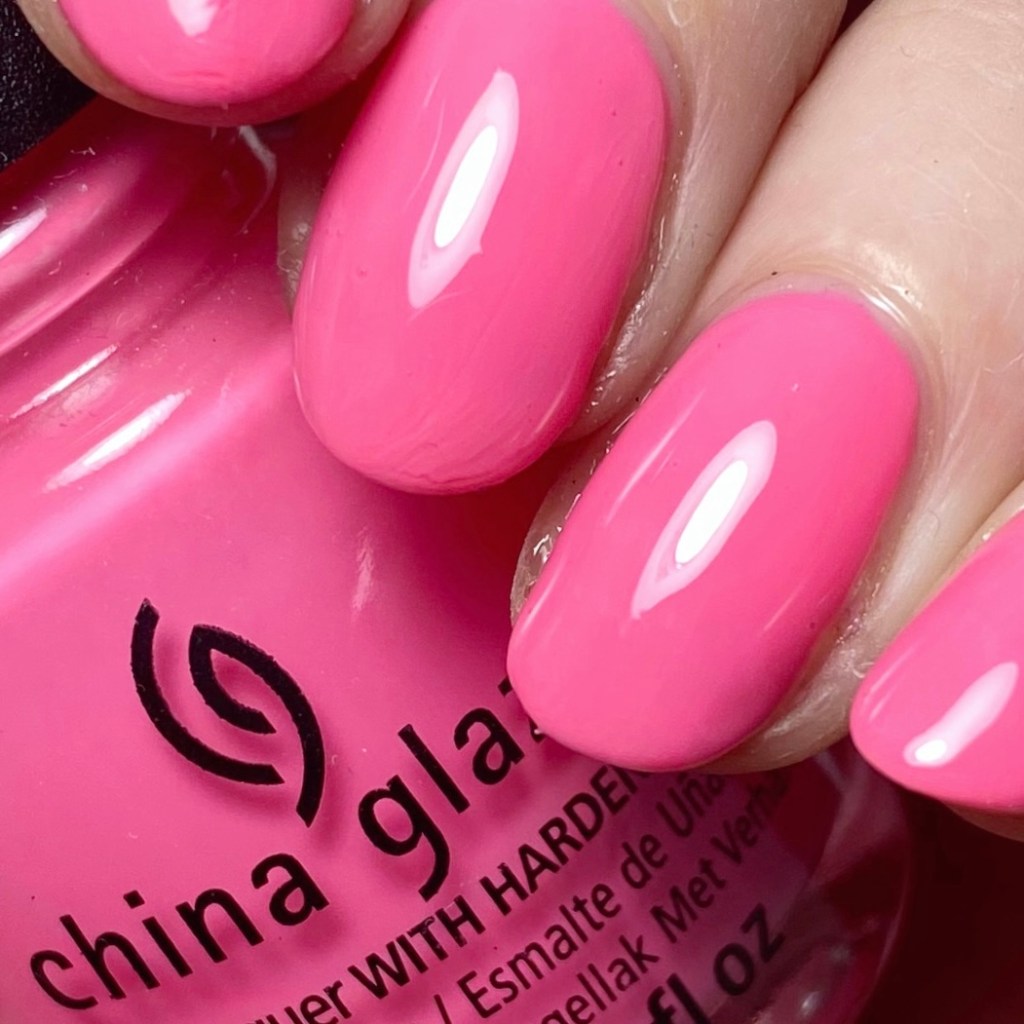
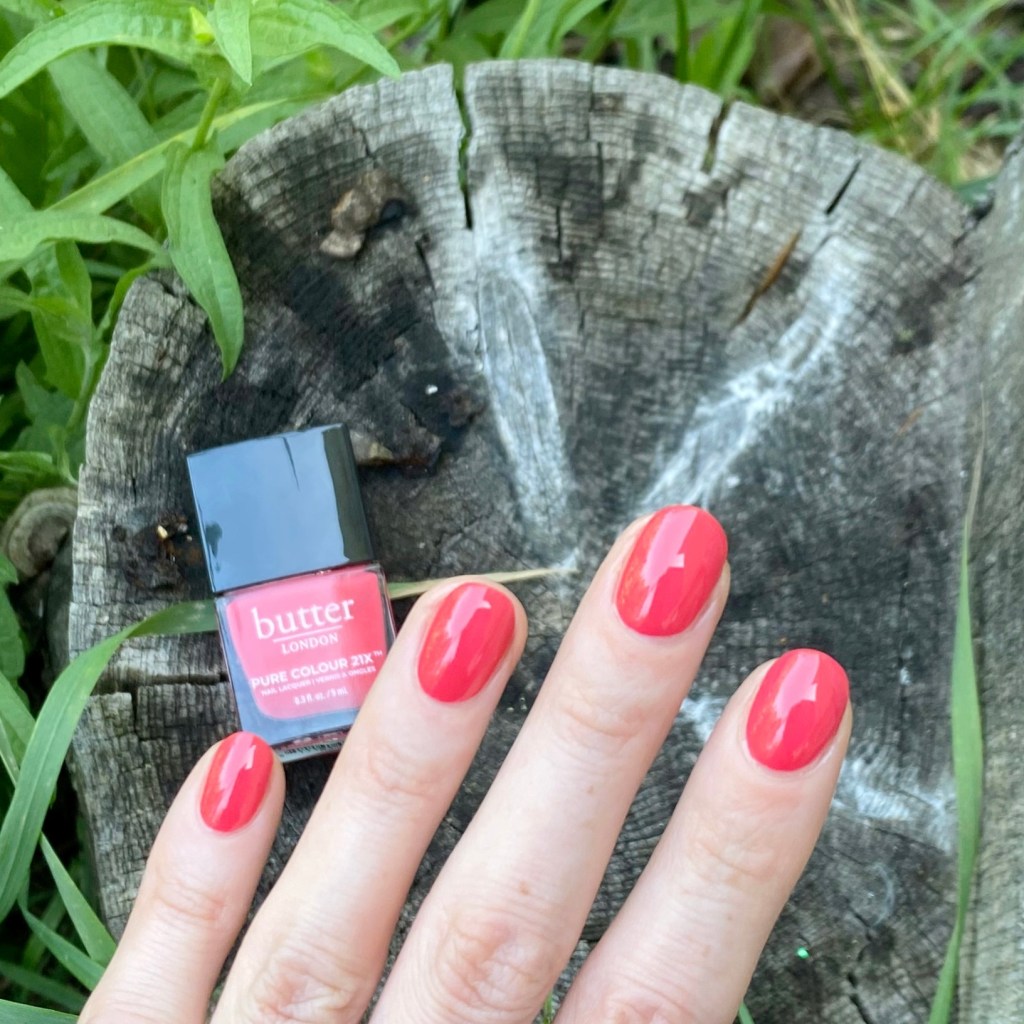
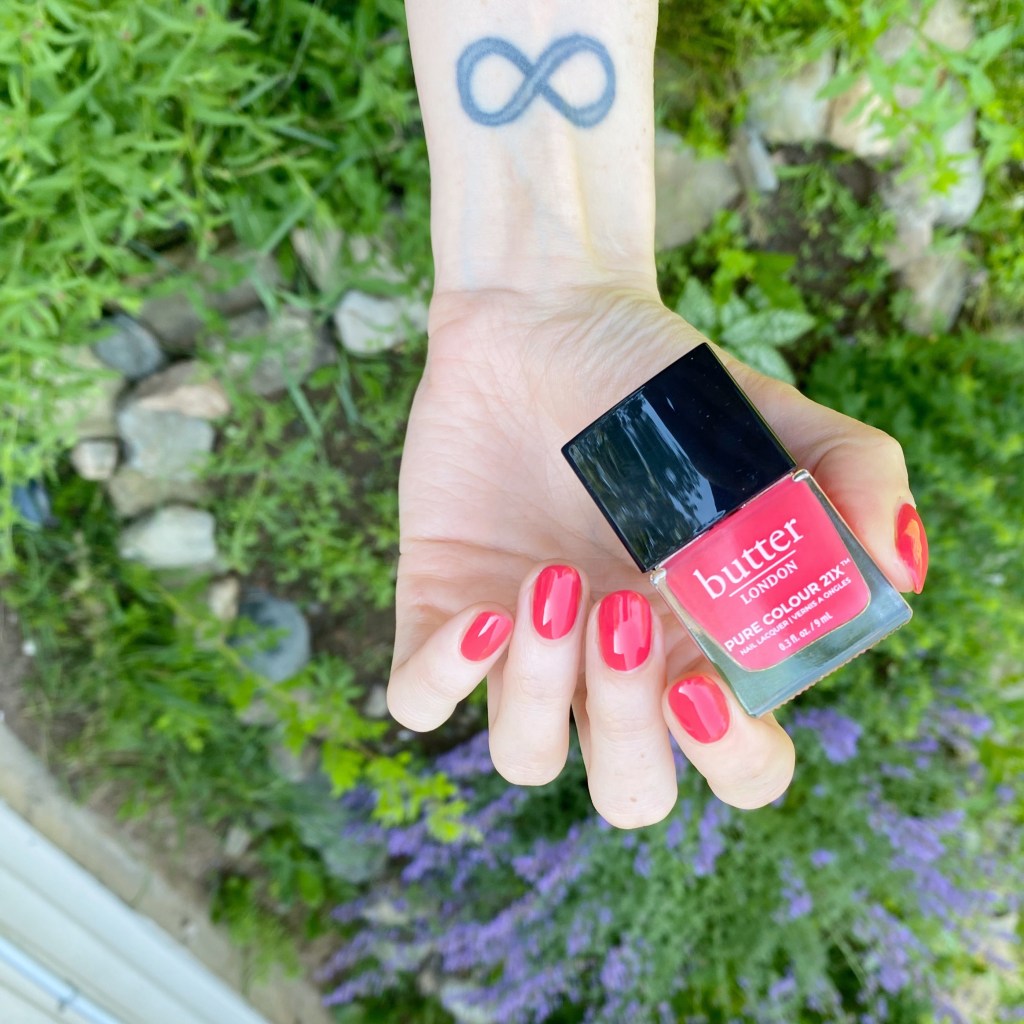
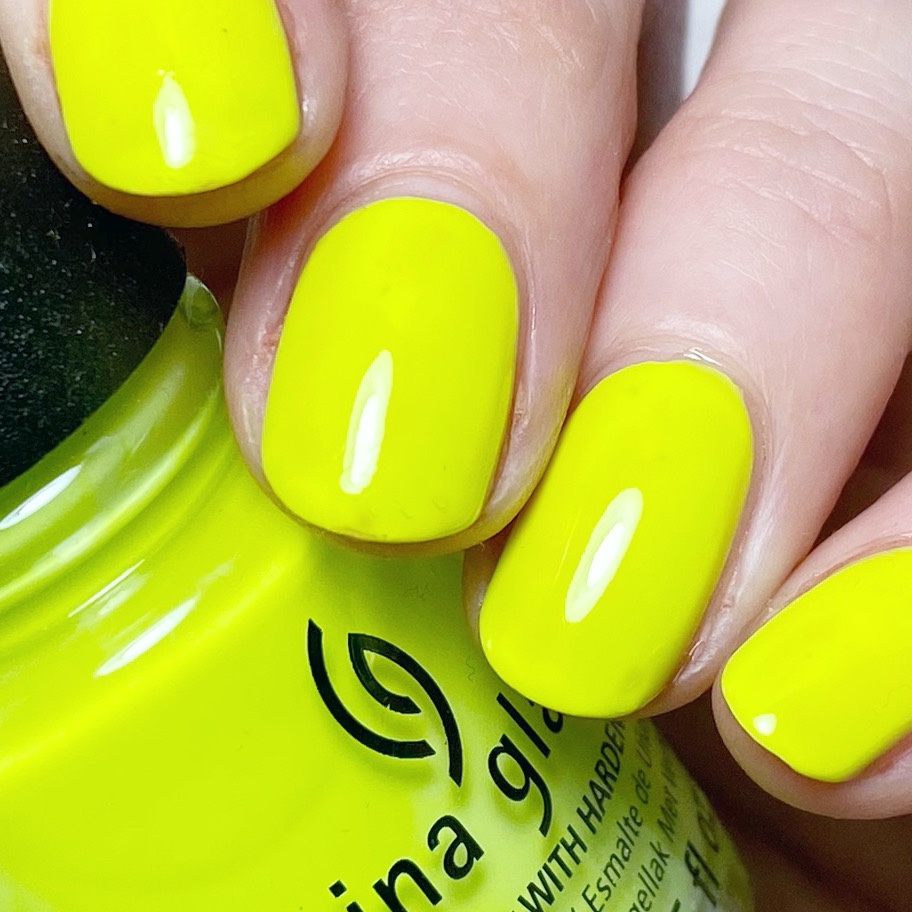
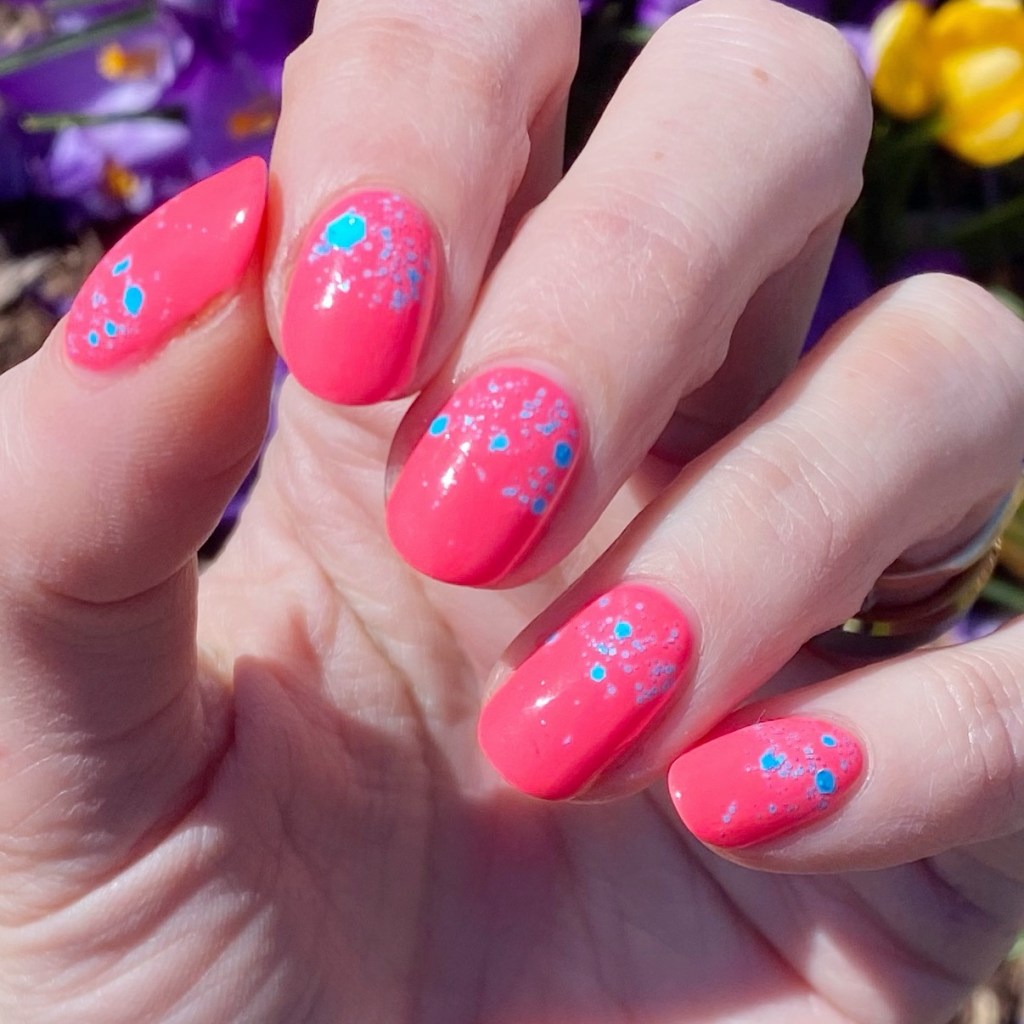
How vibrant & beautiful of a pink! & So Summery! I actually let my little girl pick what colour I should do for this week’s Swatch Sunday pick, & naturally she picked pink. This shade was sitting in my stash just waiting for its moment to shine.
Sadly, this shade was released as a limited edition shade, so I can’t find it for mainstream purchase. That’s the only downside to buying from these amazing collections — you fall in love, & then when you want to replace it (or encourage someone else to buy it), it becomes an impossible quest.
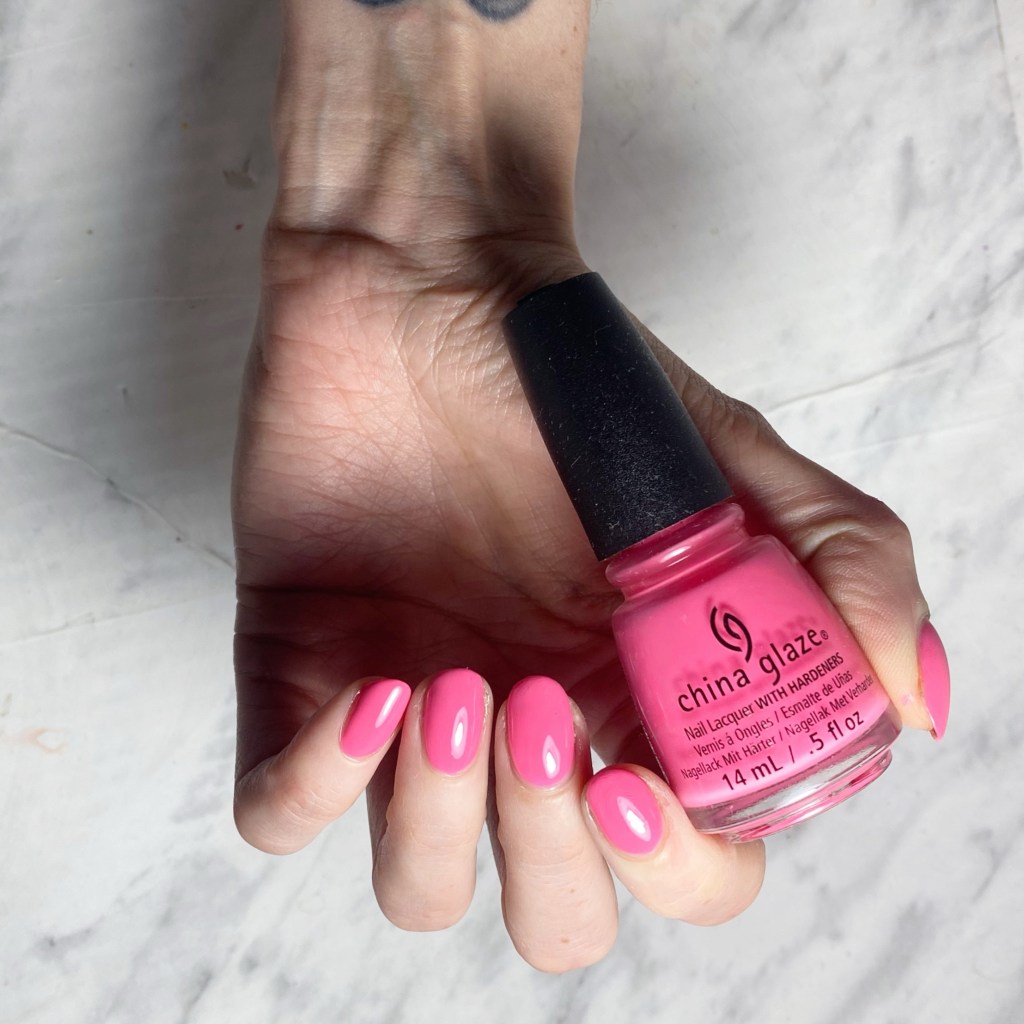
What do you think of China Glaze Glow With The Flow? Do you love this beautiful warm neon pink as much as I do? Would you wear it? I always love to hear from others in the comments –makes my whole day! — so share with you think!
Happy Sunday
♥︎