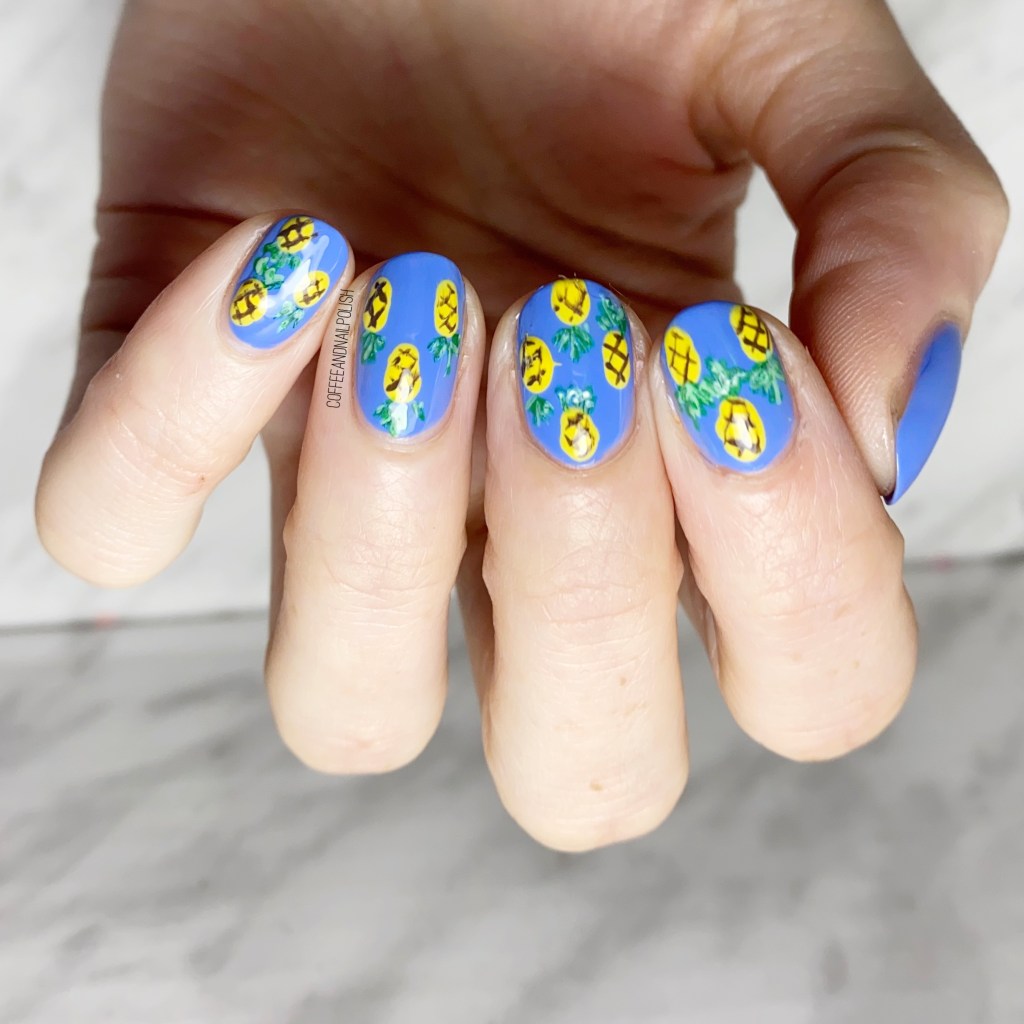
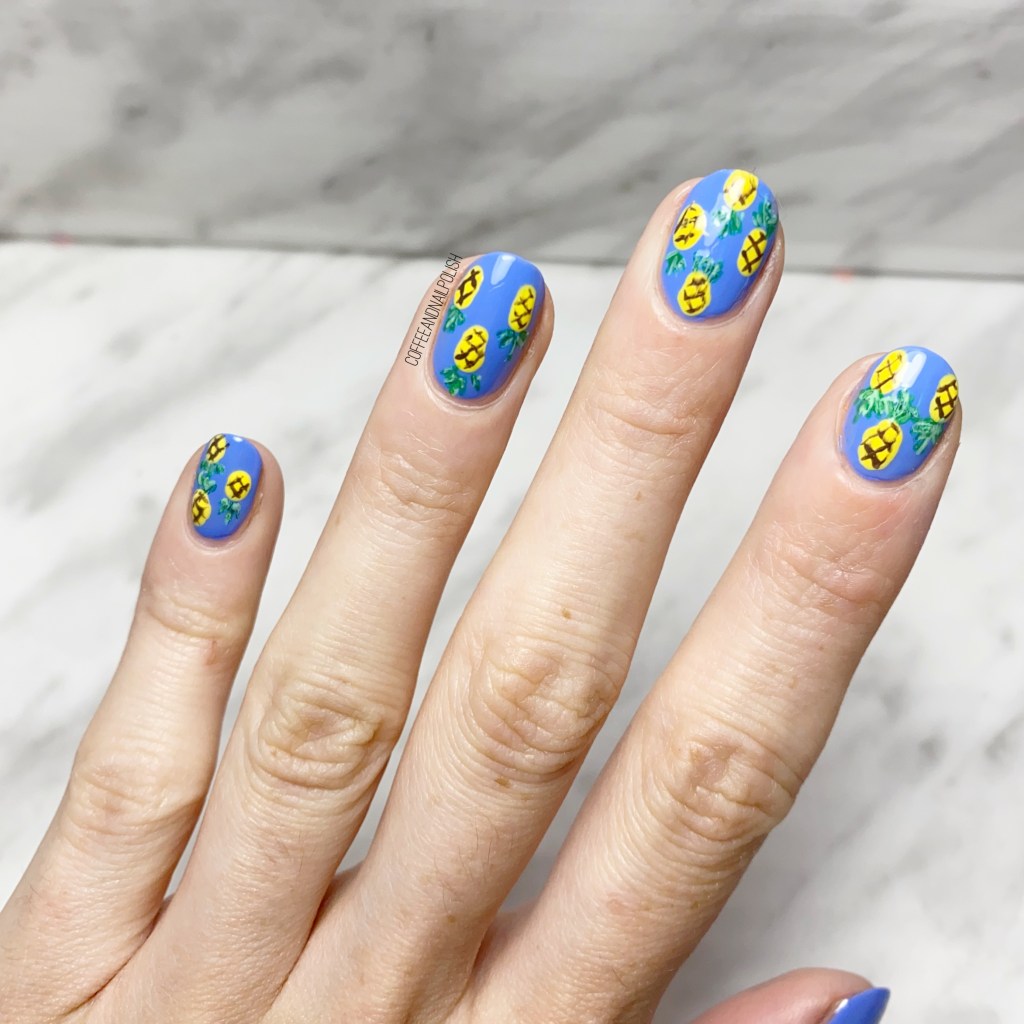
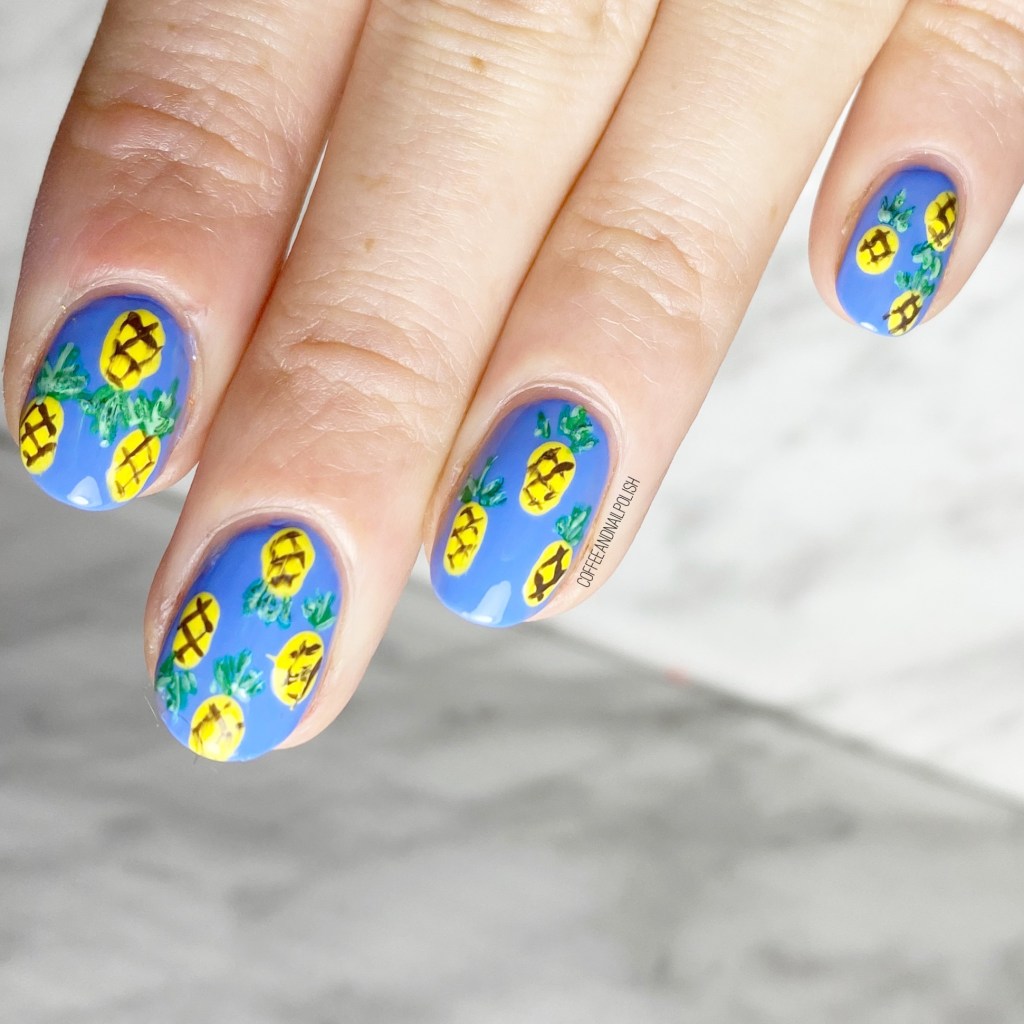
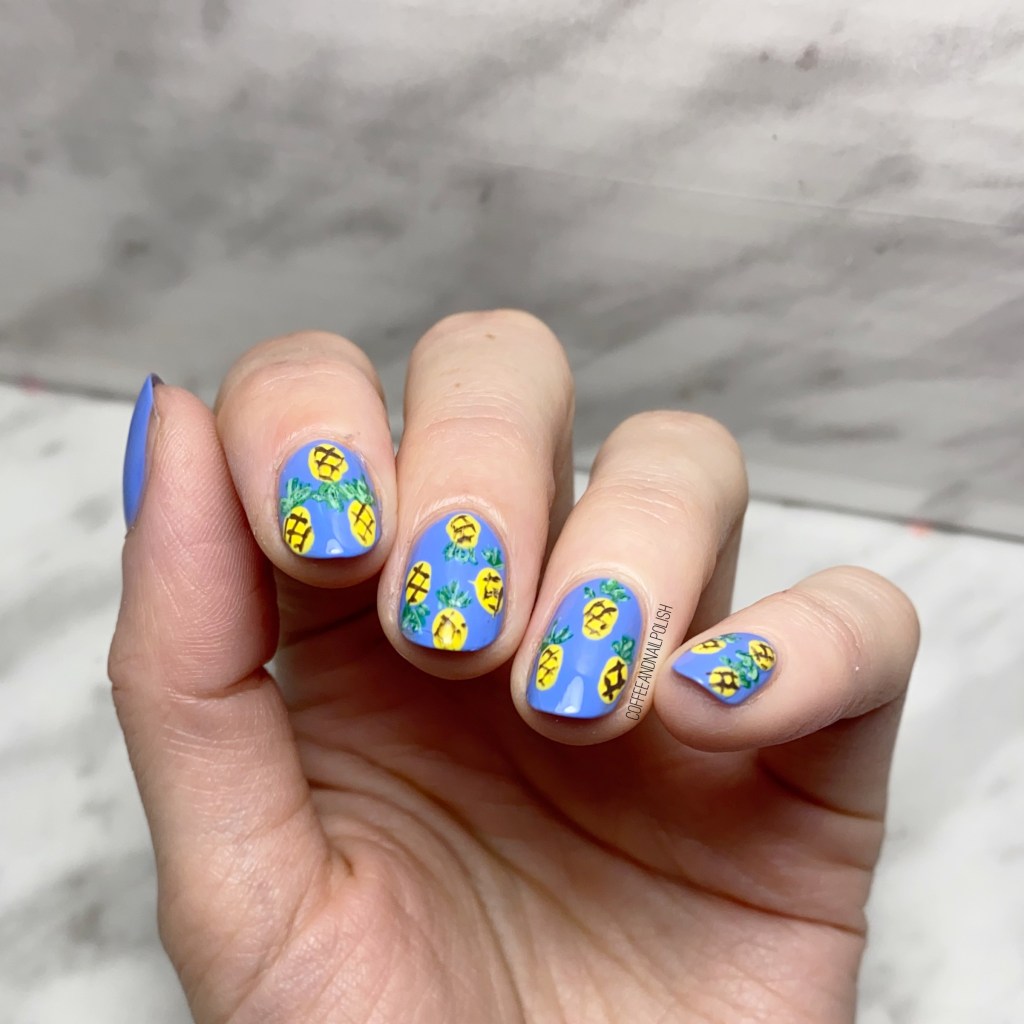
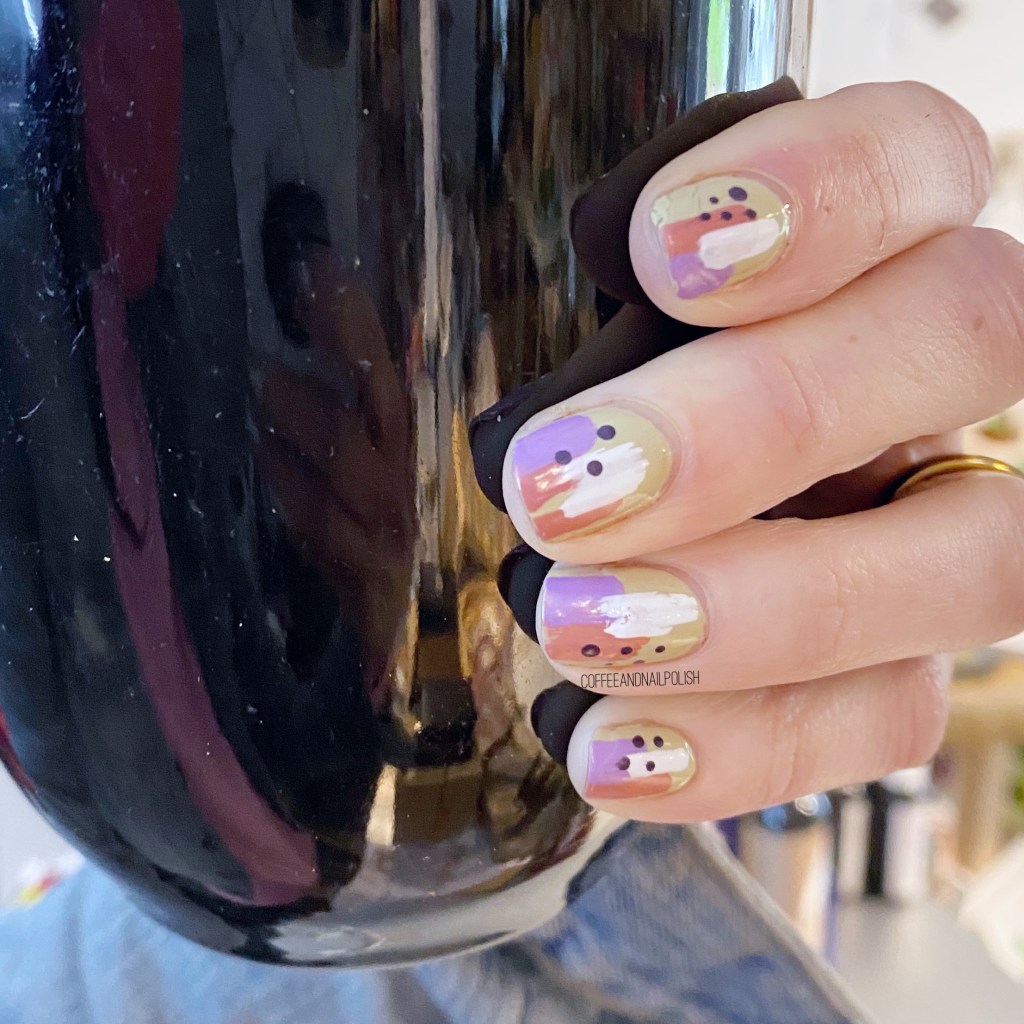
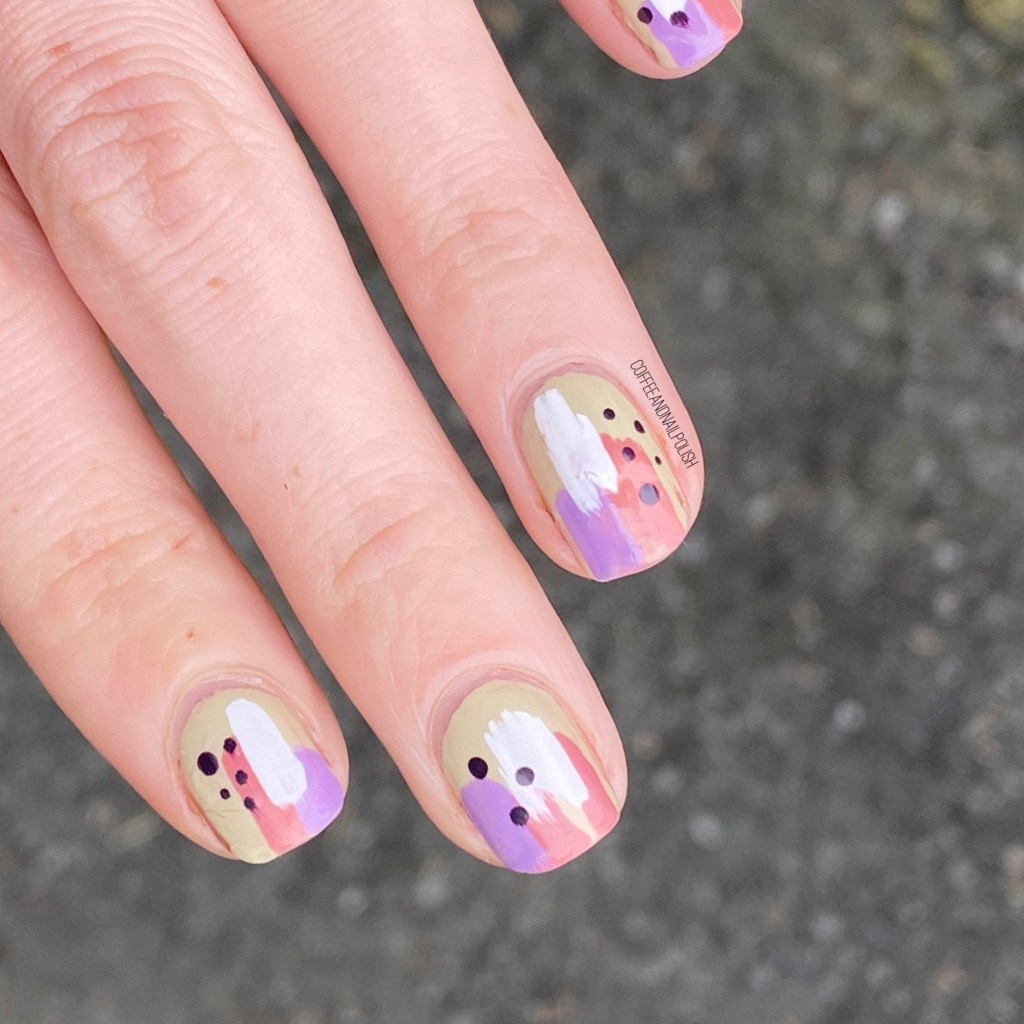
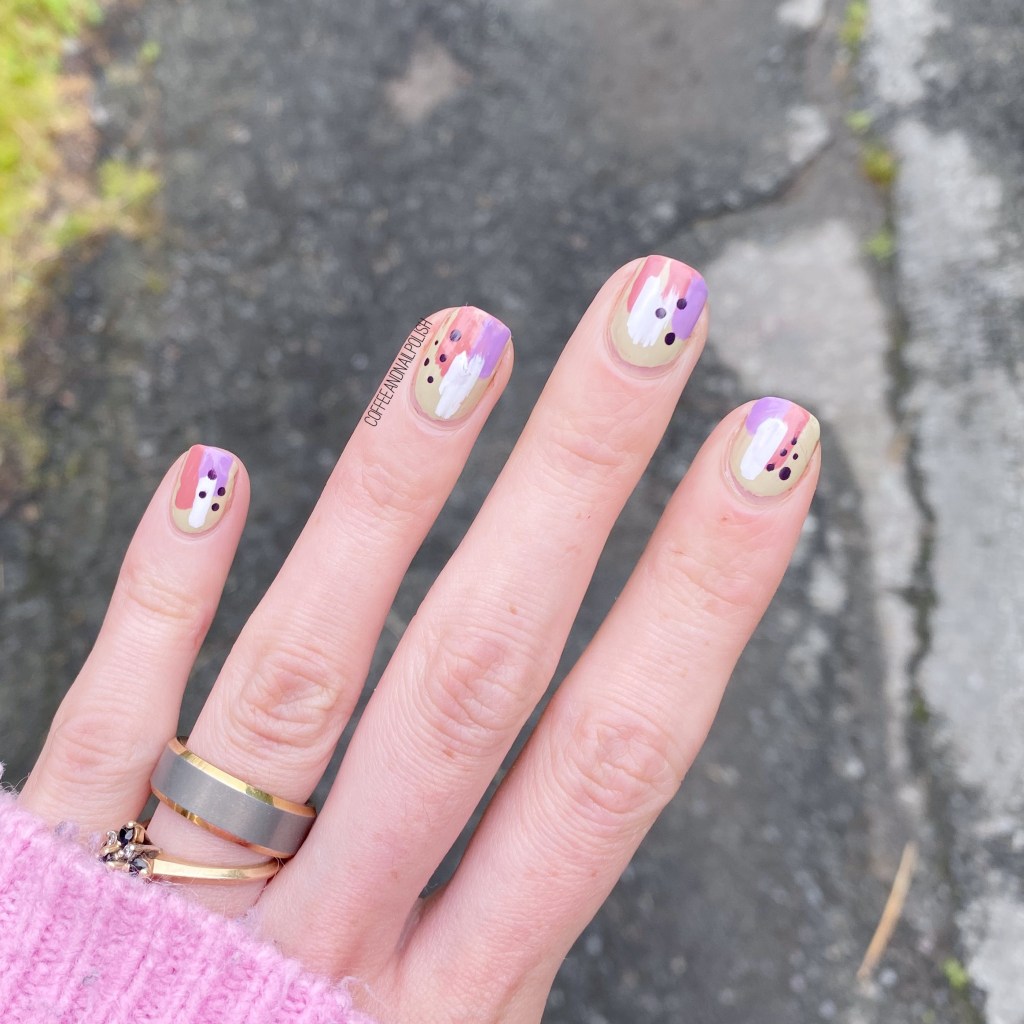
Hello lovelies & happy Wednesday! Hope everyone’s week is off to a lovely start, & not nearly as ungodly humid as it’s been in Halifax lately. Today we’re sharing another fruit inspired design for GlamNailsChallangeAugust.
Today’s prompt is coconut, which I’m going to be honest was a prompt I was super nervous about. Even browsing Pinterest was not super useful, as mostly what popped up with some kind of nail art stickers. But I did find this pretty coconut look originally done by @Nailstorming, & I thought it would be a fantastic look to give my own attempt to.
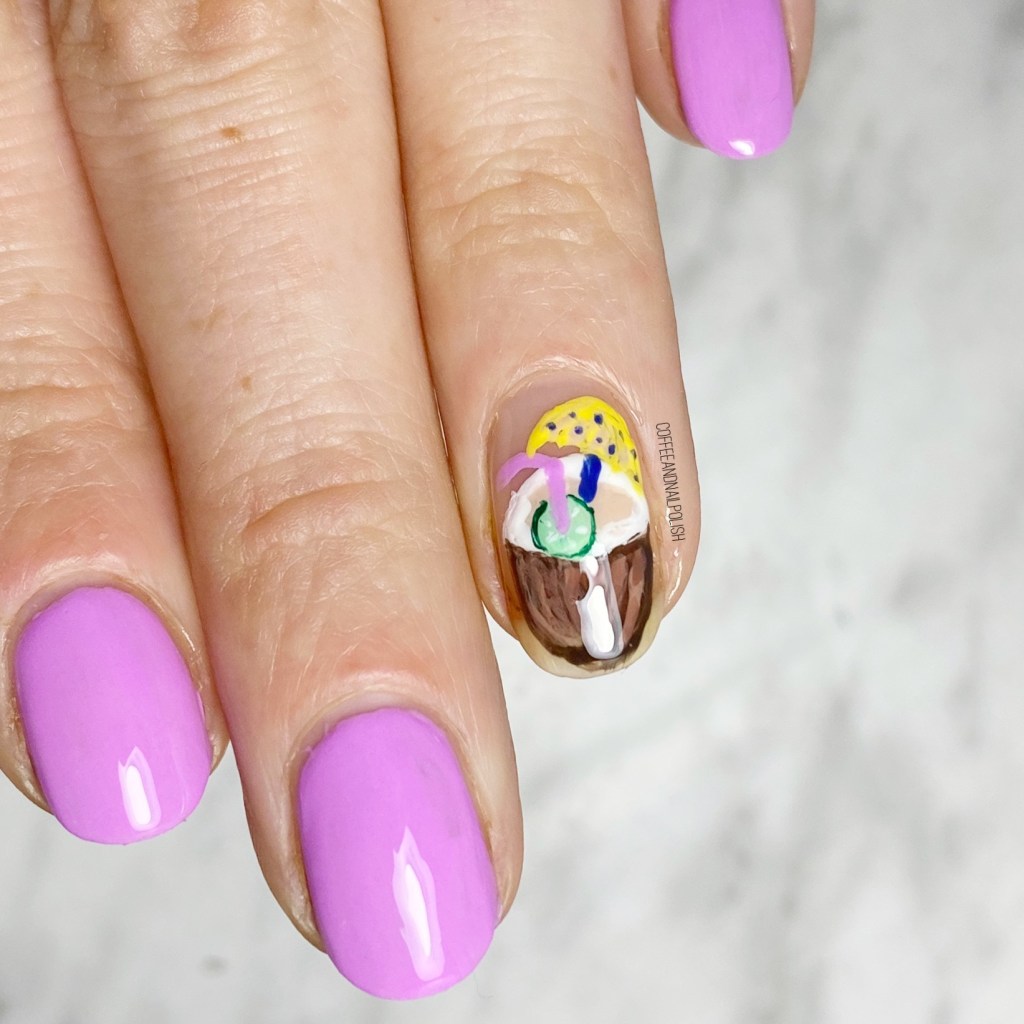
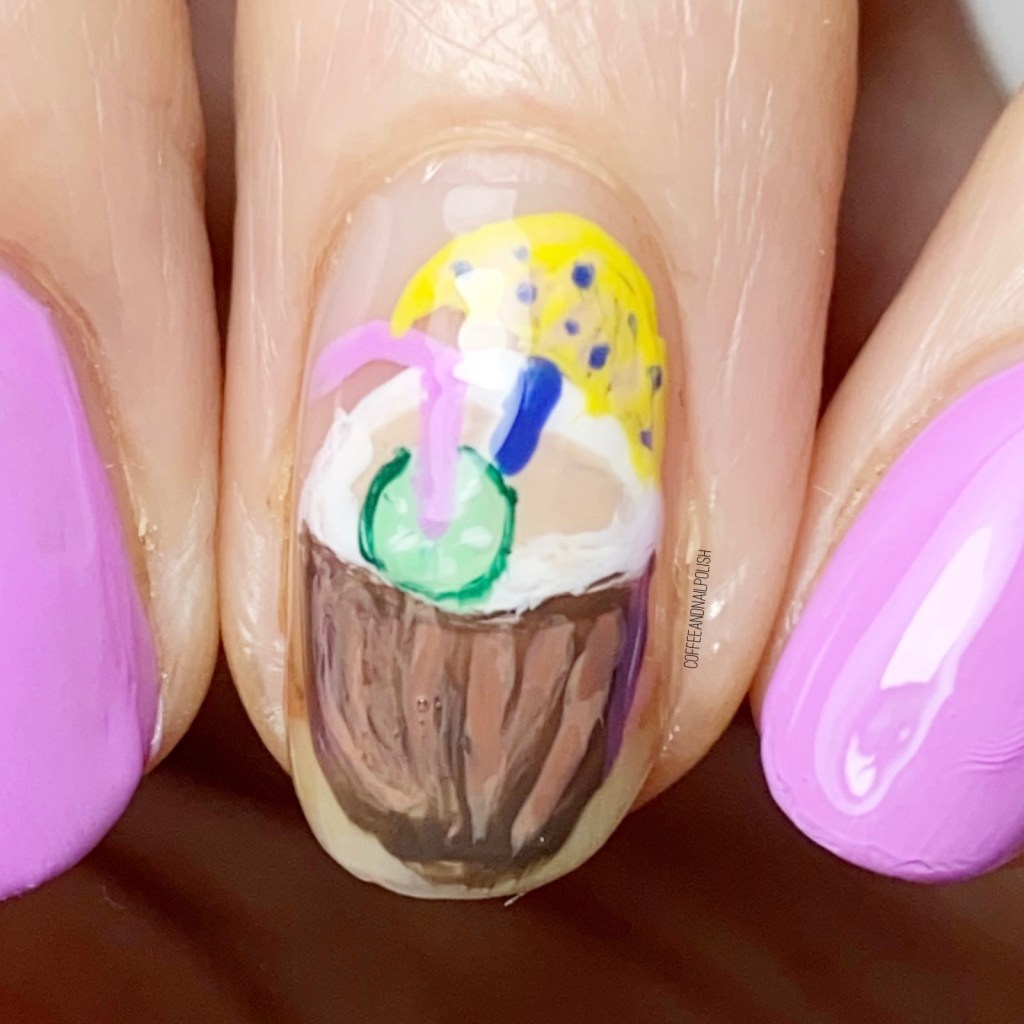
For this manicure, the polishes I used were:
- Base Coat: Essie First Base
- Top Coat: Essie Gel Setter
- Sally Hansen Miracle Gel Violet Voltage
- Sally Hansen Miracle Gel Get Mod
- OPI How Great Is Your Dane?
- Sally Hansen Good. Kind. Pure Almond Tan
- Kosmic Colours Brown (no name)
- OPI A Great Opera-tunity
- OPI Just Can’t Cope-acabana
- Cosmetics Arts Lime Green (no name)
- Essie Off Tropic
- Sally Hansen Miracle Gel Beatnik
- NailStuff.ca 7mm detail brush


I’m not going to lie, a lot of polishes went into trying to create this coconut. & I thought I used a lot of nail polishes when creating floral!
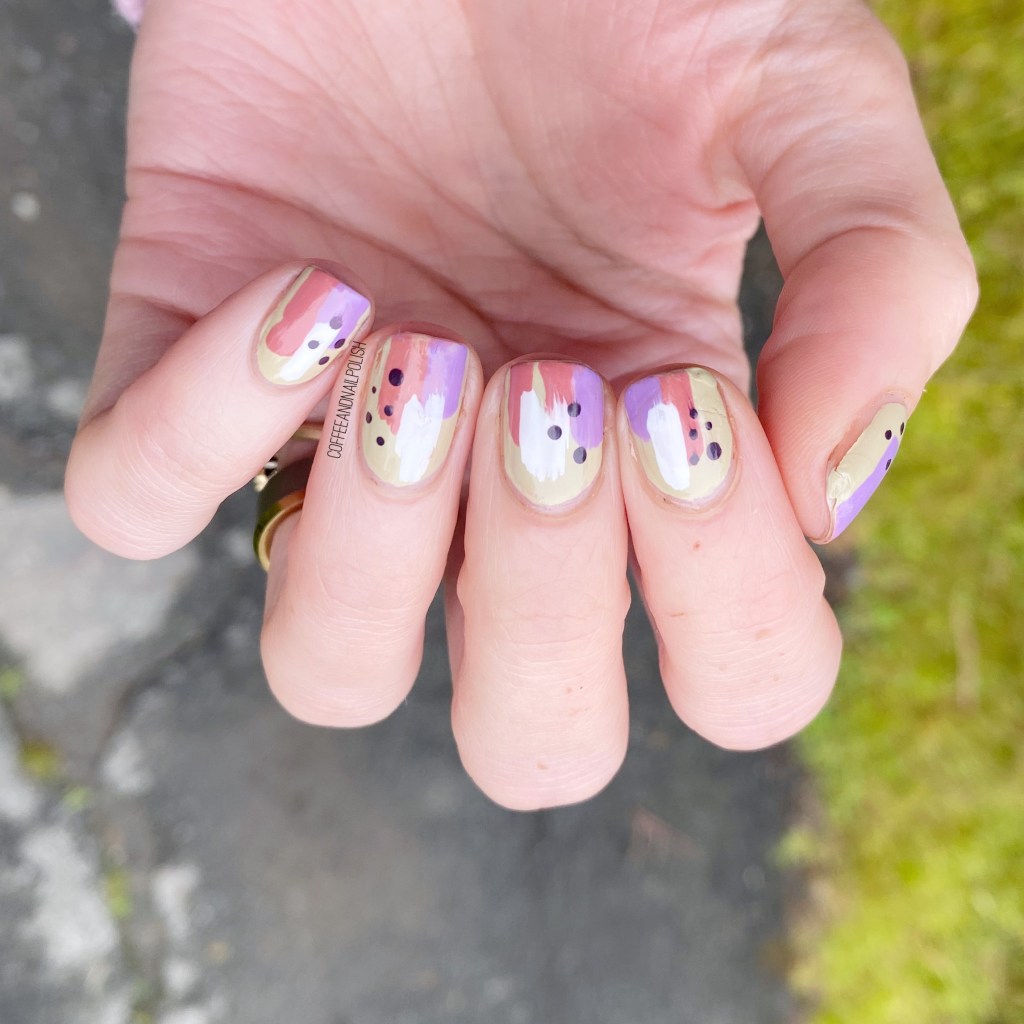
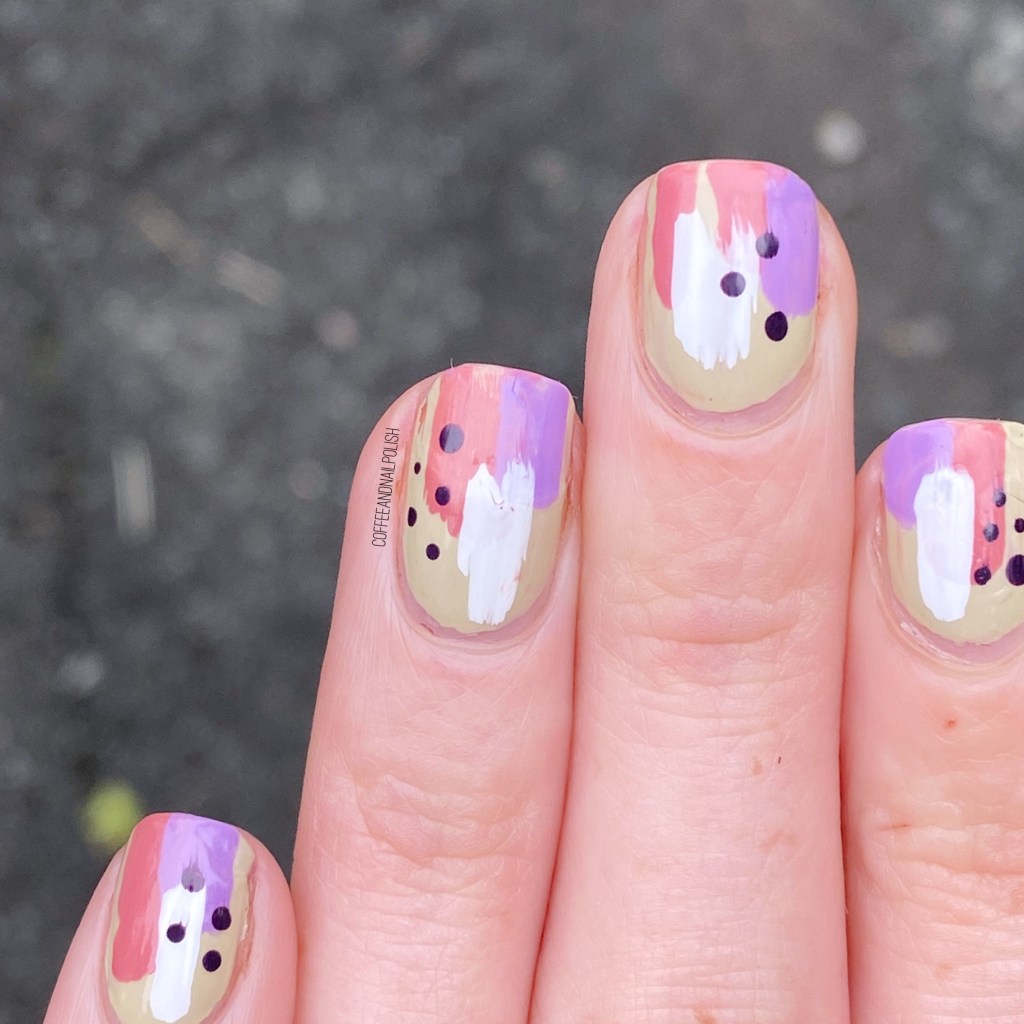
But, you know — it was to totally worth it because my coconut drink turned out awesome! It totally looks like something you can sit back & relax, drinking on some tropical beach. Or, what I picture someone would sit back & drink on a tropical beach, as the closest I’ve come to a tropical vacation is lounging in an inflatable kiddie pool in my backyard.
But you know what I mean.

What do you think about this coconut nail art look? It was fun going from a more abstract interpretation to a more literal one, even if I didn’t think I was going to be successful haha. Are you following along with #glamnailschallengeaug on Instagram? I hope you’re enjoying seeing all these looks as much as I’m enjoying doing them!