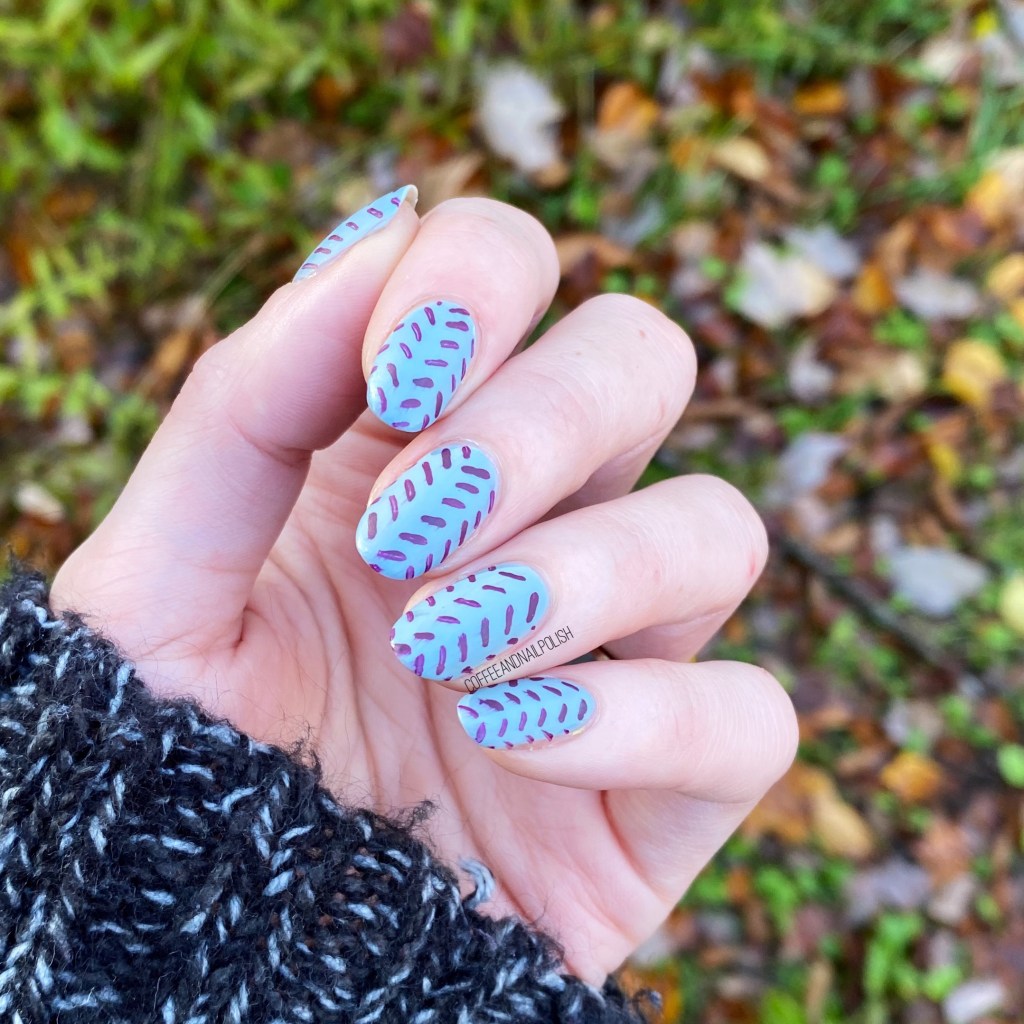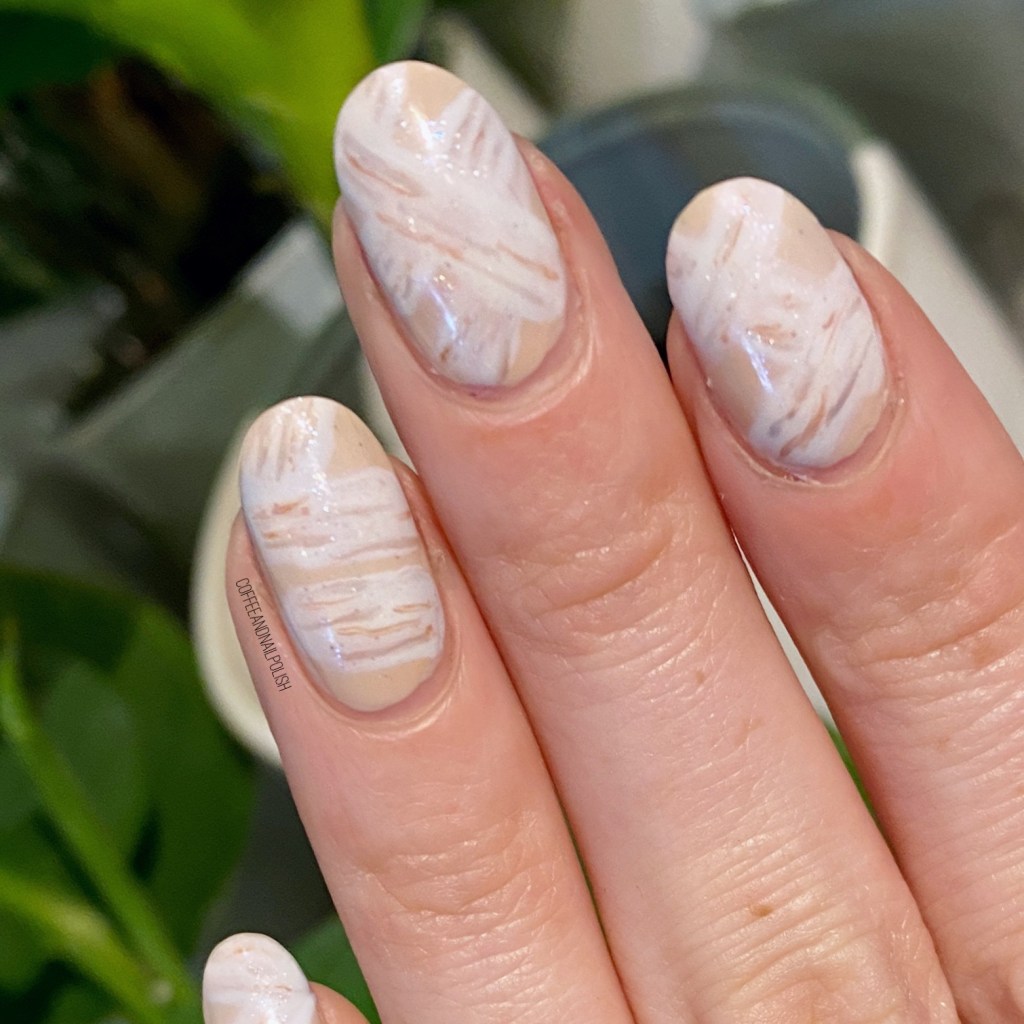
Glam Nails Challenge August — Peach 🍑

Hello lovelies & happy Monday!

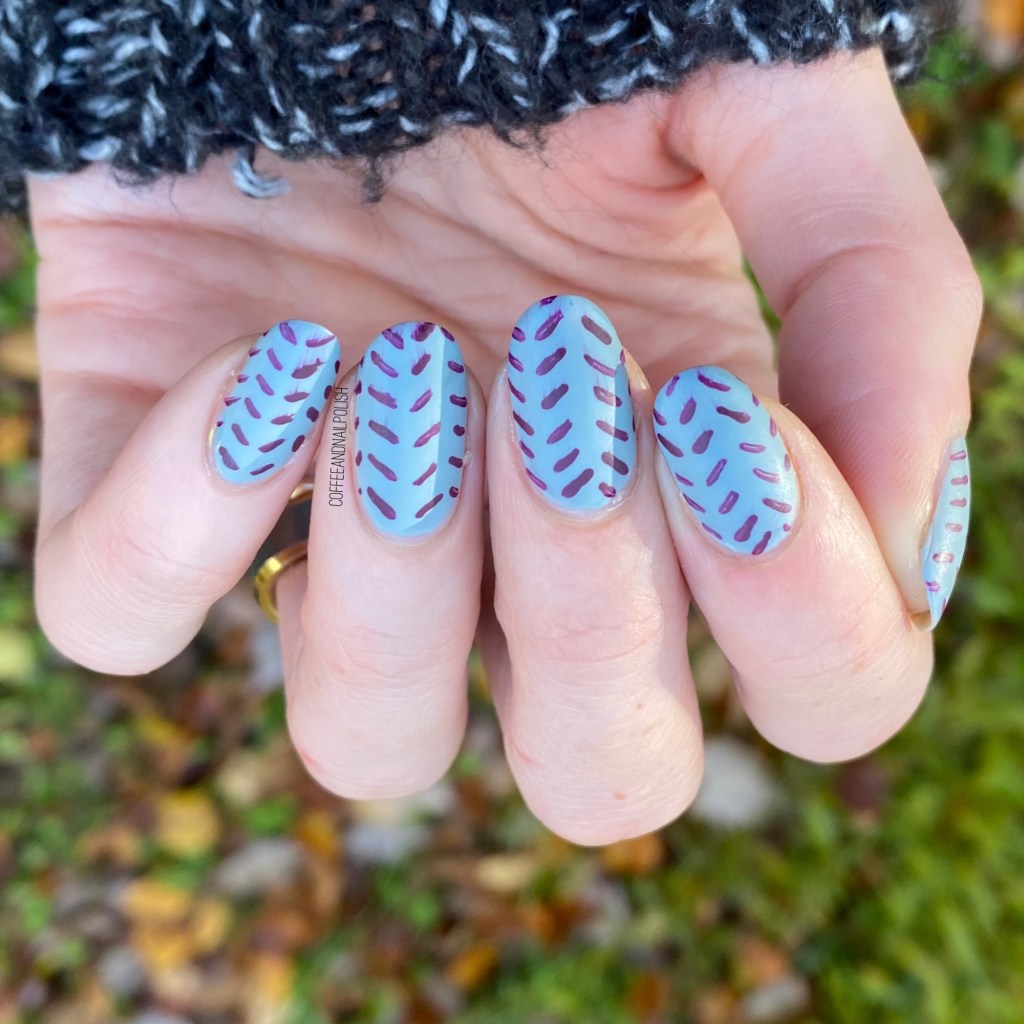
Sorry for being MIA this weekend; this last week has been CRAZY & then I spent my Saturday in bed all day with a migraine, which put any blog work I was going to do on the back burner. But I’m back this morning with prompt #3 of #glamnailschallengeaug: Peach. & I decided to go with a bit of an abstract interpretation of the prompt with these peaches & cream inspired stripes.

I actually was struggling a bit with what I should do for this one. But once this idea popped into my head, I knew I wanted to do it!

For this manicure, the polishes I used were:

  • Base Coat: Essie First Base
  • Top Coat: Essie Speed Setter
  • Sally Hansen Xtreme Wear Giant Peach
  • Sally Hansen Xtreme Wear Sunkissed
  • Sally Hansen Xtreme Wear Day Cream
  • NailStuff.ca 7mm detail brush

Oh man, these feel kind of retro, which is really fun!

I went out & bought 3 new Sally Hansen Xtreme Wear shades at Shoppers since they were on sale for $2.99 each, it’s been a long week, & I haven’t bought new a nail polish in a while. I thought these three shades really gave me the peaches & cream feels (plus they’re very pretty colours over all). & I’ve been obsessed with these retro inspired stripes that are all over Instagram right now.

What do you think about these peaches & cream inspired stripes? Do you like my take on the prompt, or is it a little too outside the lines haha. Let me know if you’d rock this peach inspired look in your nails, down in the comments, & don’t forget to pop over to Instagram & check out the other looks using the hashtag #glamnailschallengeaug.

Glam Nails Challenge August — Pineapples

Hello lovelies & happy Monday! & happy long weekend to those who are celebrating.

This month I decided to do something I haven’t done in what feels like forever: GlamNailsChallenge! This month’s theme is fruit, which is a fun summery theme, so I’m excited to participate. I feel like it’ll be a fun way to get back into my nail art groove.

& the first prompt: pineapples. 🍍

For this manicure, the polishes I used were:

  • Base Coat: Essie First Base
  • Top Coat: Essie Speed Setter
  • Sally Hansen Xtreme Wear Royal Hue
  • OPI Just Can’t Cope-acabana
  • OPI How Great is Your Dane?
  • Sally Hansen I ❤️ Nail Art Pen in green
  • Cosmetics Arts Lime Green (name has long since worn off)
  • NailStuff.ca Dotting Tool Trio
  • NailStuff.ca 7mm detail brush

I thought a pineapple pattern look with be super cute, & I love the brightness of the yellow over the blue base. They just pop so well! It’s been a long, long time since I did a fruit themed manicure, but I think the first of this challenge is adorable. Haha I’m not sure how the rest of this challenge is going to go, but I’m excited to get planning for all the different (fruit themed) looks. It’s definitely going to be a challenge for sure!

What do you think about my first look for GlamNailsChallengeAugust? Don’t forget, you can follow along with everyone’s looks by using the hashtag #glamnailschallengeaug on Instagram. I’m definitely excited to see all the cute looks that everyone comes up with this month!

Negative Space & Neon Leopard Print

Hello lovelies & happy Tuesday!

Today is a beautiful sunny day, & I’m excited because I have some fun nail art to share. It feels like a long time since I was truly inspired to do my nails, but I did this manicure early last week & was OBSESSED. Some nights it feels like I have no energy to come up with creative nail art looks, but I feel like this one turned out perfect.

Plus it combines some of my favourite things: neon, leopard print & negative space!

For this manicure, the polishes I used were:

  • Base Coat: Sally Hansen Nailgrowth Miracle
  • Top Coat: Essie Speed Setter
  • Sally Hansen Miracle Gel Get Mod
  • Sally Hansen Miracle Gel Blacky-O
  • Sally Hansen Miracle Gel Violet Voltage
  • Sally Hansen Miracle Gel Miami Nice
  • Sally Hansen Miracle GelElectri-Lime
  • Sally Hansen Miracle Gel Fuchsia Fever
  • Sally Hansen I ❤️ Nail Art pen in black
  • NailStuff.ca Dotting Tool Trio
  • NailStuff.ca 16mm Striper Brush

Seriously, how cute is this look? I was really feeling something involving negative space — I recently returned to rounded nails, since square nails stopped working for me — & since they’re so short right now, they’re my favourite length for negative space peak-a-boo nail art.

For this look, I started off by freehanding my white space with just the polish brush, then used my smaller sized dotting tool to create my blobs of neon. Then I used my black nail art pen to draw the leopard spots around them. Finally I finished everything off with my black stripes! A little time consuming — I think it took me an entire episode of Dr. Death — but the end result just pops so well!

What do you think of my leopard print nails? Are you still feeling bright & Summer-y shades? I’m in a weird faze right now where I am going between being obsessed with neons, & more muted shades. But for the first time, in a long time, I’m not craving Fall as August starts, so I think I’ll enjoy what is left of Summer & get out a bunch more Summer-y nail art looks too!

Have a fantastic day lovelies!

Muted Dry Brush

Hello lovelies & happy Thursday! Whoa… how is it Thursday already?! The weekend is almost here. I wish it was beautiful & sunny day but nope… 80% chance of Thundershowers haha.

Today I’m keeping up with the nail art, & sharing this brush stroke look. I haven’t done one of these in forever, but it was another case my previous mani had started to chip, & I needed something to cover it up, but didn’t have time to repaint my full nail. So bring on the sneaky nail art!

For this manicure, the polishes I used were:

  • Base Coat: Sally Hansen Nailgrowth Miracle
  • Top Coat: Essie Speed Setter
  • Essie Cacti on the Prize
  • Essie Shop Til You Drop
  • Essie Worth the Tassel
  • Essie Blanc
  • Essie Kimono Over
  • NailStuff.ca Dotting Tool Trio

This is such a simple & easy to do look! Literally anyone can do it, & it looks way more fancy than it actually is. I thought about adding a little gold flakies, but decided to just keep it more simple & muted, & I’m really glad that I did! I even ended up wearing this design for 2 whole days, which I feel like I never, ever do anymore. But it was just too pretty.

How are we feeling about this muted dry brush? Have you ever done a dry brush look like this before?

I’ve been (sort of) thinking about getting back into making short tutorial videos again — would that be something you’d be interested in seeing? Let me know in the comments below!

Neon & Scattered Holo Abstract Stripes

Hello lovelies & happy Wednesday.

I know I’ve been very quiet on the blog front this week as my Mum & Dad finally made it down to visit, after being away for the last 9 months. So between soaking in visiting time, & working a ton, posting has been slacking. I’ve got a few nail art looks to share, so I’m definitely going to sit down & concentrate on getting my posts written! First up, some fun neon & scattered holo abstract stripes.

For this manicure, the polishes I used were:

  • Base Coat: Sally Hansen Nailgrowth Miracle
  • Top Coat: Essie Speed Setter
  • Holographic Top Coat: Starrily Eclipse
  • Ardene Sour Apple
  • Essence Violet Vibes
  • Sally Hansen MG Fushcia Fever
  • Sally Hansen Insta-Dri Cerulean
  • Sally Hansen MG Get Mod!
  • NailStuff.ca 16mm Nail Art Striper Brush

I’m really loving how these turned out. I’ve been seeing so much neon, I needed to do another neon look (plus I just bought this “pastel neons” shade from Essence, so I needed to do a manicure with it!)

Originally I just had the abstract stripes, but it was such a sunny beautiful day, I needed to add some holo. I’ve been applying the Starrily holographic top coats I have (Space Debris & Eclipse) to basically every pedicure I’ve done in the last 3 weeks, so I figured I should try it over nail art.

What do you think about this neon & holo look? I feel like I often overthink applying holographic top coat over any neon shades, but I’m definitely going to make a more conscious effort to do it more often! Because I really, really love the end result.

Let me know what you think down in the comments below!