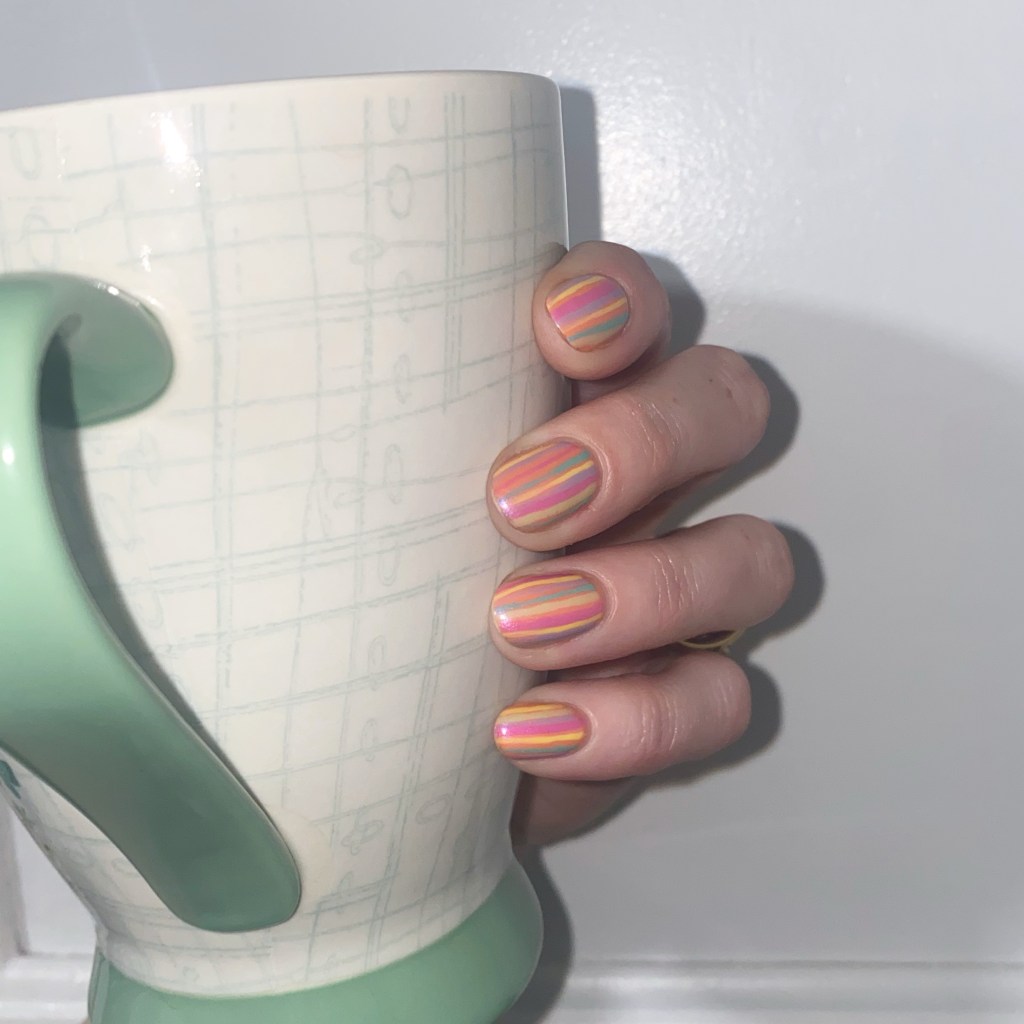
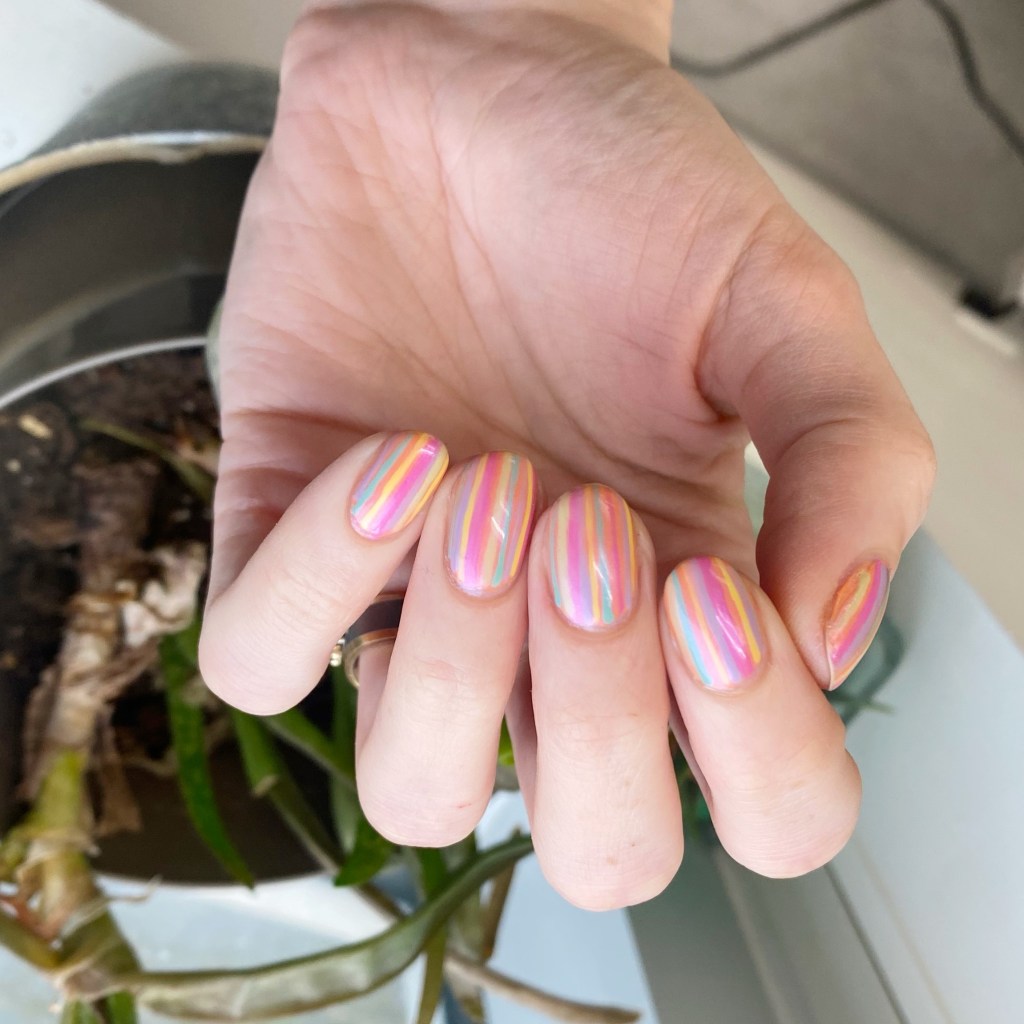
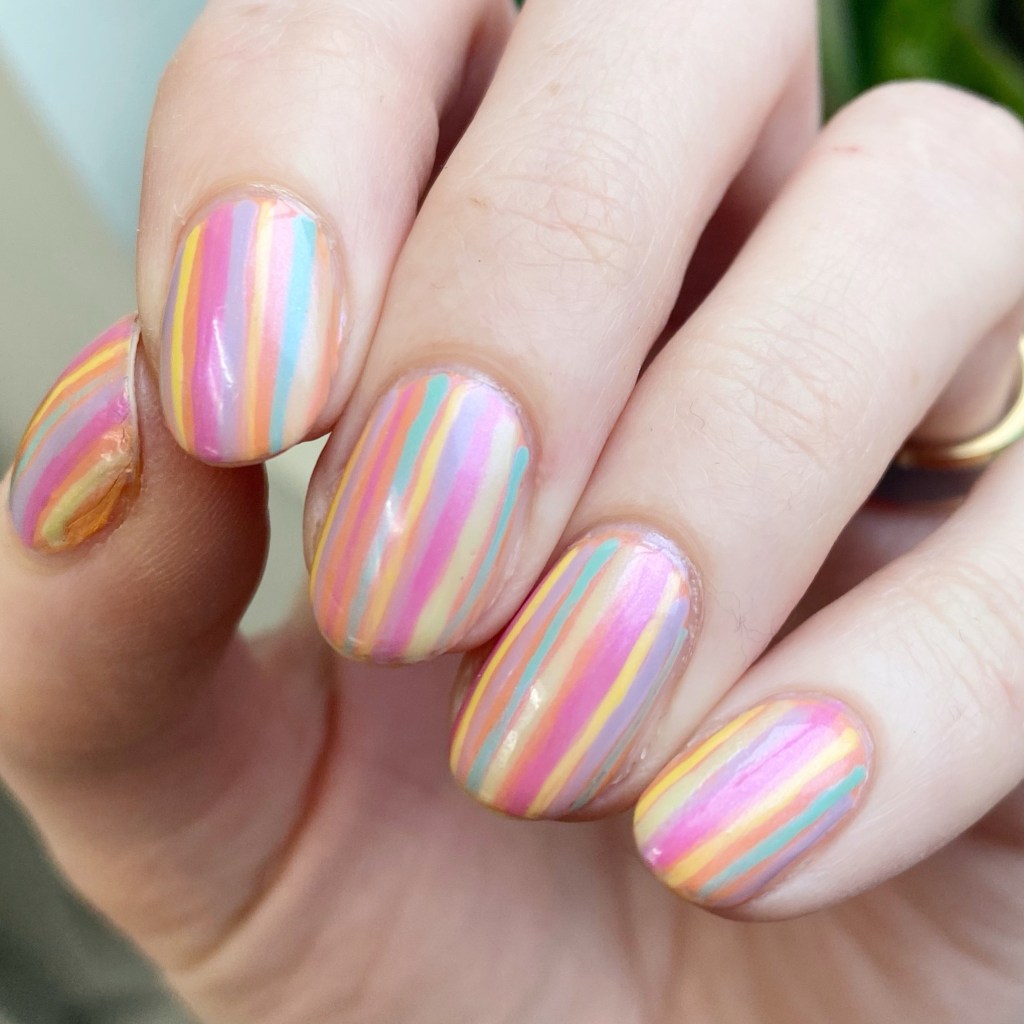
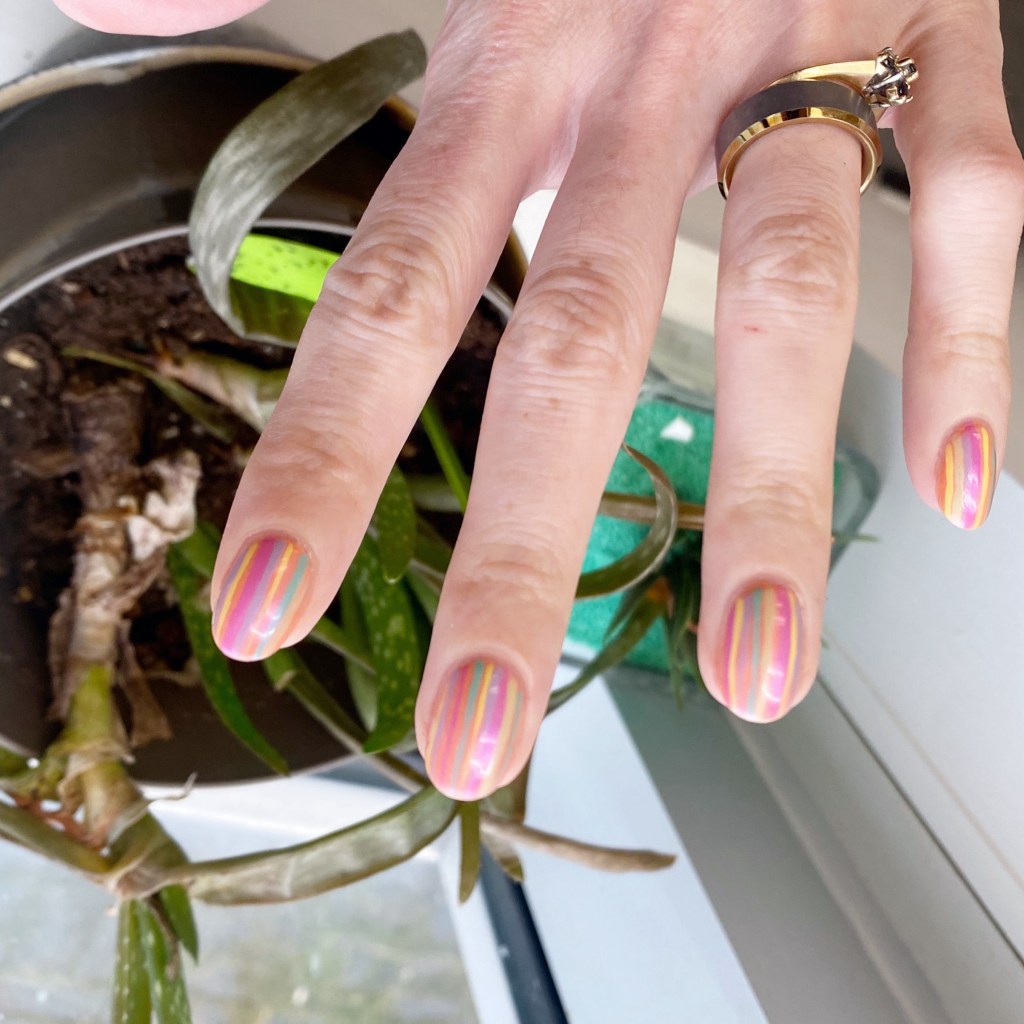
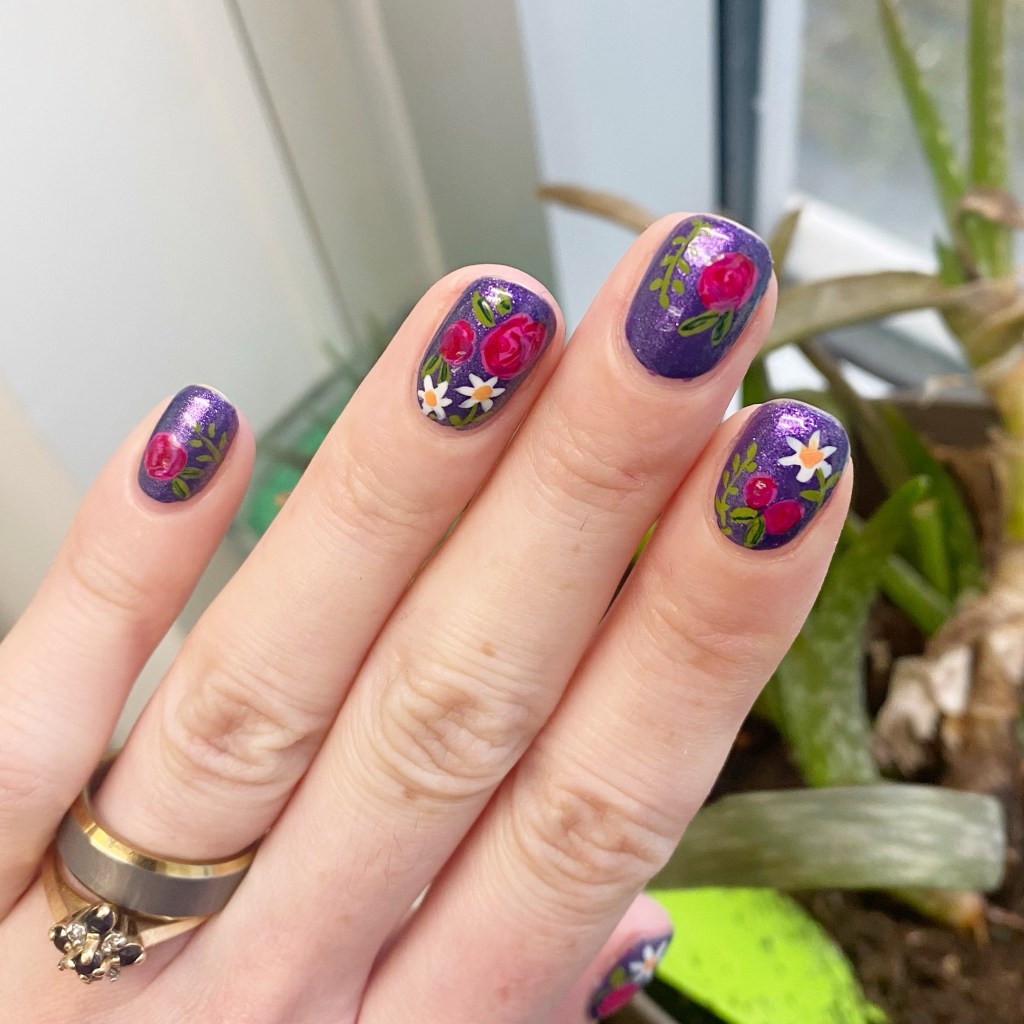
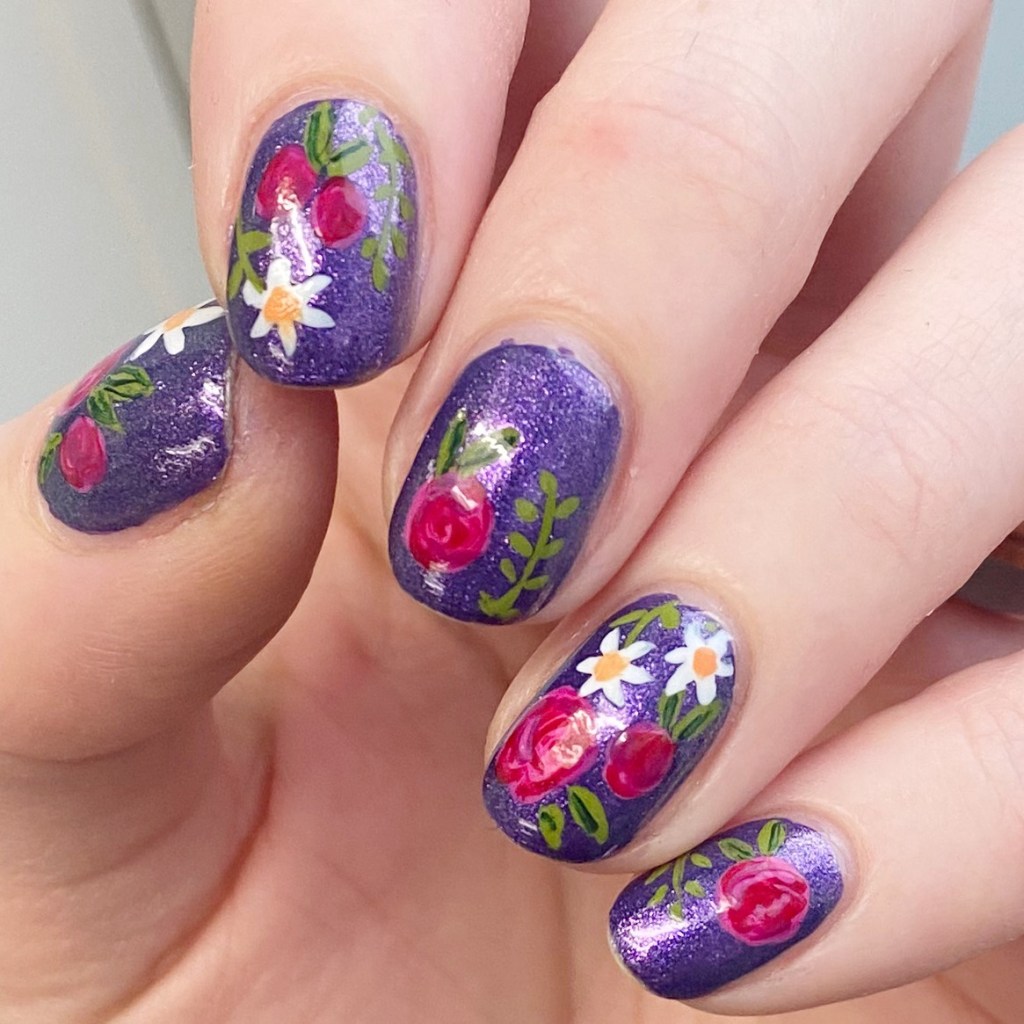
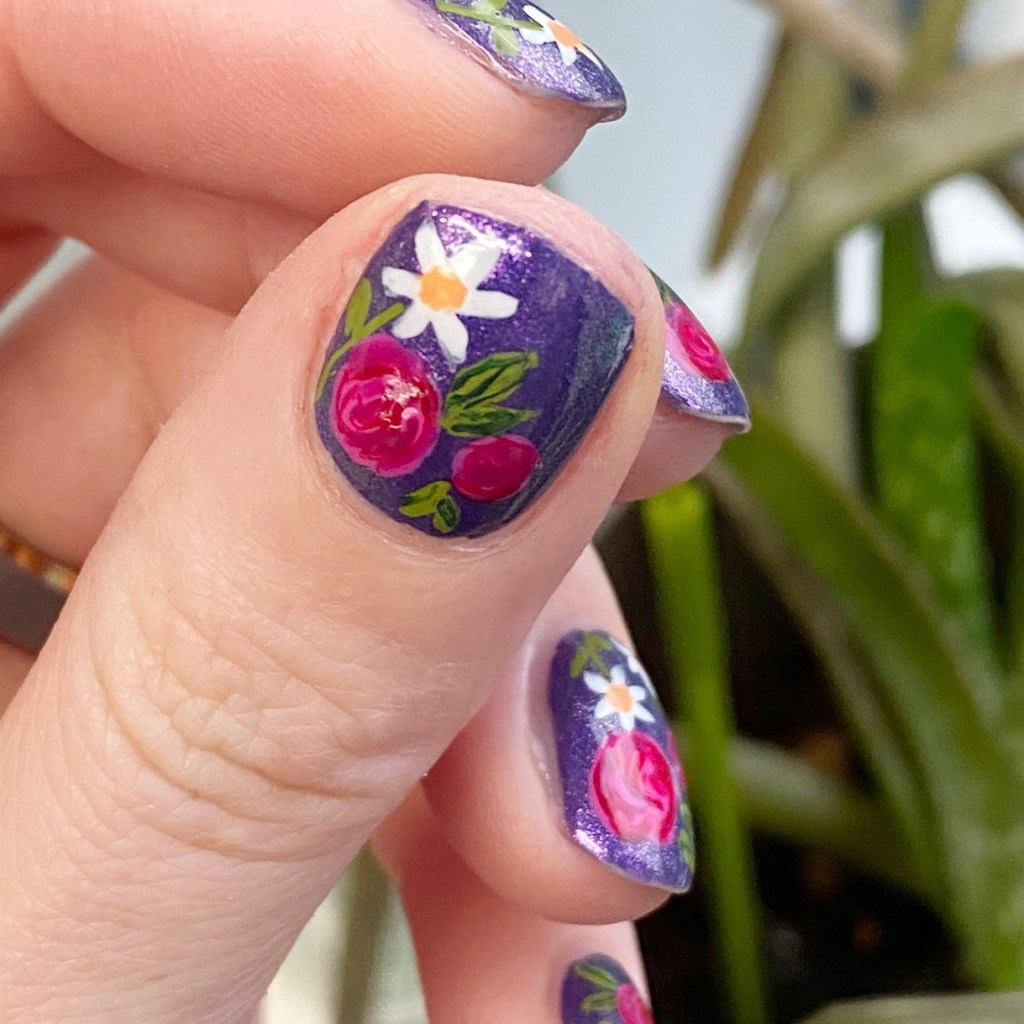
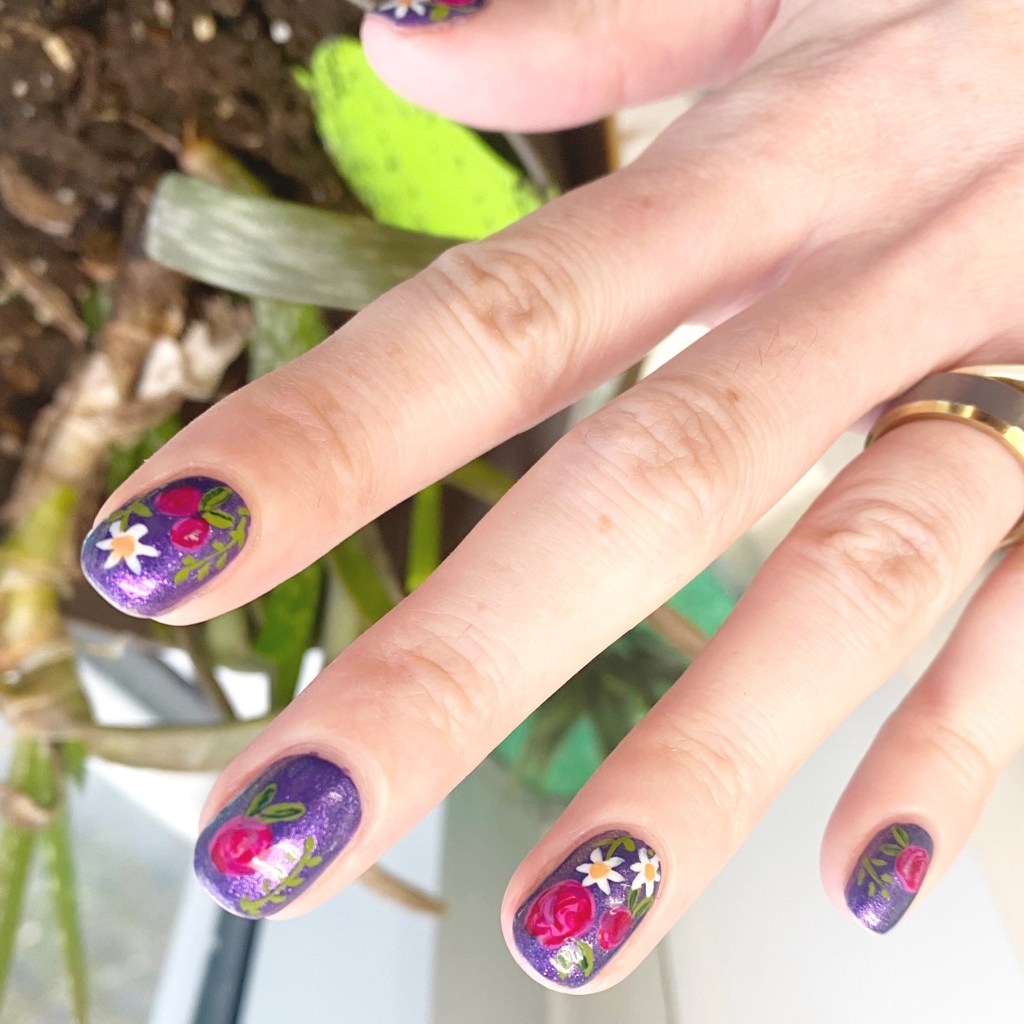
Hello lovelies & happy Tuesday! I hope you’re having a beautiful start to your week.
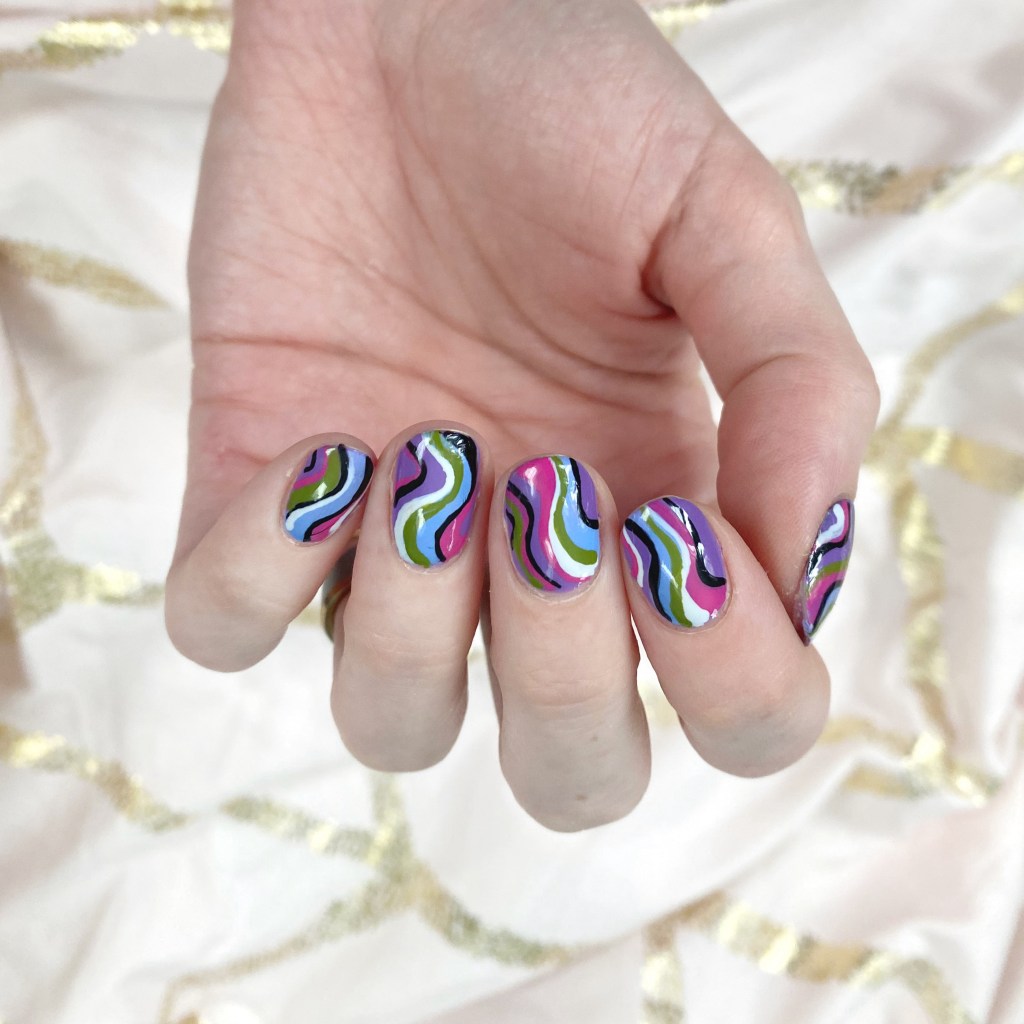
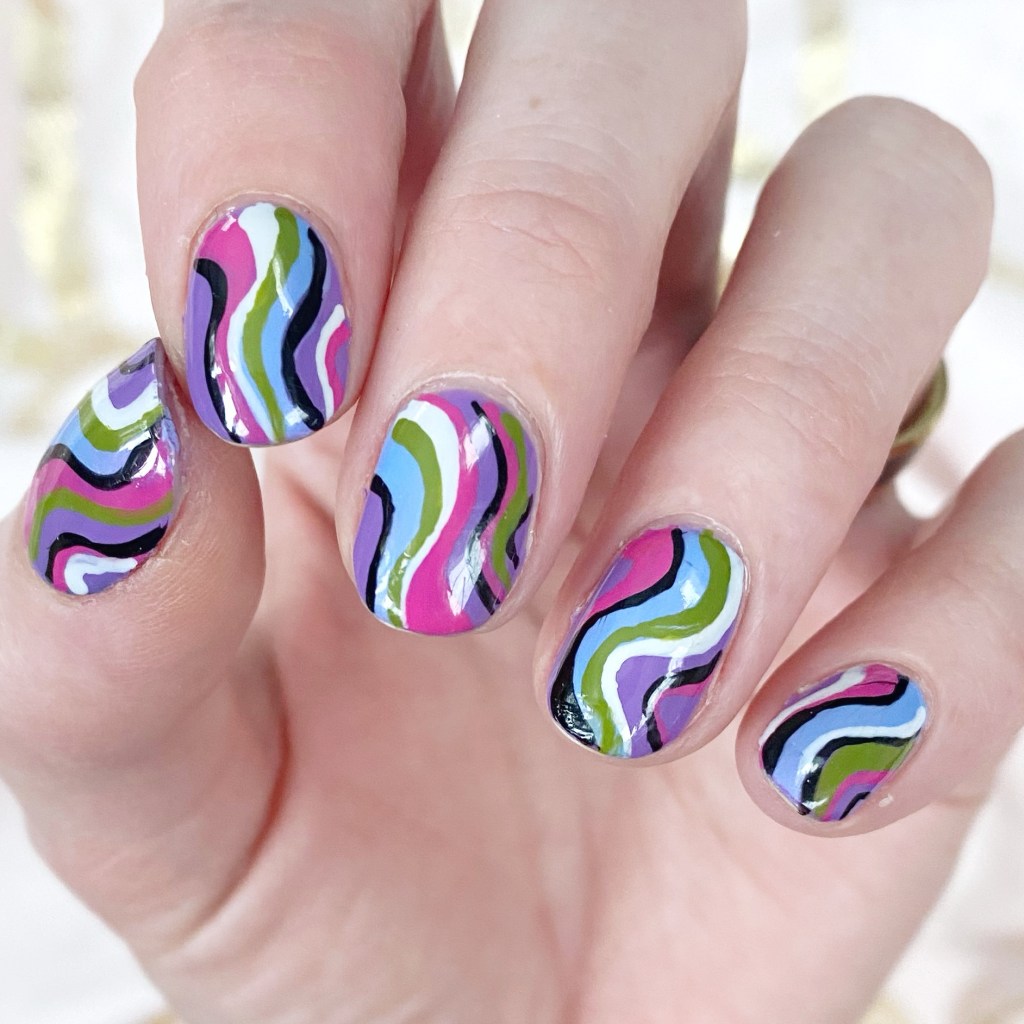
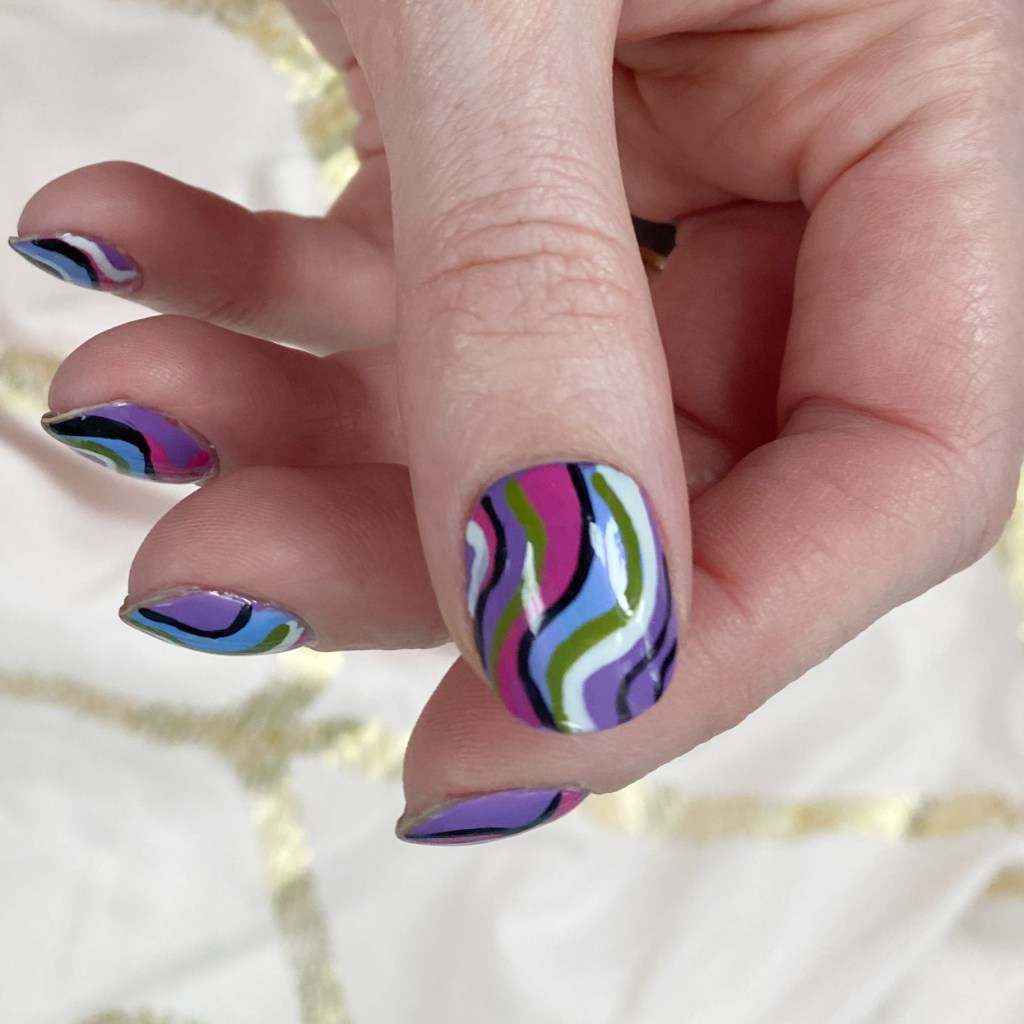
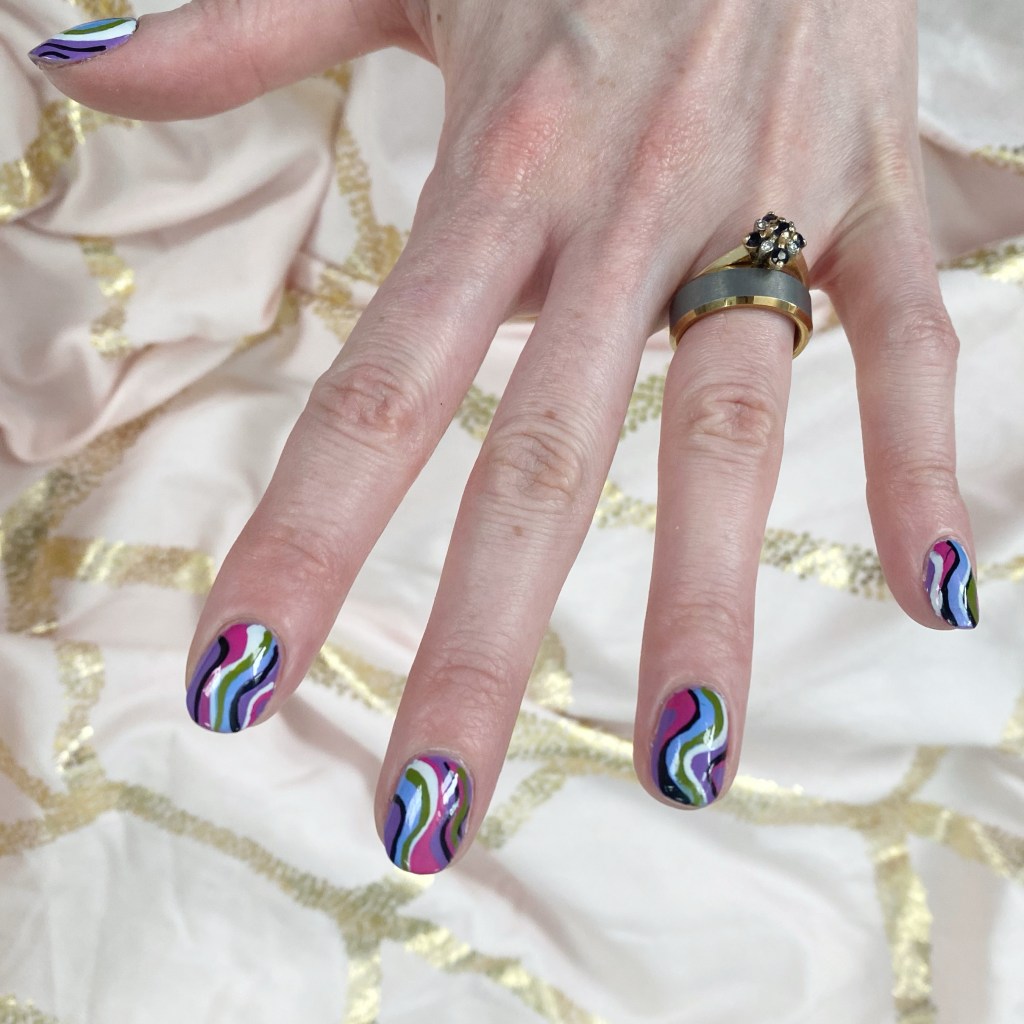
I’m starting my week off (ish) with a fun nail art look. It feels like absolute ages since I attempted any kind of nail art on my nails… I’ve mostly just been wearing solid colours, press on nails, or maybe like a glitter accent nail (very 2013). So it was kind of fun to dig into my nail desk box, find my good nail art brushes, & give some art a try.
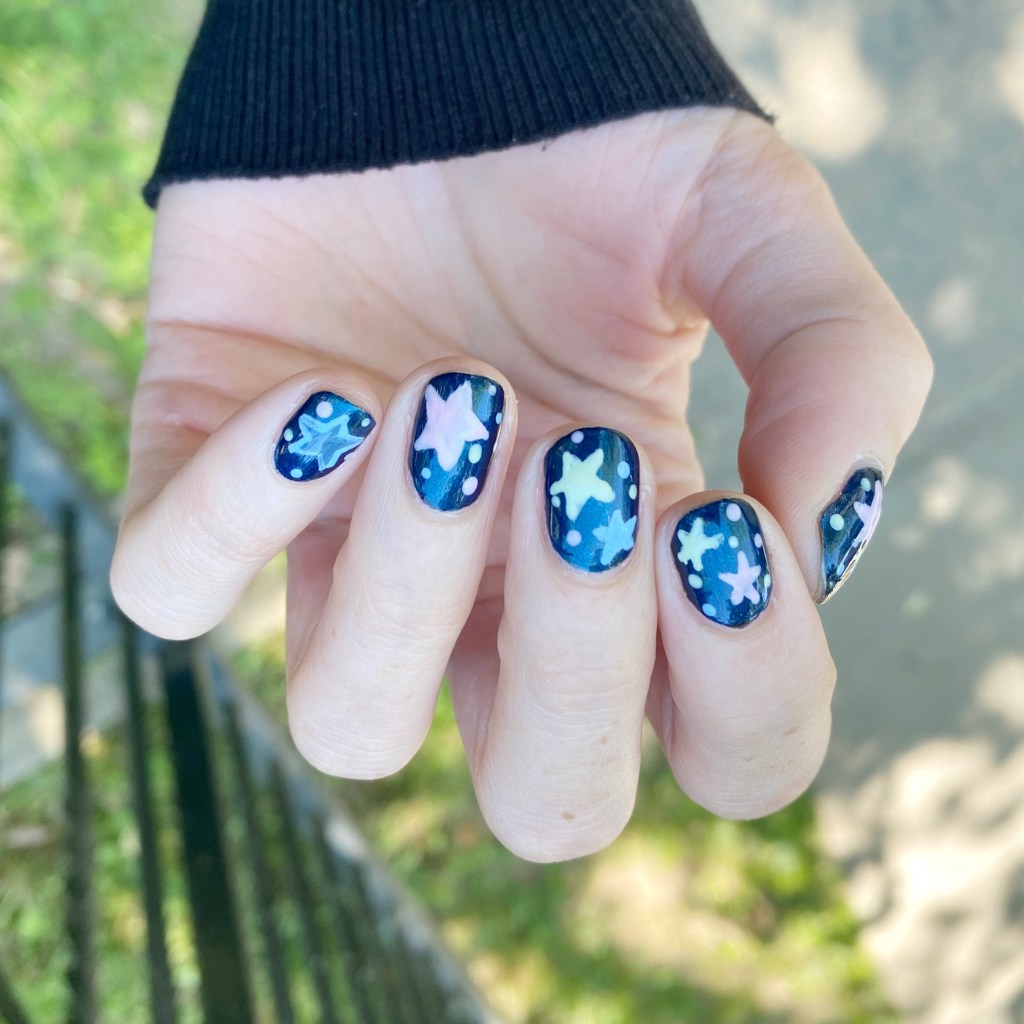

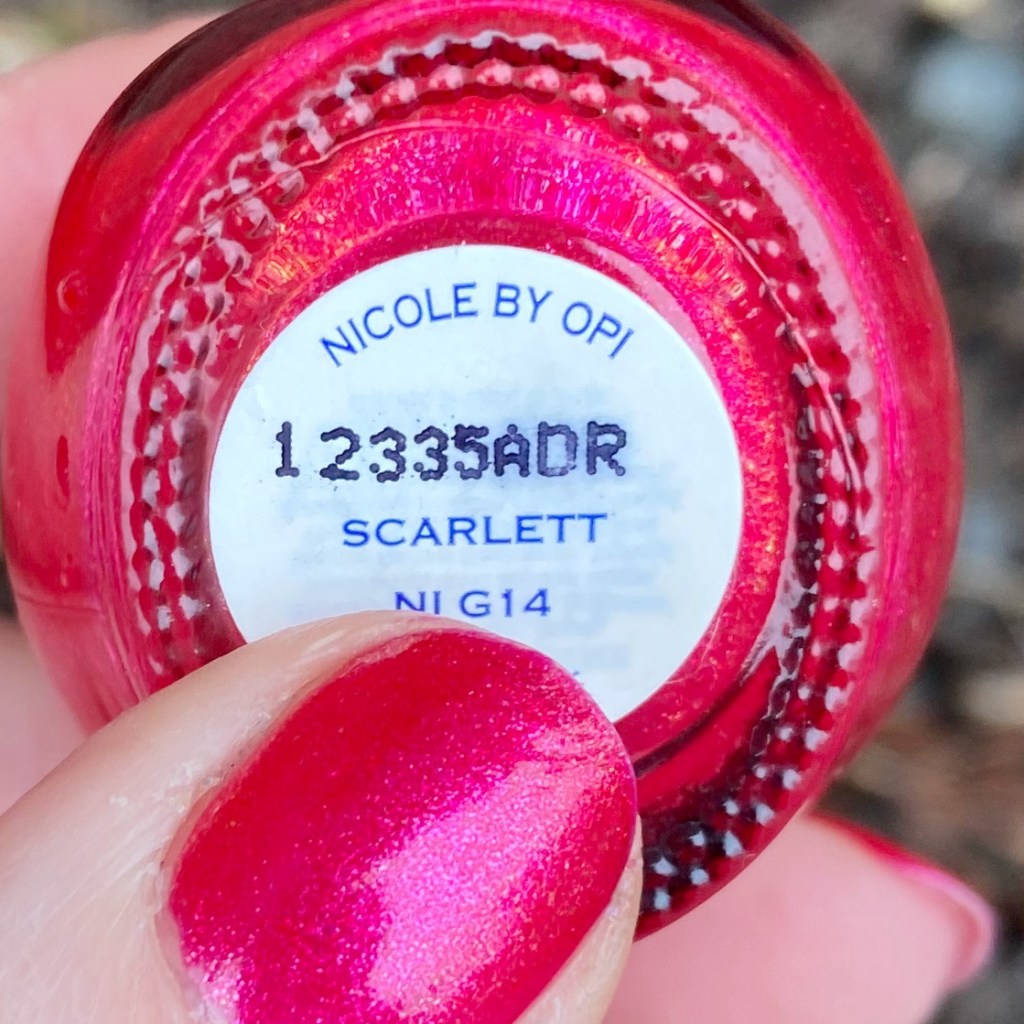
The polishes I used for this manicure are:
- Base Coat: Essie Hard To Resist Strengthner
- Top Coat: Sinful Colors Power Paint Top Coat
- Essie Bell Bottom Blues
- OPI Suzi Shops & Island Hops
- OPI That’s Hula-rious
- Essie Bikini So Teeny
- Quo by Orly Breathable De-stressed Denim
- NailStuff Mermaid Tail Brush
- Bobby Pin (couldn’t find my dotting tools haha)

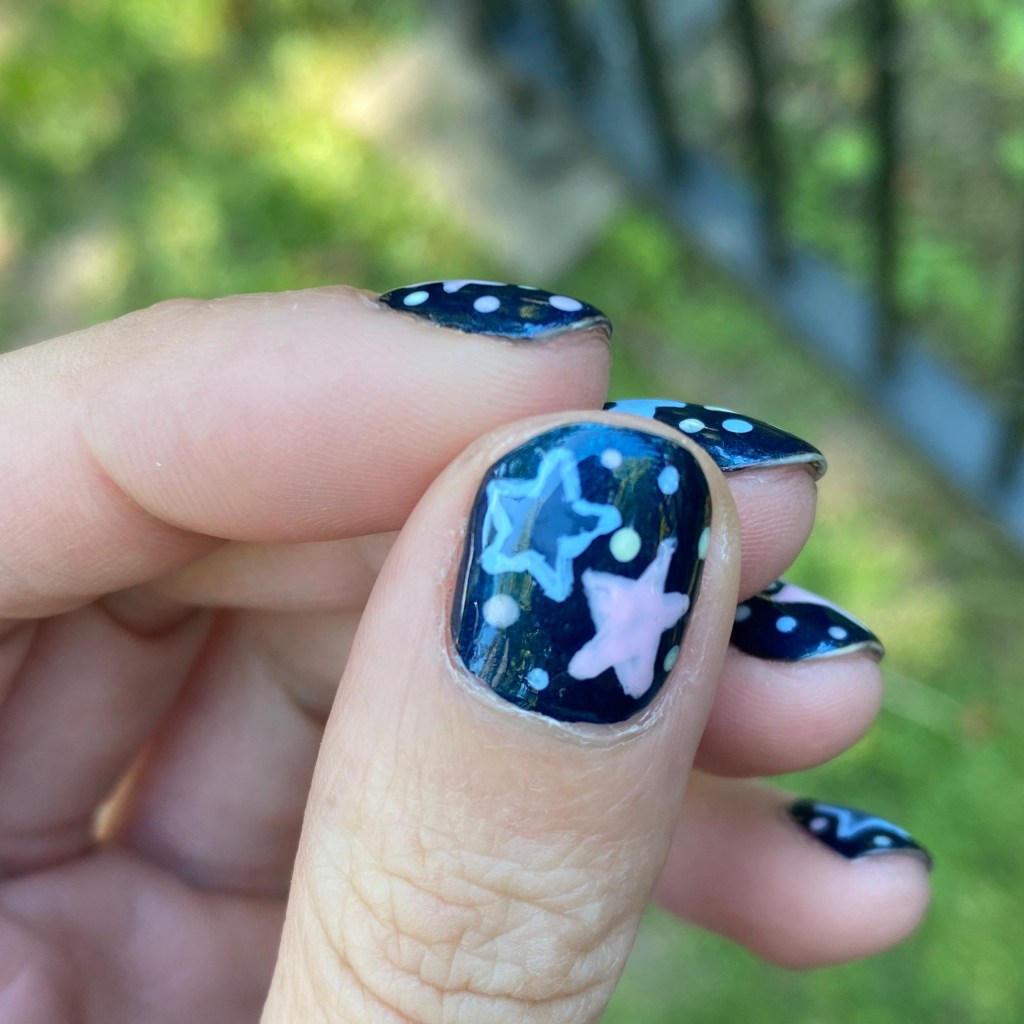
So the inspiration behind this nail art look are glow-in-the-dark stars. Truthfully, I was seeing way too many videos of Hilary Duff’s Glow in the Dark star dress she’s wearing on tour, & this blue base was the perfect not-black shade, that I really wanted to see if I could freehand some stars on my nails!
& even though it’s been forever since I did any freehand designs on my nails, I’m so obsessed with how these turned out! Plus, I got complimented on them while out & about, so I feel pretty awesome about this nail art. They look exactly how I imagined them in my head!

What do you think about my glow-in-the-dark inspired star nails? Do these remind you of being a kid, like they do me? Would you wear this look? Let me know all your thoughts in the comments below & if you love them too!
Happy Wednesday darlings.
♥︎